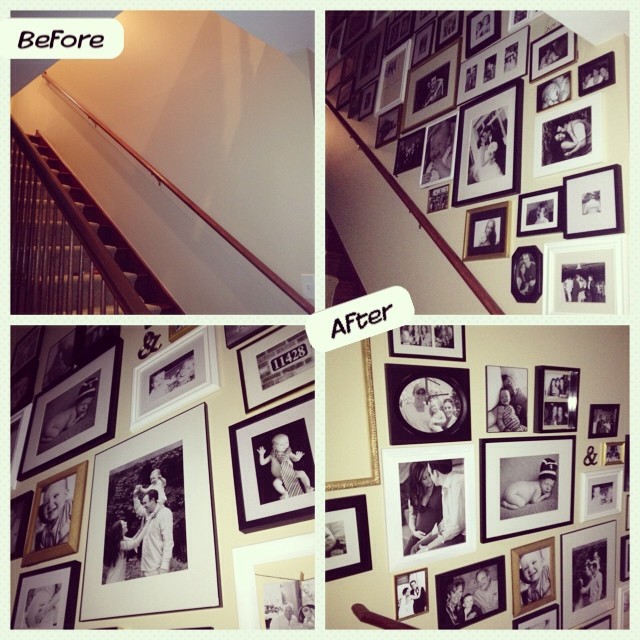
For those of you who don’t know me well, then you probably have no idea about my obsession with photo gallery walls. As I mentioned yesterday’s post, I adore Pinterest and always see the most beautiful displays of photos on the walls in people’s homes. I’ve created a few spaces in our home featuring a photo gallery wall and the stairwell leading up to the 2nd floor was no exception. I decided to tackle this project last summer and began buying frames. I scooped up tons and tons of frames over the course of, I’d say, 3 months or so. I just kept buying and buying them! If you ask my husband, he will tell you we have hundreds of frames laying around in our upstairs loft (which is slowly, but surely transforming into an office & craft space. It will actually end up being part guestroom by May when the baby arrives.) Anyways, I don’t literally have that many frames lying around, but I did buy way more than I ended up using on the wall. I just didn’t know how many, what sizes, colors, shapes and layout would actually end up on the stairway wall!
My plan {or lack thereof}:
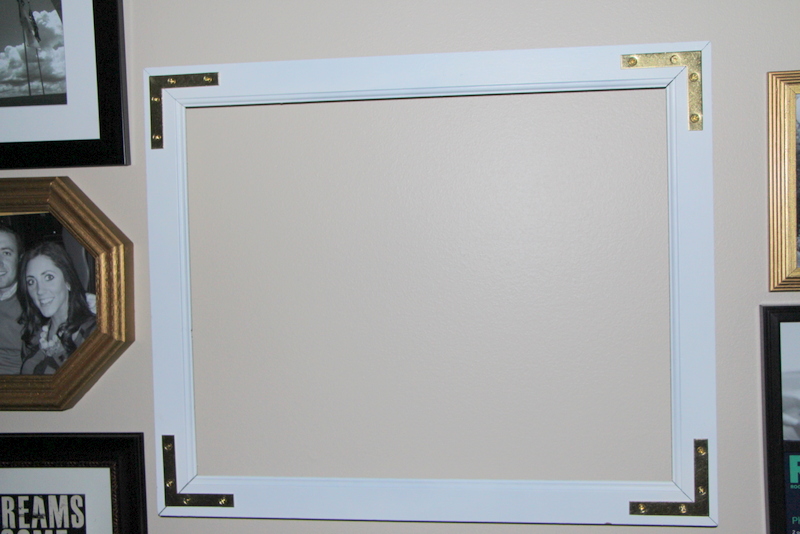
Not knowing how many I would need, I found many of the frames at Goodwill at bargain prices. All different sizes and shapes, in great condition for a mere $1 – 4/frame. Others I picked up at HomeGoods and Target and a few I found while shopping my house. I decided on a black, white and gold theme for the frames and knew I wanted to have all of the photos printed in black & white. Several frames received a few coats of good ol’ fashion spray paint in either black, white or gold. I made a few “special” frames by adding some bling for interest and detail and will be sharing the How-to on that project tomorrow.
I began to pick out favorite pictures and started ordering prints in various sizes. Of course, I have “hundreds” of unused black and white photos that didn’t quite make the wall due to space and now have to find a great place to organize and store them. Sigh.
Long story, short, the pictures made their way into the frames, but it took another couple of months of laying around in the loft before the frames made their way onto the wall. It was actually just a random afternoon when I decided to grab a hammer and nails and start hangin’! I had no plan or layout, so I just picked up a frame and started at the bottom of my stairwell and worked my way up. Being that I couldn’t reach up as high as I needed some of them to hang, I recruited my husband to help that night after work and again that weekend. I was a little nervous I would end up having to re-hang loads and loads of frames if I placed them awkwardly, but to my surprise, I only had to put a few extra nail holes in 🙂
All in all, I am soooo pleased with how it turned out. I love gazing up the stairs from the main level and of course when we walk upstairs, we can’t help but look more. Henry says goodnight to his GG & Papa and Mimi & Papa every night on his way up to bed. It’s the cutest thing! Also, I left several frames empty so new pictures of the baby #2 or updated family photos can be added without having to completely redo the wall.
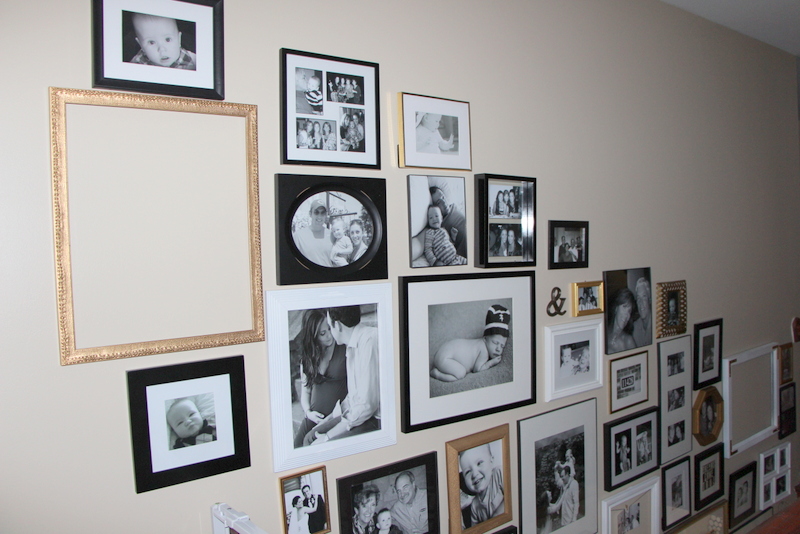
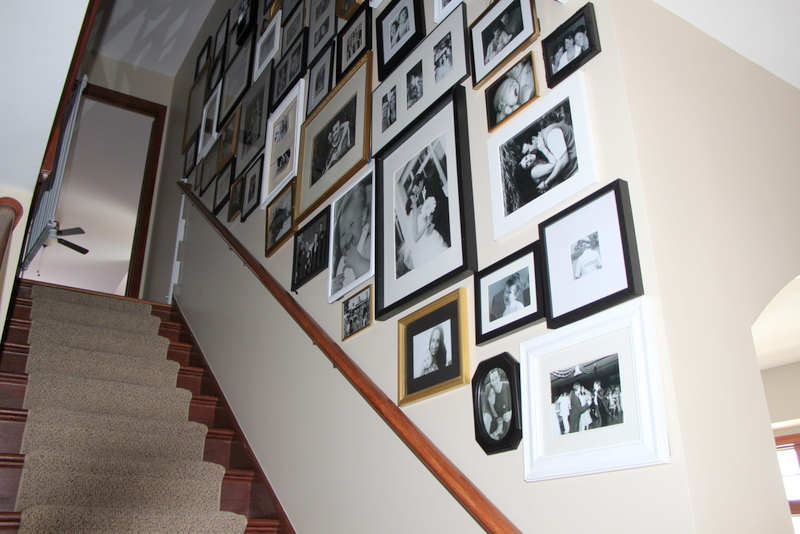
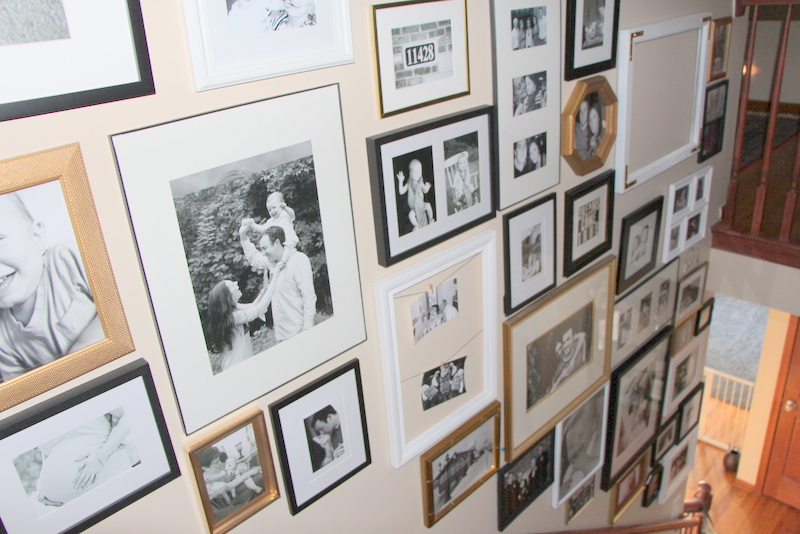
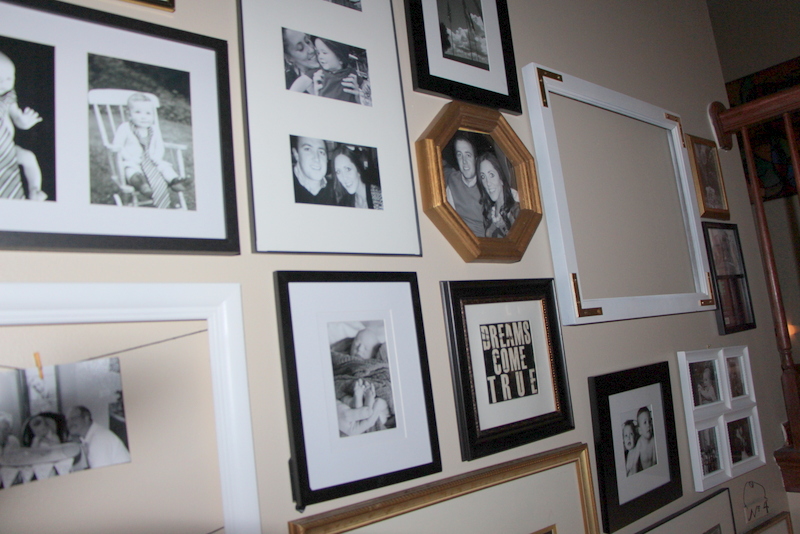
Here are several shots of the final result.
View from the top of the stairs (see above) and view from the bottom (see below)
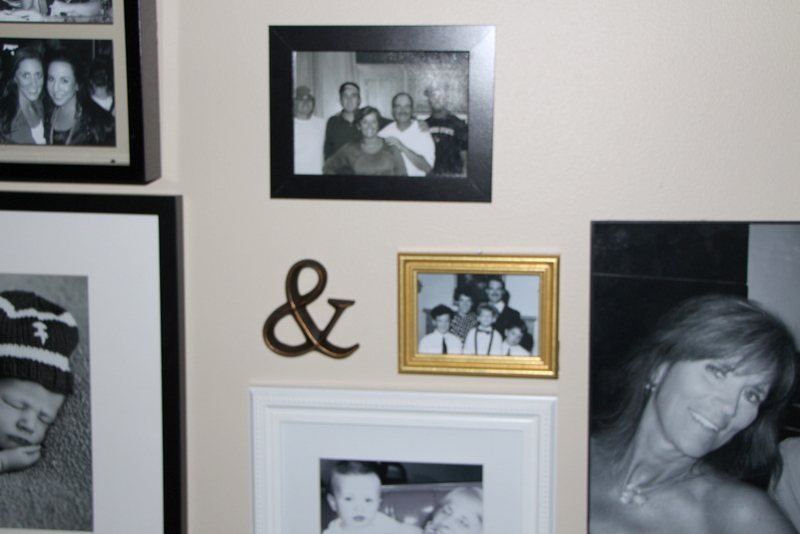
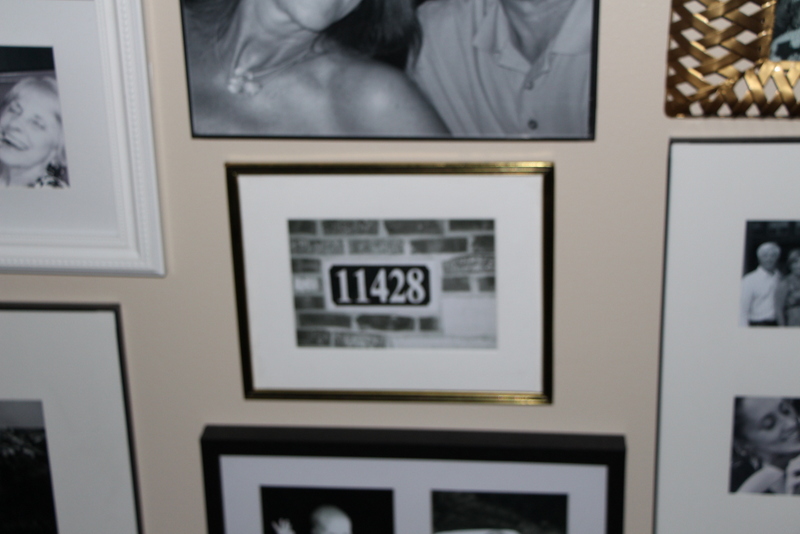
Several more in between
As you can see most of the photos are of us, other family members and friends, but I did add a few random things in for fun (see below for a couple of examples).
Lastly, here are 2 examples of DIY additions I made to the frames themselves. Check back tomorrow, for the details on how!
Thanks for reading and have a great day!!
~Rachael







Gallery Wall Love. | This is our Bliss
October 6, 2014 at 1:37 PM[…] that makes a house a home. A small grouping of 3 or 4 pieces or a much larger one, like on my staircase… either way, I am crazy for […]
DIY: Campaign style Frame {a touch of bling} | This is our Bliss
March 6, 2014 at 4:32 PM[…] As promised, today I am going to share a brief rundown on 2 ways I added some flare to a few frames in our Stairway gallery wall. […]