
campaign style frame inspiration
I knew I wanted to do a little something to jazz up a few of the frames on the wall, so decided to take a stab at it.
Materials:
picture frame – (mine was a 16″ x 20″ wooden frame – wood works best since you’ll be drilling into it) – Goodwill – $2.99
can of white spray paint (already had on hand, but can be purchased at Michaels or Lowes for around $6) – mine – $0
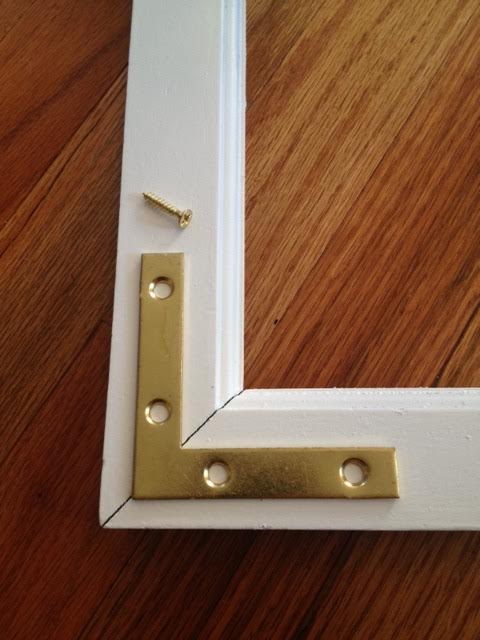
package of Stanley Flat Corner Braces in solid brass (I purchased the 3″ size), aka “L” brackets – Lowes – $6.99 similar here
handheld electric drill
Directions:
First, remove the glass and any mat from the frame. You’ll keep them off until after you are done drilling.
Apply 2 – 3 coats of spray paint to the frame. I usually like to allow 1-2 hours in between coats and then 24 hours before adding hardware braces.
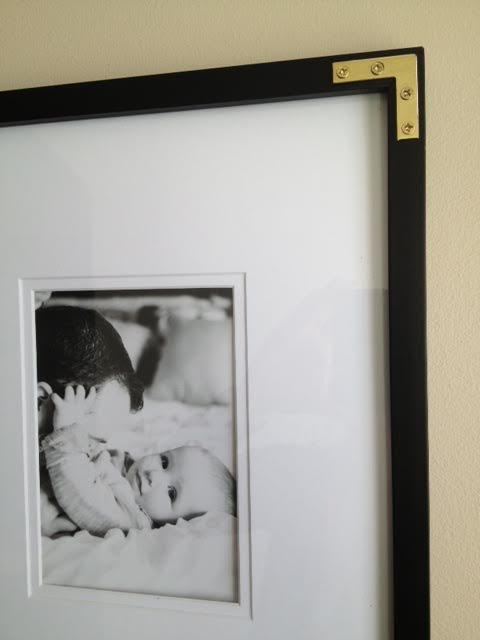
Next, lay the L Brackets out on the first corner of your frame. I decided I wasn’t going to do any measuring, so just eyeballed it.
Drill each of the 4 screws in the bracket and repeat on the remaining 3 corners.
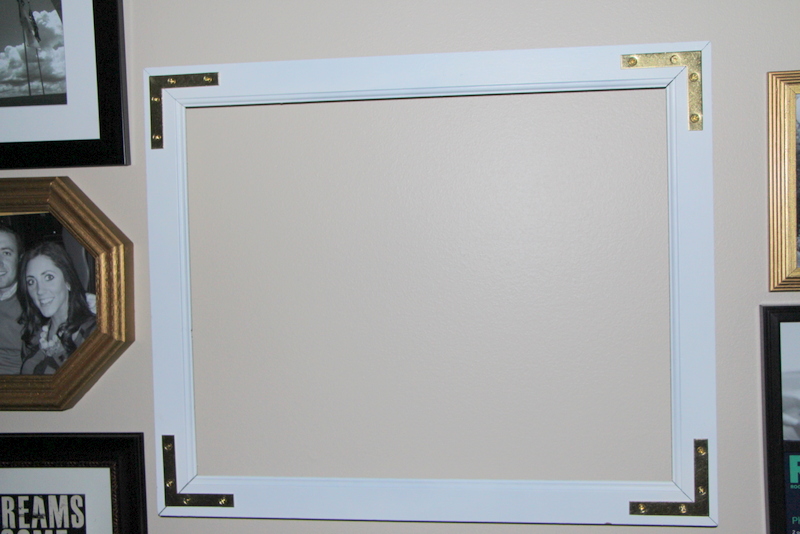
Lastly, place it on the wall and admire!
And thaaaaat’s it! It really wasn’t too complicated, but thought I would tackle something simple for my first DIY step-by-step instruction post 🙂 I still have to put a picture in it, but it does look pretty on my wall even empty. Not too bad for under 10 bucks.
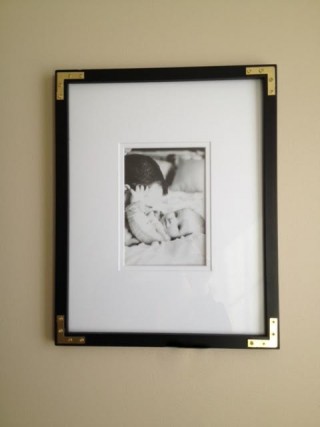
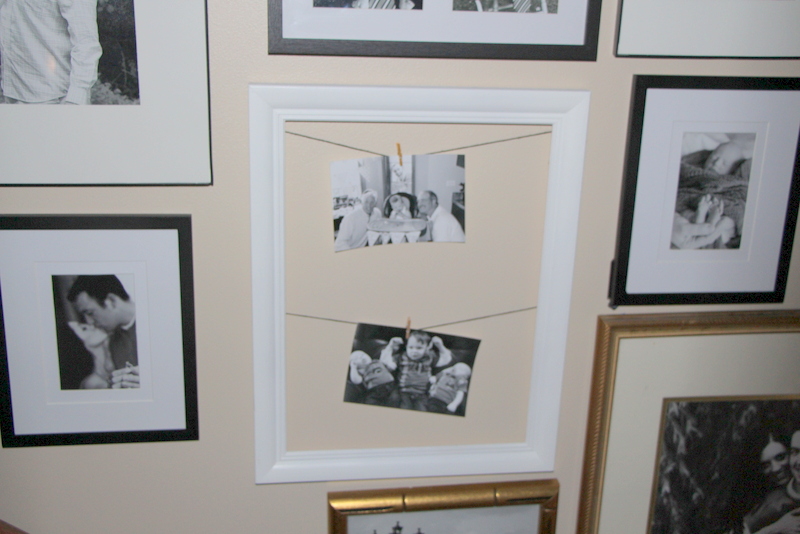
I made a 2nd campaign style frame a bit smaller and with a black frame & 1.5″ L brackets/Flat Corner Braces instead of 3″. I like the way this one turned out just as well!
Read on for 2nd quick frame project details…
Materials:
picture frame (mine was 12″ x 16″) – Goodwill – $4.99
pkg of black hemp cord – Michaels – $1.99 similar here
mini clothespins – Amazon – $3.80/50 pack
gold spray paint (find at your local craft or hardware store)
hot glue gun
scissors
Directions:
Remove glass & mat from your frame
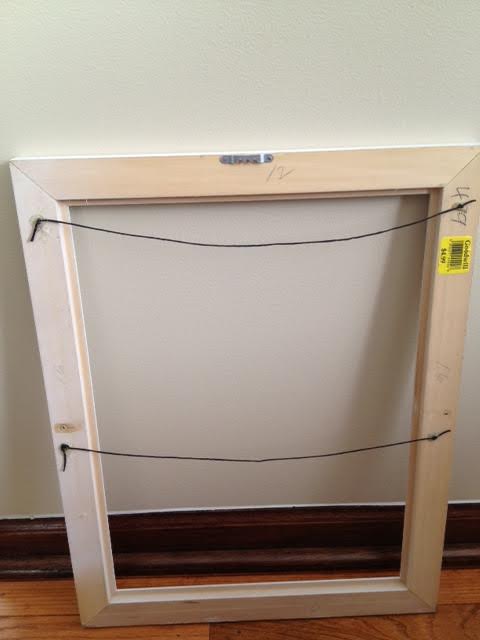
Cut 2 pieces of hemp cord to loosely hang between the 2 sides of the frame with about an 1/2″ extra per side to hot glue to back of frame
Flip frame over with the backside face-up and glue one end of cord to the side of the frame. Loosely drape the piece of cord to the other side and attach with hot glue as well. I spaced out the cord so the first piece was 1/3 of the way down the frame and the 2nd cord was 2/3 down the frame.
Attach 2nd piece of cord so it looks like this after both are glued.
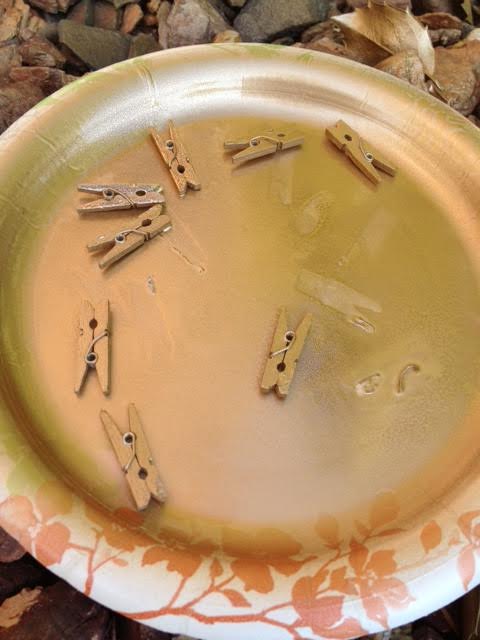
Lay out several mini clothespins on paperplate or papertowel and apply a coat of gold spray paint. Let dry for an hour and flip/rotate clothespins and apply another coat.
Wait 24 hours for frame and pins to dry.
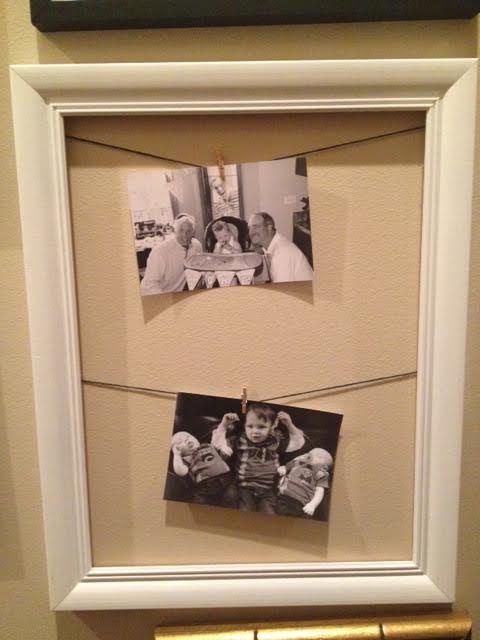
Select favorite photos and clip them to the cord with the clothespins.
This is a great way to be able to easily swap photos in & out and you can definitely hang more than 2 pictures in a frame this size. Again, a quick project for less than $10, including the frame and all! Thanks for stopping by… I hope you’ll visit again… ~Rachael
*This post contains affiliate links.








DIY Oversized [Fall] Word Art | This is our Bliss
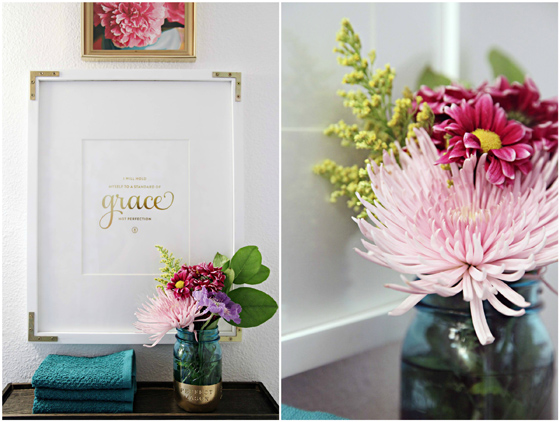
September 17, 2015 at 9:50 PM[…] stash for some flat corner braces. I was pretty sure I had an extra package left after making these frames. It was just what my new frame needed. Mine were silver, so I used a little Rub ‘n Buff Wax […]
Gold Spray Paint to the Rescue! {again} | This is our Bliss
July 10, 2014 at 3:32 PM[…] Gold Campaign style picture frame | Gold striped vase | DIY Word Art | Gold Light Fixture […]
Giving my Silhouette a shot | This is our Bliss
May 9, 2014 at 10:06 PM[…] me, you know I have been obsessing over all things gold / brass / sparkle / you name it. A little bling never hurt nobody! […]
The Golden Touch | This is our Bliss
April 15, 2014 at 4:51 PM[…] made a come back and I am really getting into it lately. Remember back to my gallery wall & DIY campaign style frame posts? A little gold here and there adds a bit of interest to what could be considered a boring […]