One particular space I have been dreaming of working on is our outdoor patio. It was a blank {cement} slate, so I knew if we did ANYTHING to it, it would be a huge improvement. We have walk-out basement, so this outdoor space will most certainly be used when entertaining. Also, since our back deck sits off the kitchen and you need a flight of stairs to get up and down to the yard, I know the outdoor patio space will be a nice place for us adults to sit and watch the kids play! So, operation Outdoor Oasis became a priority and first up on the project list that I’ll be sharing is how to Make & Hang Under Deck Outdoor Curtains for Under $20!
See more outdoor inspiration here!
We first started preparing for our outdoor space by hunting for furniture. After we scored a major deal on an outdoor sectional when a local store was going out of business, we started adding flowers. We bought several hanging flower pots and a few planters and set them all around the patio.
It was starting to take shape, but something was missing.
Curtains!
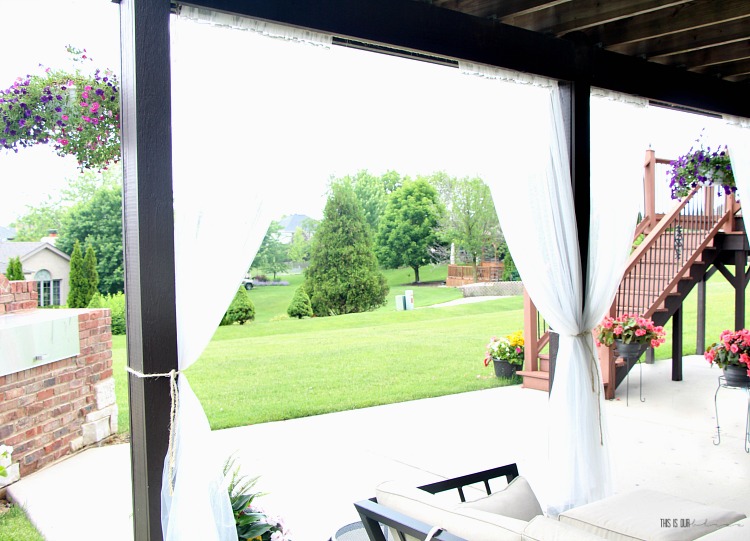
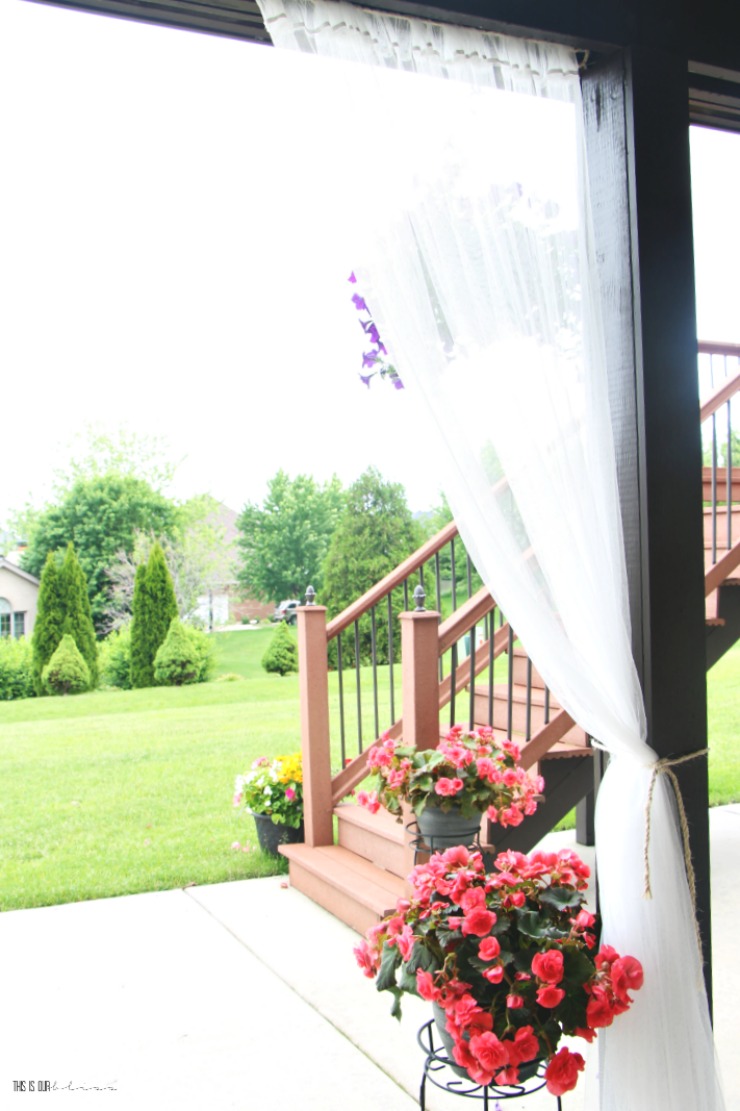
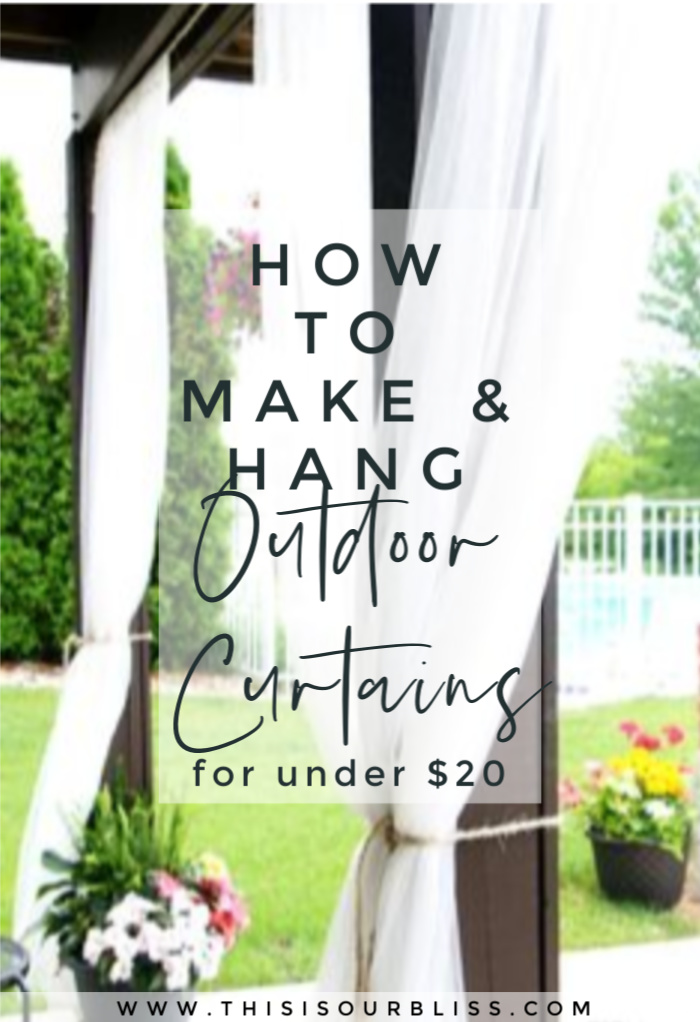
Adding outdoor curtains to a space instantly makes it feel like an indoor space but with a better view. Outdoor curtains add texture and interest and overall added detail. We found these white mesh curtain panels and bought them with the hopes we could figure out a way to hang them up under the deck.
We came up with a super simple method and the entire DIY under deck curtain solution was only $20!
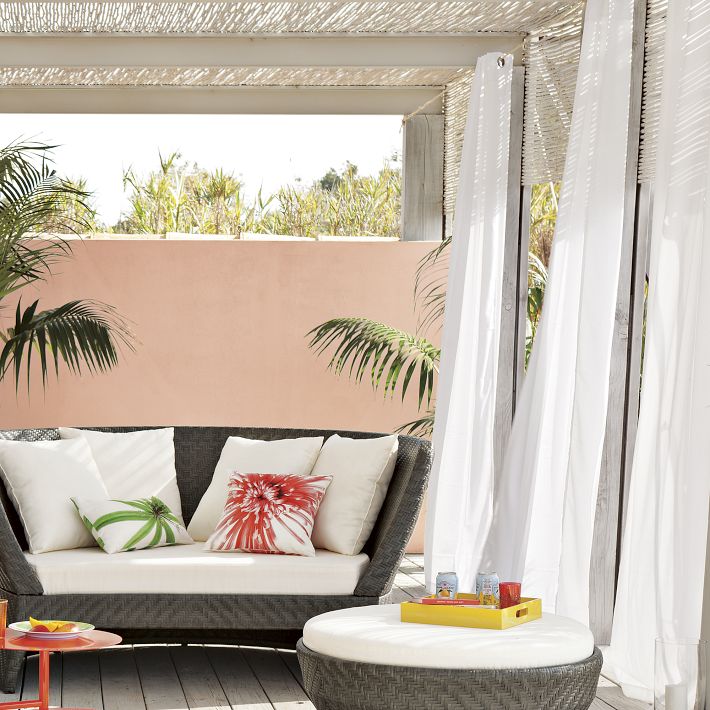
DIY UNDER DECK OUTDOOR CURTAIN INSPIRATION
| via West Elm |
DIY UNDER DECK OUTDOOR CURTAIN SUPPLIES
- mesh curtain panels
- One spool of Natural Twisted Sisal Rope (100 ft. of 1/4 in. thickness)
- 4 screw eye hooks
- drill bit & drill
DIY UNDER DECK OUTDOOR CURTAIN INSTRUCTIONS
- Insert drill bit into drill and pre-drill a hole to fit the screw eye into. Repeat in remaining curtain placement areas.
- Cut rope length to appropriate length. In my case, I held up the rope between the 2 posts and then added approximately 6 inches on each end to tie knots. Excess can always be cut off later.
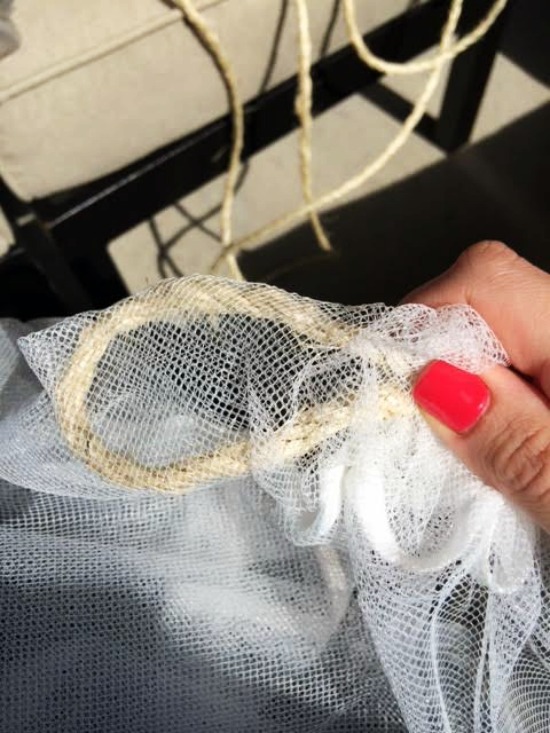
- Then, feed the sisal rope through the rod pocket of the panel. It was easier to make a loop & feed it through.
- Tie rope off onto screw eye with 2 tight knots.
- Insert screw into pre-drilled hole. We put our screw eyes at the very top of the posts and slightly underneath and in between the 2 beams. The screw eyes were perpendicular to the ground to ceiling posts.
- Feed rope through another panel and tie off onto screw eye and insert into place. We hung 4 panels, so repeated this process one more time.
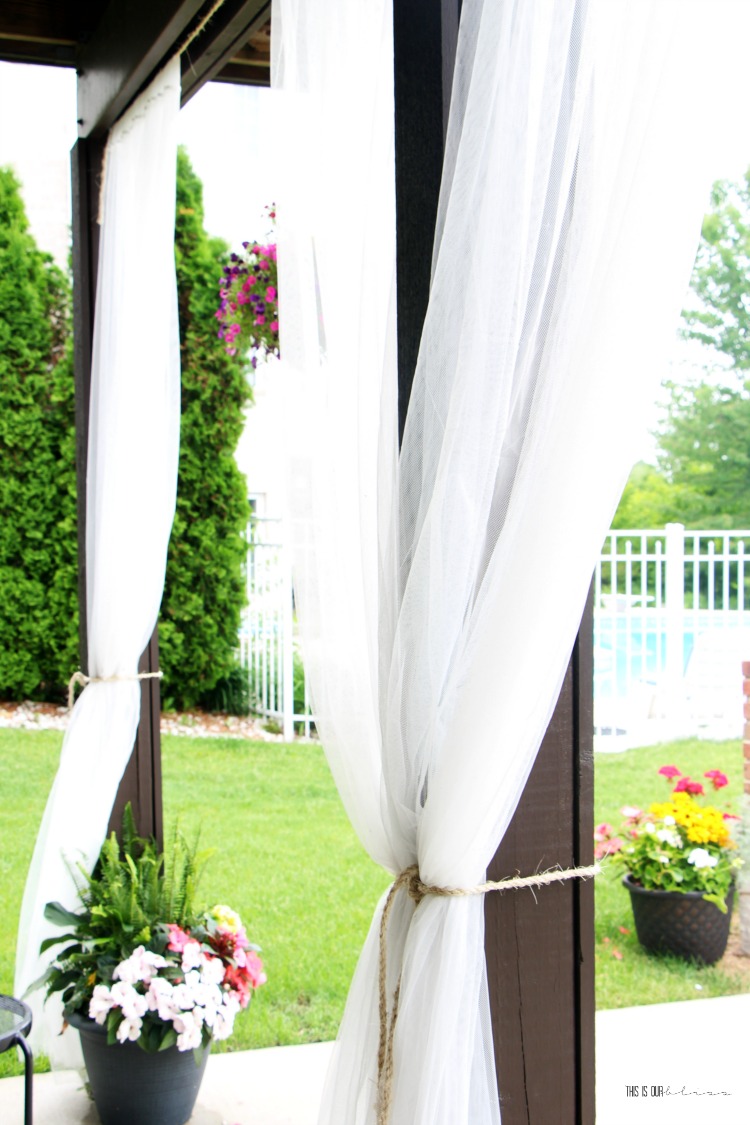
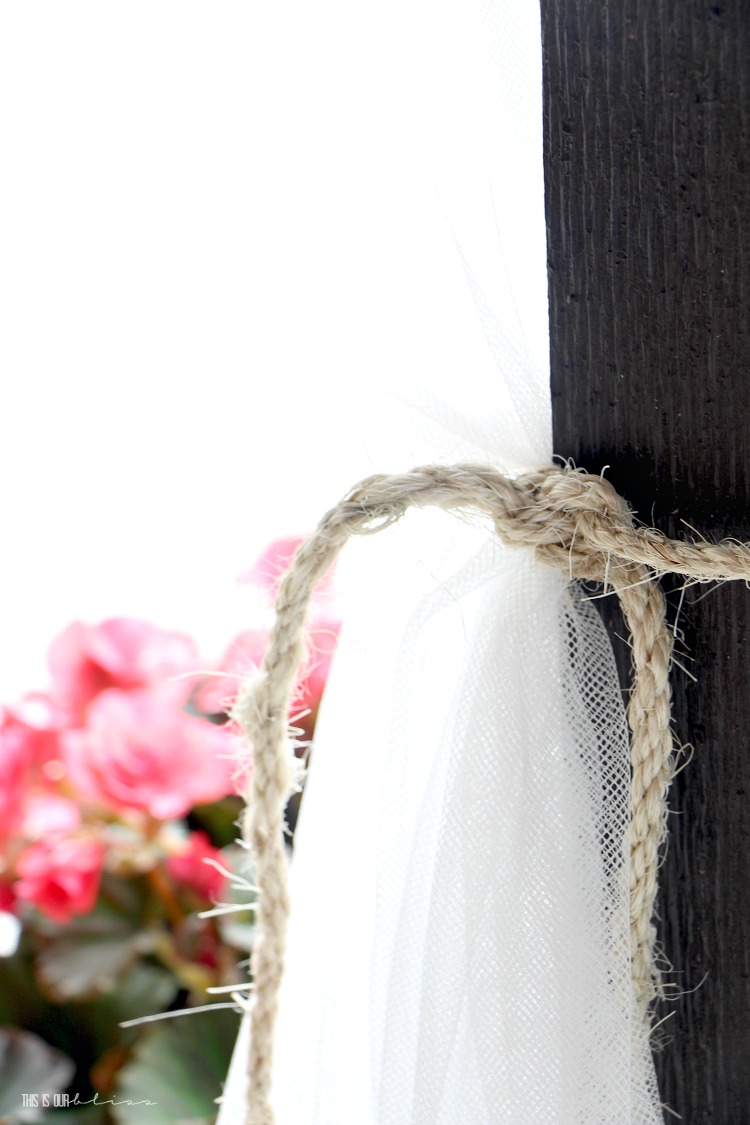
- Lastly, adjust the panel across the rope so it gathers evenly and then tie off the bottom with remaining strands of sisal rope.
I didn’t think I would like the loose rope hanging down, but I do like the look and feel it gives the space after all.
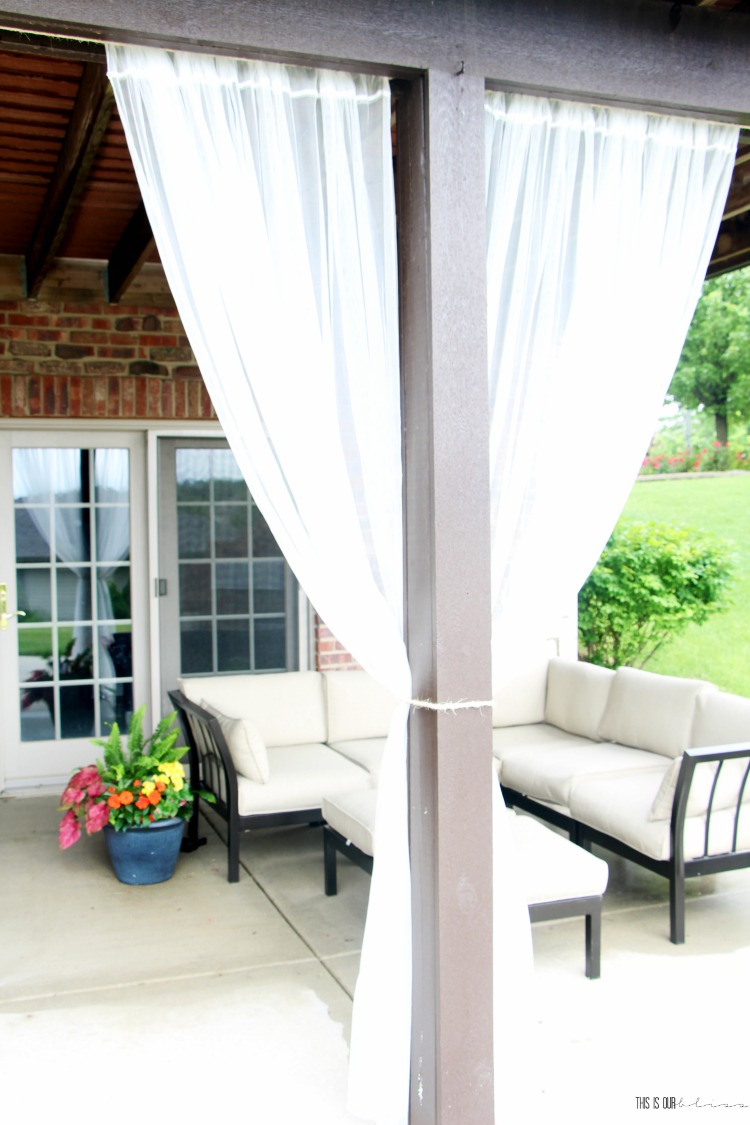
I just love the light & airy vibe the outdoor curtains give off!
Doesn’t this look like such a dreamy place to sit and relax?!
Here are some of the sources if you want to get a similar look:
But do you see the empty sectional screaming for some pillows?! Coming up in Part 2 of the Outdoor Oasis Project are DIY Outdoor Throw Pillows. Here is a sneak peak of my fabric 🙂
And here are a couple outdoor pillows I have sewn so far…
Don’t forget to pin for later!
If you need to get caught up on the rest of the Outdoor Oasis series, you can catch up with each post below:
If you like this post, then you’ll love the other outdoor inspiration posts!:
- 13 Ways to Update Your Small Front Porch
- Rug Layering Ideas for Your Front Door
- Cozy & Neutral Back Deck Refresh Mood Board
- How to Make & Hang Outdoor Curtains for Under $20
- DIY Outdoor Pillows
- How to Make a Pallet Wood Sign & Hang it on Brick










Jennifer Smith
April 7, 2016 at 10:05 AMI want to put up these curtains on my back patio. I do not want to spend a fortune on curtains for my patio.I was wondering how well they stand up to the elements. I live in GA where it rains pretty often and it gets humid. I appreciate any advice!
Jenn
Rachael @ This is our Bliss
April 30, 2016 at 2:54 PMThese curtains are great, but I would recommend taking them down during any harsh seasons (November thru March in the Midwest) or just buy new sets each year or when they get dingy! At $2 per panel, I doubt there is s cheaper option out there! I left mine up all year and they need to be replaced this year for sure!
Project: Outdoor Oasis Part 4 {The Reveal} | This is our Bliss
August 4, 2014 at 3:39 PM[…] Part 1: The Curtains | Part 2: The Pillows | Part 3: The Pallet Sign […]
Project: Outdoor Oasis Part 3 {DIY Pallet Sign} | This is our Bliss
July 31, 2014 at 4:33 PM[…] while Henry played in the yard or while we have drinks and grill out. We bought furniture, I hung curtains and made pillows. Besides sprucing up the patio with some other décor, the last big thing I […]
Seeing Gold {DIY Sunburst light} | This is our Bliss
June 24, 2014 at 3:24 PM[…] prioritized! We got more flowers for the back patio and the outdoor sectional (see outdoor posts here & here) and one other thing he knocked off the list was updating our formal living room light […]
Project: Outdoor Oasis Part 2 {The Pillows} | This is our Bliss
June 18, 2014 at 9:36 PM[…] ← Project: Outdoor Oasis Part 1 {The Curtains} […]
Camille
June 12, 2014 at 1:44 PMLOVE this idea! It looks sooooo dreamy!! Can’t wait to try it! Thanks for sharing!
rbliefnick
June 12, 2014 at 5:43 PMThanks, Camille! So glad you like it!! Hopefully Andy agrees 🙂