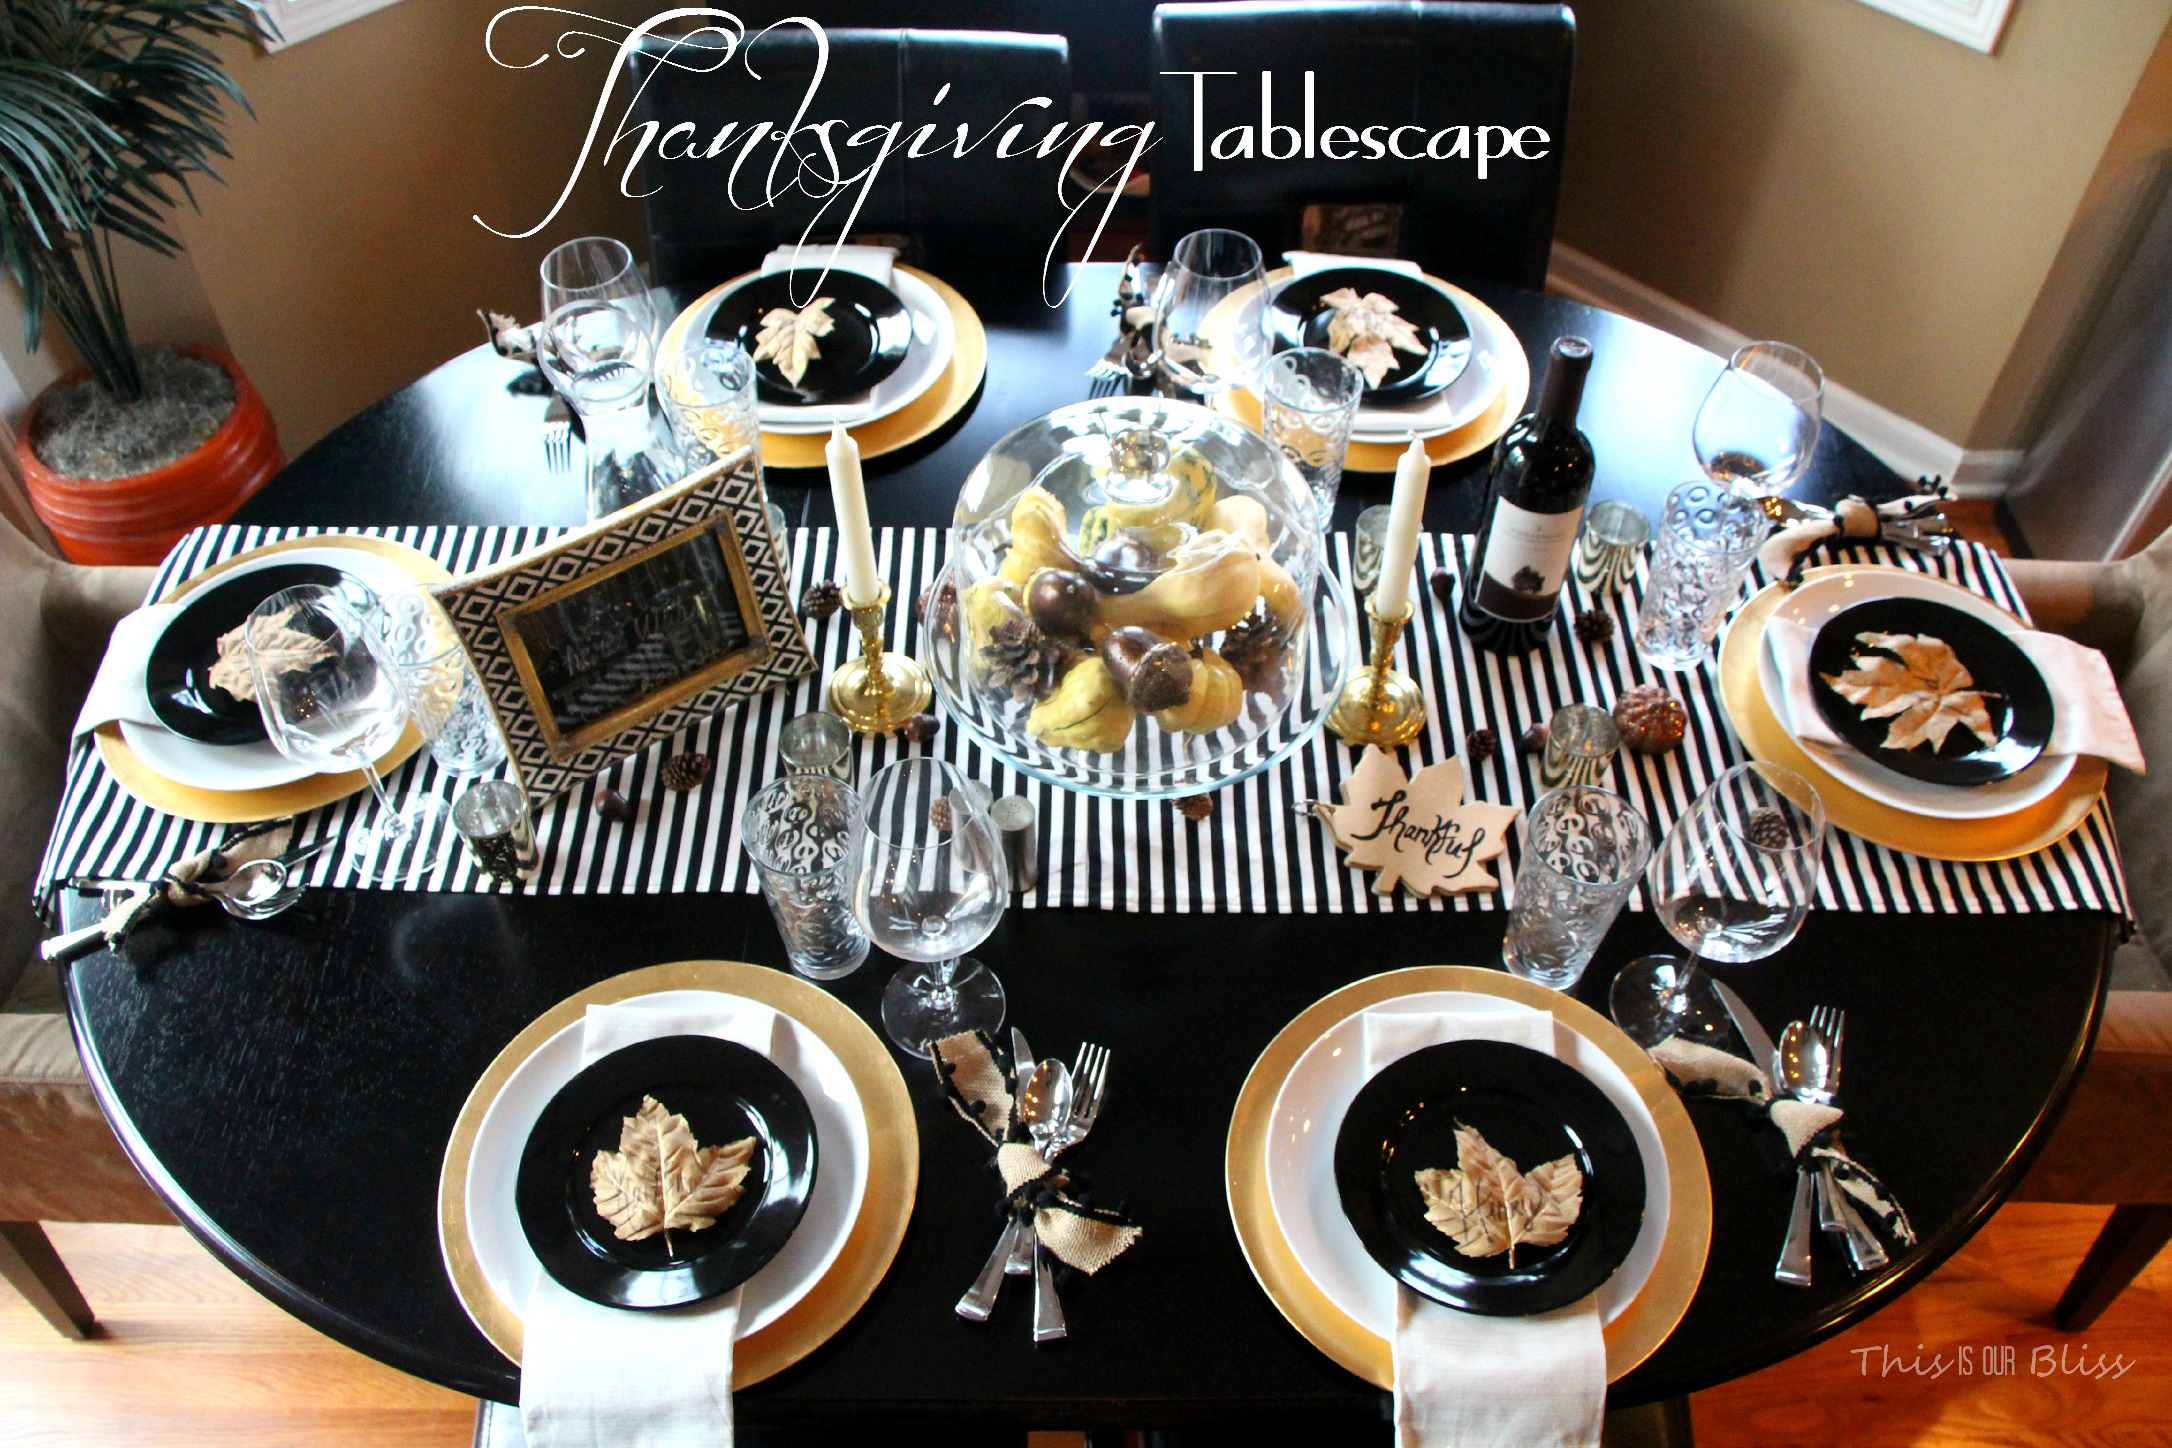
Hey there! Cold weather…blah. Feeling cooped up (already), but am enjoying warm fires and cozy blankets while snuggling my boys. That never gets old 🙂 I am back today with some tips and how-to details, and of course the sources, for my Black & White & Gold Thanksgiving Tablescape I shared with you earlier this week. I will break down the simple steps I took to create this look so you can do the same if you are hosting Thanksgiving or any other holiday this year. To be perfectly honest, I am not even hosting this year, but since it was my first upcoming Thanksgiving as a new blogger, I had to join in on all of the decorating fun!!
The items you set your table with do not have to be super fancy or expensive. I will show you how I used everyday pieces, most of which I already had, to set mine. Read on for the scoop – tips, where to purchase & MORE!
 1 – Find your inspiration & decide on a look & / or color scheme {Pinterest & blogs are great resources :)}
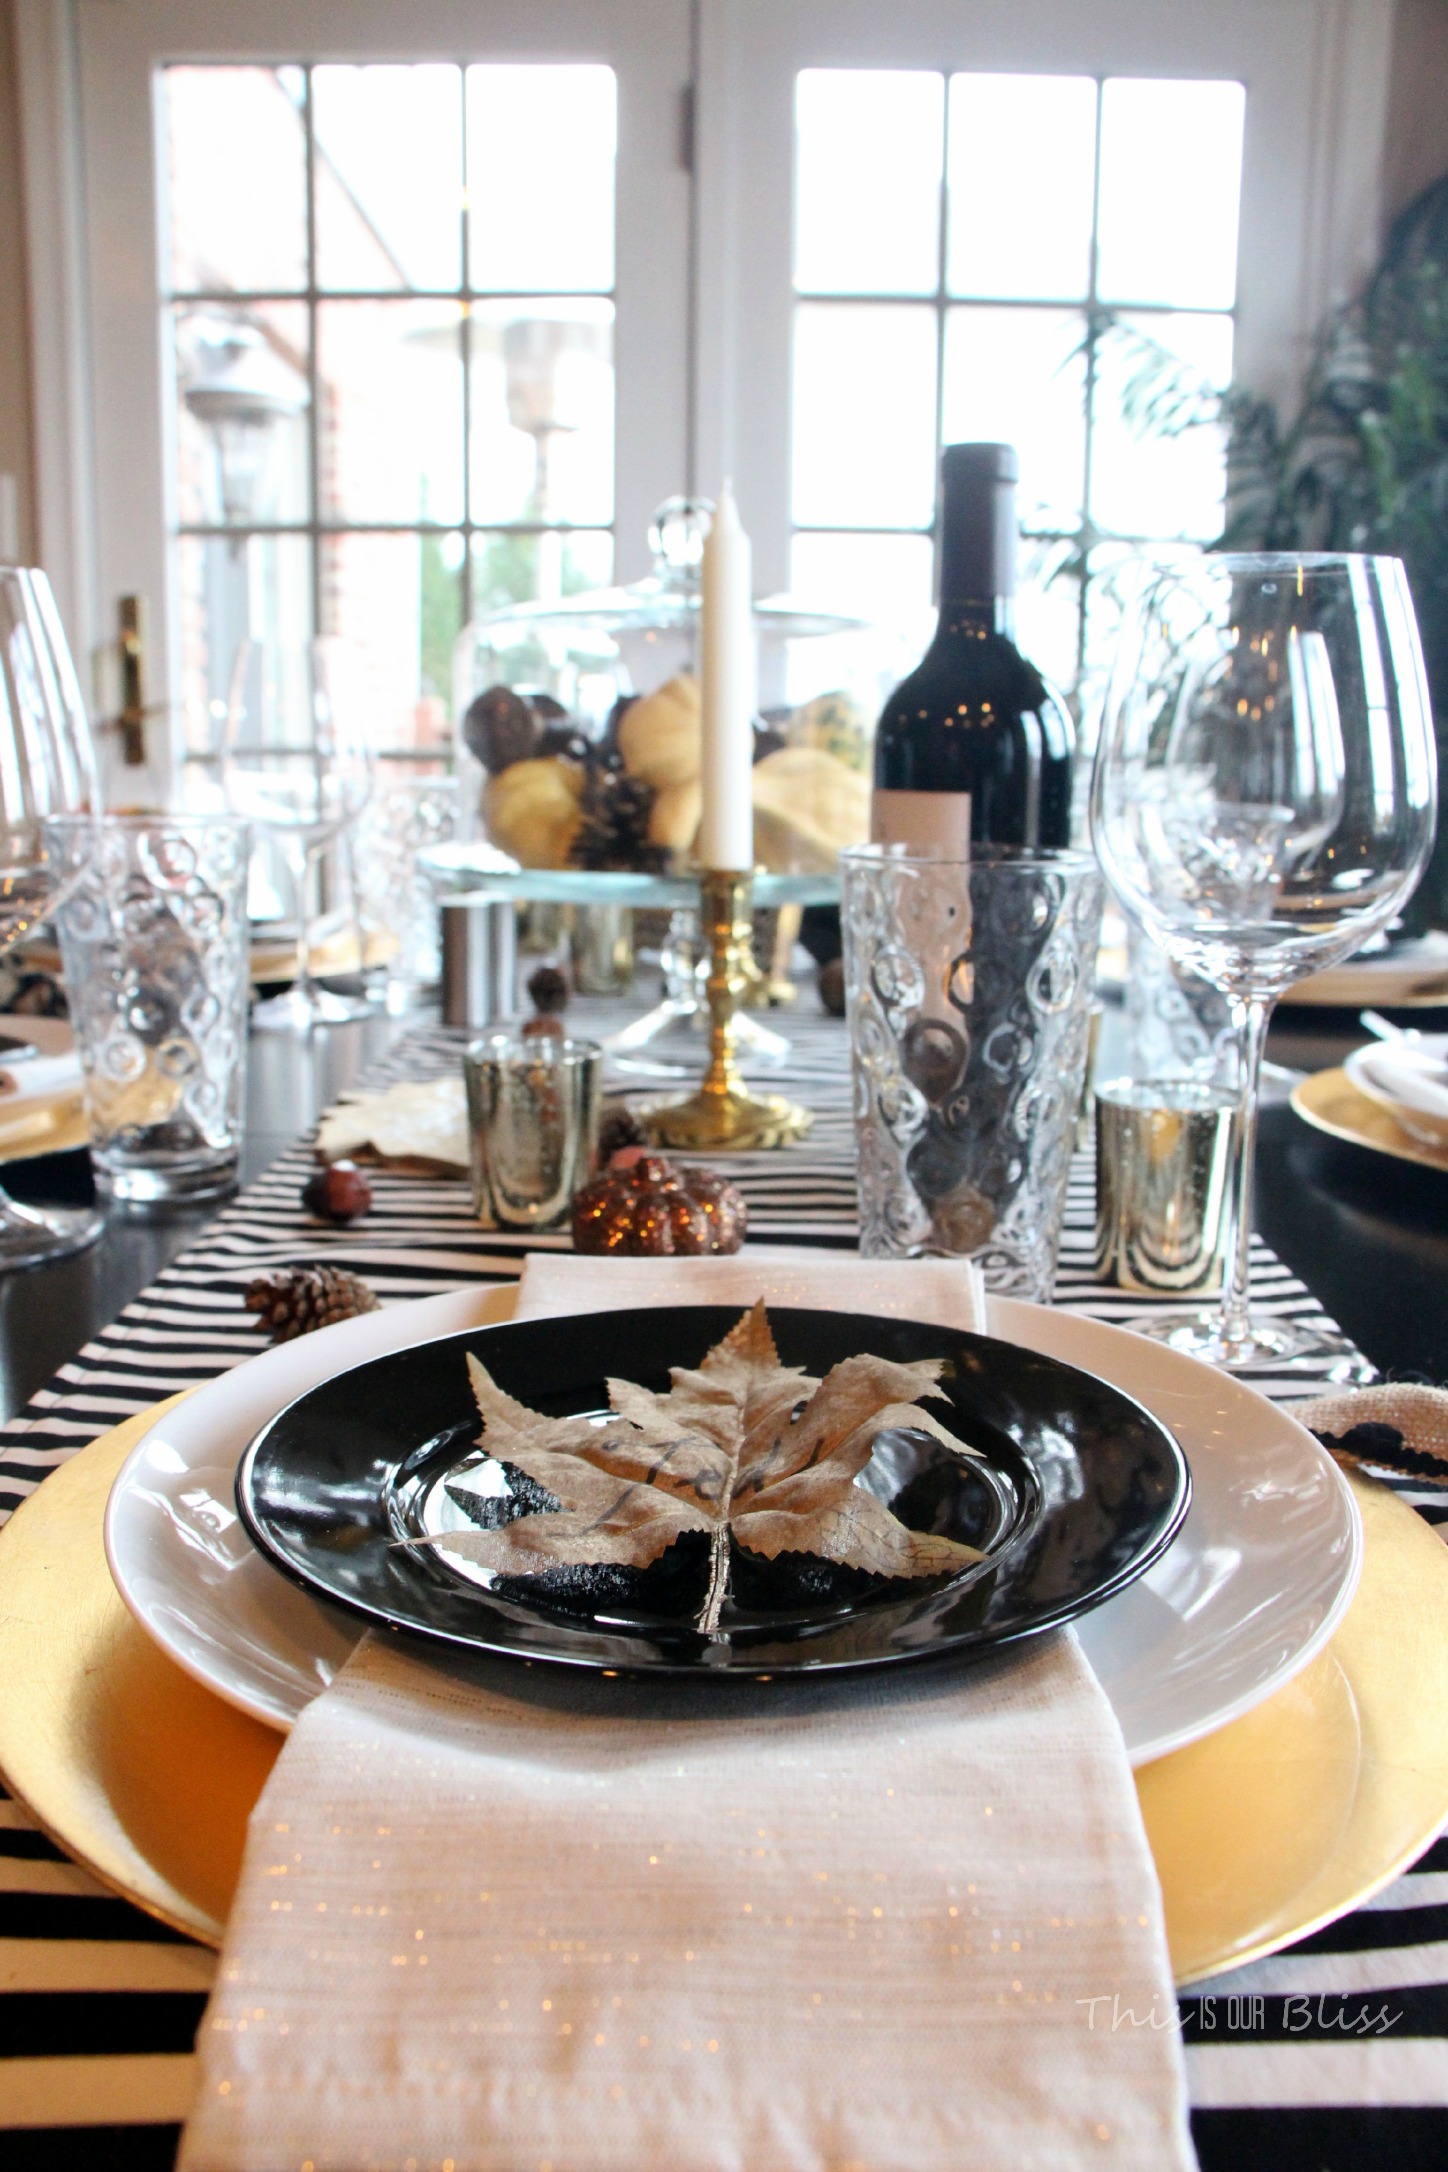
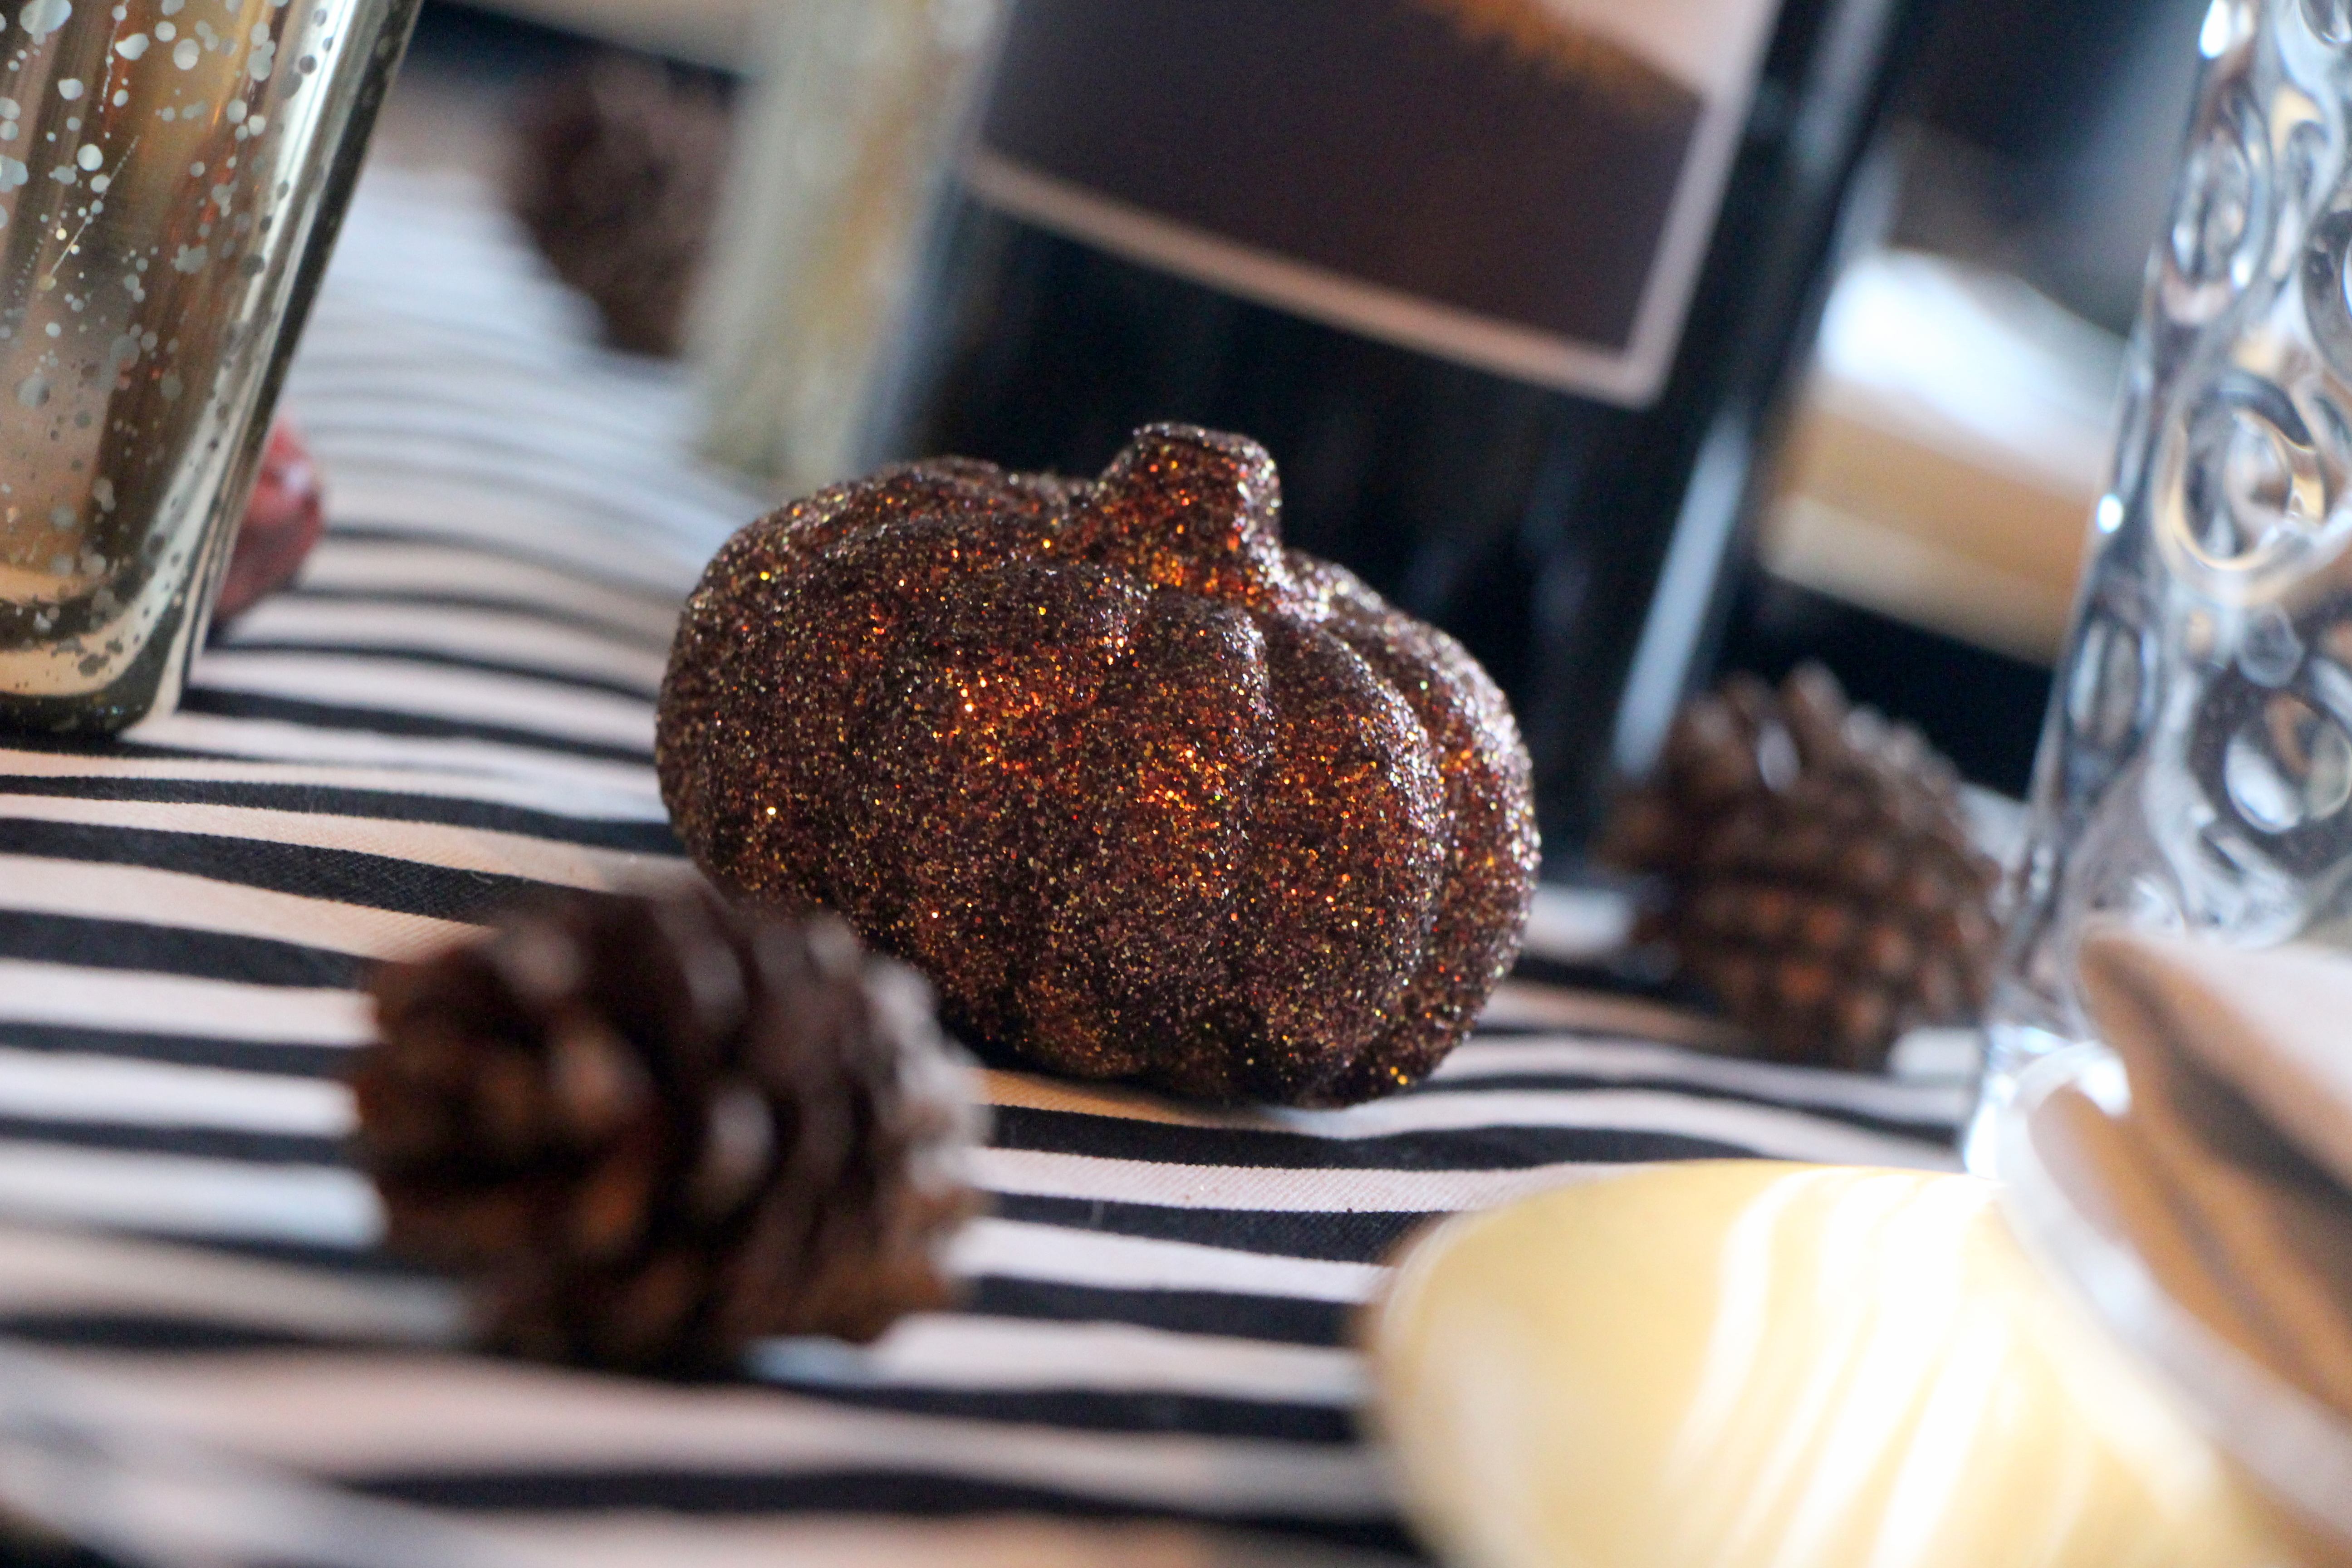
I knew I wanted to do something simple and elegant for my Thanksgiving table, so black and white seemed like the route to go. I pulled inspiration from the black and white striped table runner I made last year and took it from there. Classic patterns, neutral colors and pops of metallic sums up my style, so decided to use this as the basis for my table. Gold was my main accent, but I chose to mix and match the metals for extra glam and a slightly more modern look! After I made and hung my Burlap “Give Thanks” Banner, I knew I wanted to incorporate a few natural elements on my table to play off of the burlap – acorns, mini pumpkins, pinecones and leaves. The leaves received the golden touch, as do most things I come into contact with, but more on that later.
2 – Start with pieces you already own.
Scour your kitchen cabinets, drawers, pantry and other storage places to pull out the things you have – very basic pieces are great because they will work well with other things. You may not even remember you own some of the things you find! I wanted this table to be pretty, but did not want to spend a fortune. Many of the staple items on the table were things we received as wedding gifts and use them regularly. Keeping things simple by using what you have is the best place to begin!
I started with the following:
black & white striped table runner {I plan to post a tutorial on this sometime soon!}
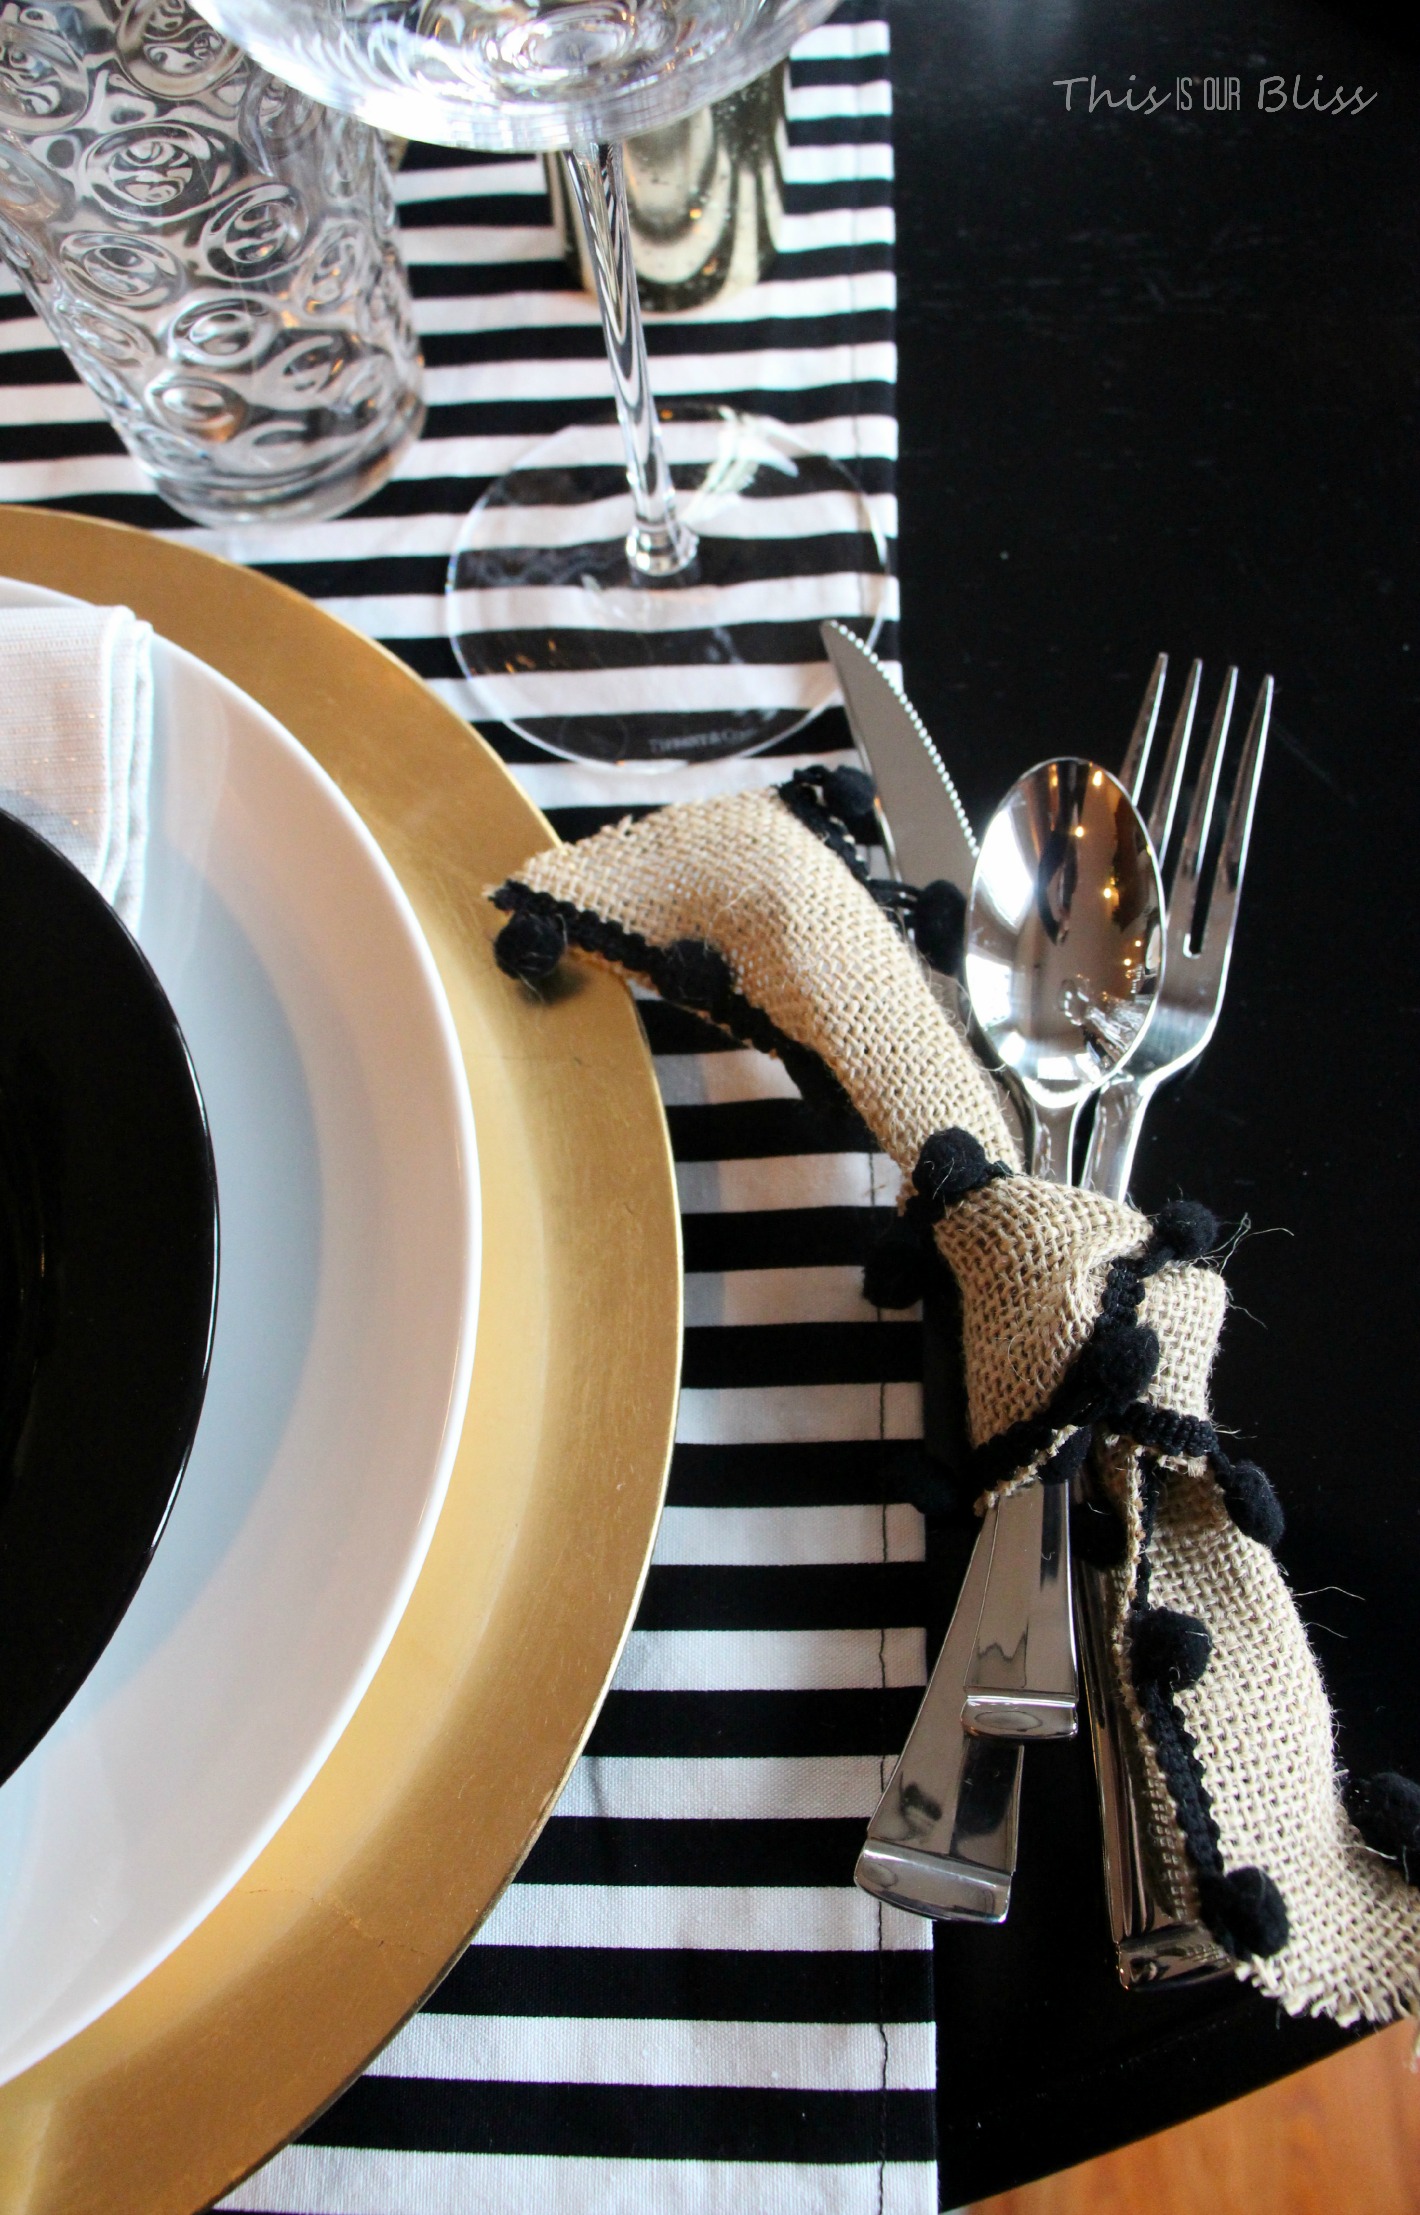
gold plate chargers
white circular dinner plates
black side plates
water glasses (Homegoods) & wine glasses
everyday silverware (similar)
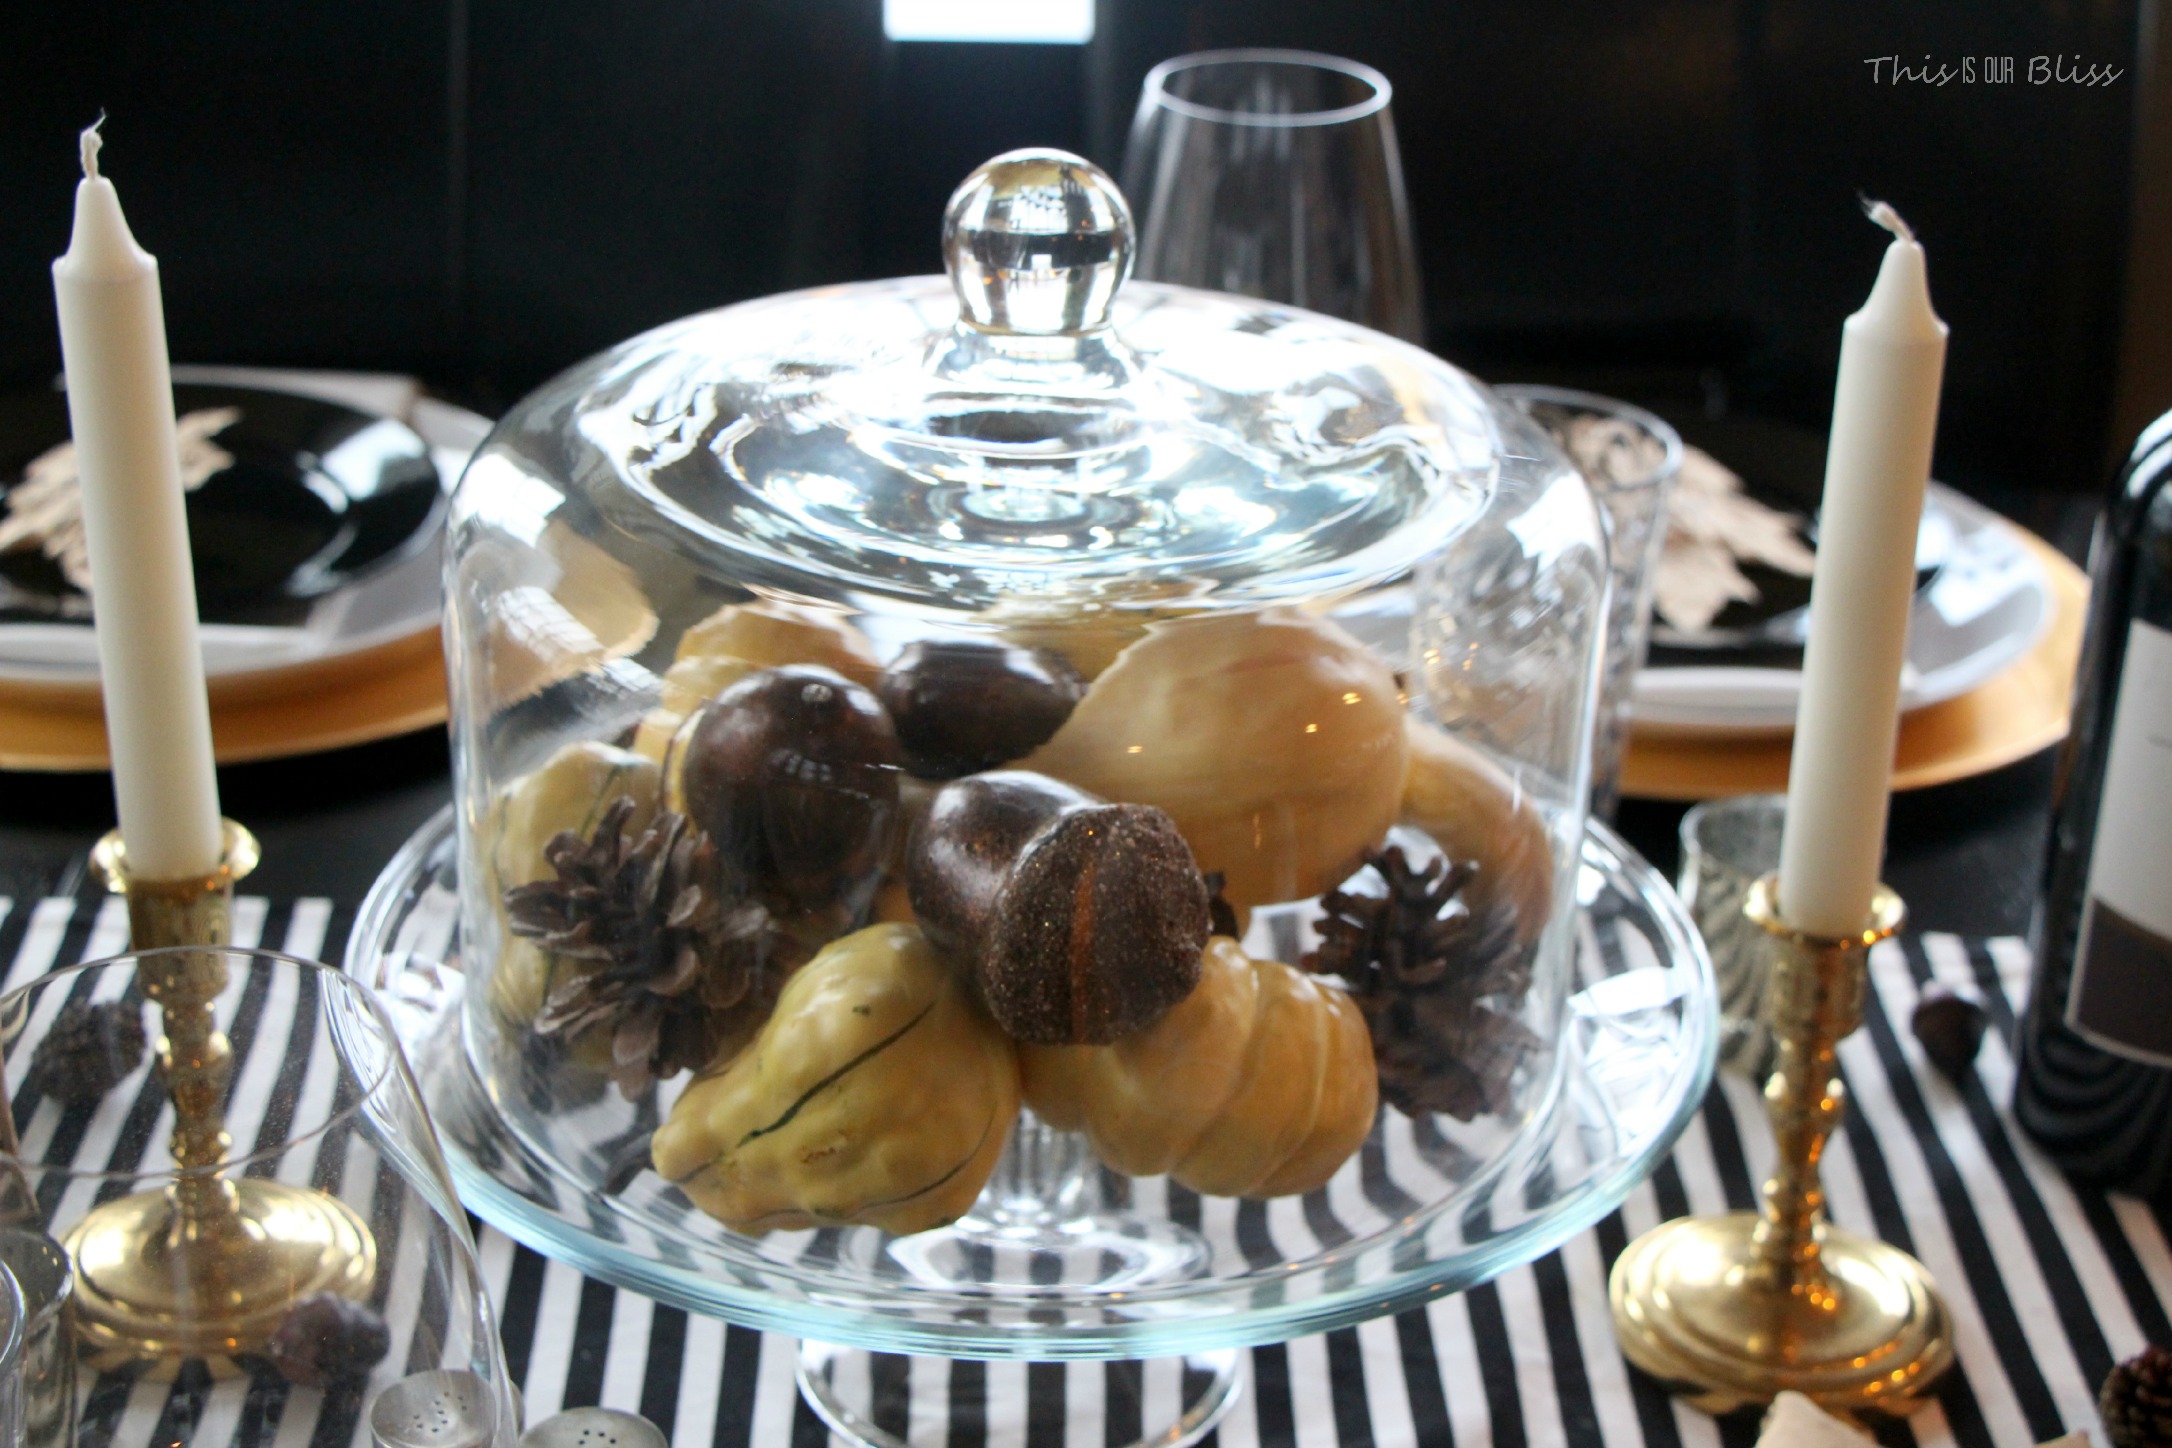
cake stand (similar)
wine carafe – used for water (similar)
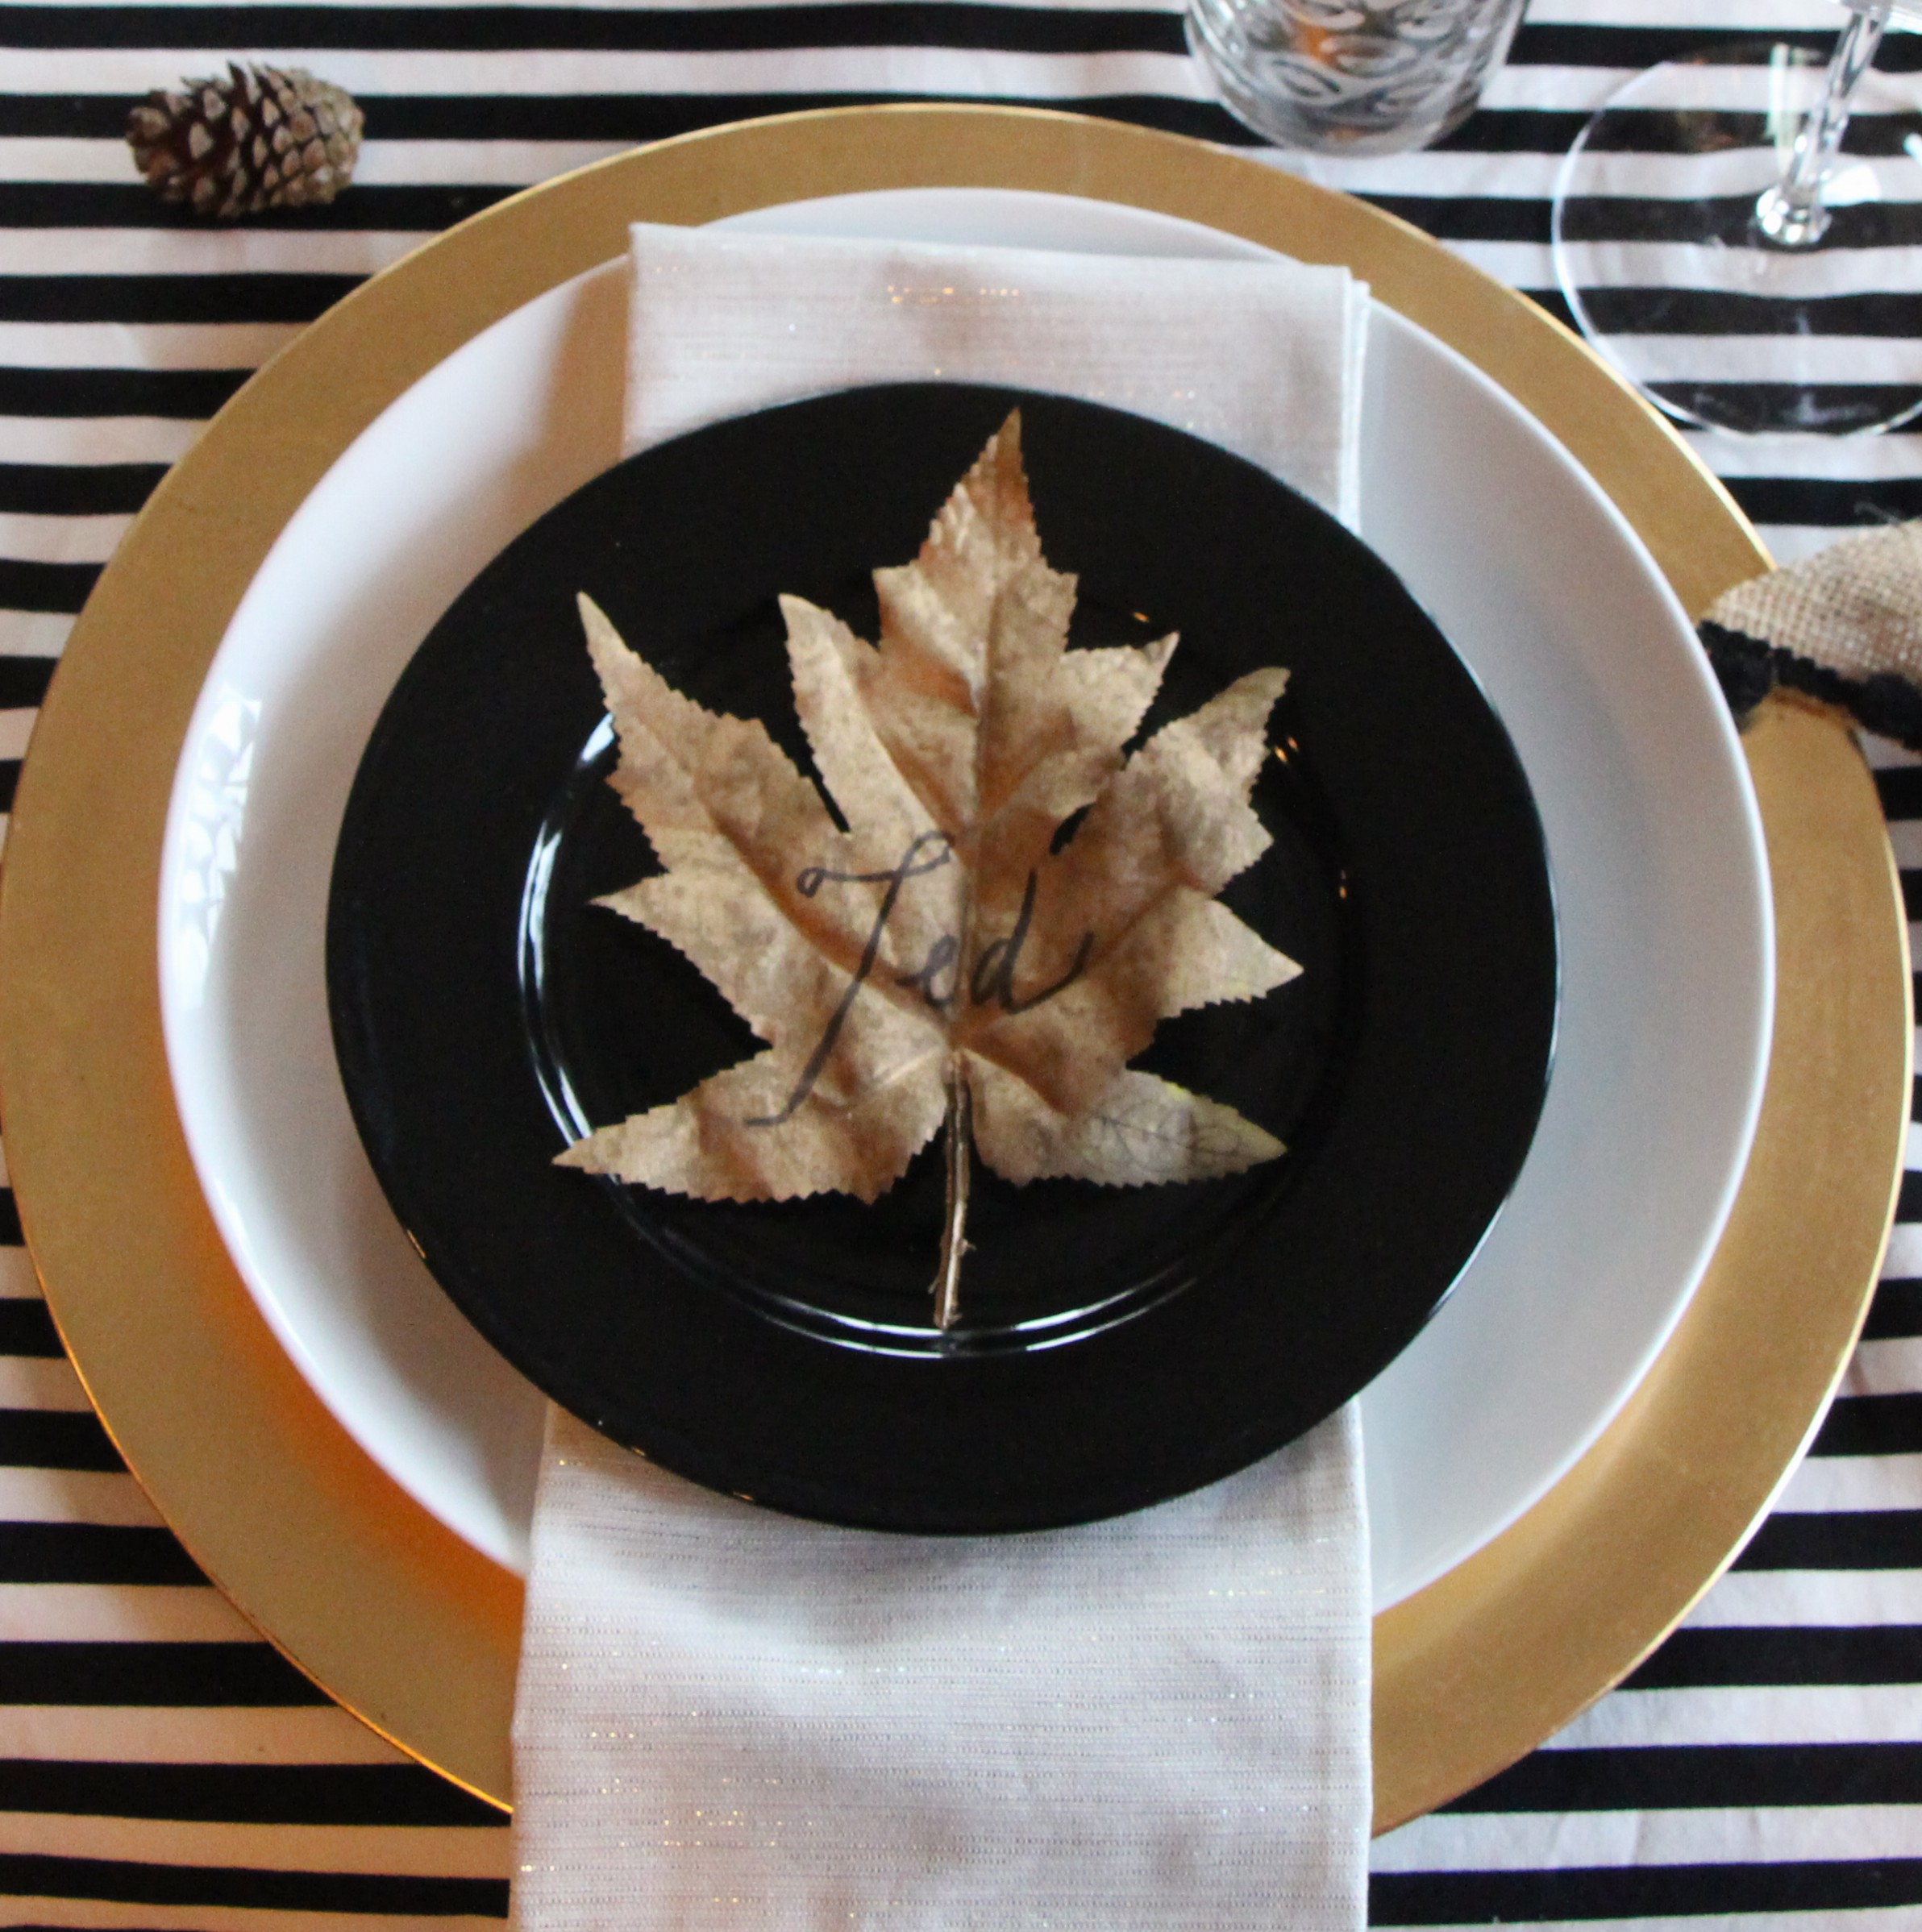
fall décor – faux pinecones, acorns, white pumpkins, leaves {DIY gold leaf namecards tutorial coming soon}
brass candleholders & taper candles
picture frame (Homegoods)
burlap ribbon (look familiar?)
3 – Find items on sale post-season or after a holiday to use for the next year or next holiday.
I scooped up some great deals earlier this month right after Halloween and was able to use a couple of things on my table, but I also stashed a ton for next fall and Halloween at crazy low prices. The chipboard I mention below was only thirty nine cents.
Unfortunately, my table wasn’t complete using only what I had on hand, so I determined what was missing and bought the rest.
New items:
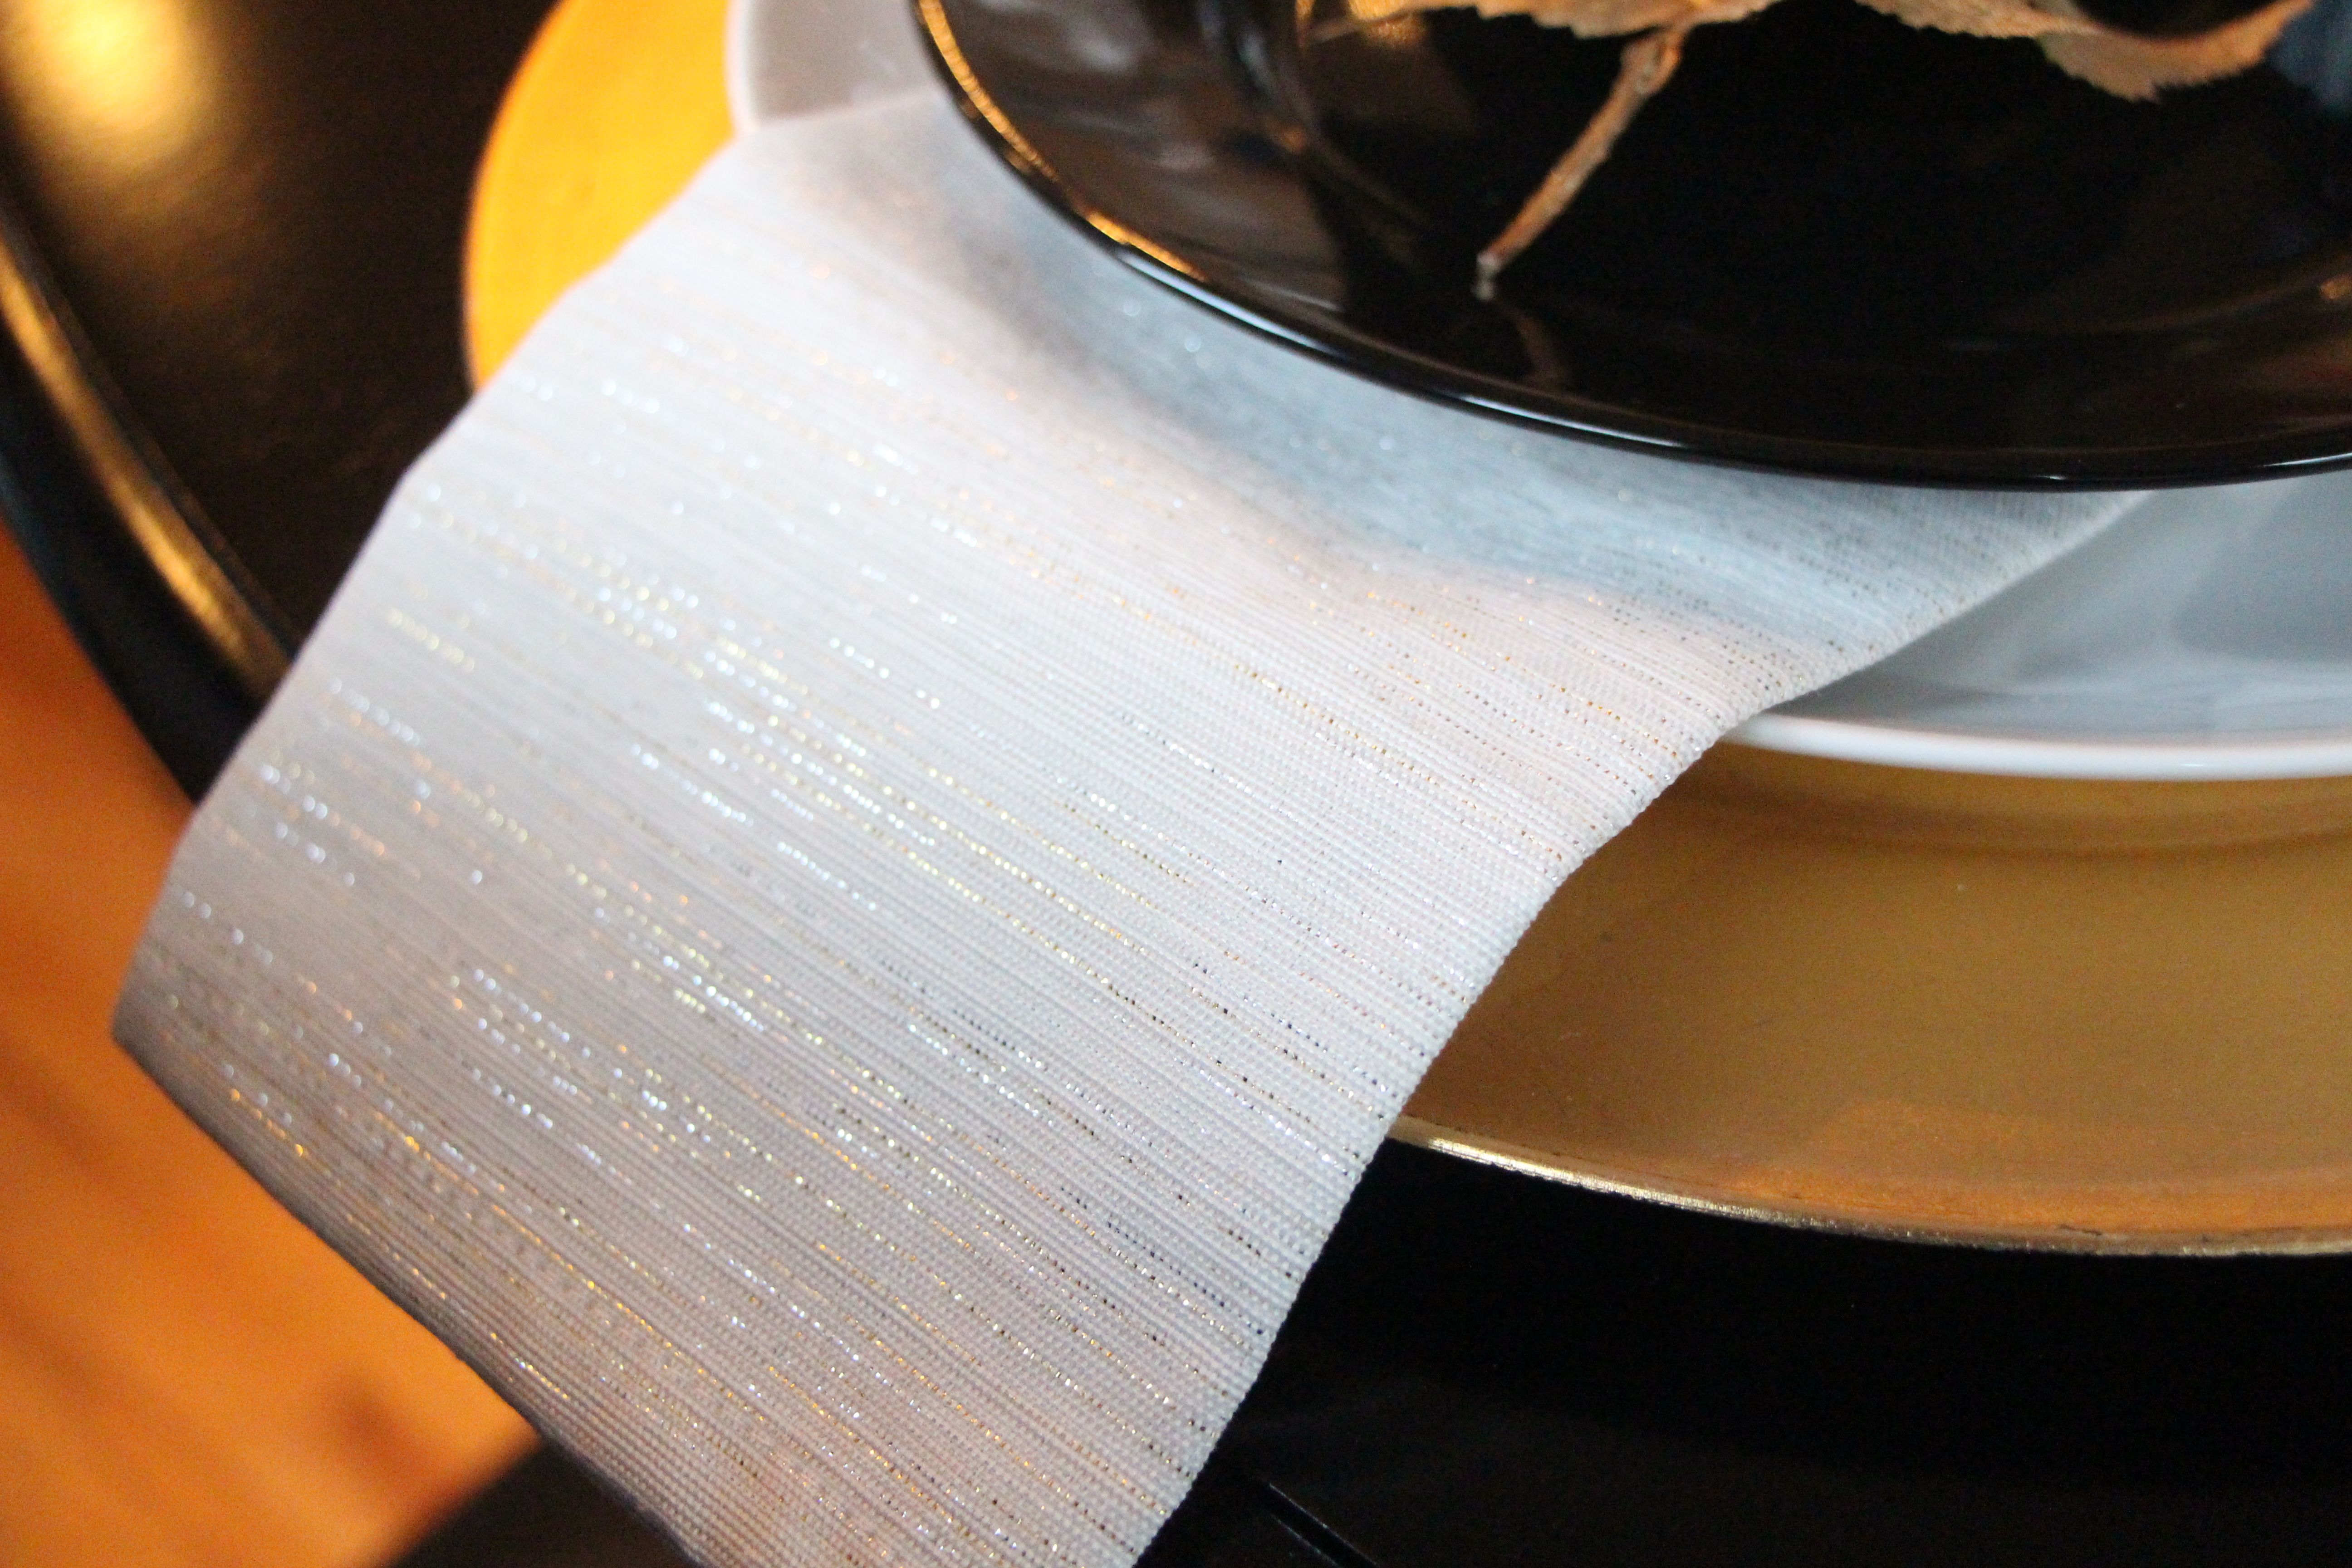
cloth napkins (website says “not sold in stores”, but I found them & on sale)
mercury glass votive holders (mine was a pack of 6)
leaf chipboard (similar) {DIY tutorial coming soon}
4 – Create something to make it personal.
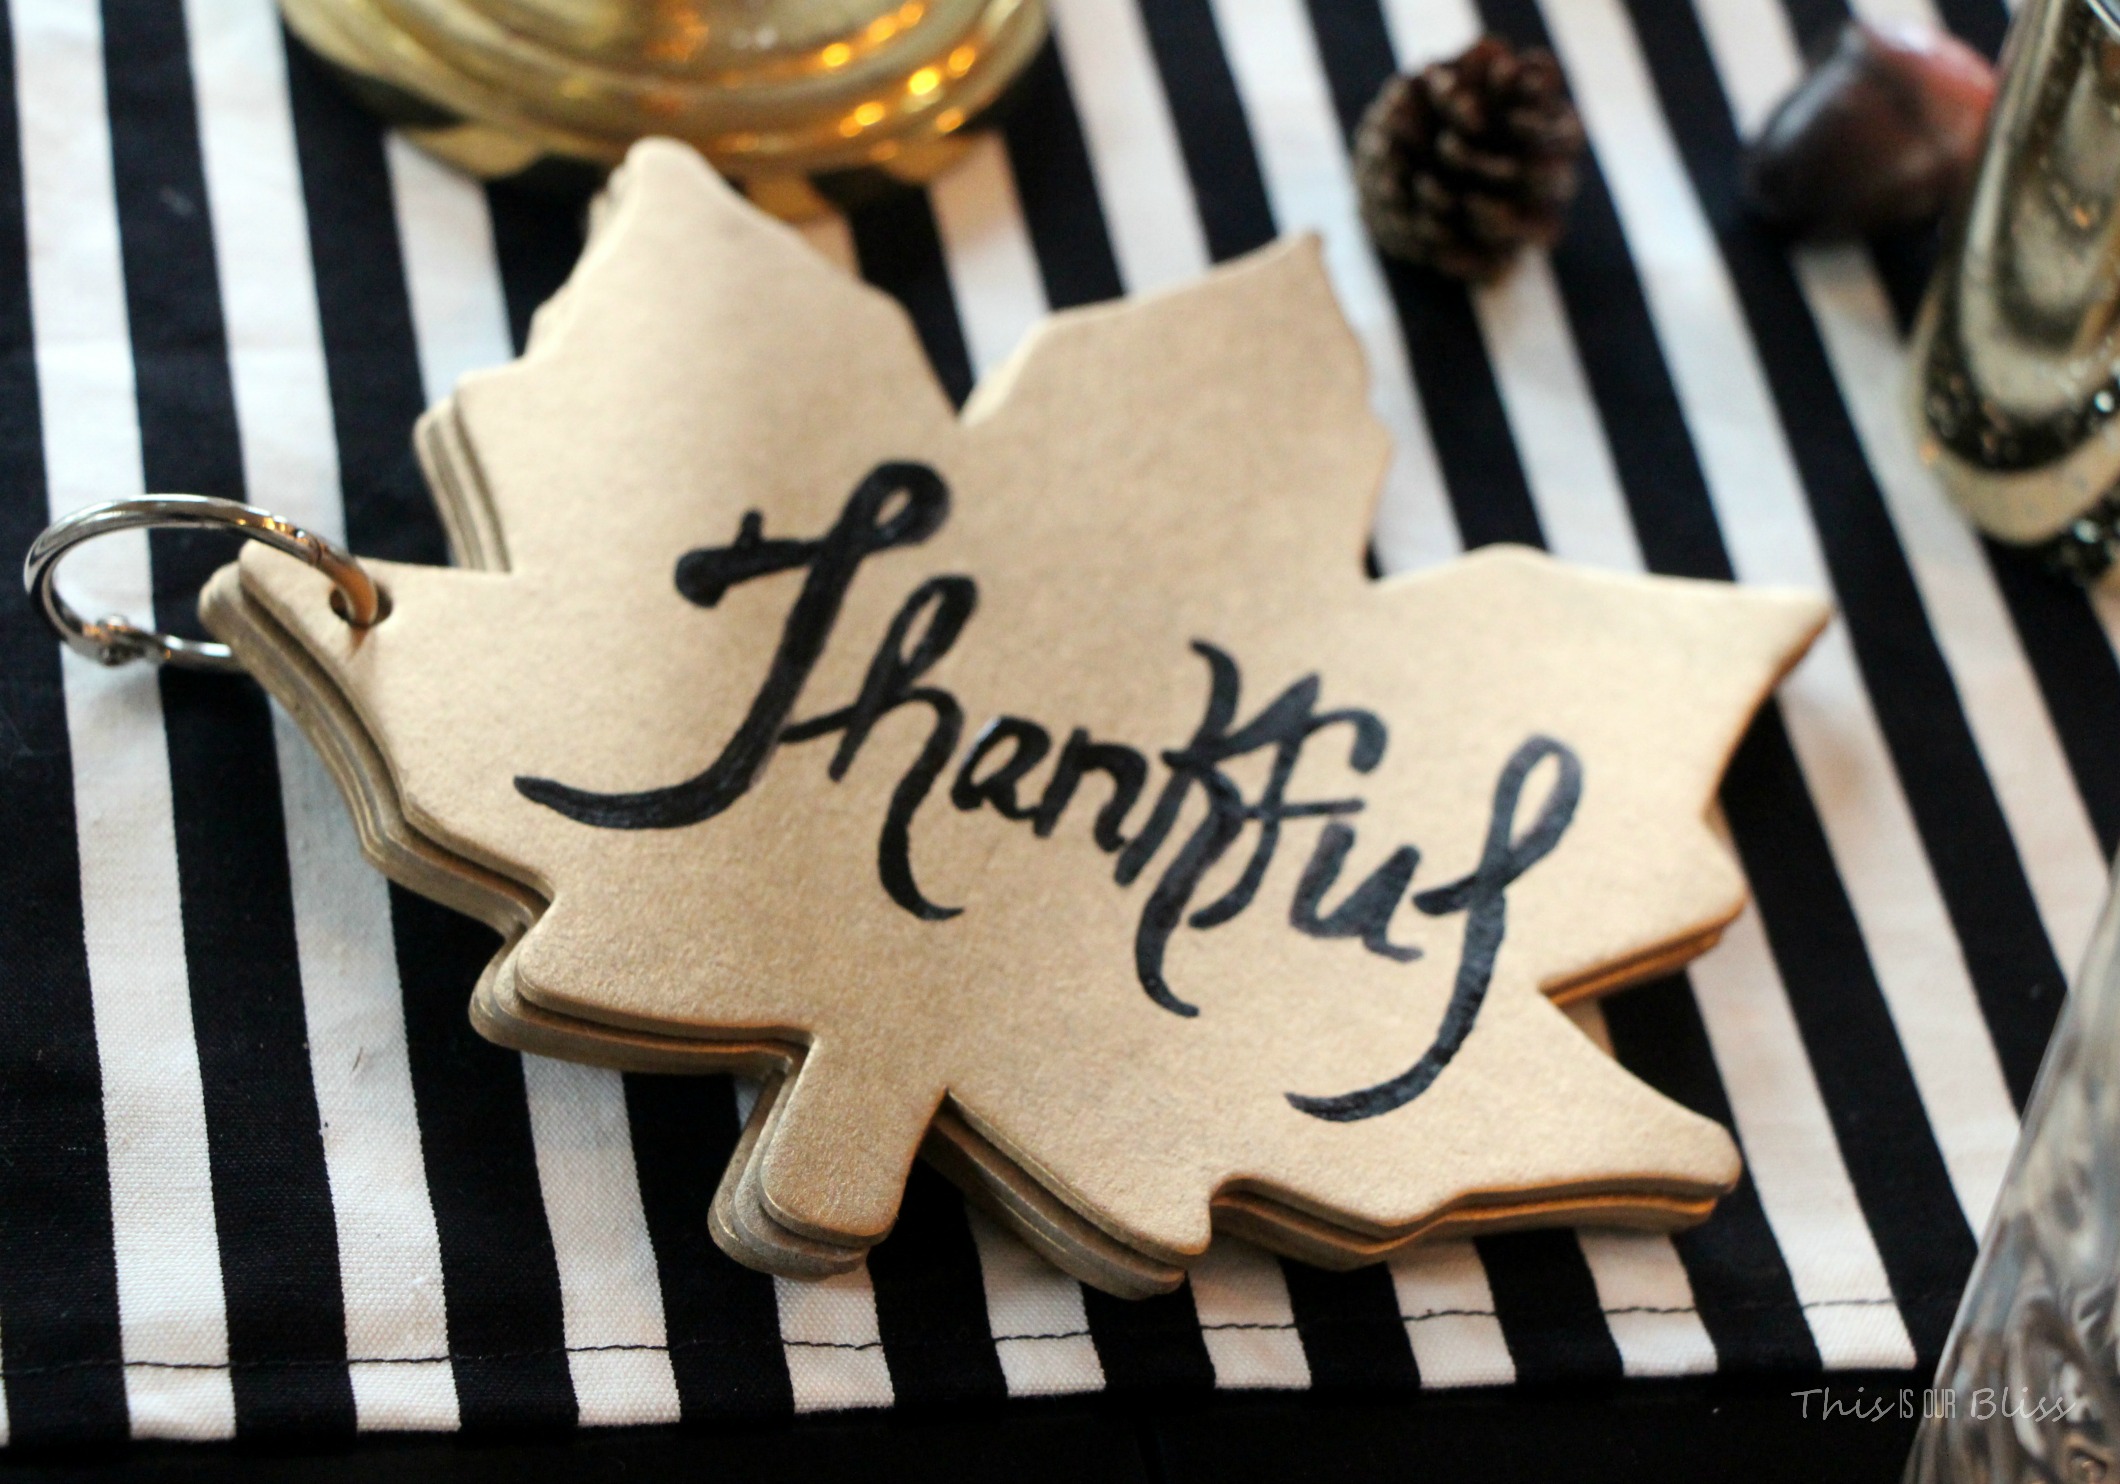
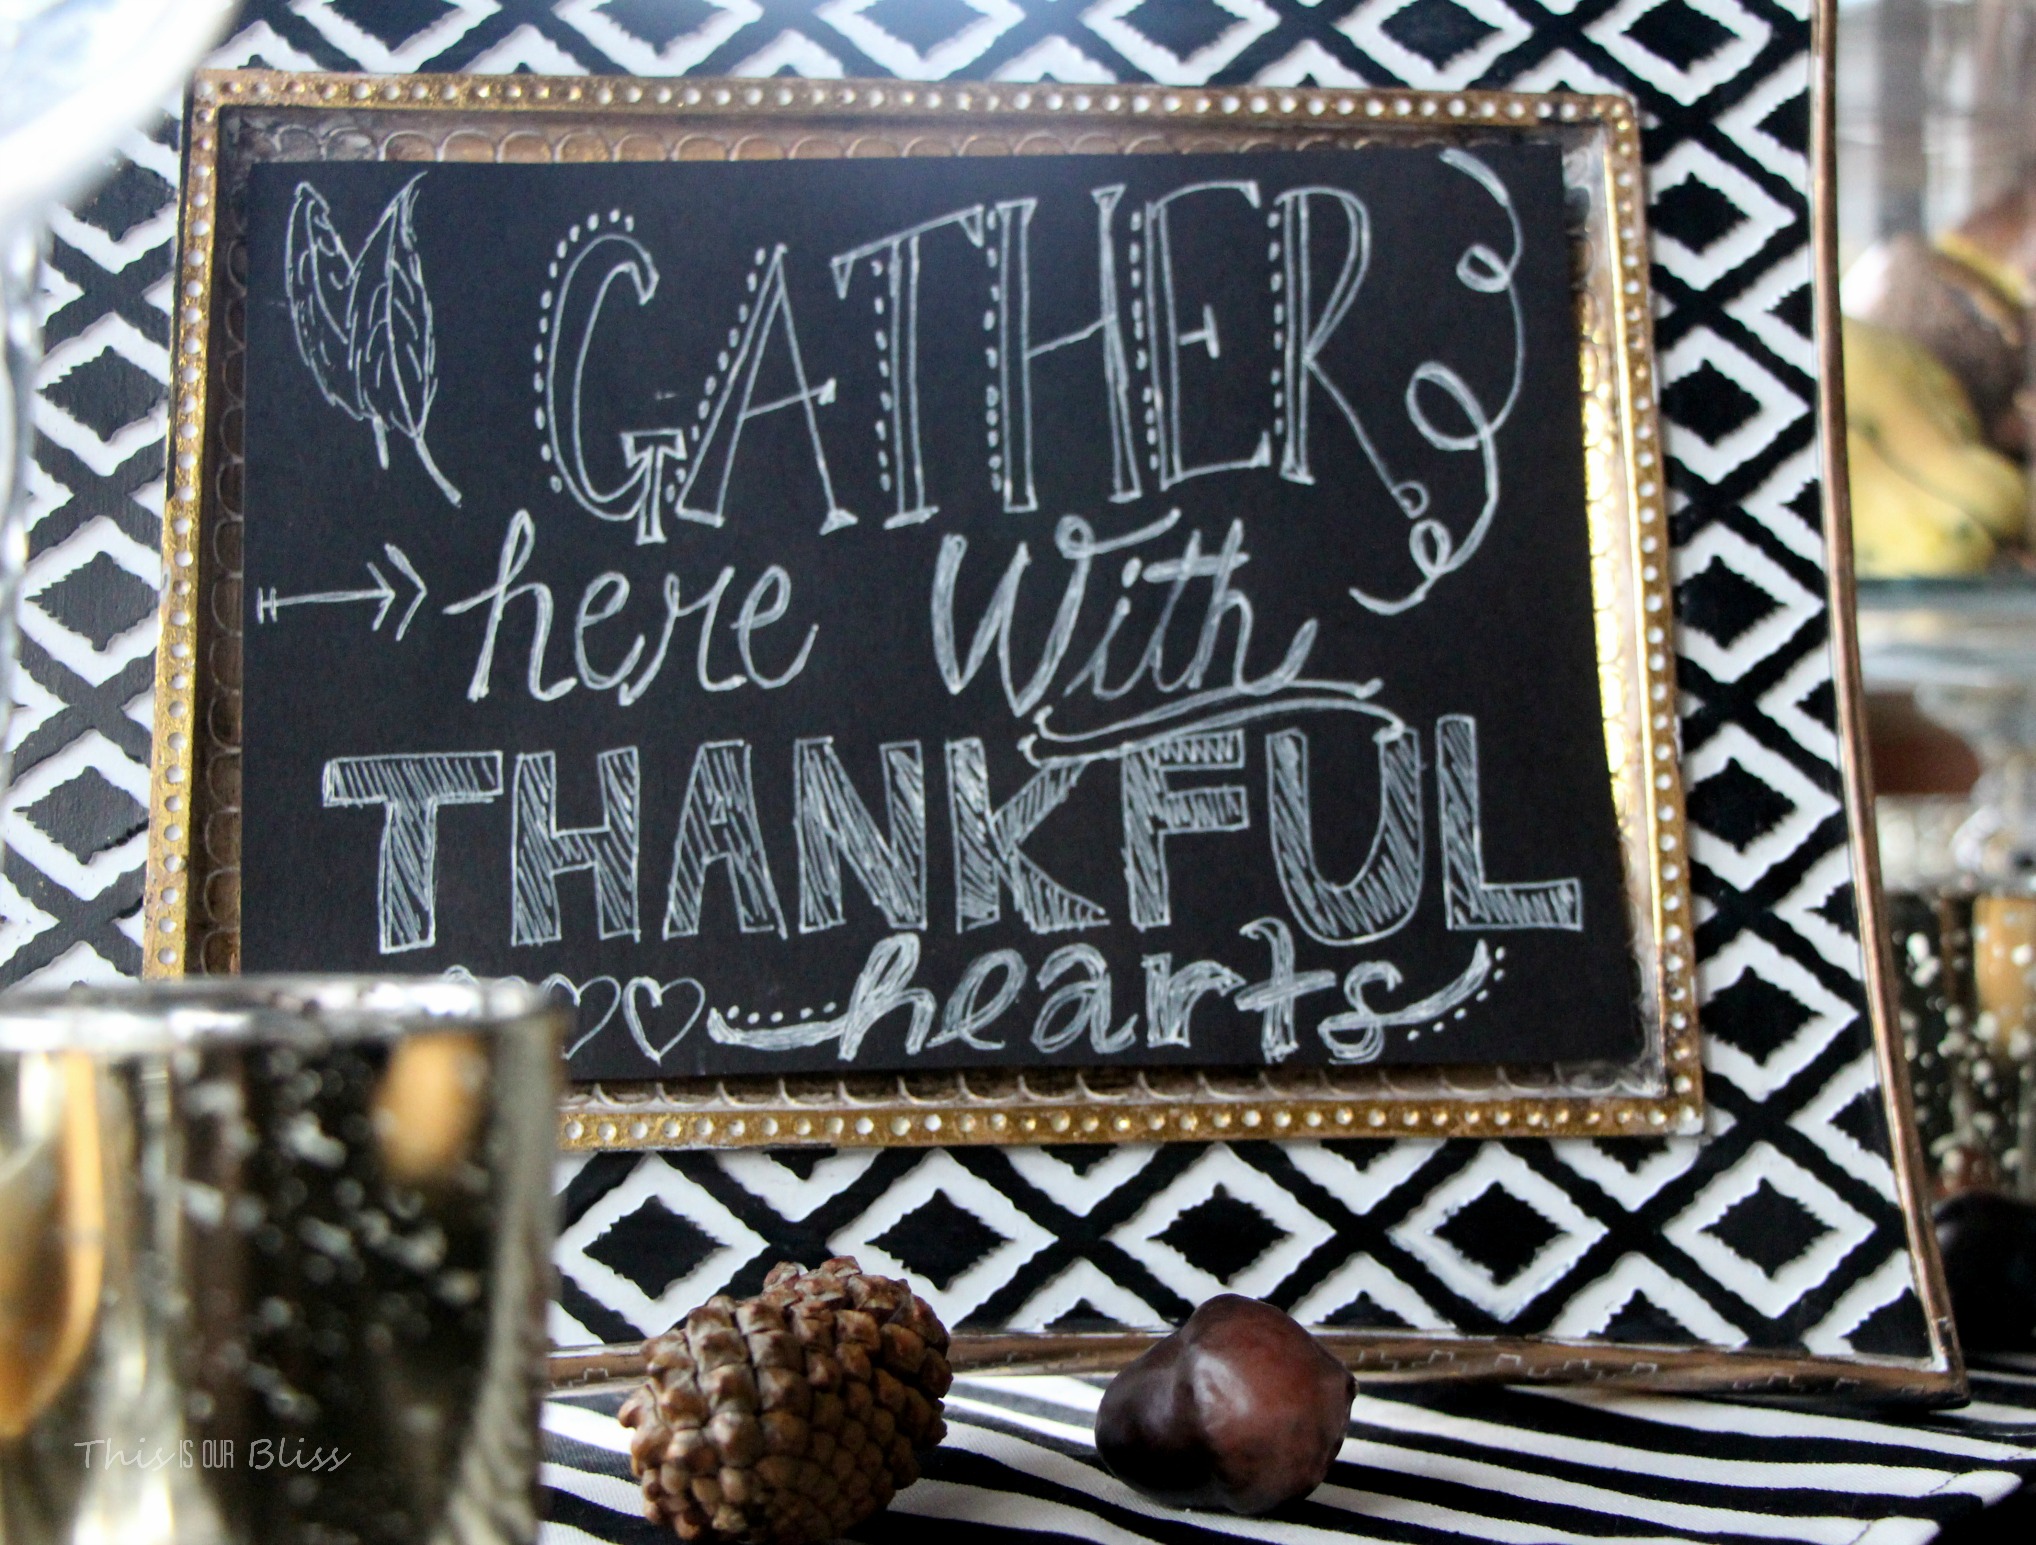
You can see from the photos, I added a few DIY pieces to my table – Gold leaf namecards, a “Thankful” book and super simple faux chalkboard art. Celebrating Thanksgiving by gathering around the table with the ones you love is a wonderful and oftentimes, rare occasion. Creating a little something to add to the table, gives a warm welcome and that extra special touch. It could be something as simple as hand-writing each guest’s name on a piece of cardstock, paper punch a hole through it and then use a piece of ribbon or twine to wrap it around your silverware. Easy peasy!
Apply any of these 4 tips and I promise you can put together a beautiful Thanksgiving table without breaking the bank. Decorating is more fun when you shop your own house anyways!
Thanks for stopping by today and don’t forget, I will be sharing the tutorials for my 3 simple Thanksgiving Table DIY projects later this week, so stay tuned.
Happy Hump Day!




2 Gilded DIY Projects for Your Thanksgiving Table {Place cards & a “Thankful” book} | This is our Bliss
November 21, 2014 at 4:22 PM[…] ← How to Create A Modern & Elegant Thanksgiving Tablescape {the simple way} […]
HomeforNow
November 20, 2014 at 9:55 PMThat is really gorgeous! I love the black and white striped table runner!
Rachael @ This is our Bliss
November 21, 2014 at 9:18 AMThanks, Michelle! I think it will end up being a pretty versatile piece! Just a little fabric & a sewing machine 🙂
Me, Myself and DIY
November 20, 2014 at 6:18 AMVery lovely! Have a wonderful Thanksgiving!