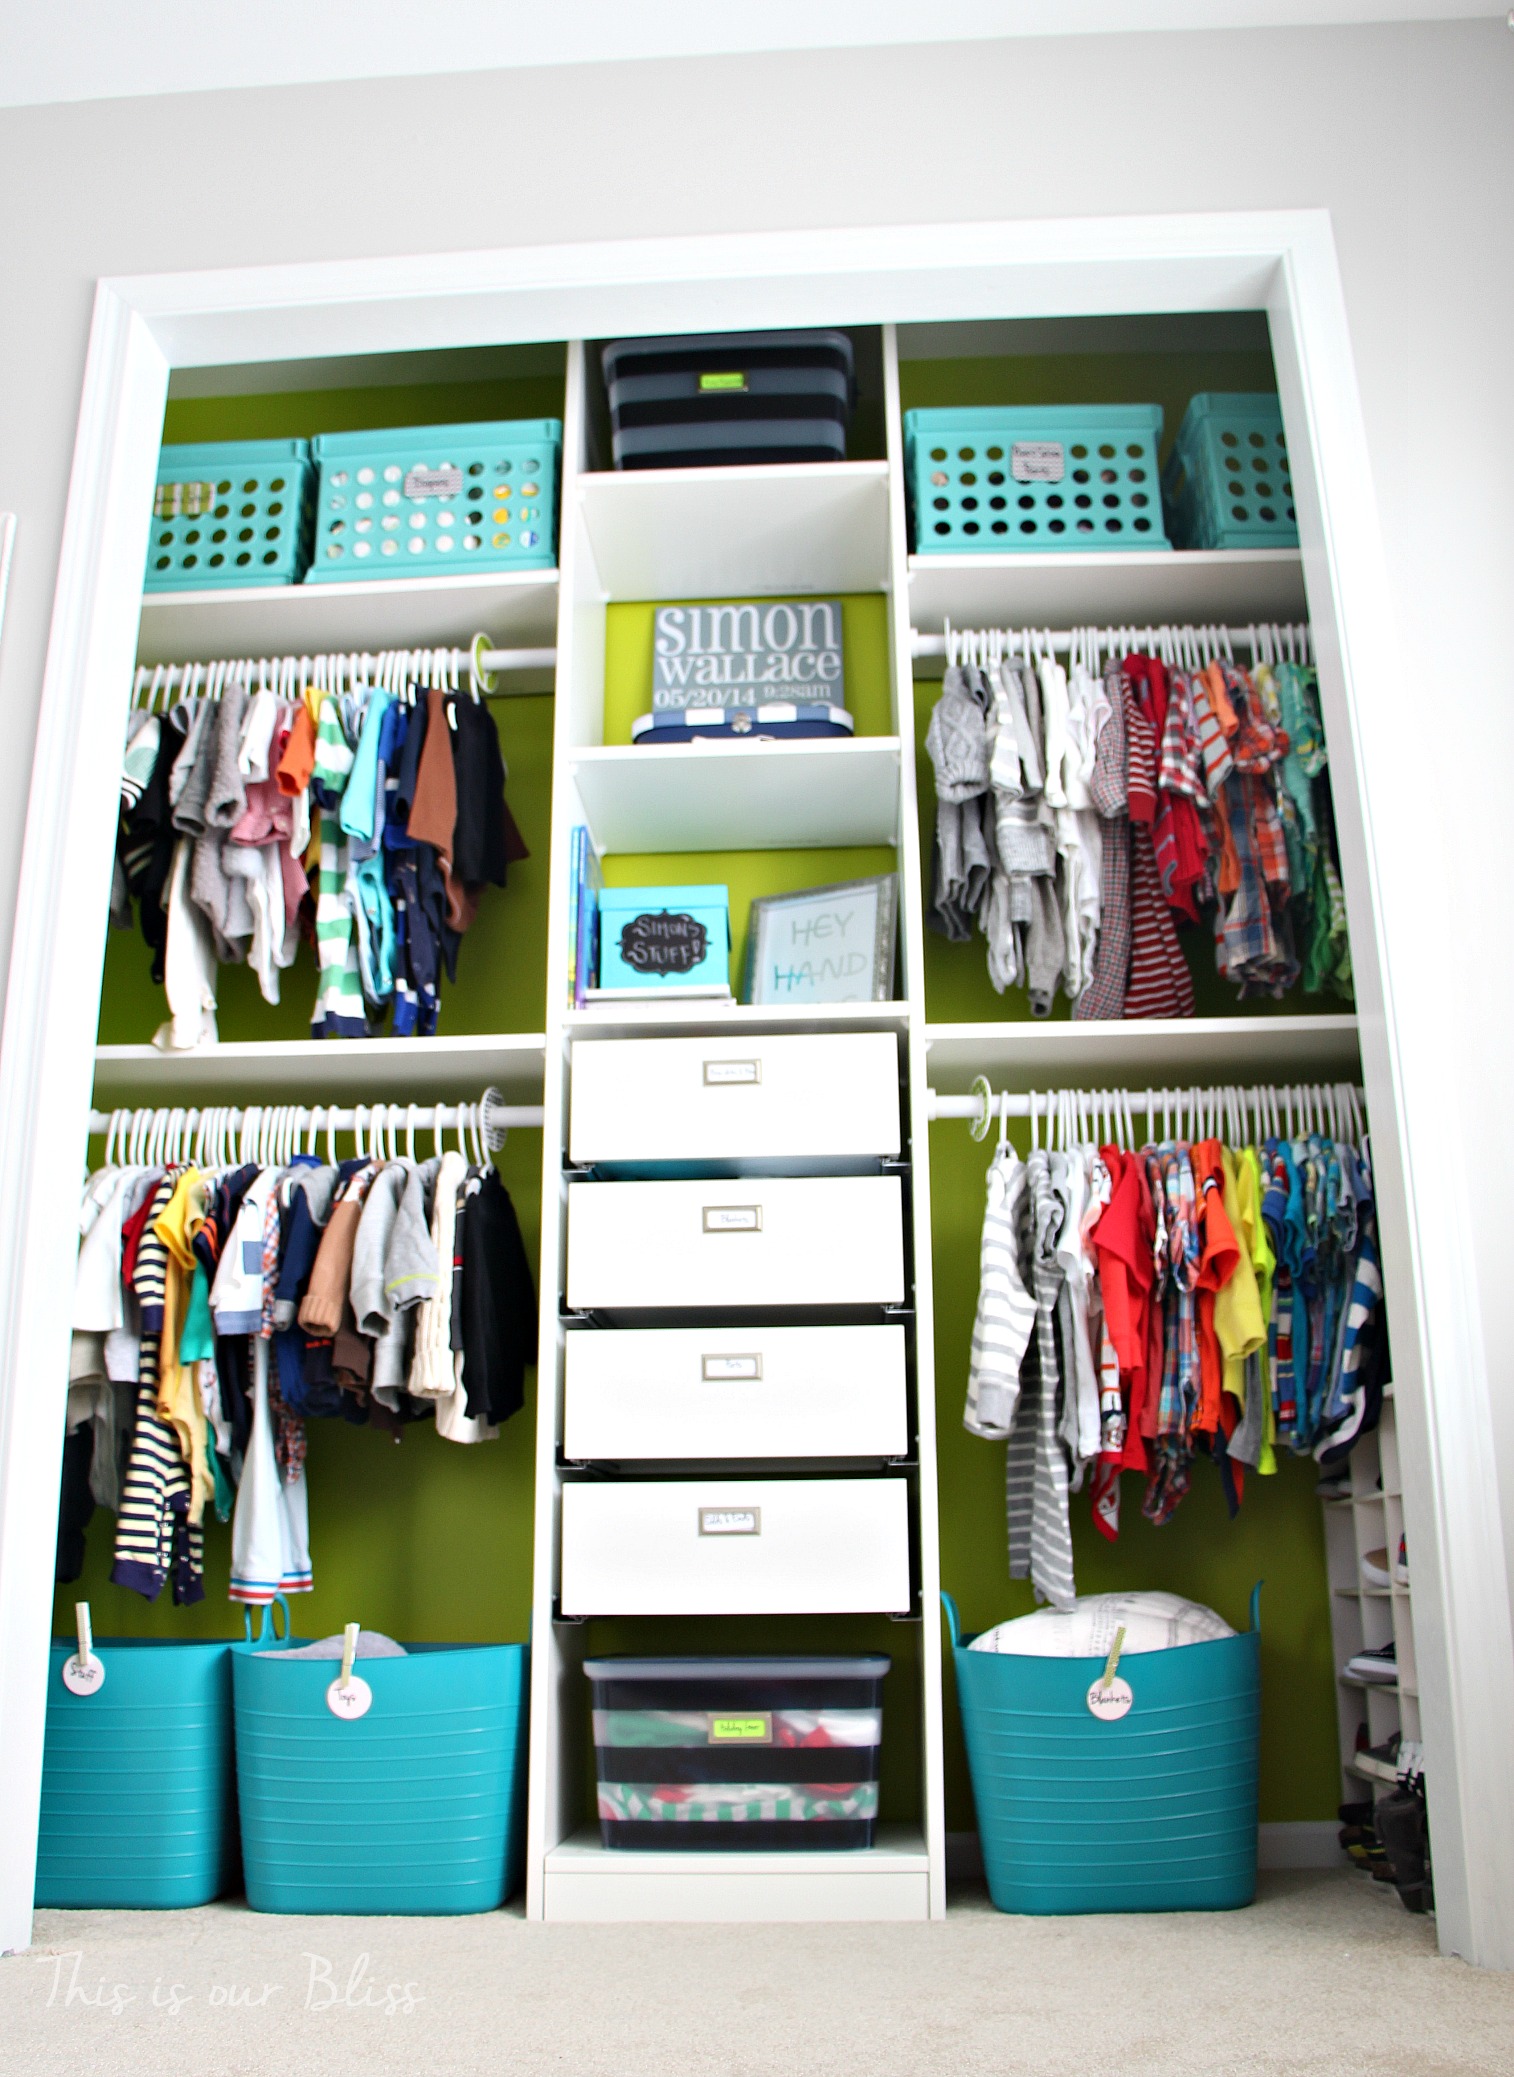
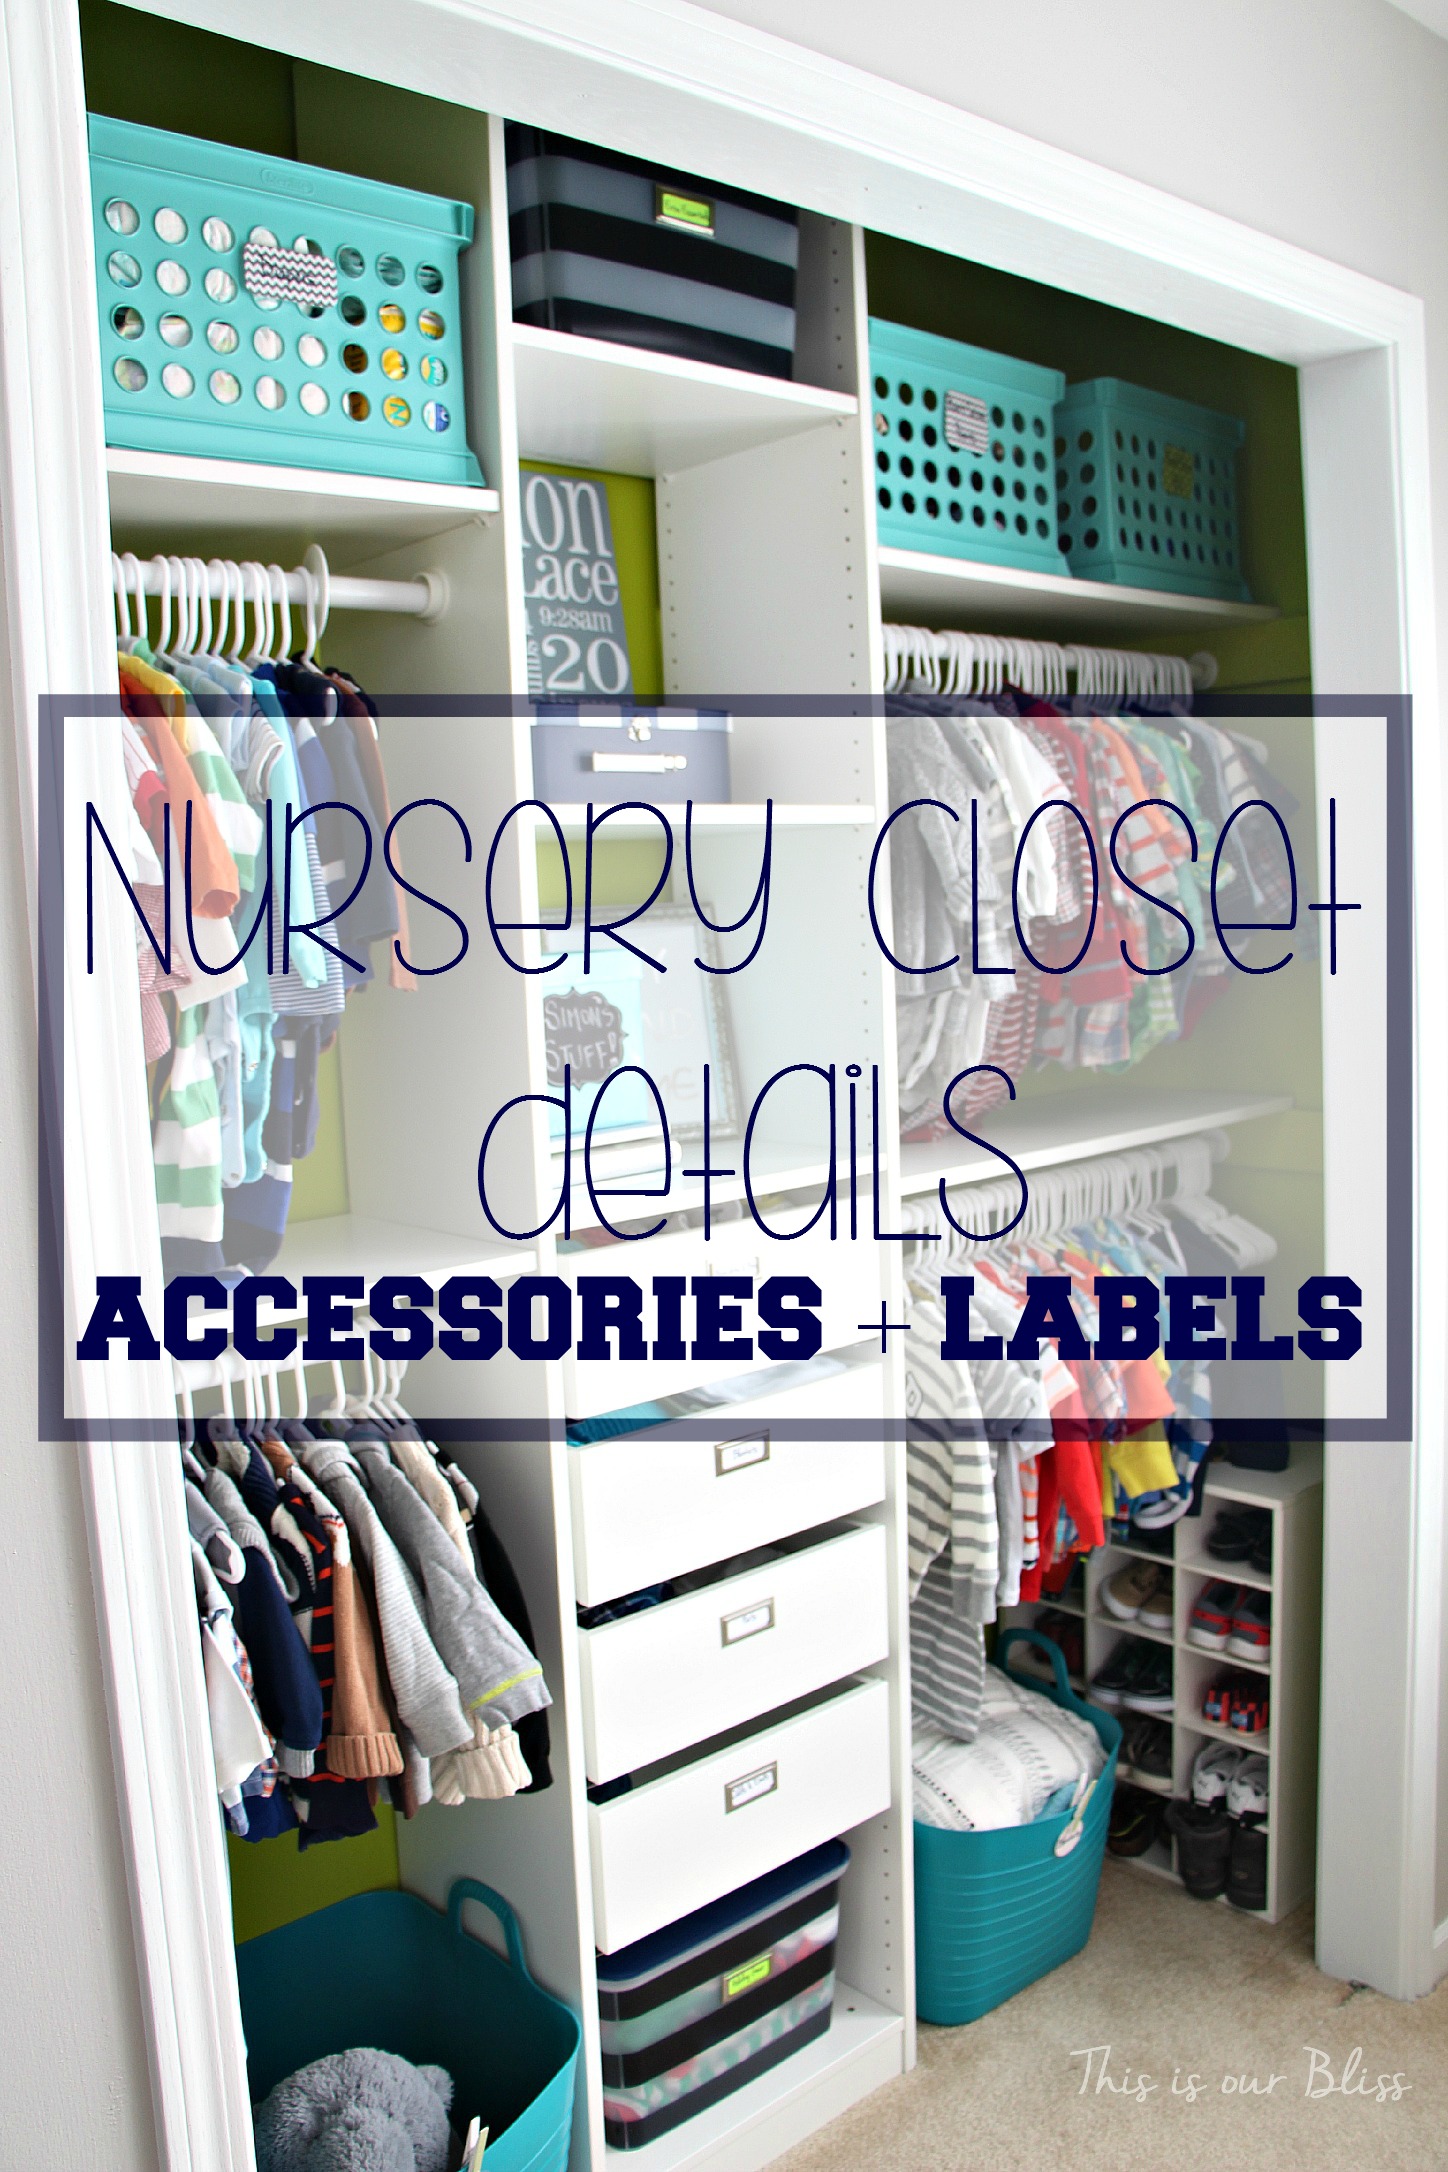
Ready for more details on this bright and bold little boy nursery closet?! I am sharing all the scoop today, so now that you know how we built the main components of the closet – the shelves, the drawers, the rods, etc., you can see how its organized!
Below, you can view more photos, sources [+ a couple new ones], and a tiny bit more DIY instruction, so LET’S GO!
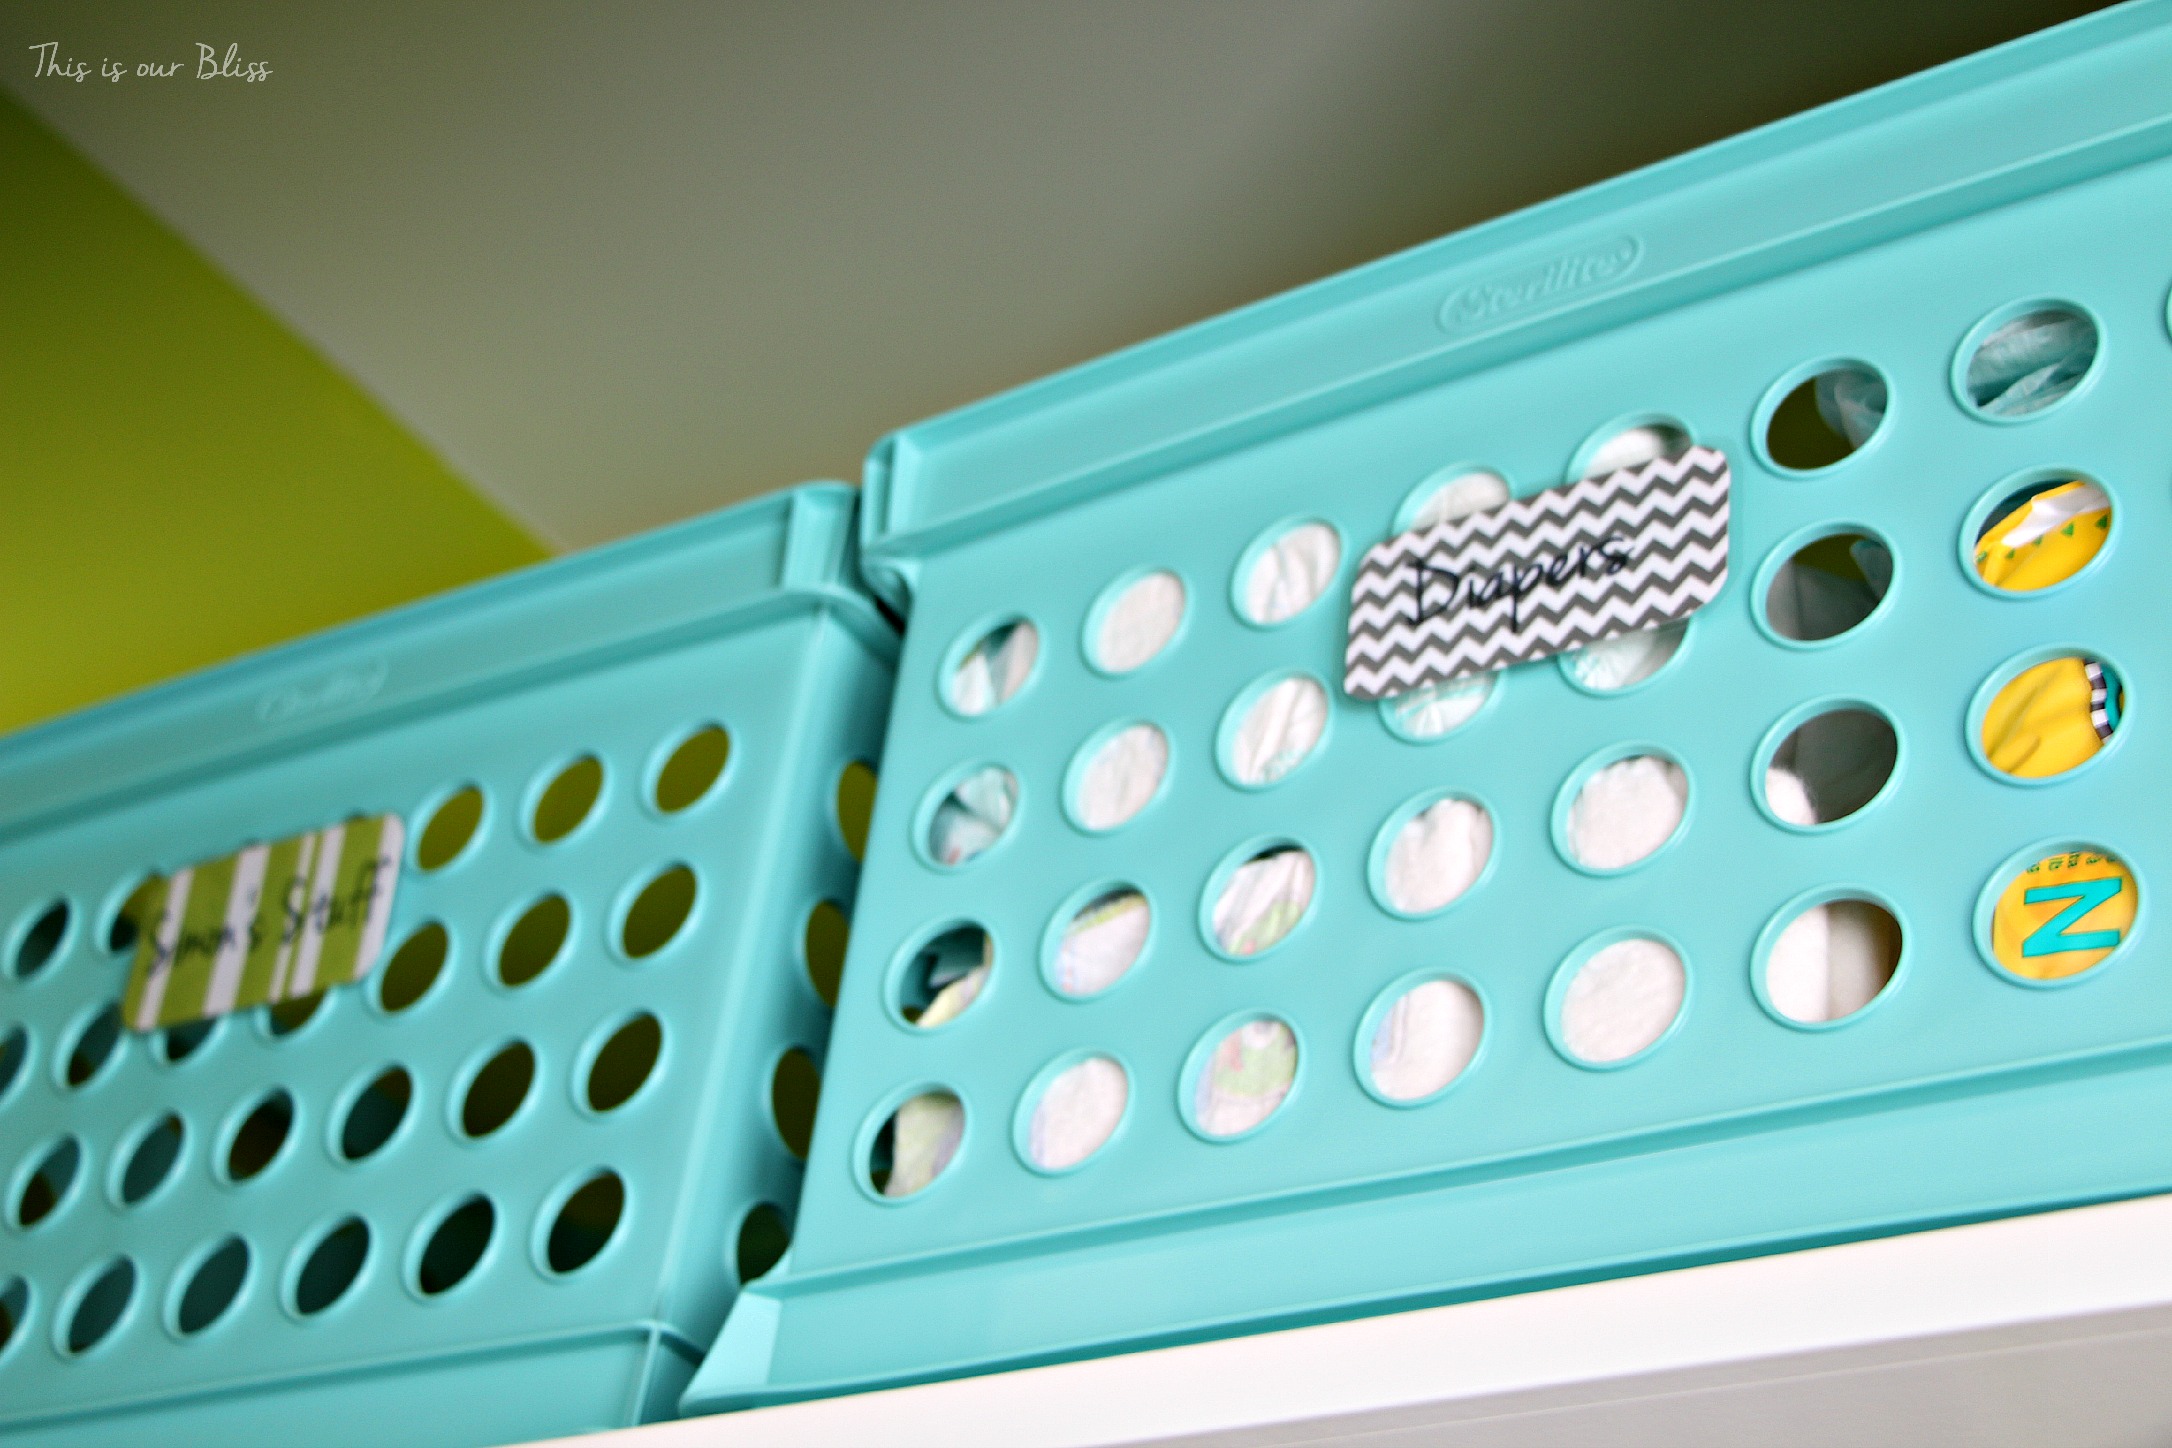
These “milk crates” are from Target, but are no longer available. The labels are simply printed on patterned scrapbook paper, cut out, laminated using this one here and then attached with a small 1 inch square of Velcro.
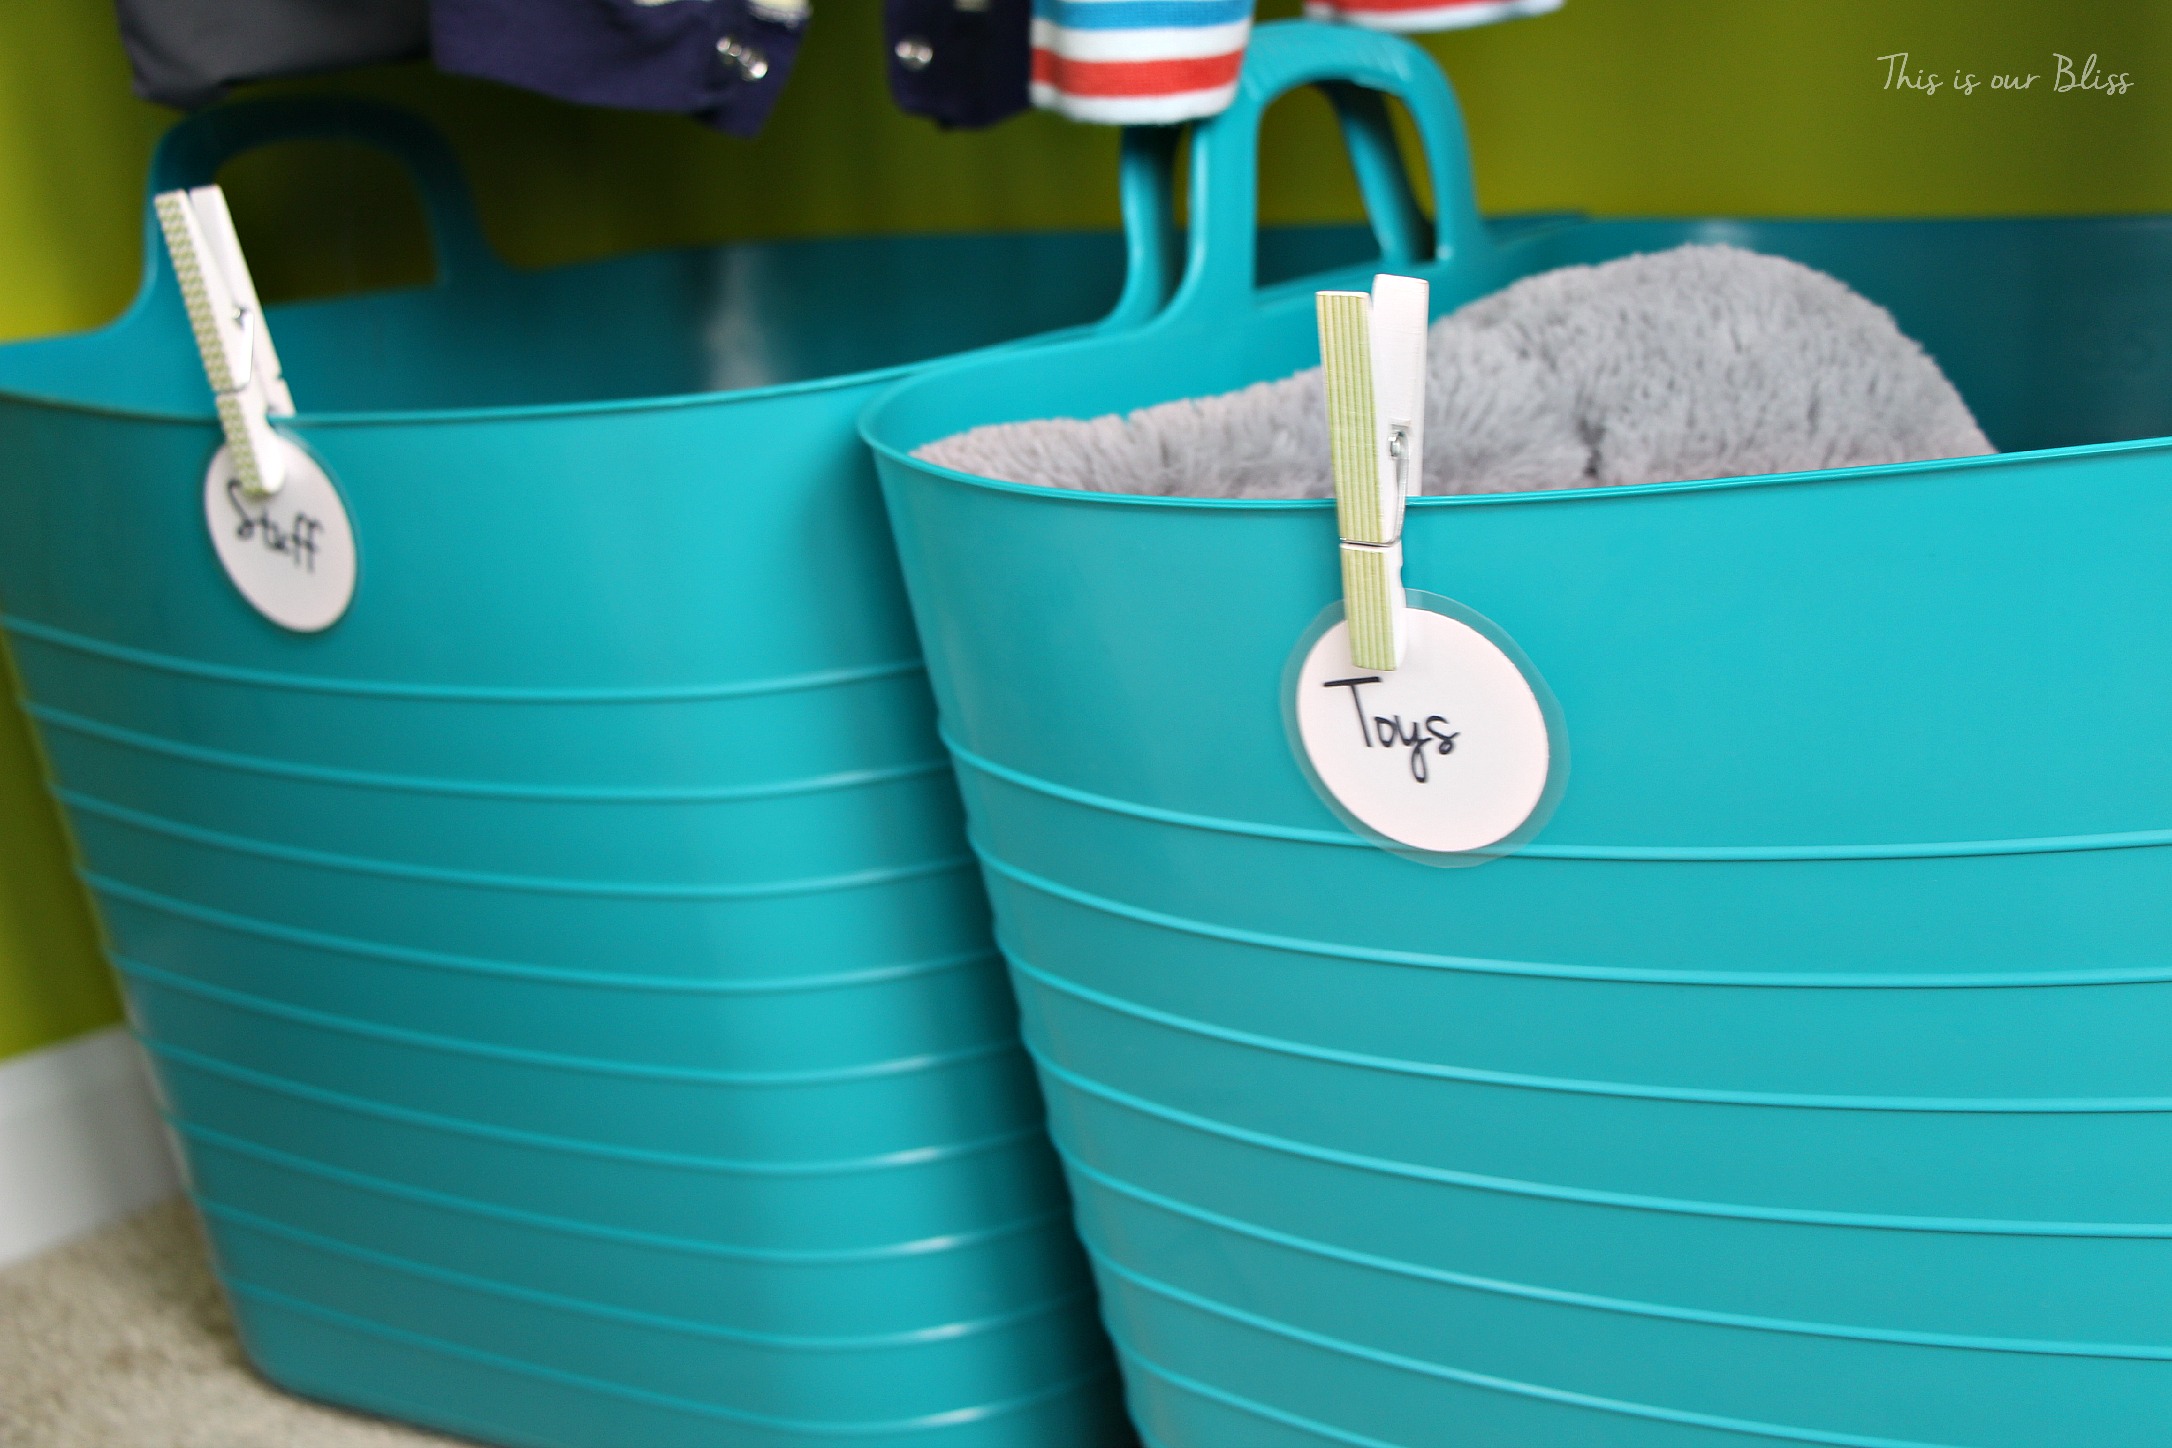
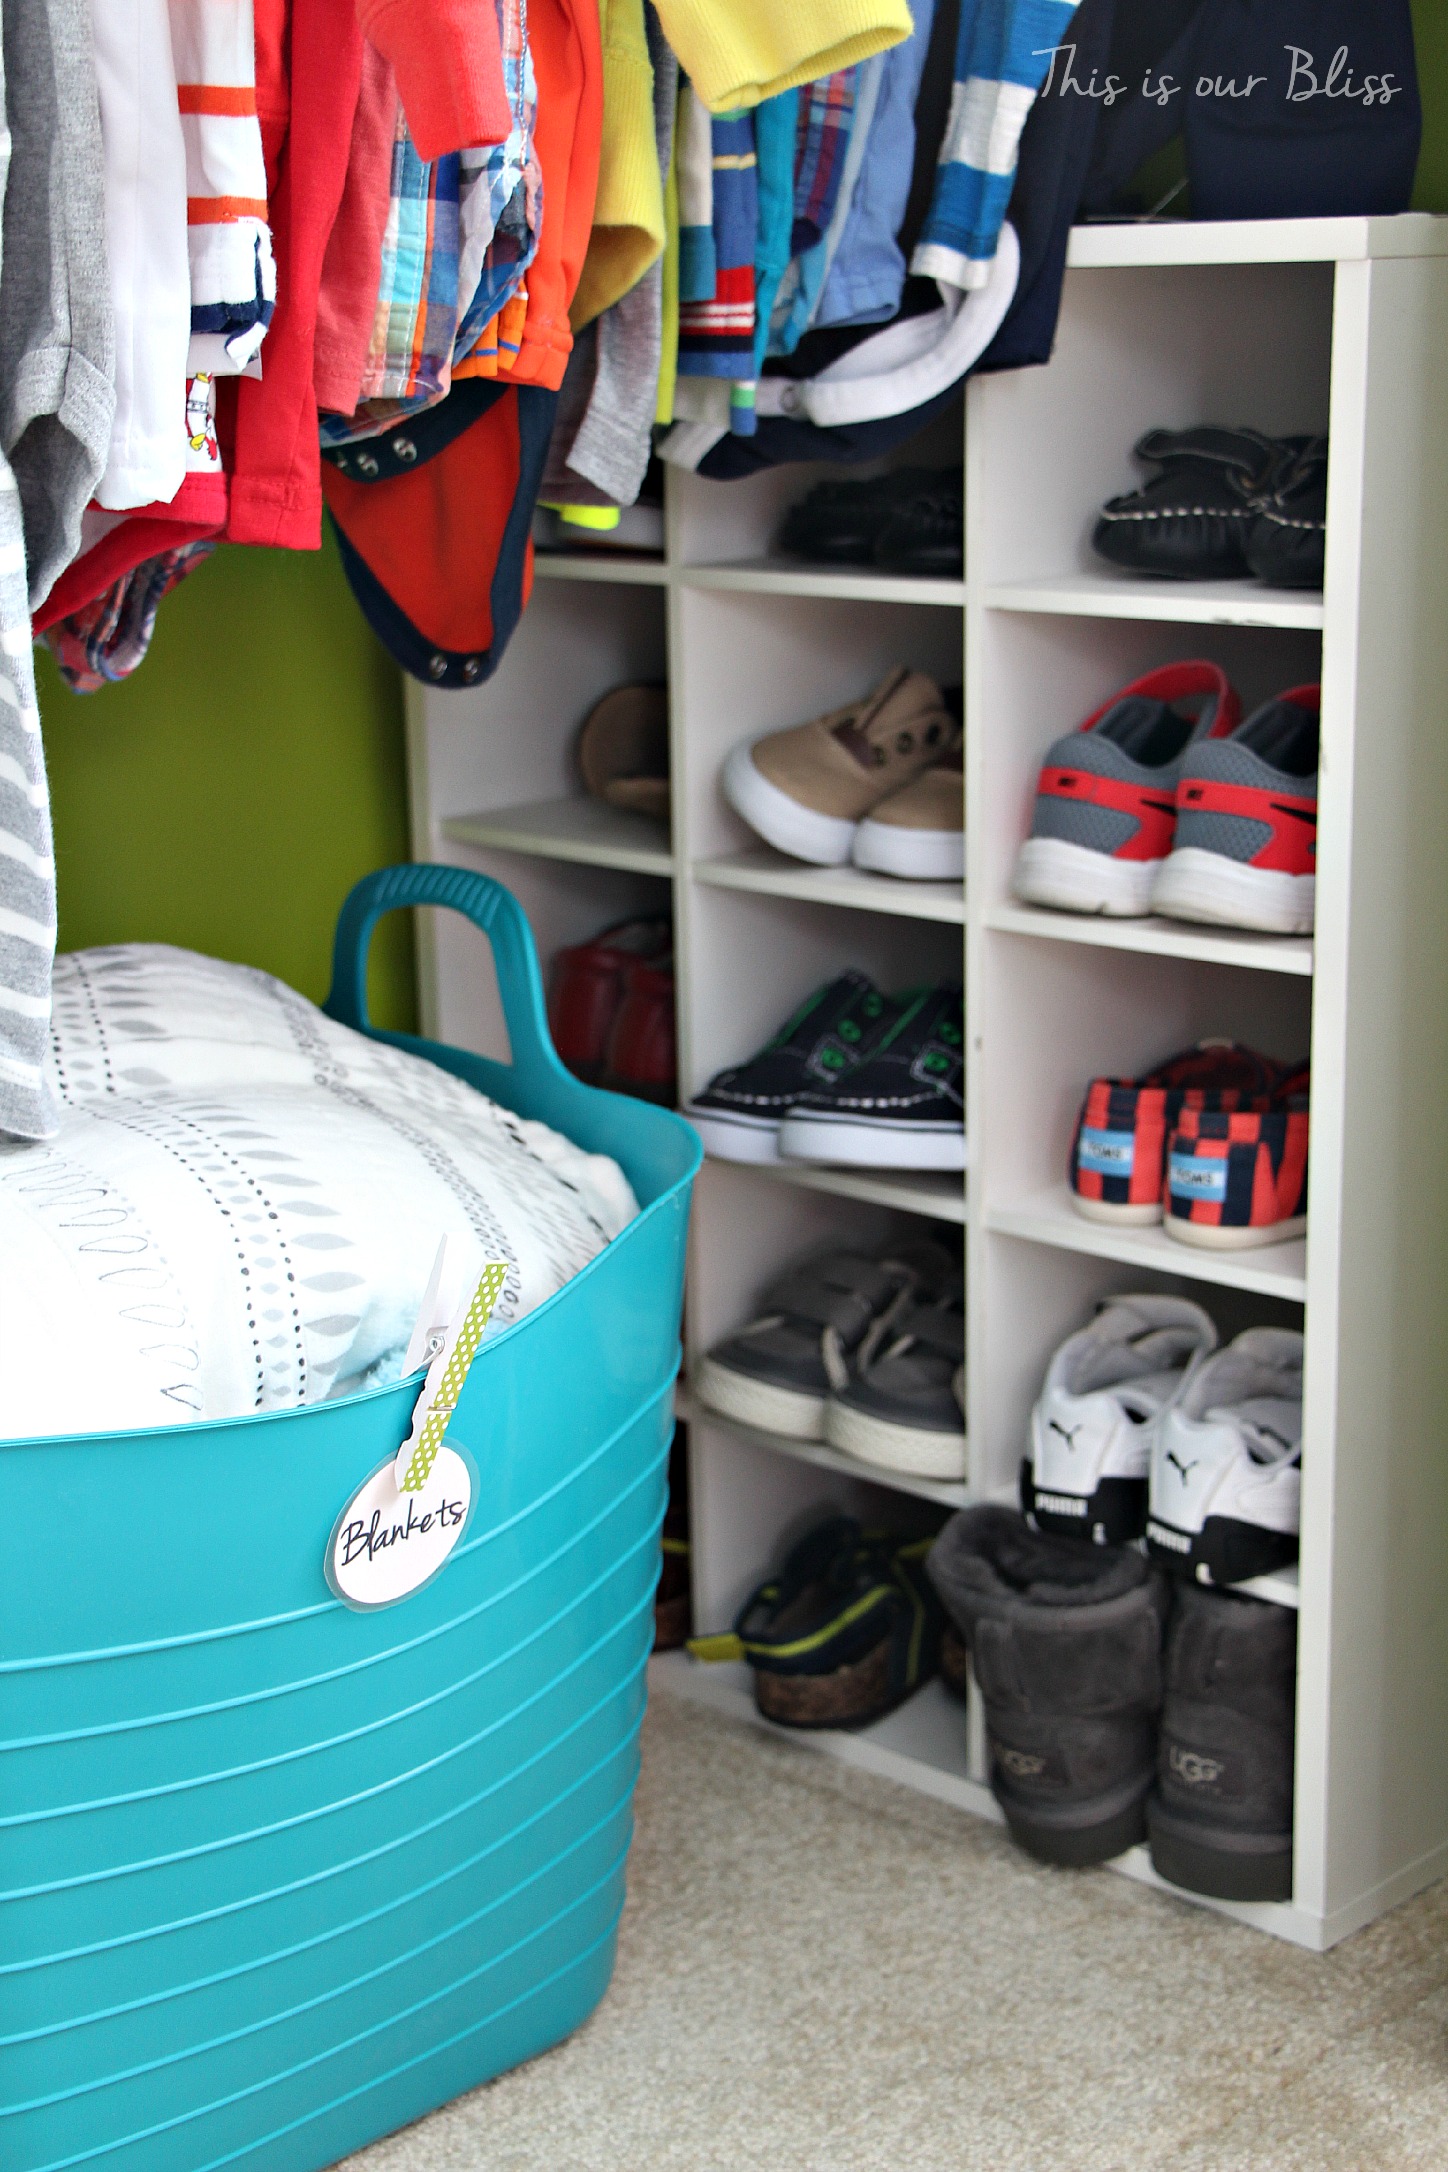
Unfortunately, these plastic tubs from Target are no longer available either! The labels were made by printing on white cardstock, punching out the circle with a large, round paper punch (2″ punch I believe) from Michaels, laminated and then clipped on with small decorative clothespins, also from Michaels.
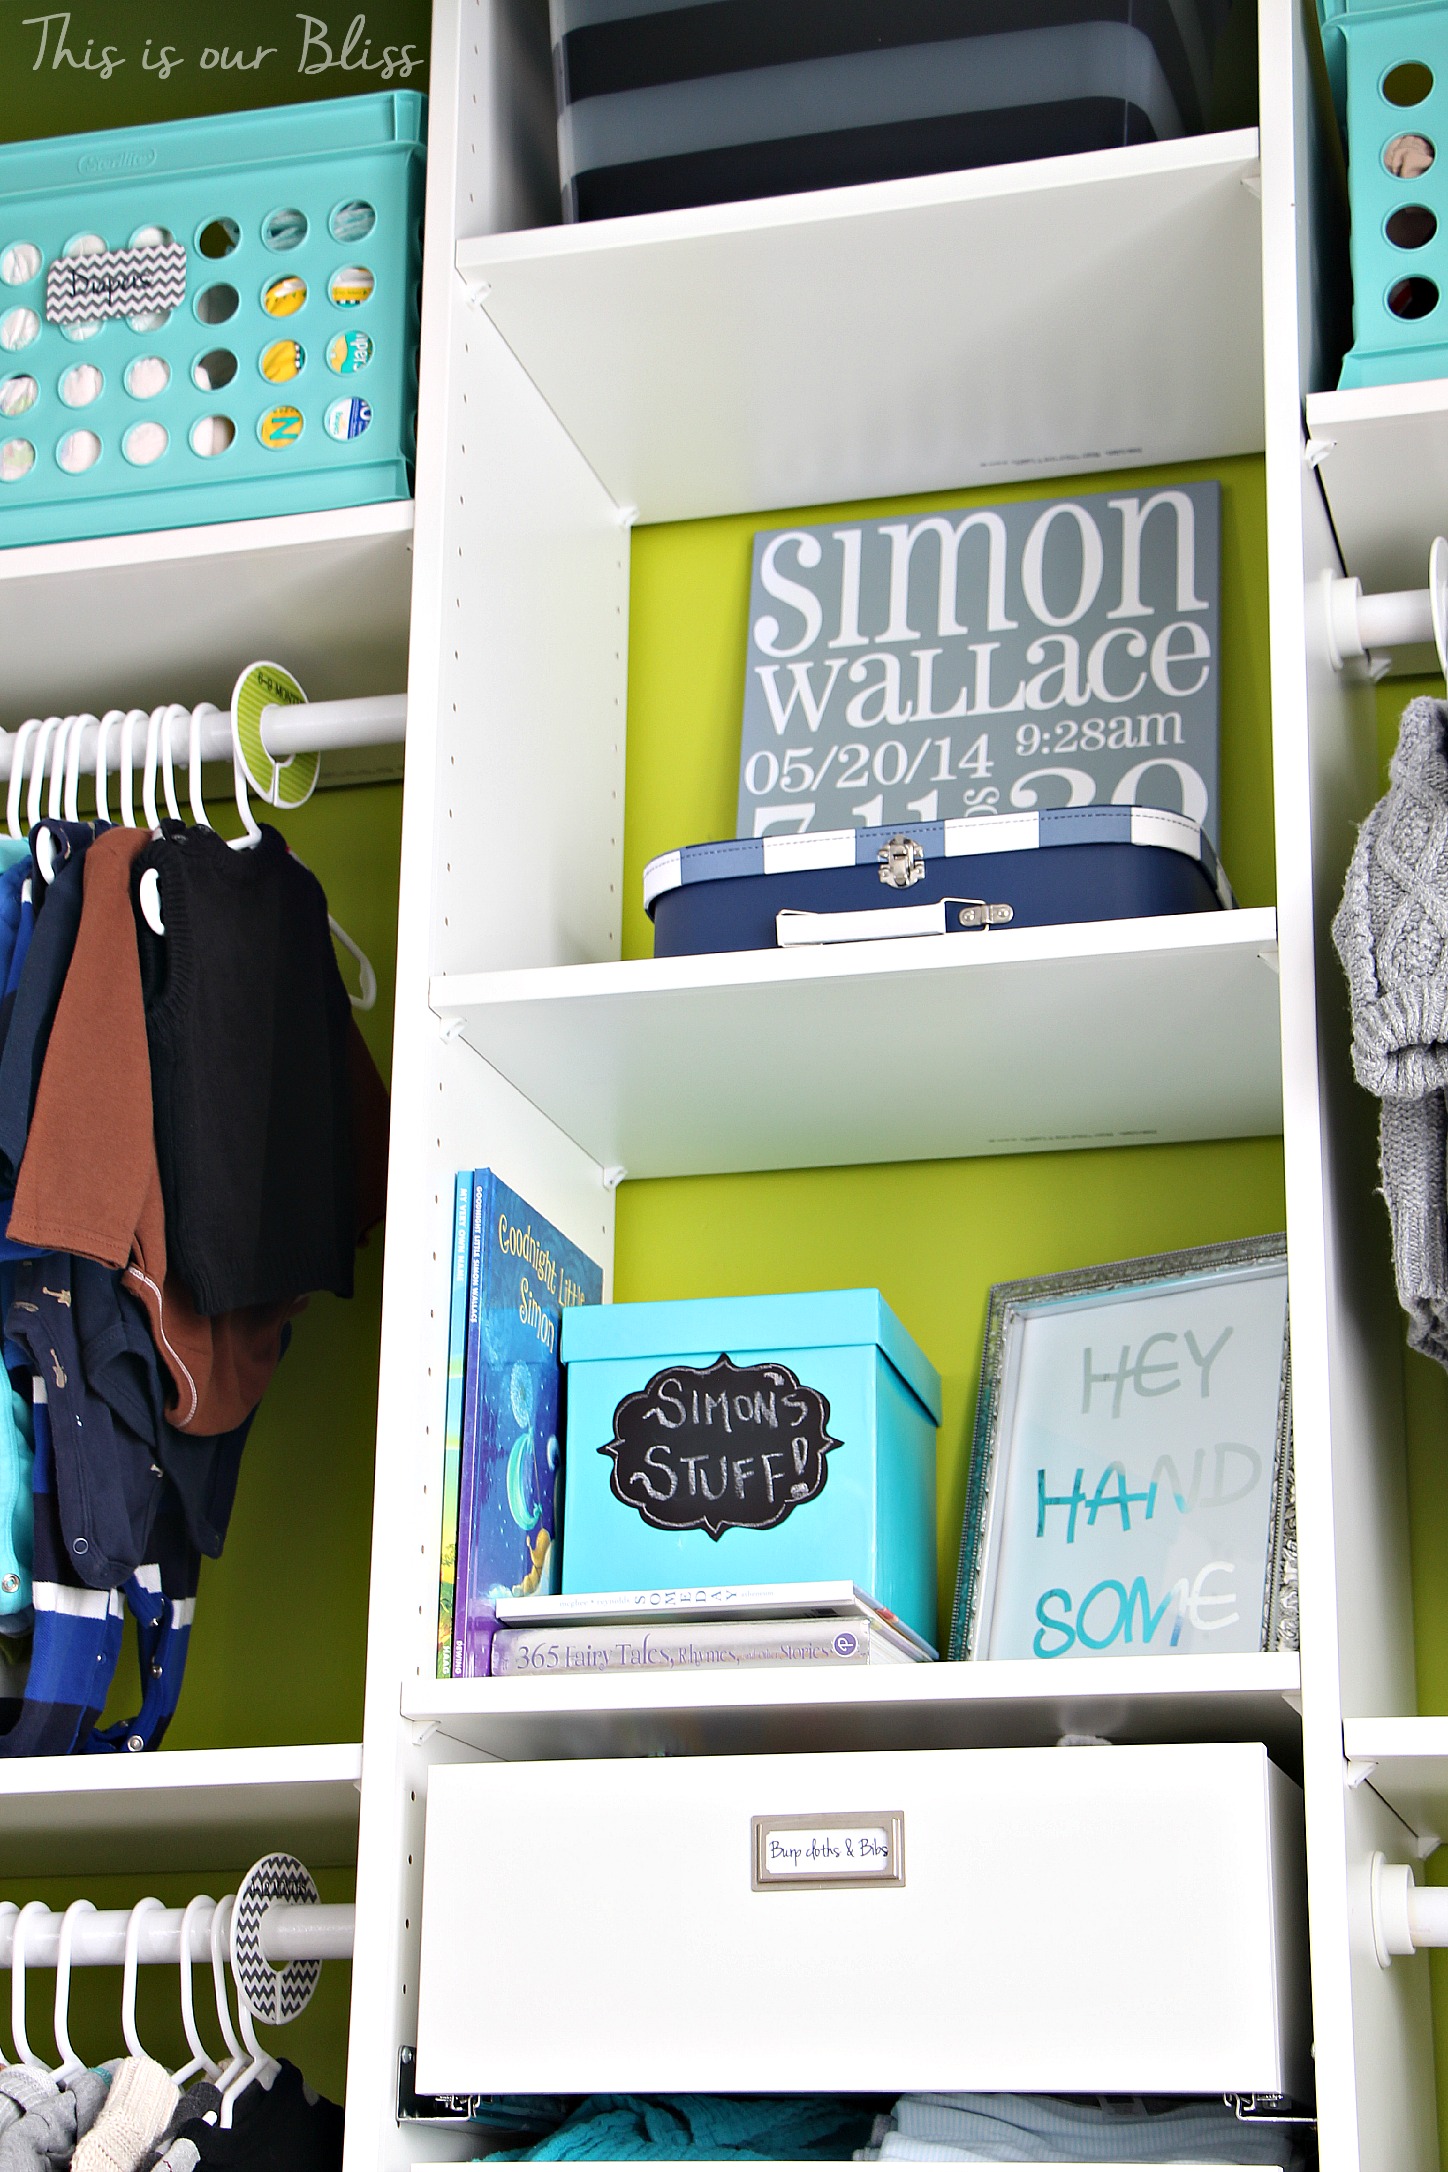
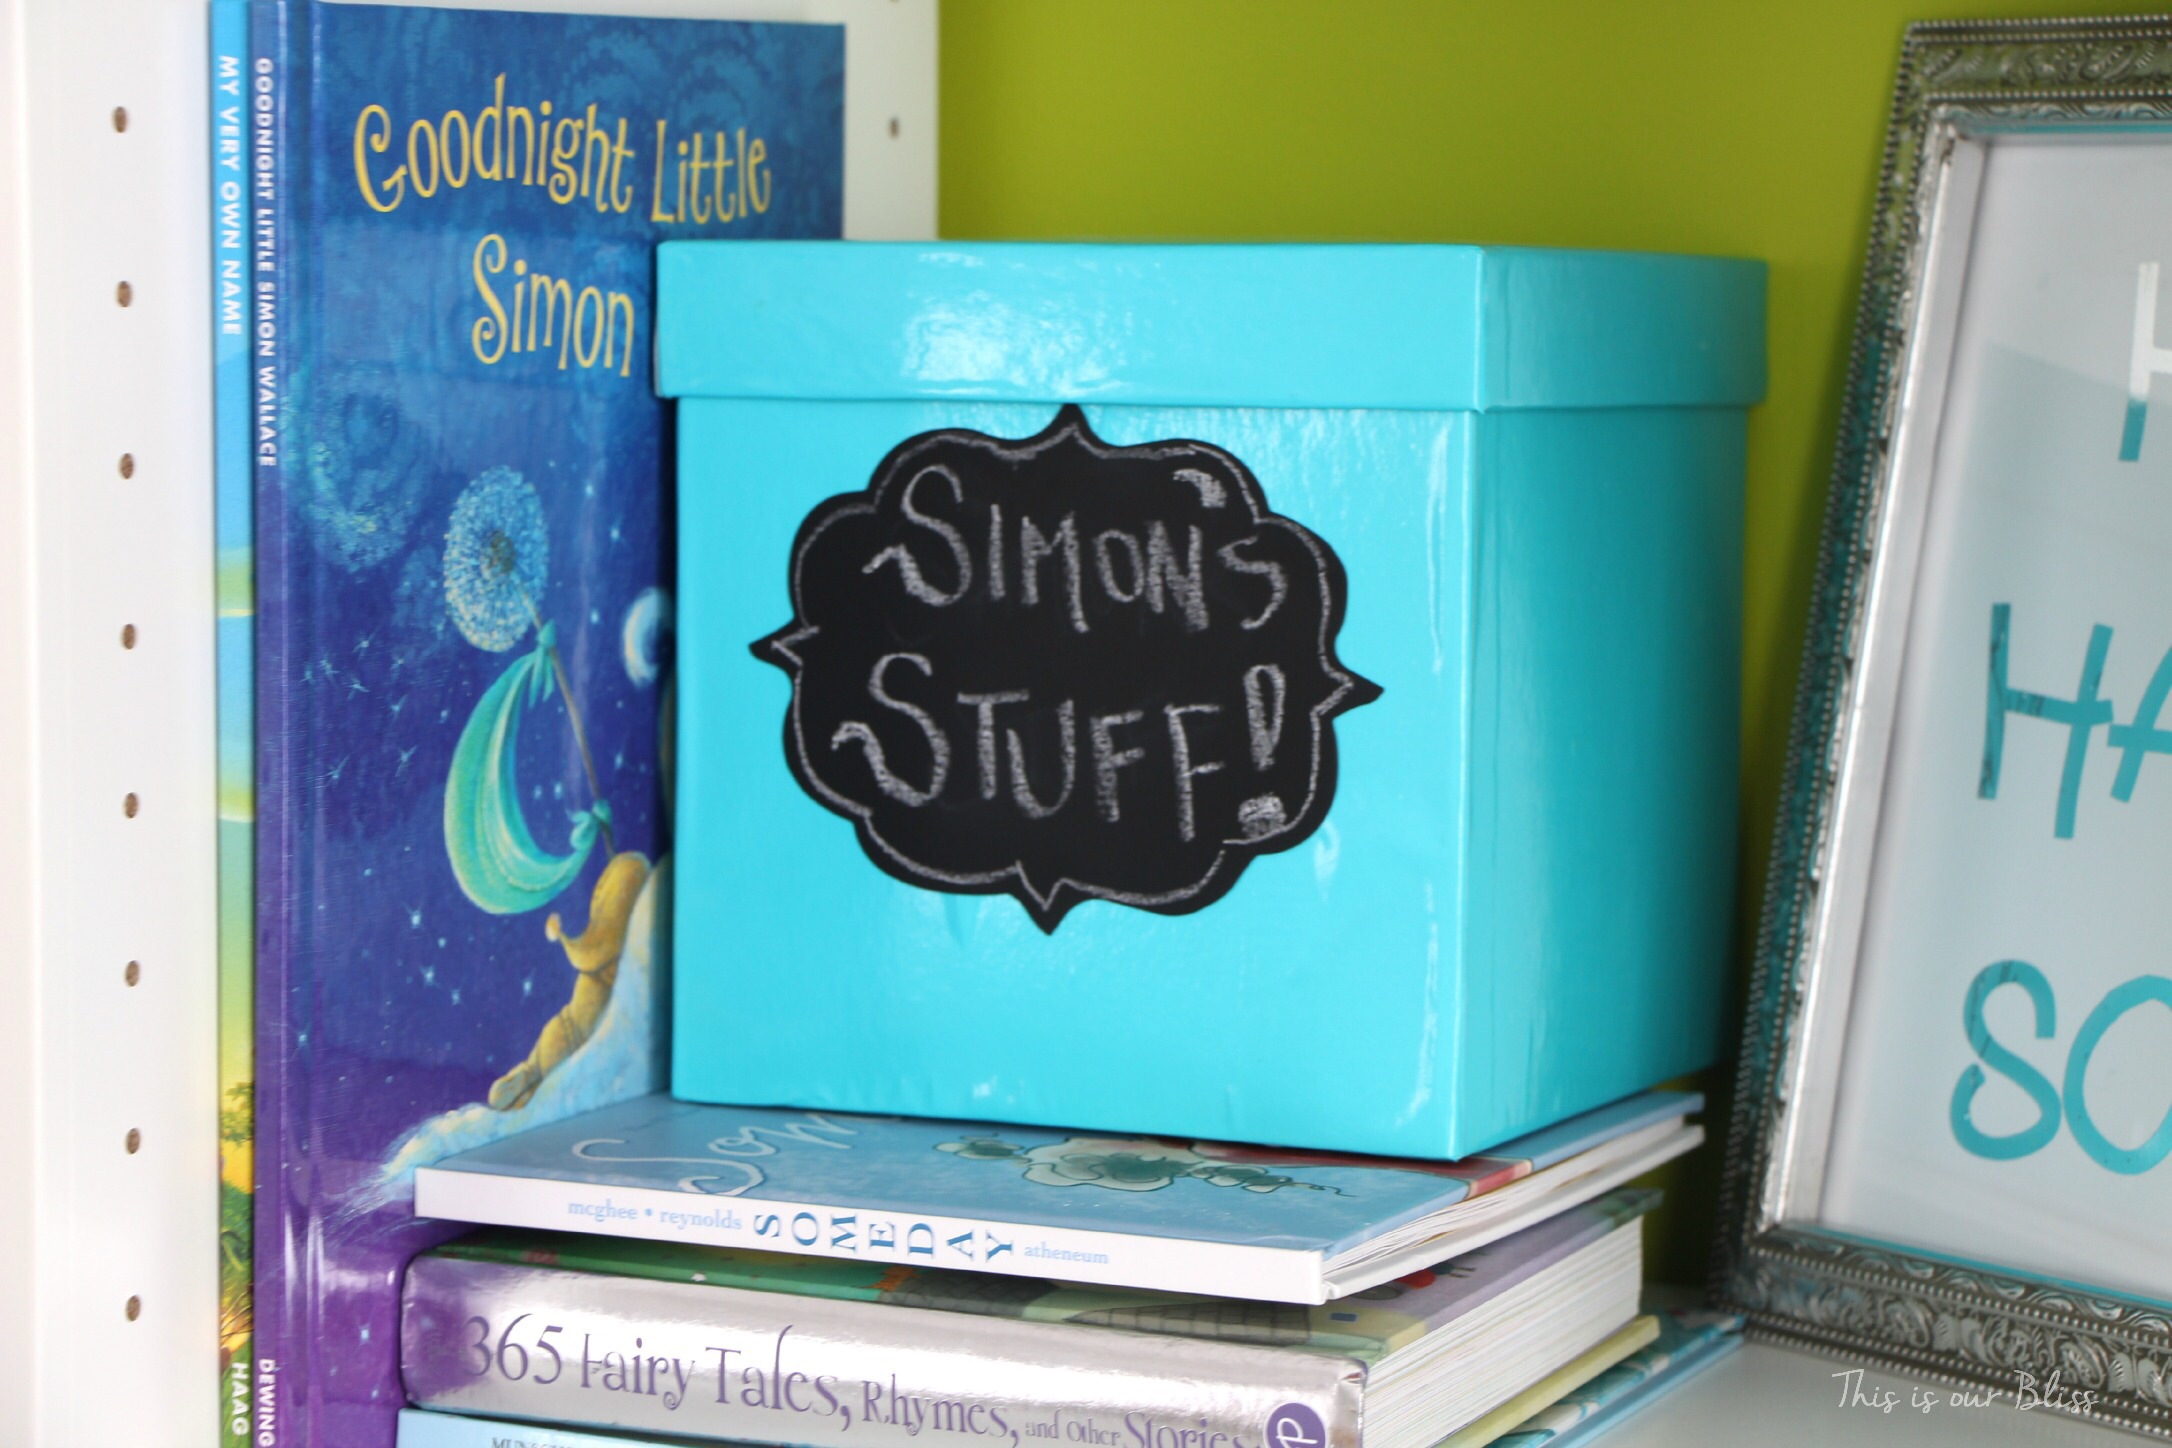
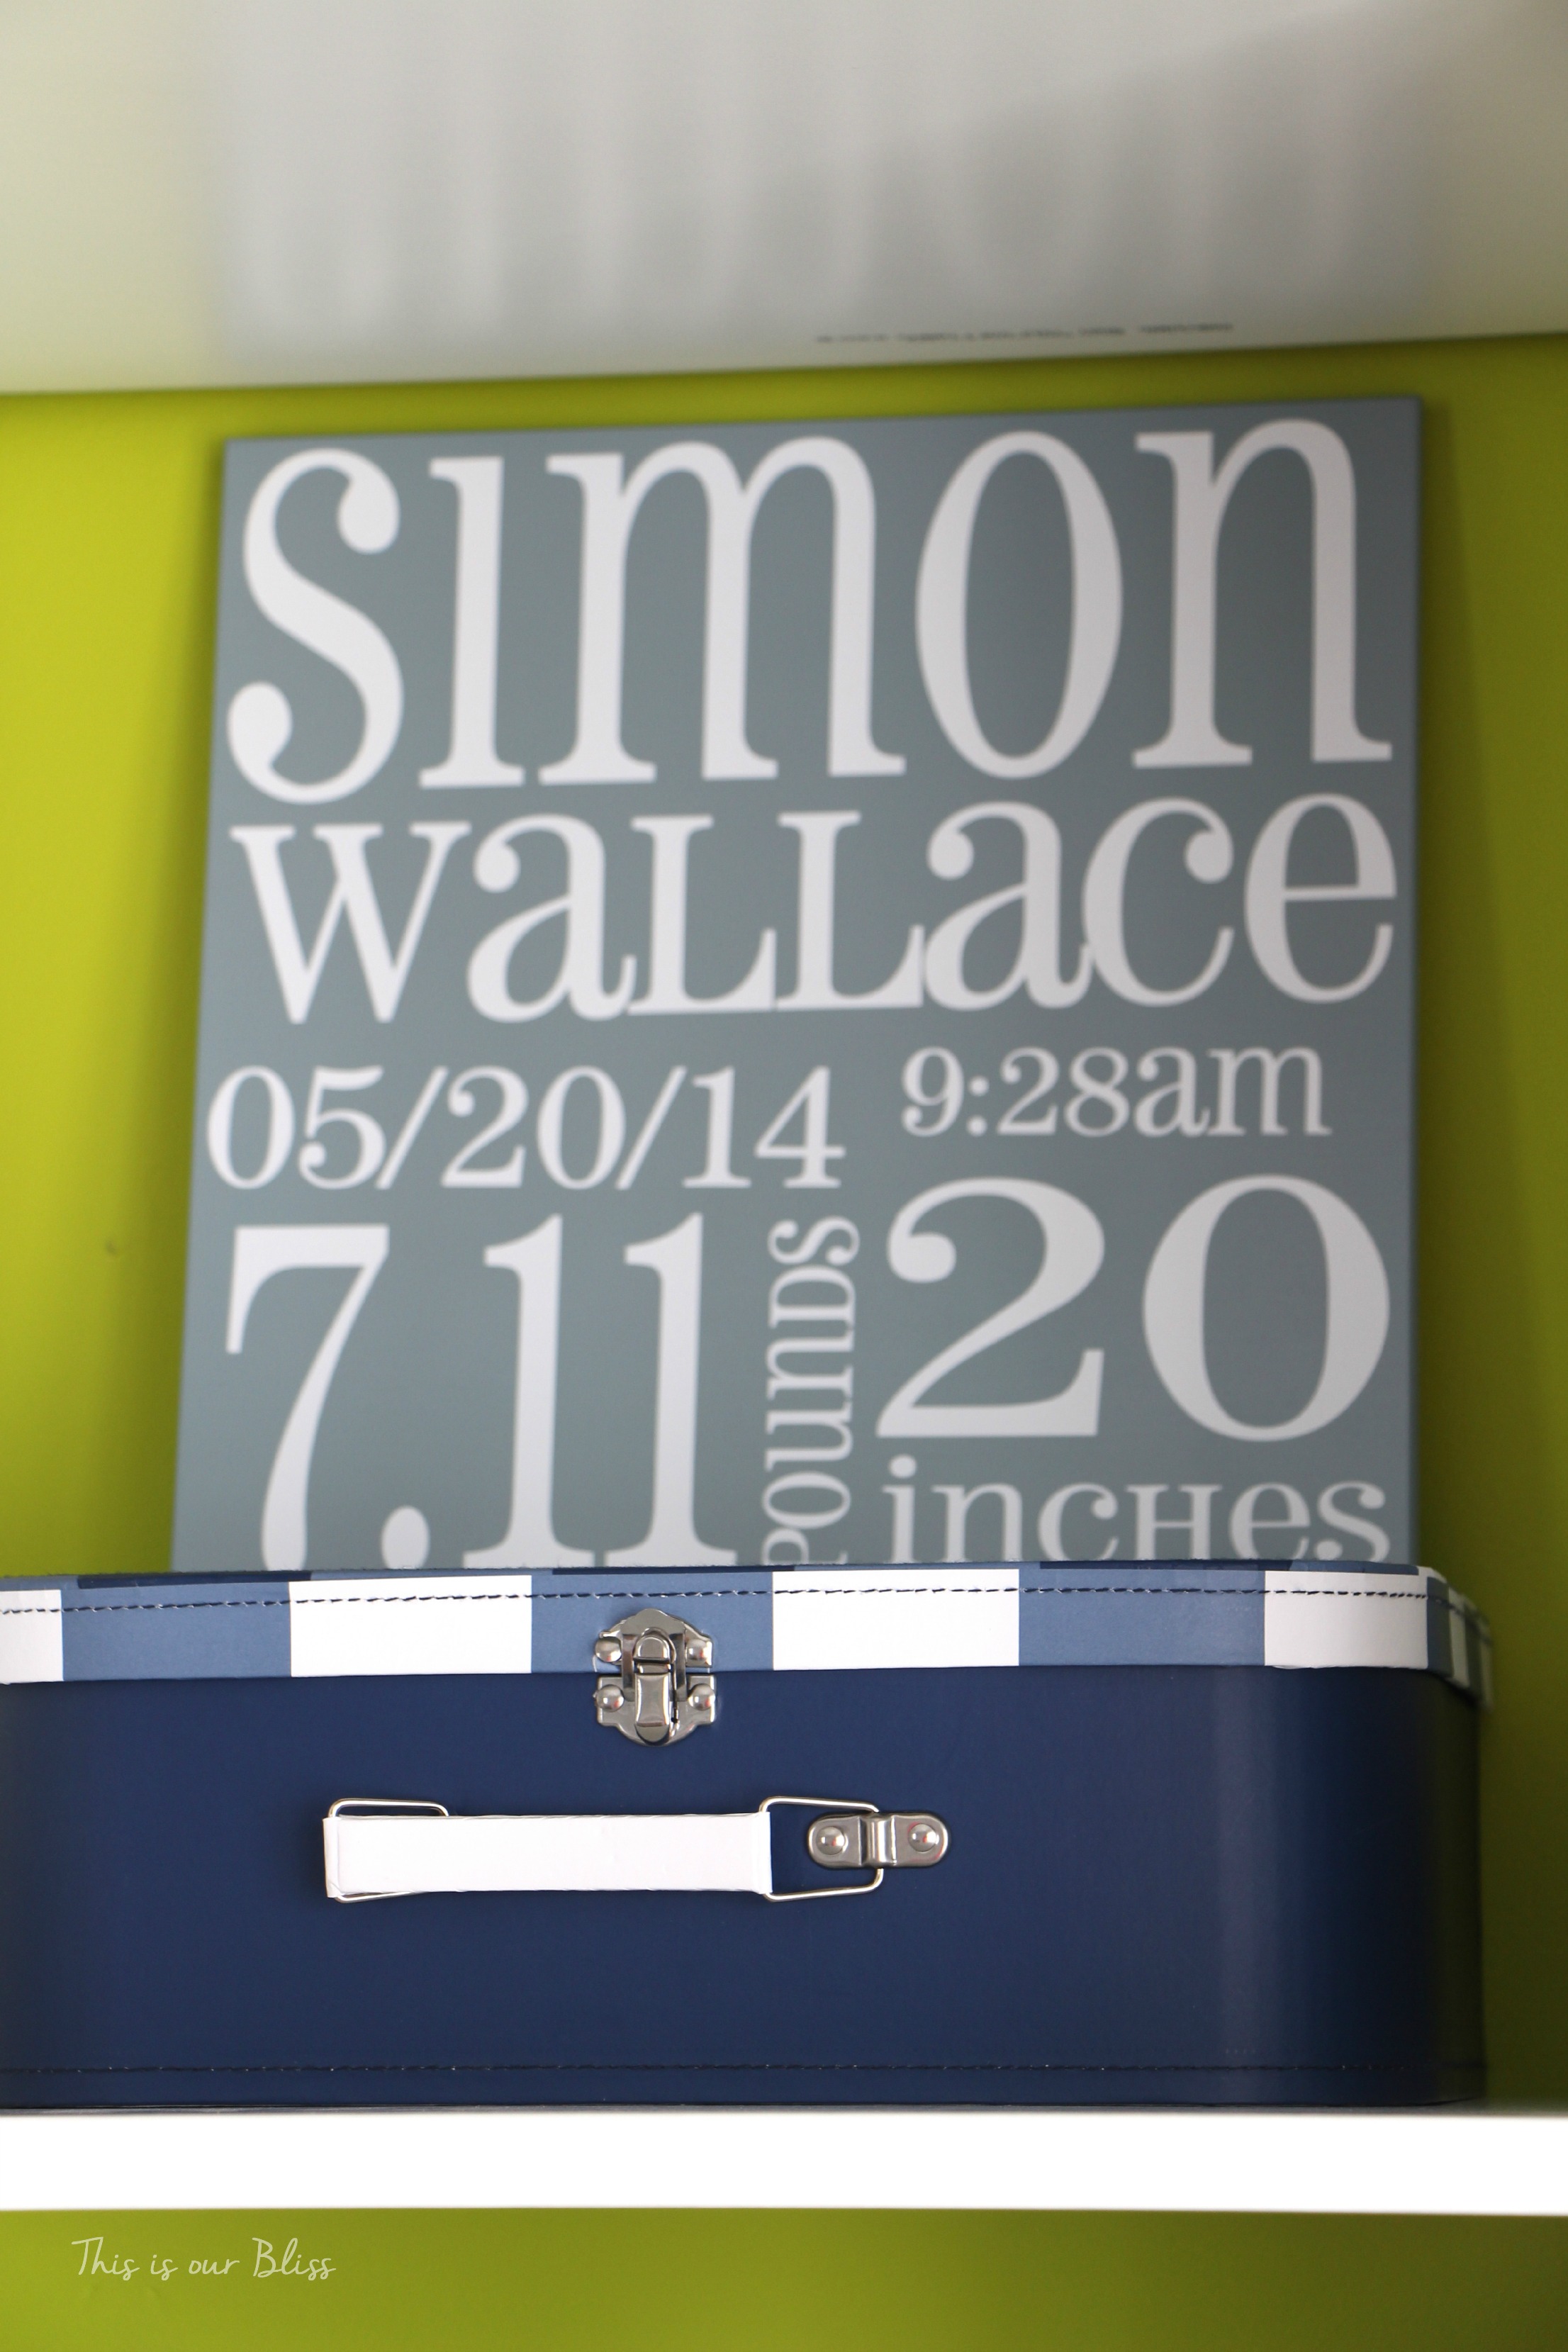
(man I love that thing!) and I did it the exact same way as the DIY holiday art I created last year. This was inspired by a piece I saw on minted and wanted to give it a shot on my own!
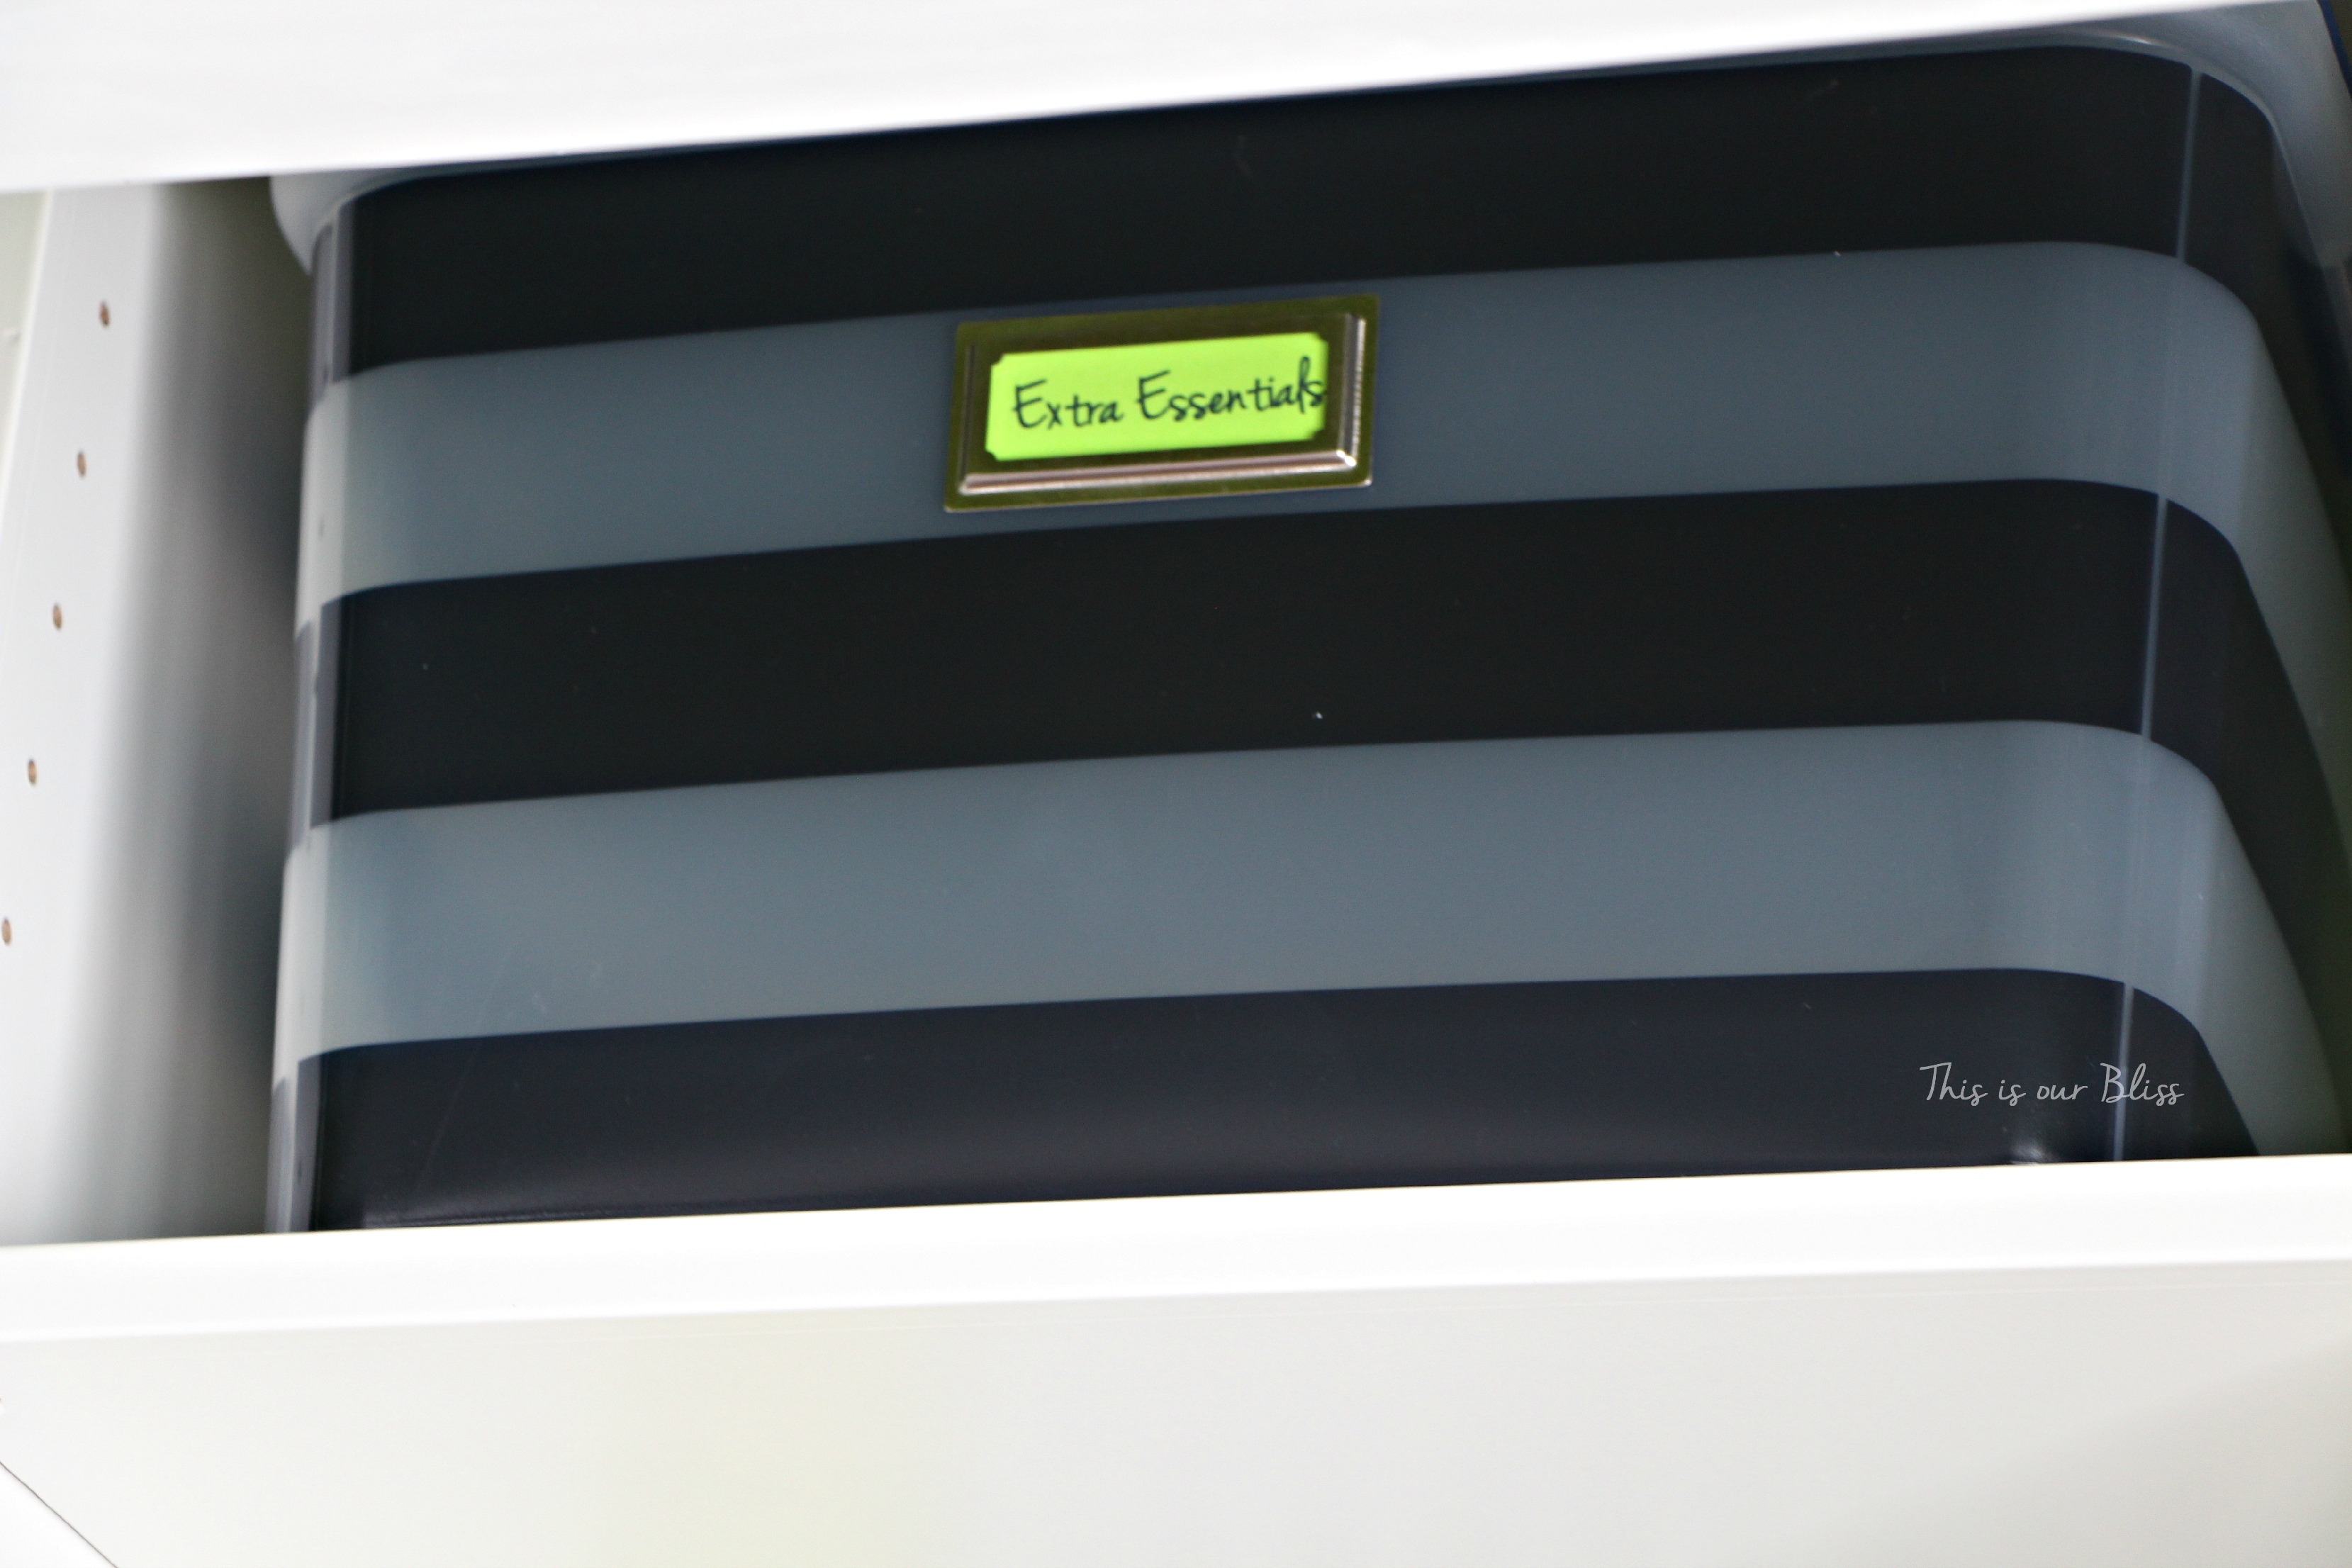
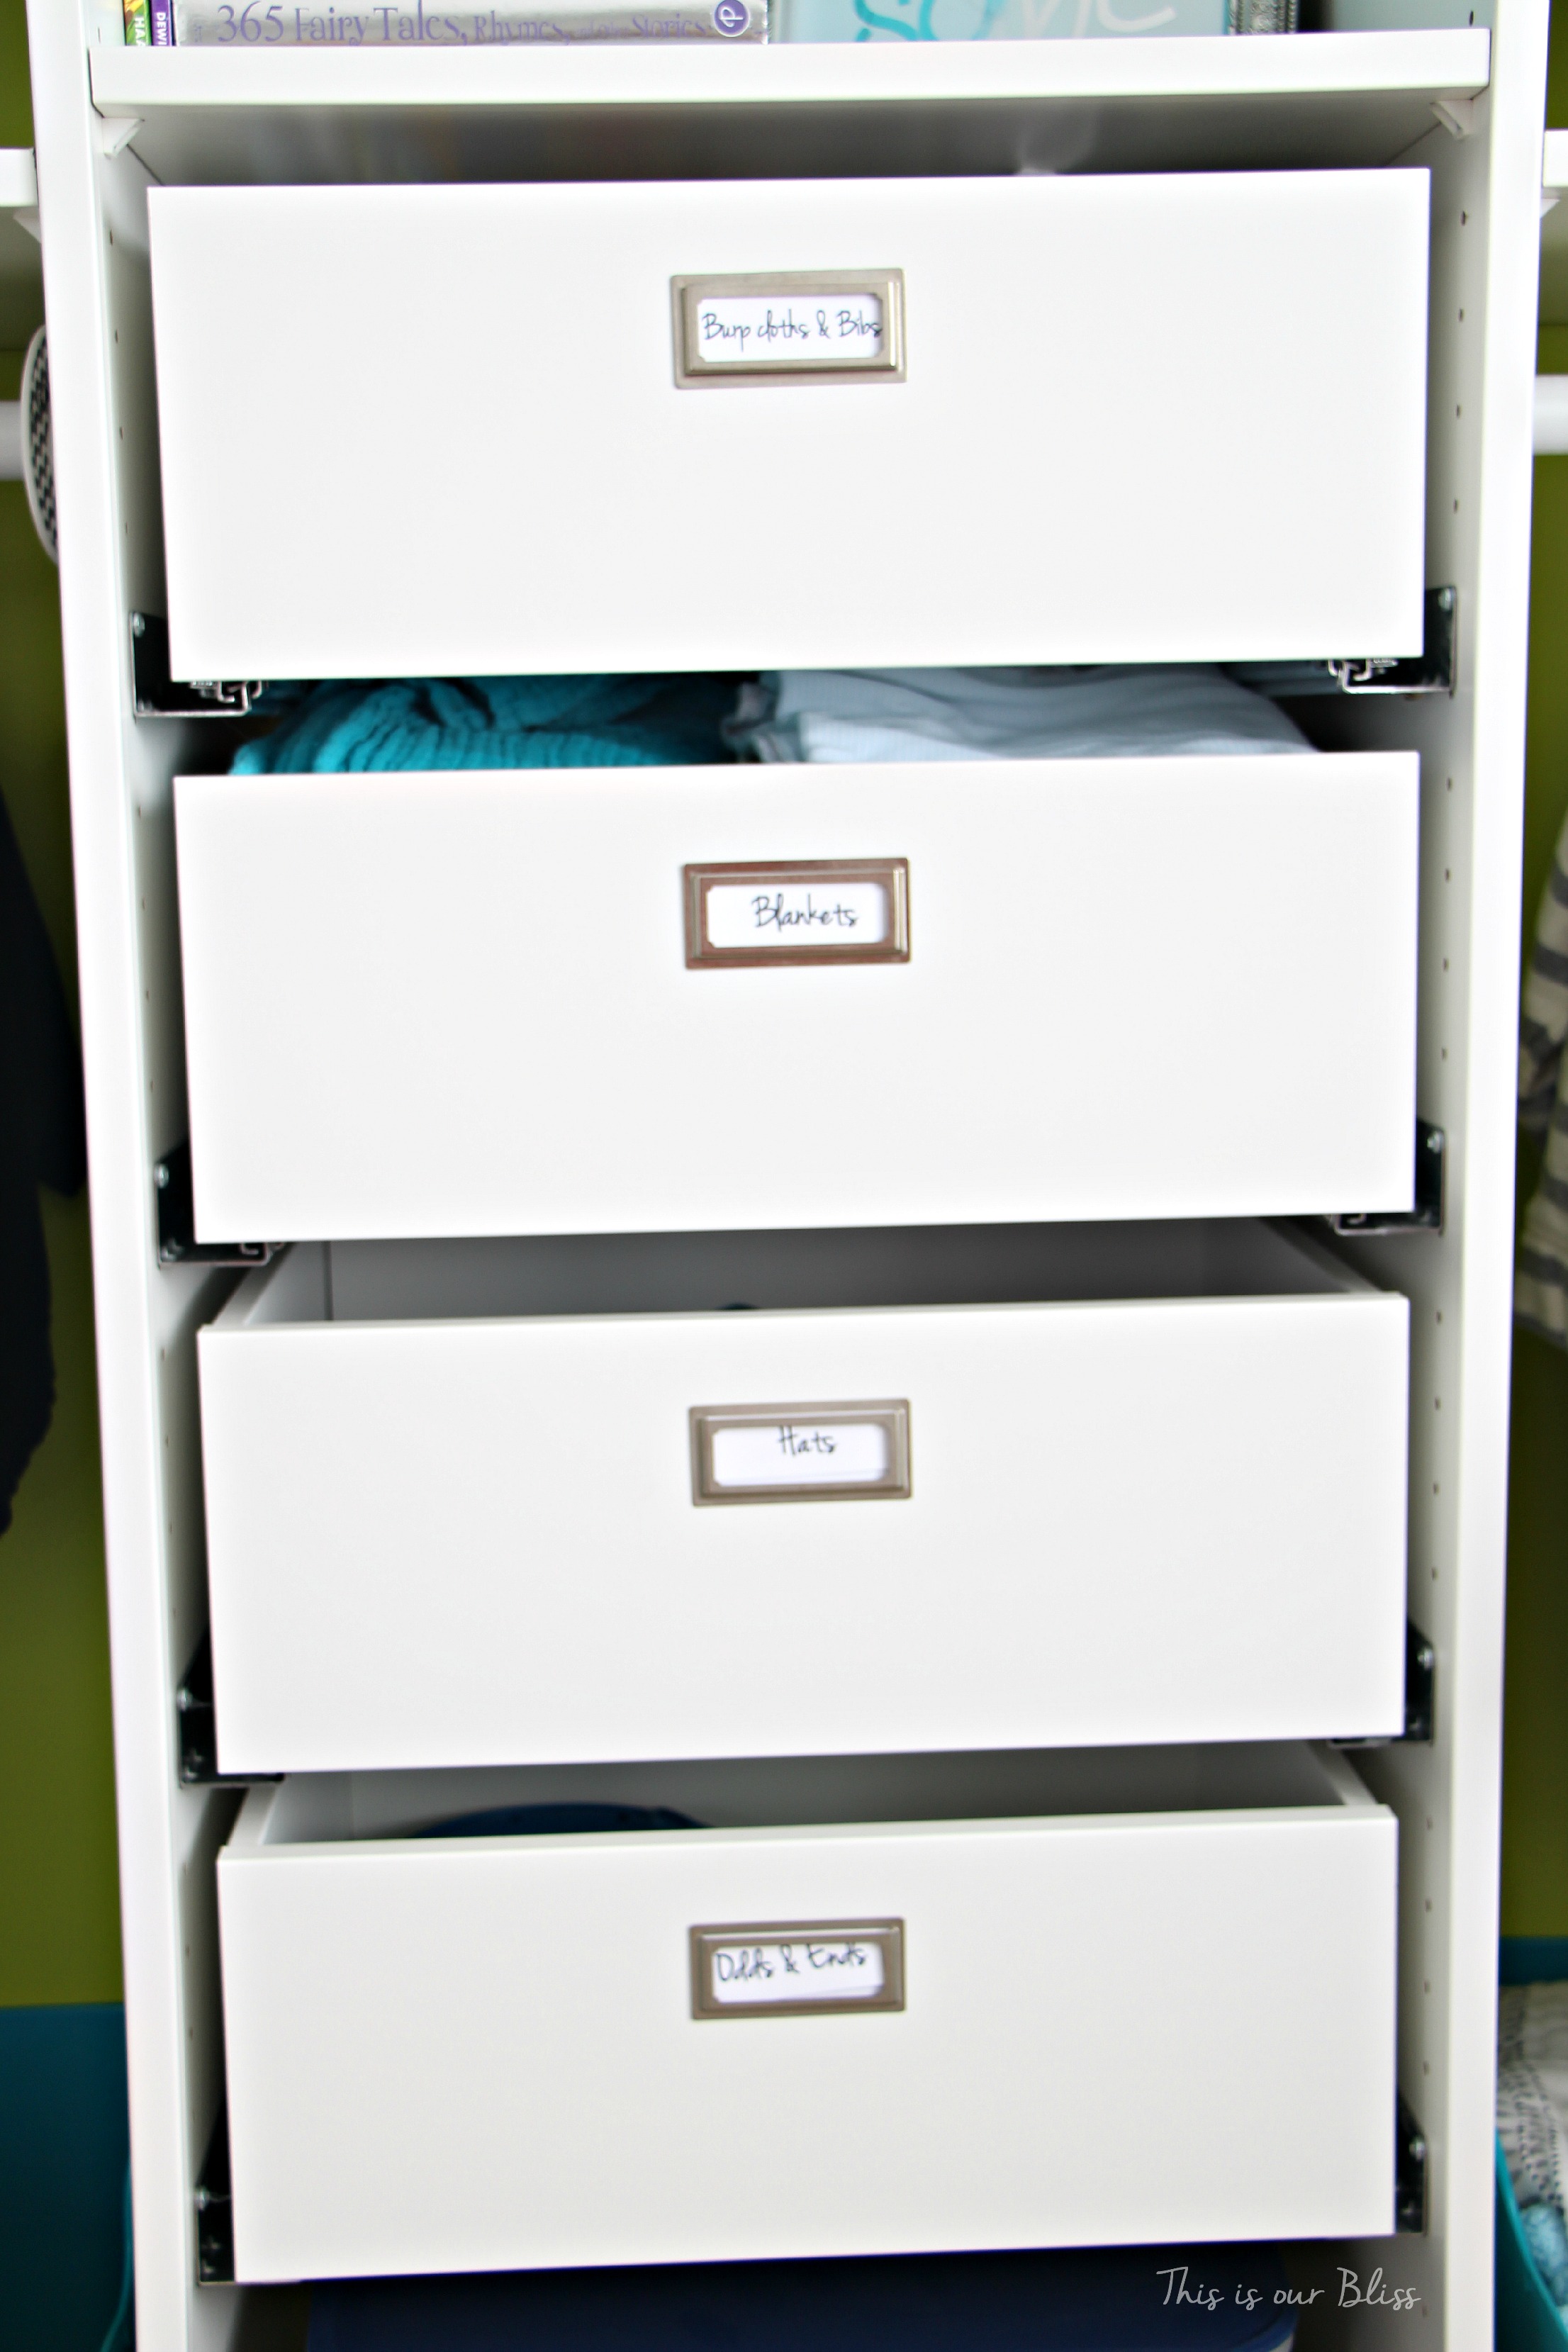
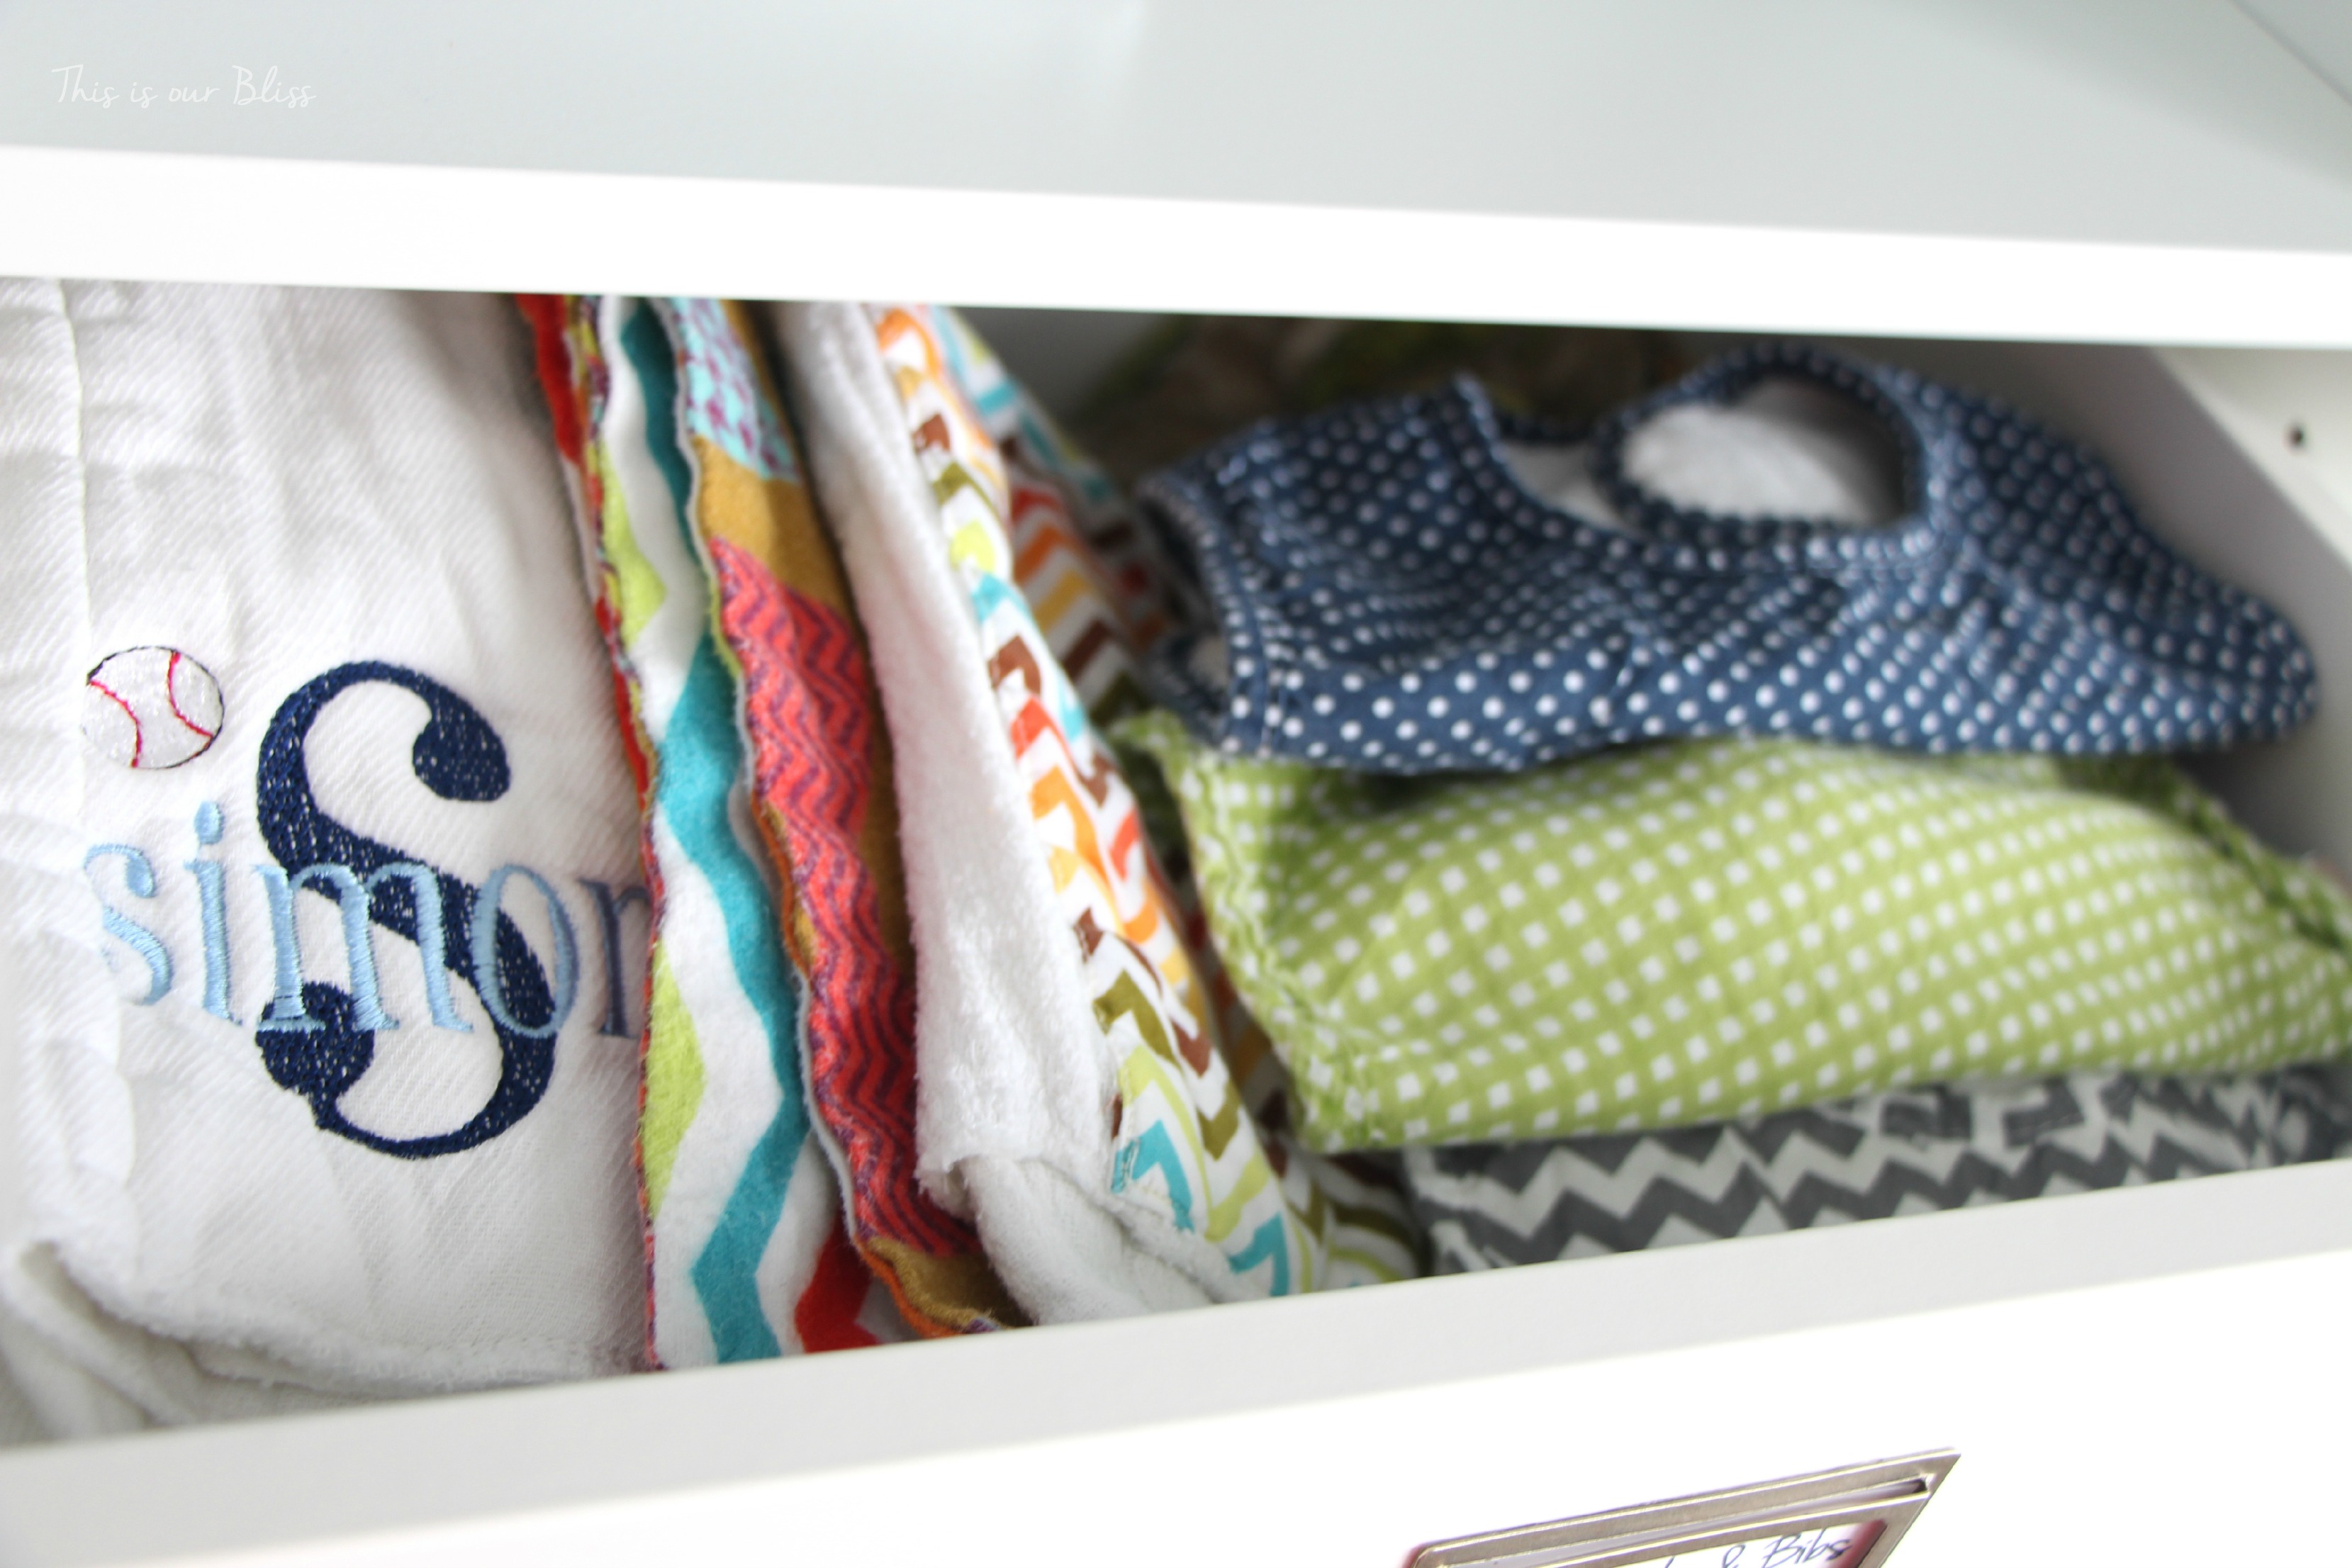
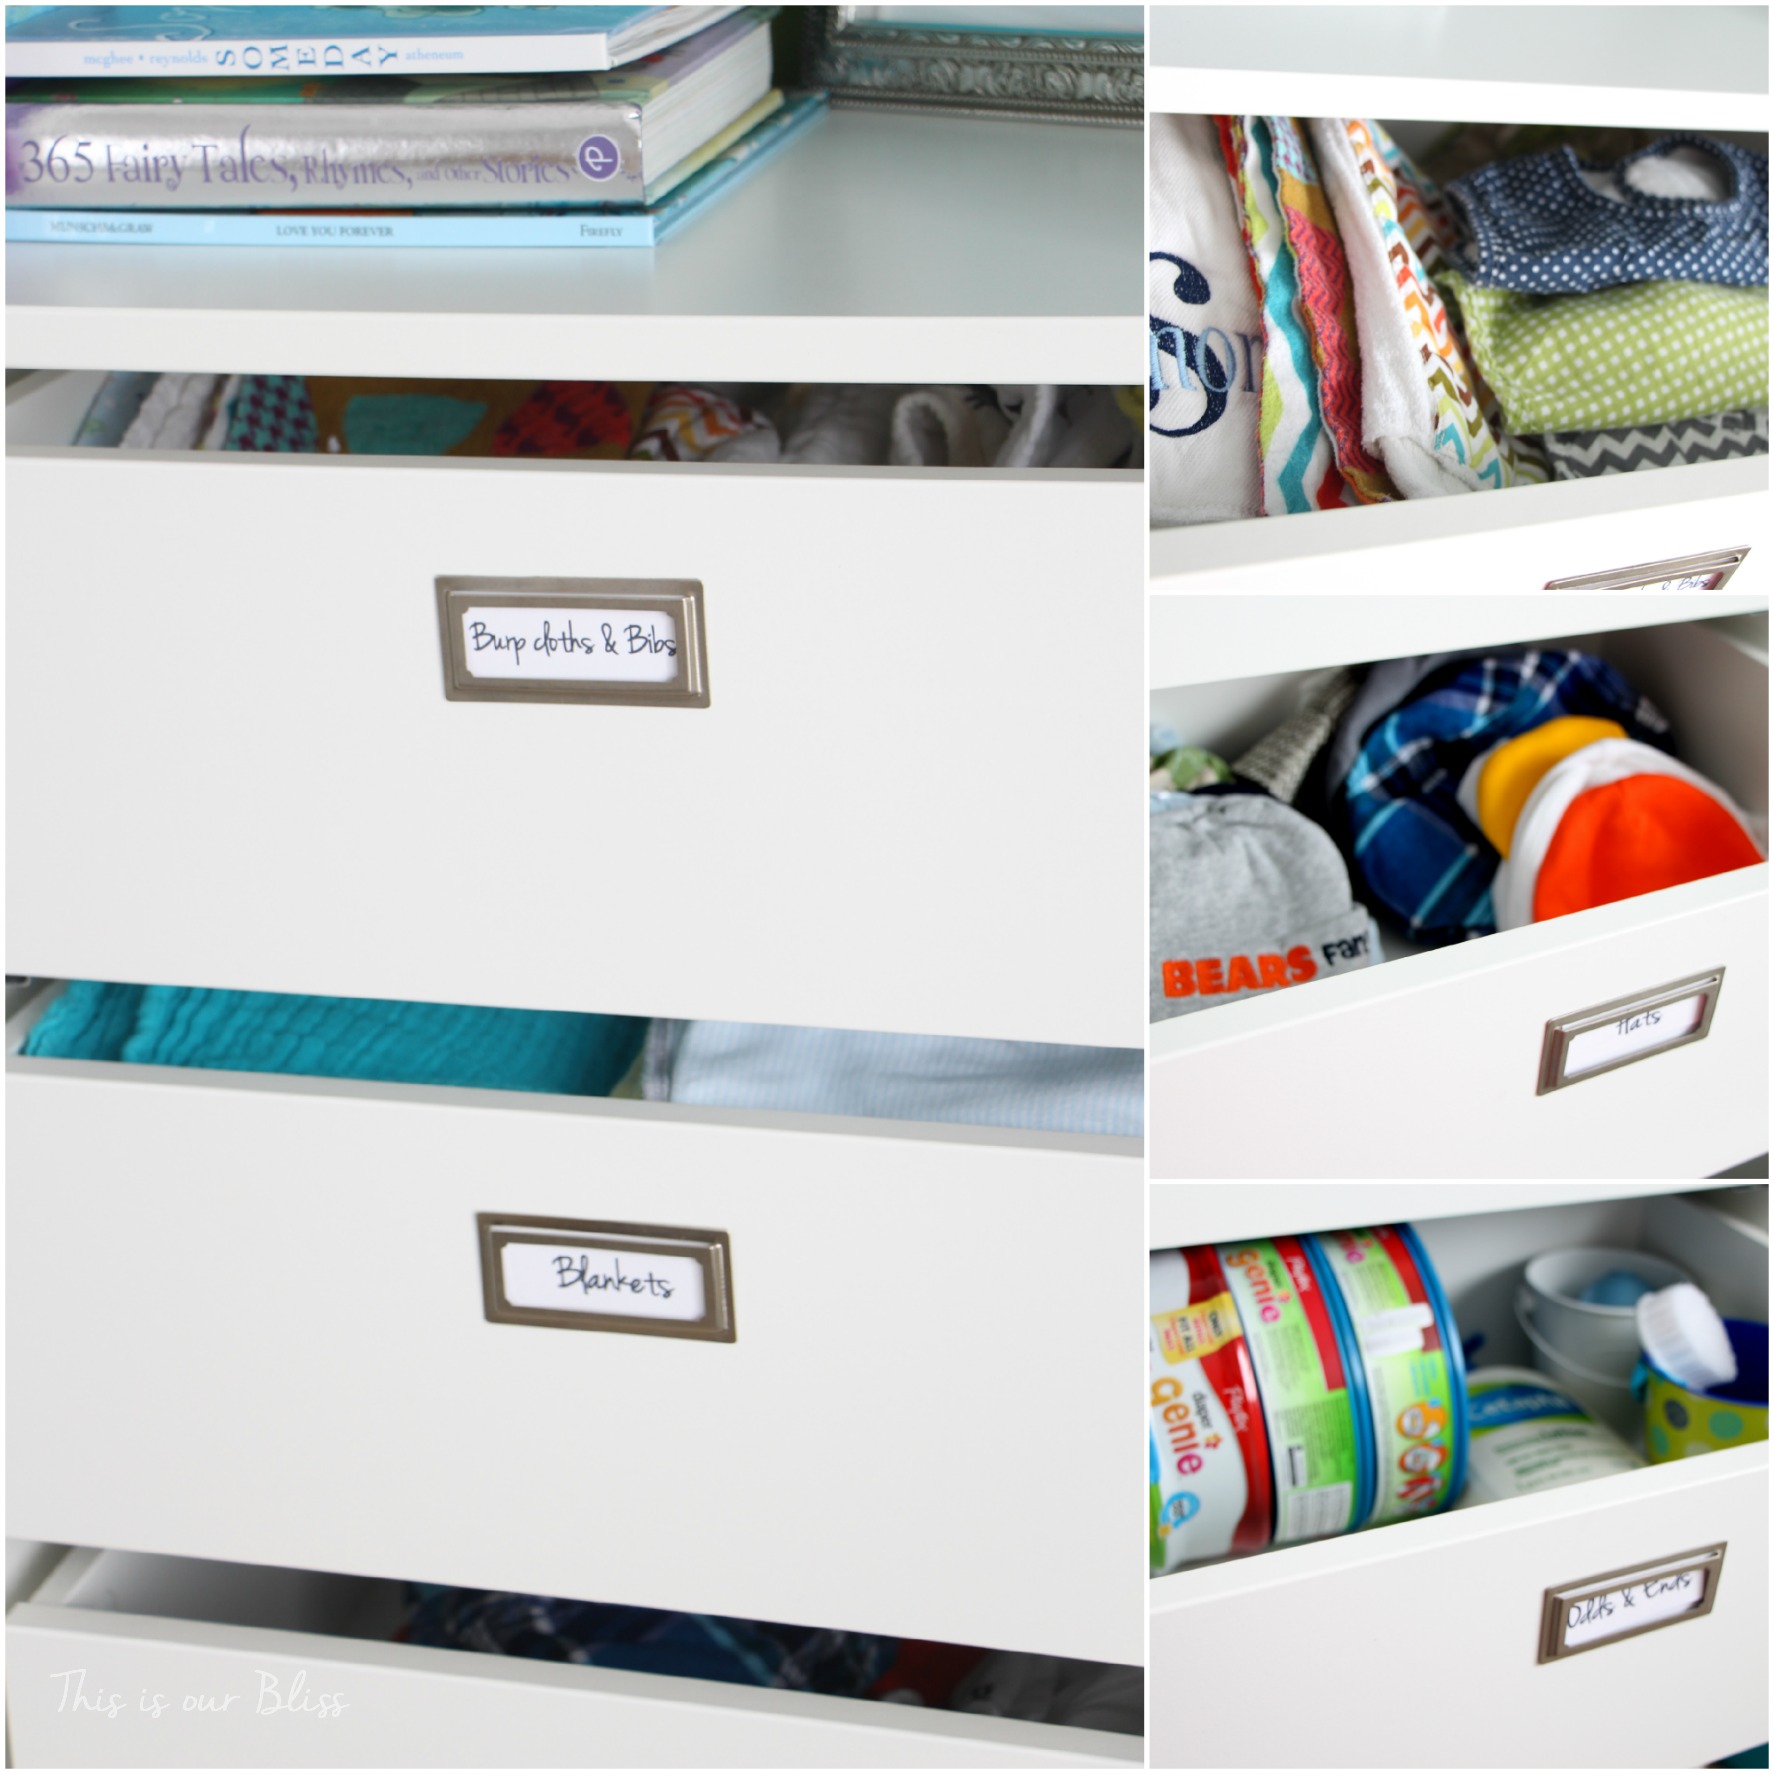
The personalized “Simon” burp cloth above was a gift from embroider moore. She is THEE sweetest gal and has created THEE cutest gifts for so many of my friends’ babies. You must check her out! I promise you won’t be disappointed.
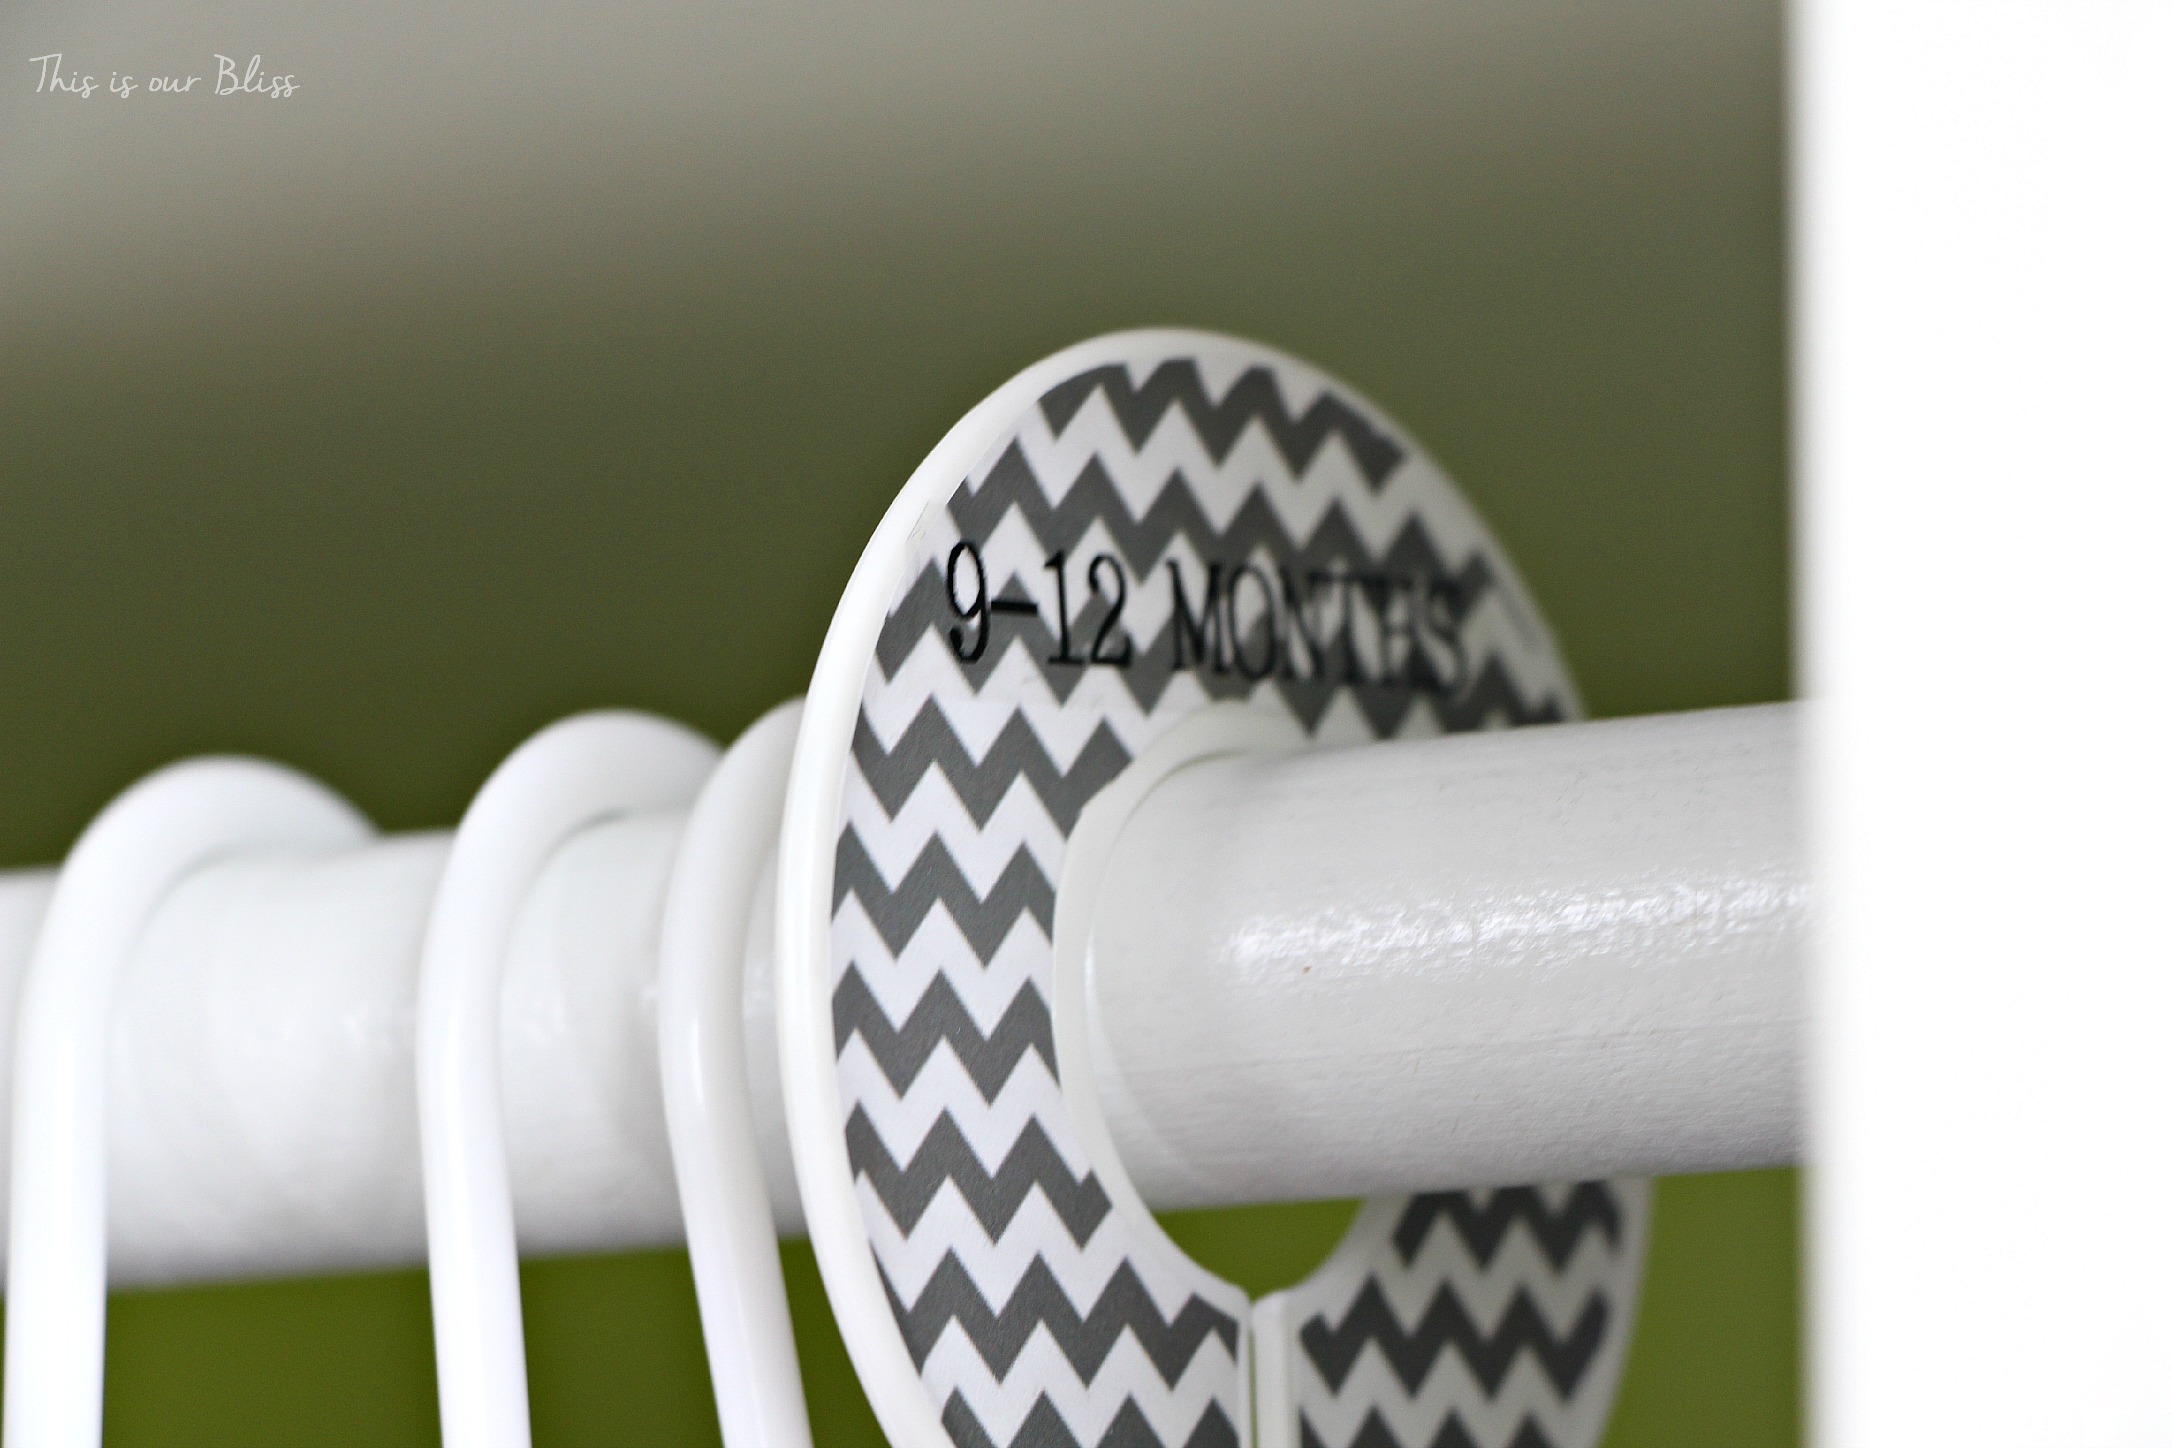
In order to keep Simon’s clothes in size order, I knew I wanted clothing rod labels, but couldn’t seem to find any that matched or that I liked. I decided to purchase plain white clothing dividers
Oh and I almost forgot to mention, the most popular question lately seems to be, “Where is the shoe cubby / organizer in the right-hand corner from?” The one thing I realized I didn’t include in the source list from the reveal! It was actually mine from years ago. When we had a custom closet installed in our master closet a couple of years ago, we moved this cubby to the hall closet where it lived temporarily. While working on the nursery, I decided I needed something to stick in the corner of the closet that would provide some function, so there it went. It just so happened to fit perfectly in that space and now is the home for his itty bitty shoe collection, compliments of big brother, Henry 🙂
I think [and hope] I covered it all from top to bottom. If I did miss something, please feel free to email me for more information. I said this before, but I will say it again, I am a firm believer in the ability to keep a space neat and tidy if everything in it has a home. Labels help, too, but most importantly, when the room or closet is in disarray, I take 5 minutes to put all strewn about items back where they belong. Everything has a spot, otherwise things would get haphazardly shoved from drawer to drawer or shelf to shelf and I would never find anything. Trust me. That happens in other places in our house, but not in here!
Have a wonderful weekend and I hope to see you back here next week! Thanks for reading and goodnight!
*Affiliate links were used in this post.






>>> Simon’s Nursery Reveal<<< | This is our Bliss
August 26, 2015 at 8:47 AM[…] DIY Details Closet details: Accessories & labels Nursery Pegboard Gallery Wall DIY Playroom Reading […]
Nursery Word Art | This is our Bliss
July 22, 2015 at 6:13 PM[…] closet DIY details Nursery closet accessory & label details Nursery Mobile DIY […]
Quick & Easy Guestroom Bedside Table Round-up | This is our Bliss
March 19, 2015 at 5:12 PM[…] then when they get out of place, you know just where to put them when tidying up. Take a look at Simon’s nursery closet, our linen closet and pantry for a few spots in our home that tend to stay neat & tidy due […]
Nursery Closet Details: Part I [DIY shelves + drawers + rods] | This is our Bliss
March 7, 2015 at 10:46 AM[…] ← Bargain Buy [$5 pillow] + Guestroom Revamp checklist Nursery Closet Details: Part 2 [Accessories + Labels] → […]
Nursery Closet Makeover || And the {paint} winner is… | This is our Bliss
March 7, 2015 at 10:22 AM[…] Closet Details: Part 2 […]