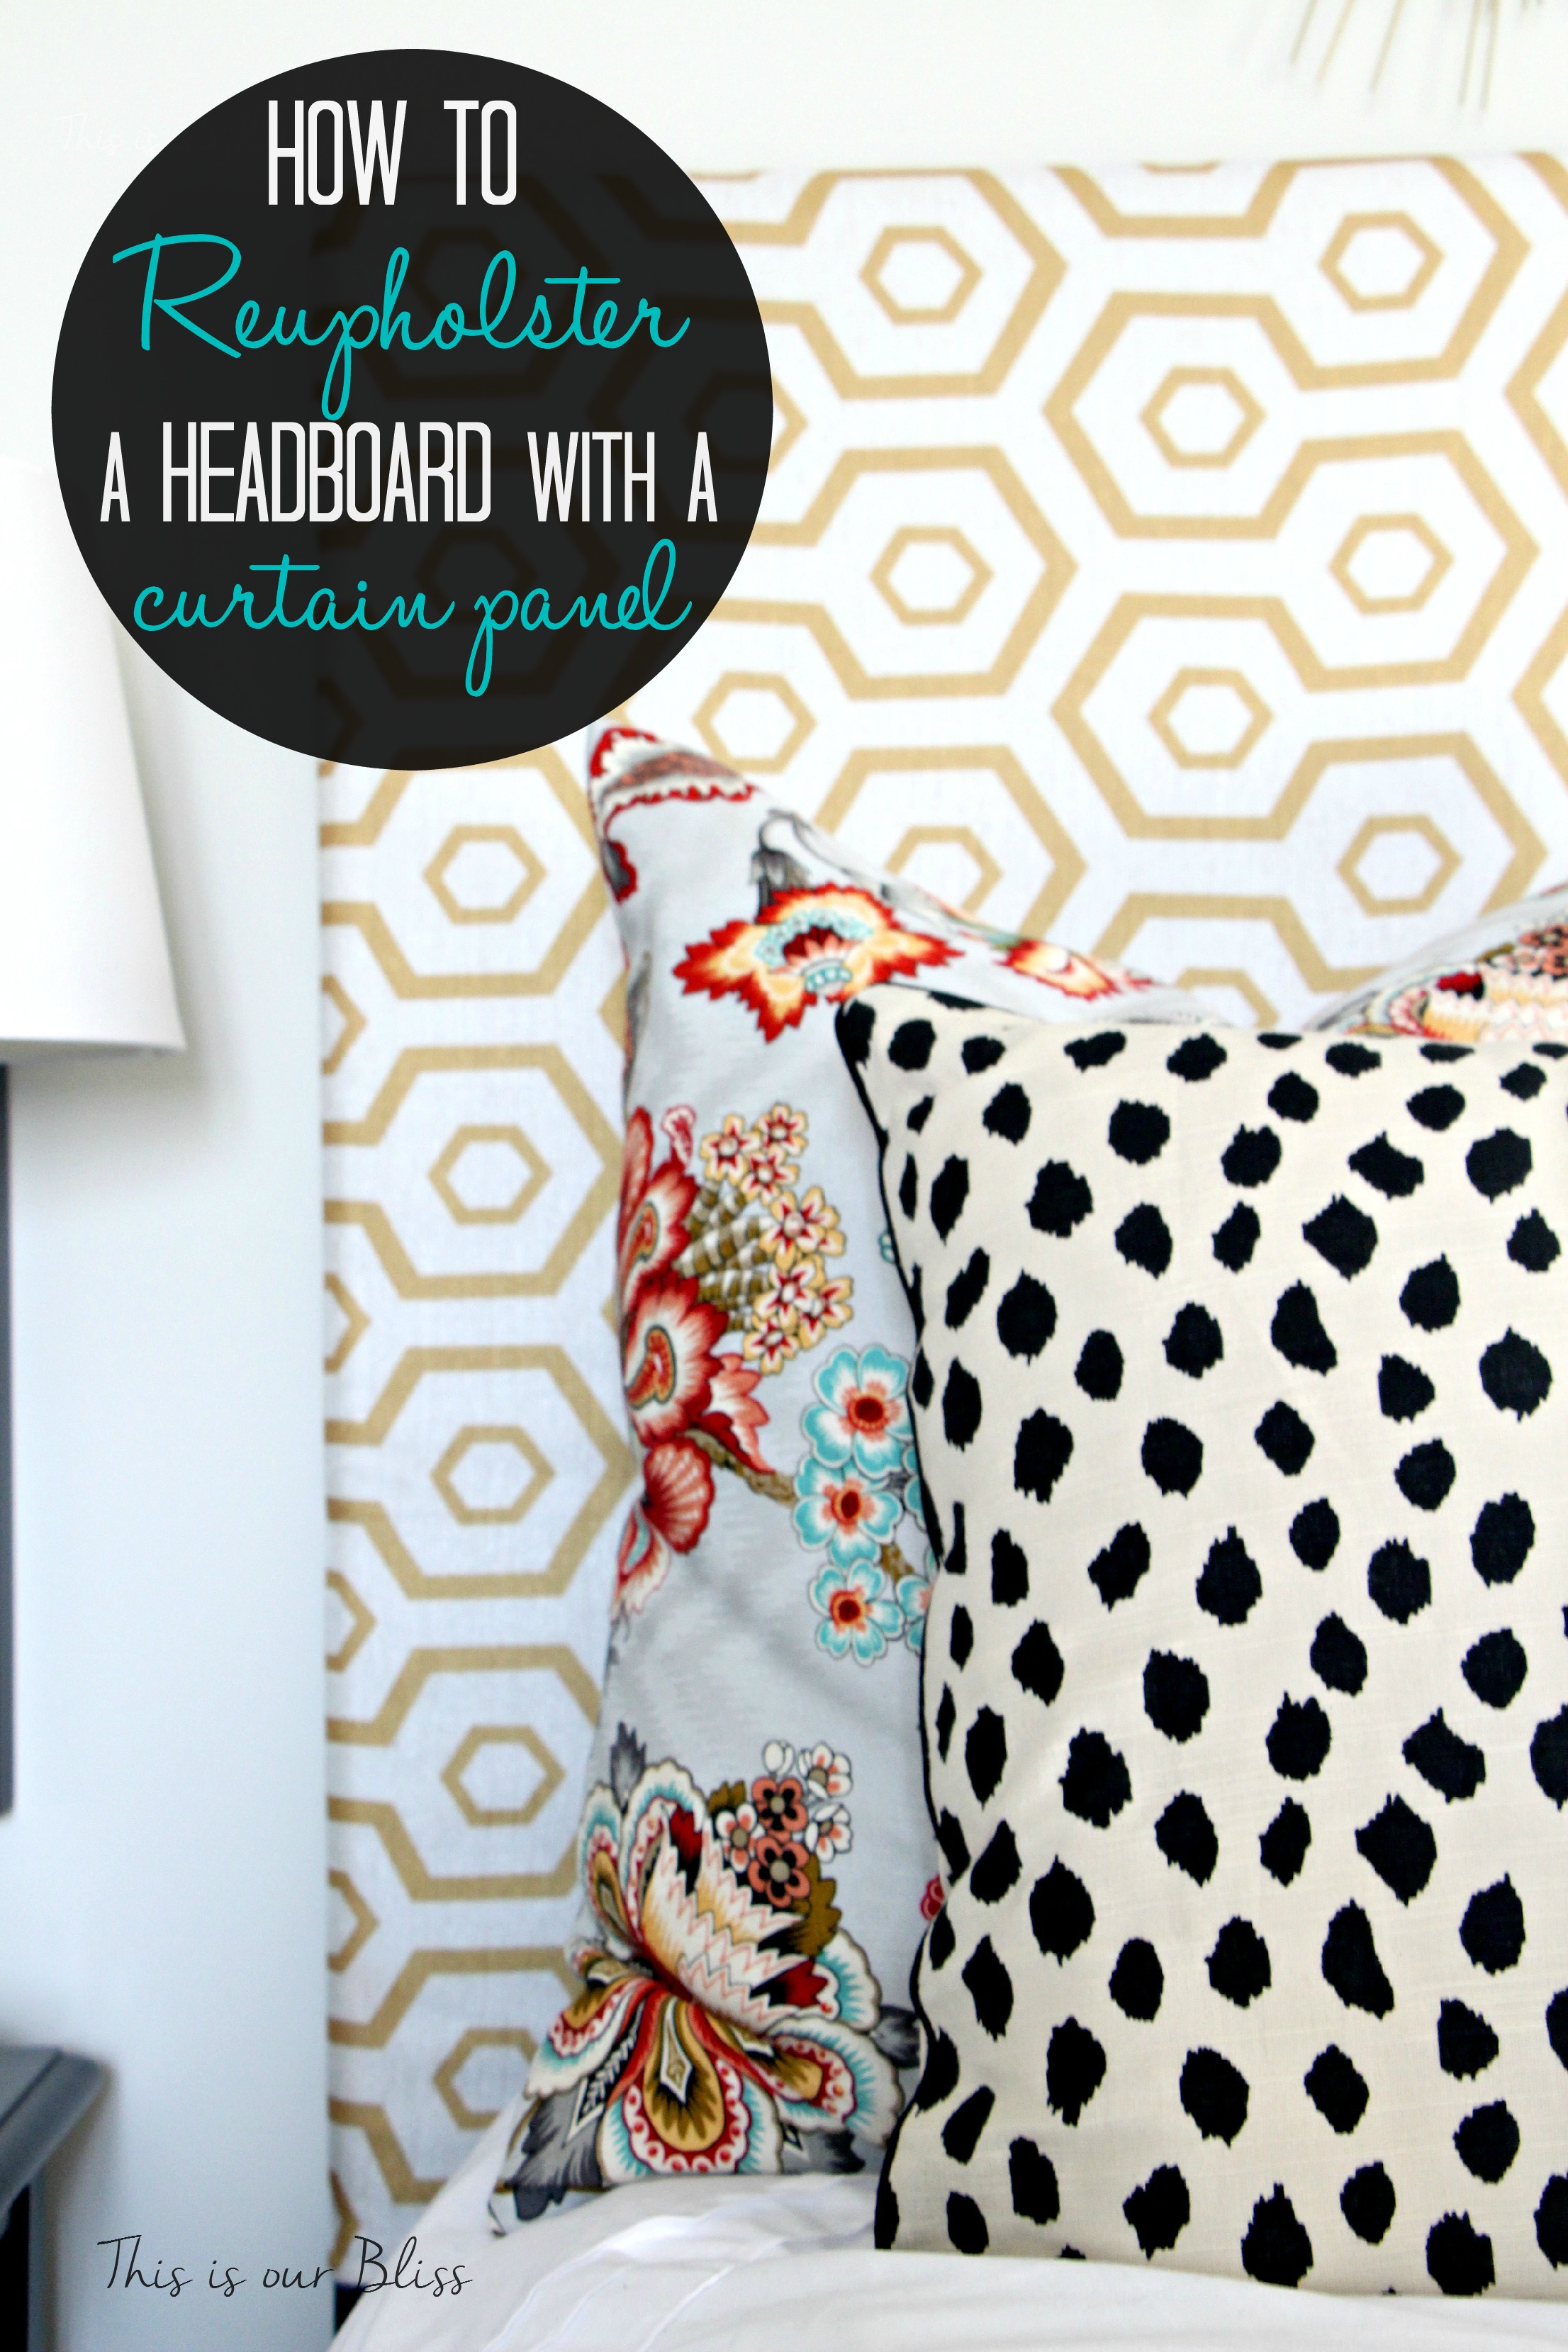
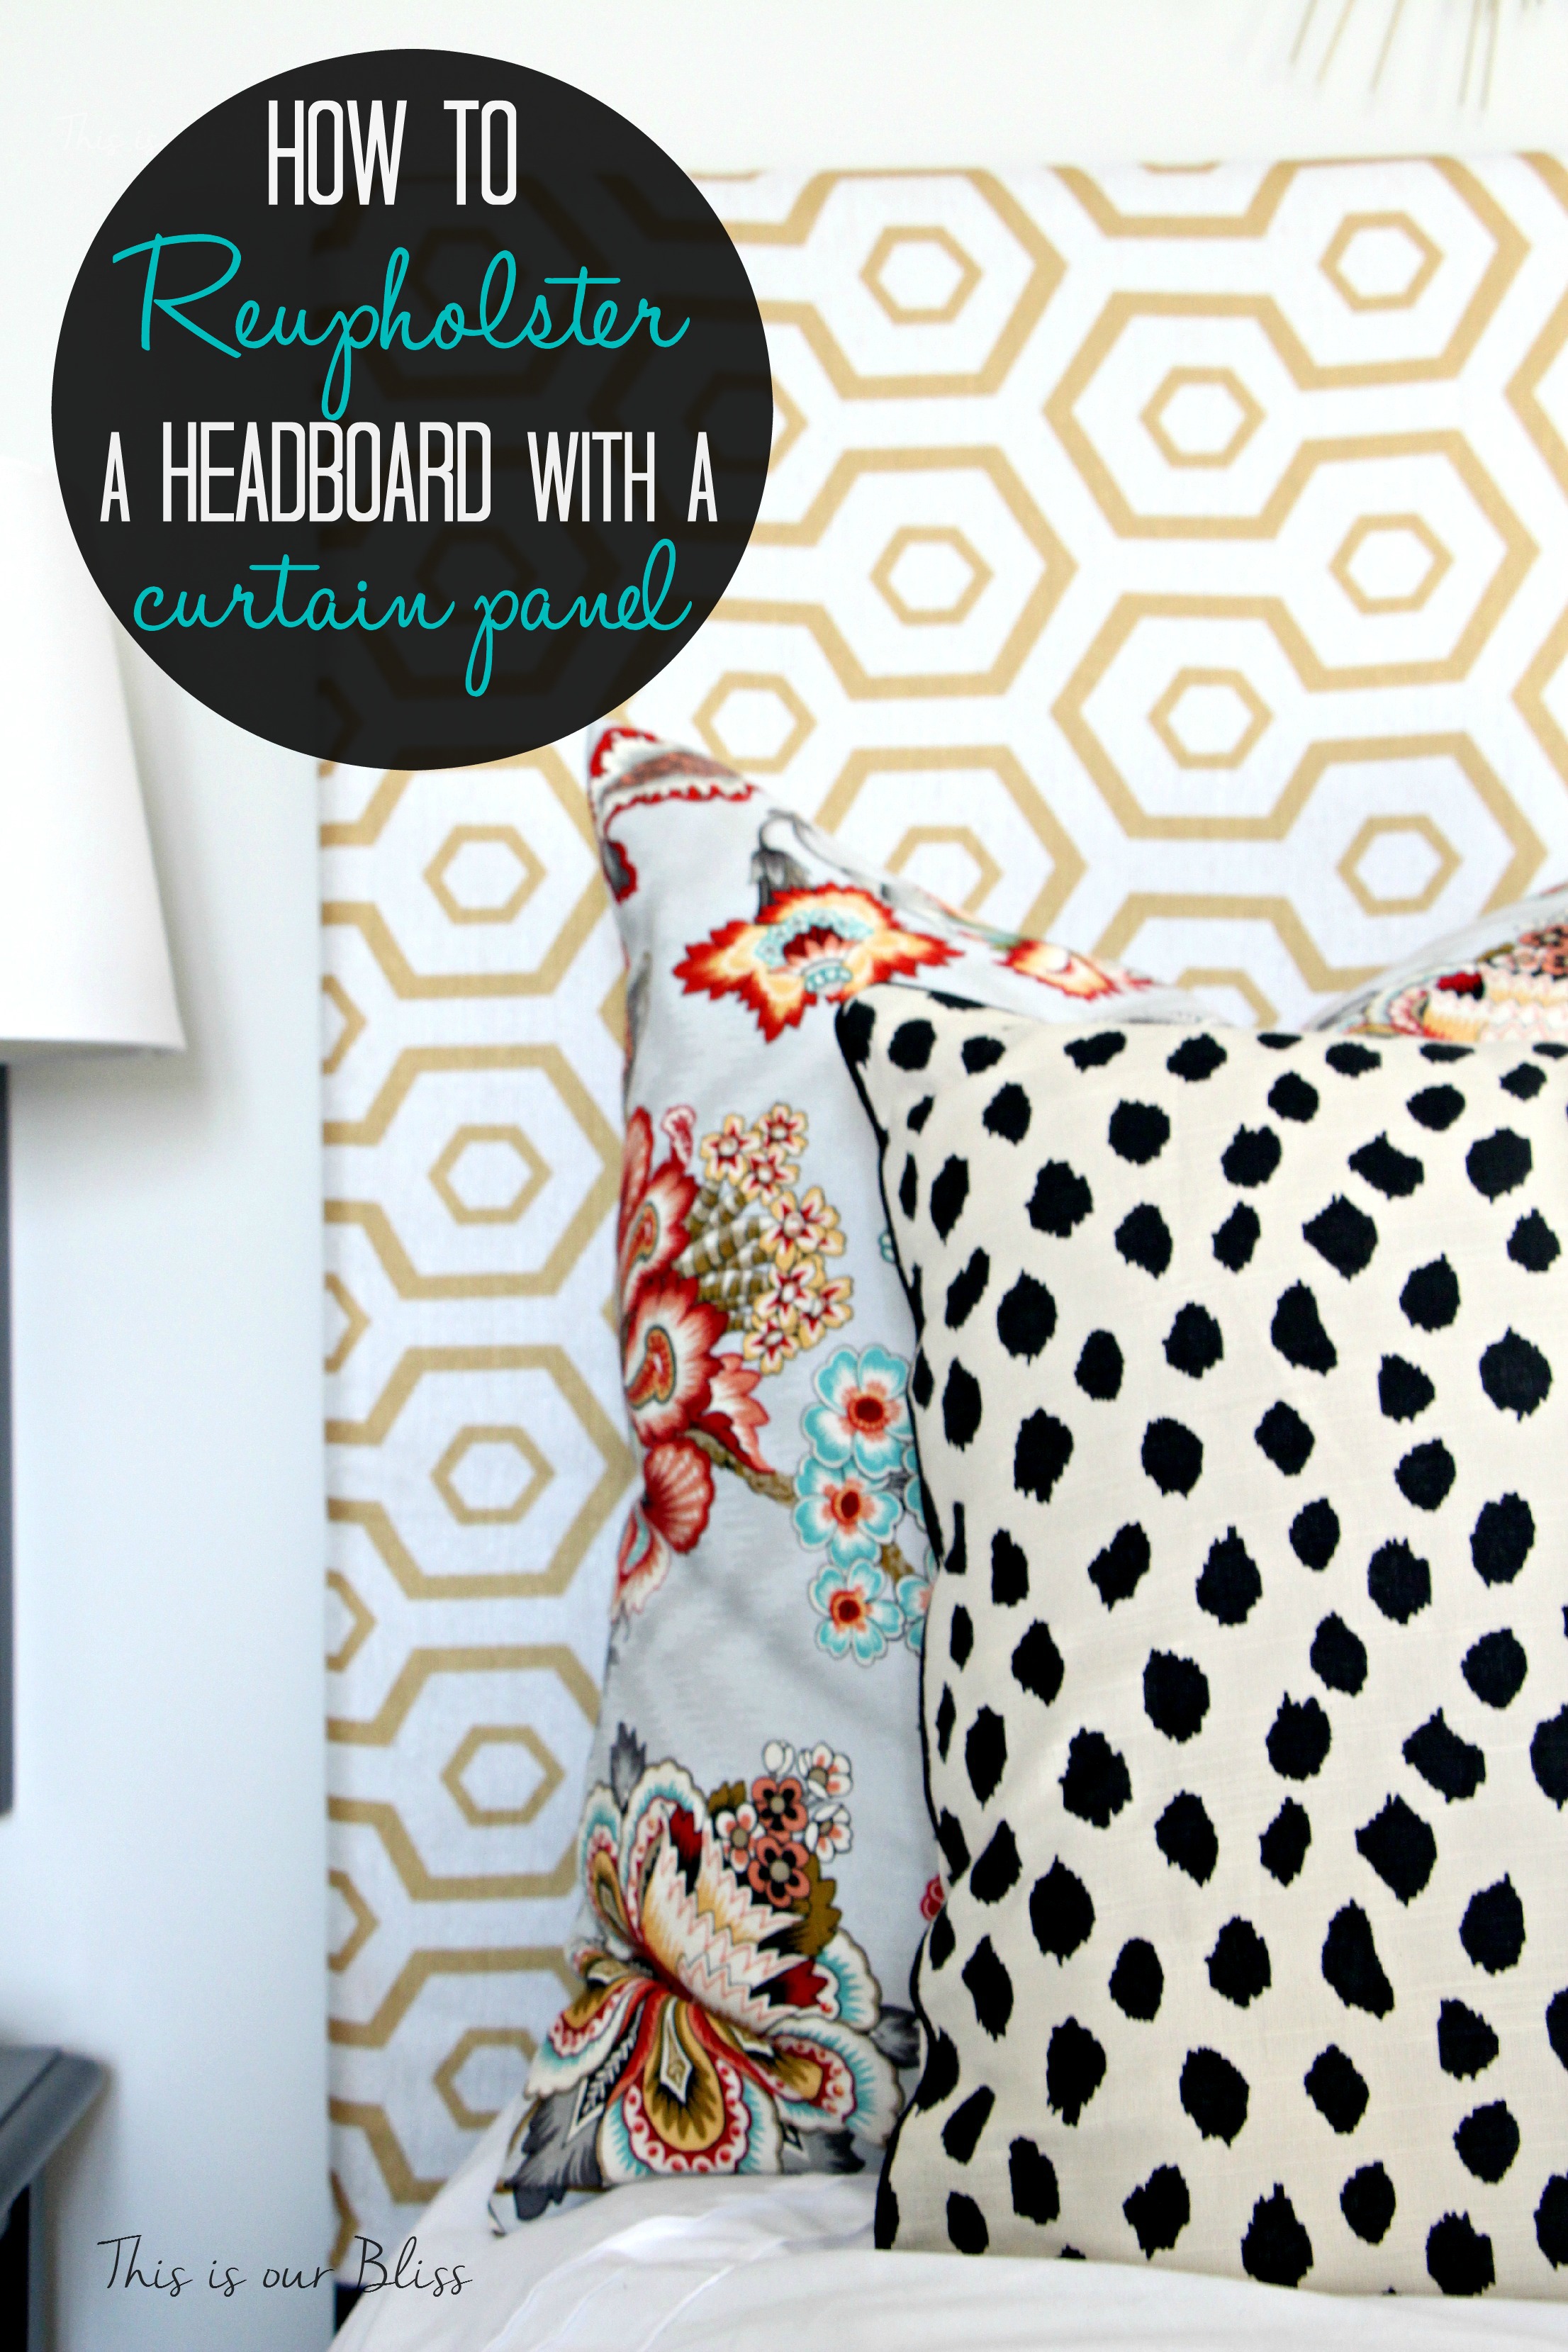
There are so many ways to update your headboard. You could paint it or do a total makeover by re-upholstering a headboard. It’s a fairly easy process and you can get creative by using the fabric of your choice, or a curtain panel like I used on this headboard! Today, I’m sharing How to Upholster a Headboard with a Curtain!
Do you remember when I shared this insta pic earlier this month?
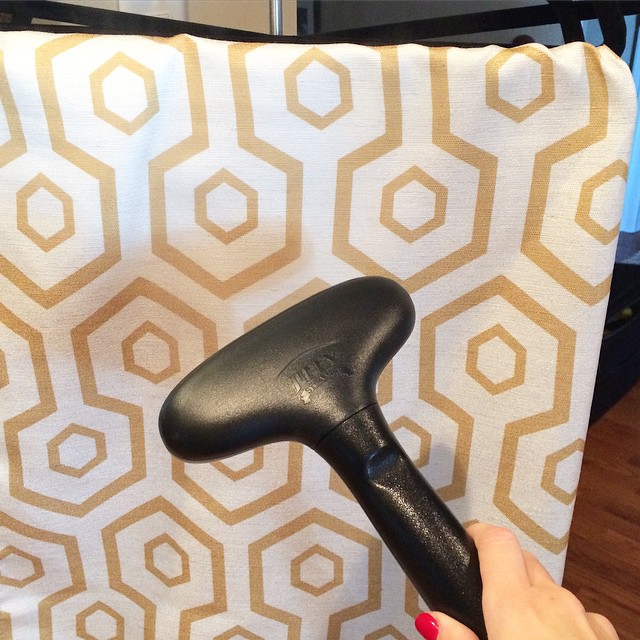
UPHOLSTERING A HEADBOARD FOR THE GUESTROOM
I happened to be out shopping at HG one day, totally odd, I know, and I came across this great set of curtain panels. I thought the deep yellow might just be a lovely match to the golden yellow in my cane chair fabric, so I picked up 2 sets and headed home to check it out.
They were just that…a perfect color match and I decided I really liked the bold geometric pattern paired with the soft, but bold floral print. The curtains sat around for a little while among all of my other random finds for the room until one day, my friend, Haley and I were playing around with fabric swatches for pillow ensembles.
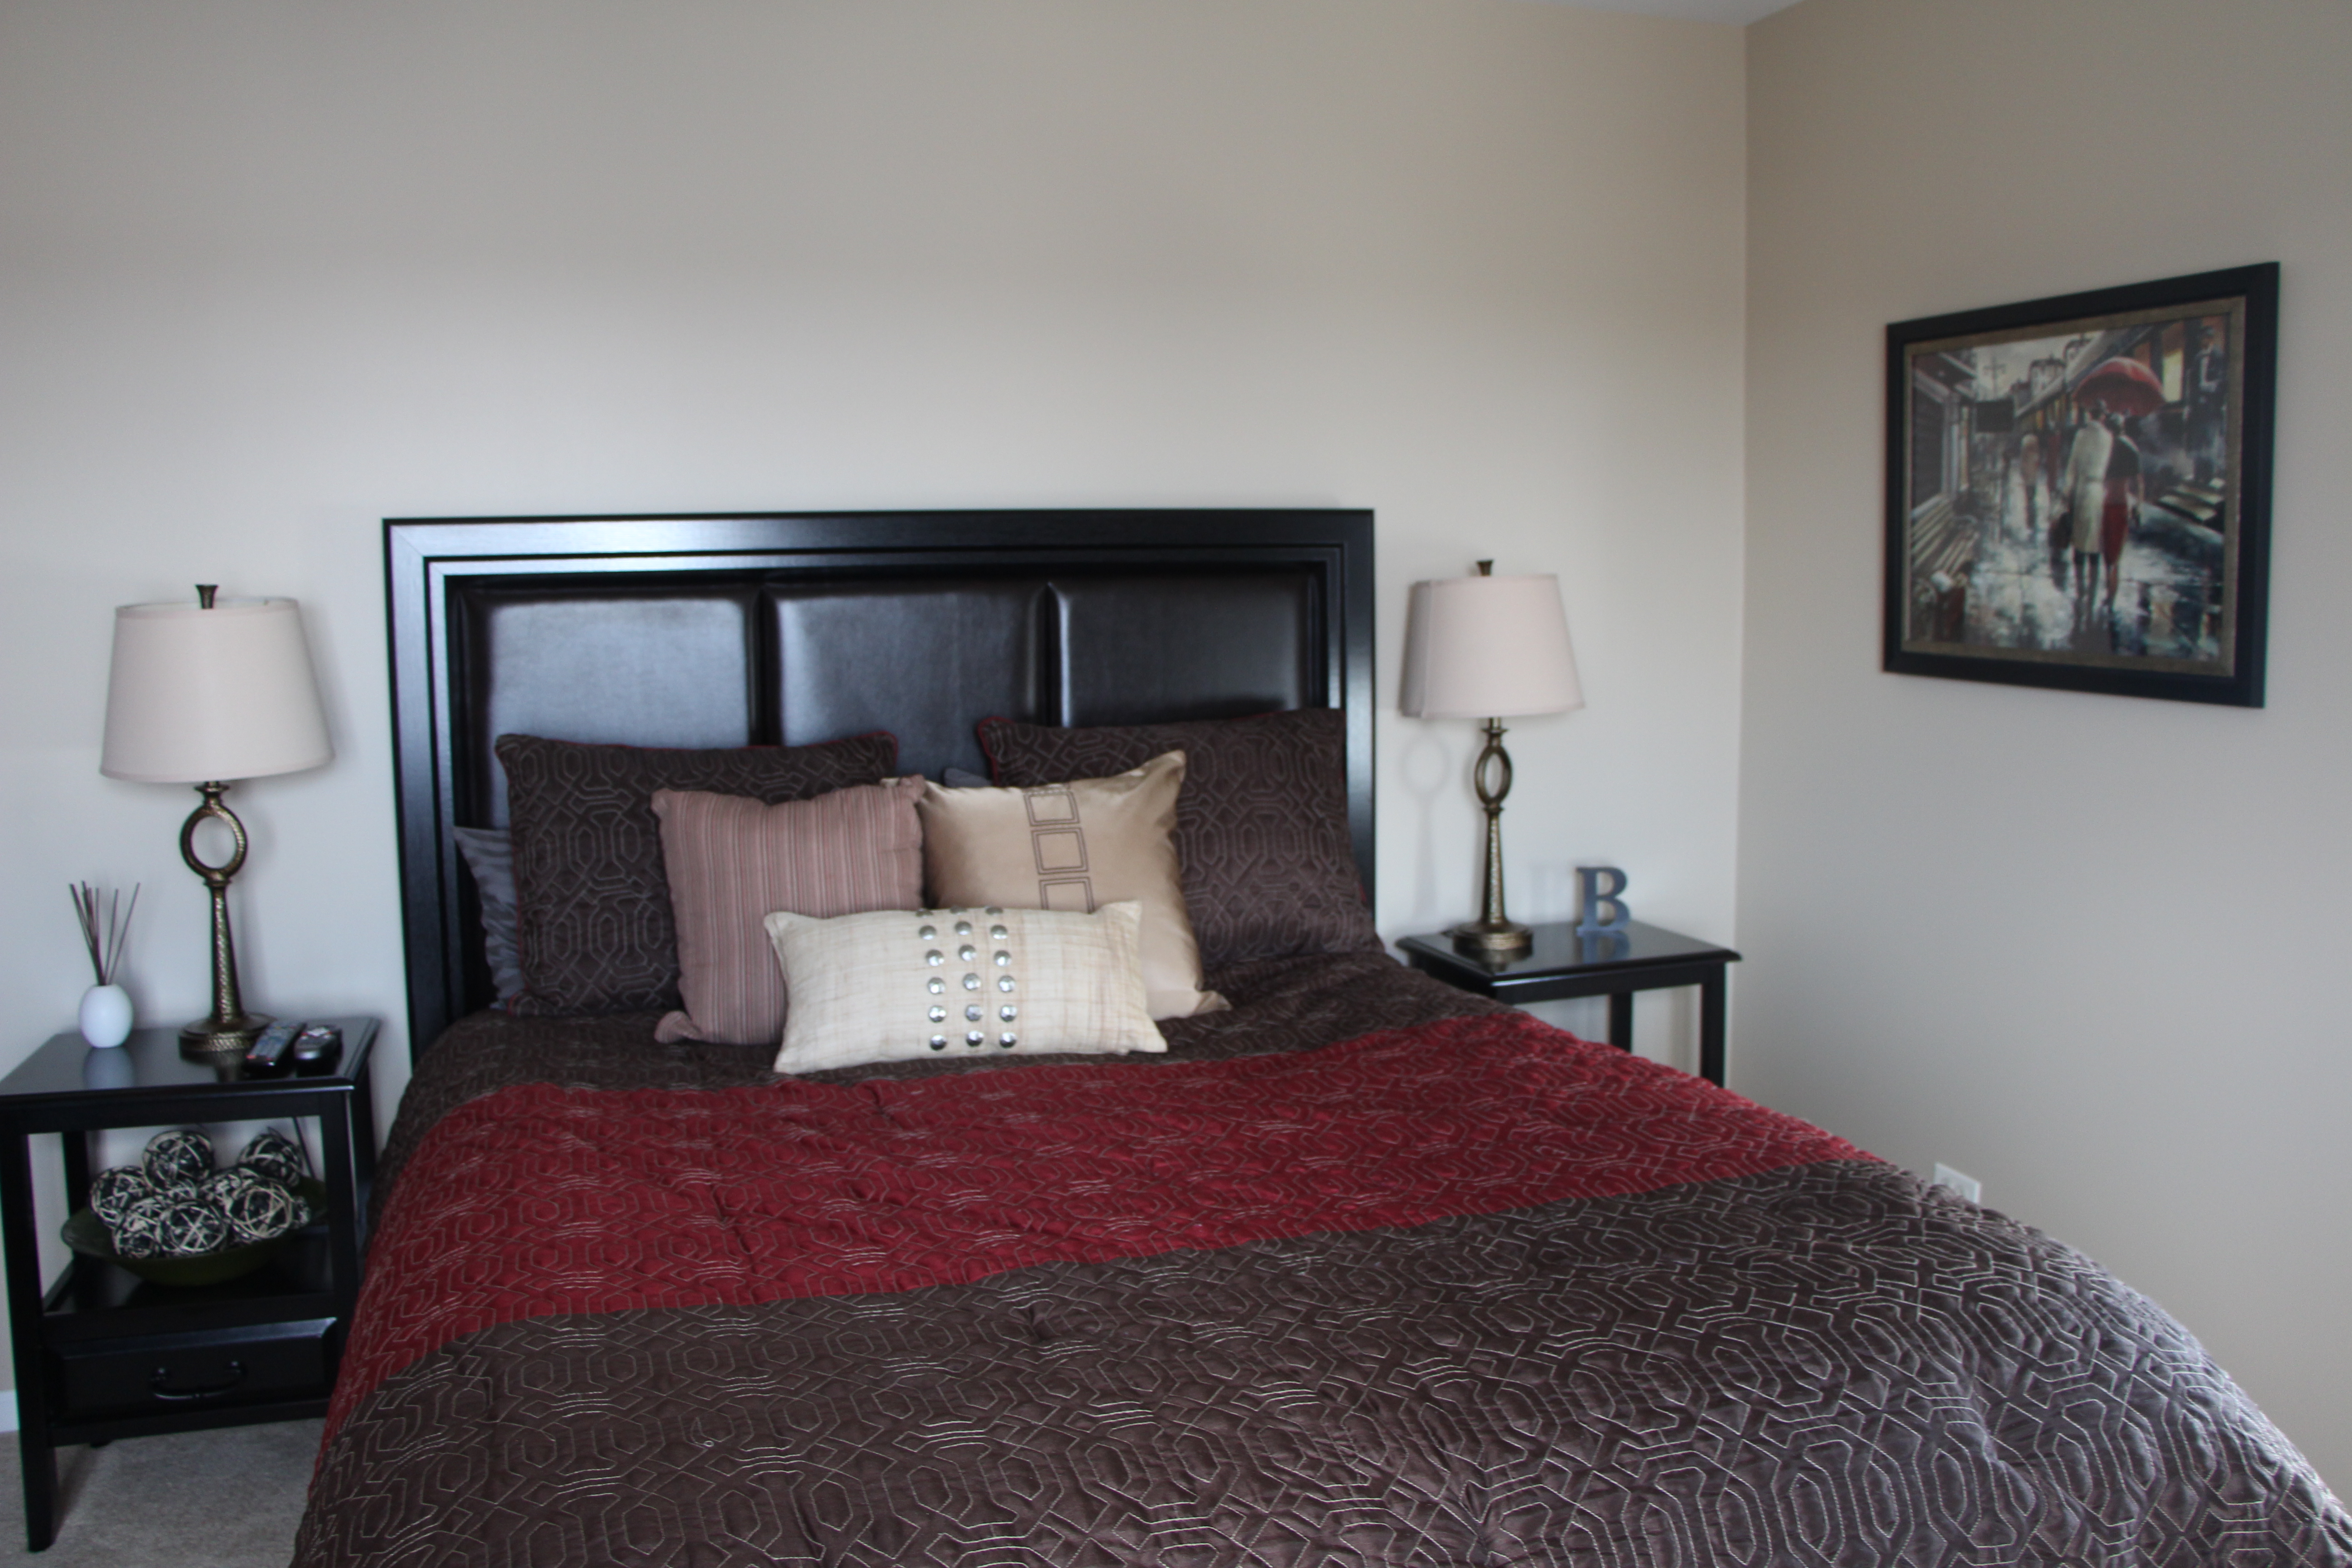
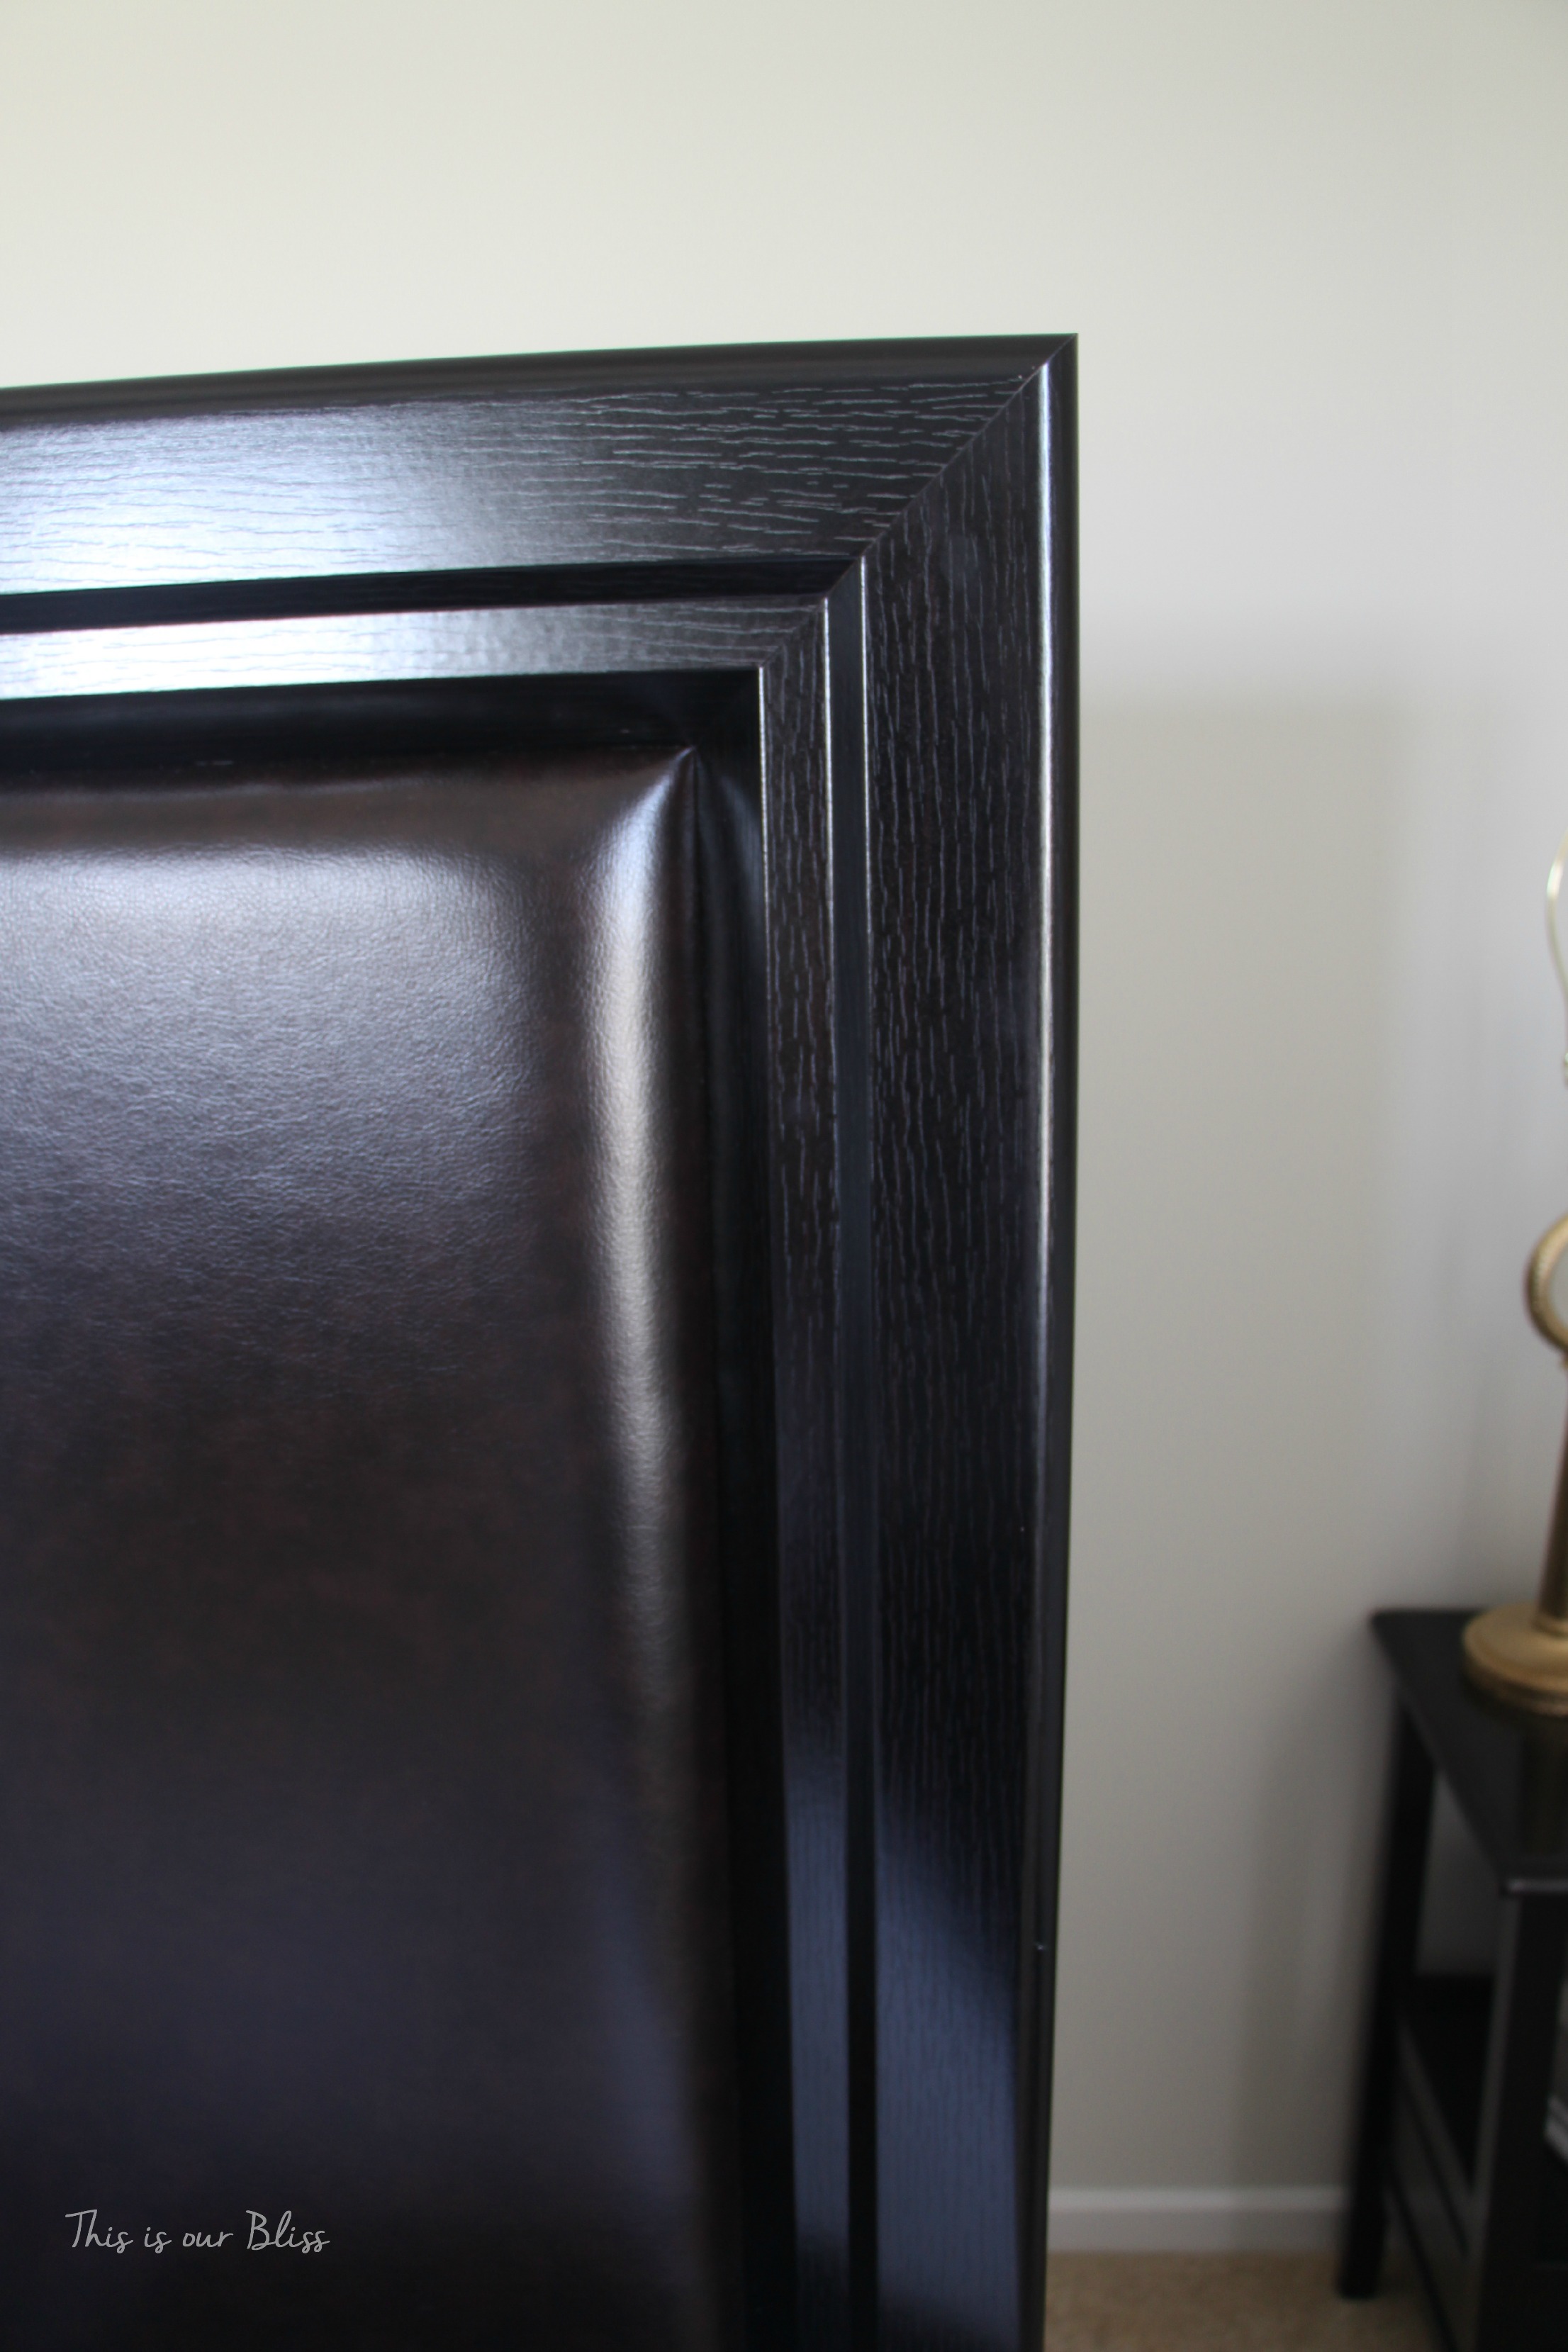
We sort of laid the curtain panel over the front of the dark wood & leather headboard to get a feel for the contrast of prints and patterns and we realized it might just make the perfect headboard covering!
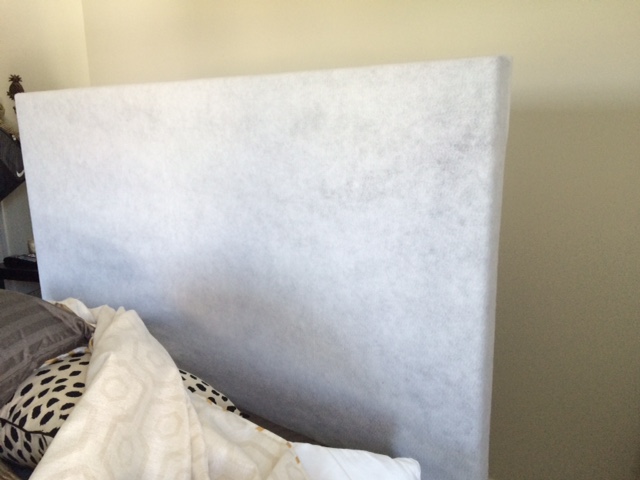
THE HEADBOARD BEFORE
It magically worked out that one curtain panel was just the right size to be stretched across the headboard to upholster it in its entirety. I let it sit with scotch tape holding it to the headboard for a couple of weeks, until I got out my supplies one Saturday morning and knew it was time to just do it.
Yes, it was time to put my DIY skills to the test and try my hand at upholstering a headboard!

So today, I will do my best to walk you through the steps I took to create this look – a custom headboard reupholstered with a curtain panel!!
SUPPLIES NEEDED FOR UPHOLSTERING A HEADBOARD
- fabric [or curtains panels in my case]
- foam batting
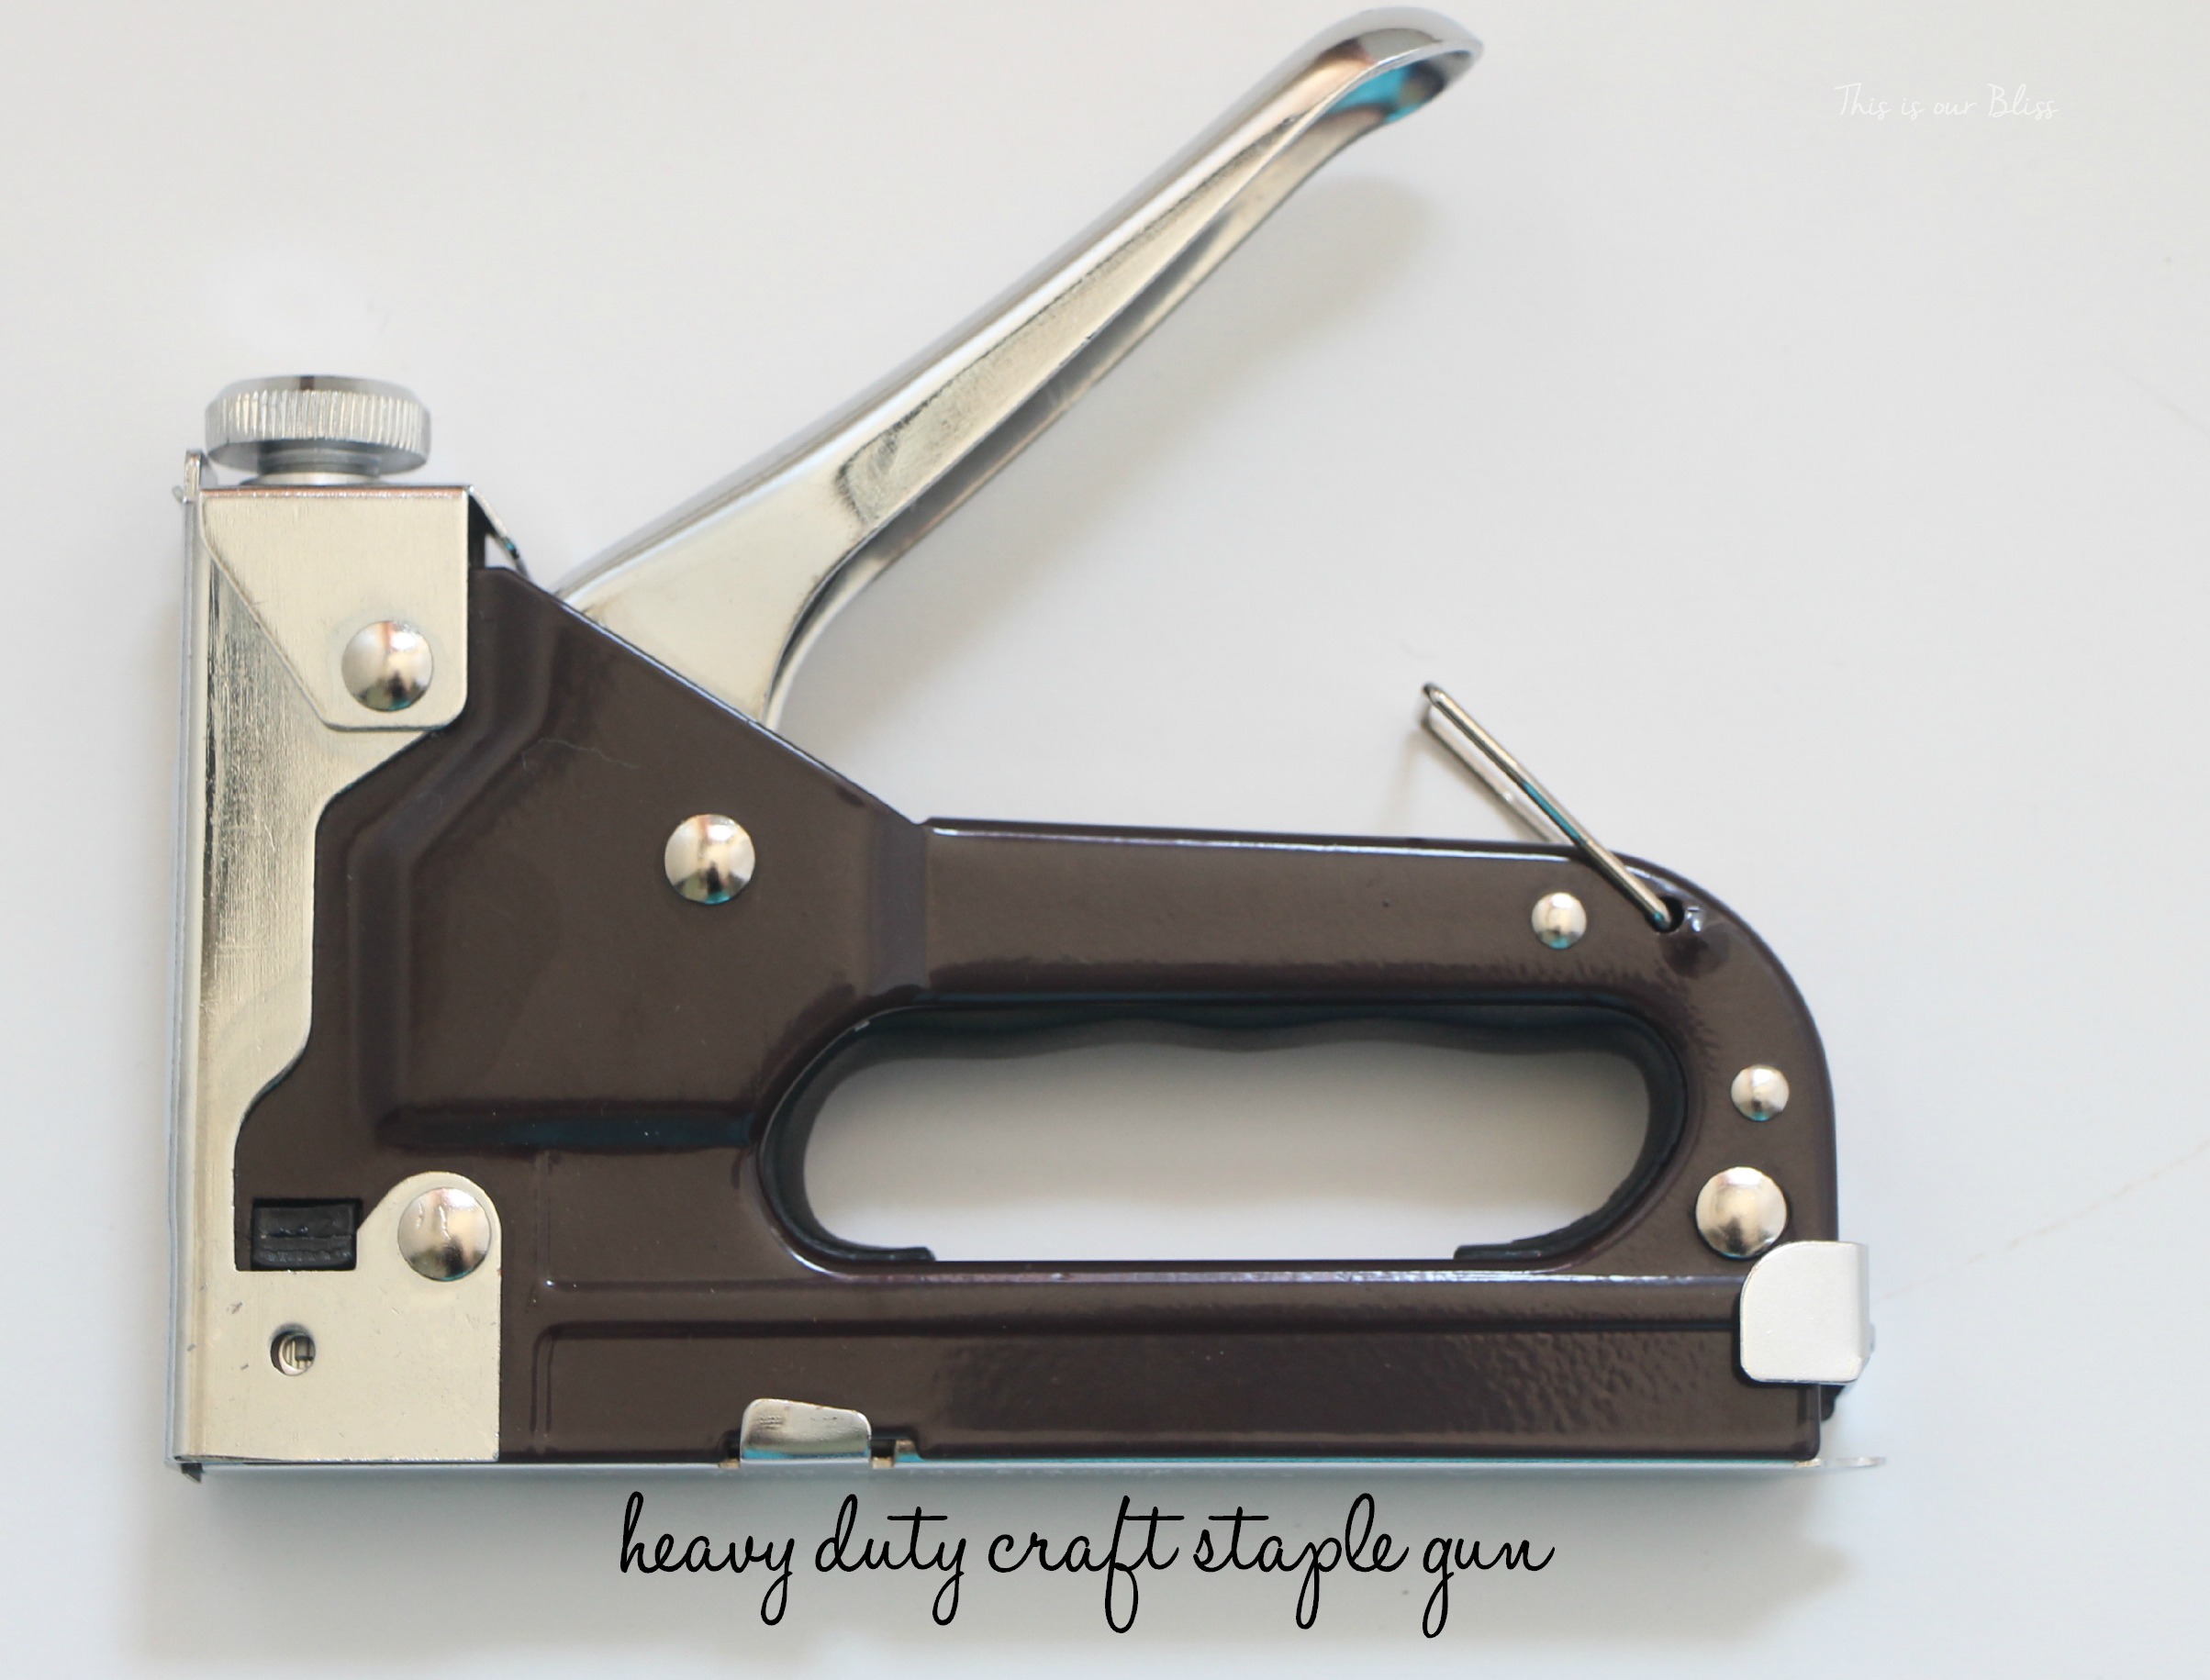
- staple gun
- push pins
- upholstery nails
- tack hammer
- needlenose pliers
DIRECTIONS FOR UPHOLSTERING A HEADBOARD
- I knew the panel was going to fit, so I didn’t take the time to measure anything. First, put furniture gliders under the front corners of the bed so we could push the bed out from the wall in order to give me some work space.
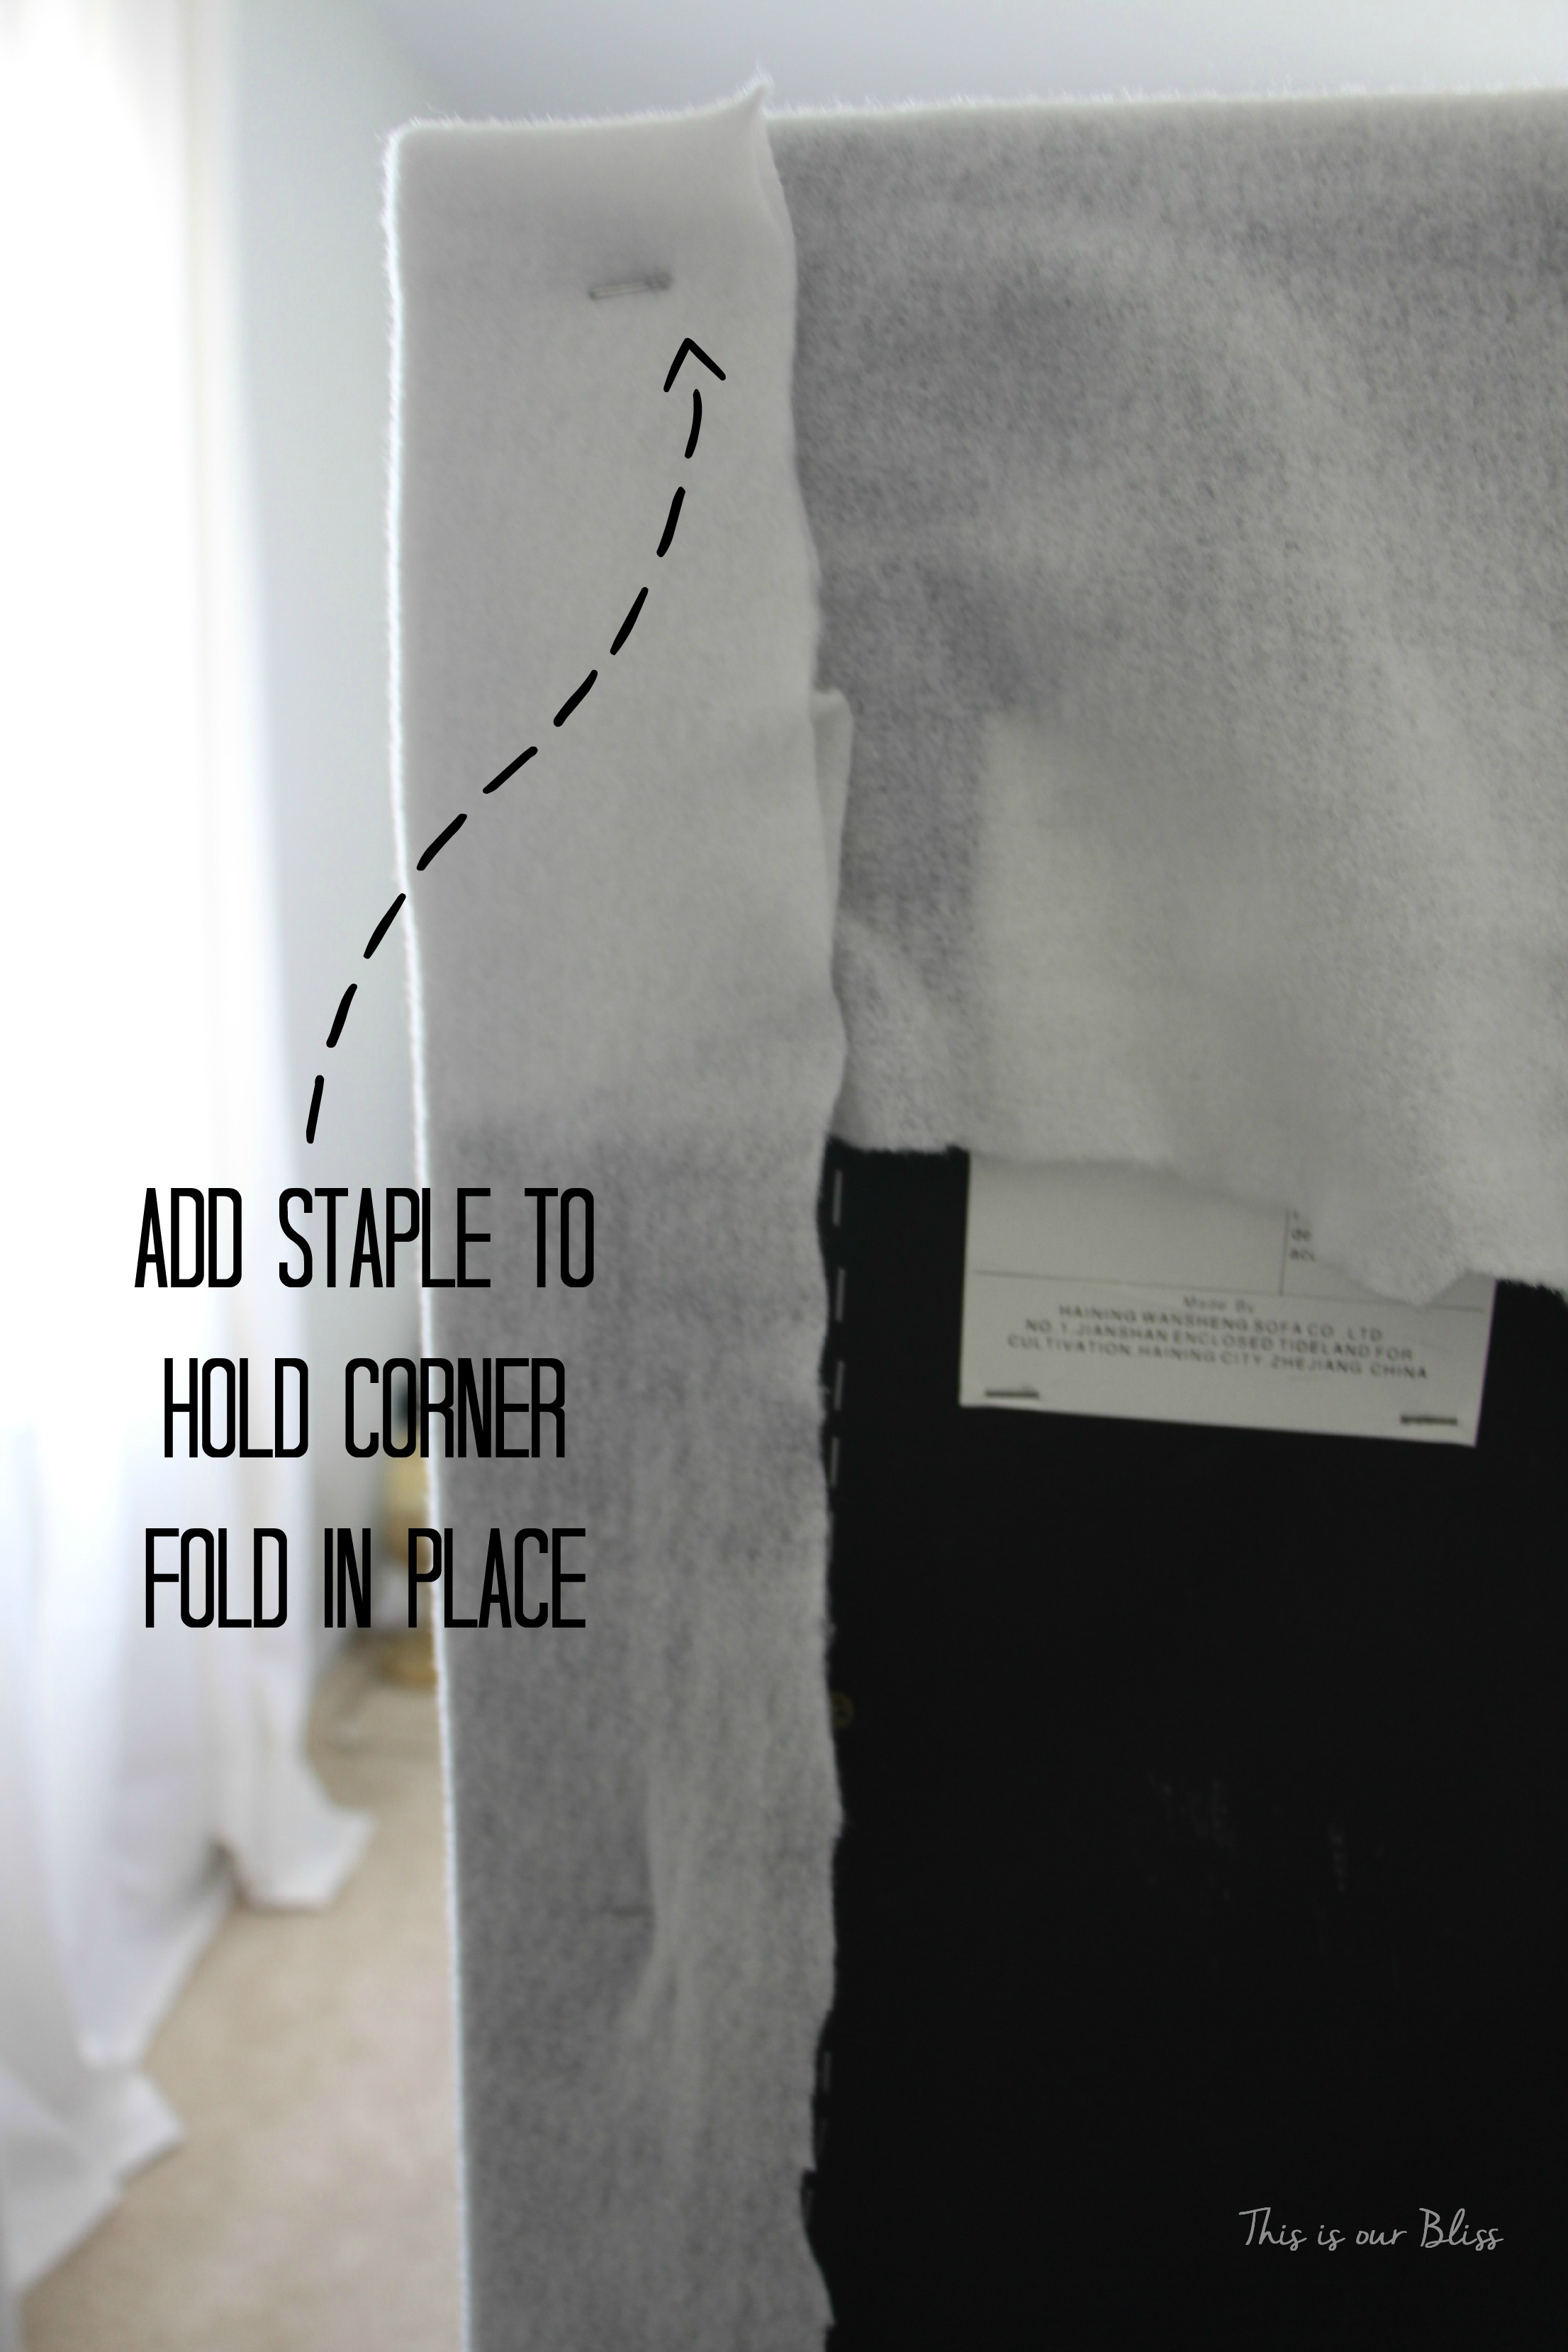
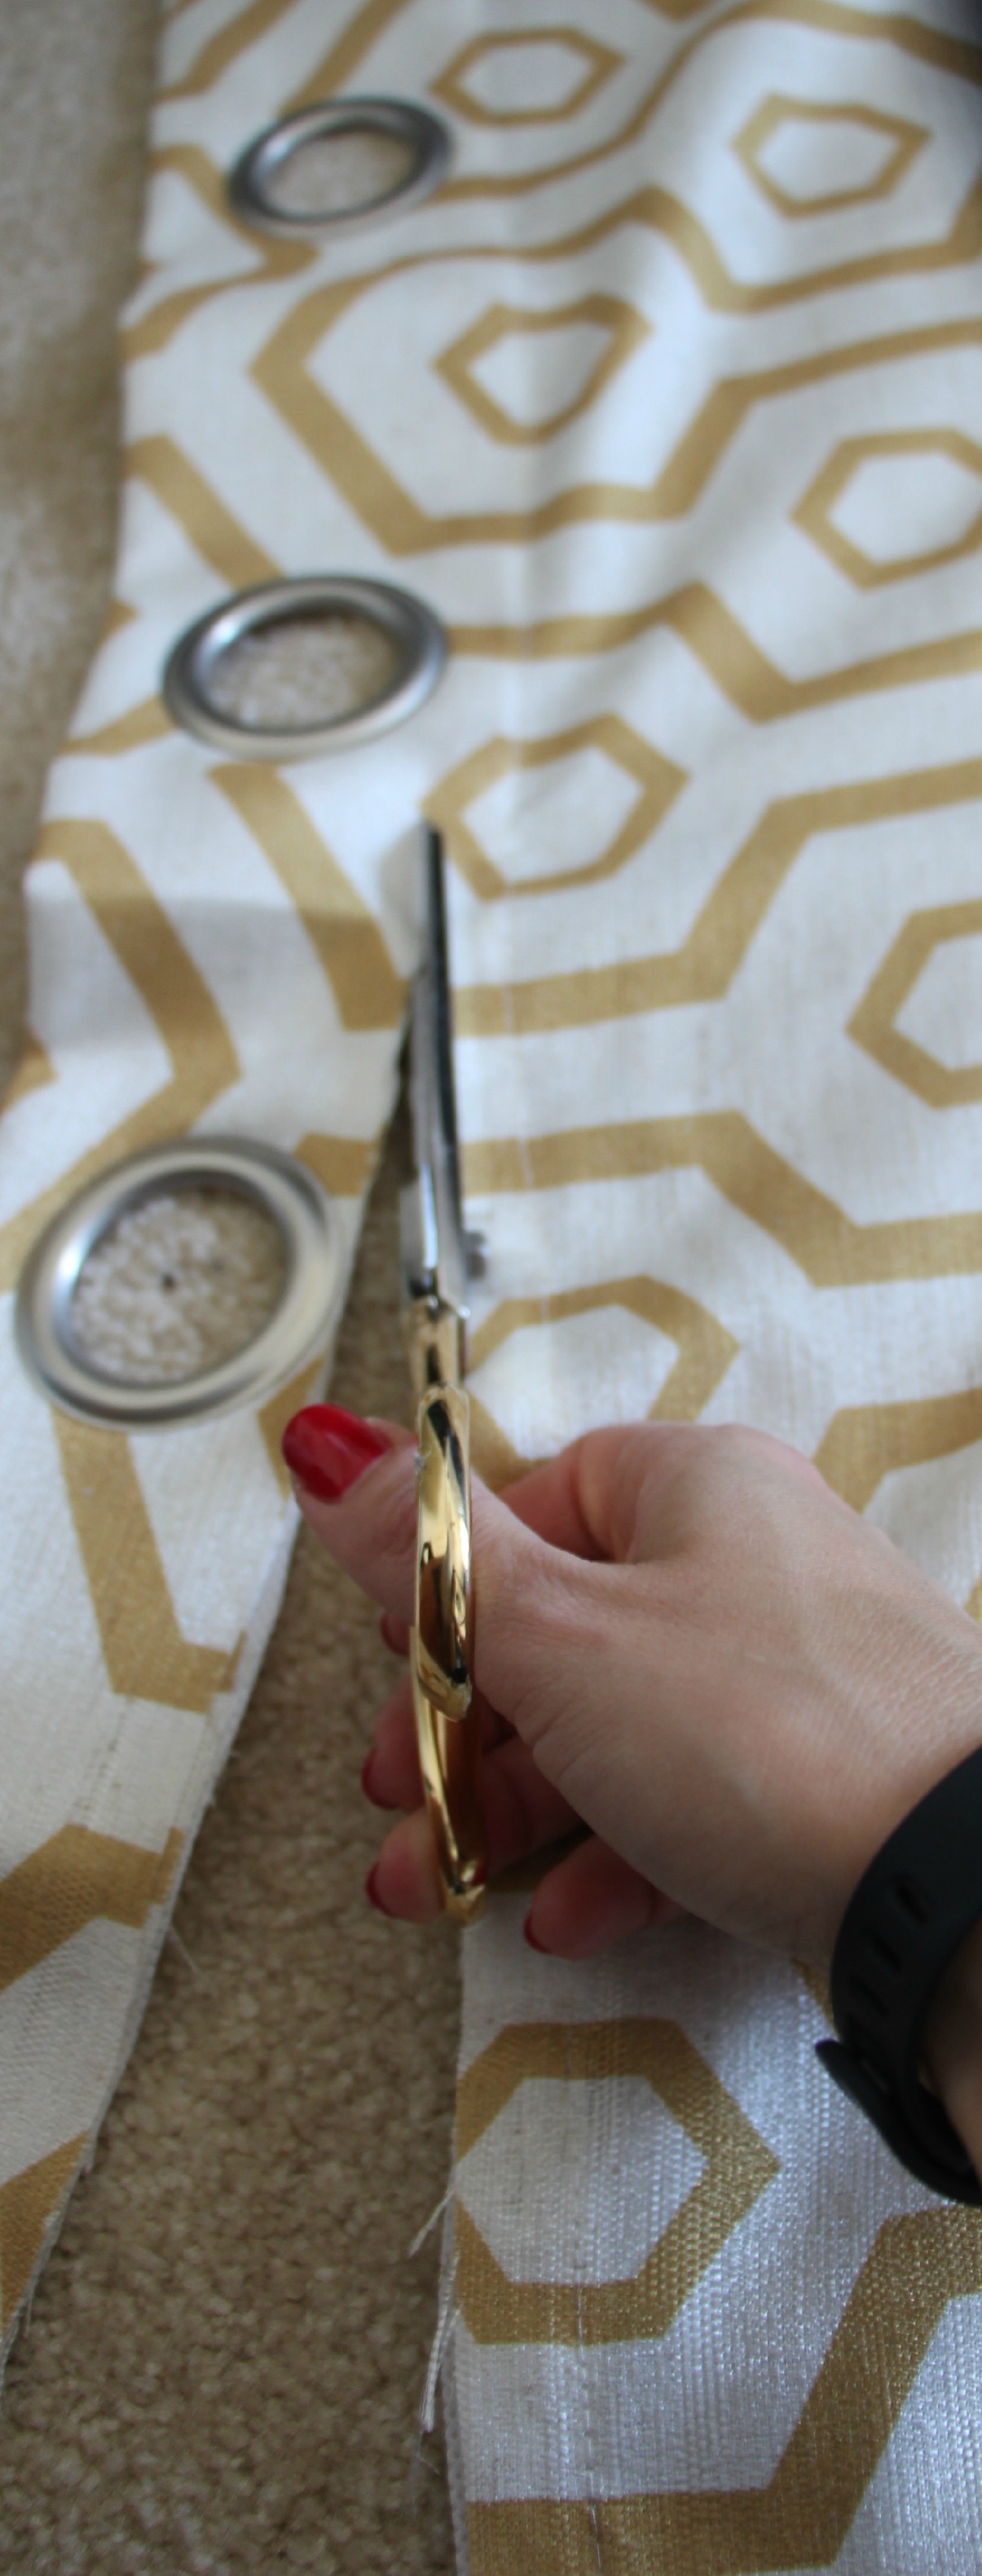
- Next, I grabbed a large piece of batting from my stash to use underneath the curtain panel. I had a very large piece and after draping it over the headboard, I cut off some of the excess from the edges.
3. I pulled the top down first.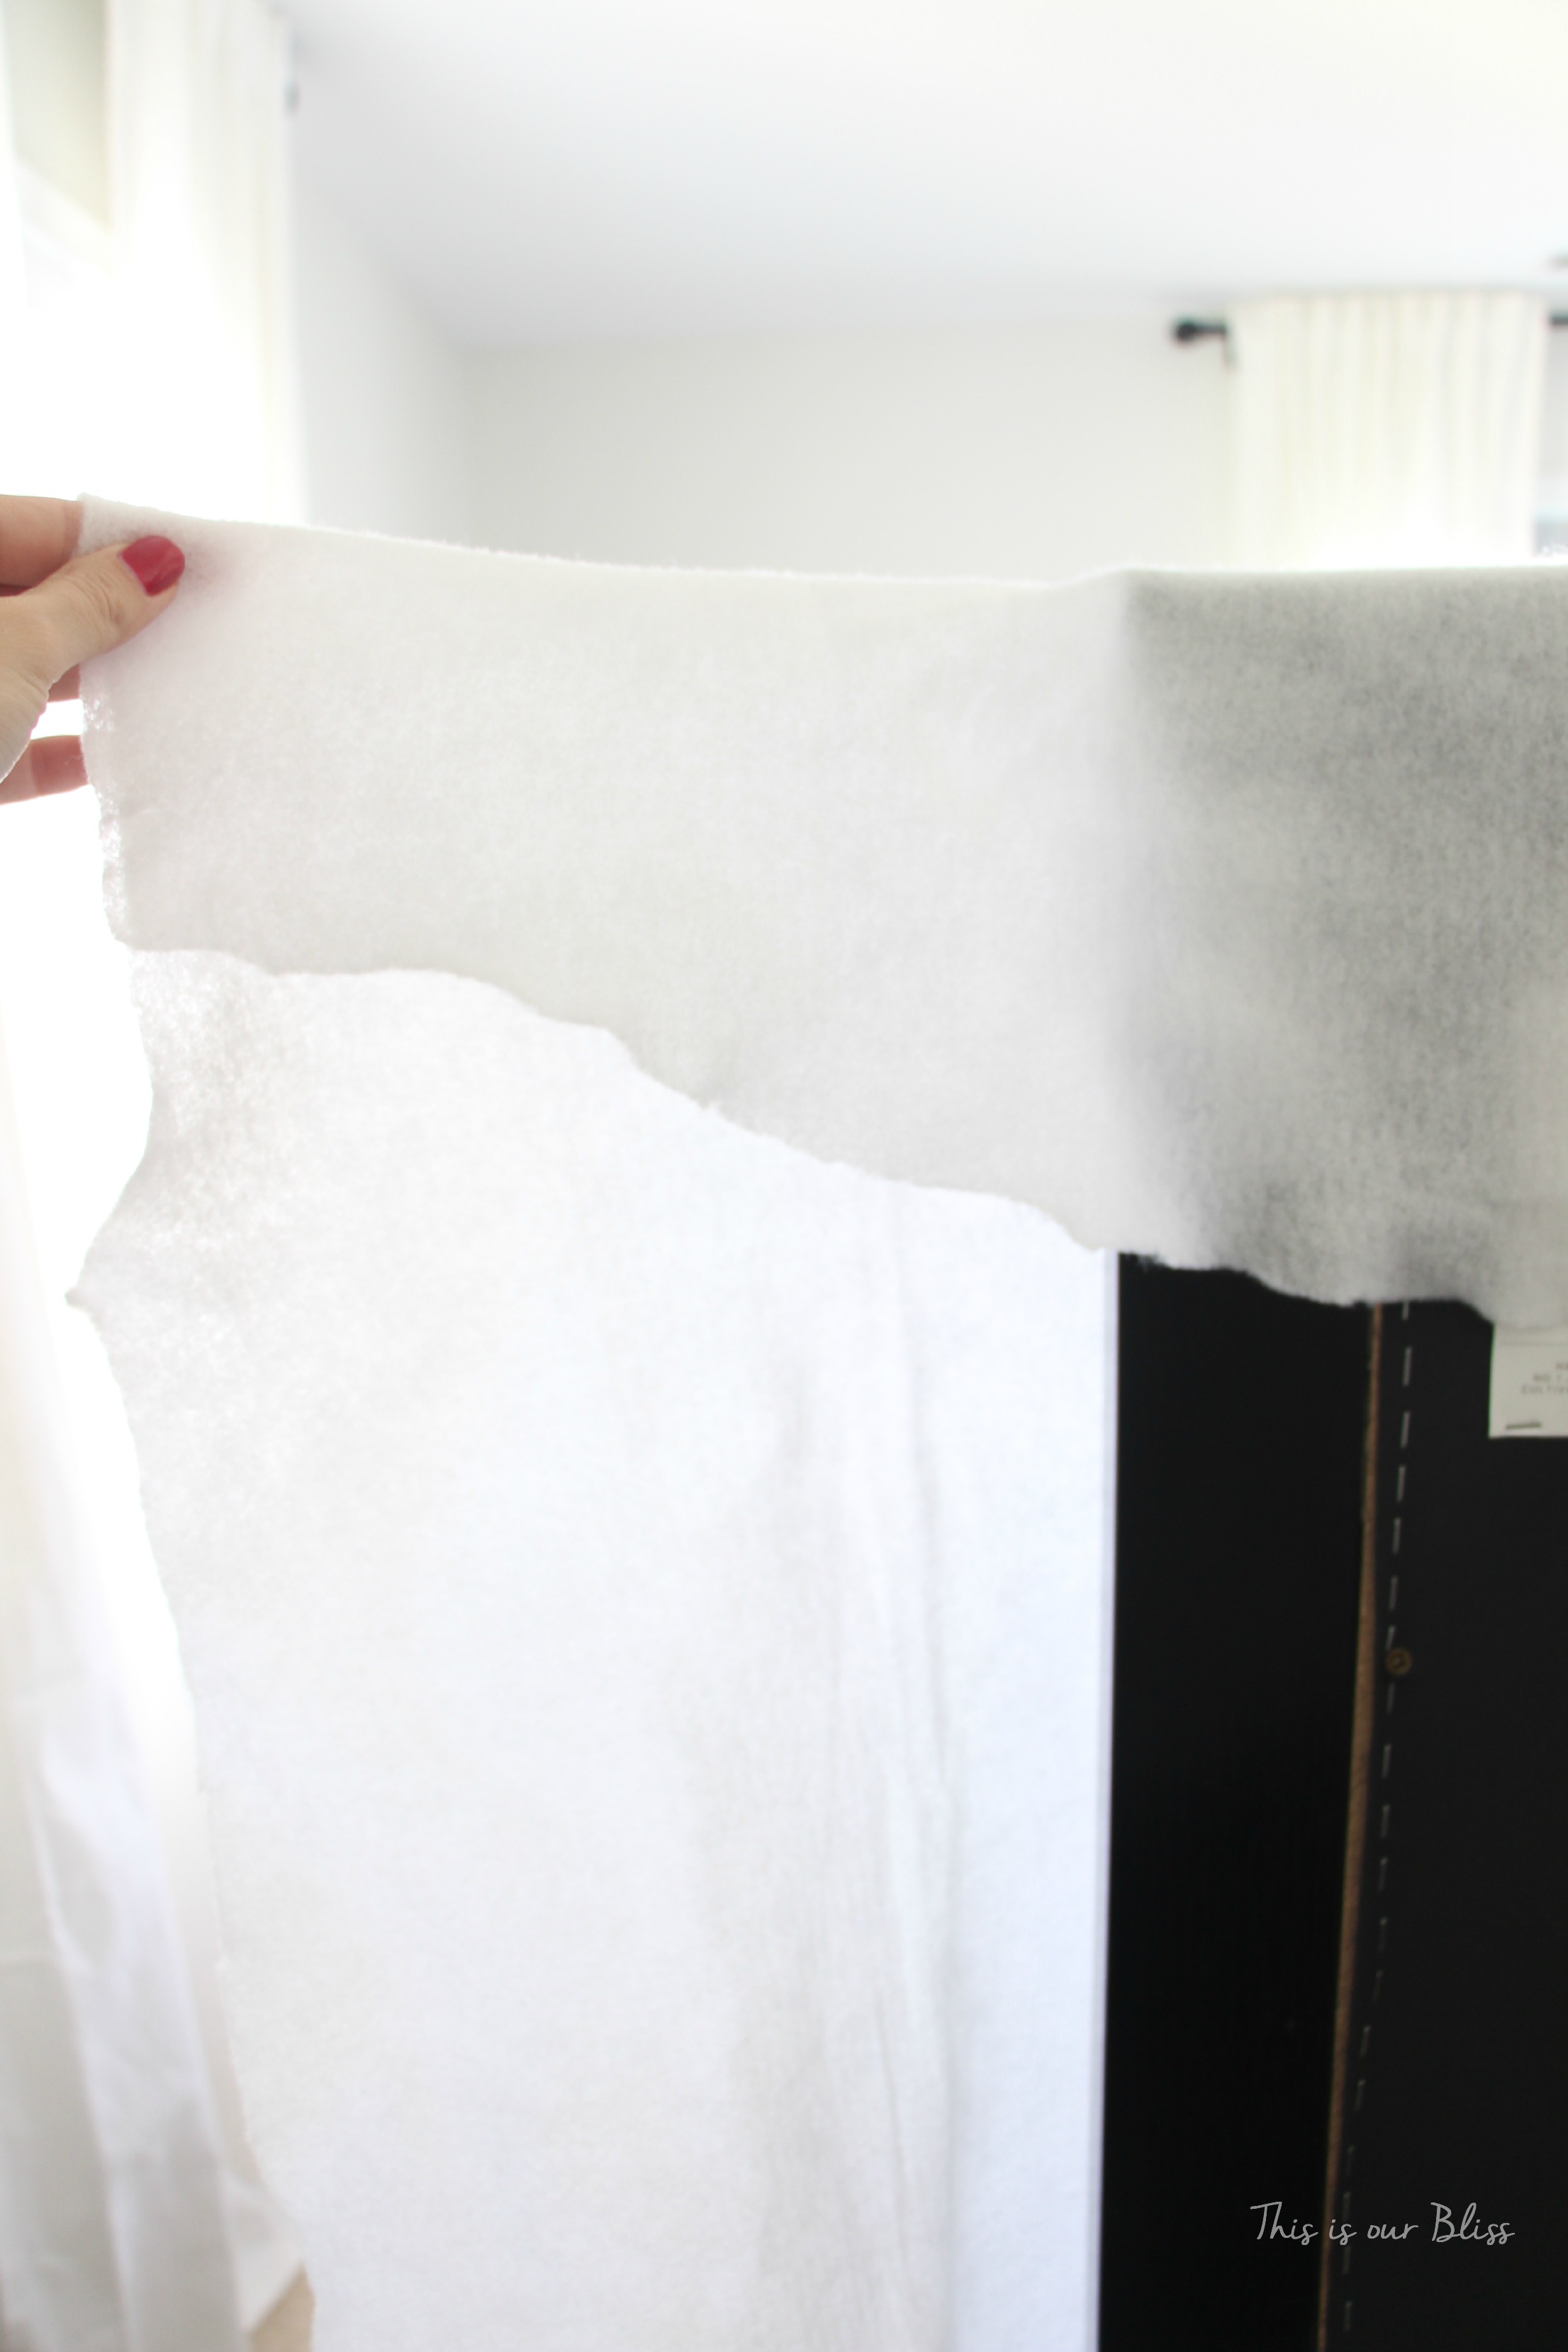
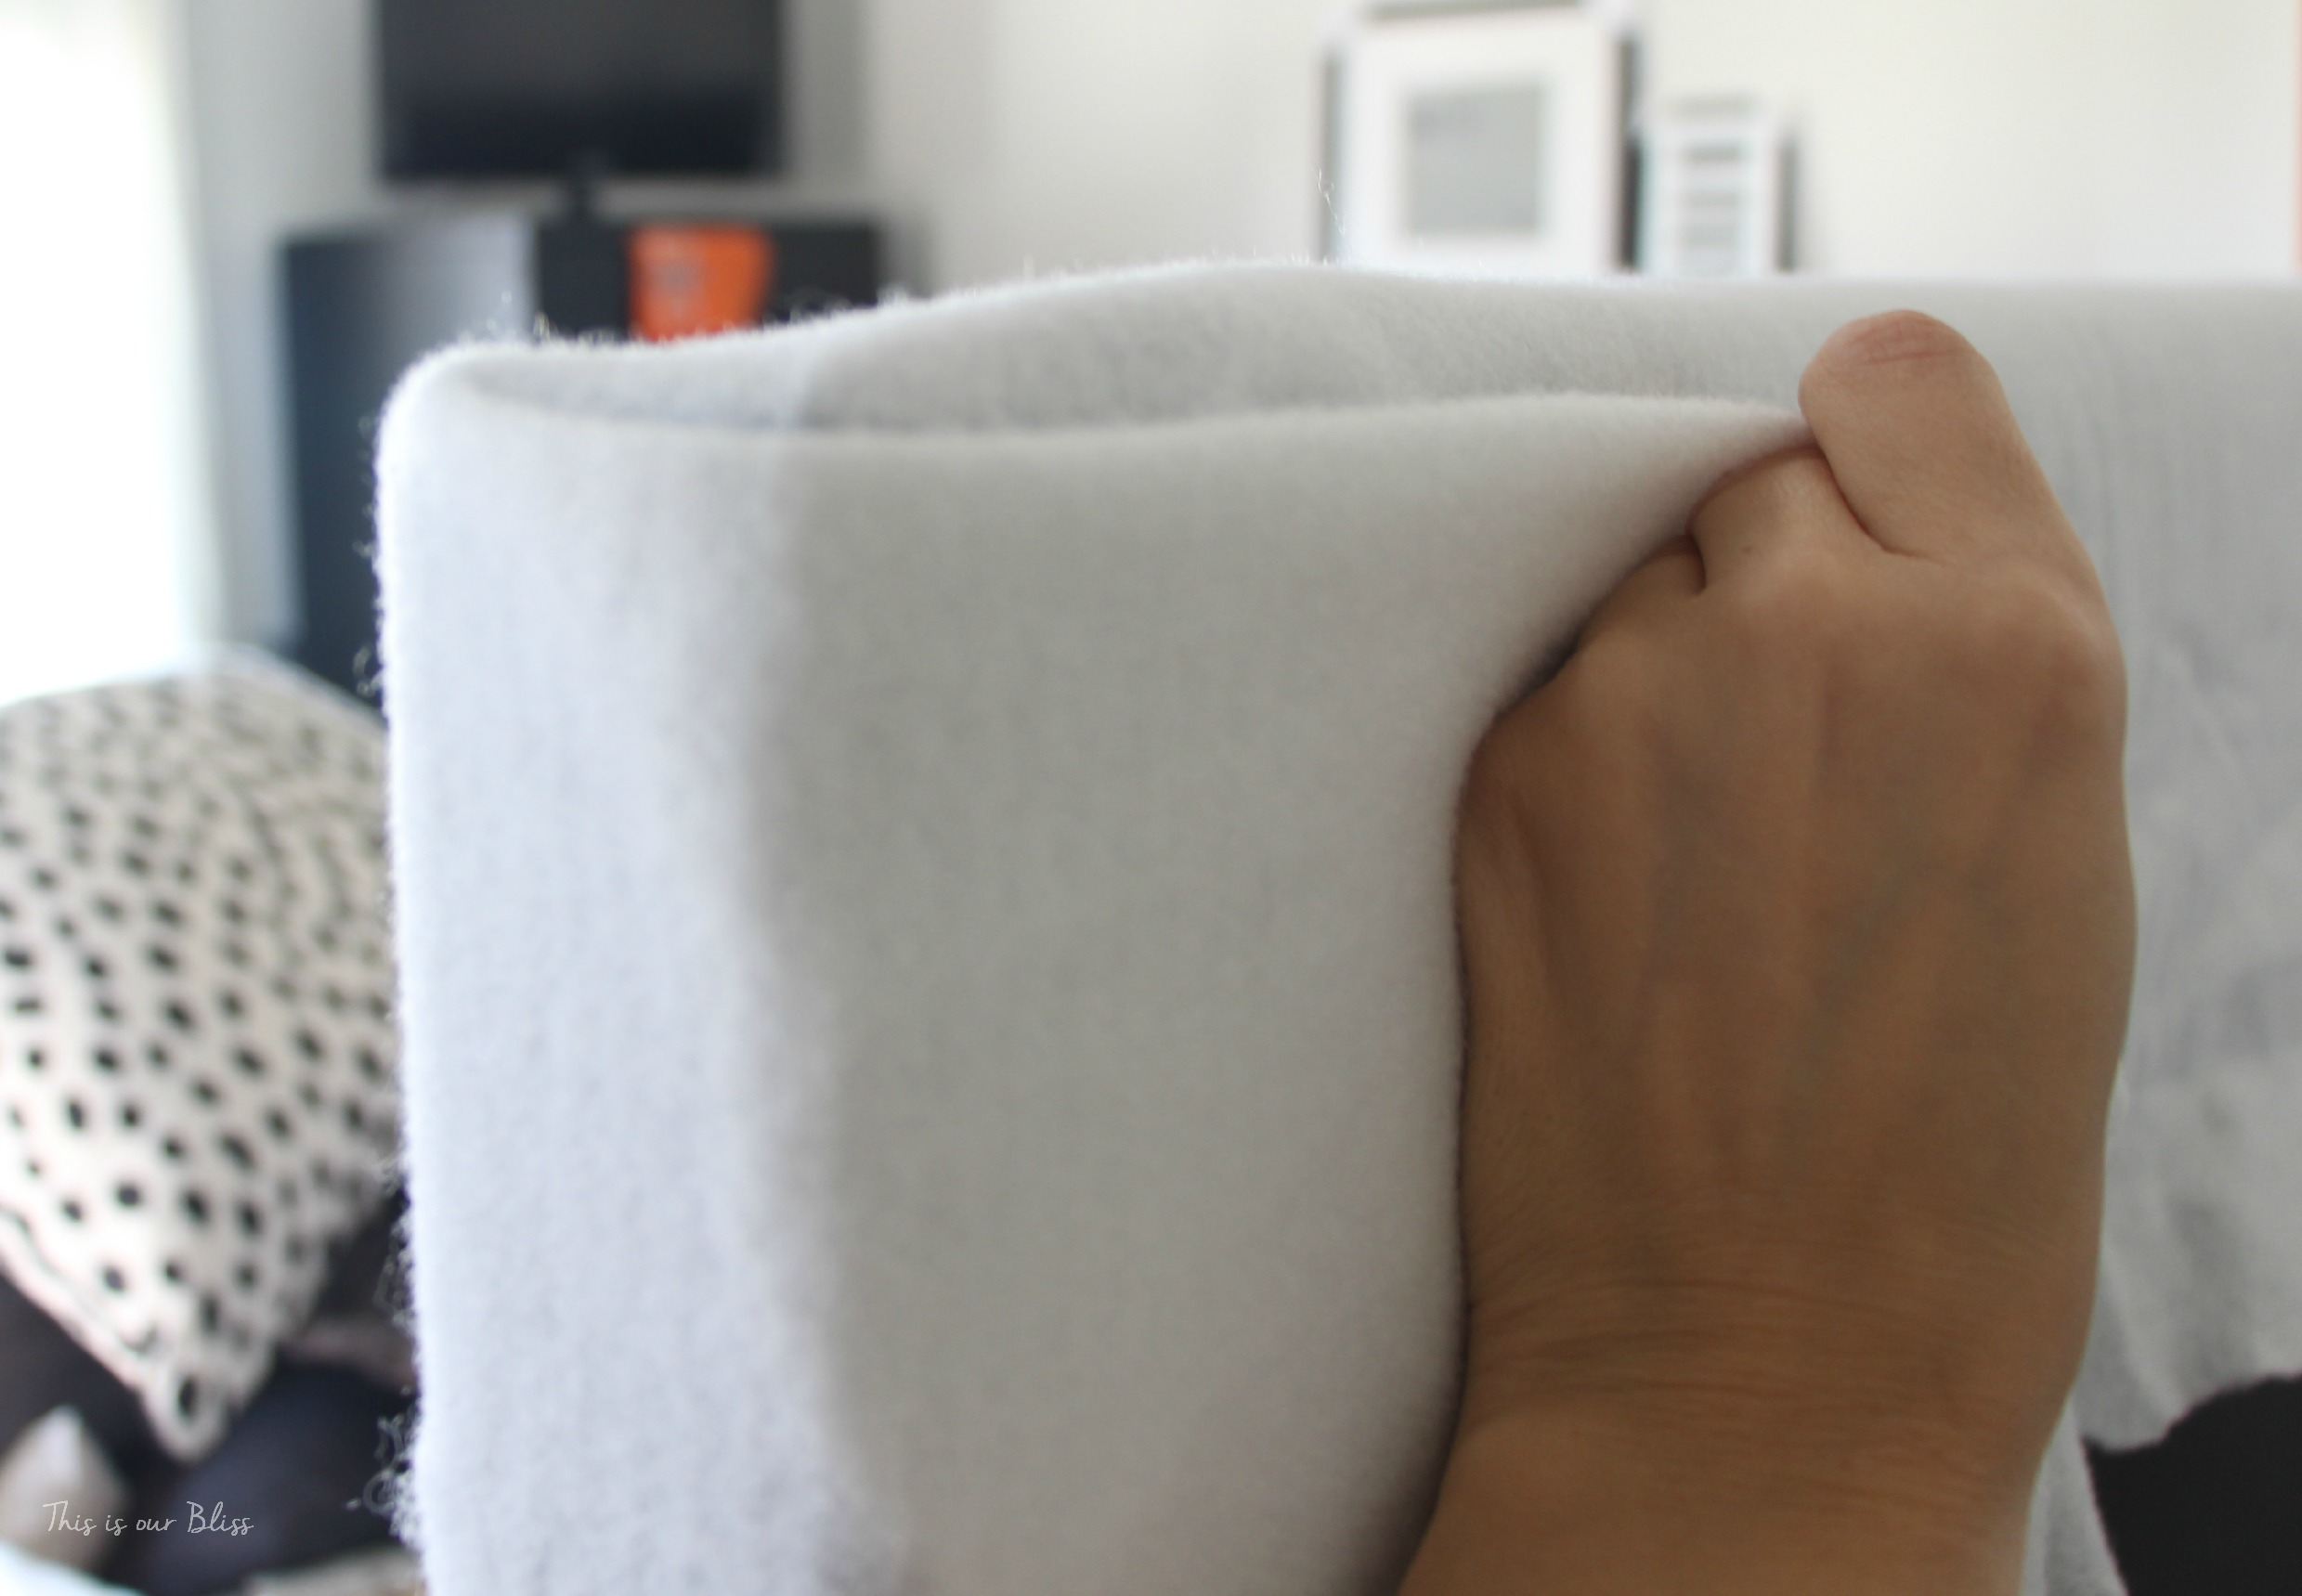
Here is the view from the front of the headboard…
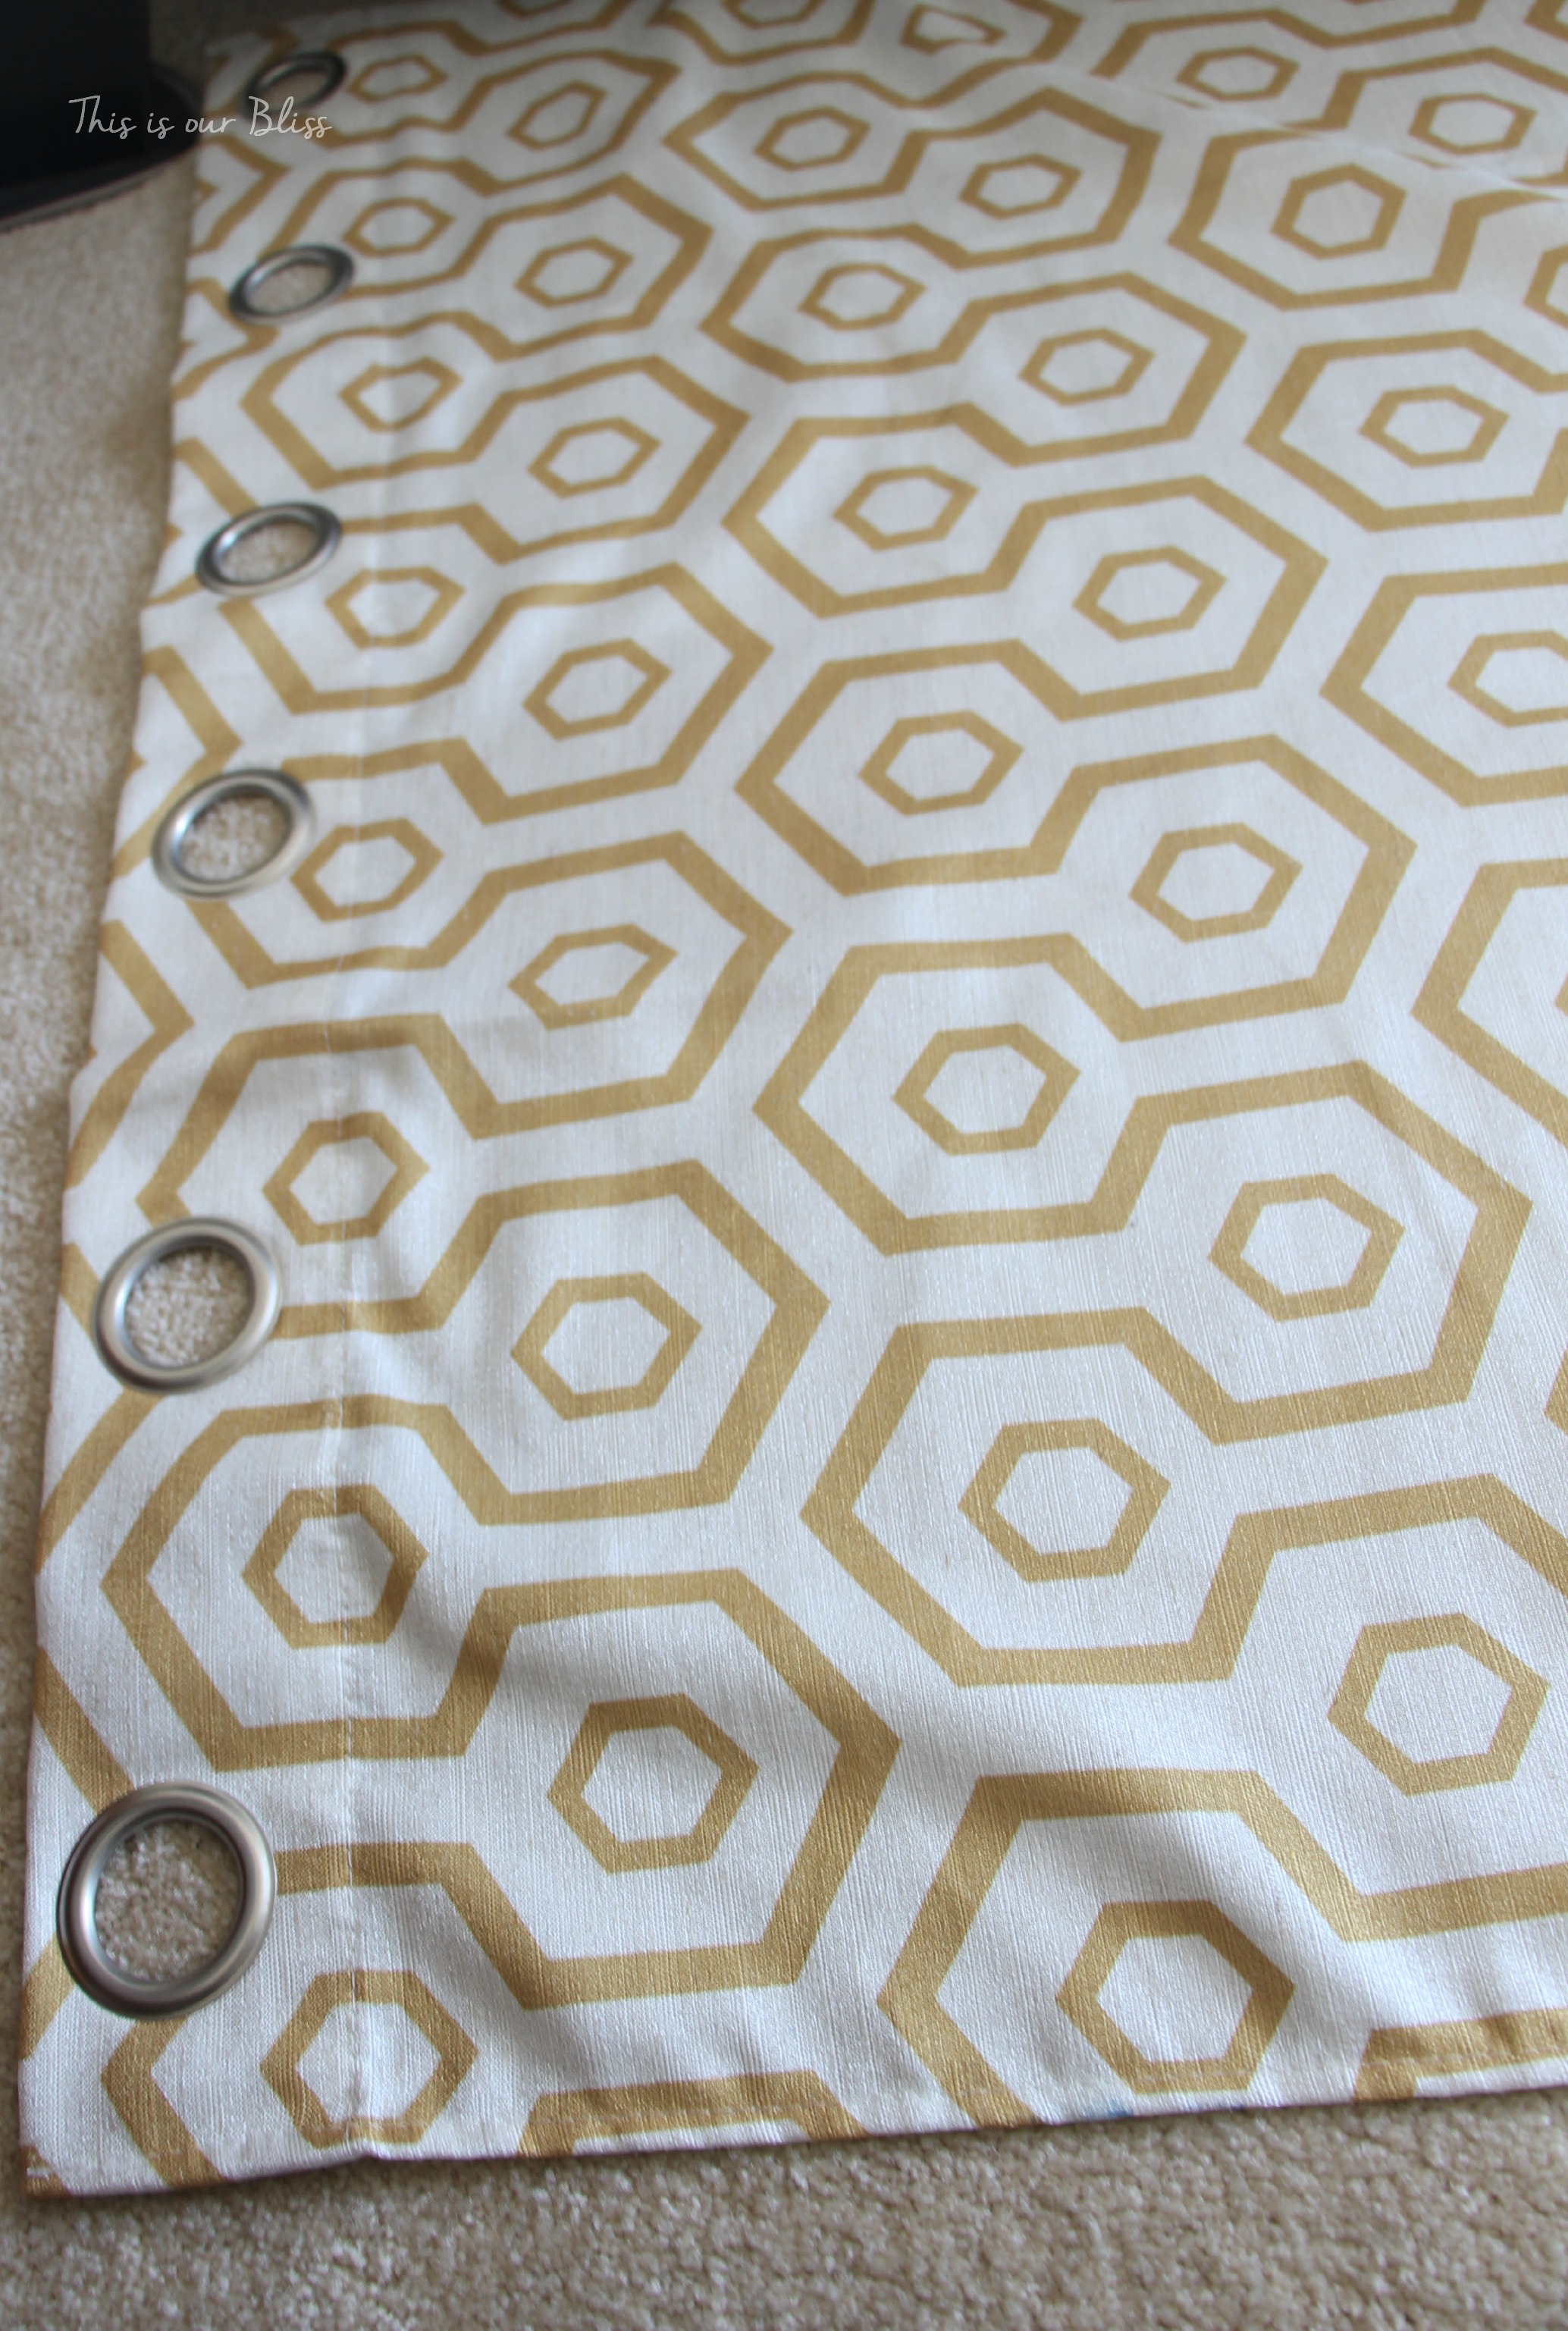
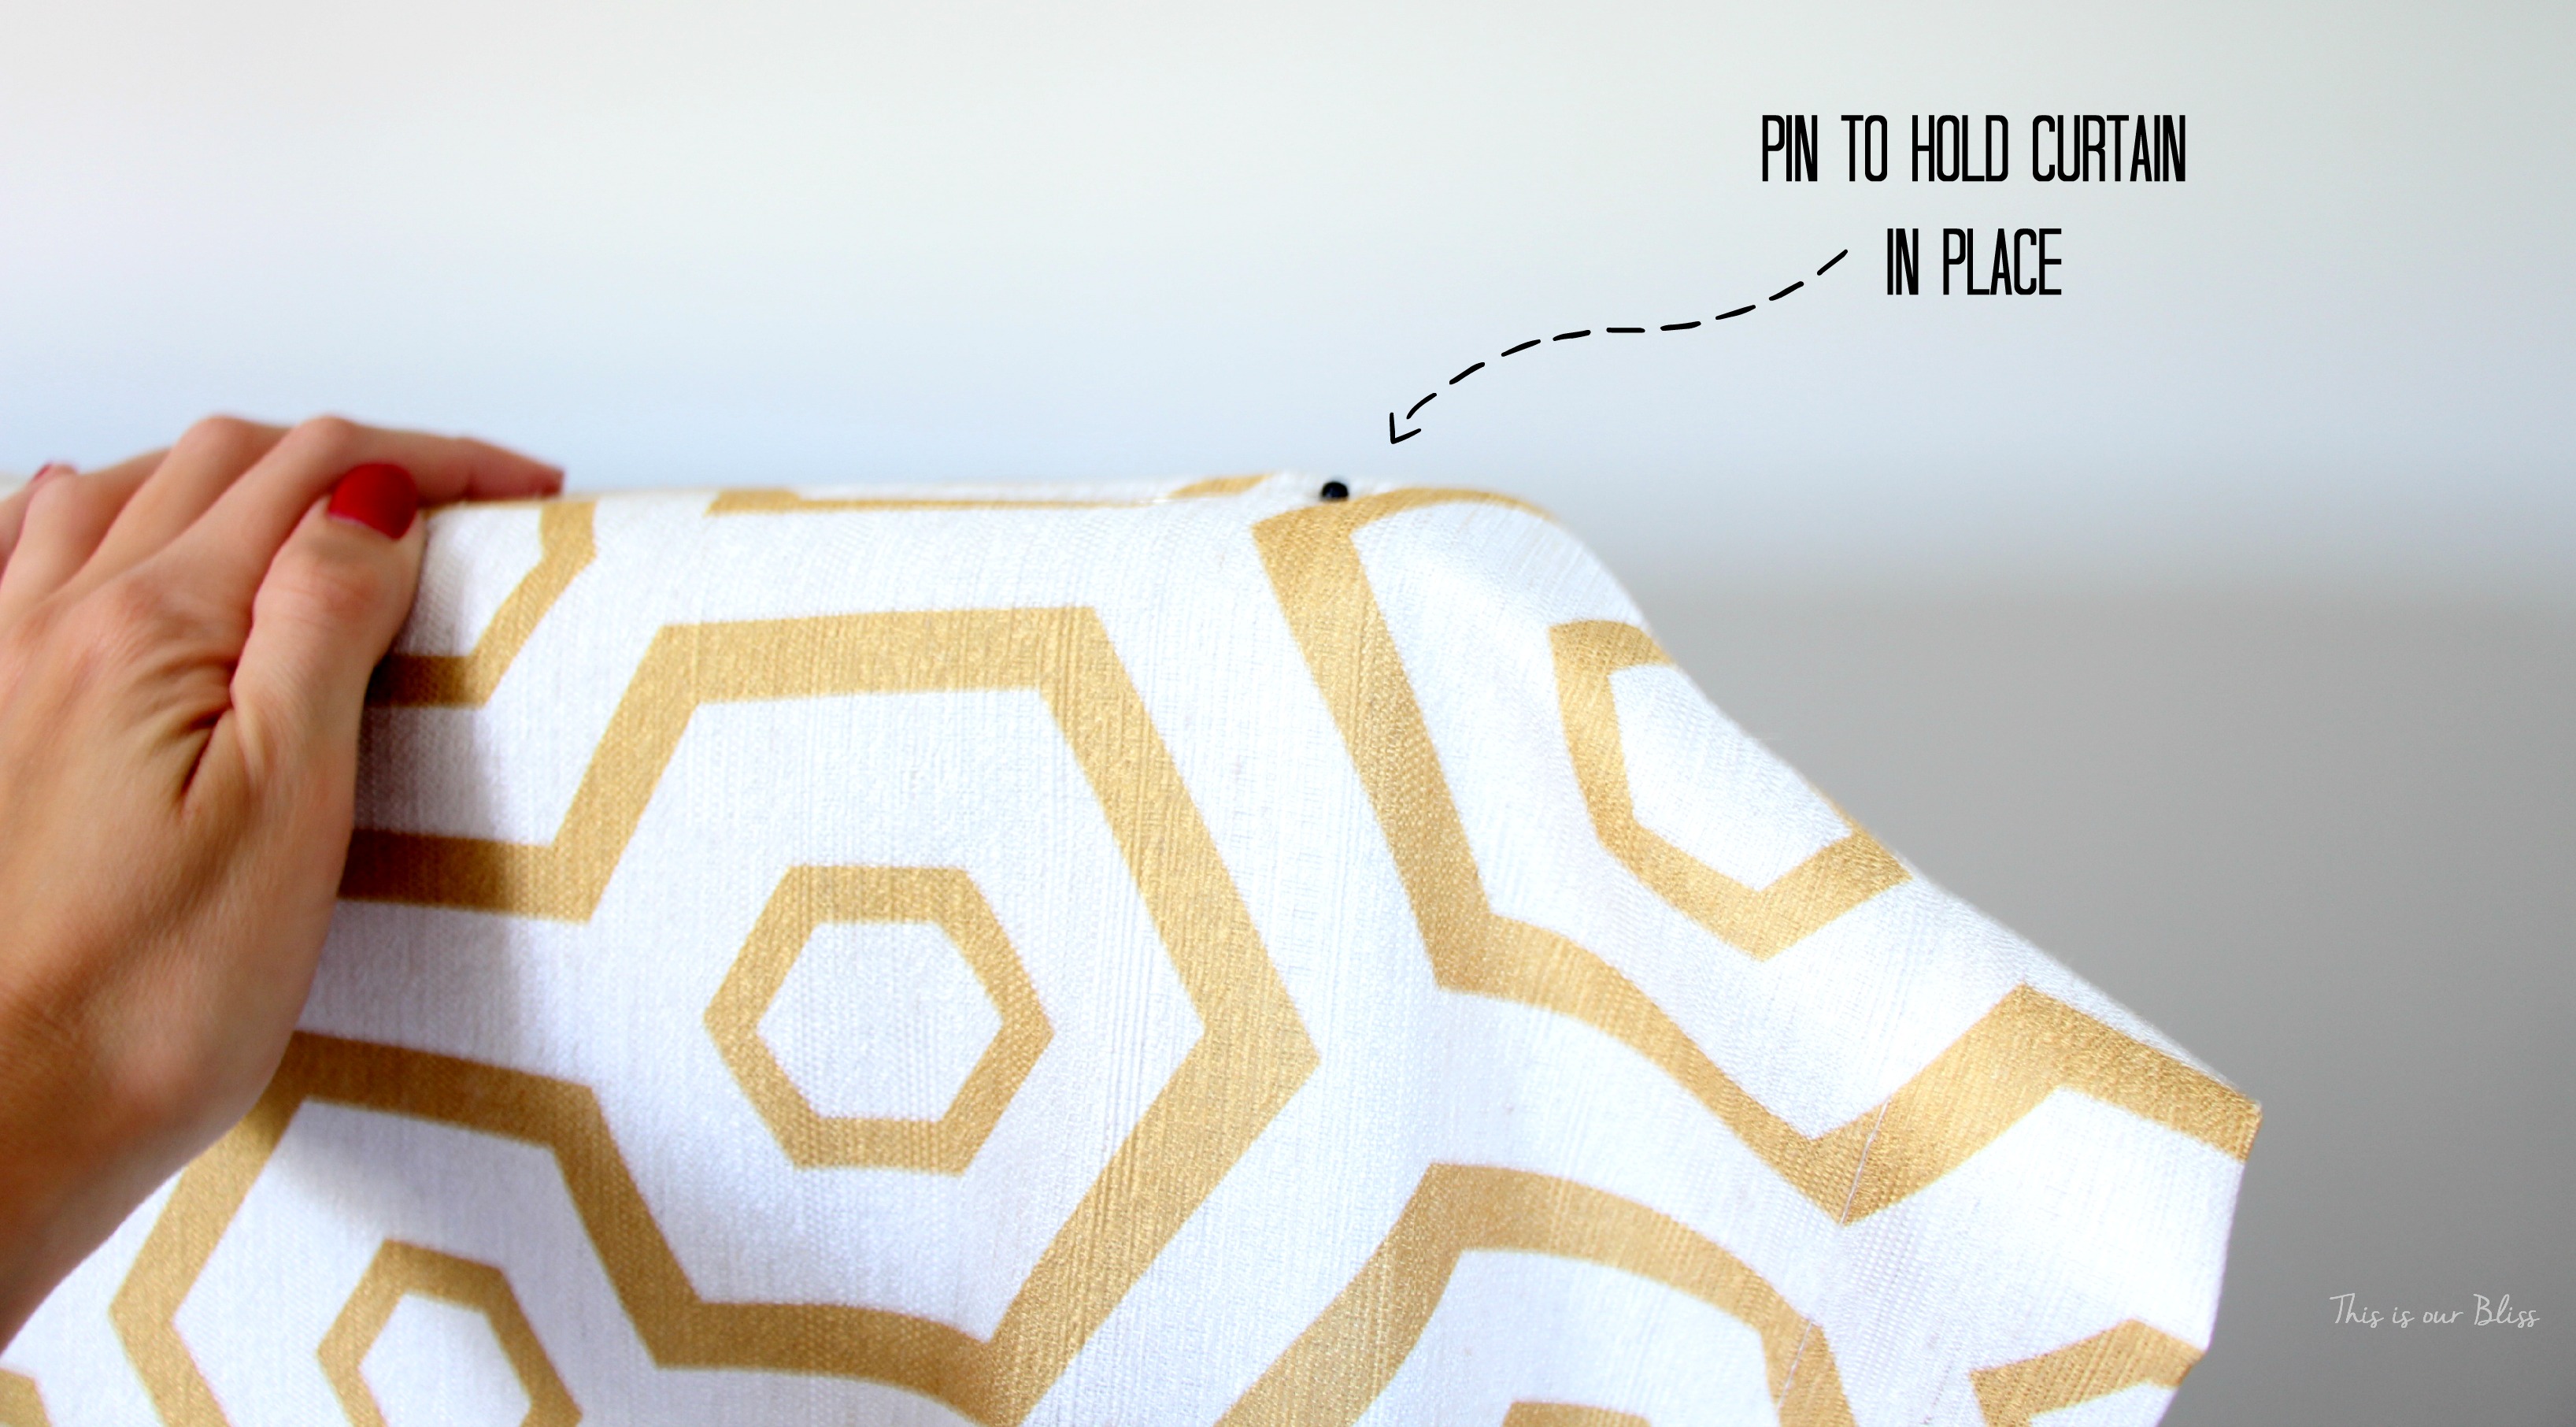
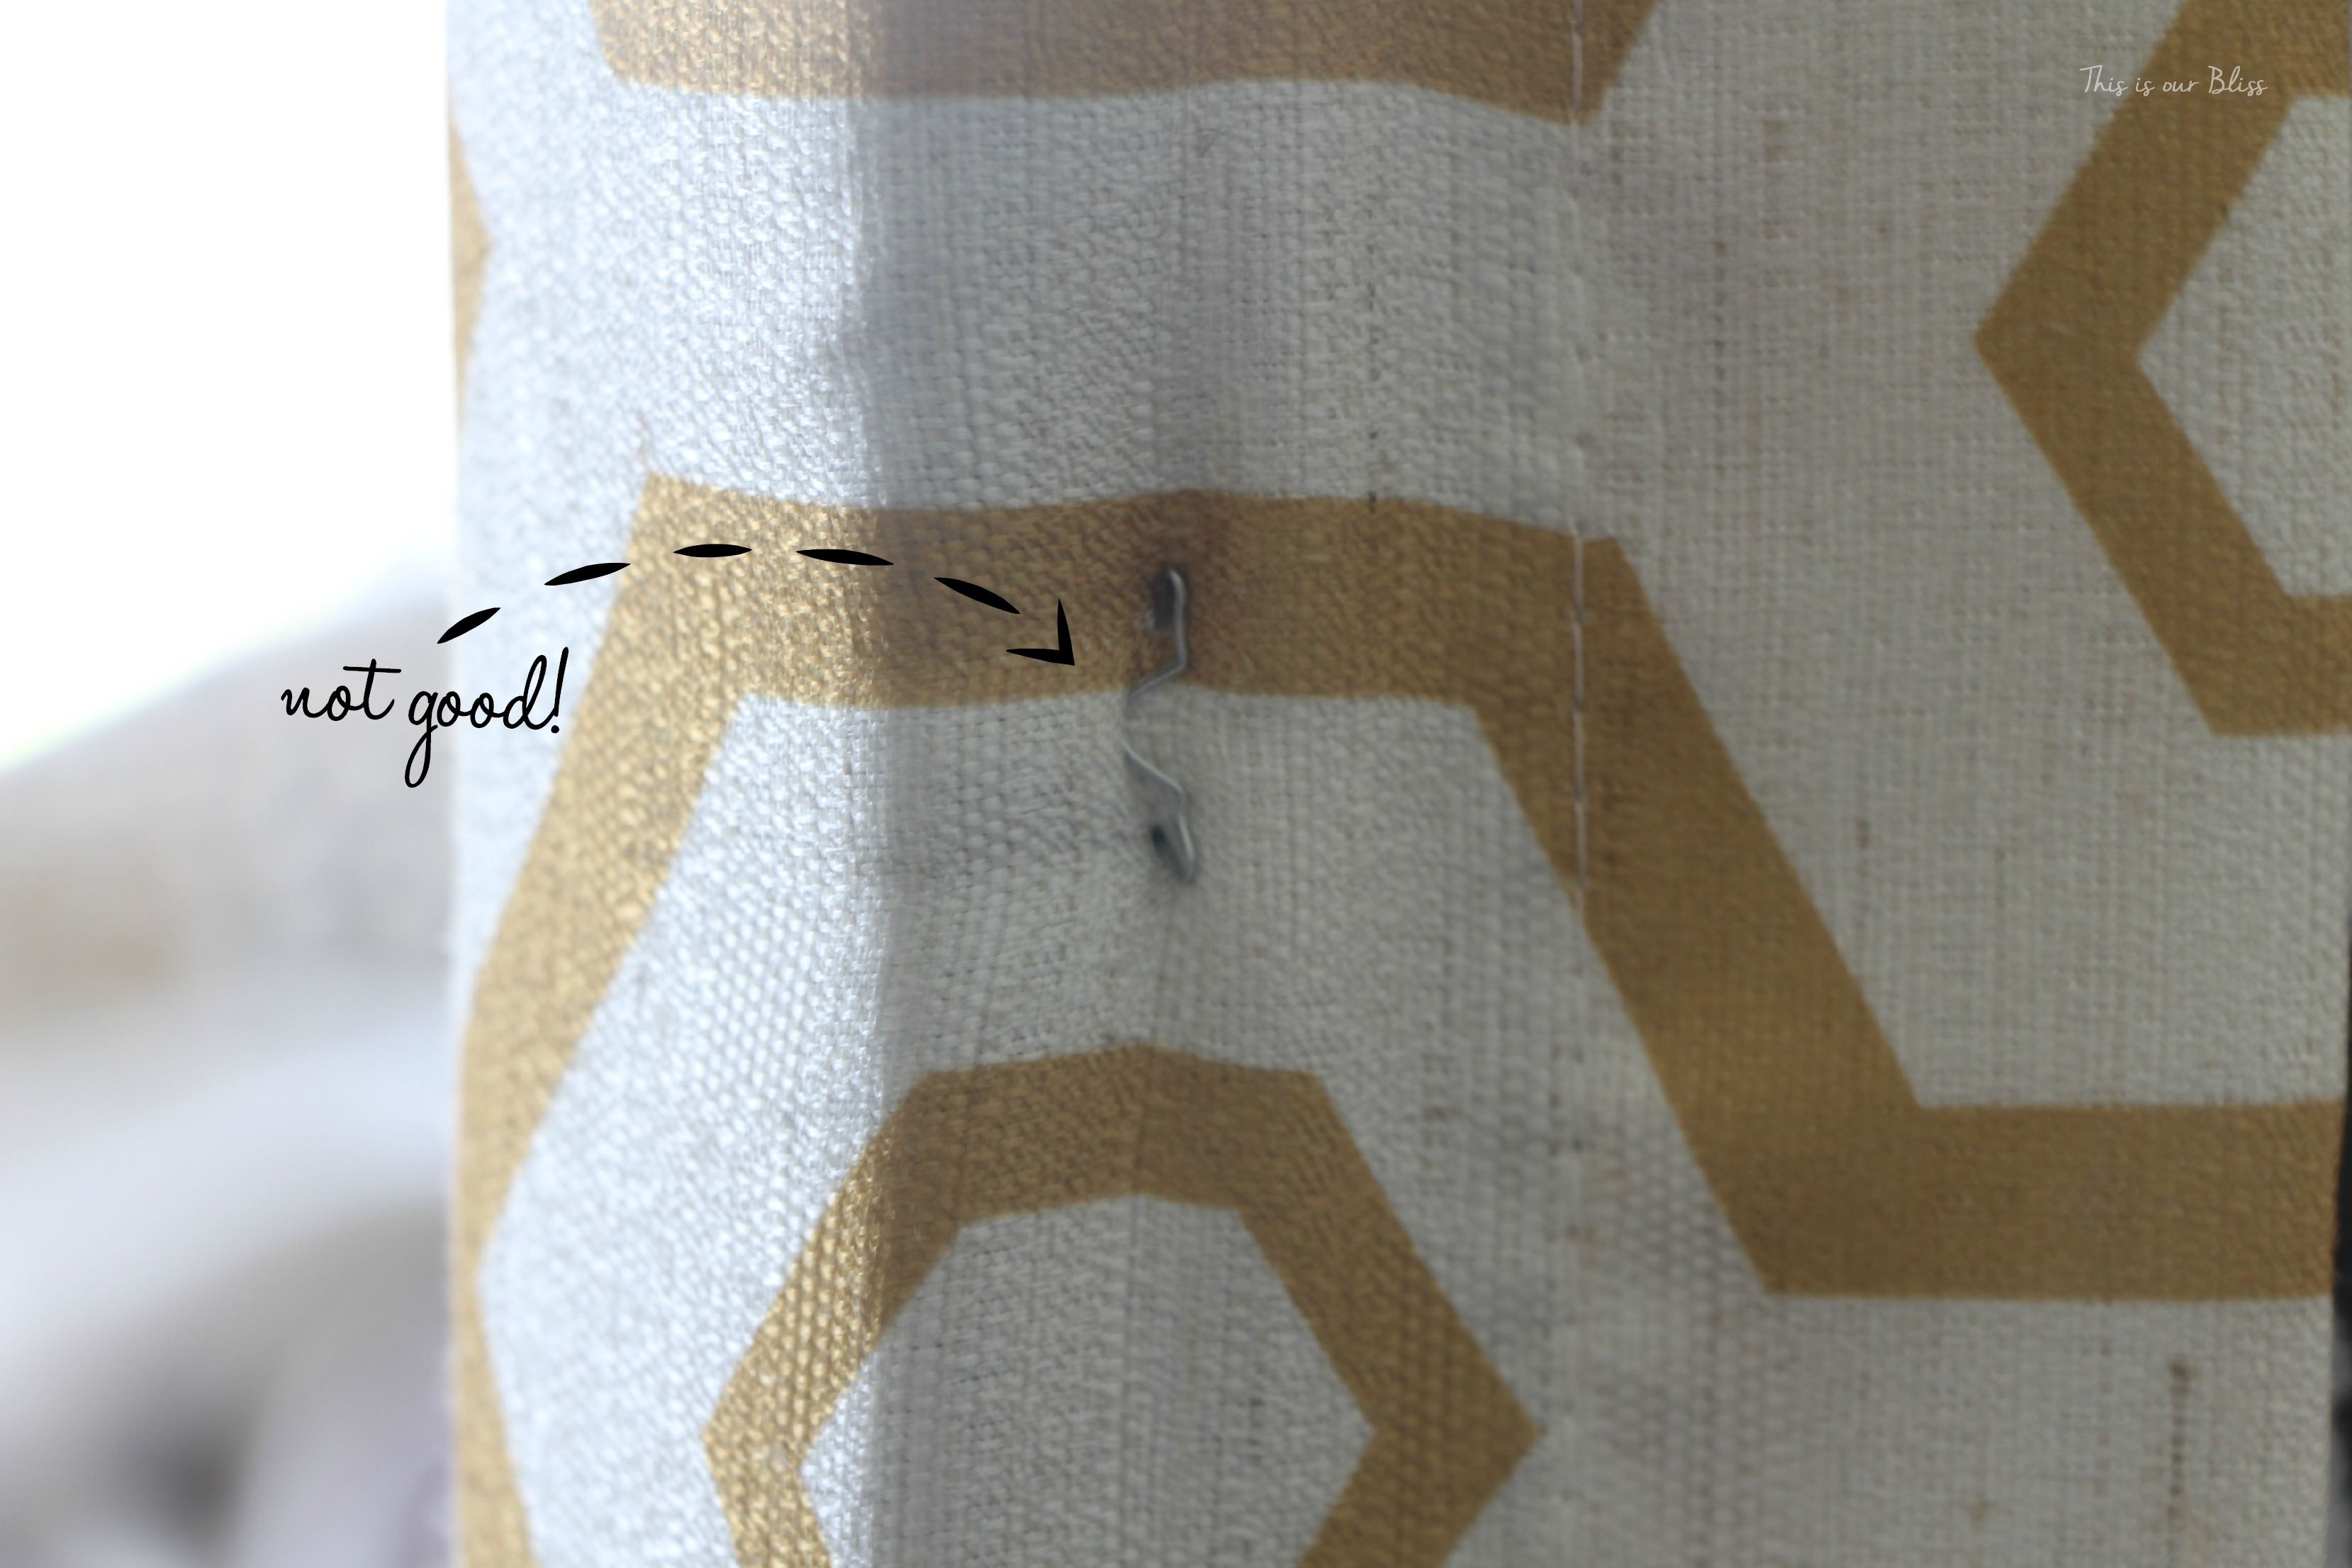
9. After that, I began stapling away and soon realized my staples were coming out like this…
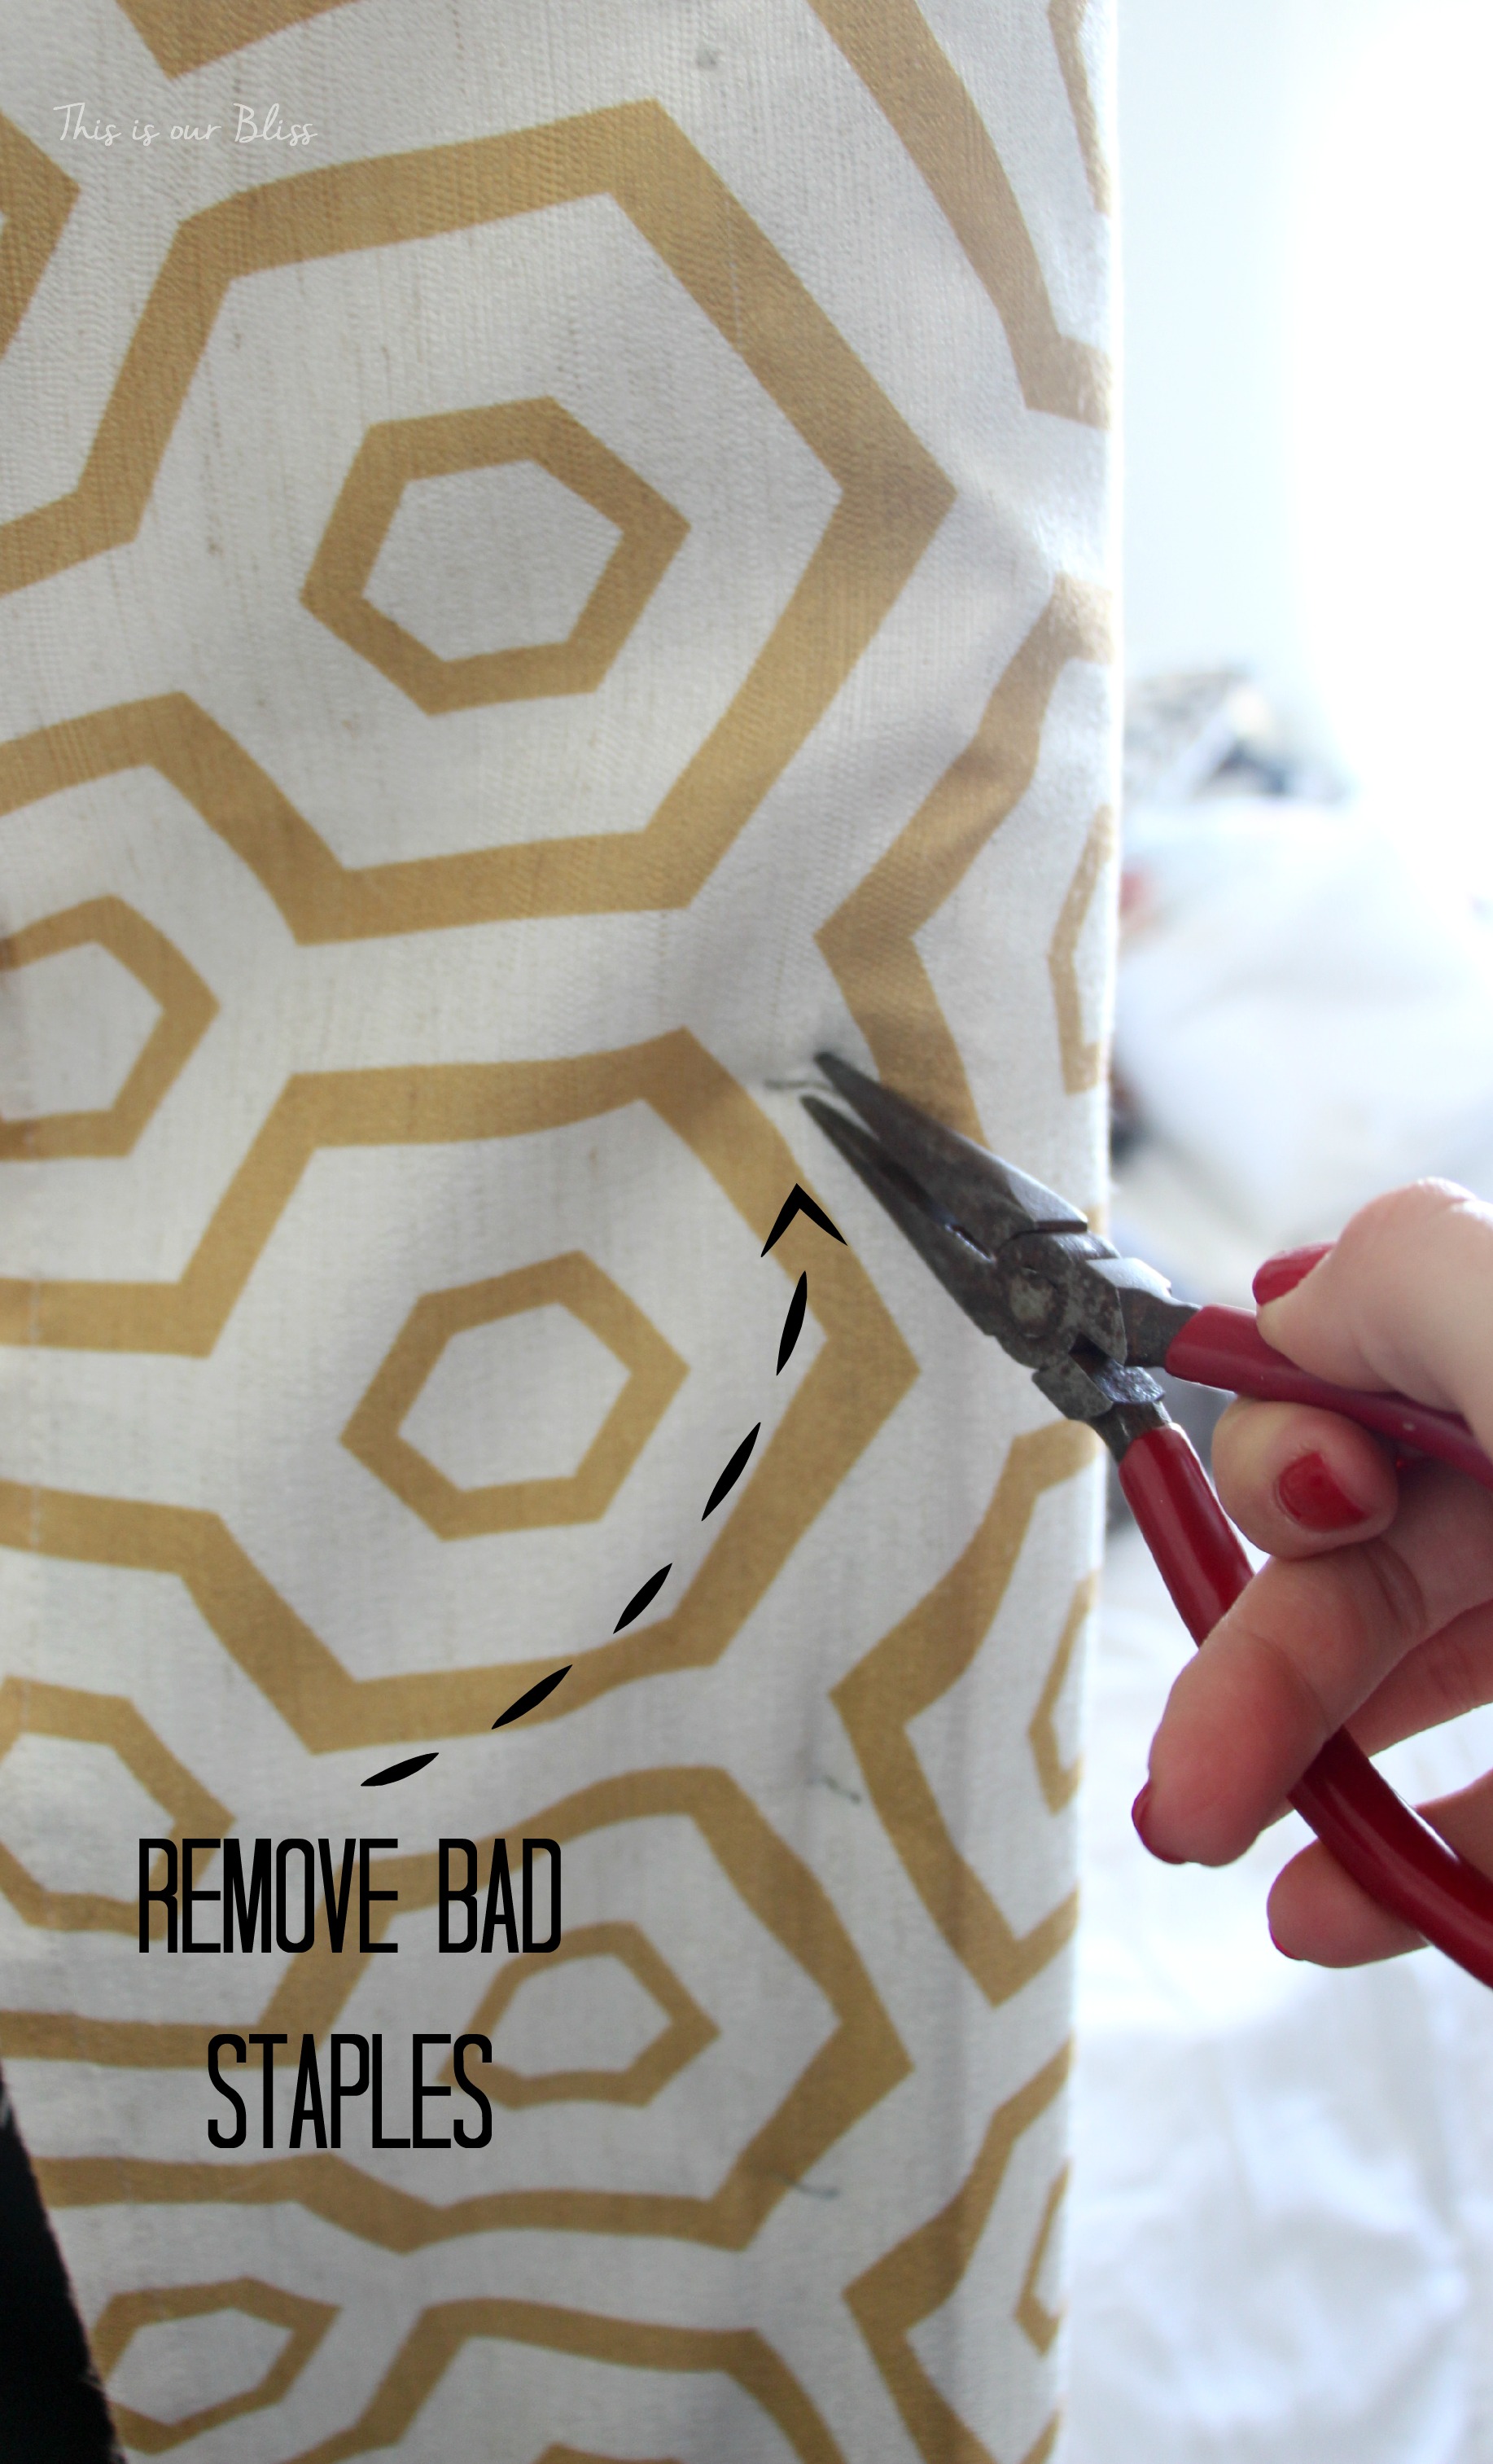
) from upholstery class.
I used it over and over again while reupholstering my chair.
It was a pretty nice little investment.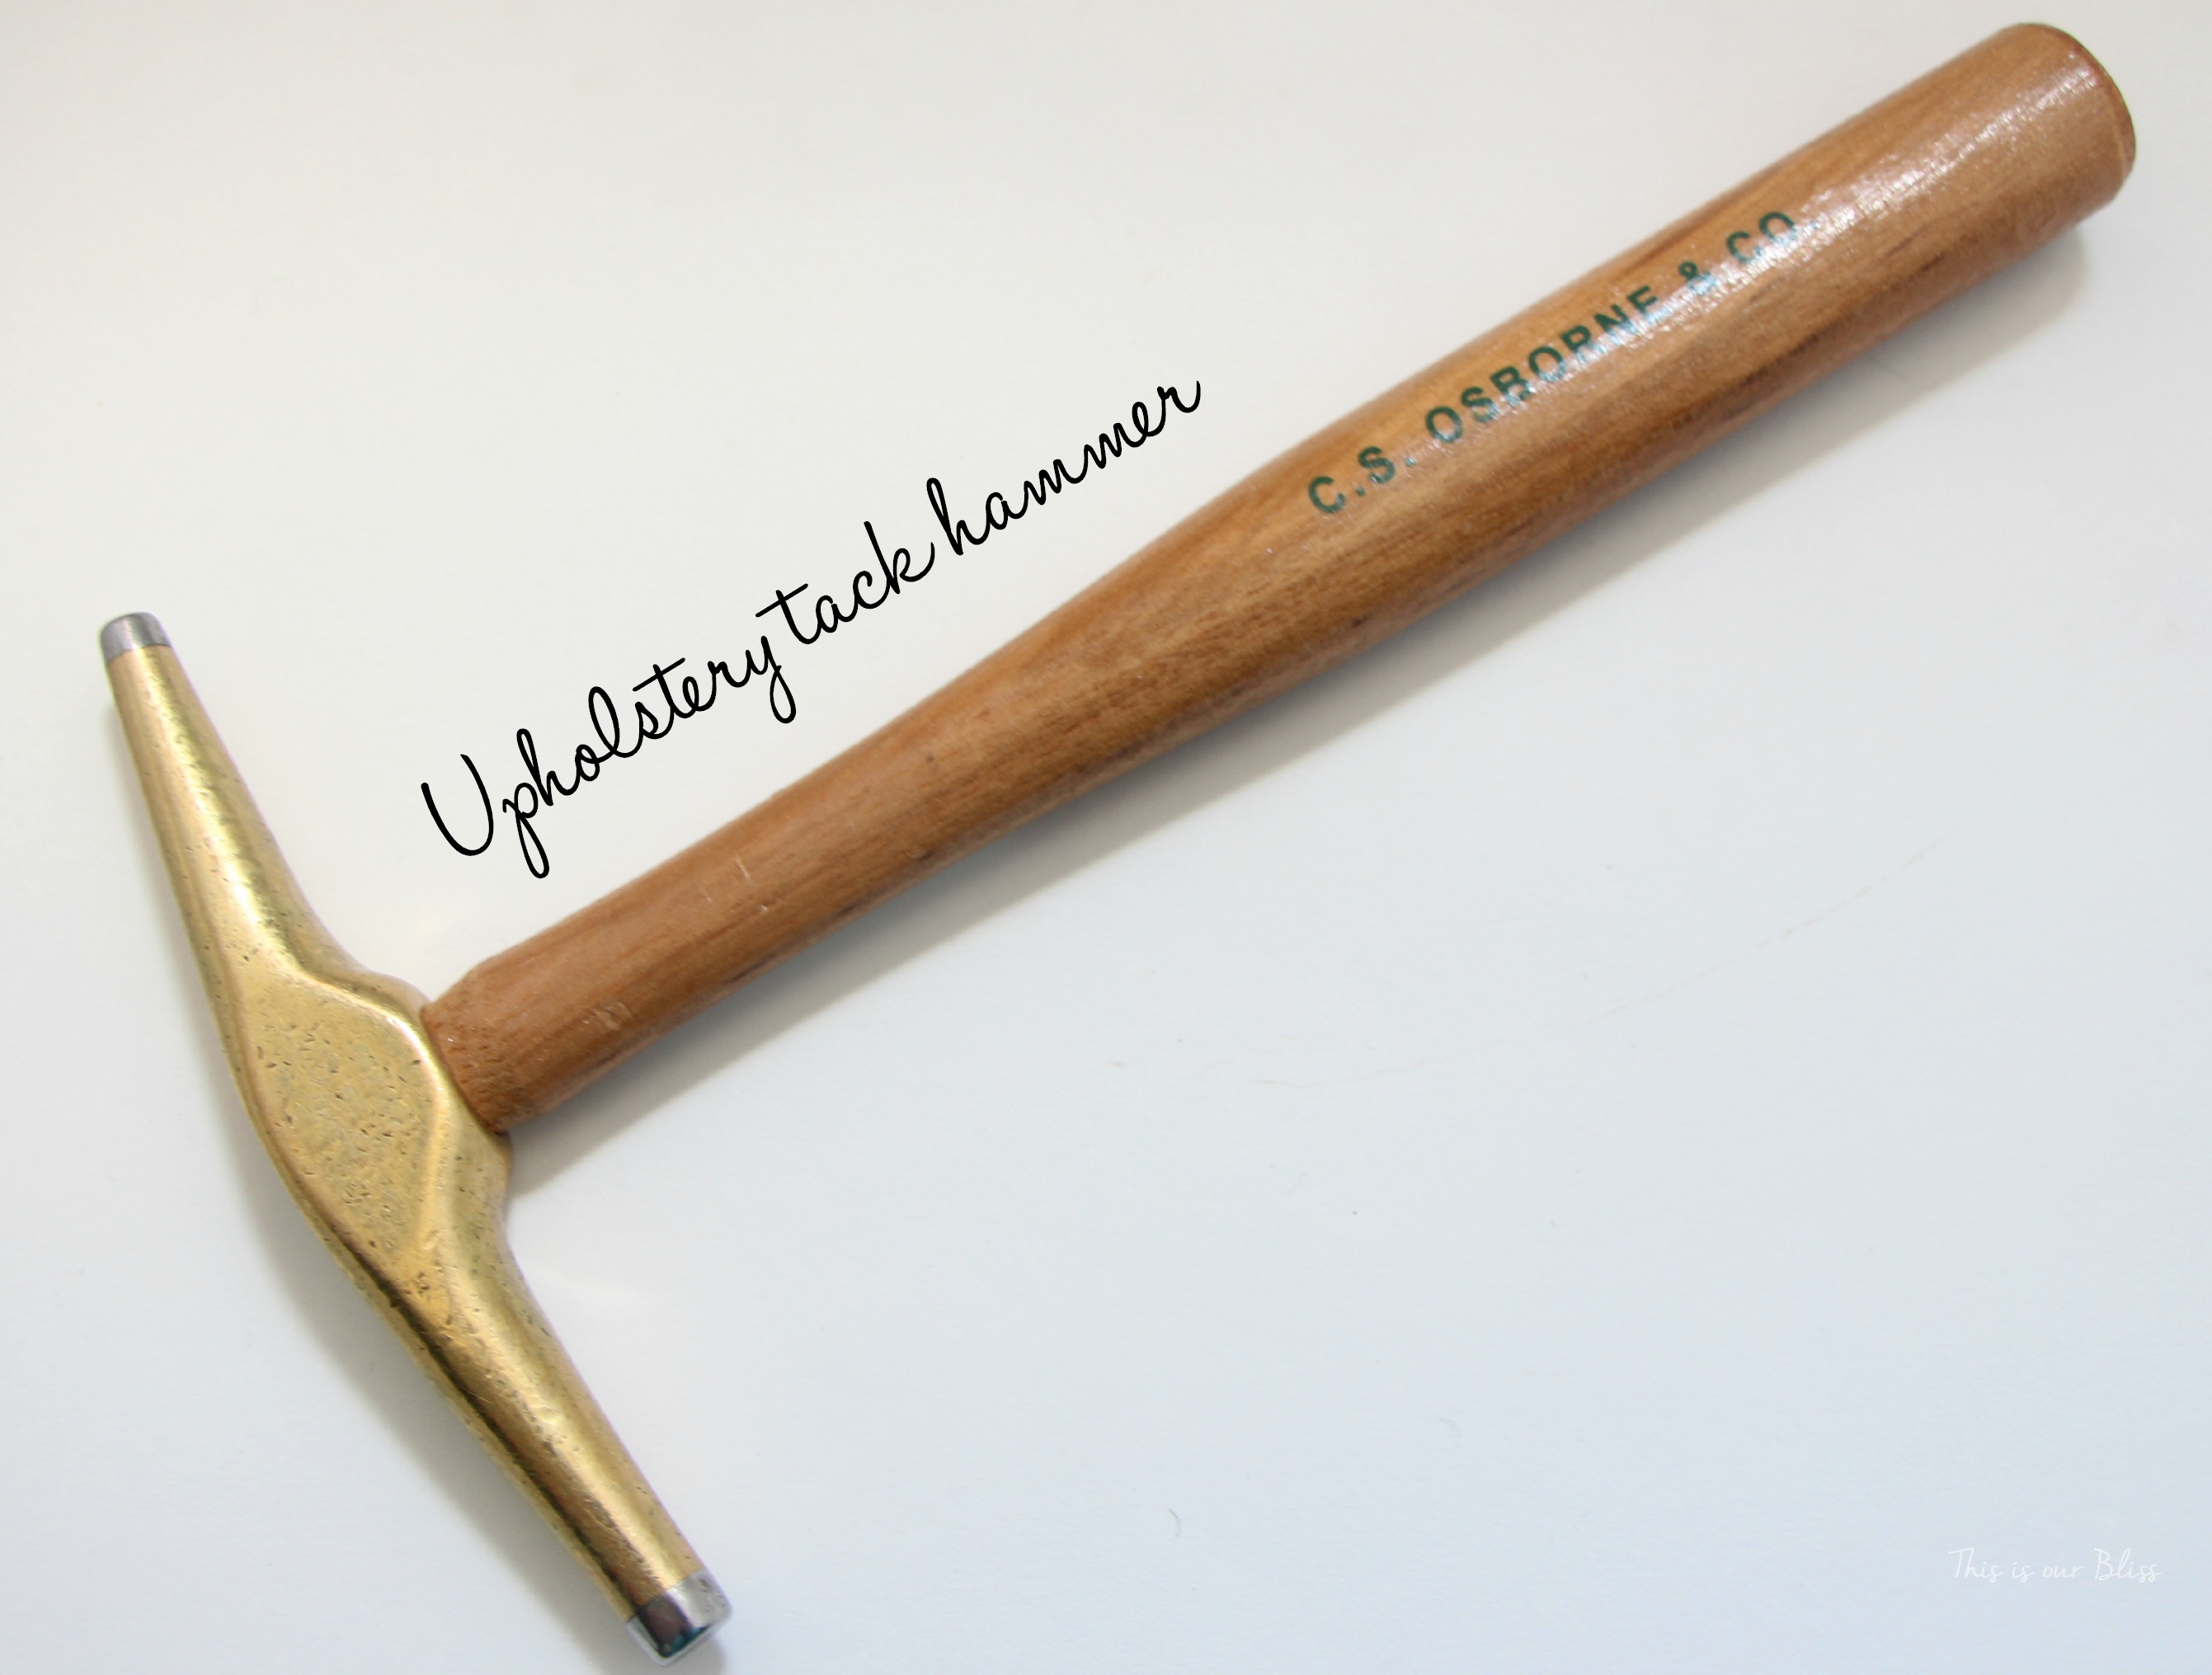
Trust me.
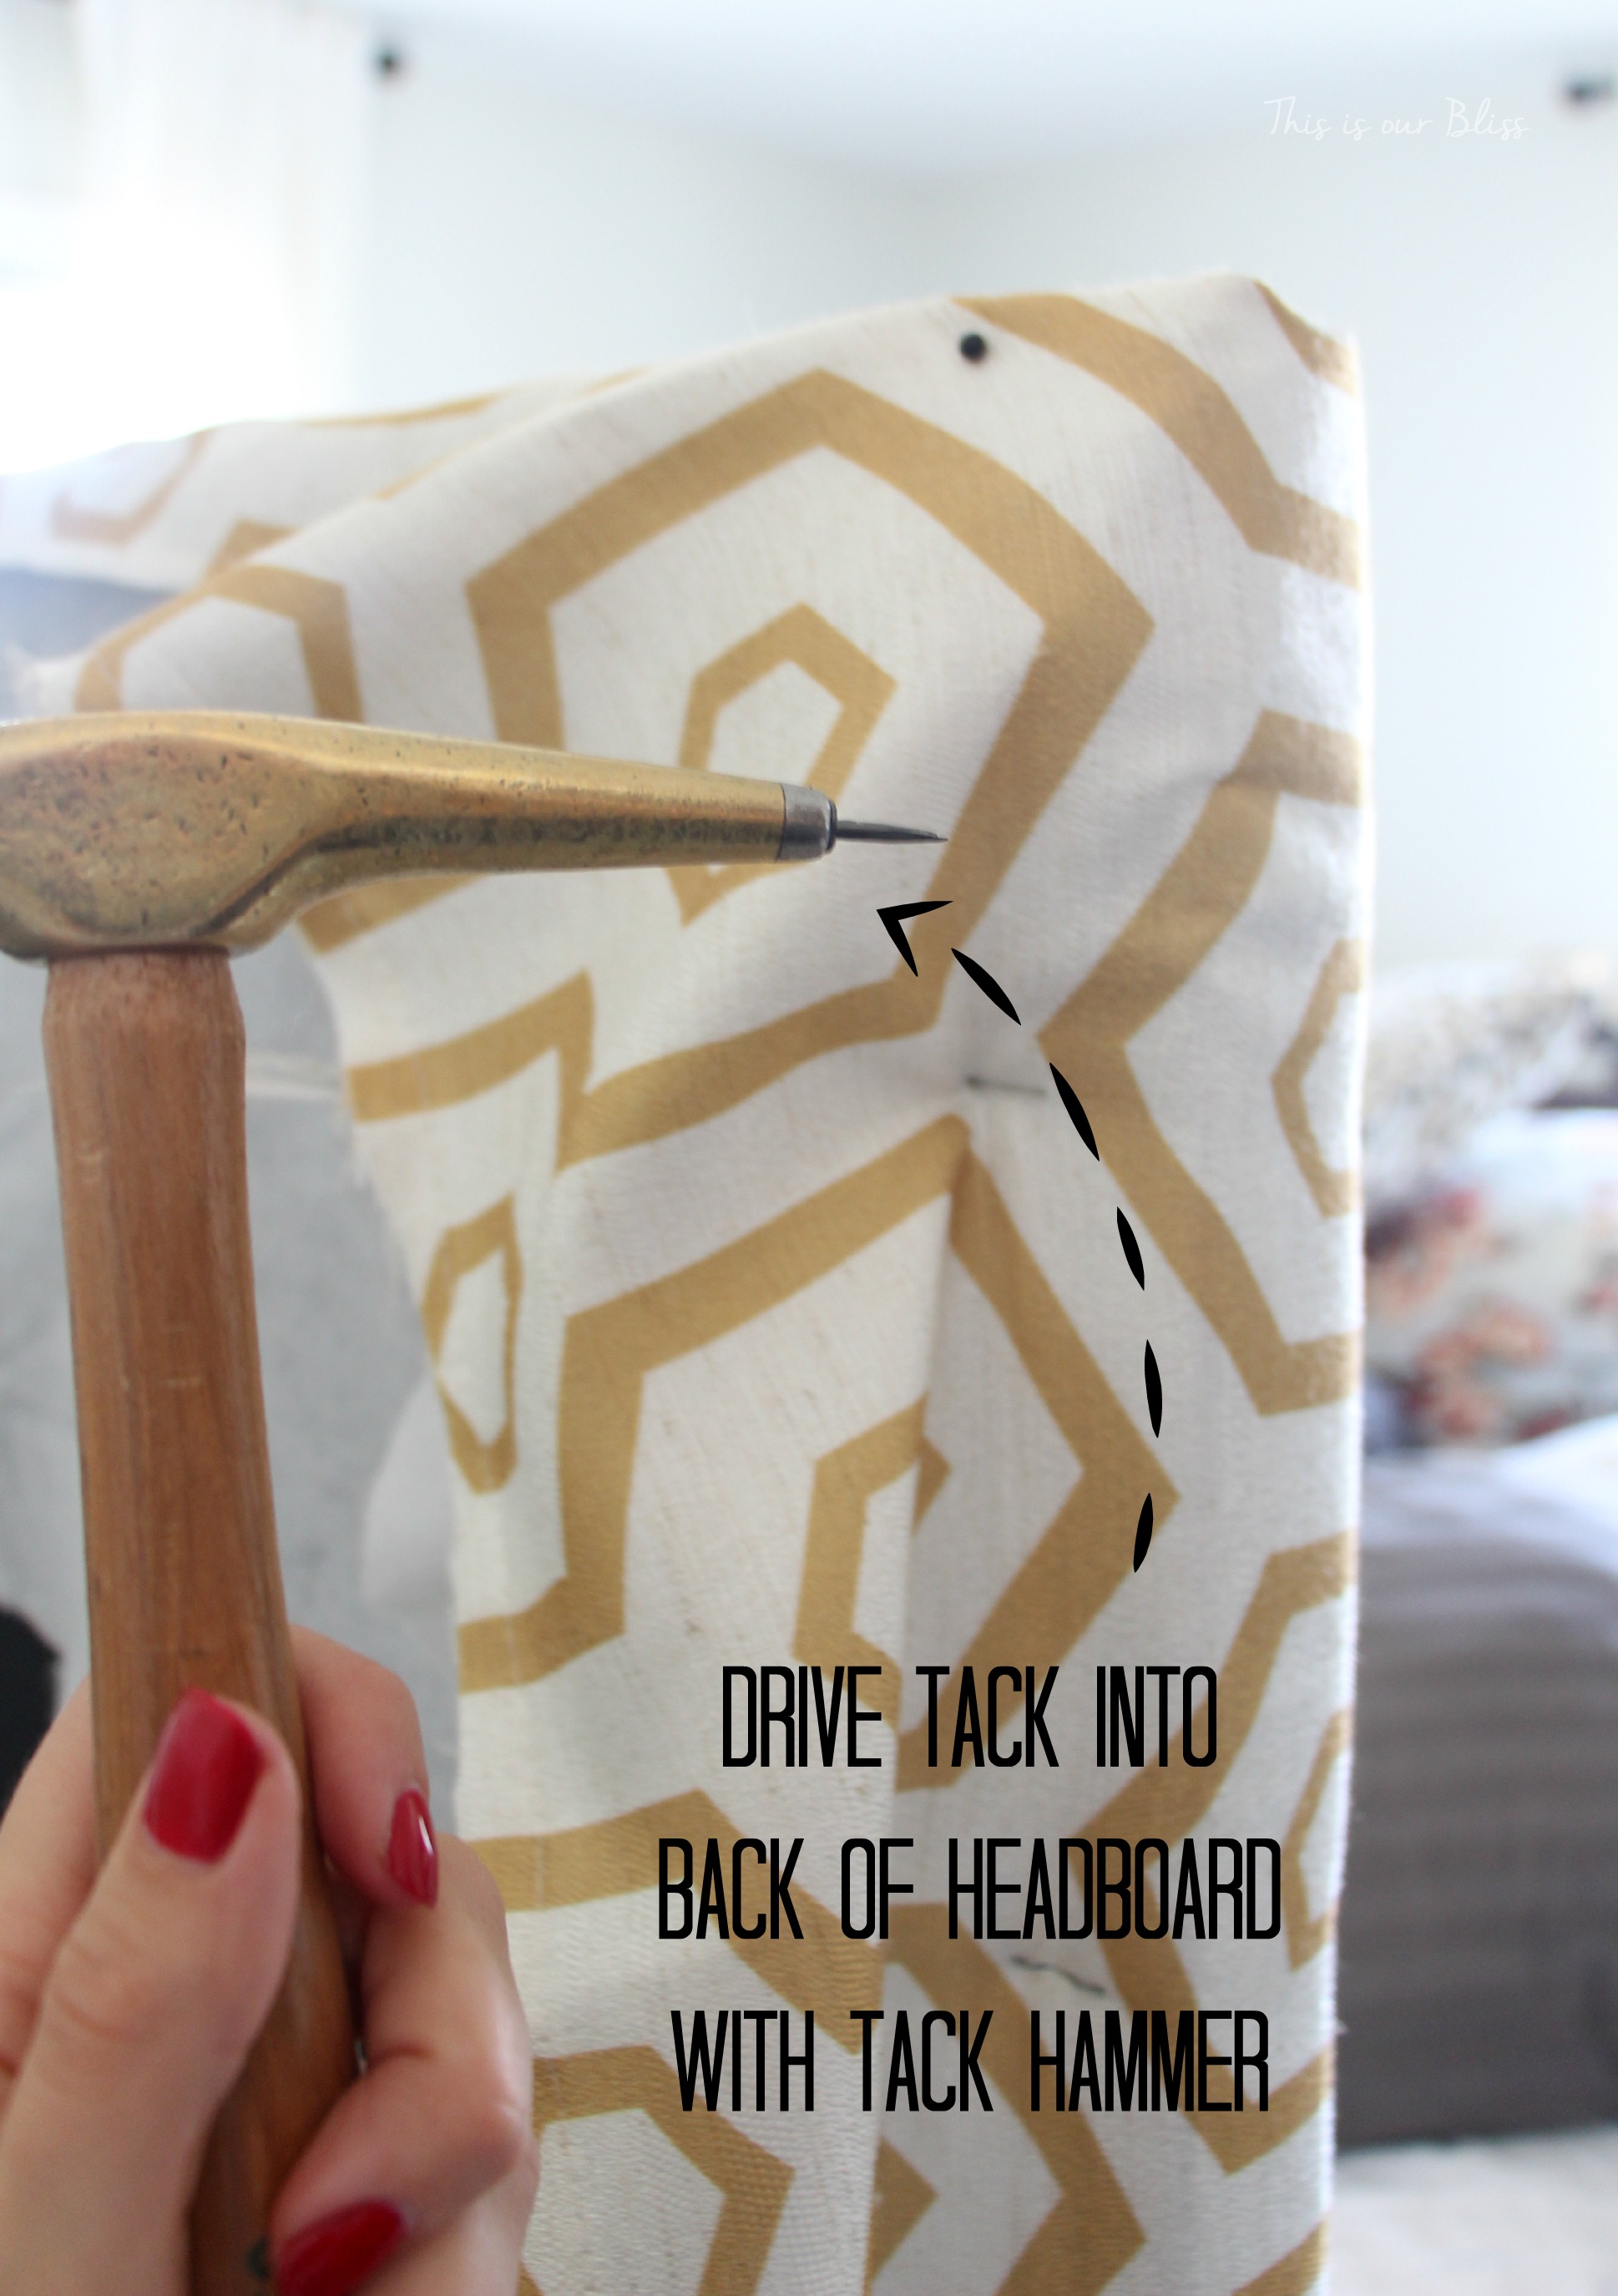
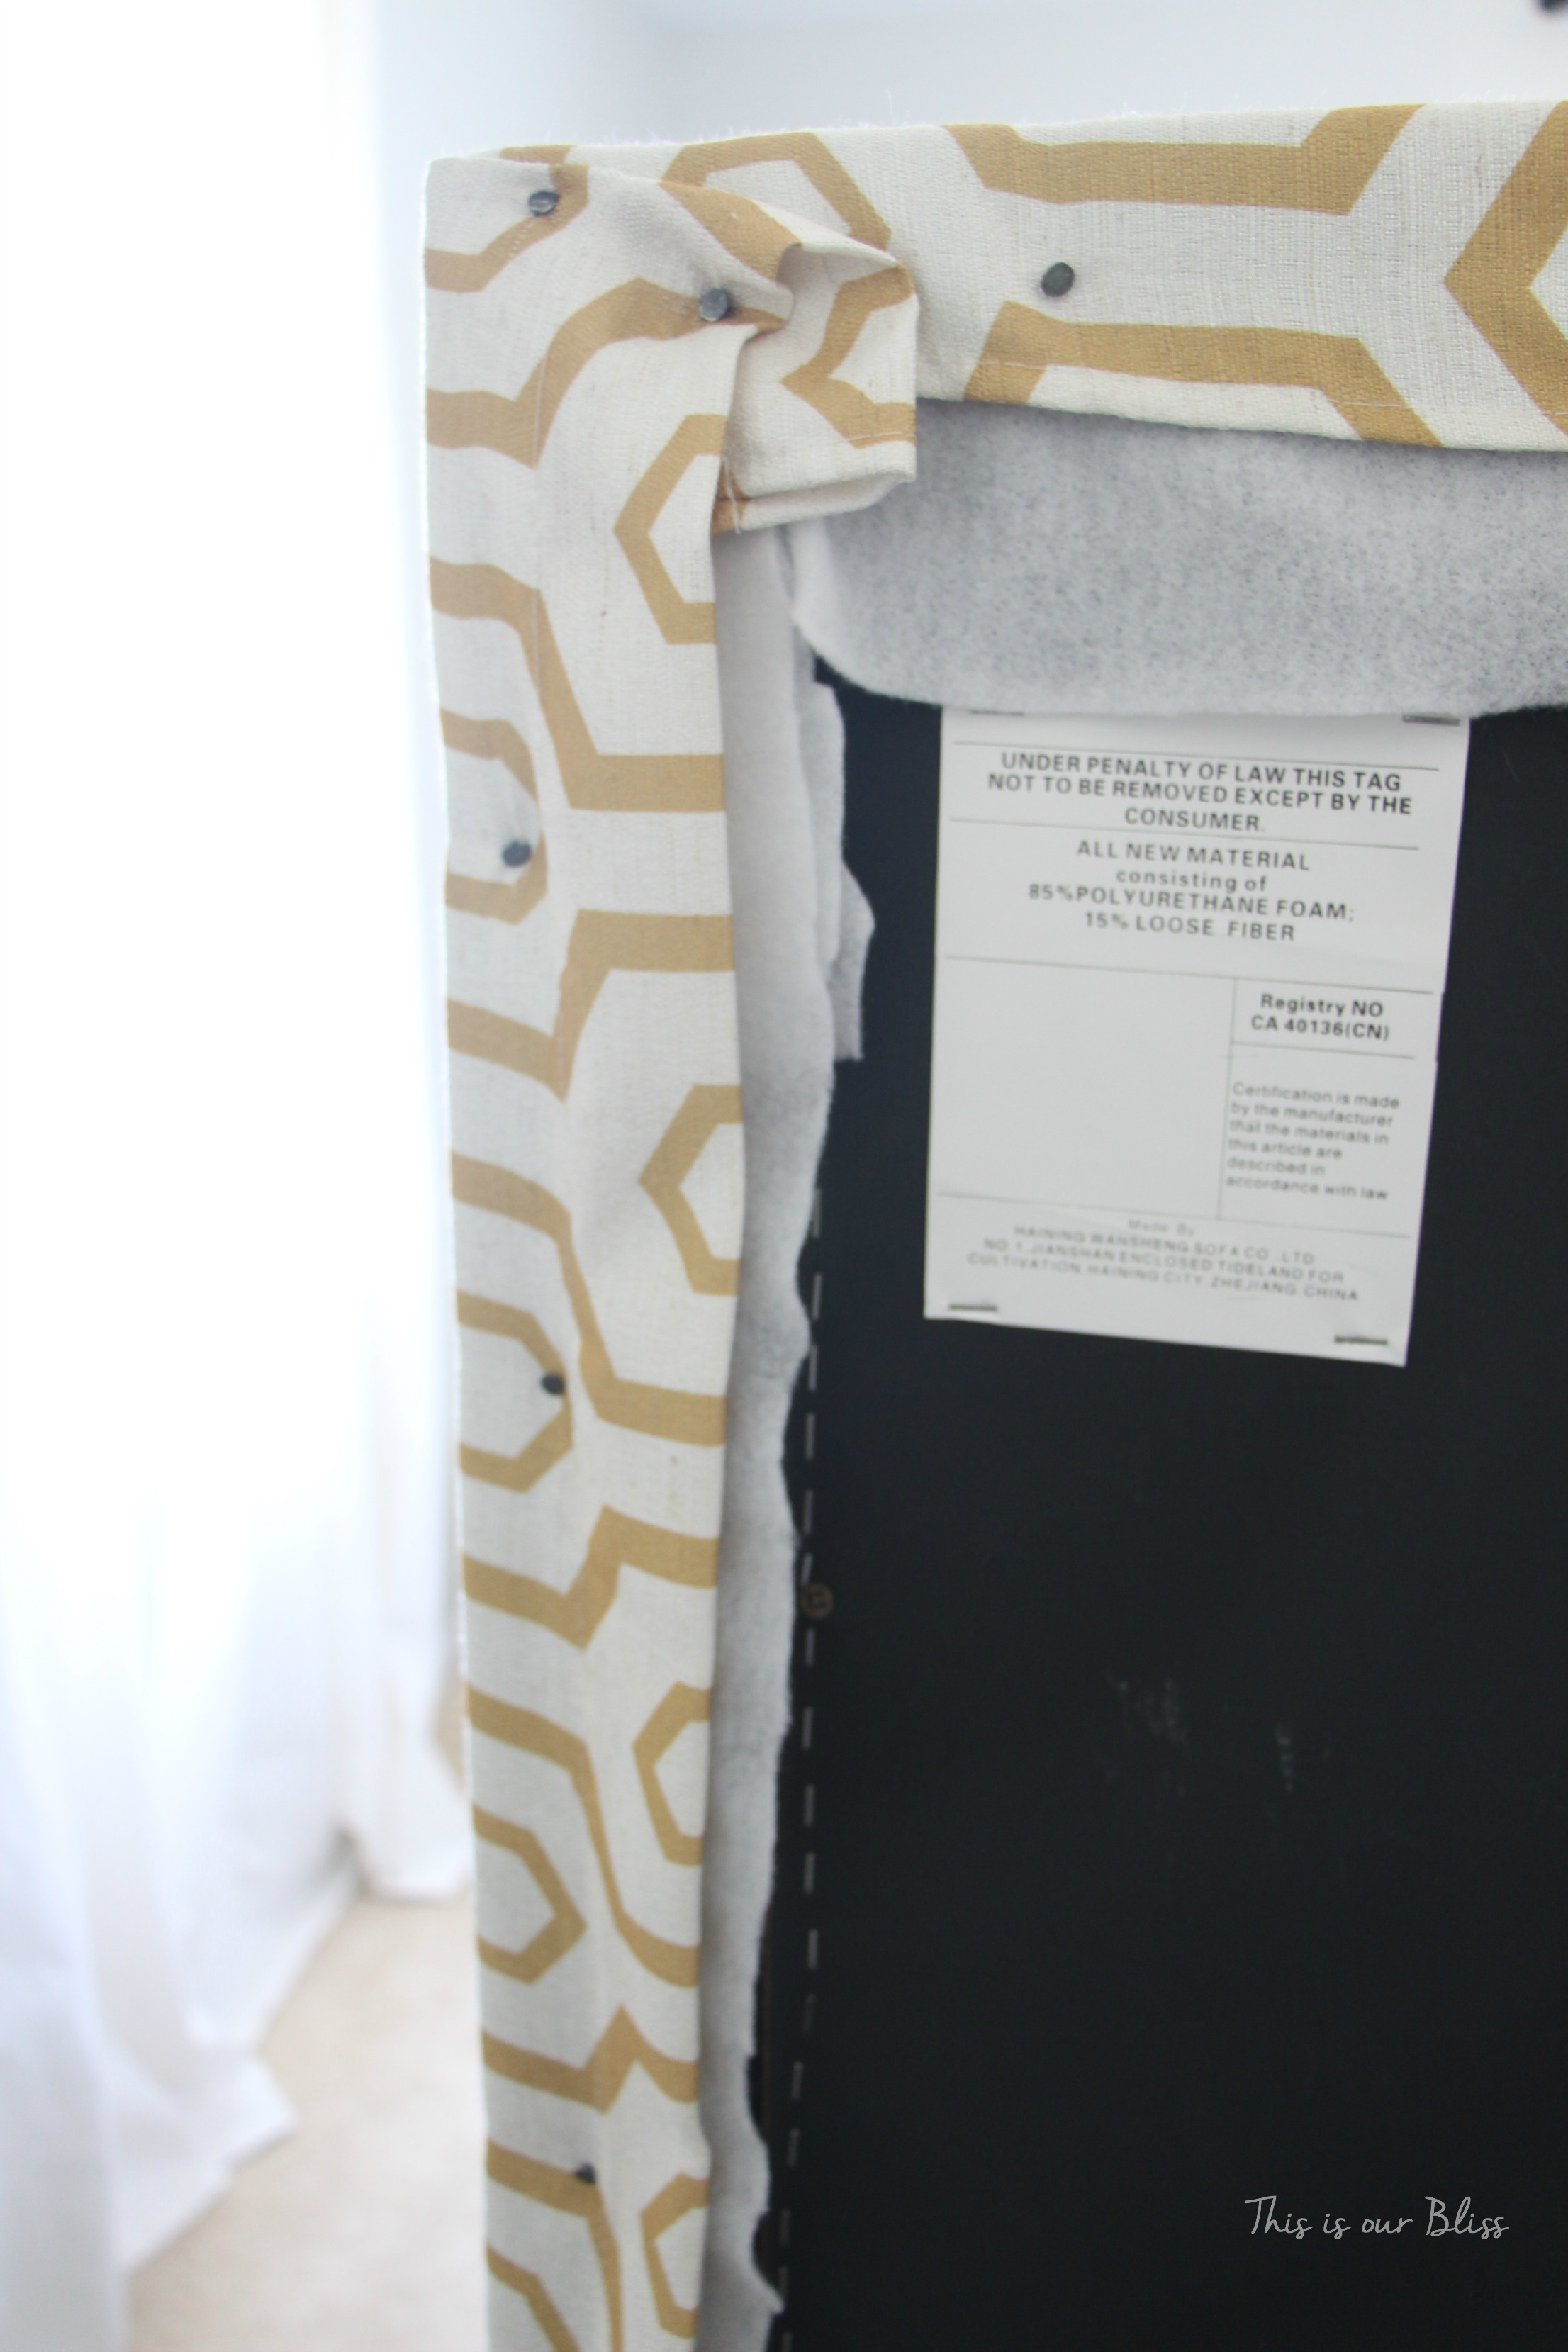
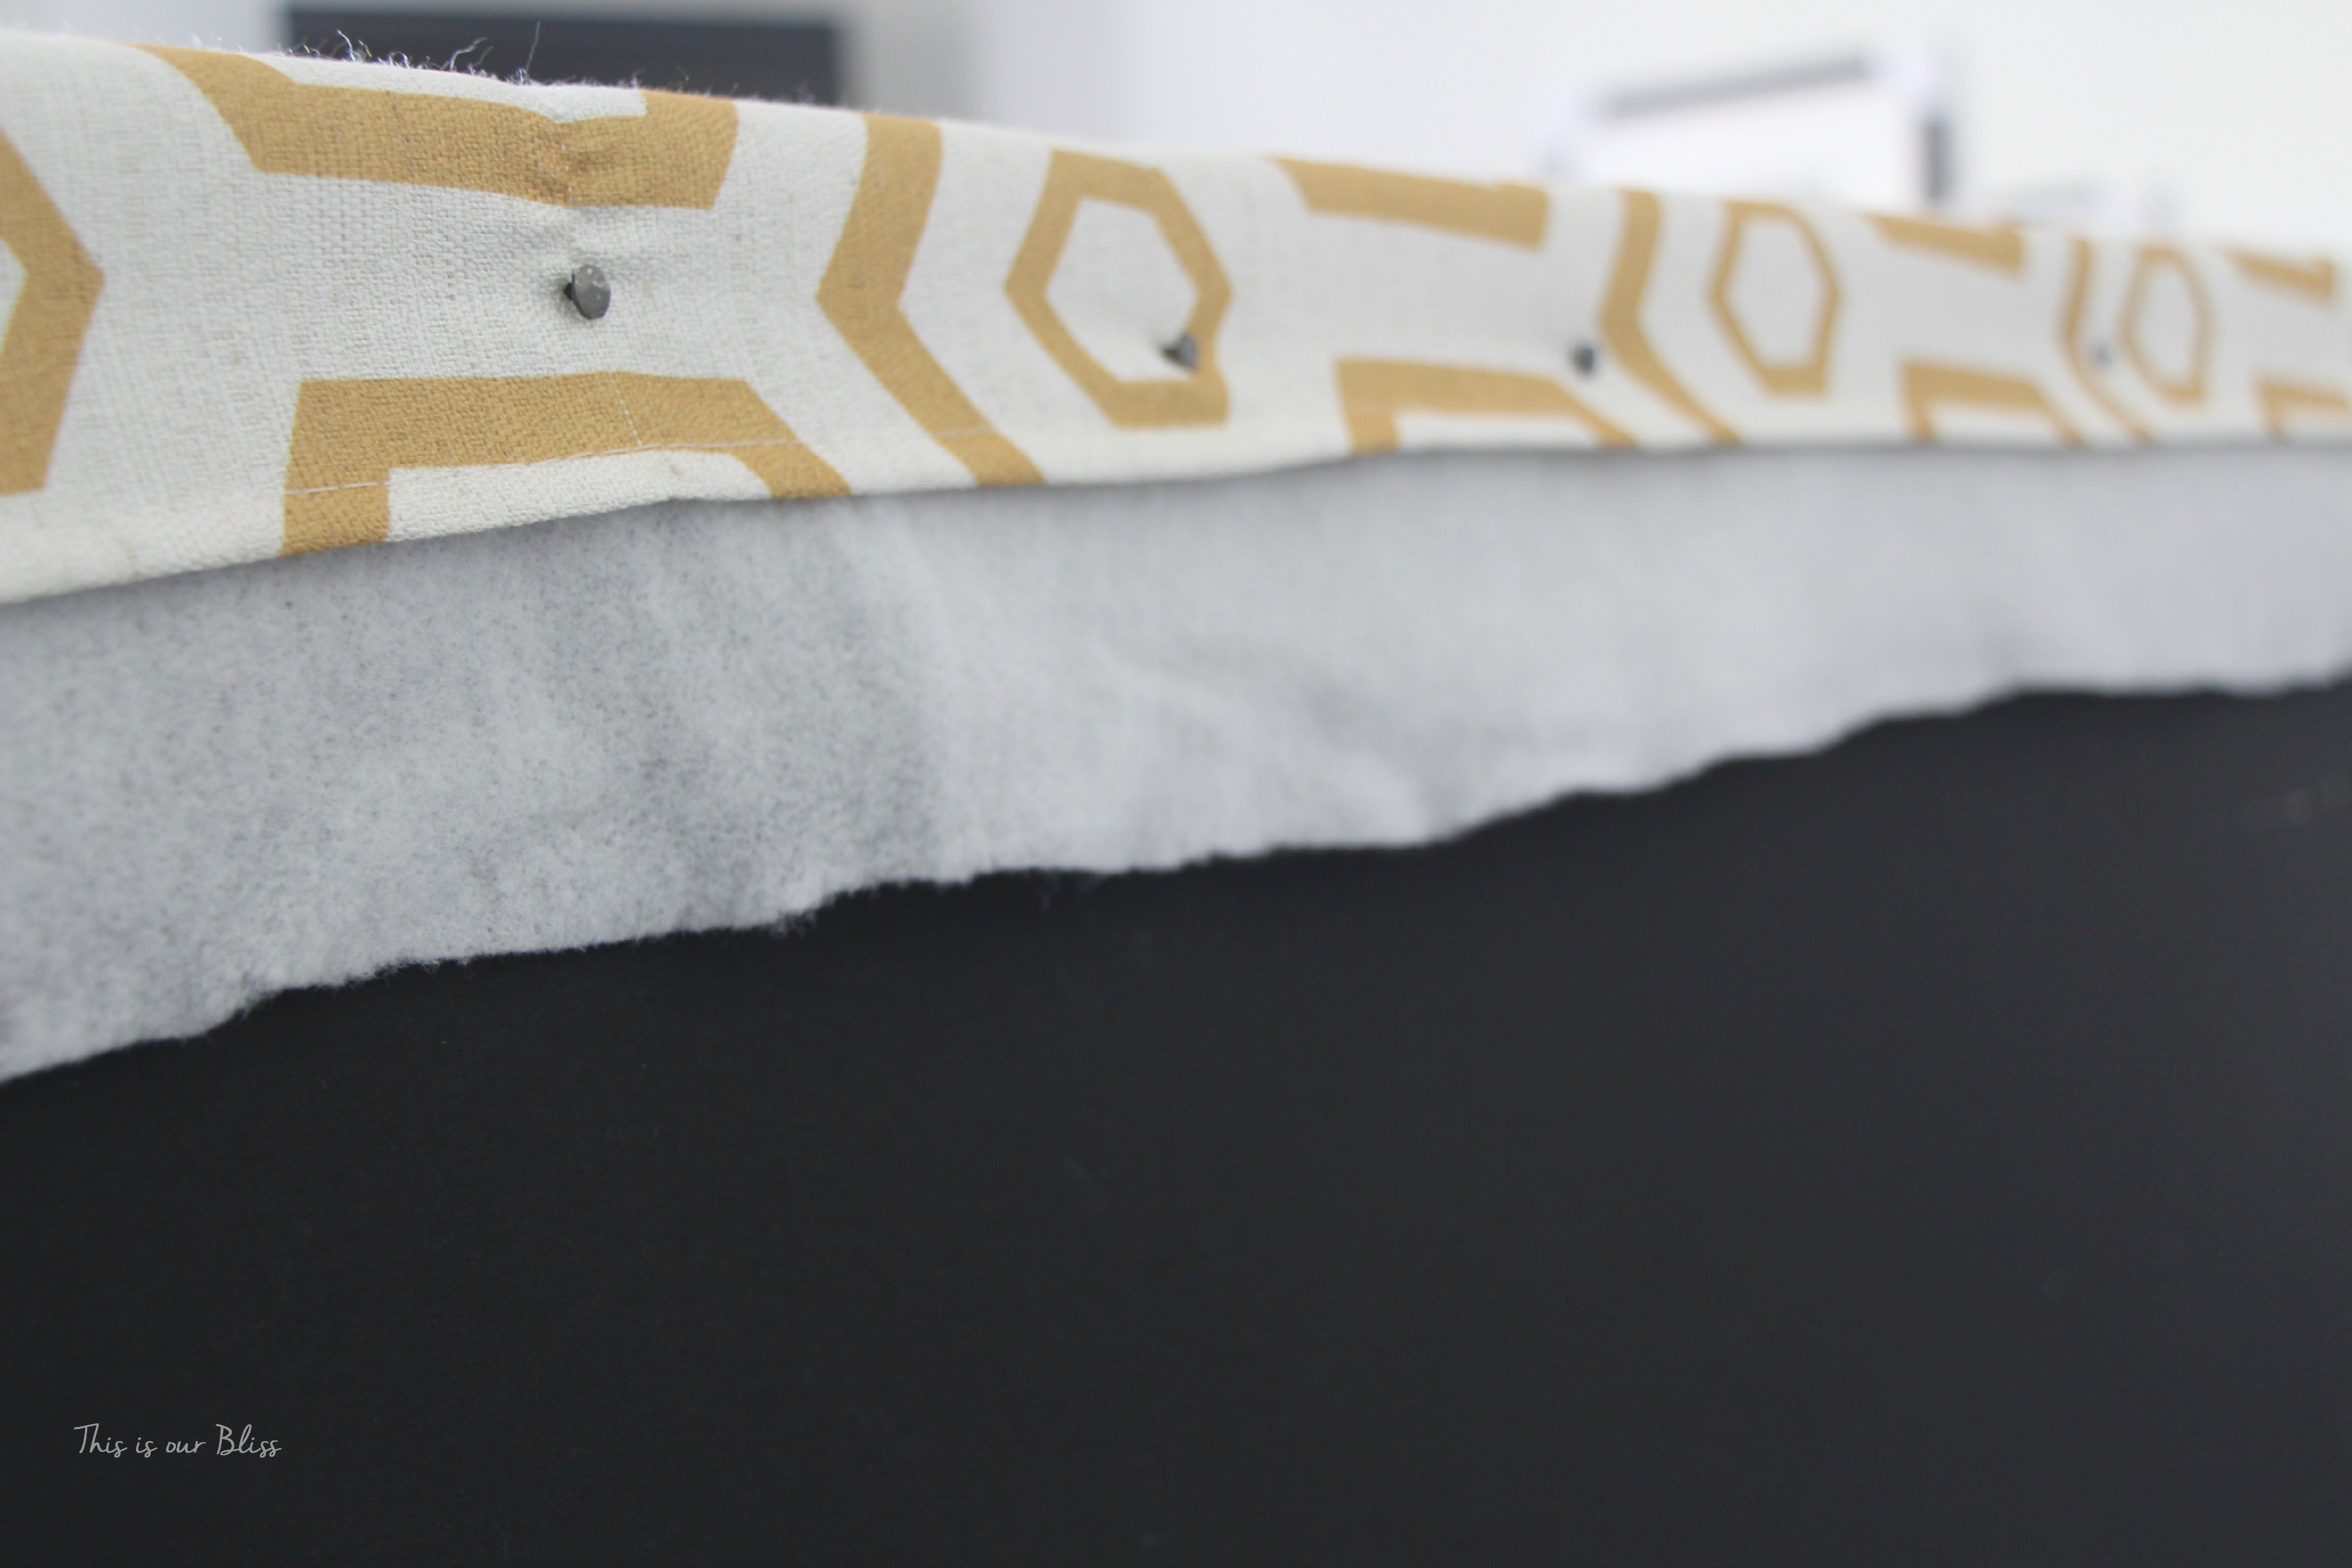
I wanted the tacks to hold the batting & curtain panel in place, but I also wanted to ensure the tacks were in deep enough to not scratch the wall once I pushed the bed back in place.
That is pretty much it!
It took me approximately 1 hour to upholster the headboard and I loooove how it turned out.
It is more permanent, than temporary, but it does not have to stay forever if I don’t want it to. Did I mention the pair of curtain panels was only $19.99. Totally beats upholstery fabric, even at 50% off at Joann’s.
Here are a few more shots of the finished headboard project and you can see the full reveal post here!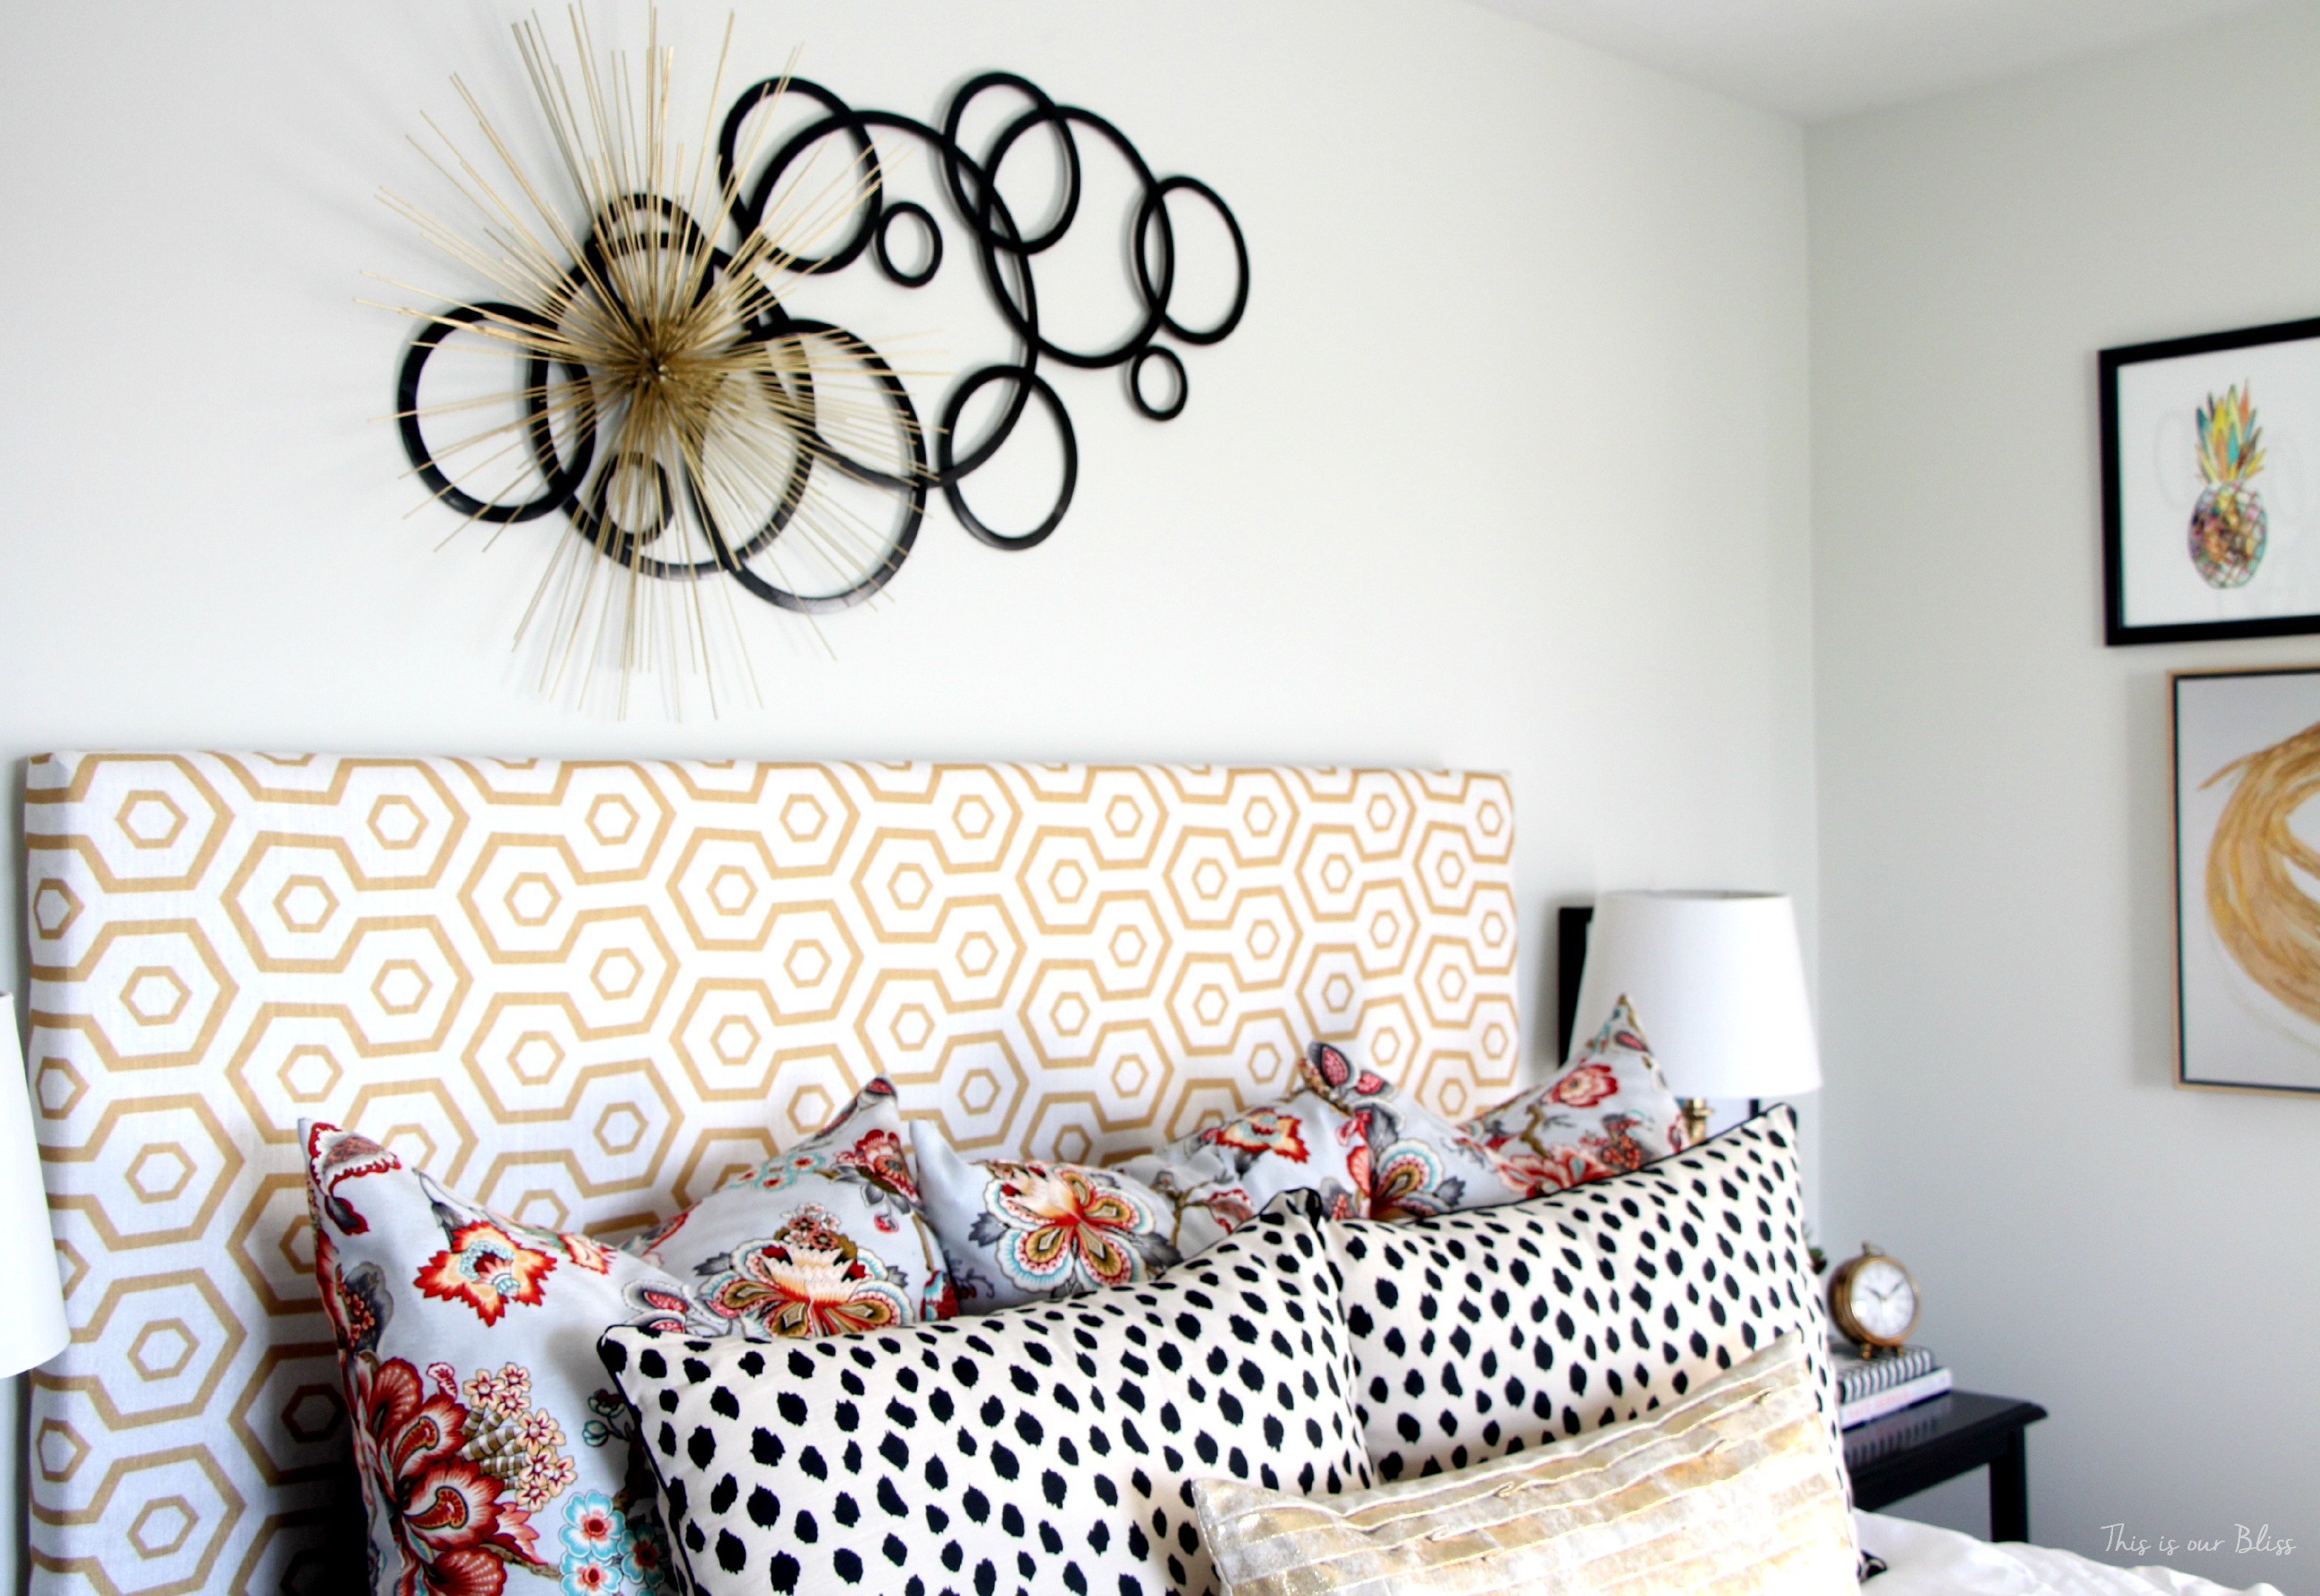
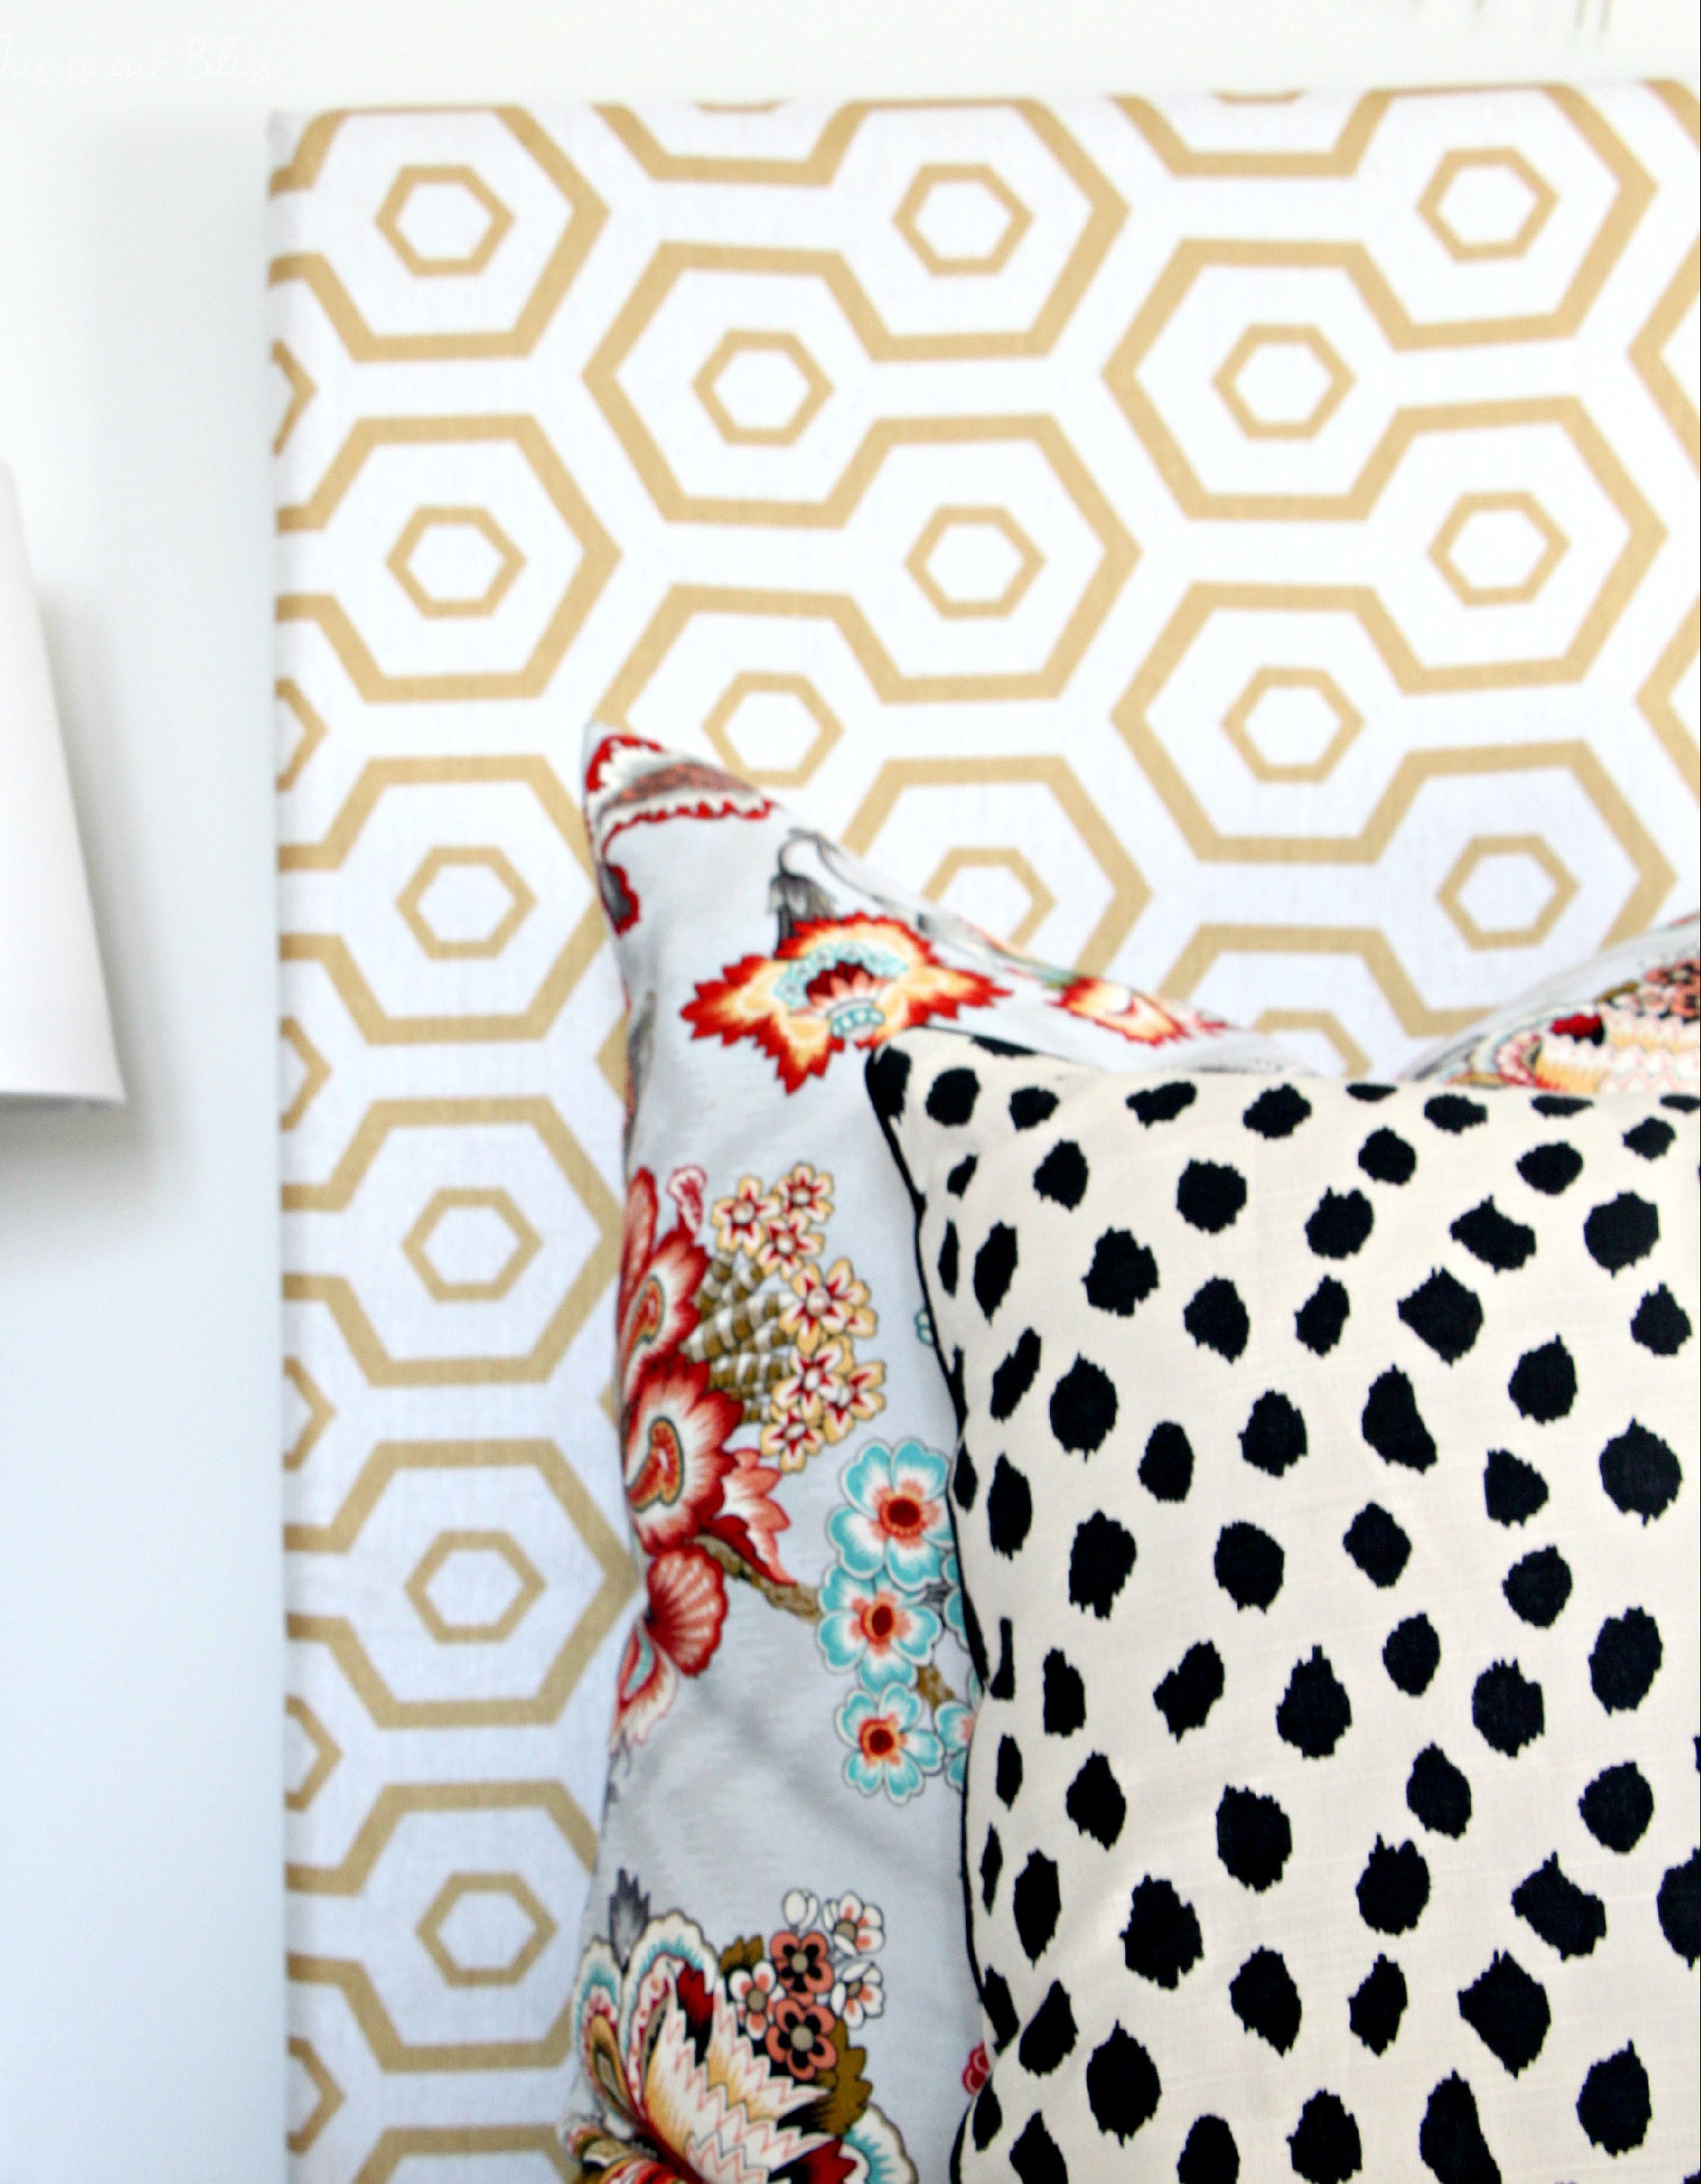
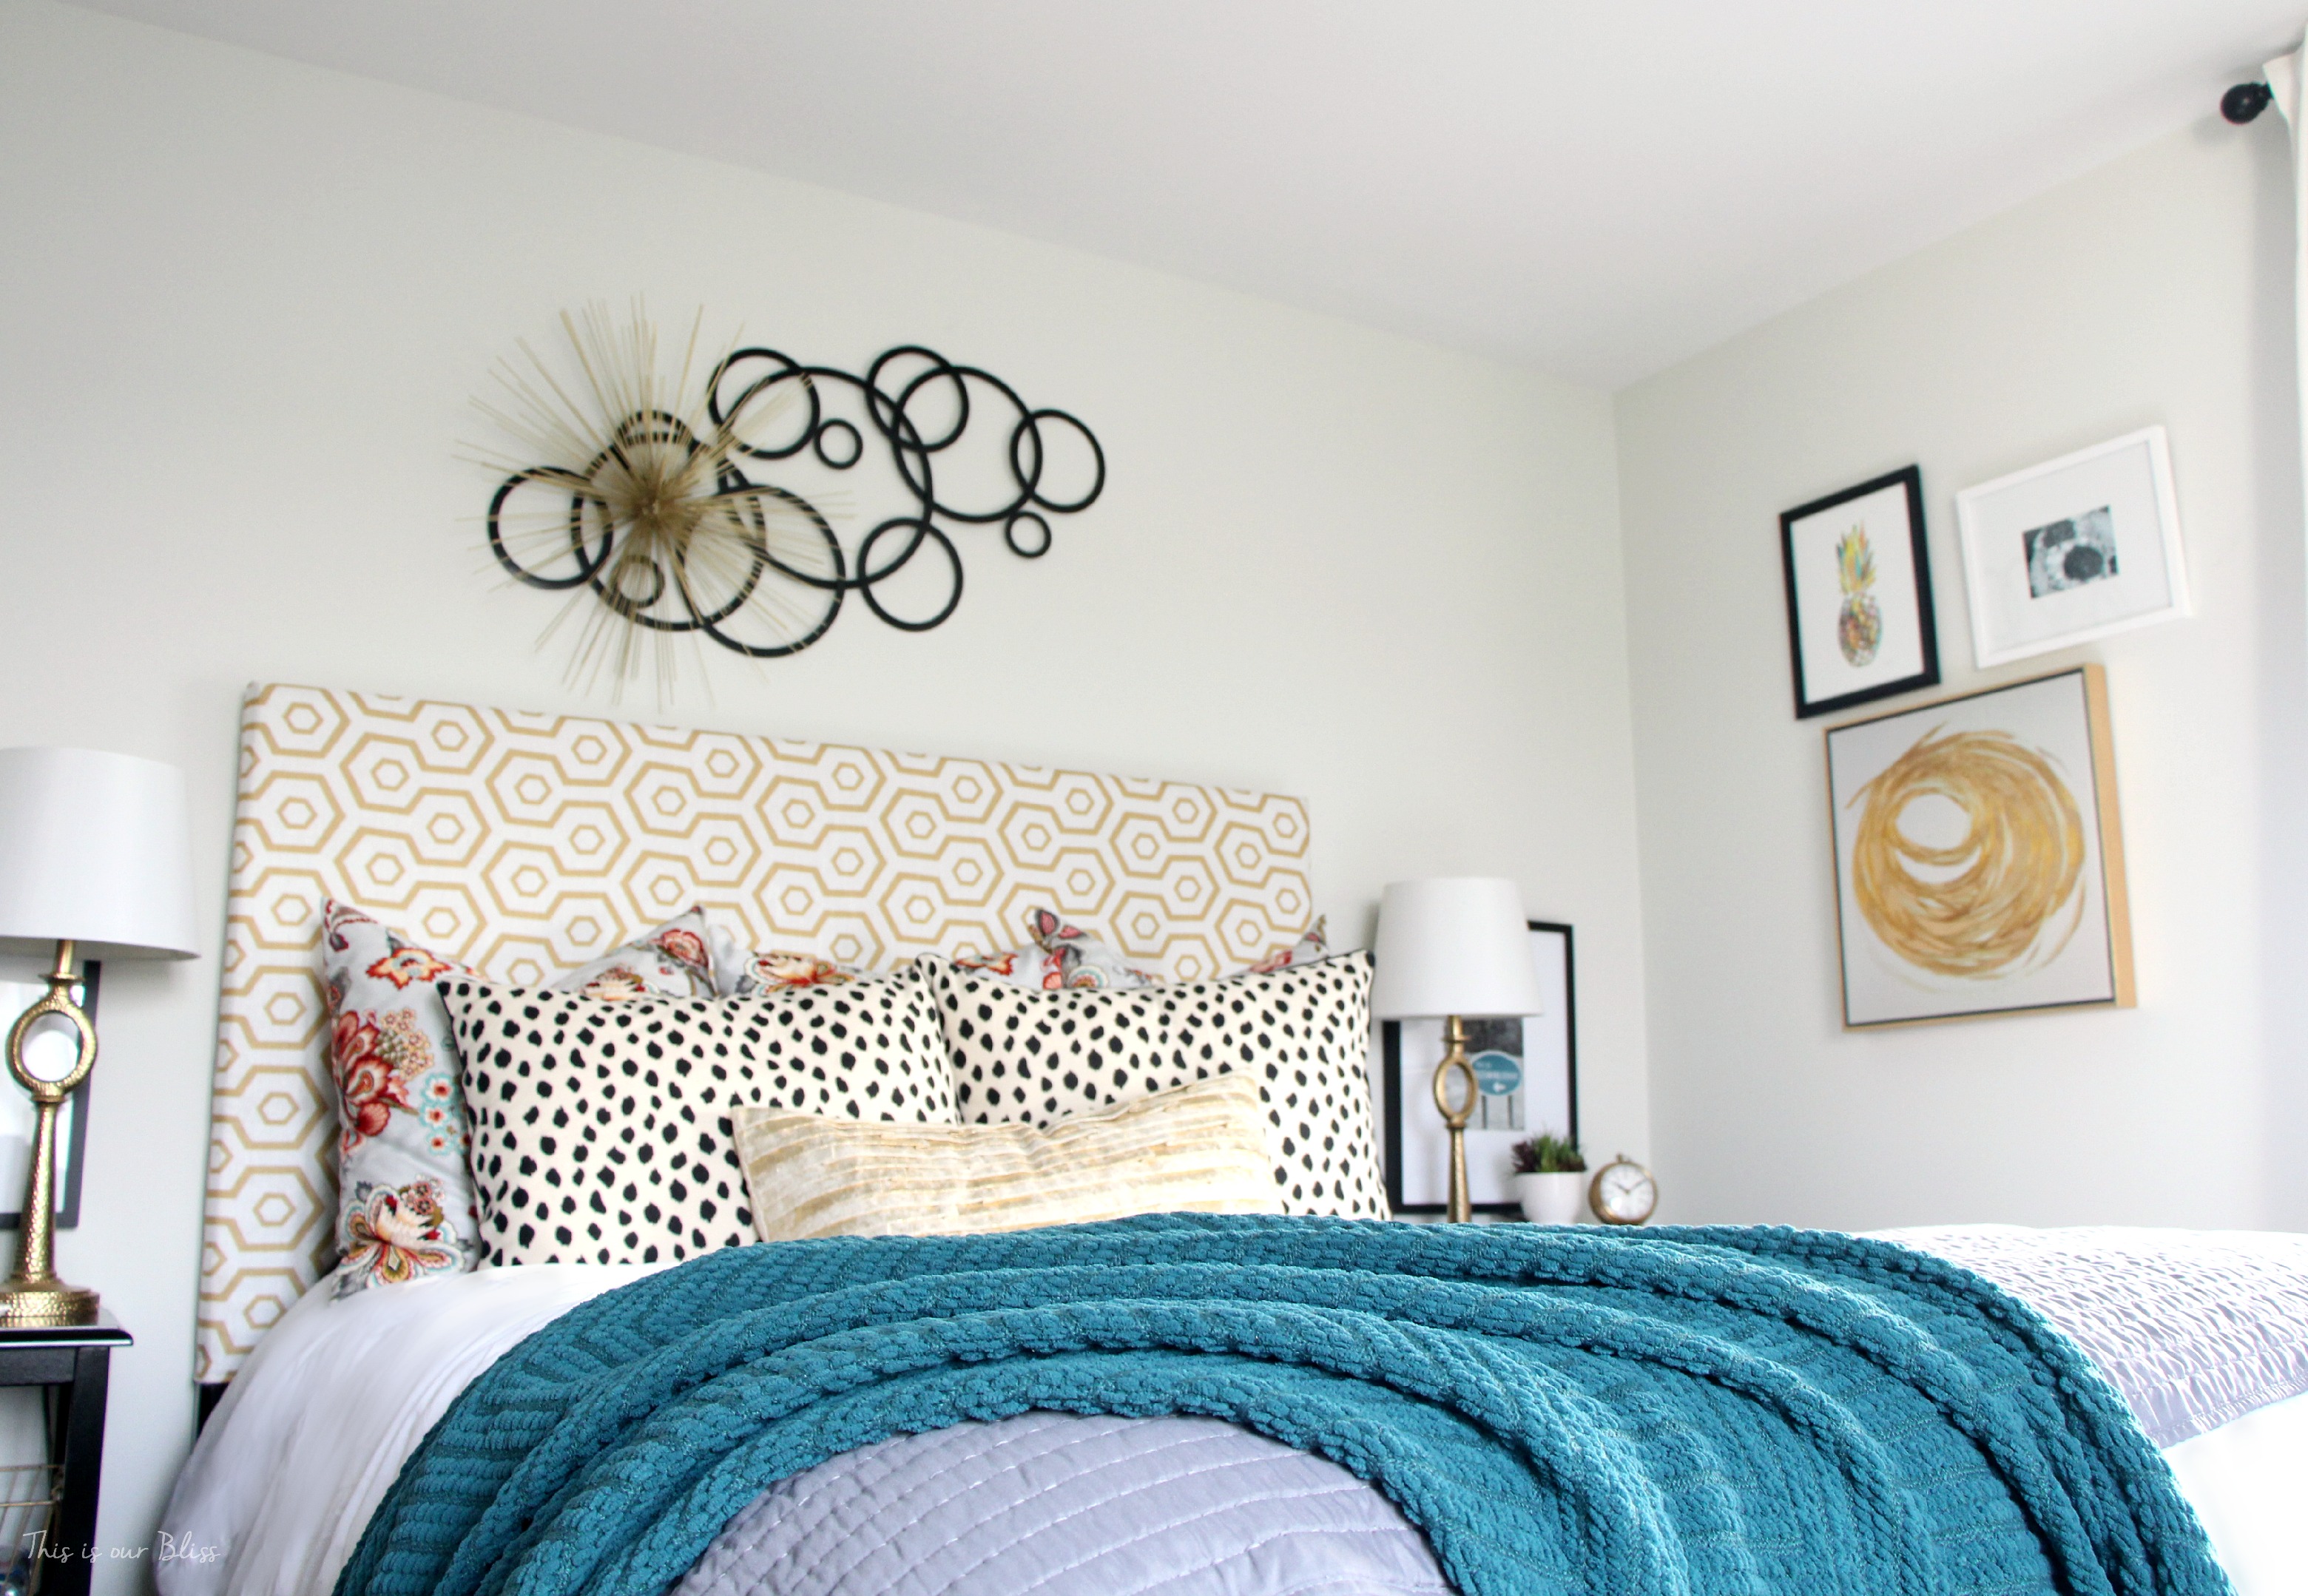
What do you think? Do you think you can tackle upholstering a headboard in one of your own bedrooms?
Would you consider using a curtain panel to upholster a headboard?
New pillows…a lampshade…the possibilities are endless! Thanks for joining me here today and I hope you’ll visit again soon 🙂



Back to Basics [Week 1 | How to Style a Nightstand] | This is our Bliss
September 7, 2015 at 7:00 AM[…] set! Maybe we would’ve had more space to add in a cute chair or been able to do something fun & creative with the headboard. We bought the set. So we are keeping the set. Maybe some day we’ll move a few pieces to […]
Think again Thursday #5 [Journal cover art] | This is our Bliss
September 3, 2015 at 11:07 PM[…] and use them in new and unexpected ways – like a coin bank turned planter or using a curtain panel to reupholster a headboard. I mean, if you like a pattern, you like a […]
Think again Thursday #4 [how to layer wall art] | This is our Bliss
August 27, 2015 at 4:56 PM[…] I could make a BIG statement and wallpaper behind the bed, but since I had a lot going on with the DIY headboard & the pattern play with the pillows, so another […]
Think again Thursday #3 [How to Frame a Frame] | This is our Bliss
July 30, 2015 at 3:03 PM[…] to overhaul our guestroom – from painting, adding new window treatments, bedding, creating a DIY headboard, reupholstering a cane chair and the best part, to hoarding buying accessories & wall décor. […]
Me, Myself and DIY
May 31, 2015 at 7:39 AMI’ve actually done this with a shower curtain too which is super cheap (Beautiful ones at Homegoods, Target.. etc) and so easy to clean. Love this – turned out gorgeous!
Rachael @ This is our Bliss
May 31, 2015 at 7:55 AMOh wow! Yes, a shower curtain would be an awesome route to go, too!! Thank you!!
atkokosplace
May 28, 2015 at 9:58 PMSo pretty. The color is just awesome. Well done on the reupholster! 🙂
theartinpartyplanning
May 28, 2015 at 4:19 PMI love the pattern you chose! My bedroom needs a little uplifting!
Rachael @ This is our Bliss
May 29, 2015 at 7:23 AMThank you! It’s always fun to spruce up your sleeping quarters! 😉