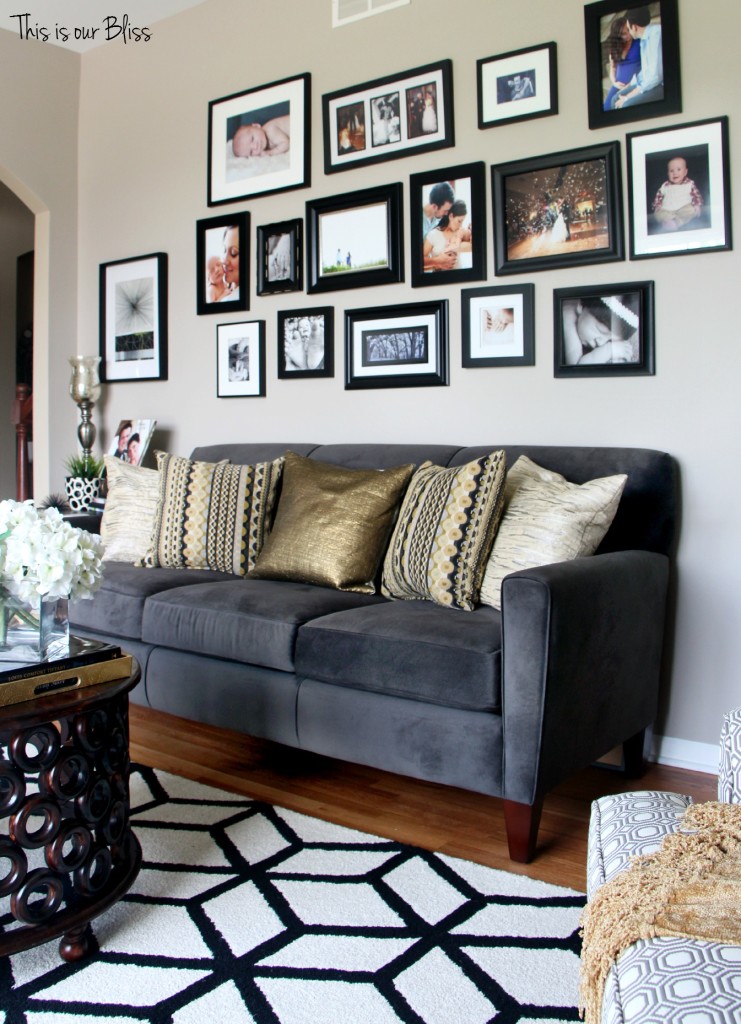
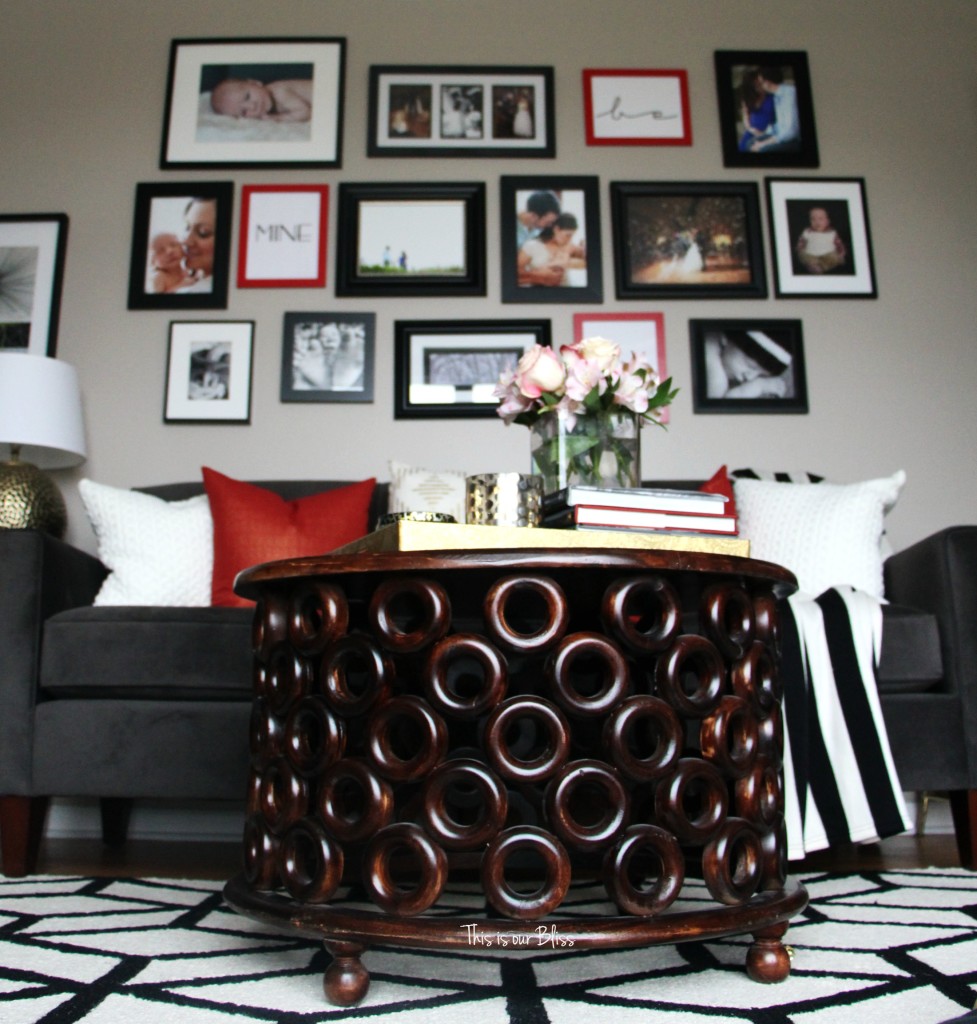
Gallery walls are one of my absolute favorite things to create in a space. I have one in every single one of the rooms in our home. I love mixing frames of all shapes and sizes. Typically, I go with a mix of black, white and gold frames or all black as seen below. As the holidays were approaching, I decided my monochromatic gallery wall needed an update. A budget-friendly update that would add a pop of color seemed the way to go! Here is how to update your gallery wall on a budget – this time for Valentine’s Day!
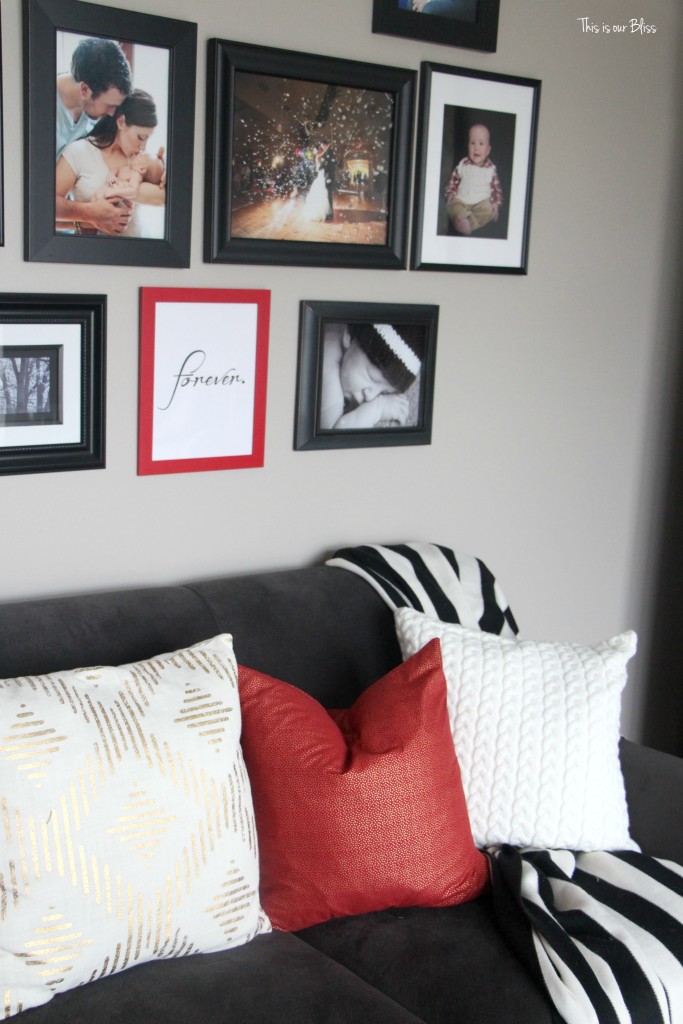
Here is how the gallery wall above the sofa in the living room looks on a typical day…
And you might remember this version of the wall from my Merry, Bright & Blissful Holiday Living Room.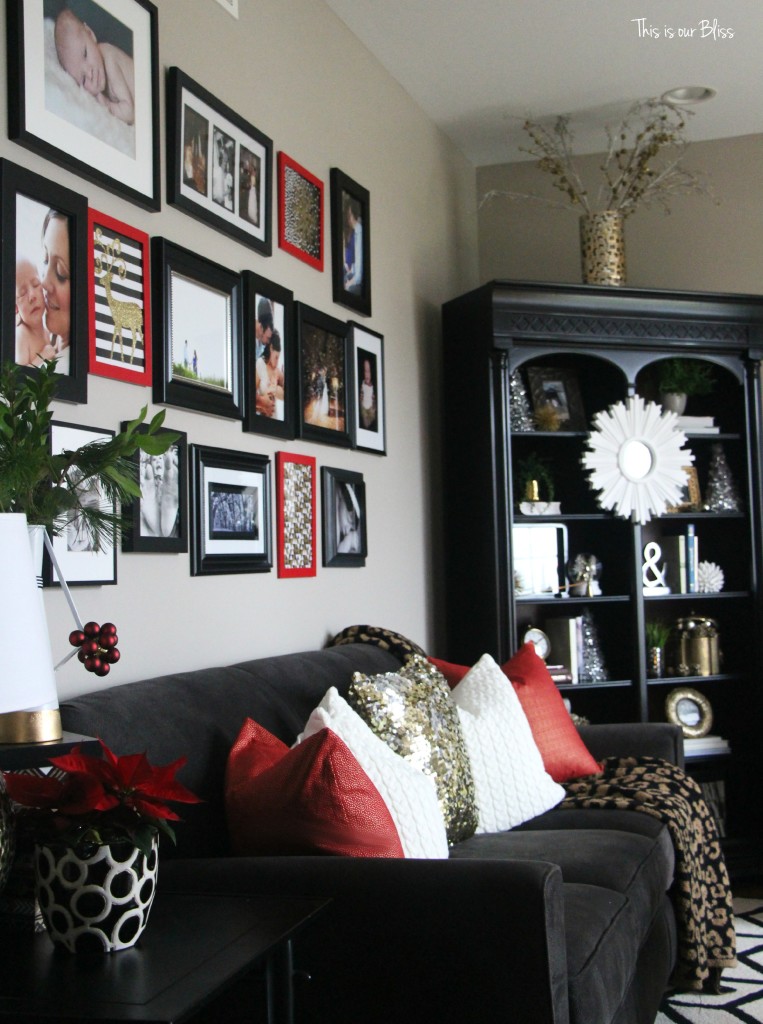
I fell in love with this room all decked out for the holidays. The tree…the holiday bar… but especially the bold wall with a pop of red! I don’t typically decorate much for Valentine’s Day. When I had this room all jazzed up in black, white, gold and red, I decided it could hang out like this for a couple months longer. Since I only added red (& more gold) to the house for Christmas, it easily transitioned right in to Valentine’s Day. The pillows, too! So today, I’m showing you how I achieved this look for a mere 6 bucks. Yep, $6!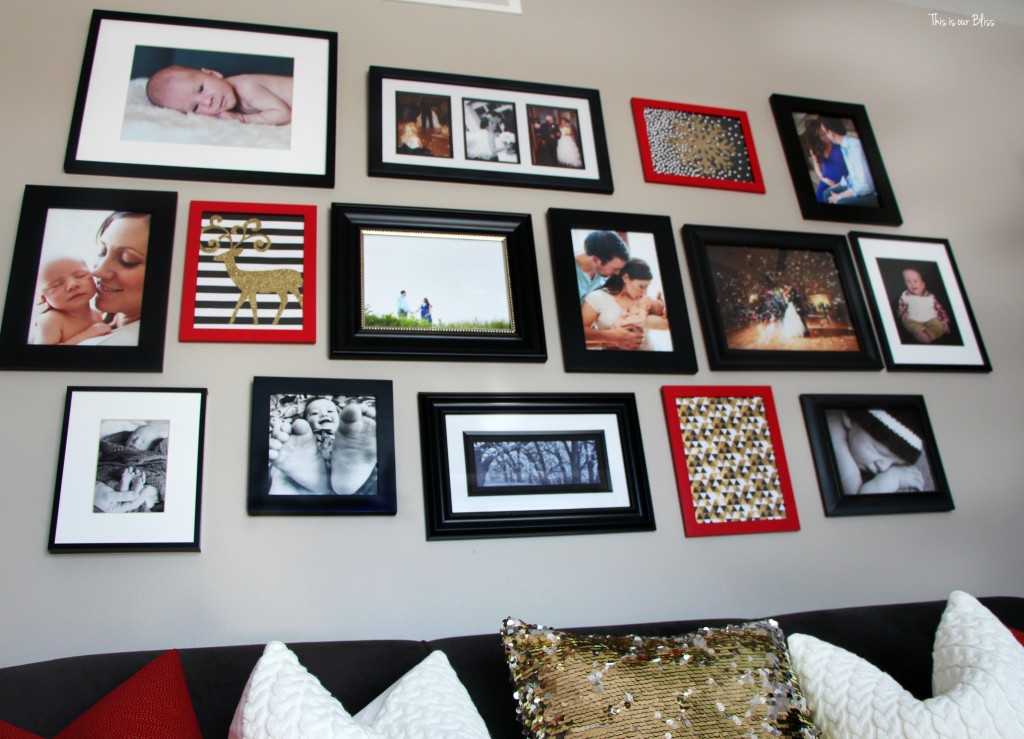
THE GALLERY WALL AT CHRISTMAS
Let’s rewind back to December when the room was beginning to fill up with all sorts of red & gold Christmas decor. I wanted to do something fun with the living room gallery wall already in place, so when I spotted these frames at my other home away from home (IKEA – my first has to be the mothership, the H to the G…HomeGoods, if you weren’t sure where I was goin’ with that ;)), I knew they would do the trick.
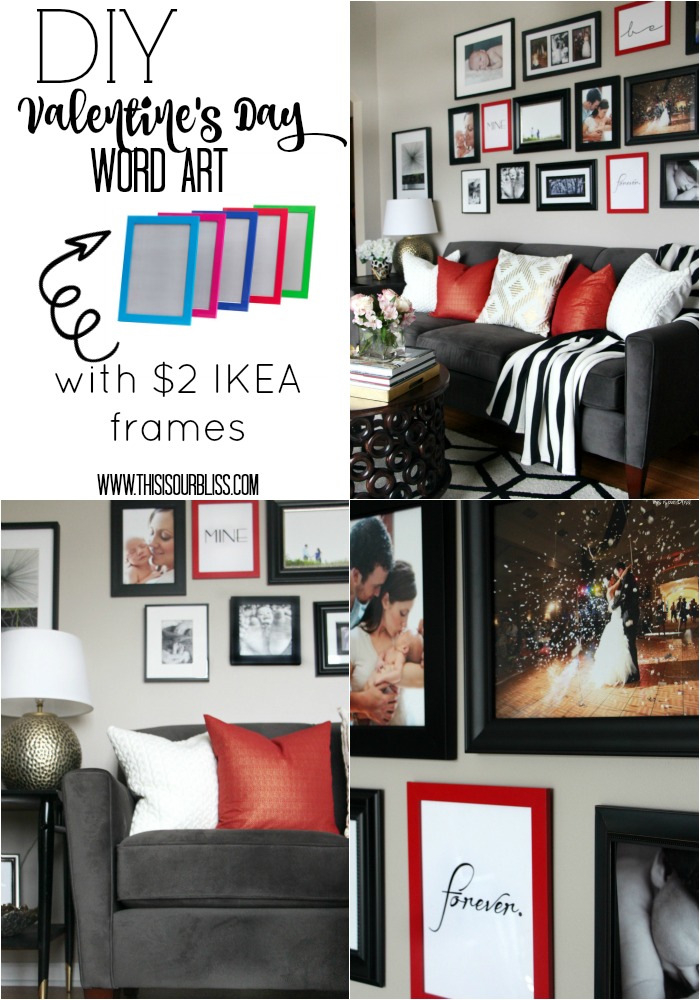
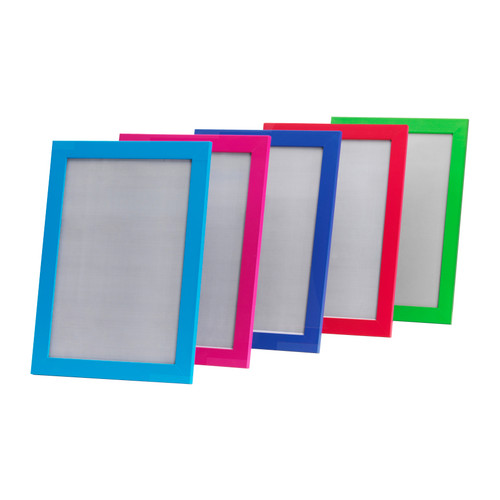 Spending a ton of money on a perfectly pretty wall didn’t seem like a good idea, so I used 3 red 8.5″x11″ nyttja frames @ $1.99 each, 2 gift bags and one piece of wrapping paper to create the 3 “art” pieces. I simply pulled 1 black frame from each row and replaced it with a red frame. I din’t move a single nail hole and it just so worked out that I would hang the top one horizontally and the middle and bottom frame hung vertically.
*** update: since Nyttja frames are not available online (in-store purchase only), I found them here: IKEA Nyttja frame from Amazon*
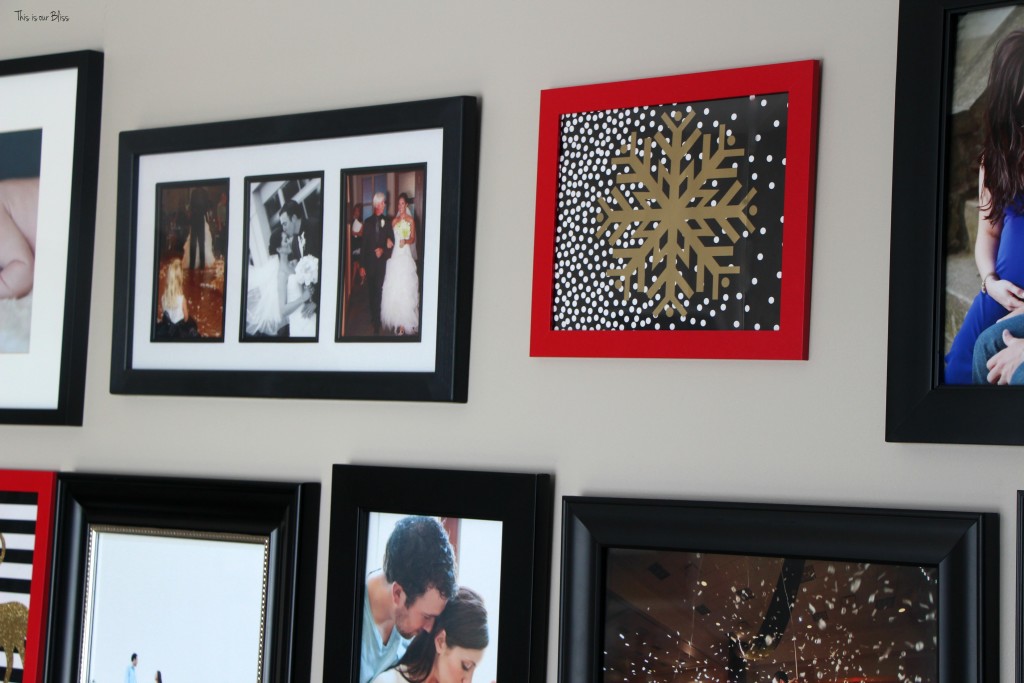
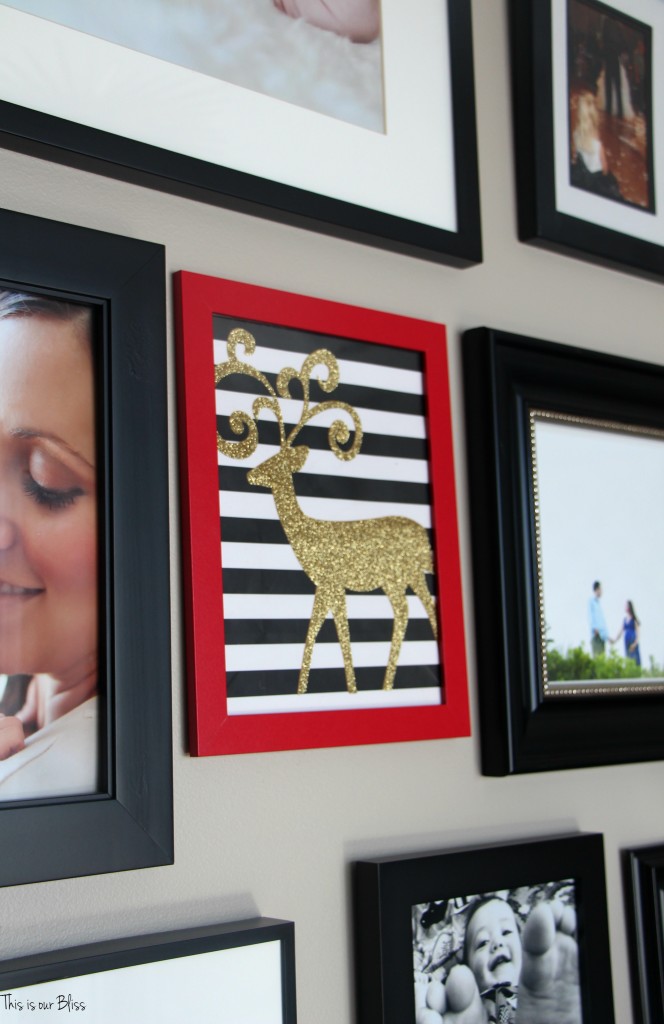 The gift bags were part of a 3-pack from Ross for $2.99 and the wrapping paper was leftover from making my DIY wrapped coffee table books and the DIY mini wrapped present ornaments. And the gold glitter reindeer felt right at home propped right above the gold sequin pillow.
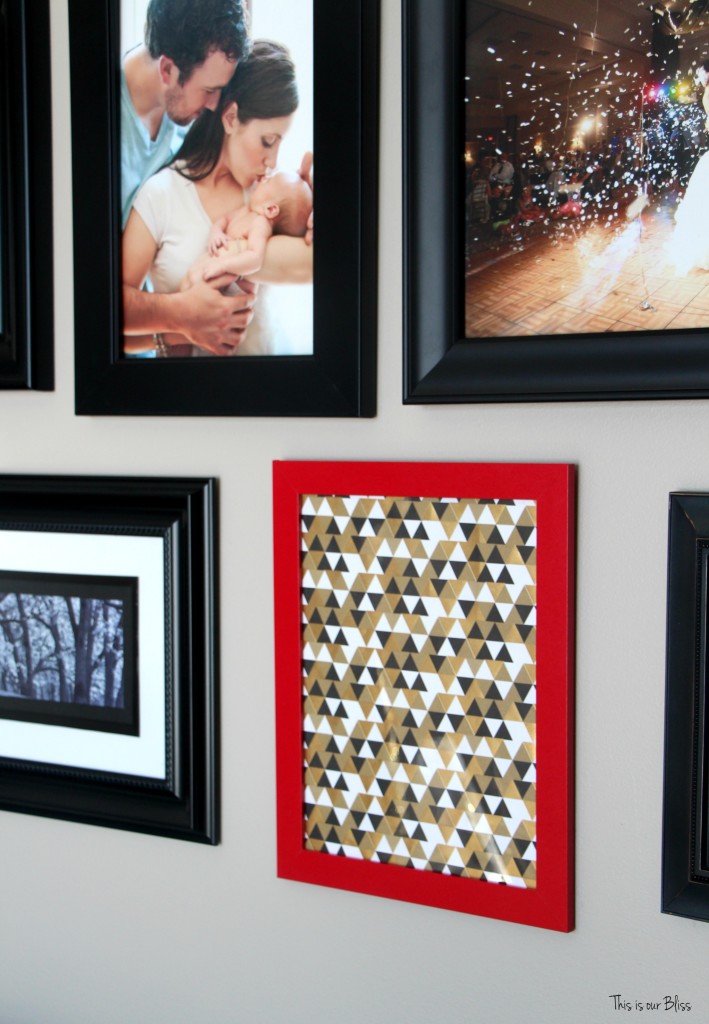 I clearly got my money’s worth out of that roll!!
Let me break the Christmas gallery wall down for you again…
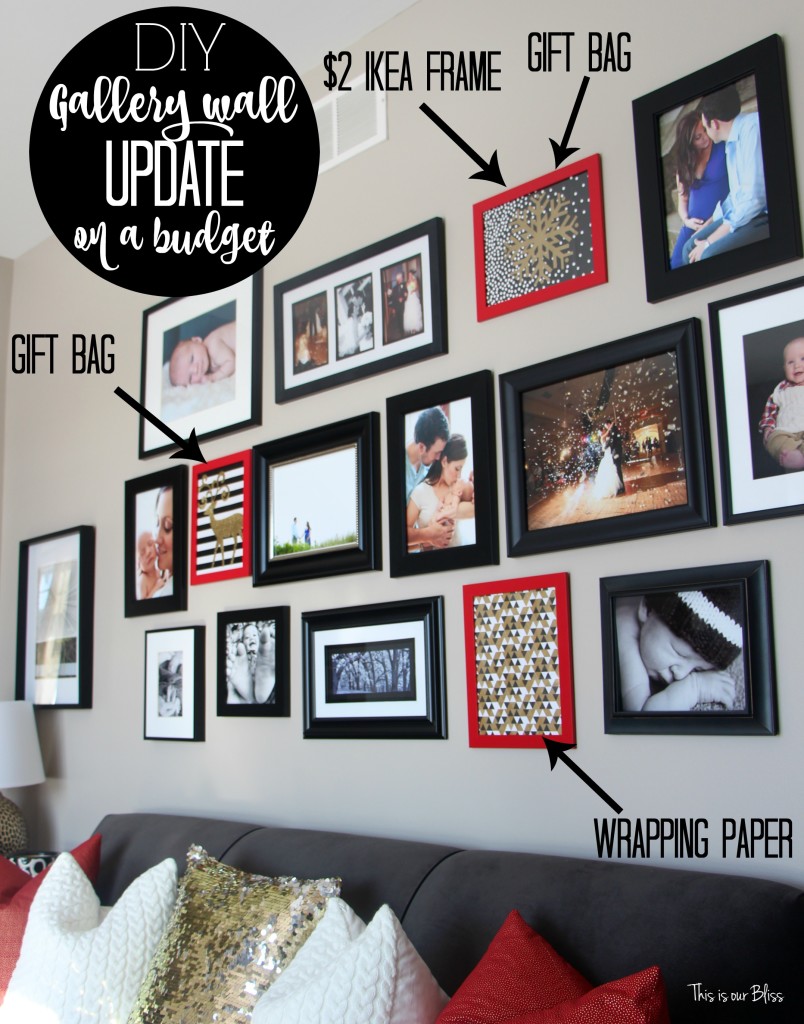 Quite simple, agree?!
HOW I UPDATED THE GALLERY WALL FOR VALENTINE’S DAY
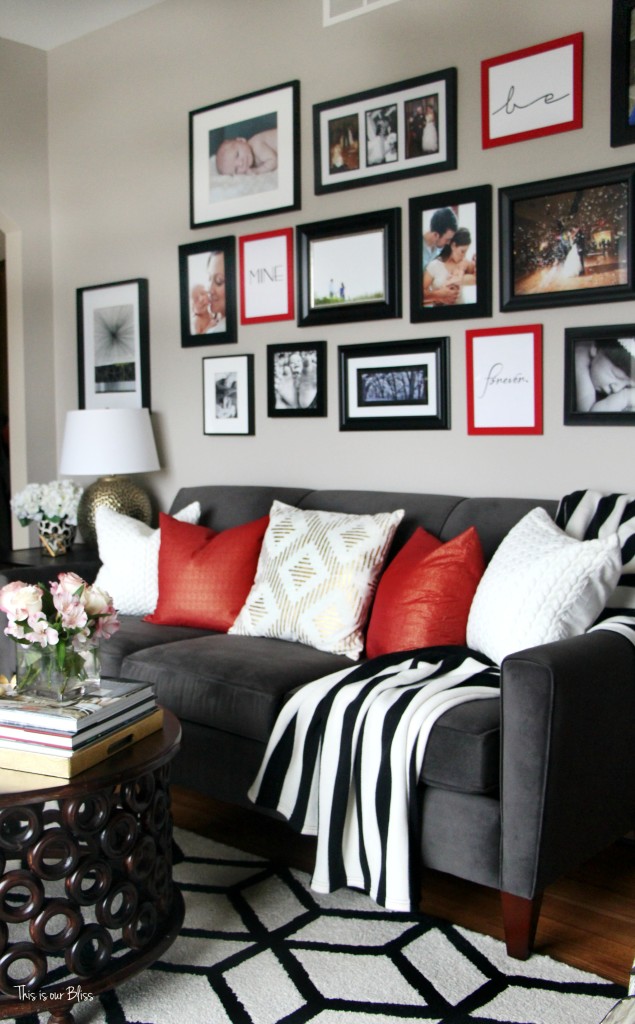
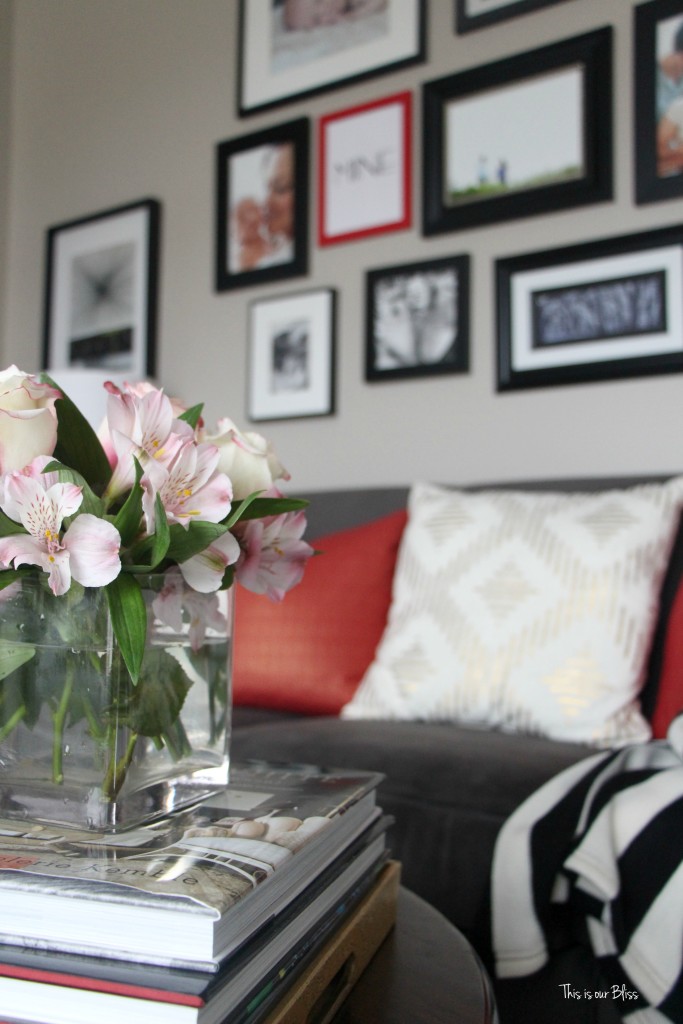
Now, let’s bring it back to Valentine’s Day prep. Like I said, I don’t do much and just wasn’t feeling like filling the house up with a gazillion hearts. So instead, I opted to use my red frames again.
I mean, lazy girl valentine’s decorating is fine, right?

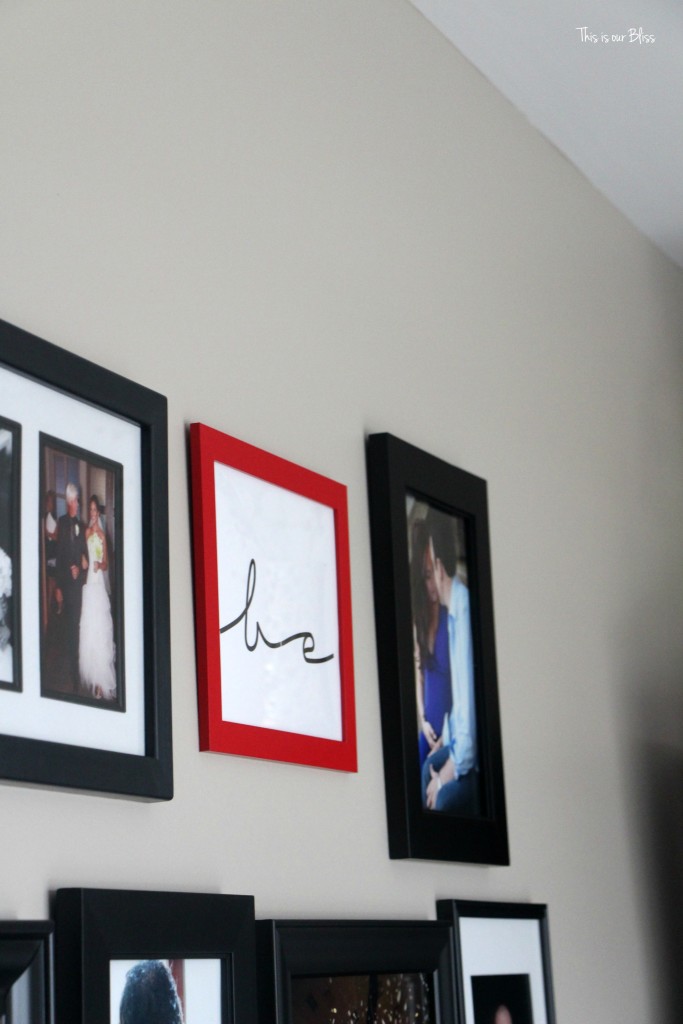
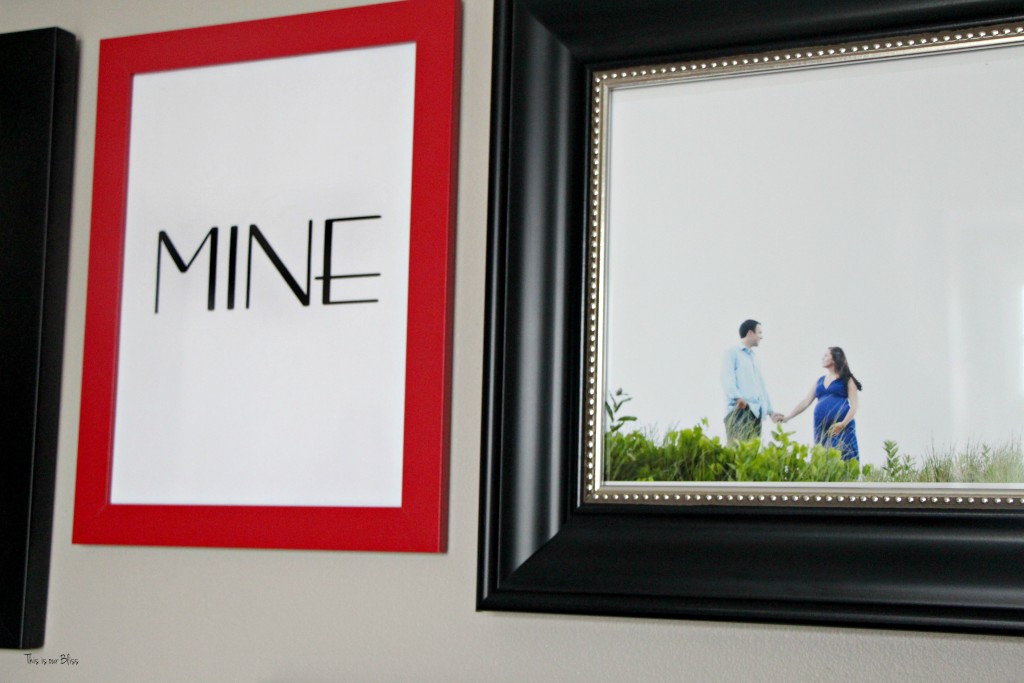
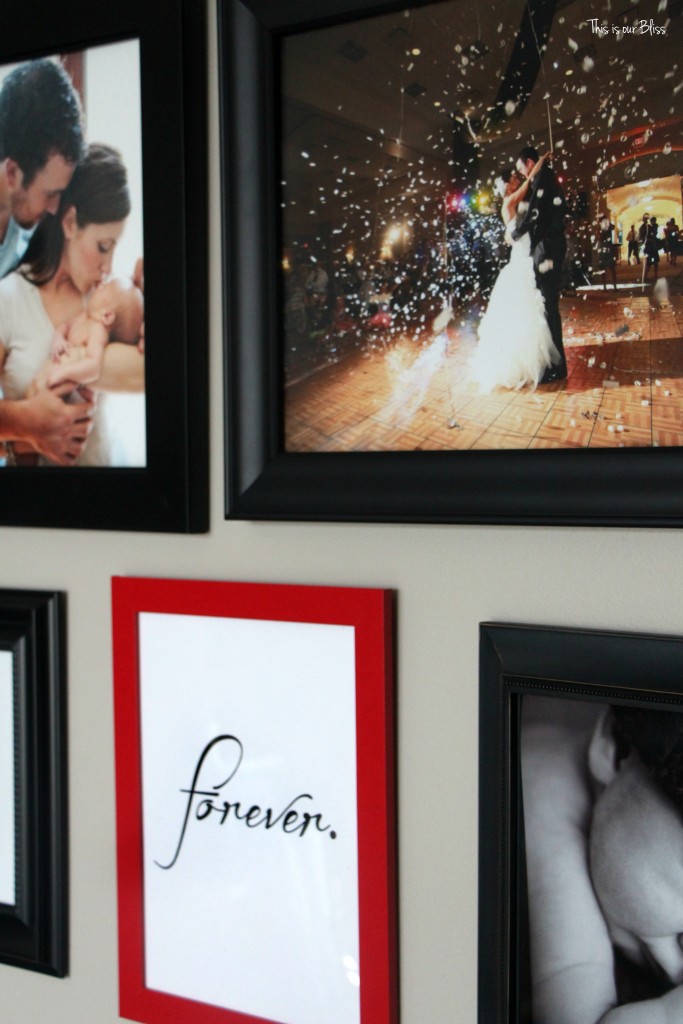
geek lover and decided to make my own. The BEST part of using this particular NYTTJA frame is that they are 8.5″ x 11″ frames and you know what that means? I can make my word art, print it and pop it in. No trimming necessary!
I needed one horizontal and two vertical, so I created 2 word documents – changed the page layout orientation to landscape on the first one and left the 2nd document as-is (portrait).
I used the font “bacana” for the word “be” and “mine” is in “Bernardo Moda Contrast” and “forever” is “Before the Rain”. All fonts were downloaded for free from dafont.com.
After printing them on white cardstock paper*, I swapped out the Christmas art for these new pieces. Then the frames went right back up in their spot.Super, super easy! My $2 frames got to stay out awhile longer and my word art was free!
What Valentine’s Day touches do add to your home?
Don’t forget to pin this for later!
Other Valentine’s Day posts you might want to check out!:
Hoping to get one more post finished up and ready for you before next Tuesday’s big reveal of the Master bedroom refresh! Now, off to keep chipping away at my punch list and squeeze in a few more snuggles before the boys are fully recovered from their 2 week-long colds.

 SWEET & SALTY VALENTINE'S DAY TREAT MIX
  HOW TO HOST A FUSS-FREE GALENTINE'S DAY PARTY
  HOW TO MAKE THE ULTIMATE SWEETS & STRAWBERRIES BOARD
  FREE PRINTABLE GIFT TAGS FOR YOUR GIRLFRIENDS





Betty
January 28, 2016 at 8:49 AMAbsolutely adorable and inexpensive to recreate…….definitely your specialty!