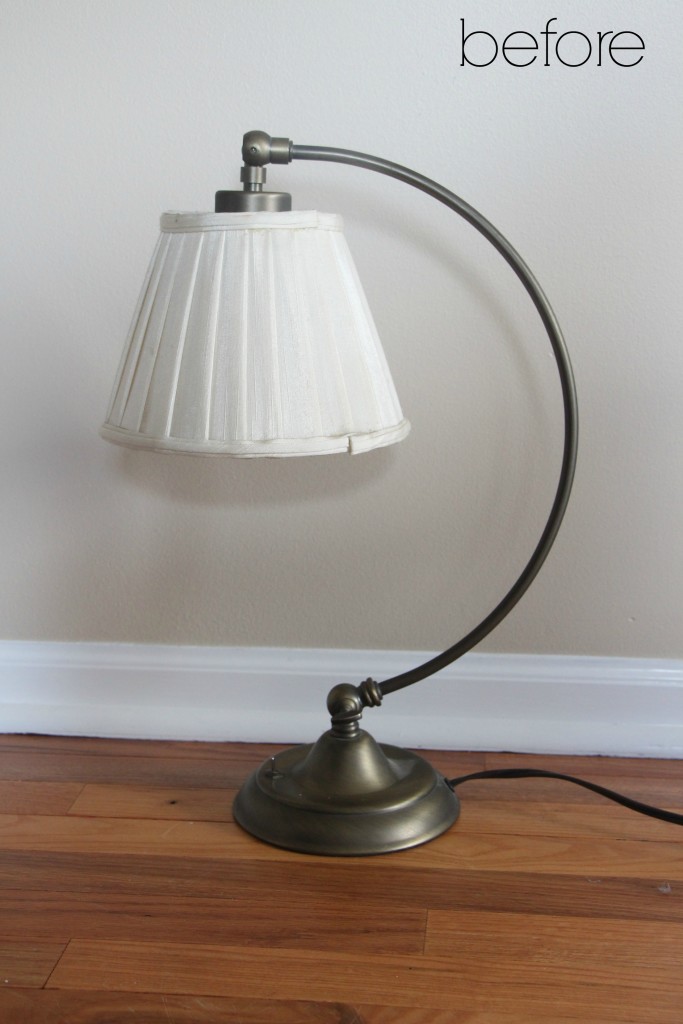
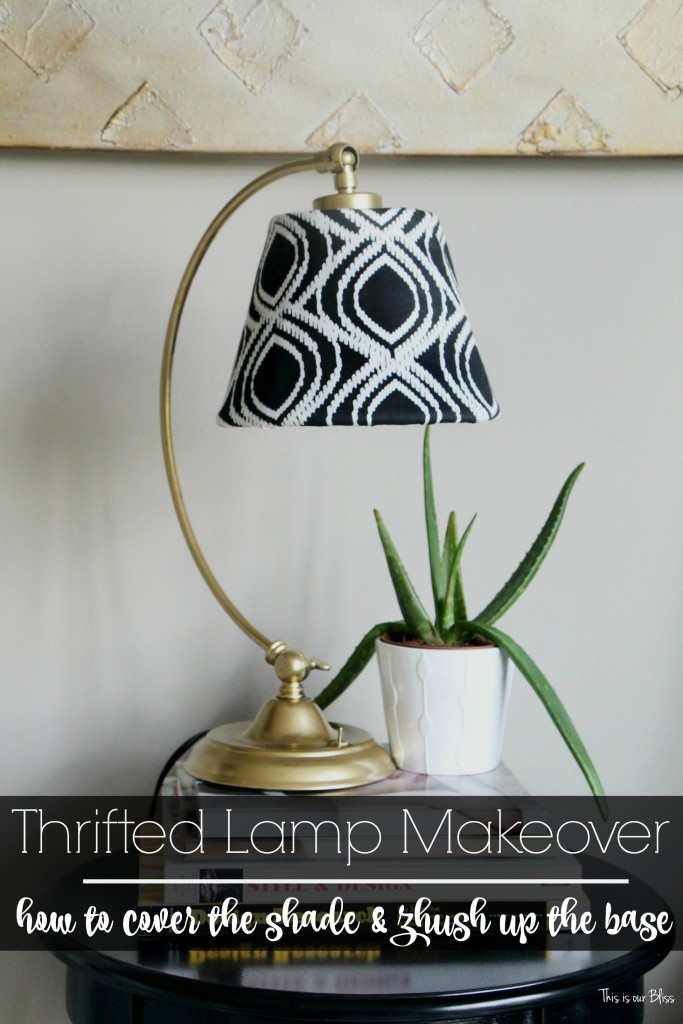
I walked in and within 60 seconds, had locked eyes with this little lady. She was barely visible, barely peeking out from the back of the tattered and troubled lighting section, but I saw her. She had a long, golden neck, but a sad and soiled shade…something I knew I could repair. I actually had a vision for her makeover crafted up in my head before I even reached the register. She was mine. All four dollars and ninety nine cents of her.
With minimal effort, I was going to have her looking FI-I-INE!!
Another installment of our It’s So Ugly It’s Cool Monthly Thrift Challenge is here today! Thanks to Domicile 37 for hosting and to my other blogger friend participants to continuing to dominate their local thrift shops and inspire us all with their creations!
I’ll admit, I don’t have a stash of gorgeous thrifted gems just awaiting their time on the top of my project checklist. I have quite a collection of thrifted frames and a few random odds and ends, but for this month’s challenge, I had to go out to hunt!
I came home with the little lady a couple weeks ago and picked up her “outfit” last week at Joann’s. The rest of my supplies were ready and waiting for me!
Here are the simple steps I took to re-cover the old lampshade and zhush up the body of the lamp:
Gather supplies
[affliliate links were used.]
lamp + lampshade
fabric [I bought 1/3 yard, but the amount depends on the size of your lampshade]
Fabric adhesive
liquid leaf
foam brush
poster board
pencil
scissors
Directions
Start by laying your lampshade down on top of the poster board. Starting with the seam side face-down and holding it firmly to the poster board with one hand, start to roll it out tracing the top edge with a pencil. Roll it until you’ve rolled it back over to where the seam side is facing down again. Then, roll it back the other way and trace alongside the bottom of the shade. Please, please forgive me for not taking photos during this step. I had both hands tied up and they just didn’t happen!
*You can go here to see the lamp shade I re-covered for Simon’s Nursery!
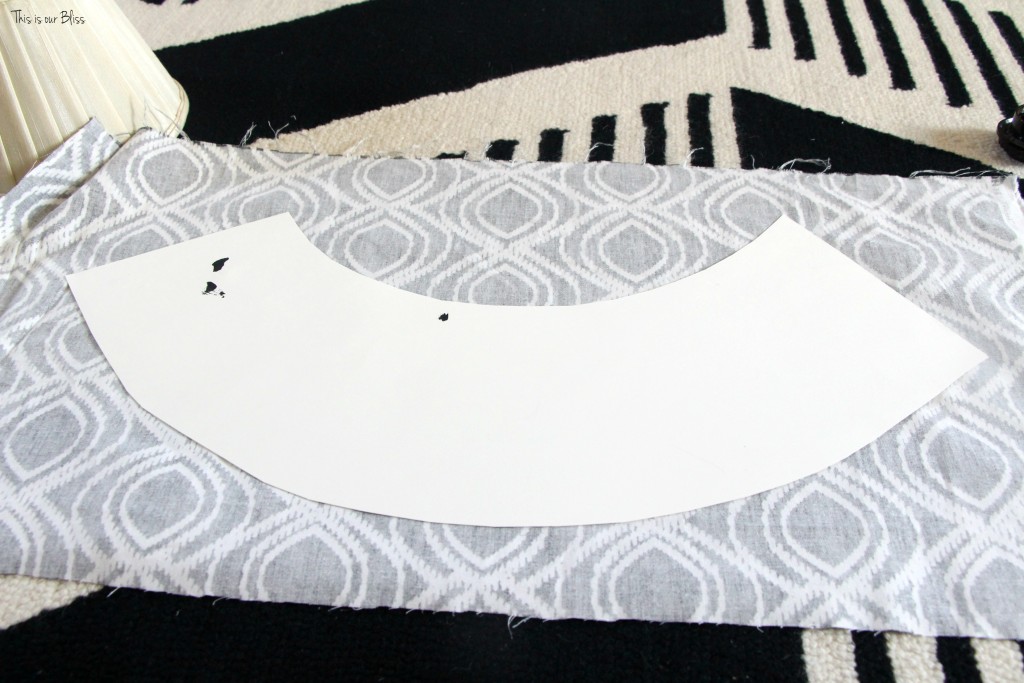
I didn’t actually pin the pattern down, so I eyeballed an inch around each side of the pattern and cut out the material.
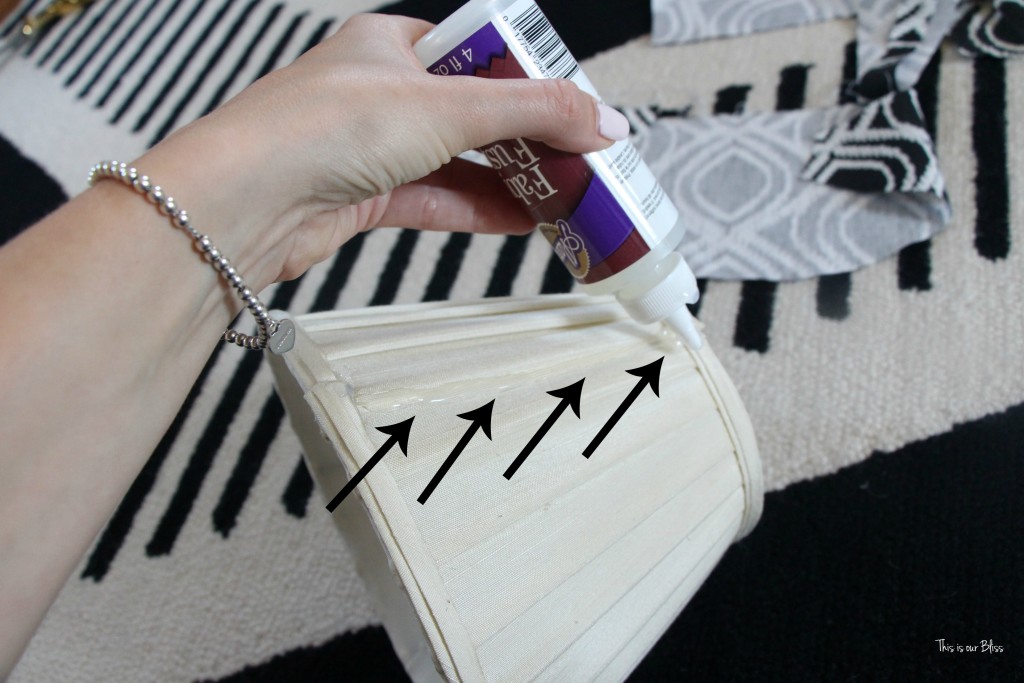
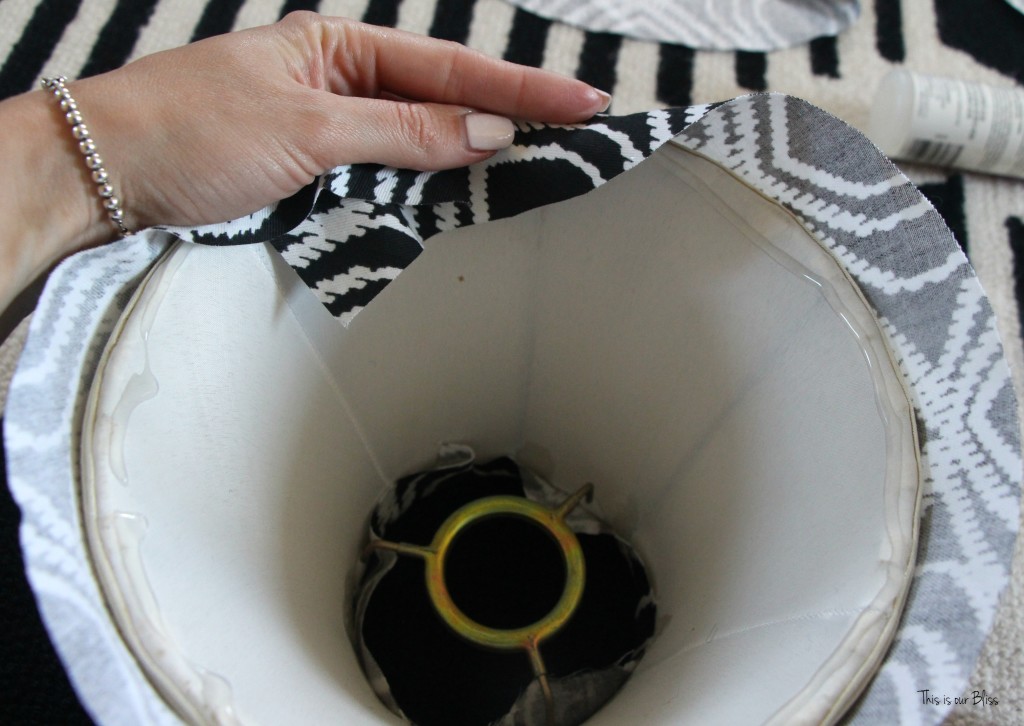
Go back to all the spots the adhesive was applied to and press down firmly. Set the shade down to dry.
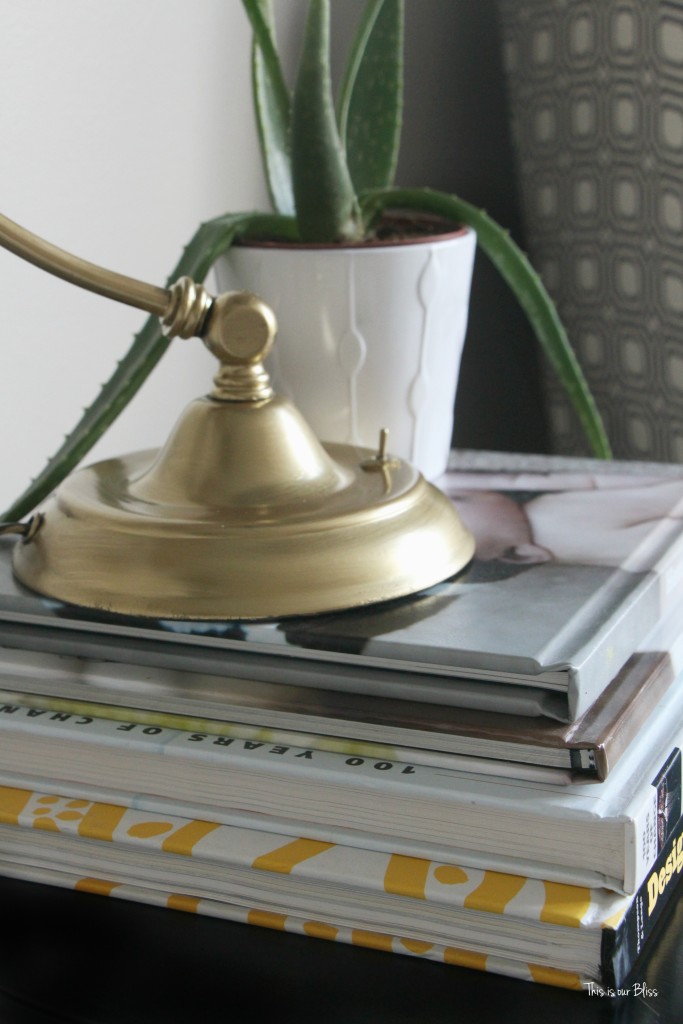
Next, I took my foam brush and dipped it into the pot of liquid leaf and started making brushstrokes on the top of the lamp working my way down the “neck” and finally to the base, dipping the brush back in to add more liquid leaf as soon as it started to get streaky which told me I needed more gold on the brush!
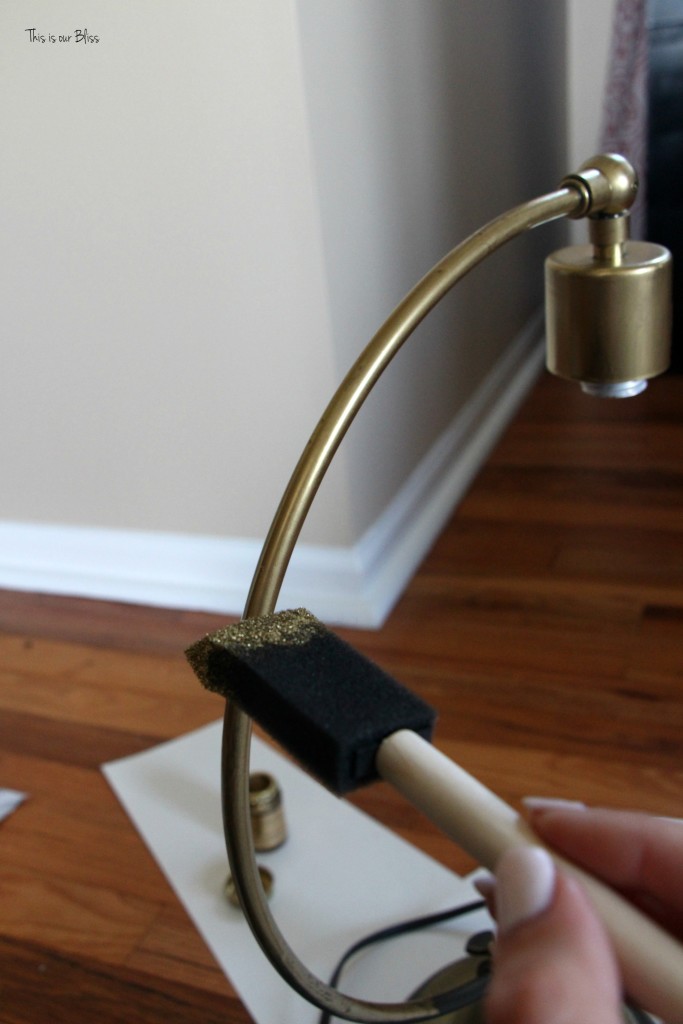
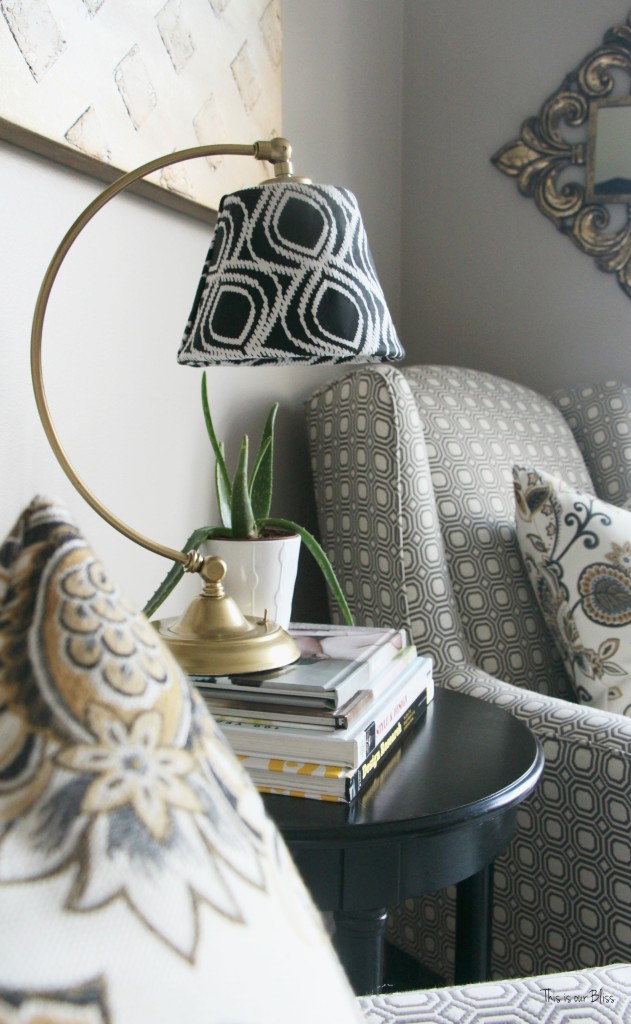
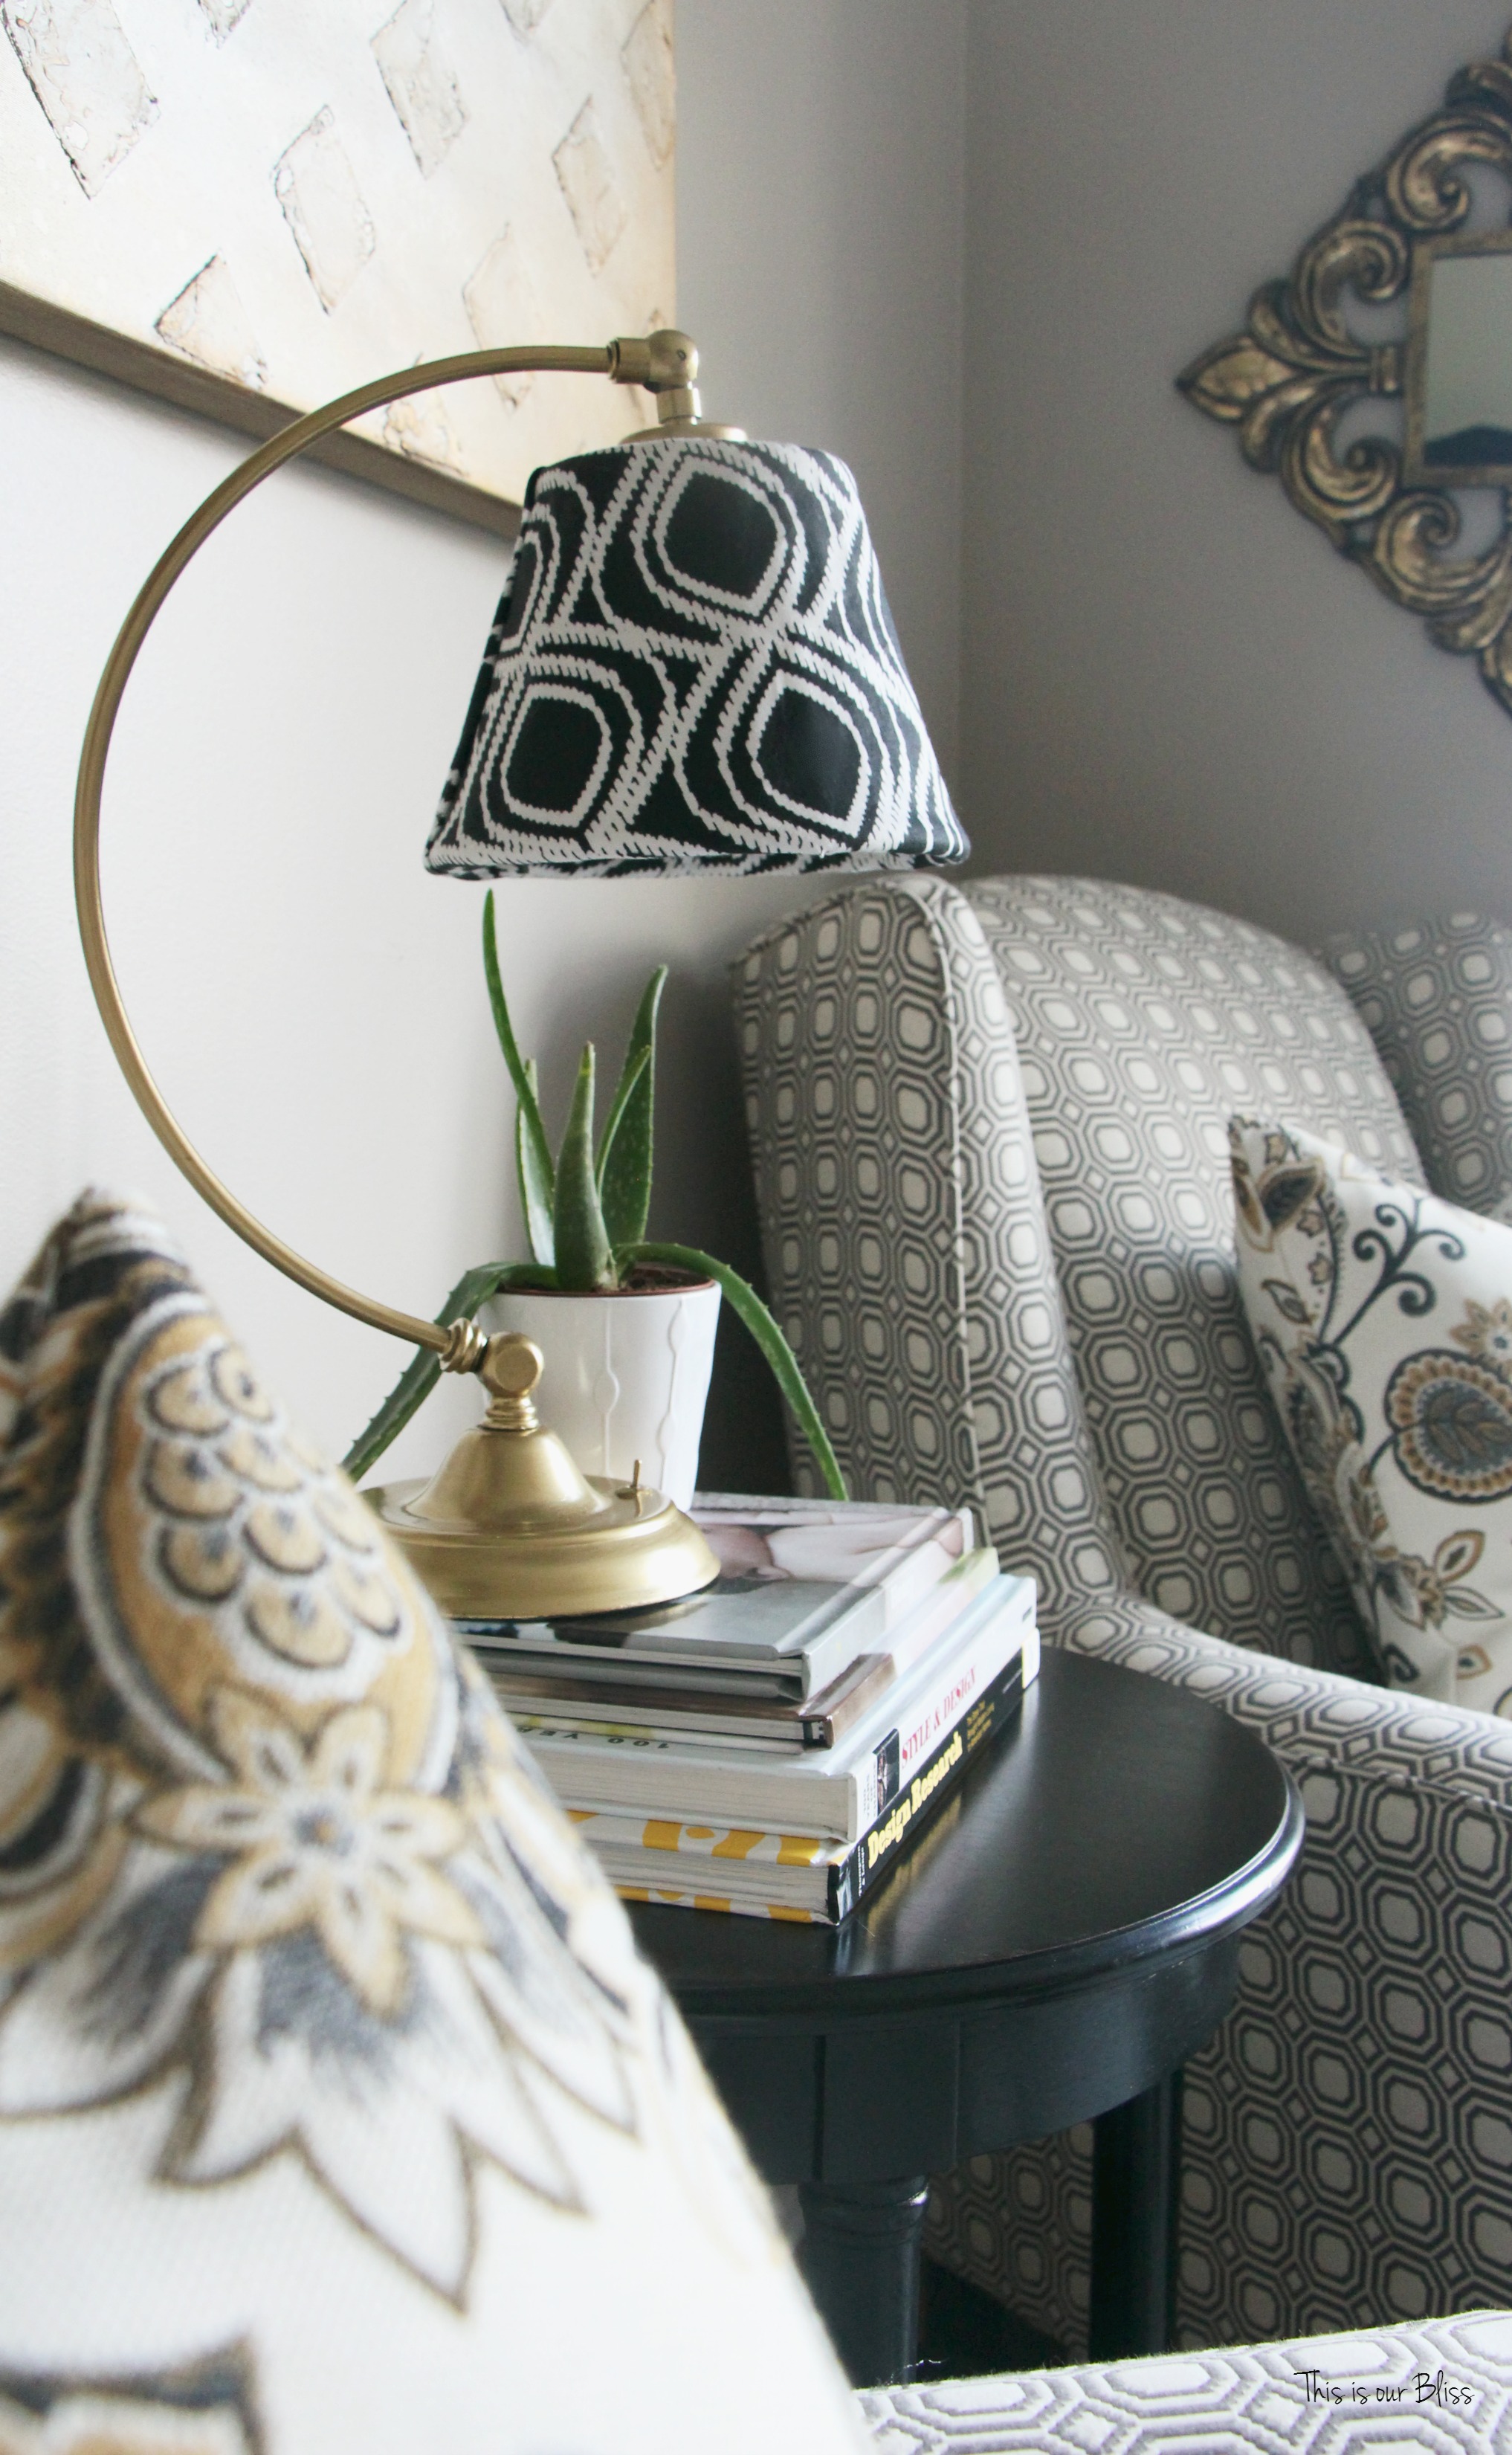
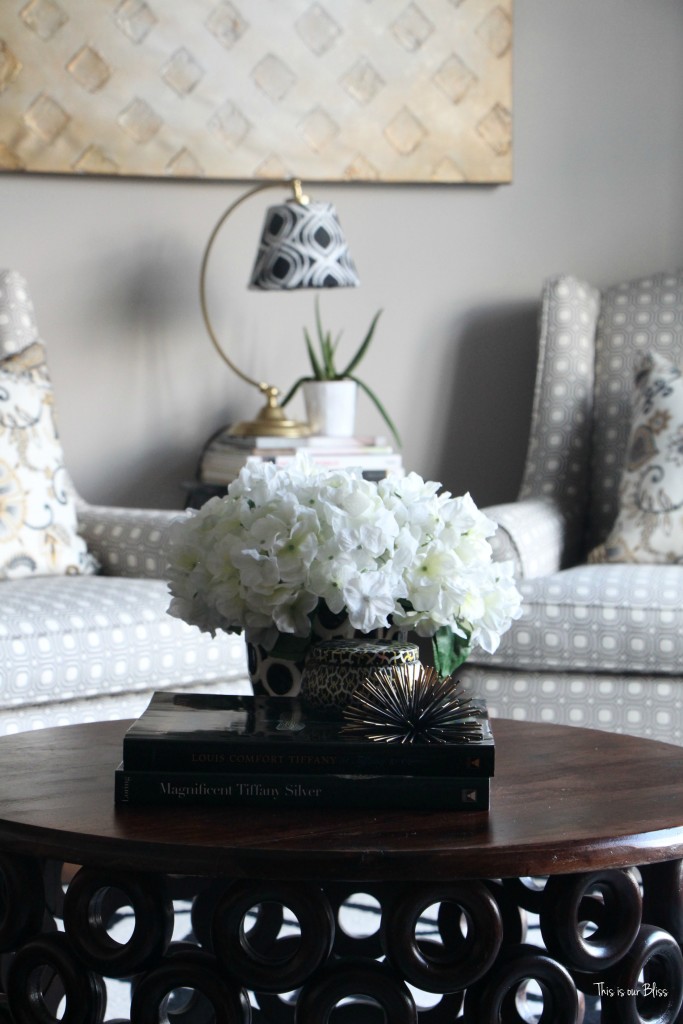
After it dried, I reattached the shade to the base and admired my new black, white and gold work of art!
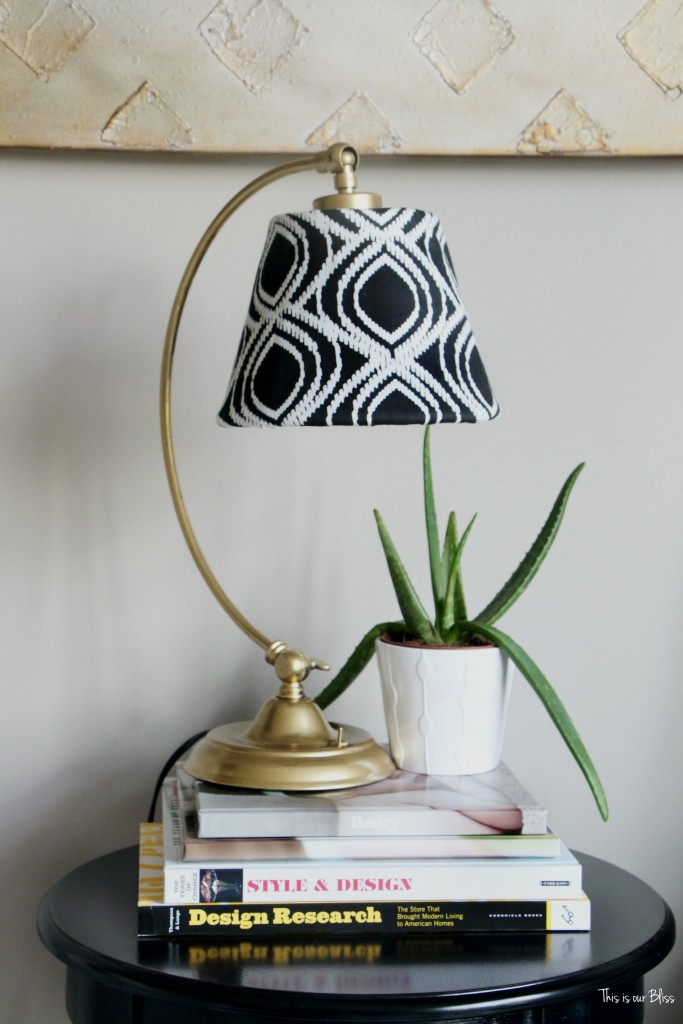
You just never know what you’ll stumble upon when you take a couple minutes to swoop through!
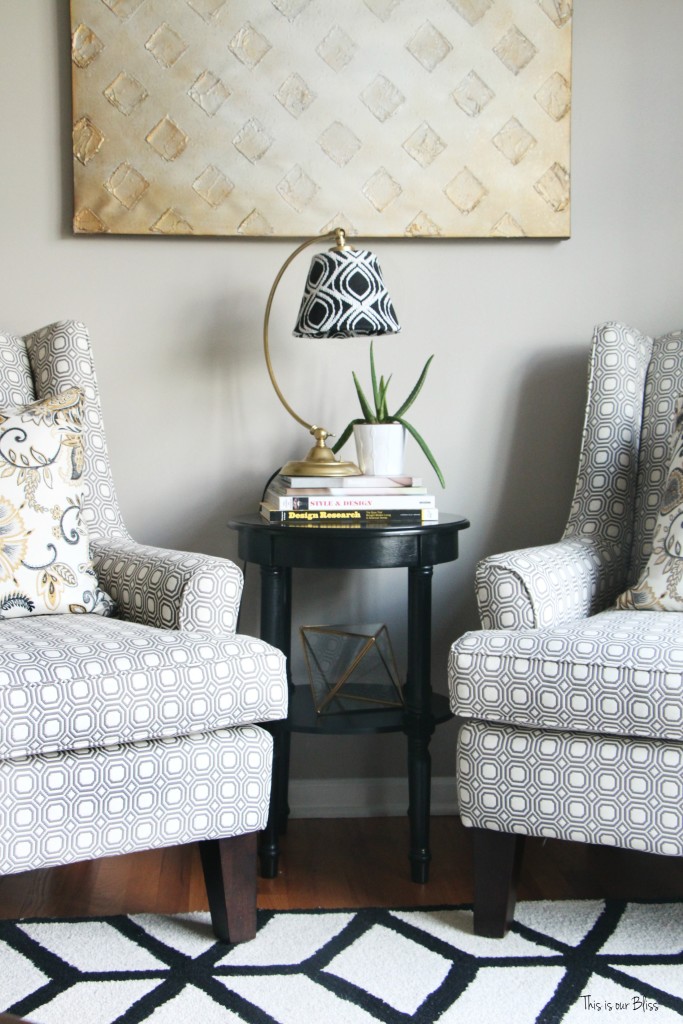
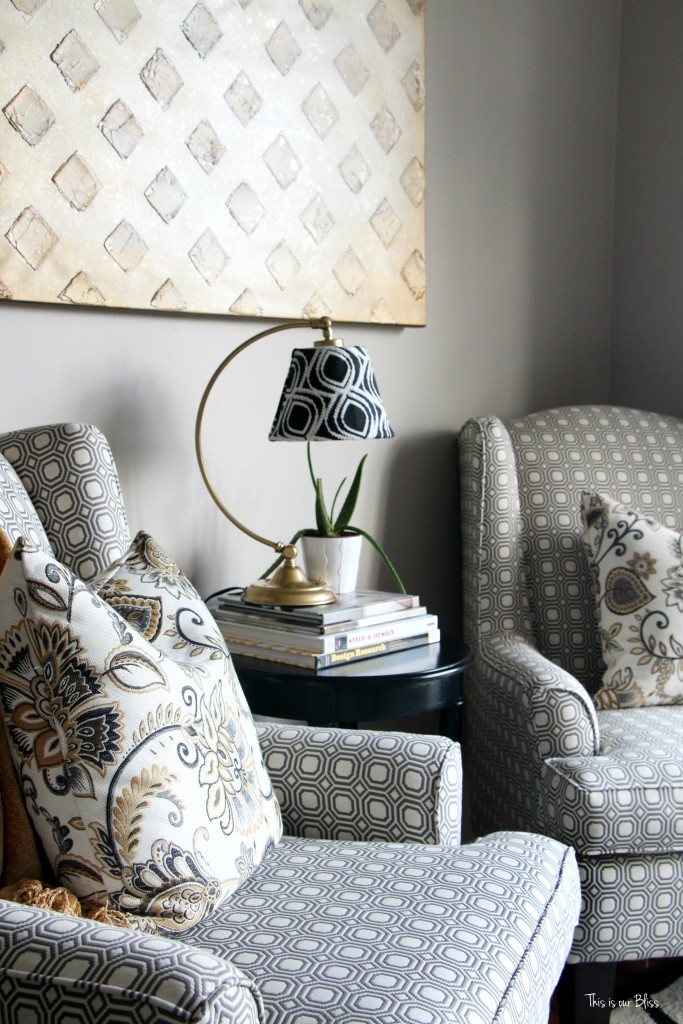
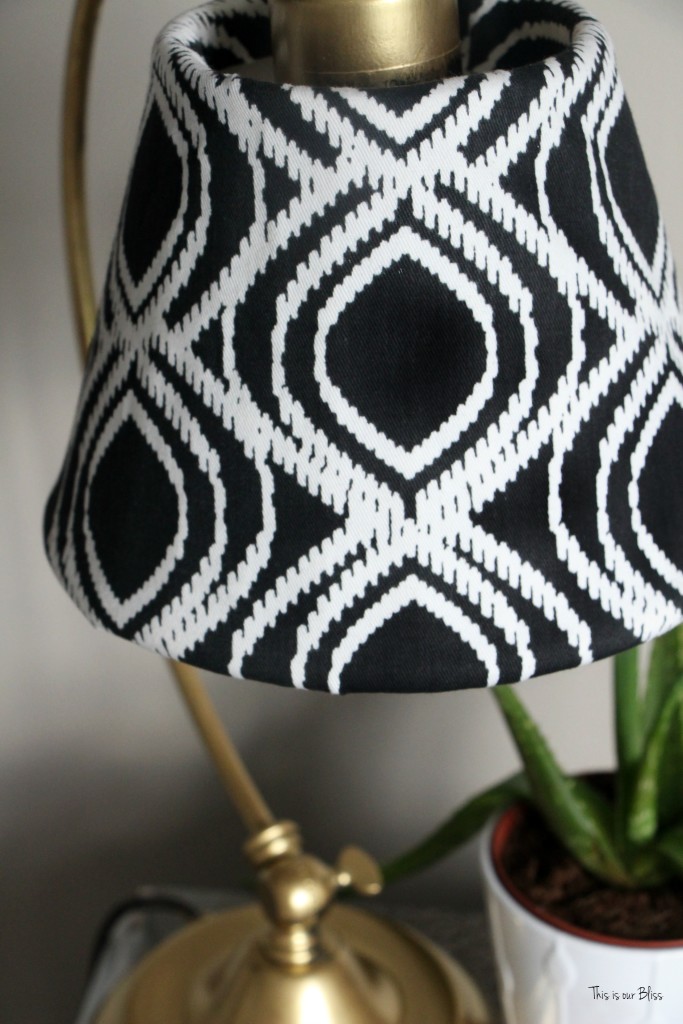
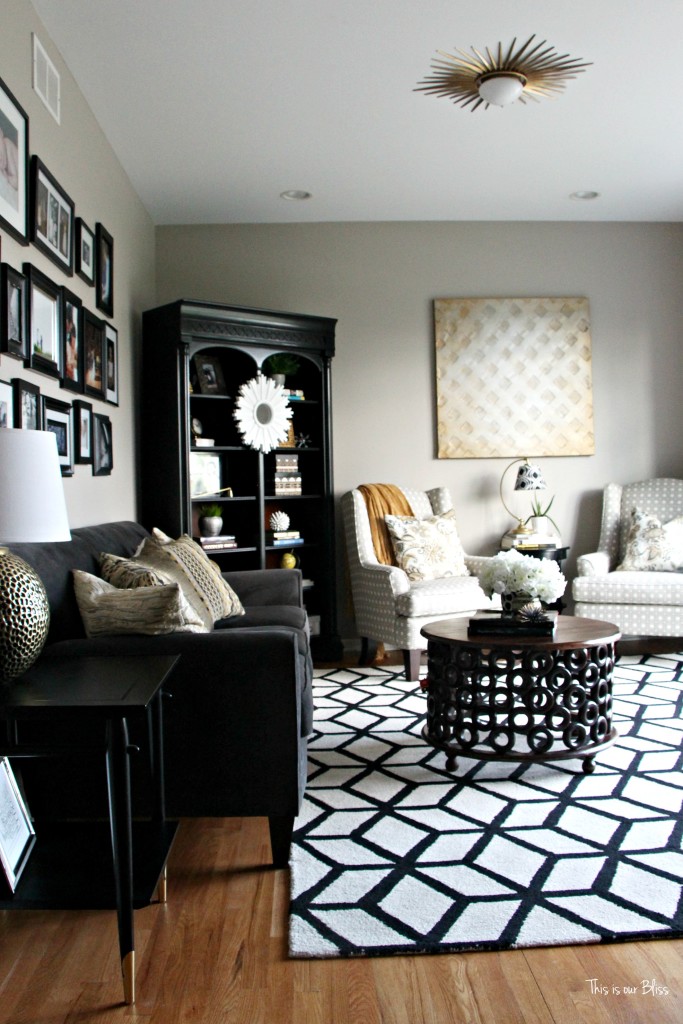
I knew I wanted to pick a bold black and white patterned fabric and this one turned out to be the perfect one—not to big and not too small. It’s called a fish-eye print, even though I didn’t have enough fabric to turn the fabric the way it was intended. I like it this way though! It IS bold, but since the shade is so small, it doesn’t compete to heavily with the bajillion other patterns going on in the room!
It’s black and white and in my book, black and white goes with EVERYTHING. Right?!
Now before you go running off to your local second-hand store to find your newest thrifted gem, take a few minutes to see what the rest of the participants came up with this month. Like I said before, the inspiring talent and creativity is SO good!
Take a peek!
Casa Watkins
Up To Date Interiors
Britt Kingery
This is Our Bliss
Vintage Romance Style
Domicile 37





THE CREATIVE CIRCLE LINK PARTY 64 - The Striped House
May 5, 2016 at 8:24 AM[…] covering the shade with a modern and graphic fabric like Rachael did with this thrifted lamp from This is Our Bliss. Food or coffee couldn’t look any prettier than on this sweet rose quartz geode serving tray […]
The Creative Circle Link Party - Domestic Charm
May 5, 2016 at 8:02 AM[…] covering the shade with a modern and graphic fabric like Rachael did with this thrifted lamp from This is Our Bliss. Food or coffee couldn’t look any prettier than on this sweet rose quartz geode serving […]
britt kingery
May 2, 2016 at 7:11 PMGreat eye on this lamp–it turned out awesome! I totally want to find a lampshade to cover like this. I love it!
Rachael @ This is our Bliss
May 5, 2016 at 11:01 AMThank you! Loved how cute and dainty the lamp was… the shade was so small that it didn’t take much fabric at all!
kathrynbaugher
May 2, 2016 at 12:54 AMLove how this turned out!! Very pretty.
Rachael @ This is our Bliss
May 5, 2016 at 11:01 AMThank you! I’m really happy with it! Love it in my living room 😉
Rick
April 26, 2016 at 8:49 PMSo cool! So creative! Love it…..