Did she just say swap?
That’s exactly right!
I am thrilled to be participating in the 6th Swap It Like It’s Hot for the very first time today! My friend Charlotte of Ciburbanity created the challenge as a way for bloggers to show how you can take inexpensive thrifted items and with a little creativity and TLC, transform them into completely different pieces with a multitude of new and unique uses! The best part [or maybe the initimidating part?!] is that we don’t choose our own pieces. We go shopping for someone else, ship our thrifted finds off to them and then sit back and watch the magic happen to our pieces. So while I’m on the edge of my seat waiting to see what Heather from Southern State of Mind did to my items, Amy from My Life at Home anxiously awaits the transformation of the pieces she sent to me!
Make sense?
Here, let me show you!
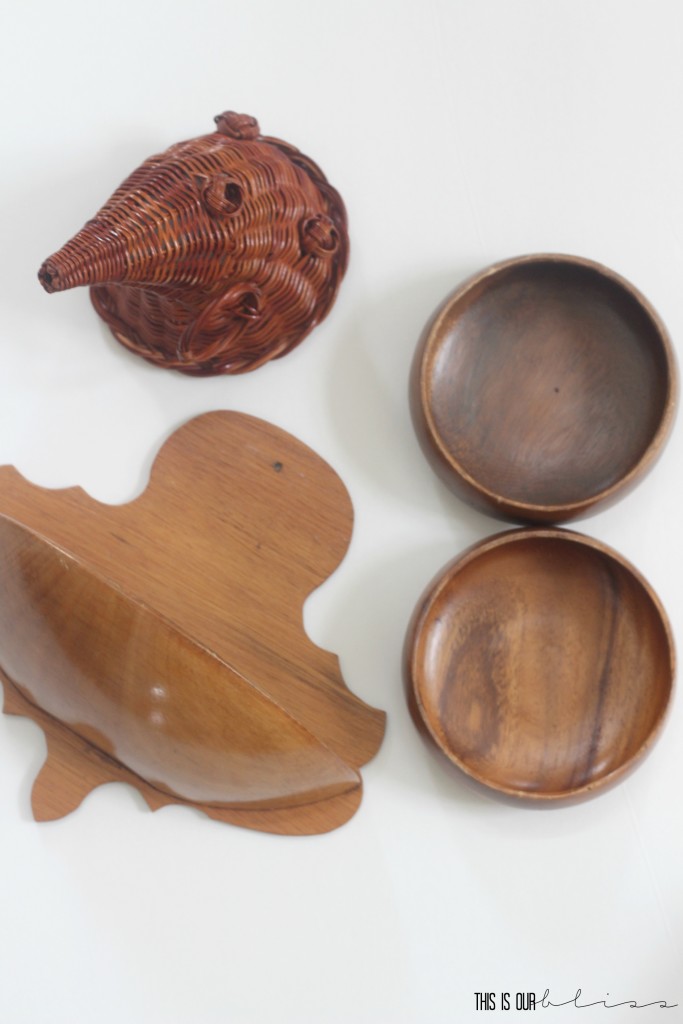
When I opened my package from My Life at Home, I found these…
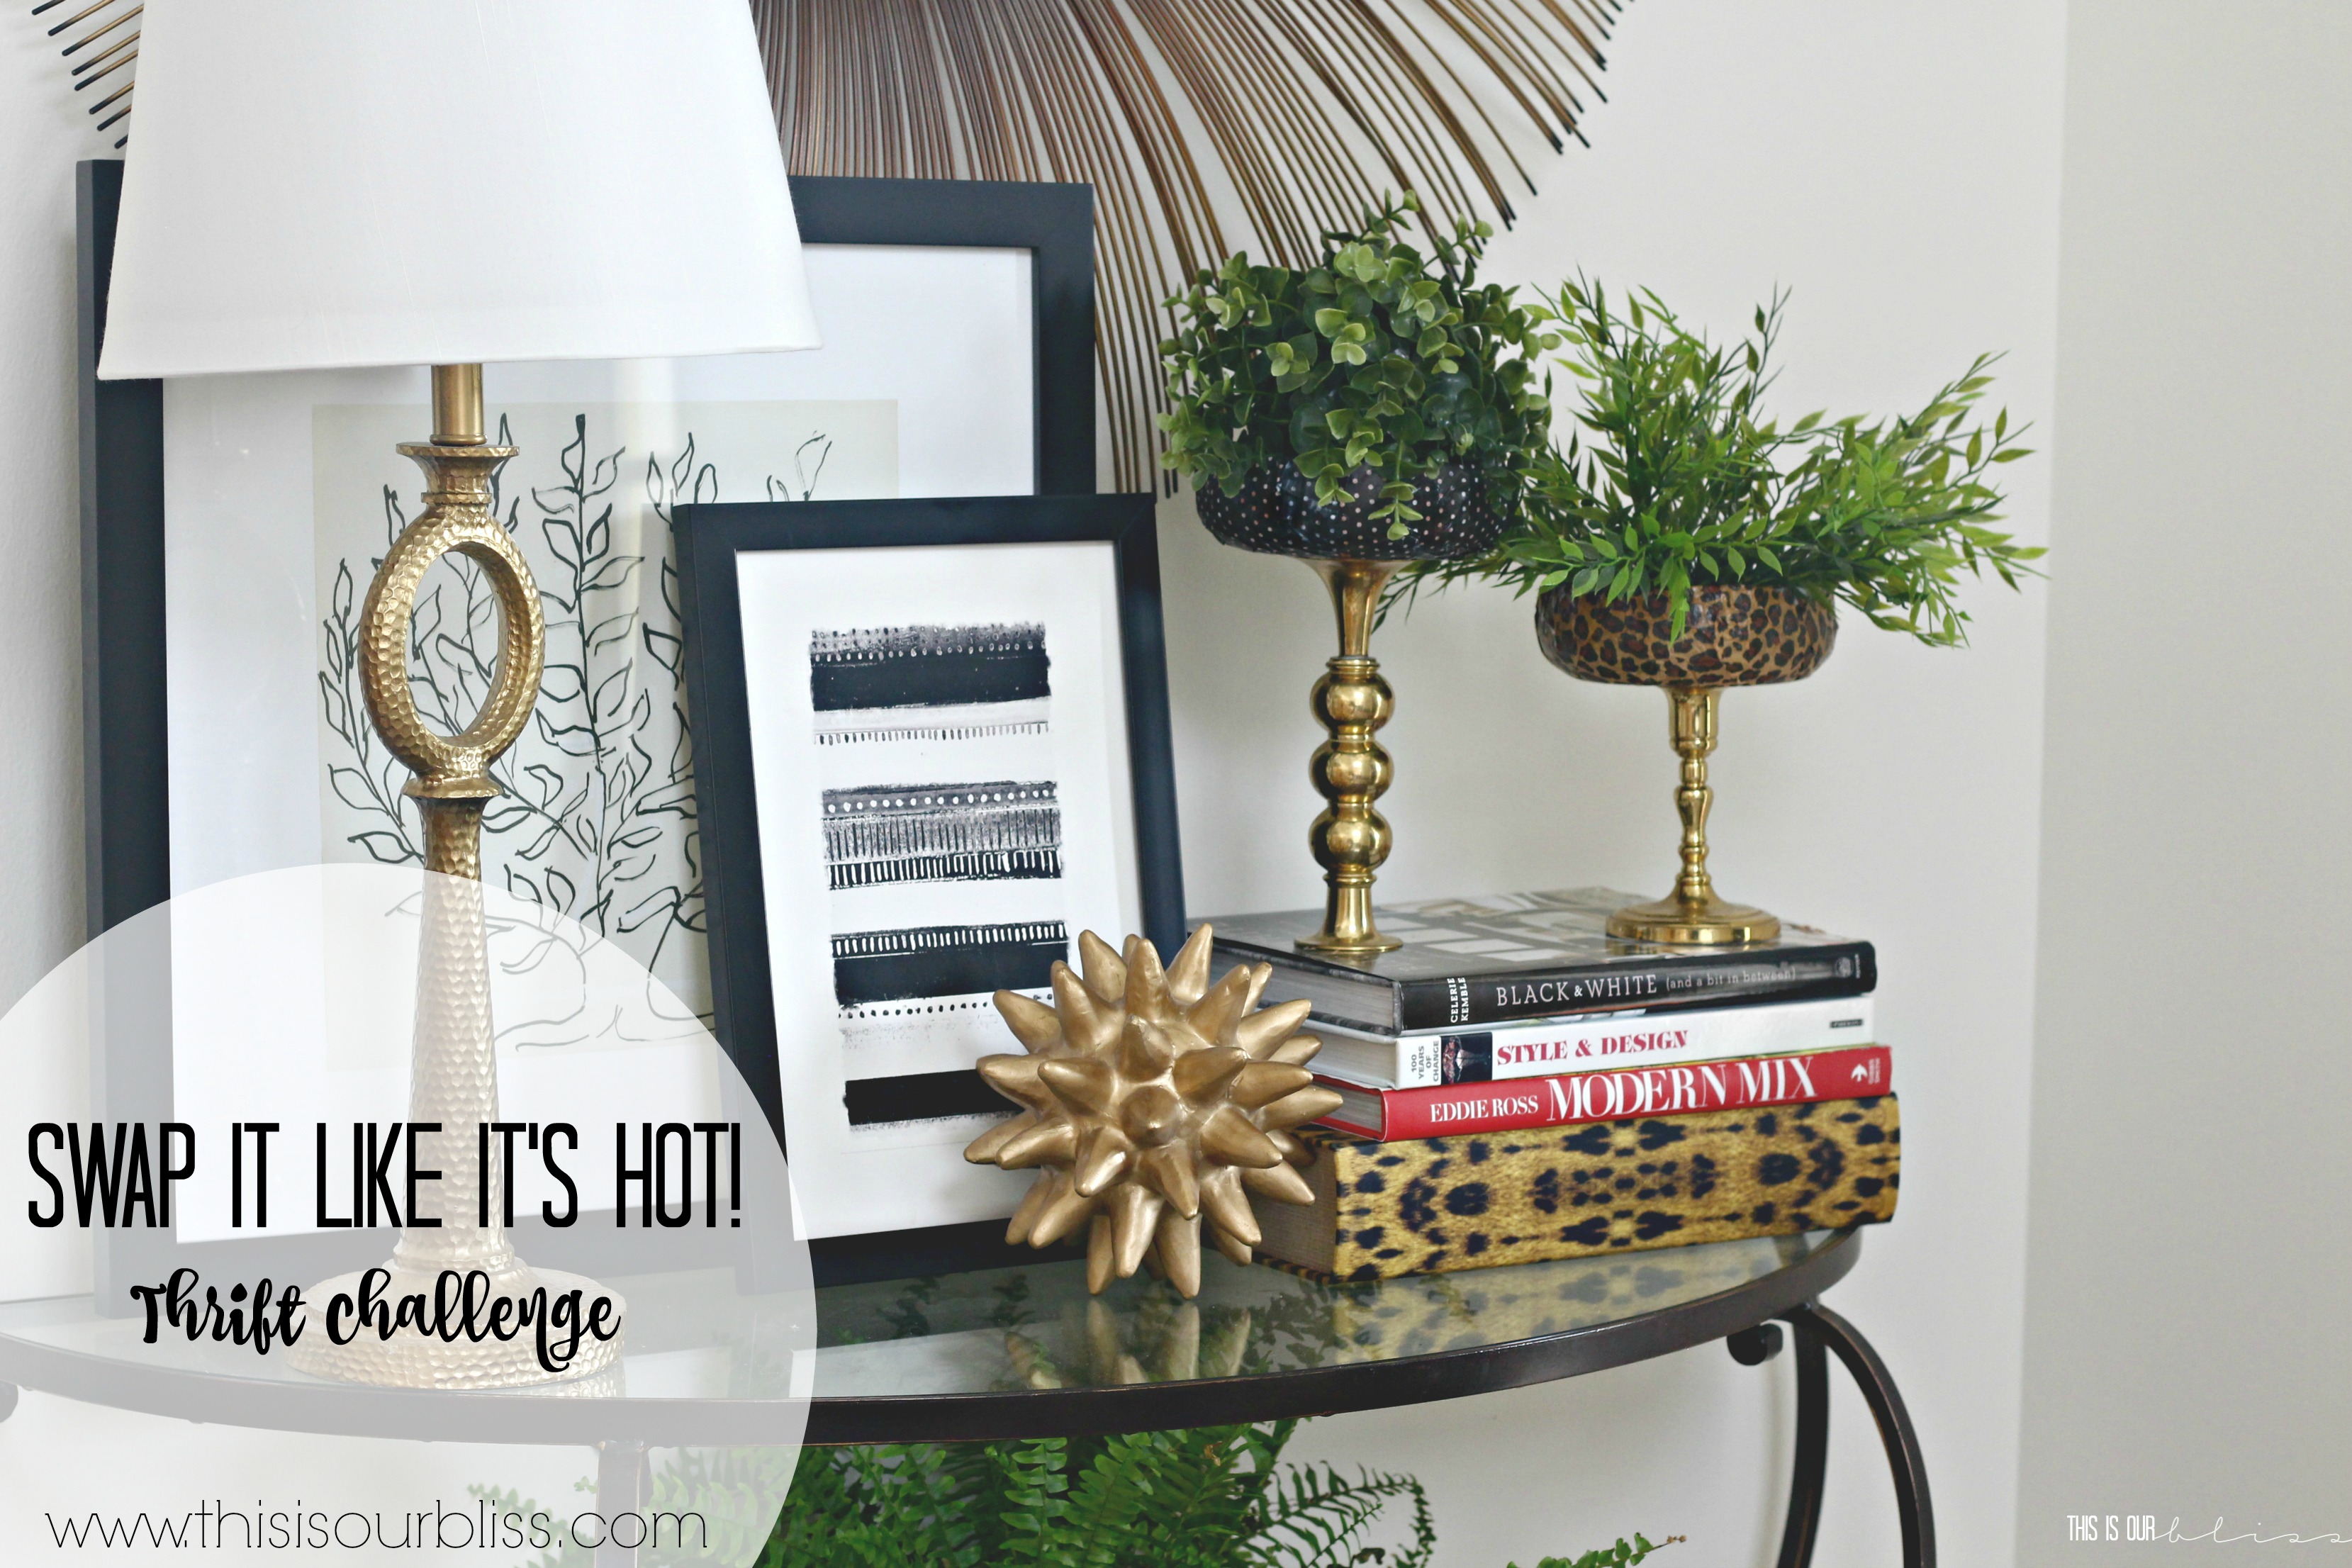
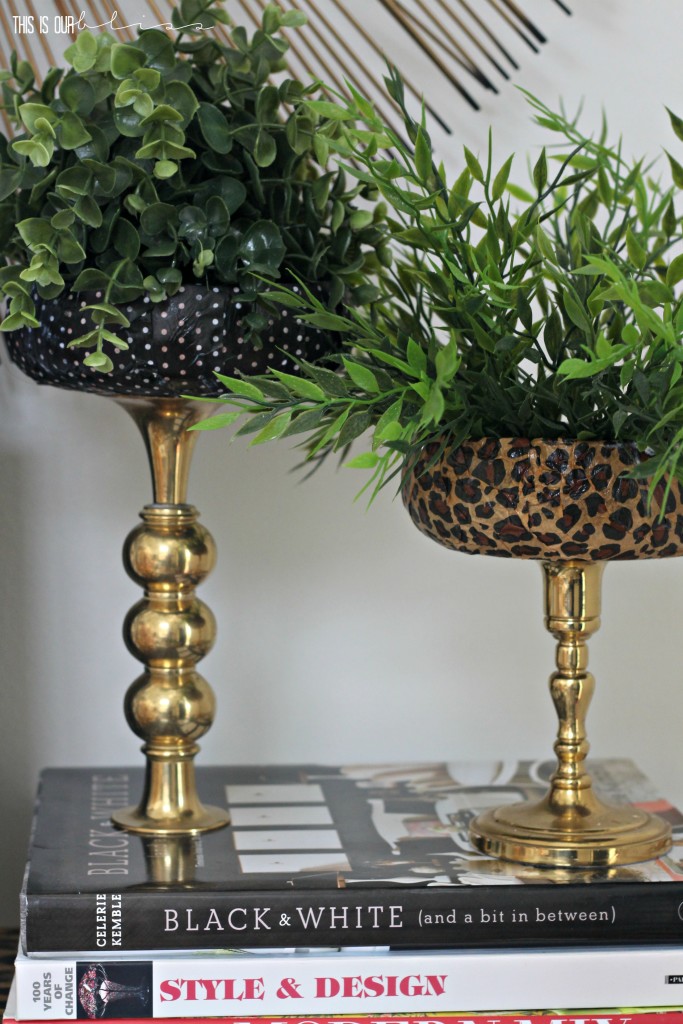
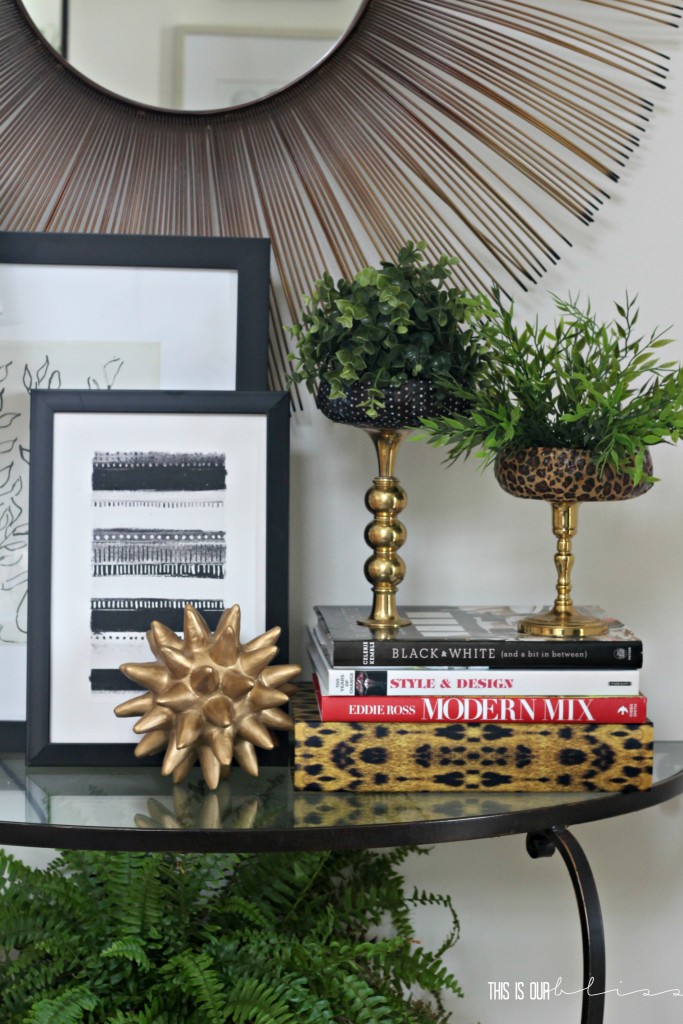
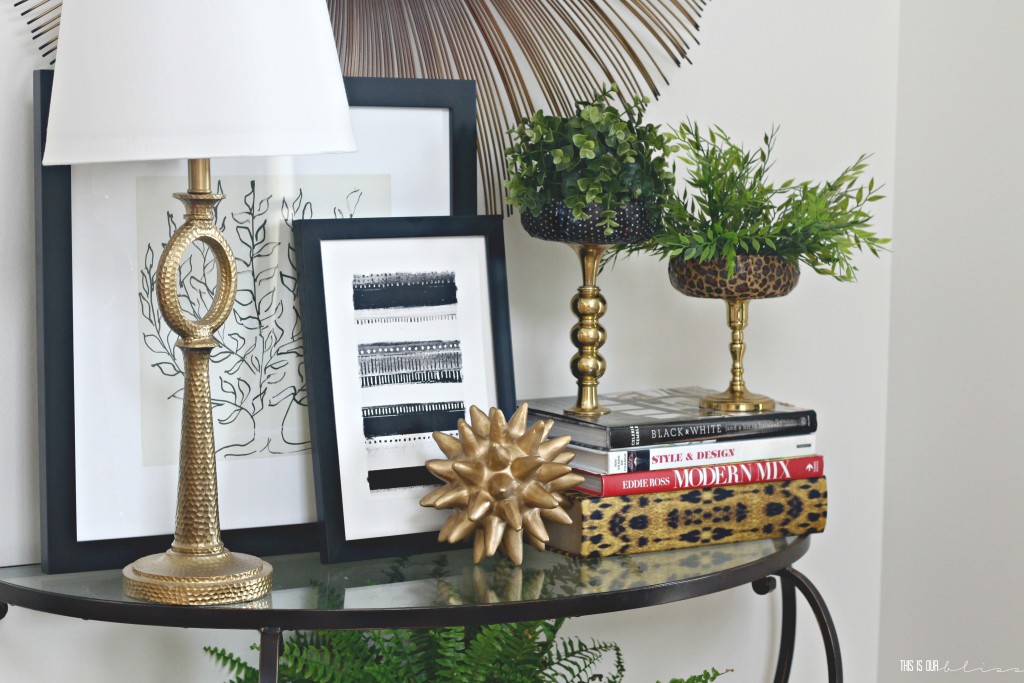
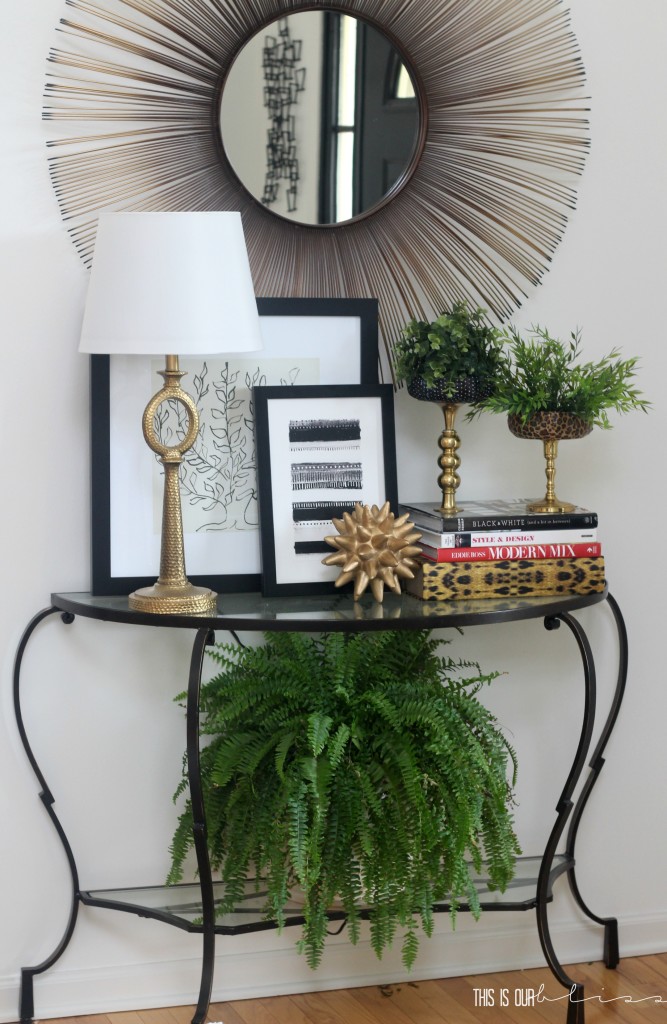
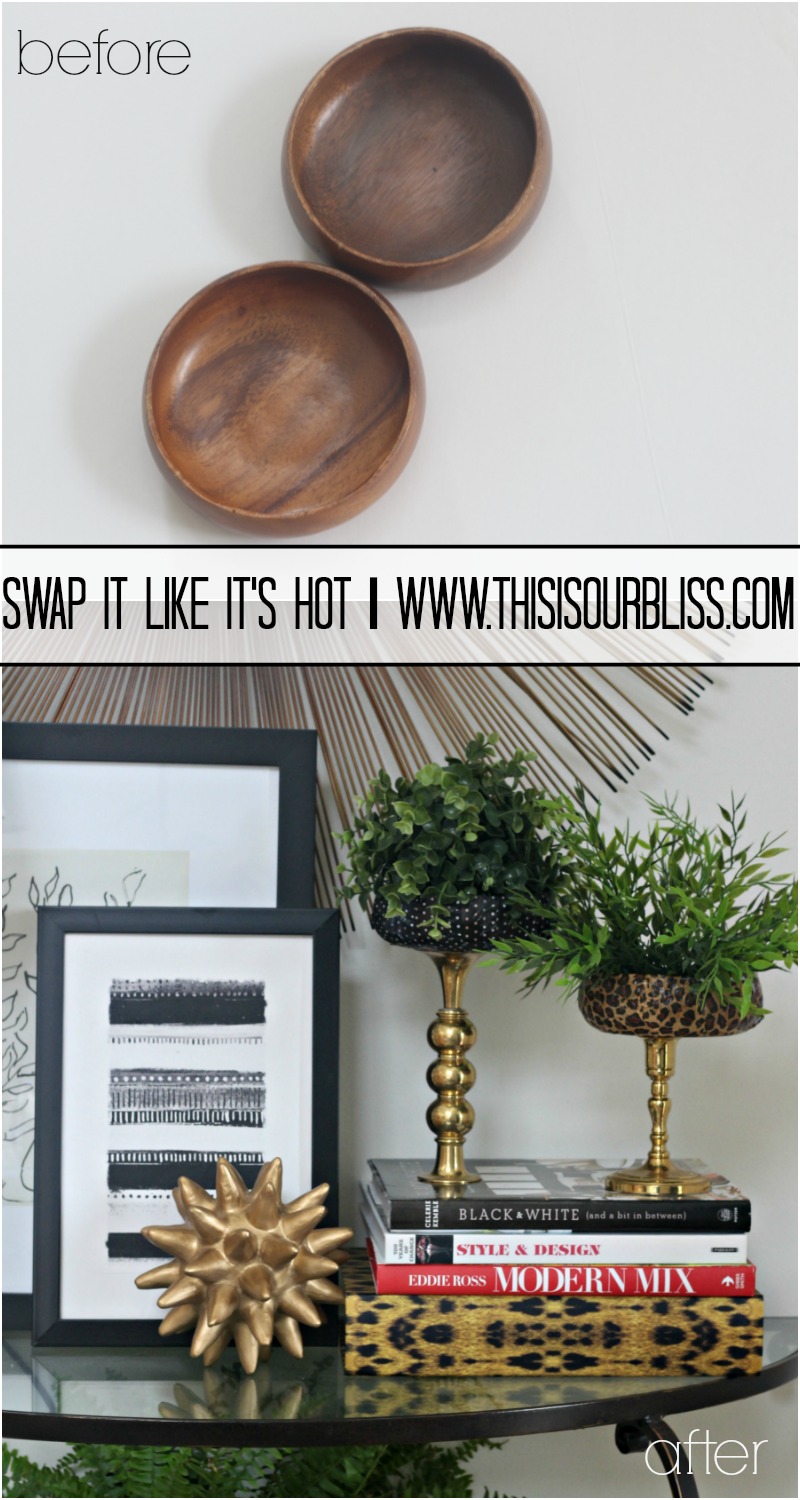
I started with the 2 wooden bowls and after I was done with them, they looked like this…
Here is what I did:
1 | Gather supplies:
[*affiliate links were used below]
Tissue paper
Mod Podge
Foam craft brush
scissors
e6000
thrifted brass candlesticks
faux plants [I used this one & this one]
wooden bowls
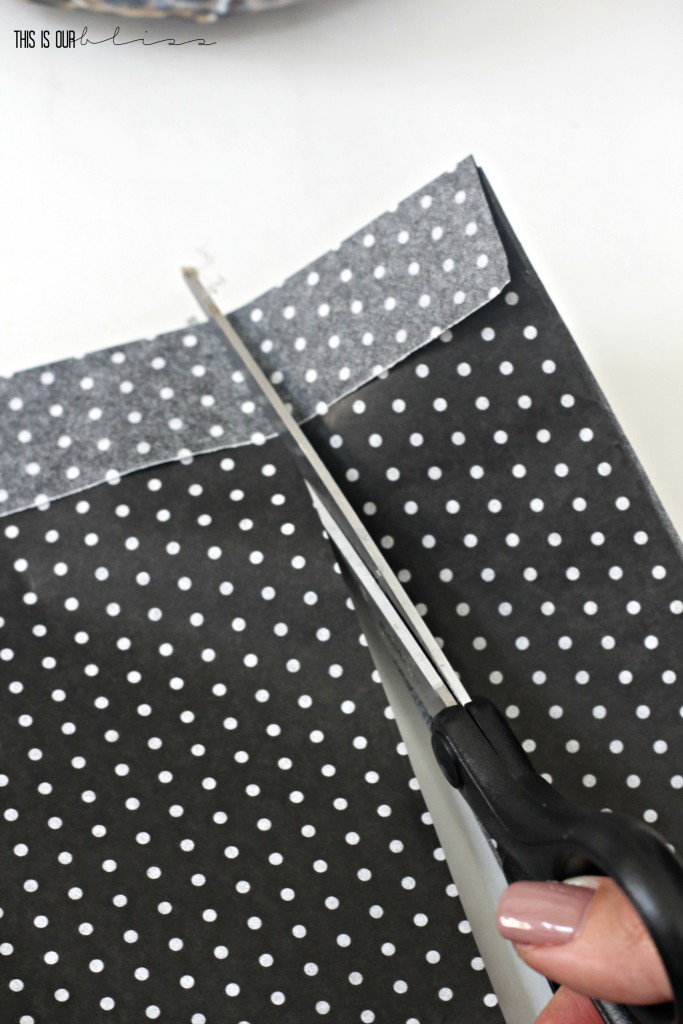
2 | Cut piece of tissue paper into long strips and set aside.
3 | With your craft brush, dip it into the Mod Podge and start in the inside middle of the bowl and brush the mod podge on in a in a line from edge-to-egde, creating a “stripe” or a full circle strip of mod podge all the way around your bowl.
4 | Lay a strip of tissue paper down across your mod podge so your ends meet or even overlap.
5 | Repeat steps 3 and 4 until you’ve worked your way completely around the bowl. Always start your piece in the middle of the inside of the bowl and lay the strip down next to the piece before. Sort of creating a sun-like design. All of you pieces will cross in the very center.
6 | Let dry for 30 – 60 minutes and then apply a thin coat to the outside of the “papered bowl”.
7 | On the bottom of the bowl, apply a small amount of E6000 and attach your candlestick holder & let dry.
8 | Add your faux plant and you’ve got yourself a decorative planter on a stand!
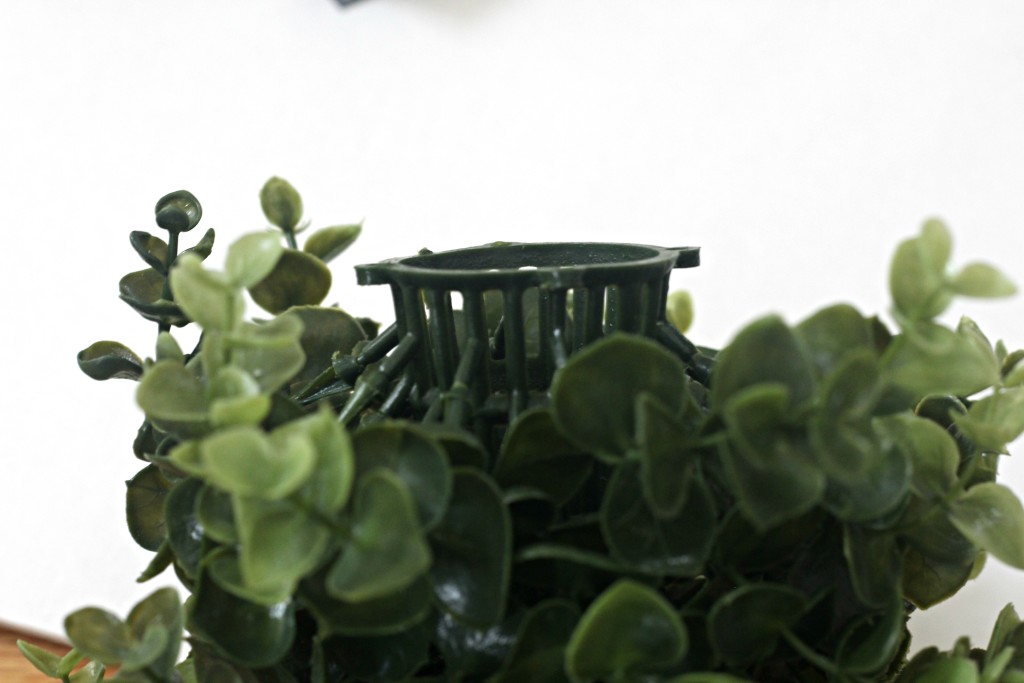
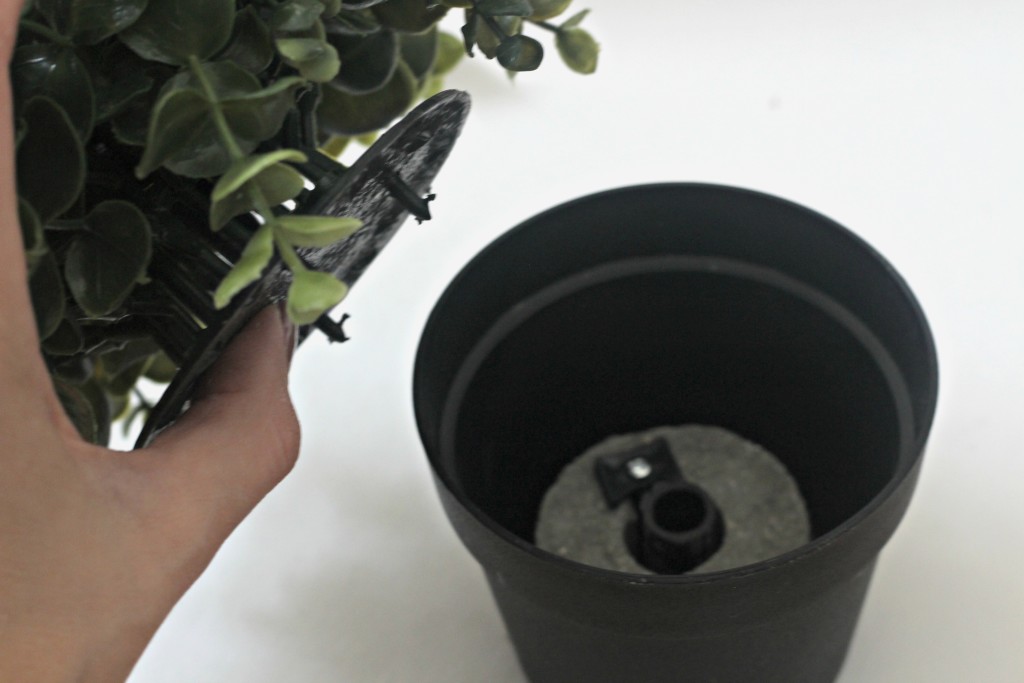
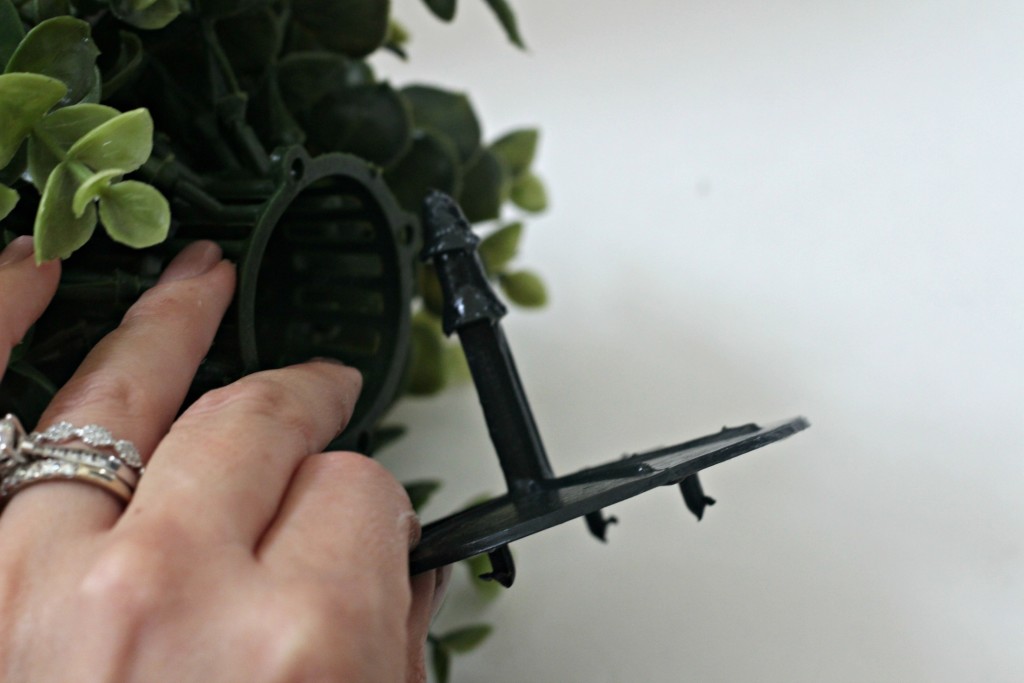
*Tip for using faux plant in other pots!
Pull out the plant and remove the flat holder.
It will look like this when you’re done…
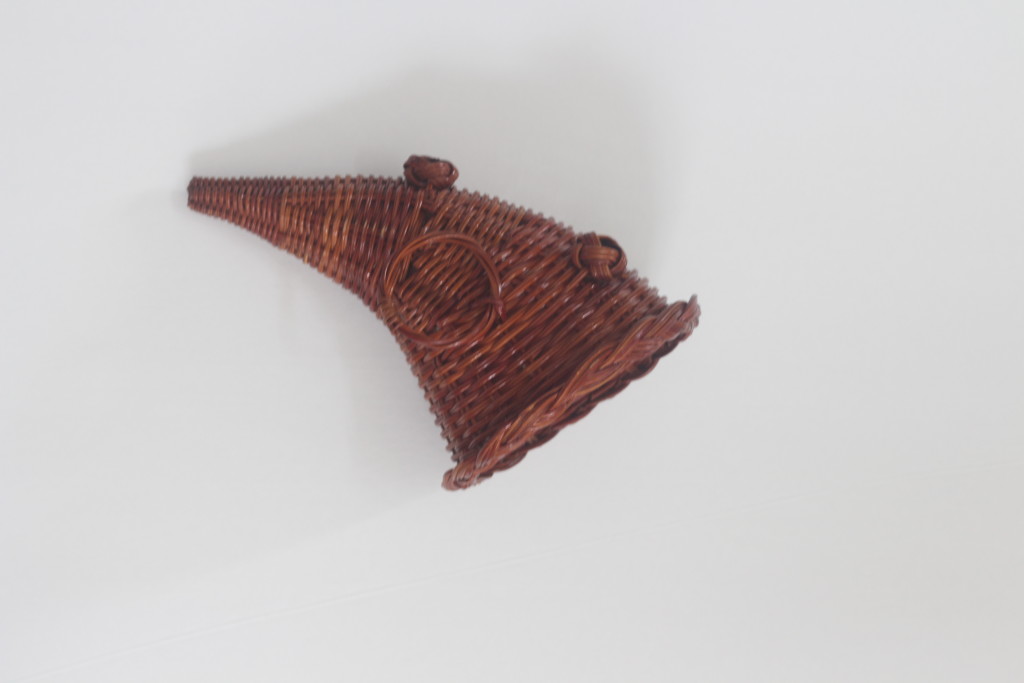
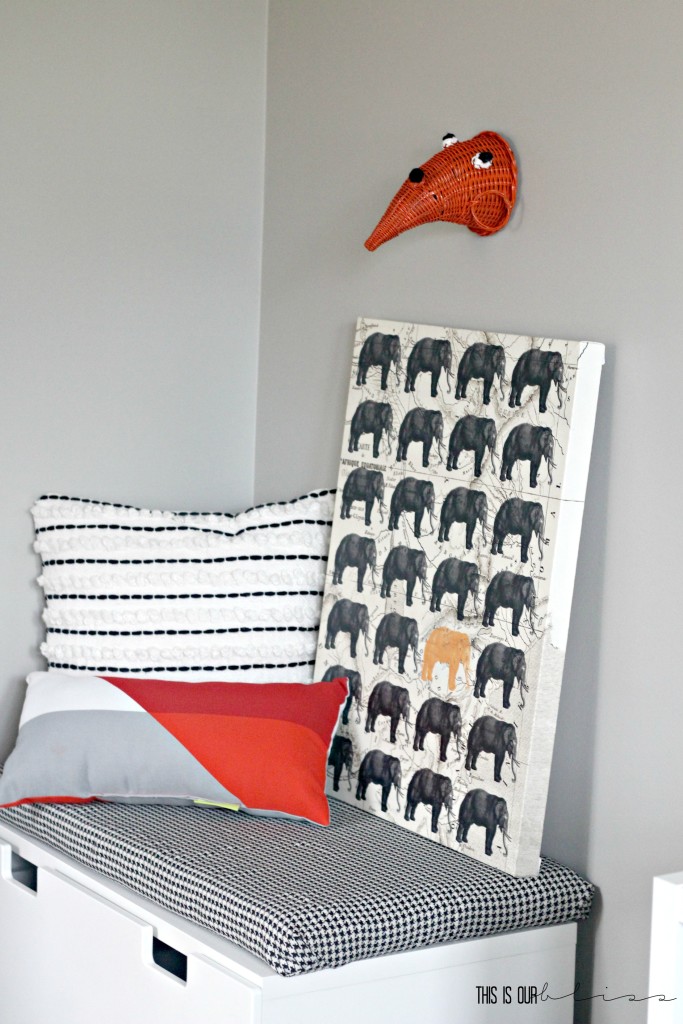
For my other transformation, I took this guy…
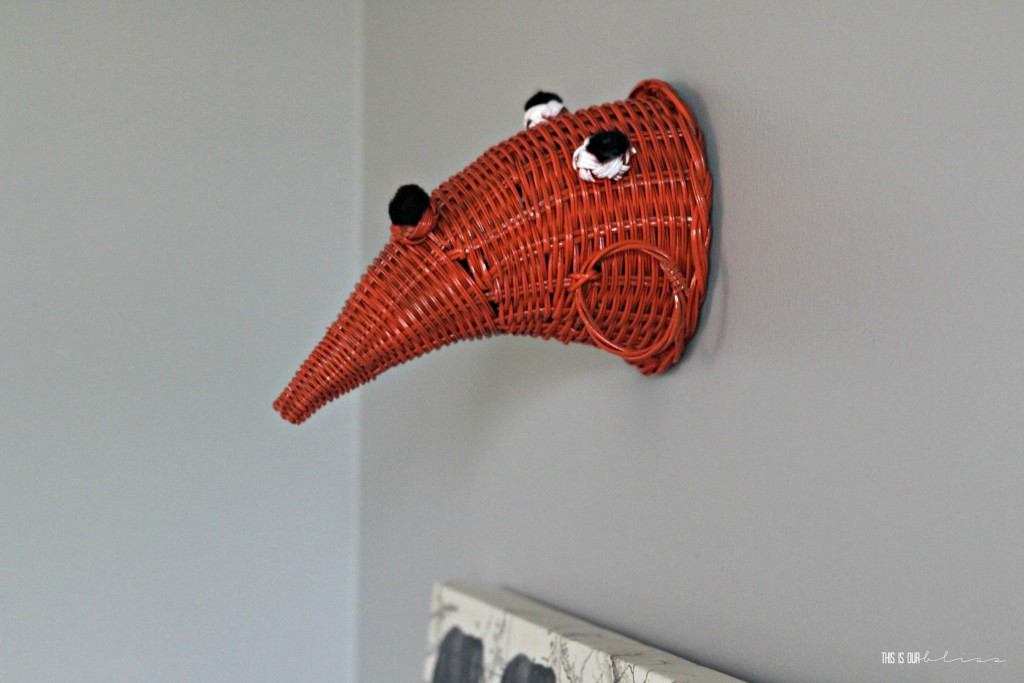
gave it a couple coats of orange spray paint [leftover from The Curious Little Gentleman Big Boy Room], painted the 2 “knobs” at the top white and then topped it with a black pom on each side and then a third just below.
After hanging it on the wall with my a command hook, I had a new 3-D “animal” head to go on the wall in the playroom.
It’s not weird to have a random cornucopia-turned-animal-head on the wall, is it?!
If you couldn’t tell, the playroom gallery wall isn’t complete yet, but the theme is animals, so it’s a safe bet this guy WILL have a permanent home somewhere in this space. I love adding quirky, unique pieces to a gallery wall. It breaks up the monotony of frame after frame. But don’t get me wrong, I have plenty of those types of walls, too!
So what do you think? Did I transform my pieces and give them new life?!!
And before you go, here is what I sent Southern State of Mind…
I scooped these guys up on one of my daily trips to the Thrift store while stalking browsing for One Room Challenge goodies! Now, head over and see what magic she worked over there! I got a sneak peek via text the other day and I know you’re going to love what she did. Did someone say…??? nope, I won’t give it away, but trust me its GOOD!
And make sure to check out the rest of the SWAP IT LIKE IT’S HOT crew below!:
MONDAY
TUESDAY
Confessions of a Serial Do-It-Yourselfer
WEDNESDAY
THURSDAY
FRIDAY
I’ll see you back here next week for another ORC update as well as one of the DIY project tutorials from The Curious Little Gentleman Big Boy Room Reveal this week. I just haven’t decided which one will be first. Any requests?! 😉
Have a fabulous day, friends!!









christykjames
October 26, 2016 at 12:39 PMCute makeovers! I can’t believe you found a way to rock the cornucopia! XO
Karen @ Dogs Don't Eat Pizza
October 25, 2016 at 1:29 PMThe bowls look amazing, but I love the animal head best! So creative!!
Lynn Fern
October 21, 2016 at 12:16 PMCUTE!! My niece would love that 3D elephant…it’s adorable!
bcmottl
October 21, 2016 at 9:32 AMJust love how you put the bowls on the candle sticks!! great idea and I love the prints!
Stephanie @ Casa Watkins Living
October 20, 2016 at 11:12 PMFreaking AWESOME !!!!!!!!!!!!! I adore what you did with the bowls! Super creative and I’d totally use those.
Charlotte Smith
October 20, 2016 at 8:29 PMA little animal print is ALWAYS a good idea. This is such a fun makeover! xx
Shelly@ConfettiStyle
October 20, 2016 at 1:59 PMLove what you did with the bowls (p.s. stealing that idea) and the elephants trunk is just too cute. Great job.
Laurie @ Vin'yet Etc.
October 20, 2016 at 10:14 AMThe bowls are so fun and fit perfectly into that beautiful vignette!
Emily
October 20, 2016 at 9:55 AMThe bowls are amazing! And I adore your cornucopia animal head – I never would’ve thought of that!! So cute 🙂
My Life From Home
October 20, 2016 at 6:50 AMI LOVE what you did with the bowls and cannot wait to see the animal head. I never would have considered that, so you have me intrigued!