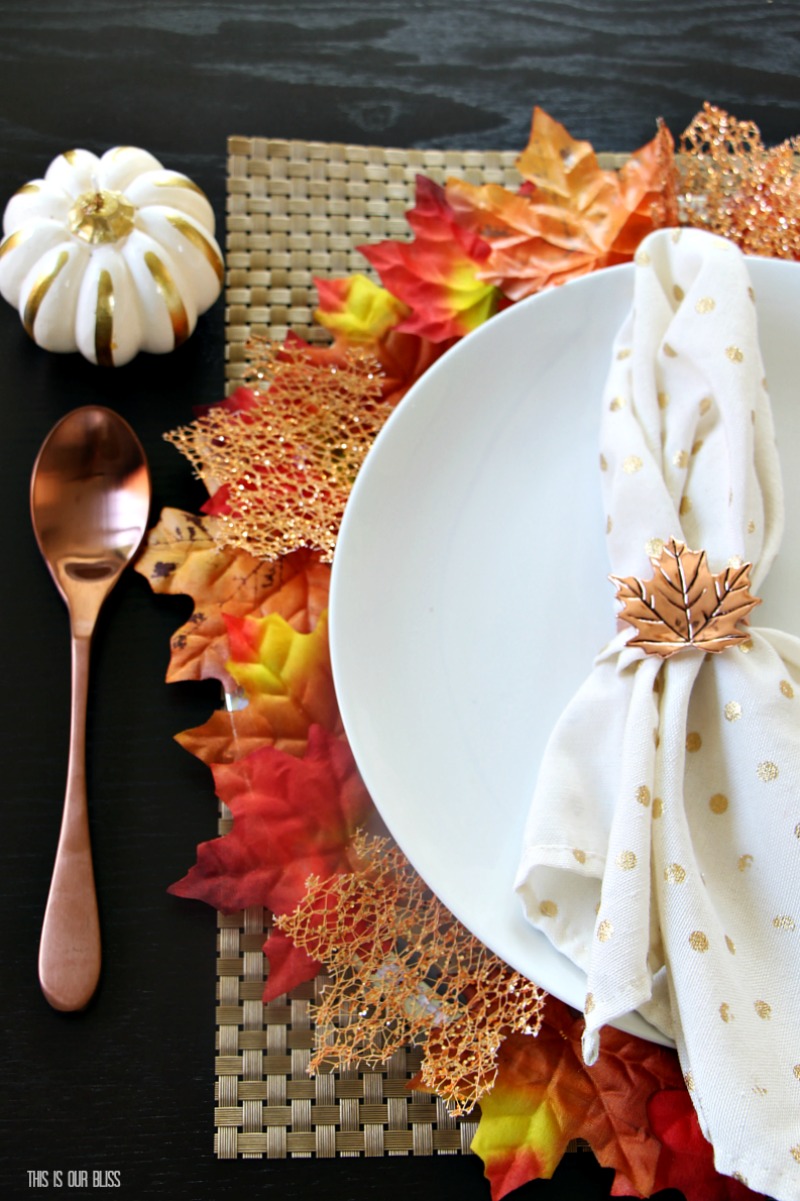
I don’t know about you, but come September 1st I am so ready for the fall season, especially now that both boys are back in school – yay! Boots, sweaters, changing leaves and pumpkin everything! I know we are a day shy of the start of September, but it is the last Thursday of the month which means it’s time for another post in the My Dollar Store DIY Series. Today… it’s all about Fall and I am going to show you how I made this 30 second DIY Maple Leaf Charger Plate. No joke 30 seconds!
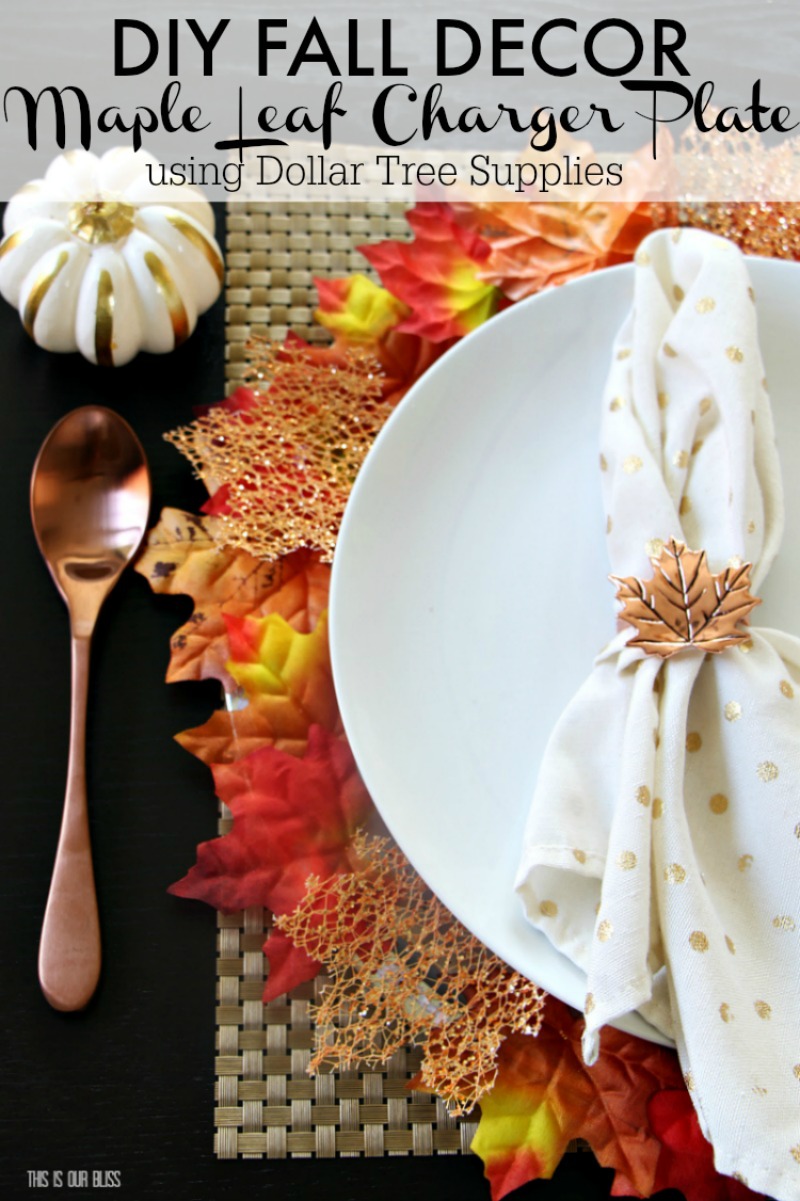
This Fall leaf charger plate is the perfect addition to your Fall or Thanksgiving table. Here’s what I did!
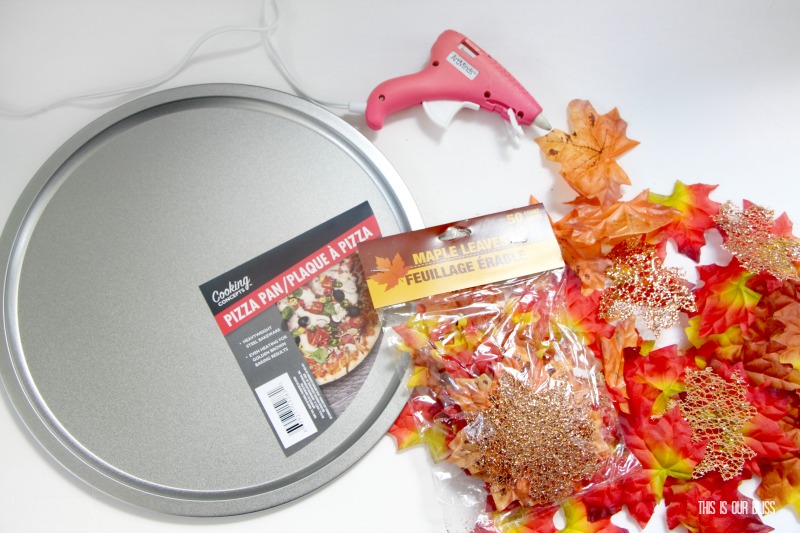
DIY MAPLE LEAF CHARGER PLATE SUPPLIES
[*Affiliate links were used below.]
- 12″ Pizza pans [the come individually, so buy as many as you need for your tablesettings]
- Package of Maple Leaves [50 count]
- Hot glue gun / hot glue sticks
DIY MAPLE LEAF CHARGER PLATE DIRECTIONS
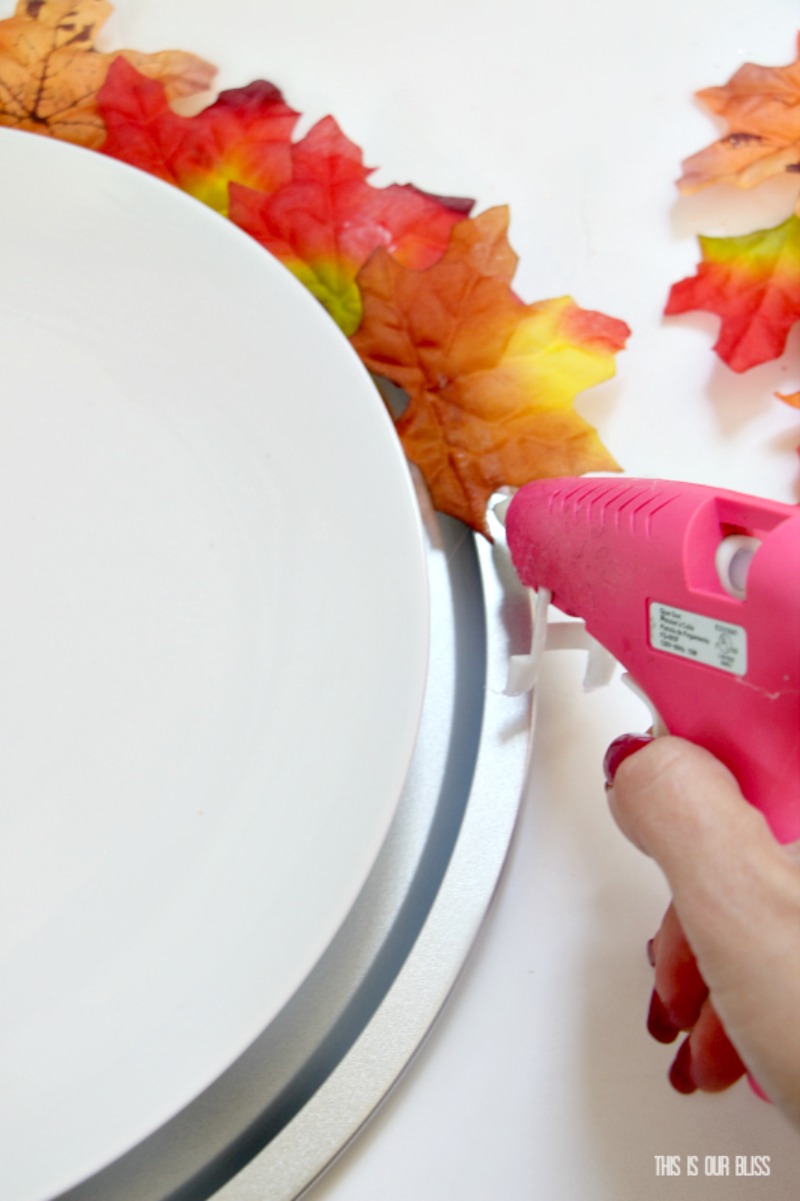
Start by opening the maple leaf package and spreading out the leaves. There are a couple different sizes and slight variations in colors. Bonus – There are also 4 sparkly bronze glitter leaves per package! I plugged in my glue gun and let it heat up. In order to get a better idea of how far out the leaves should be placed from the edge, I decided to place one of my dinner plates in the center to use as a guide.
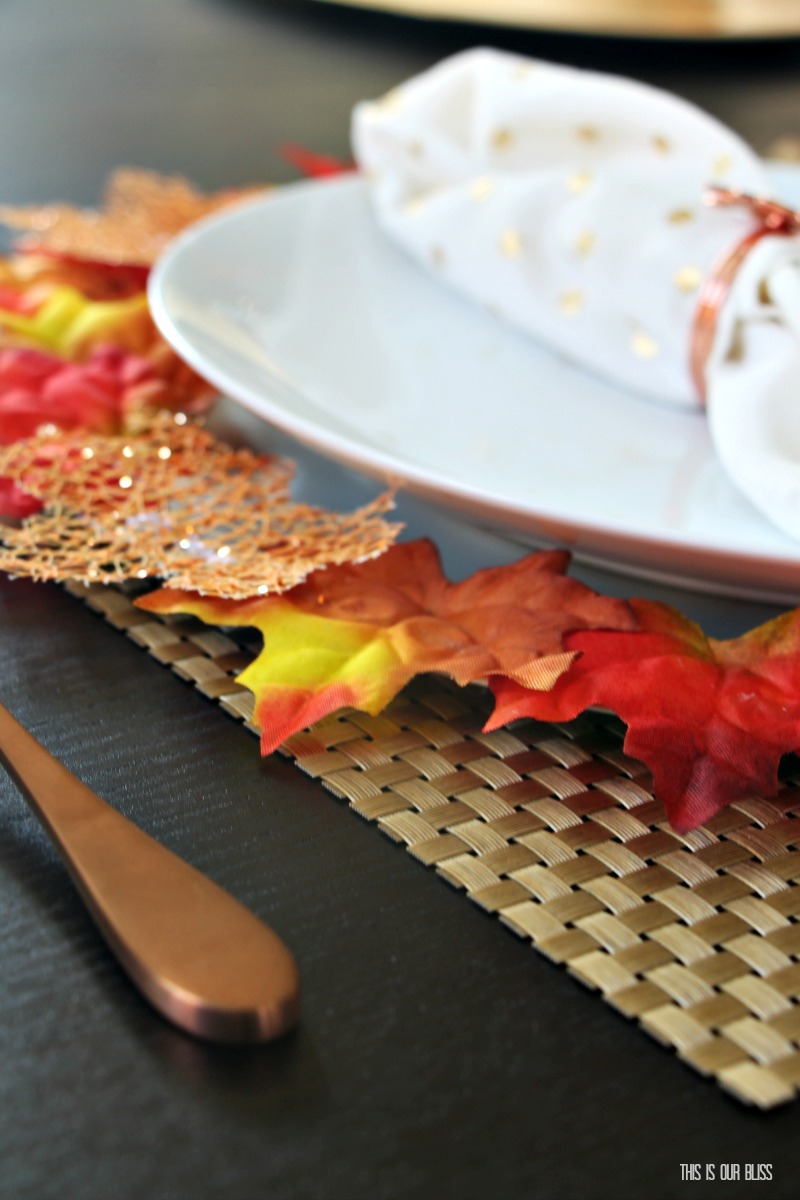
After my glue gun was heated up, I began by running the glue gun around the edge of the pan about 2-3 at a time. Then, I grabbed a couple leaves and placed them down one at a time, but slightly overlapping the one before as I went. You could place the leaves edge-to-edge, but by overlapping them it creates some dimension and a more layered and full look.
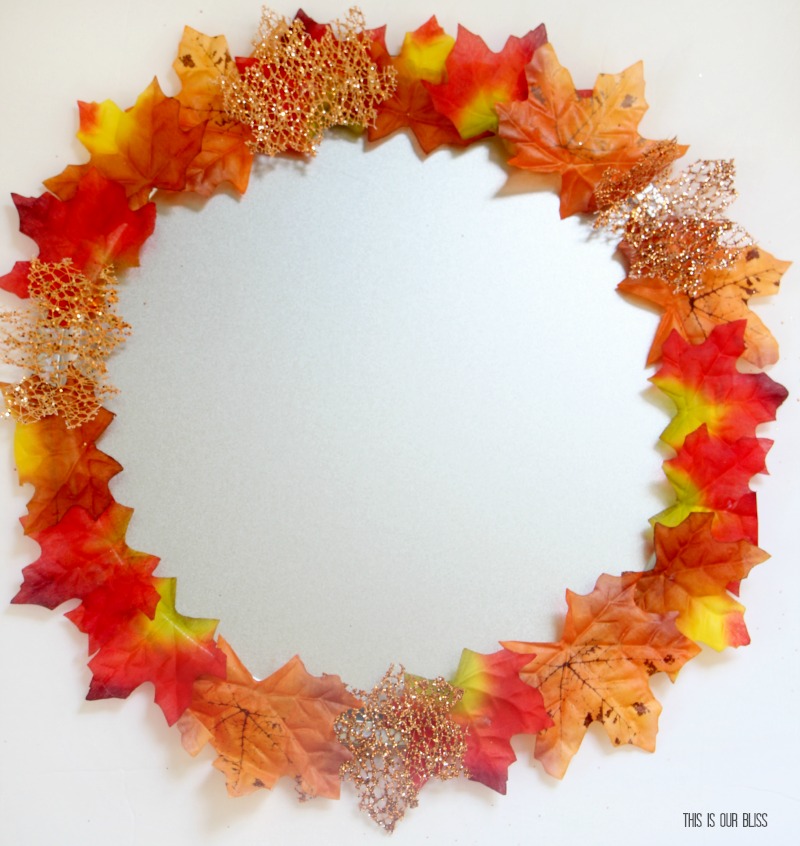
I used a little more than half the package [28 leaves on one plate] and all 4 glitter leaves, so you can make about 2 plates per package of leaves. Looking back, I probably could have added a few more to give the plate more coverage because there is a little bit of metal peeking through. Another option would be to spray paint the pizza pan first.
I think gold or metallic bronze would be beautiful!
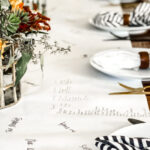
placemat | copper flatware | leaf napkin holder | dinner plate
Since hot glue dries pretty quickly, I was able to place it right one table and begin setting my Fall table!
Don’t forget to pin for later!
How cute are these fall-colored maples leaves peeking out from under the plate?!
Such a simple DIY and I can already see my fall table starting to form!
Now head on over to my fellow Dollar Store DIY’ers and check out their Fall projects. Who else is ready for cooler weather and pumpkins?!
The Organized Mama | This is our Bliss | Creative Ramblings | Southern State of Mind | Hunt & Host
Thanks for reading today! I’ll be back next week with an update on my Master Bedroom [the reveal is so close!] and plenty more Fall posts are on their way, too! Happy back-to-school and almost September!
If you’d like to catch up on the rest of the My Dollar Store DIY series, click here!




![On Trend [Neutral] Tie-Dye to Try - This is our Bliss](https://thisisourbliss.com/wp-content/uploads/2020/02/On-Trend-Neutral-Tie-Dye-to-Try-This-is-our-Bliss-520x400.jpg)

sevanderkooy
September 2, 2017 at 10:30 AMThis is beautiful and so creative!
Rachael @ This is our Bliss
September 6, 2017 at 1:48 PMThanks, Sarah!! I thought they would be fun & different to use on my fall tablescape;)