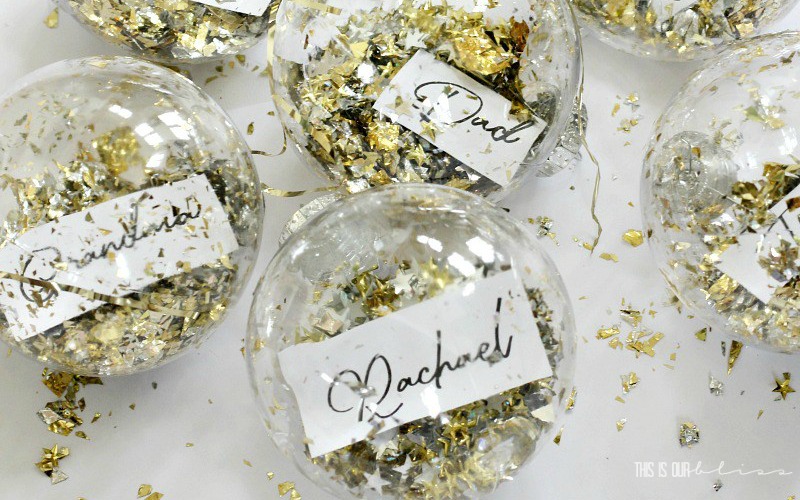
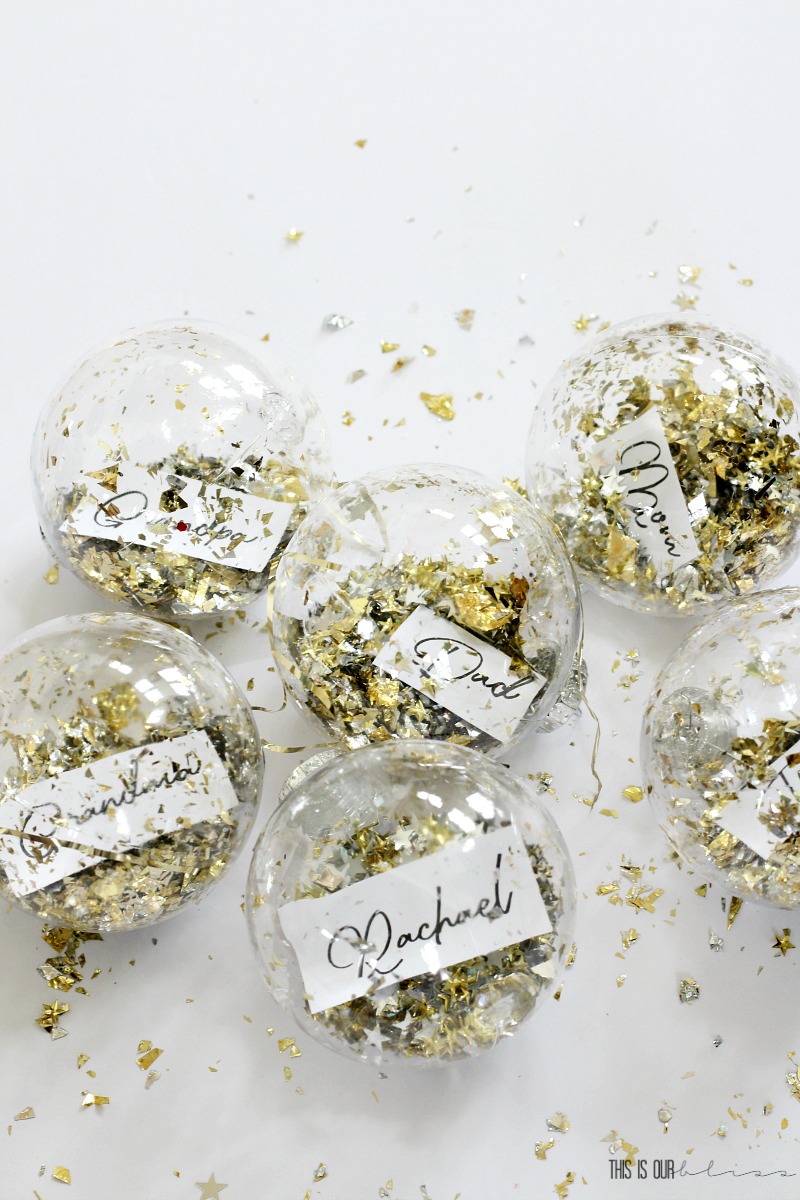
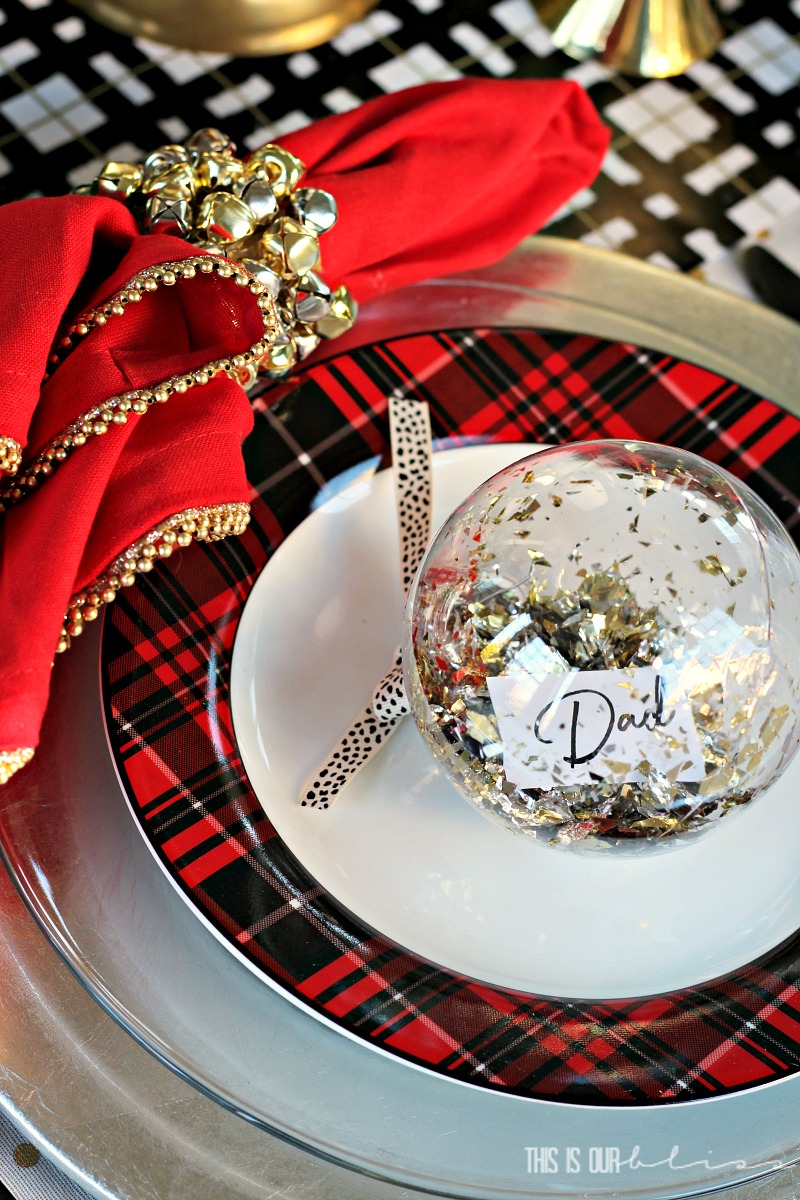
It’s all in the details! Sometimes the smallest of things can have the biggest impact on a space. Taking a few minutes to add a personal touch to your table goes a long way when hosting guests. I love making personalized place cards and adding them to my table, and this year I came up with a fun and inexpensive idea for Christmas-themed ones! Today I’m going to show you how I made these DIY Ornament Place Cards [and yes they are loaded full with sparkly, metallic ornament filler confetti!].
But better yet? The supplies are all from the Dollar store!
This was so simple! Come see what I did below…
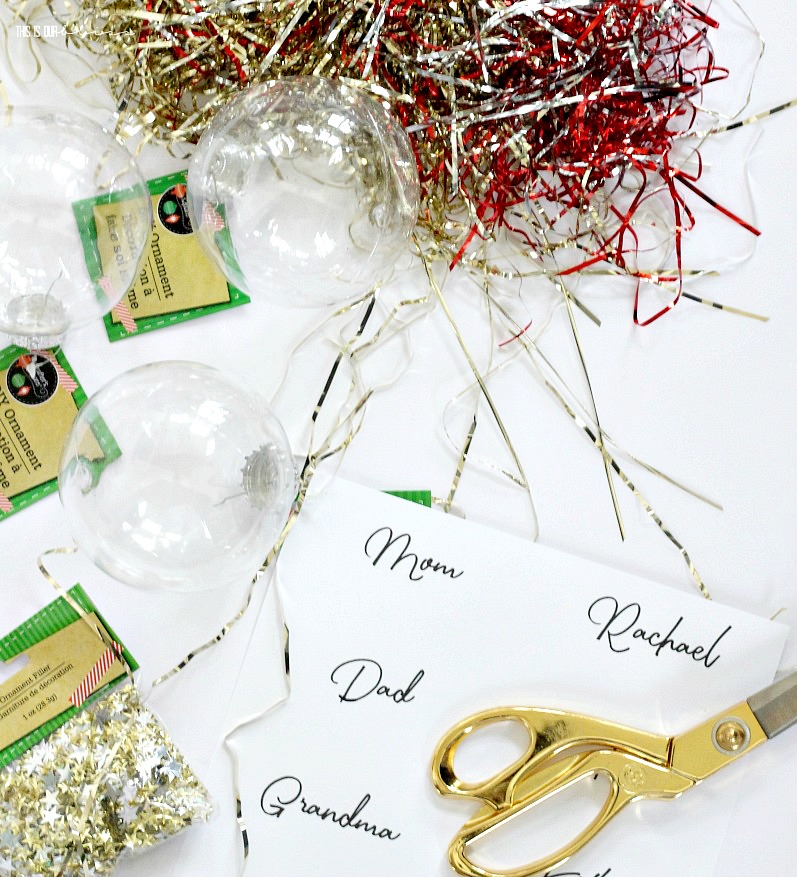
SUPPLIES
clear plastic fillable ornaments [mine are from Dollar Tree, but these are great options, too + they’re on sale!]
gold/silver metallic ornament filler
printed names on cardstock paper
ribbon [similar here]
DIRECTIONS
This is absolutely one of those 5 minute DIY’s! Trying to narrow down my font selection to use for the names was probably the longest step of them all!
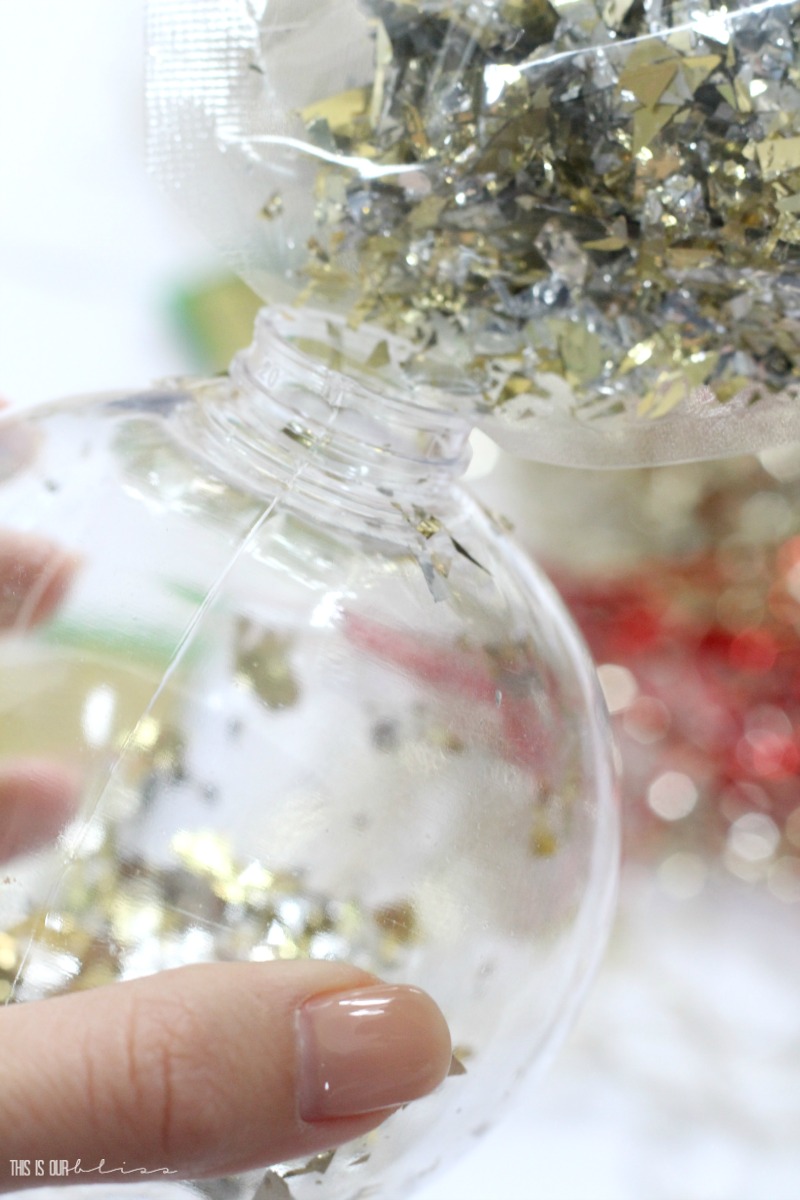
Simply pull out the silver cap on the ornament and pour in the metallic ornament filler. I filled each one up with about an inch or so of filler.
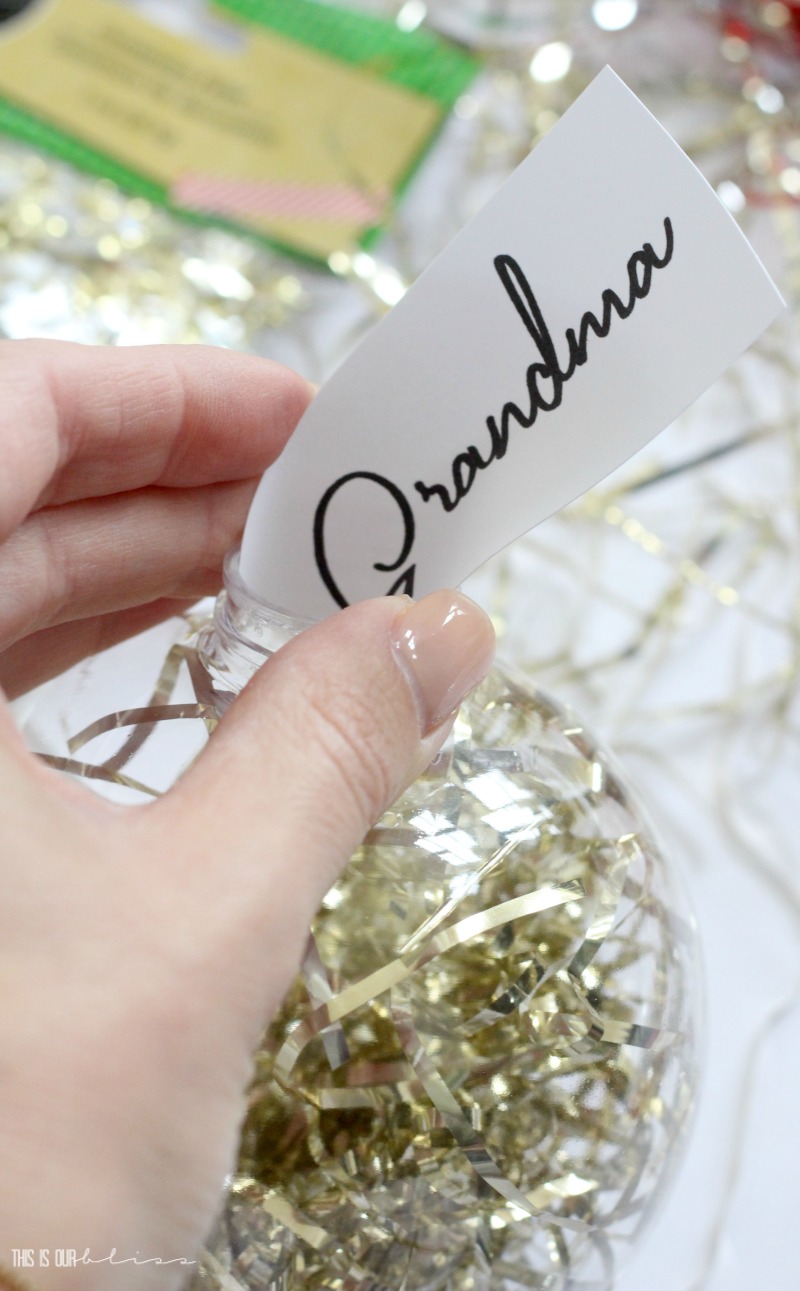
Next, I cut the names out into strips about 3/4 to 1 inch wide and then printed the name on the backside with a Sharpie. I did this in the event the ornament gets shaken up and the name flips over to the blank backside! If I could’ve figured out how to line up the names perfectly on both sides on the computer / printer, I would have. The printed side is of course the prettier one, but if it flips over to my handwritten side, well then, I guess my guests will have to deal!
Next, I put the silver top back on the ornament and gave it a little shake to get the name to sit up properly.
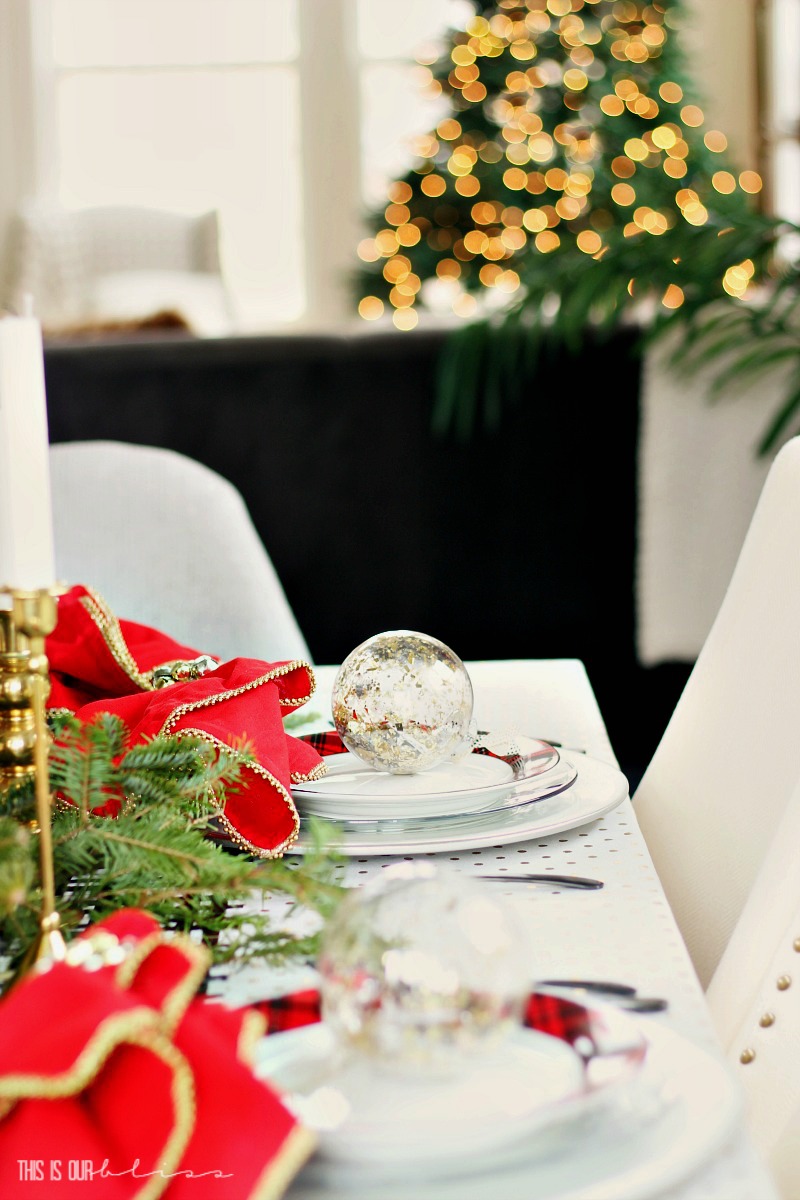
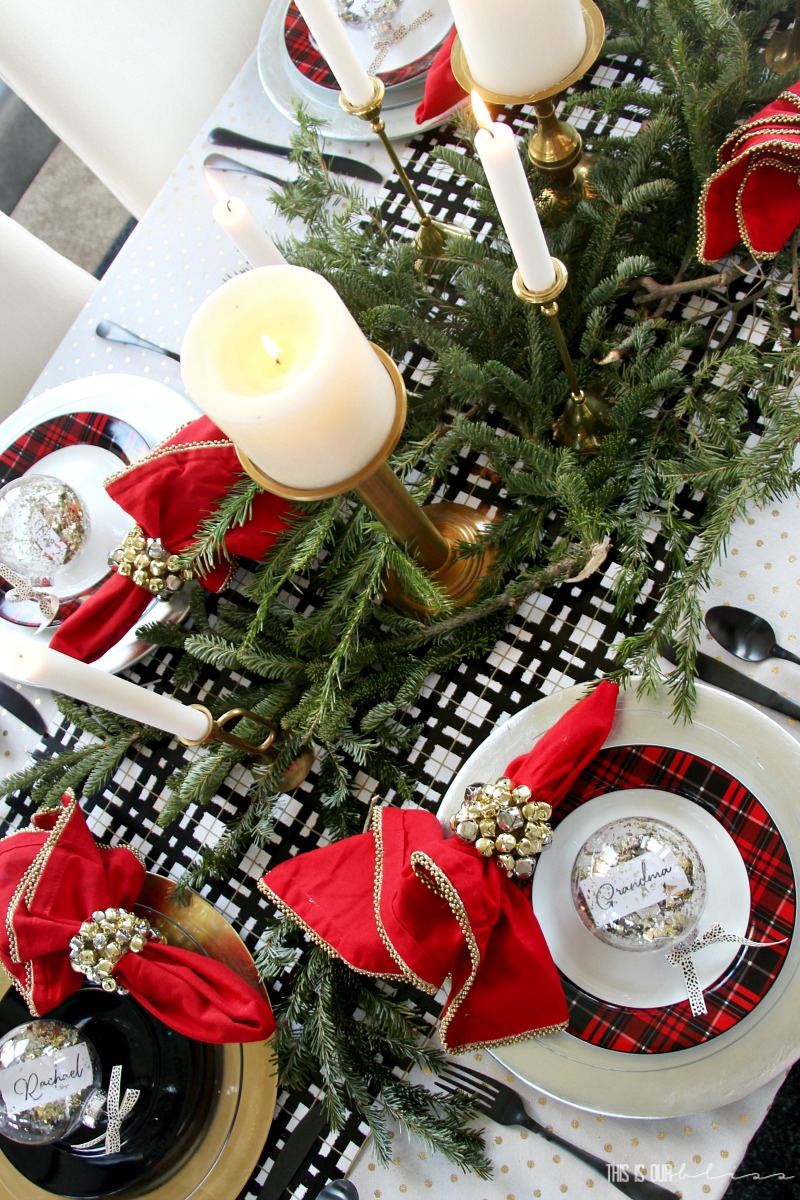
Finally, I tied a bow with a piece of animal print ribbon around the top of each ornament and placed them on the table.
You know I couldn’t resist adding one more pattern to the table!
That’s it! I think these guys are pretty darn cute, don’t you?
Quick tip: If you want to ensure the filler doesn’t spill out if and when you shake it to get the name how you want it to look, I would recommend adding a dab of glue to the rim when you attach the metal top back on the ornament. I do have some shiny *spillage* on my table. There’s nothing wrong with a little table confetti, but I don’t think your guests would appreciate any ending up on their plate!
If you missed the full table details [including sources], you can see them all here in my Bright, Bold & Festive Christmas Table post.
Oh and did you notice the darling napkin rings, see my Dollar Store Christmas Bell Napkin Ring tutorial here!
More Merry Making tutorials are on their way —- stay up-to-date with all-things Christmas by clicking here or see them each individually below:
DIY 5 Minute Holiday Hostess Gift
Pom-pom Wreath Photo Ornament
Holiday Gift Guide for the Home-Girl
A Simply Red Christmas Family Room
DIY Christmas Bell Napkin Rings
Bright, Bold & Festive Christmas Table
Pretty in Plaid Christmas Living Room
DIY Dollar Store Ornament Place Cards
$2 Wrapping Paper Table Runner
Full Christmas Home Tour Recap + A Peek Into Our Christmas Bedroom





Bright, Bold and Festive Christmas Table | This is our Bliss
December 24, 2017 at 3:26 PM[…] of wrapping paper [see the details in this post here] and last but not least, I made these darling Ornament place cards and will be sharing that tutorial later this week! Adding a personal finishing touch to your table […]
Full Christmas Home Tour 2017 Recap | This is our Bliss
December 24, 2017 at 3:13 PM[…] DIY 5 Minute Holiday Hostess Gift Pom-pom Wreath Photo Ornament Holiday Gift Guide for the Home-Girl A Simply Red Christmas Family Room DIY Christmas Bell Napkin Rings Bright, Bold & Festive Christmas Table Pretty in Plaid Christmas Living Room DIY Dollar Store Ornament Place Cards […]