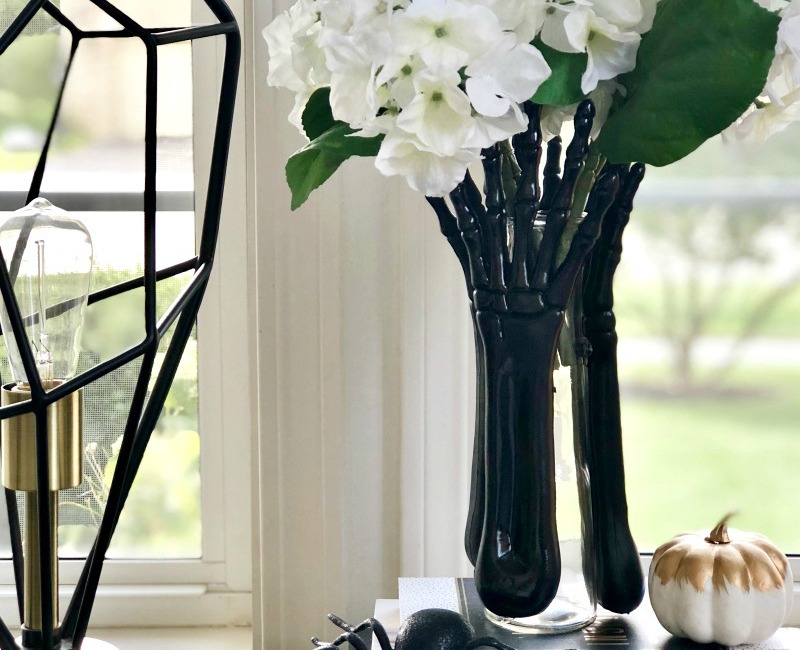
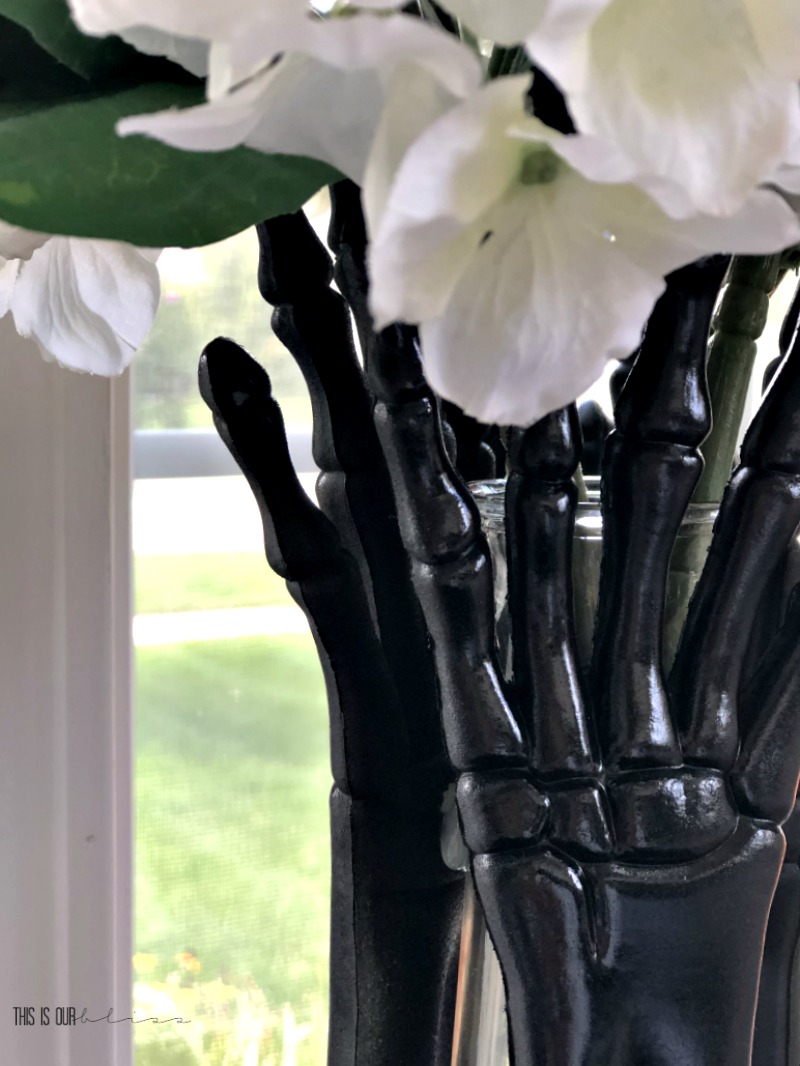
It’s that time again! But didn’t school just start? And didn’t I JUST have a baby? Hard to believe our 3rd little guy is 3 months now! Well, since it is the last Thursday of September, I’m here to share my most recent Dollar Store DIY project. Our theme this month is Halloween and after a quick stroll through the aisles of my local Dollar Tree, I snagged a couple of spooky plastic knick knacks and headed home to create a DIY Skeleton Hands Vase.
After getting started on my piece, I realized I actually made a vase last month. Oops! I guess it’s fitting because I am still in picking fresh hydrangeas from my front yard mode, so a couple extra vases laying around surely can’t hurt anything!
Here is what I used…
DIY SKELETON HAND VASE SUPPLIES
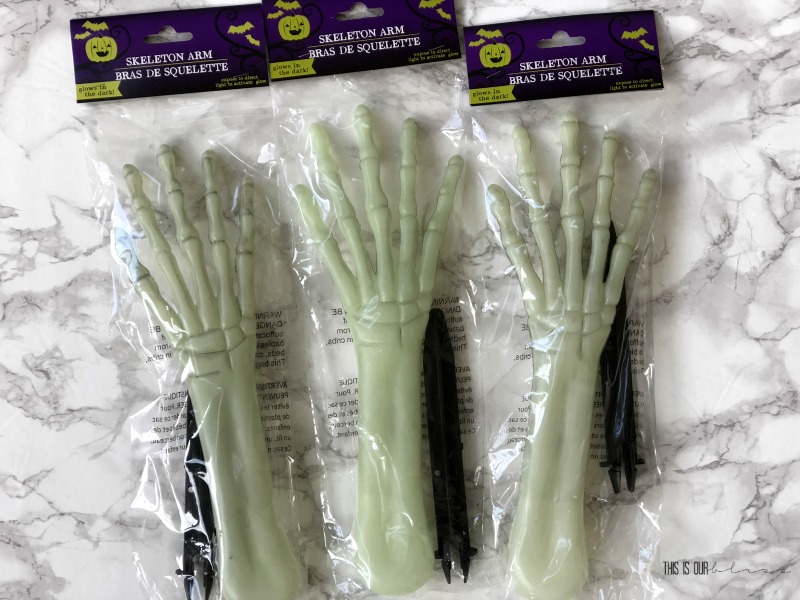
3 plastic skeleton hands
cylinder vase [mine had a graduated neck, but unfortunately I forgot to take a picture before the hands were on it!]
black spraypaint
hot glue gun + hot glue
INSTRUCTIONS
1 – Remove the skeleton hands from the plastic and take outside or a well-ventilated area to paint.
2 – Lay out hands on newspaper or cardboard and lightly spray one coat of paint evenly across one side. Let dry for 15-20 minutes and flip over and repeat. Do this until you’ve coated each side 2-3 times depending upon coverage.
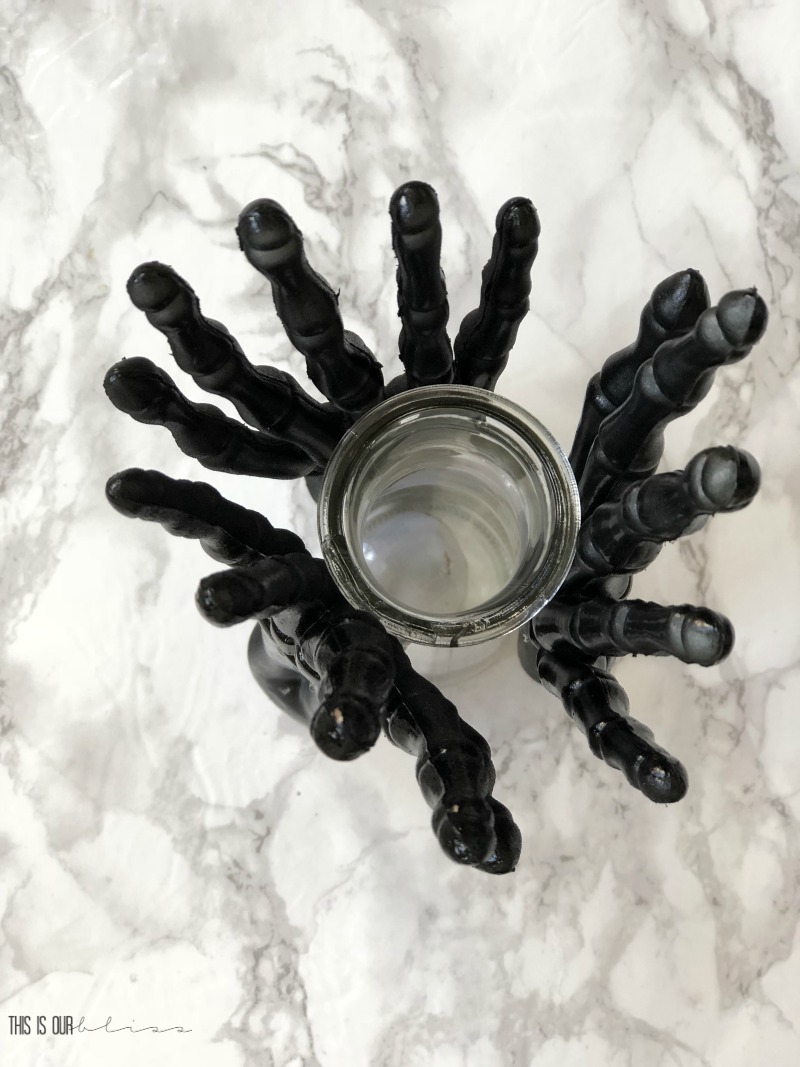
3 – Once completely dry, heat up glue gun and add about a 1 inch strip across the wrist of the skeleton. Press firmly to the side of the vase. This is the part that sticks out the most so really was the only option for a place to actually be able to rest flush on the sides of the vase. Note: my skeleton hands were approximately the same length as my vase, but the hands were slightly longer allowing the finger tips to reach over the top of the vase.
4 – Add the remaining 2 hands to the vase spread evenly across. If you have a larger, wider vase, then you will probably need more than 3 hands.
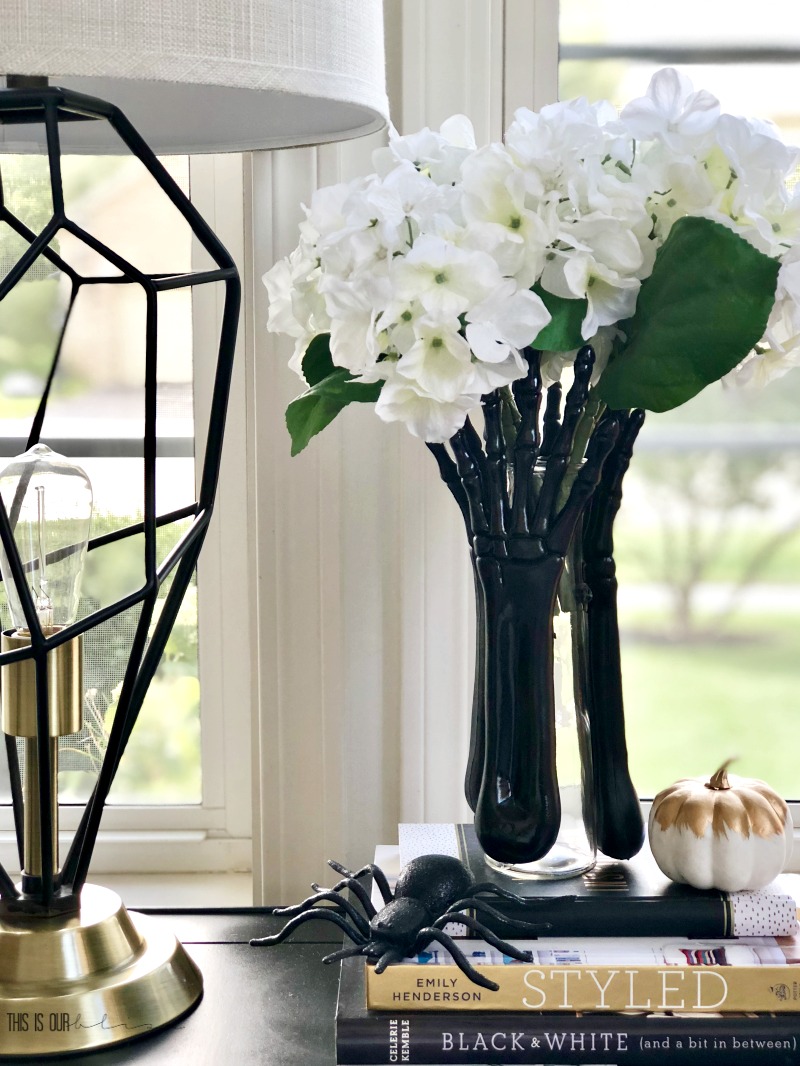
5 – Fill with faux or fresh flowers or even greens or leaves and place among the rest of your Halloween decor or let it stand alone for a more understated Halloween decorating approach…one that I tend to gravitate towards.
I love how the vase sort of blends in with the rest of my decor. I definitely don’t go all out when it comes to Halloween decor, but I do love to put a few things out – typically in black, gold and white. There isn’t all that much orange around here, but a pop here and there is fun! You can see my Simple Halloween Mantel here and my Halloween Sips & Sweets Table here! And if you missed my Halloween Dollar Store project last year, you can check out my Spooky Floating Spiderwebs in this post.
Surprised I didn’t paint the skeleton hands vase gold? Yeah, me too. I was suuuuuper tempted to paint them gold, but then I remembered I just made that DIY Acorn Vase in metallic! I thought I needed to switch it up a bit ha! Not really though because almost all of my decor is black or gold! But you probably knew that already 😉
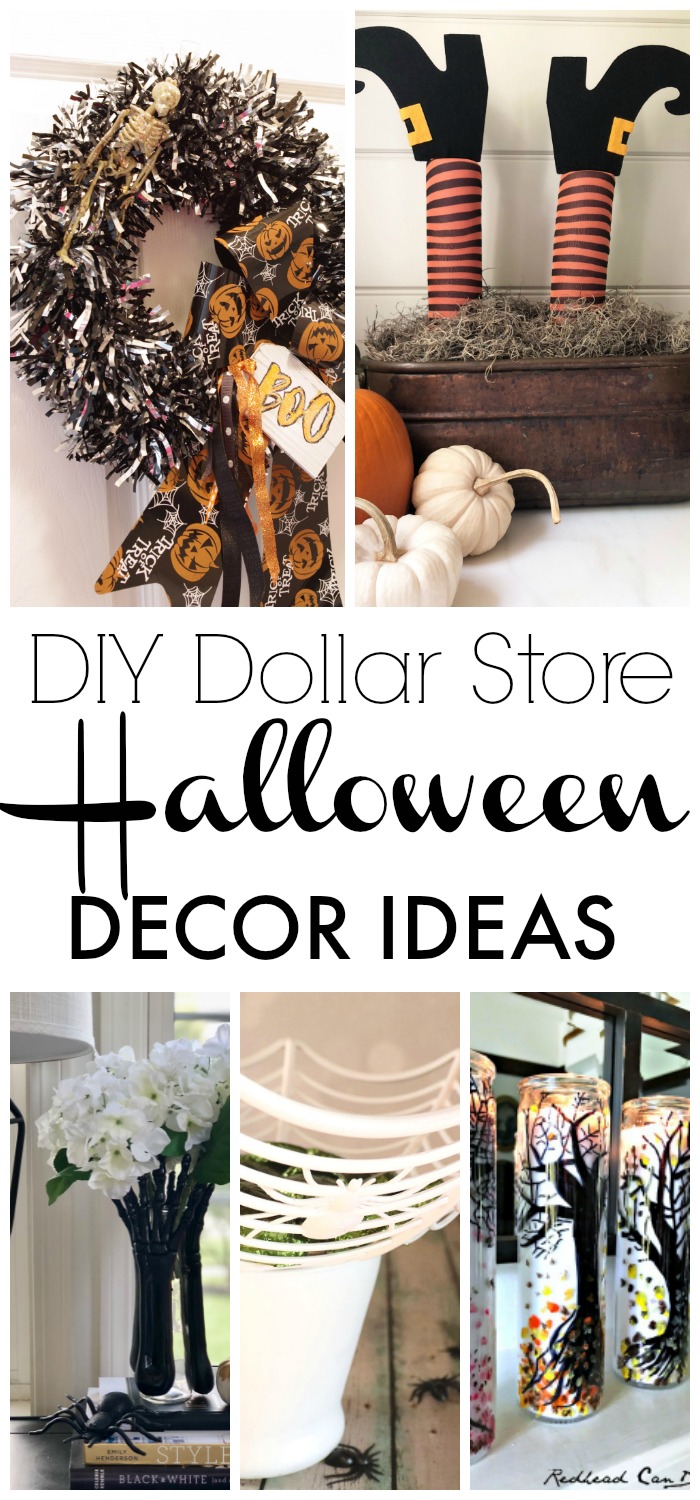
That’s it from me today, guys! But if you’re looking for more inexpensive and creative ways to add a touch of Halloween to your home this year, then be sure to head over to the rest of the posts in this month’s My Dollar Store DIY series!
Create & Babble | Southern State of Mind | This is our Bliss | Creative Ramblings | Redhead Can Decorate





Julie
October 3, 2018 at 9:09 AMThis is spooky, Rachael! It’s like the skeleton arms/hands are holding the flowers up. CLEVER!!! Happy October!!
Sarah
September 27, 2018 at 9:40 PMThis is a cool project, and a really fun way to decorate for Halloween! You can never have enough vases in my opinion.
Dollar Store Halloween Candy Bowl - Creative Ramblings
September 27, 2018 at 10:35 AM[…] & Babble | Southern State of Mind | This is our Bliss | Creative Ramblings | Redhead Can […]
Dollar Store Halloween Wreath - Create and Babble
September 27, 2018 at 8:56 AM[…] & Babble | Southern State of Mind | This is our Bliss | Creative Ramblings | Redhead Can […]