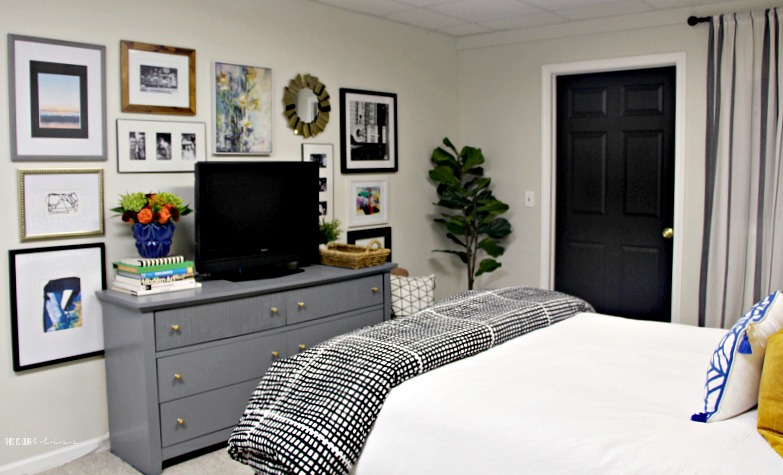
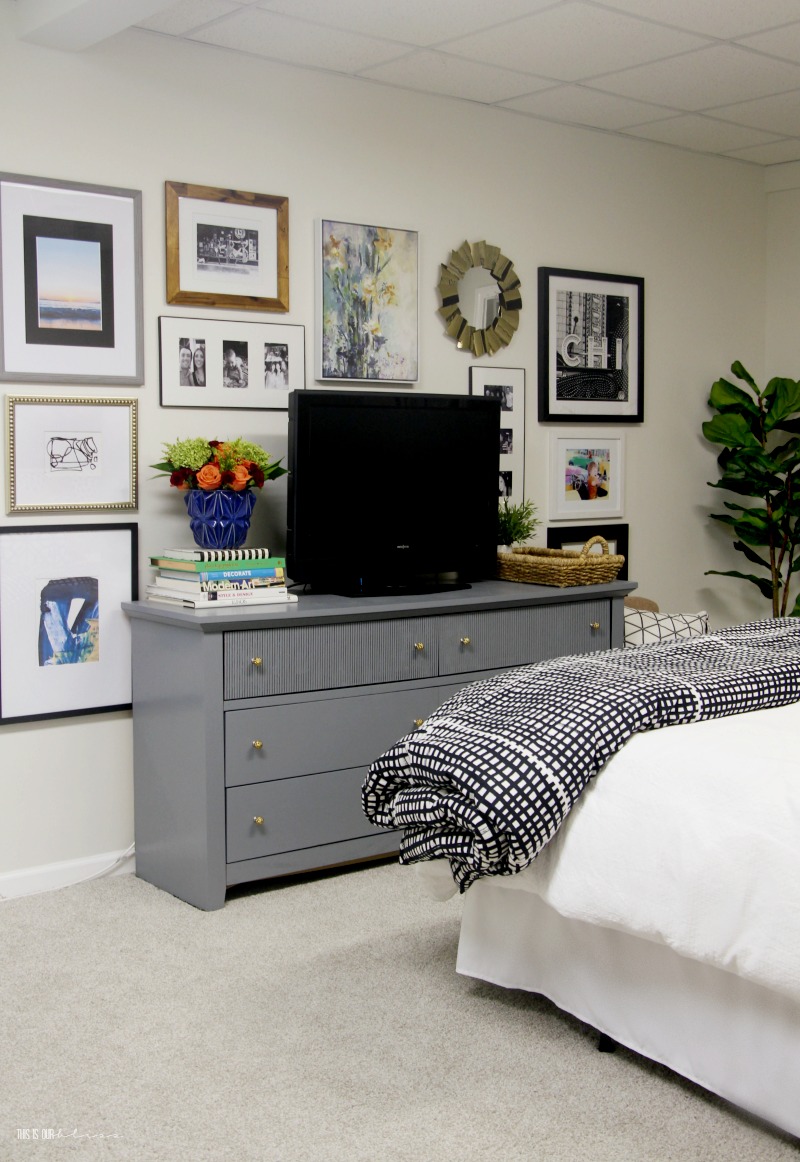
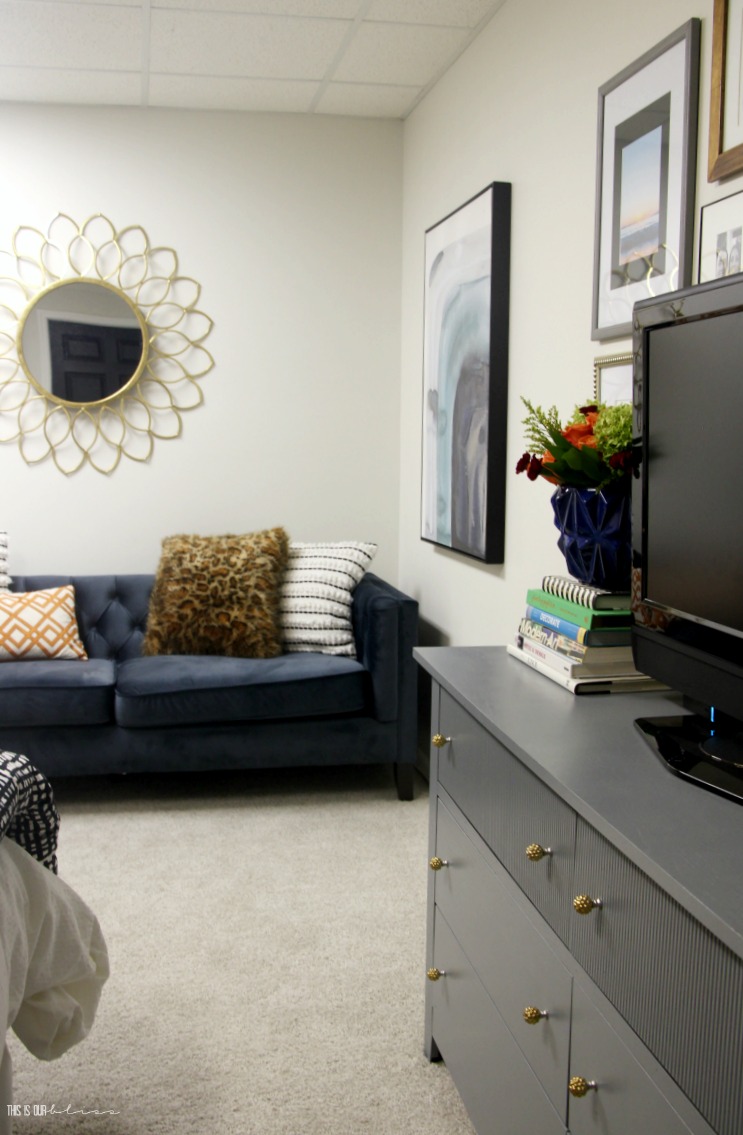
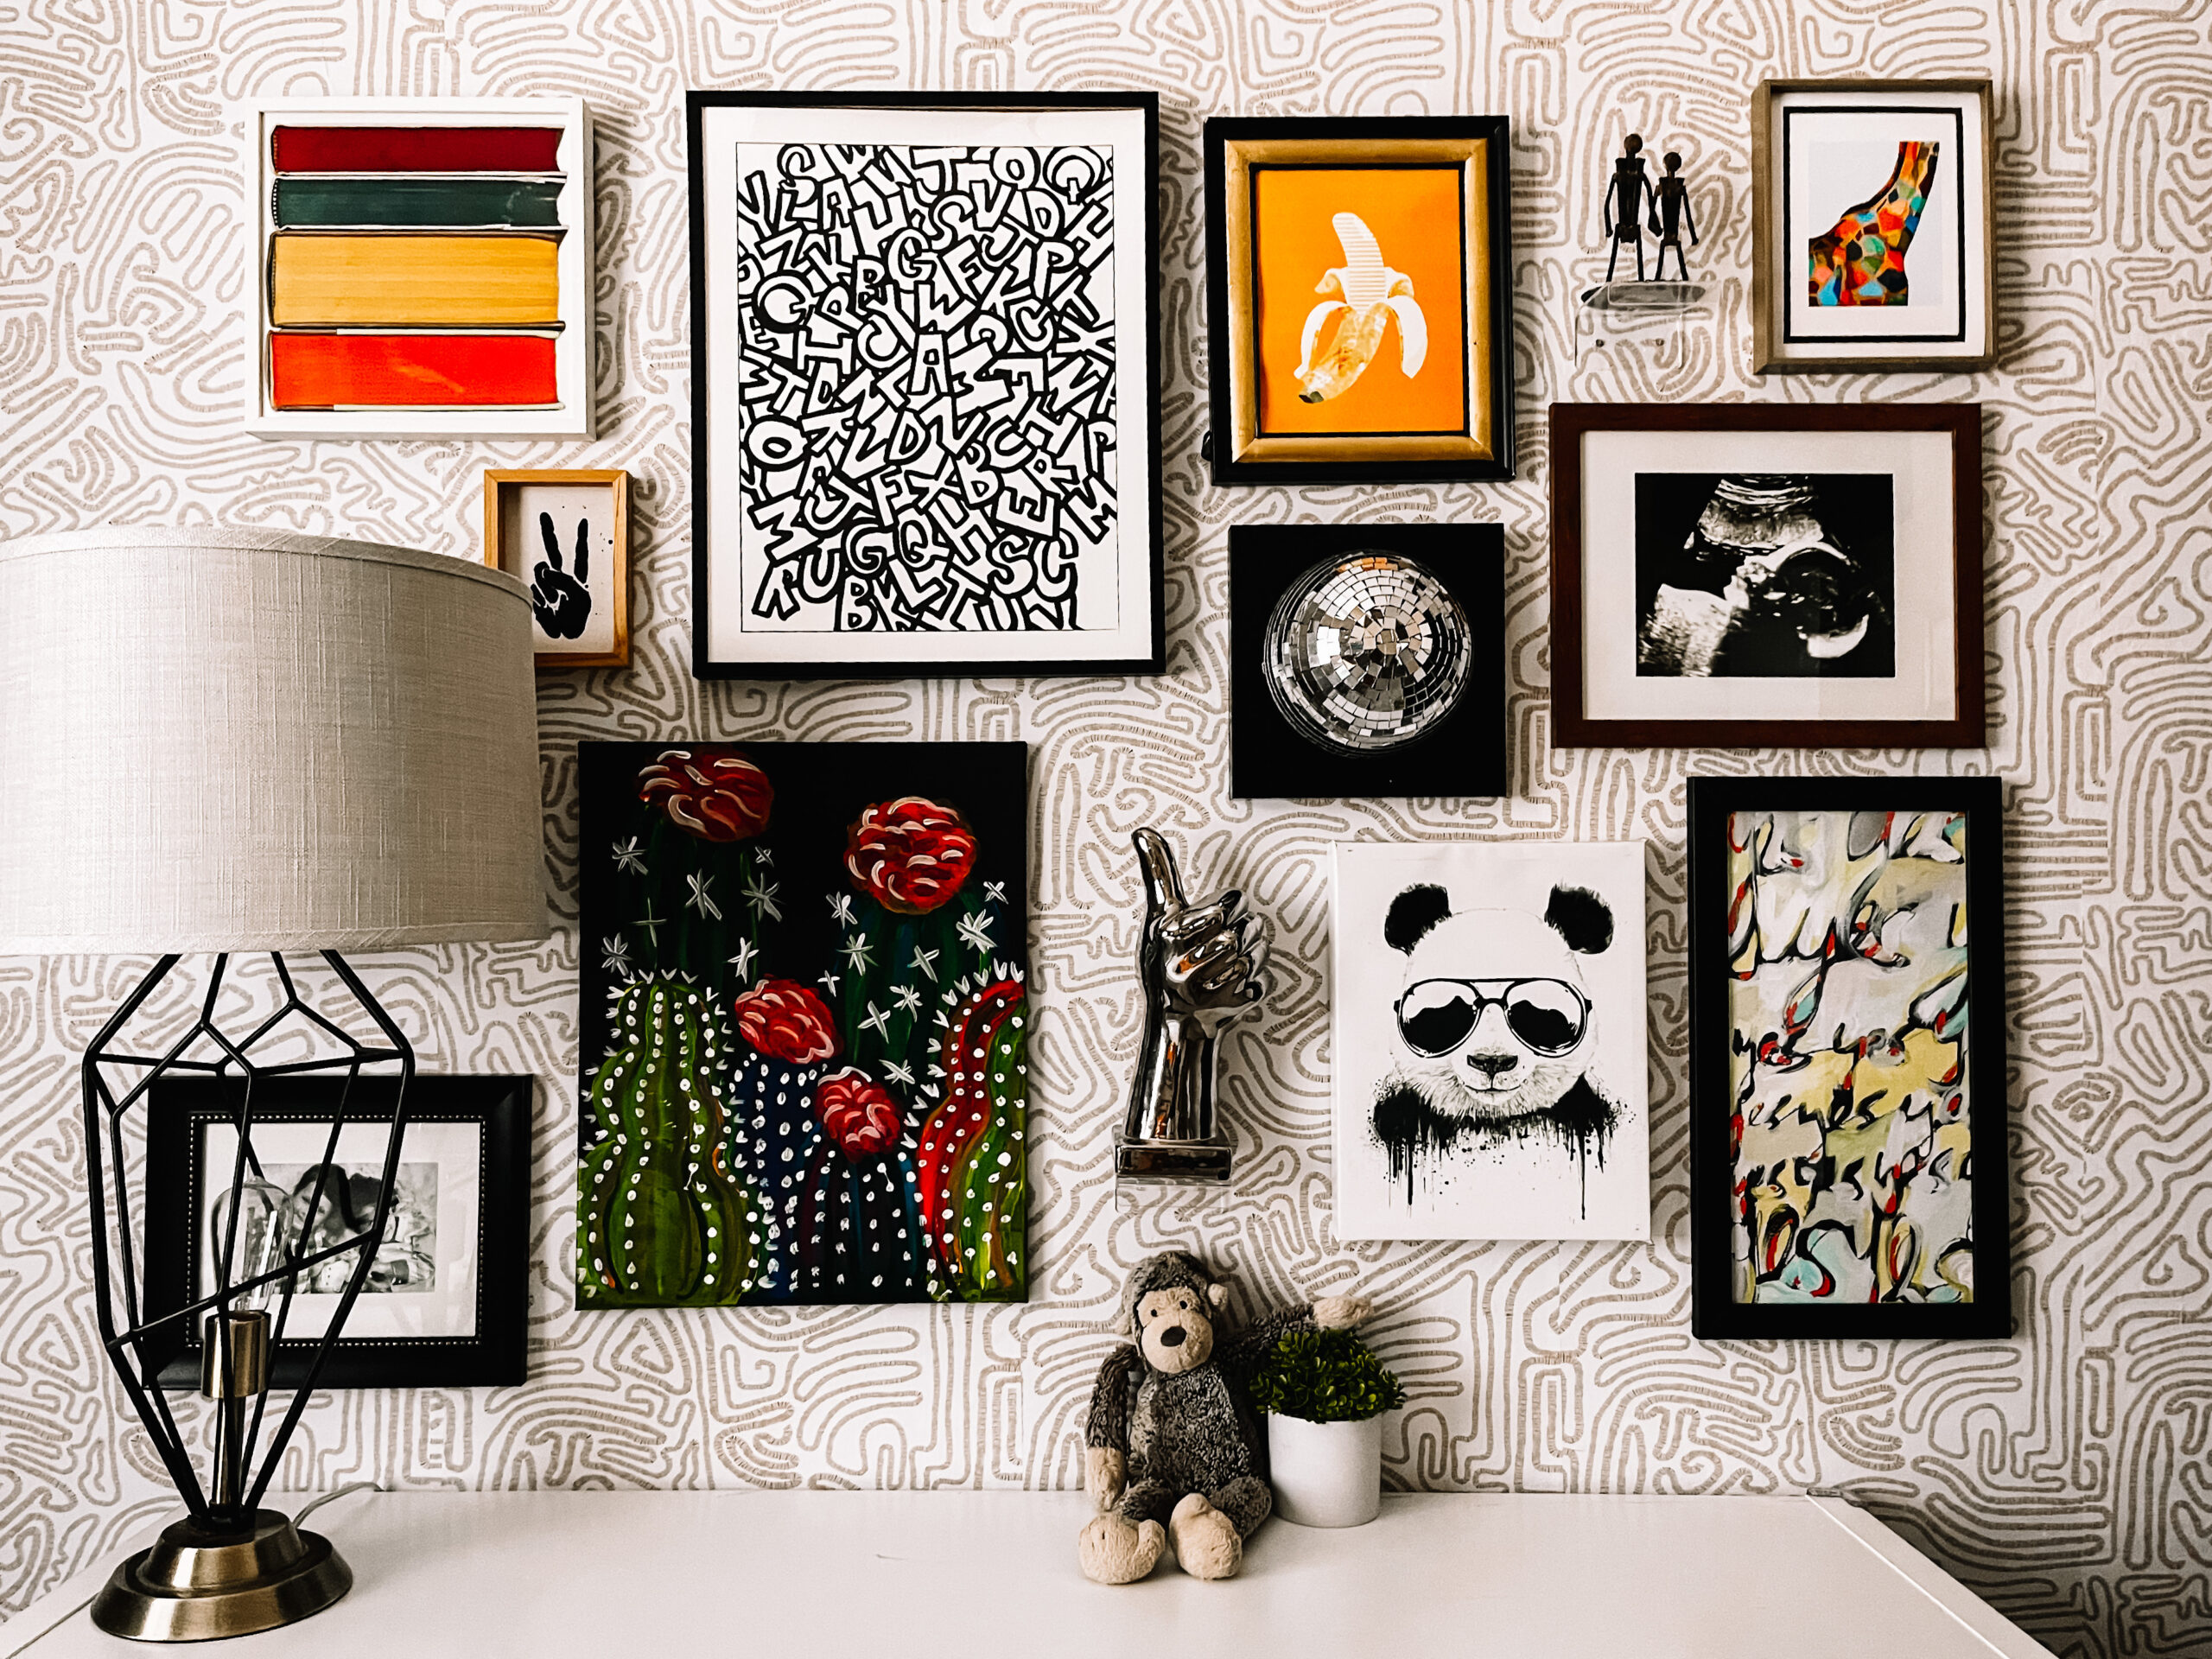
*Finally!* You asked and now I’m answering! Before we dive into fun, upcoming holiday content, I wanted to circle back on the Basement Guestroom TV Gallery Wall you all have been asking about! Today I’m sharing the different elements that went into creating this super budget-friendly gallery wall we now have downstairs for our guests to enjoy! Read on for all my tips, tricks, ideas and ultimately everything I used to put together an Inexpensive Eclectic TV Gallery Wall!
[*Affiliate links are used in this post.]
Because concealing that big, black, rectangular box can sometimes be tough! Am I right!? The one other time I hung a gallery wall around a TV was in our Master Bedroom in our last house. Sometimes you are tired of looking at the black TV box so you need to surround it with pretty pictures, fun art pieces and lots of memories. Read on to see what I used to create the gallery wall in the Basement Guestroom.
Let me first start out by saying that this is not a post that shows you how to create the layout for your wall, but more about what types of prints, photos, frames, mirrors, etc. I used to create this eclectic vibe on the main wall in our recently revamped Basement Guestroom. I usually just start hammering away when I put up these “walls” so I encourage you to take note of what I use to get the look and then decide how you want your wall to look and how to get your pieces up on the wall – create a template, measure, whatever you decide. Or if you’re like me…just wing it. 90% of the time your oops nail holes will be covered up with whatever you were trying to hang!!
HOW TO CREATE AN INEXPENSIVE ECLECTIC TV GALLERY WALL
1 | PRINTABLES / DIGITAL ART
Did you know you can buy art on Etsy and then download and print yourself in a matter of minutes? I’ve shared other printable / digital art purchases here on the blog before like on my nightstands when I gave our master bedroom a few quick and colorful updates as well as in our Kitchen Reveal with the green brushstroke art piece I downloaded and then had printed in a large poster size.
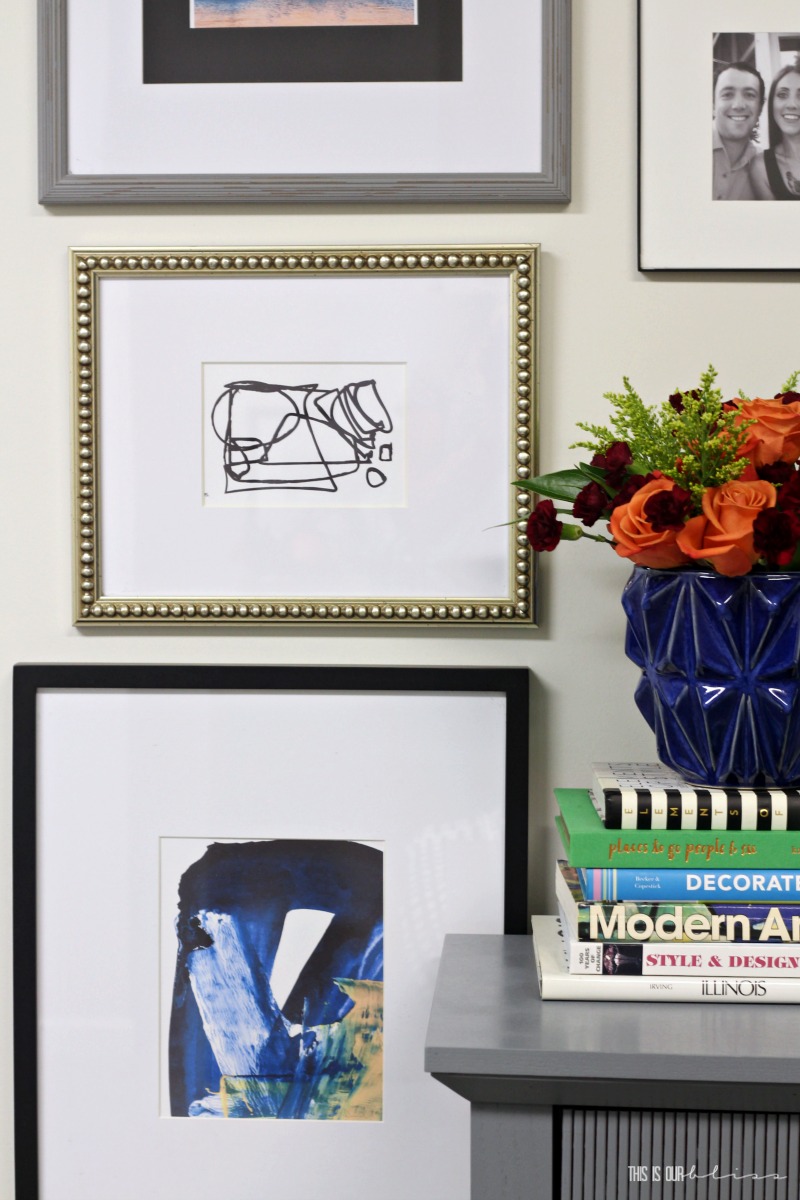
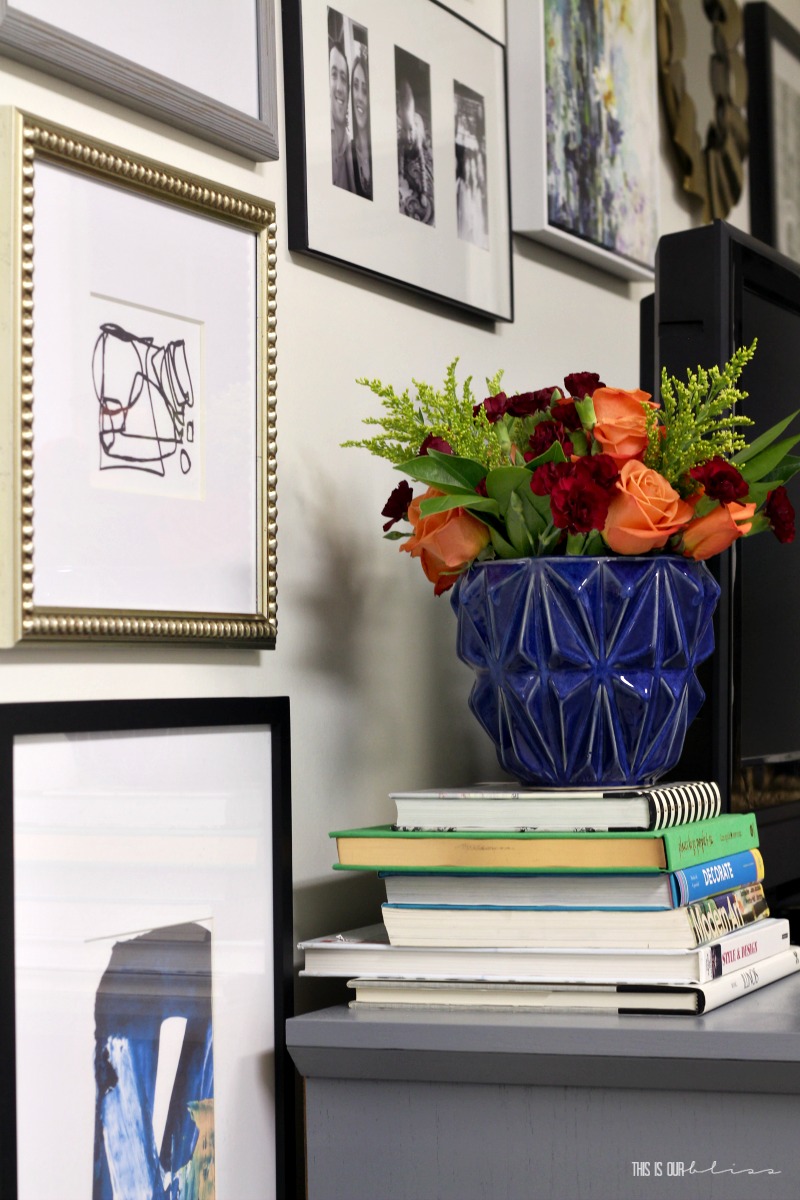
In the bedroom, I used 3 printables and they all 3 ended up on the far left side of the TV gallery wall. The total was a little over $15 for all 3 because I printed them at home on cardstock paper and used frames I already had!
Beach photo | Black & white abstract | Blue & orange abstract
2 | ABSTRACT ART
Instead of using all photographs in your gallery wall [which I love, too, btw], you can incorporate some colorful or black and white abstract art to add some interest. The abstract printables I shared above were an easy way to break up the look of an-all-family-photo-type wall.
Since the gallery wall surrounding the TV isn’t exactly centered on the wall, I added a large framed abstract canvas to the far left of the gallery wall above the arm of the sofa.
We didn’t center the dresser, therefore didn’t center the gallery wall because it is located directly across from the bed [which isn’t centered either because of the door on the wall!]. Anyways, my point is that the large rectangular abstract piece helps balance out the wall. We certainly wouldn’t want to leave too much blank space now, would we? ha!
You can also DIY your abstract art! See one of my DIY art pieces here and a more recent DIY one hanging in our Basement Guest bathroom here – both were done for only a couple dollars!
3 | CANVAS ART
I picked up the colorful floral canvas at HomeGoods right about the time I started to spruce up the space in the Spring. I knew I wanted some pops of blue and gold and thought this piece would look nice on one of the nightstands or in a grouping on a future gallery wall 🙂 Again, the canvas helps break up the monotony of an all-frame photo wall.
4 | A MIX OF COLOR + BLACK & WHITE PHOTOS
I tried to balance out the wall with the number of colored art pieces and black and white pieces. The ratio does not need to be even, by any means, but spread out across the wall or even just a few randomly placed pops of color within the grouping looks great.
5 | MULTI-PHOTO FRAMES
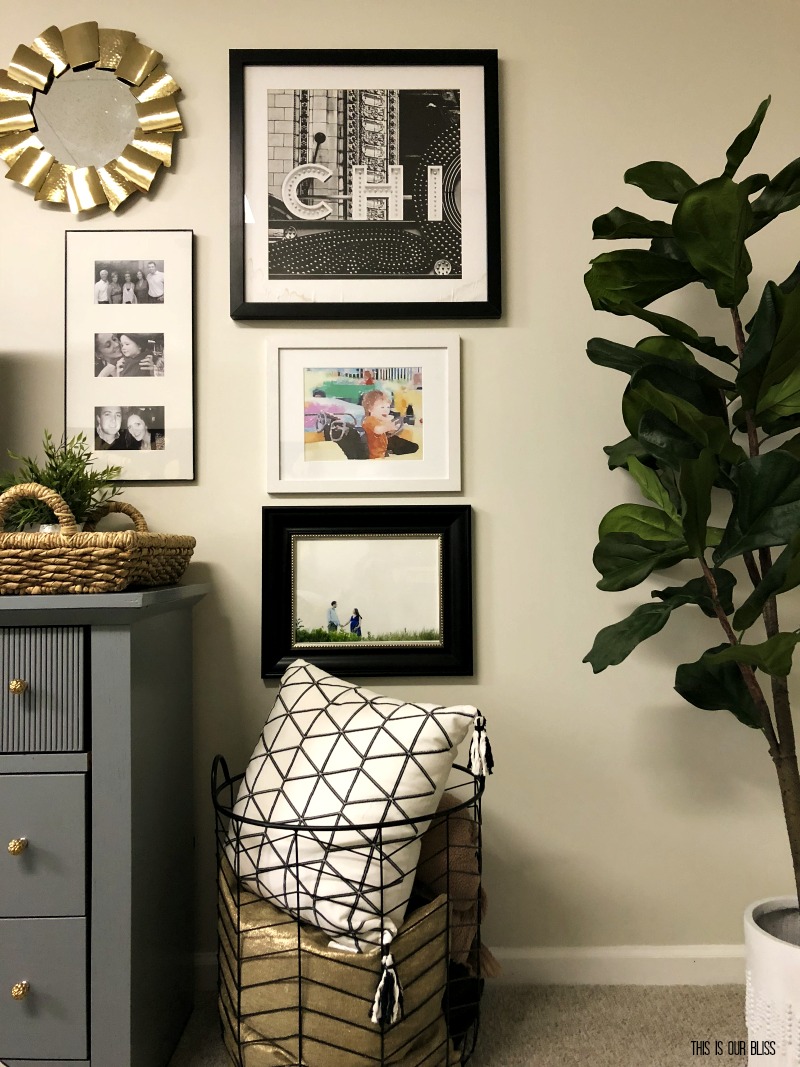
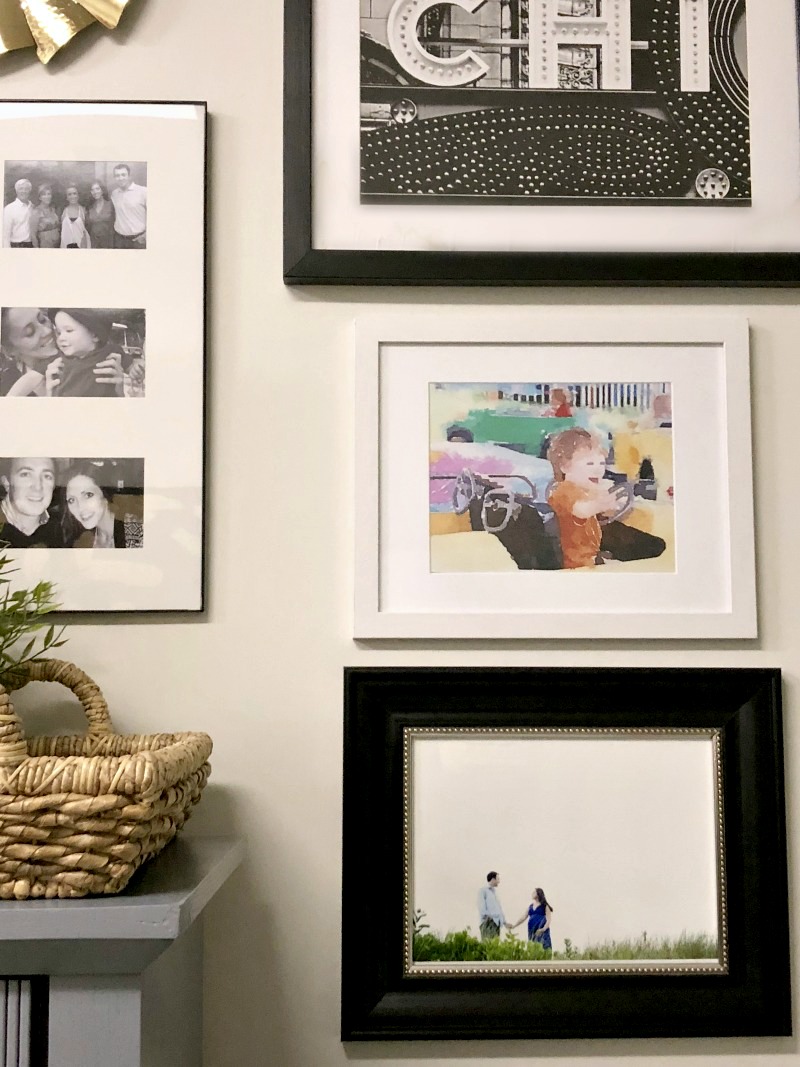
These thin 3-photo frames were a Michaels purchase years and years ago. I love how inserting them within the gallery wall gives some visual interest. I kept the same black and white photos in the frames that I had in them when they were hung in our last home’s stairway gallery wall. Don’t feel like you need to constantly be updating your pictures around the house. Yes, you want the latest and greatest family photos in some areas, but isn’t it kind of fun to look back on the oldies? I like to keep family pictures up even if they are missing our newest little guy. It’s a time in our life that I love to look back on and remember how things were then. Where we were living. What we were wearing. Where the photos were taken. When we looked younger and more rested, perhaps!
Here are a few great options for multi-photo frames:
6 | WATERLOGUE PHOTOS
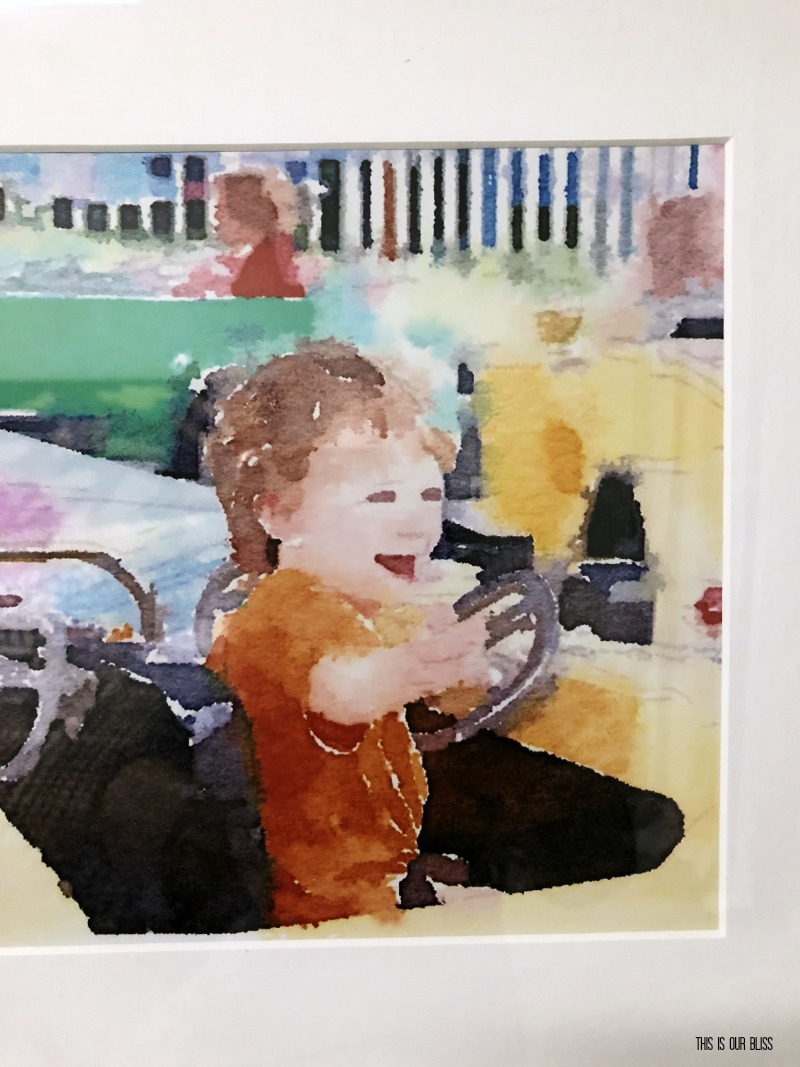
If you don’t know what waterlogue is then I suggest you grab your phone right now and download the app! You upload a photo and it will instantly transform it into a “watercolor” art piece! It really is a beautiful and unique way to display your precious moments.
Again, I kept an old waterlogue creation from year’s ago in this white frame. It is of the biggest on a ride at the State Fair when he was 2. I love seeing it and remembering how big he was grinning and how hard he was waving at us. It literally makes me smile every time I look at it. This frame used to hang in the playroom in our old house in another gallery wall and I loved it just as much then.
7 | WORD ART
Simply put. Add some words to your wall! Type something out on your computer and print it. Or like in our basement guestroom, I hung a word art piece that says “CHICAGO”. Also known as typography, the words you add to your wall can evoke emotion or a sense of nostalgia.
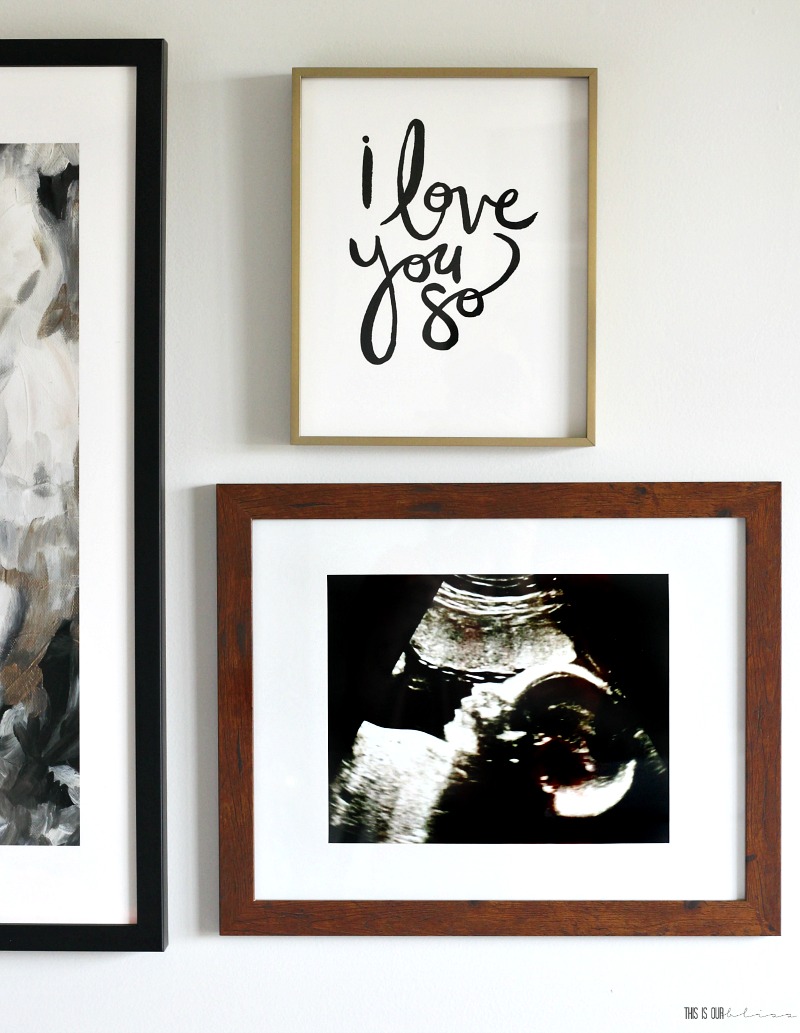
Here you see the nursery gallery wall I created for the littlest’s nursery this past Spring, where I included this art print that simply reads “I love you so” in a scripty font next to a gorgeous abstract art print to the left and hanging above one of our sonogram images.
You may also remember when I snapped a photo of our old street sign out in front of the house. I had it printed in black and white and hung it up in the gallery wall in the Guestroom in that house. It was quick and inexpensive and now when I see it on the wall, it holds a completely different meaning than it did back then. It was a cute “landmark” for our guestroom and now it’s a peek down memory lane.
8 | SPECIAL PHOTOS
Another type of picture to incorporate into your eclectic, inexpensive TV gallery wall is a special photo. One you take on a trip or from a special time in your life. Here I hung a photo I took when we were in Asheville and have had it printed a couple times for various rooms. This maternity photo taken when I was pregnant with our oldest also went up on the wall in the Basement Guestroom. Maybe some of you might think it’s too personal to hang in a guestroom, but I feel like it allows friends and family who stay in there to get a glimpse into some of our family’s special moments.
I also have a maternity photo from that same shoot in our Master Bedroom gallery wall where I used all white frames, same size and shape. You can read more here on how I hung that uniform gallery wall with a twist.
9 | MIRRORS
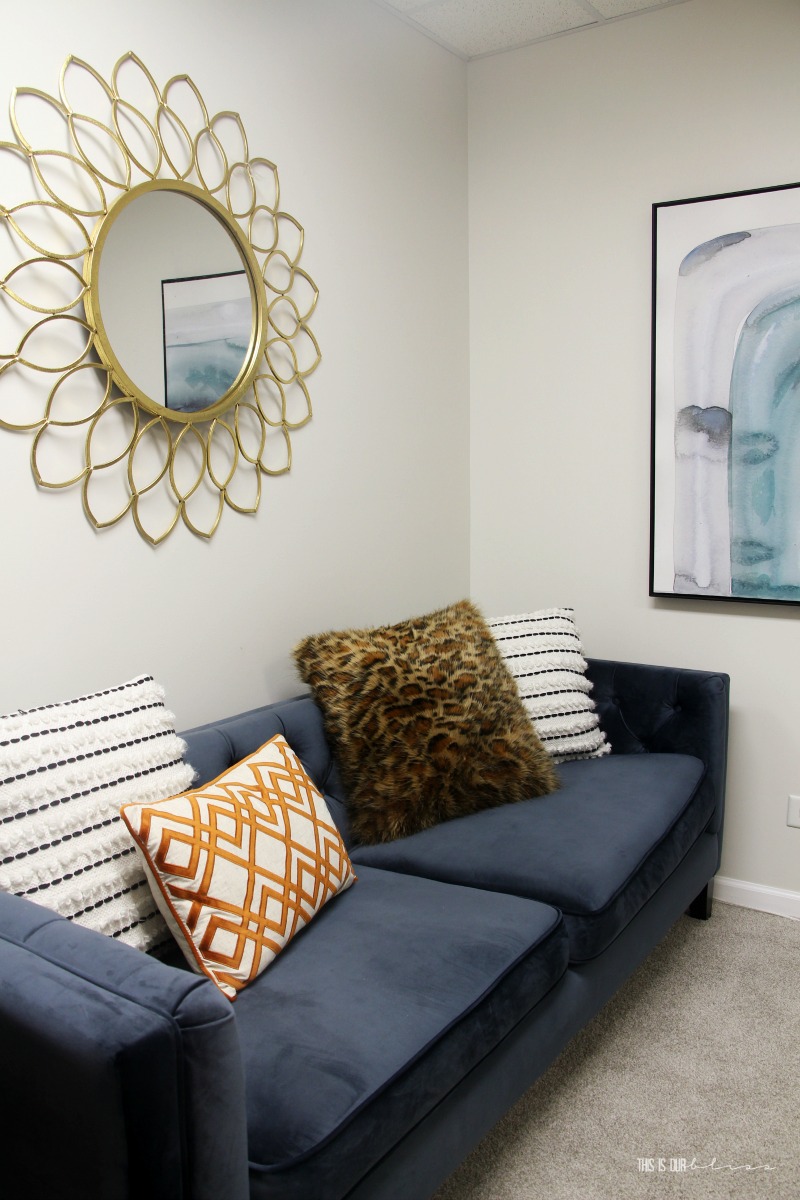
Have a favorite mirror? Throw it on the wall with your frames! Your gallery wall most certainly does not have to be just art and frames. Styling your gallery wall with a mirror not only breaks up the uniformity of shapes [squares and rectangles] since most mirrors are round, but it also gives a little gleam and sparkle to the wall.
I bought two of these mirrors and almost used them both in the TV gallery wall, but decided one would do the trick. We also have a sunburst mirror mixed into the current gallery wall in our family room, which I’m just now realizing I’ve never shared here on the blog. Would you want to see the gallery wall above the couch on our dark accent wall in the family room someday?! I’ll try to remember to add that to my post ideas list 🙂
10 | THRIFTED FRAMES IN VARIOUS SIZES, SHAPES & COLORS
And last but not least, is one of my favorite tips – thrift your frames! I talk all about thrifting different frames and what things to look for while you’re out in this post here. Not only does thrifting allow you to purchase cool and unique pieces at great prices, but when you buy them in bulk and store them away for a rainy day, it also allows you to hang a gallery wall on a whim. Which is totally what I do! I rarely plan out what I’m going to do, but instead, head to my stash, grab a hammer and nails and just start hanging!
Did this help you out? Are you more comfortable mixing and matching your art and photos and frames now?! I’d love to hear from you! Shout out your favorite takeaway in the comments below!
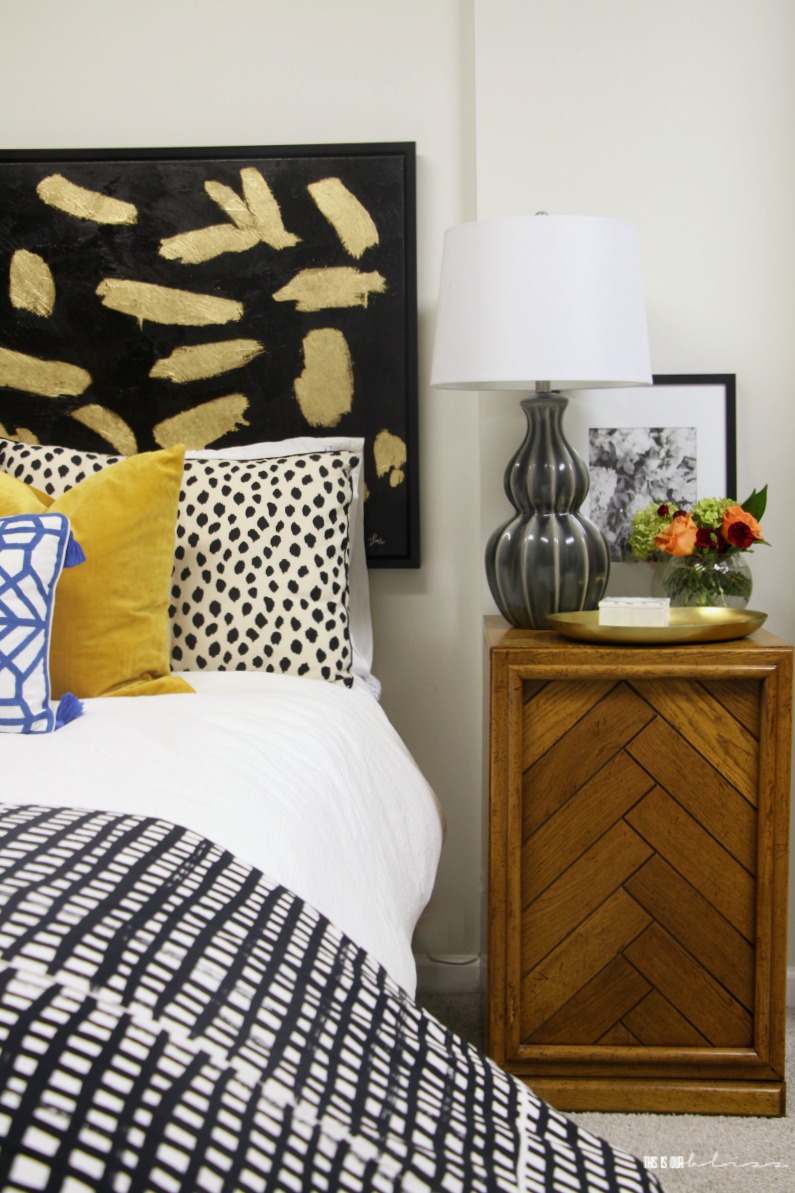
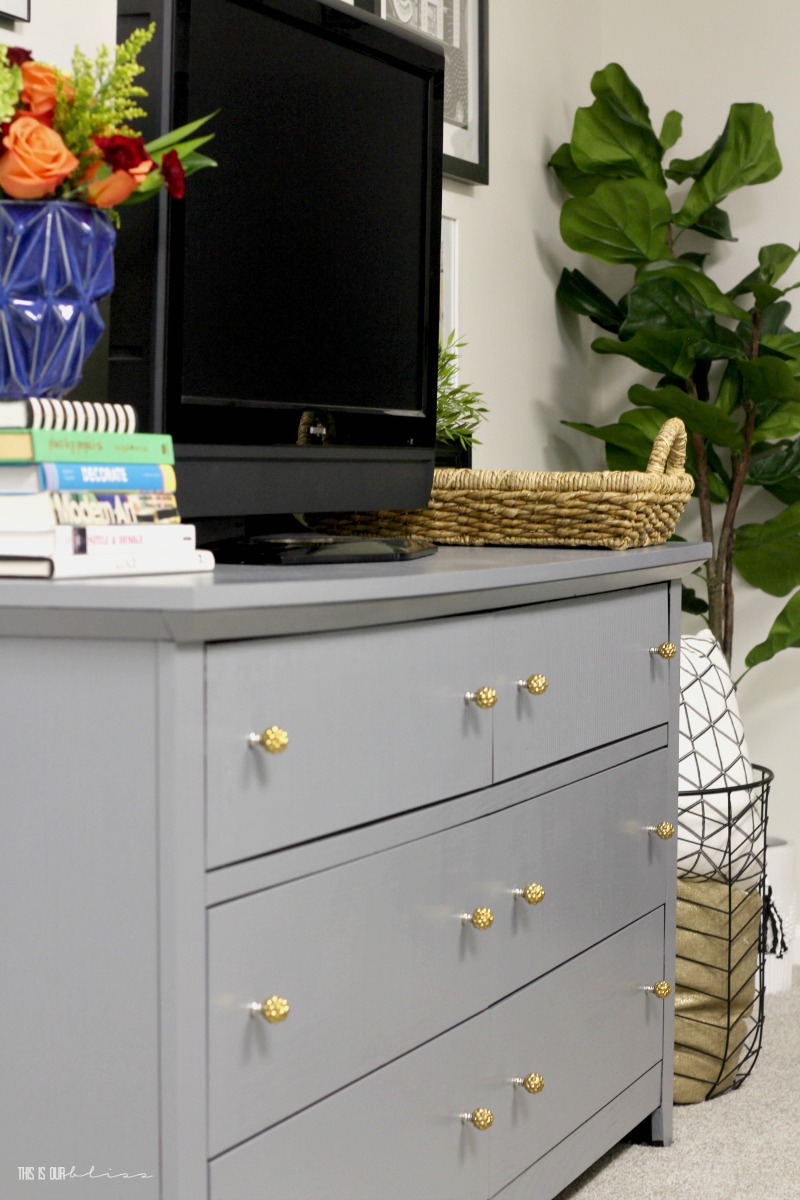
Here are a few more shots of the rest of the Basement Guestroom and then just below those images, you can see the 4 posts on how this room came together during the $100 Room Challenge this past September!
Week 1 | Before Photos + Mood Board
Week 2 | Random Updates
Week 3 | Dresser & Gallery Wall Sneak Peek
Week 4 | The Reveal

