It’s the $100 Room Challenge Reveal day! Every time I get ready to share a finished space, I’m truly amazed at how far the space has come. But especially during a $100 Room Challenge. Working on a space is rewarding, but seeing the final results reminds me how much hard work pays off. And if you’ve ever tried to makeover a room on a budget, you’ll know it’s a lot of work to stay under $100! You. must. get. creative! Today, I’m so proud to show our lower level Family room brought to life in the Cozy Basement Family Lounge Reveal!
A huge thank you to Erin of Lemons, Lavender and Laundry for dreaming up this challenge and hosting it twice per year. I wouldn’t have been able to get myself in gear to take on the Basement area without this deadline! I’ve only wanted to finish this nook for 4 years now ha!
To see the other $100 Room Challenges I’ve participated in, head here. I tackled our Powder Room in 2017 and our Basement Guest Bedroom in 2018.
COZY BASEMENT FAMILY LOUNGE REVEAL
If you are just stopping in for the first time, welcome! I jumped into a month long room makeover at the beginning of September and am so excited to share the finished space with you. And yes, I did it all for under $100!
Before we get to all the after pictures, I’m going to show you just how far this room has come! From all the espresso wood furniture you could pack into one room, empty walls, zero décor and even less organization, to this…
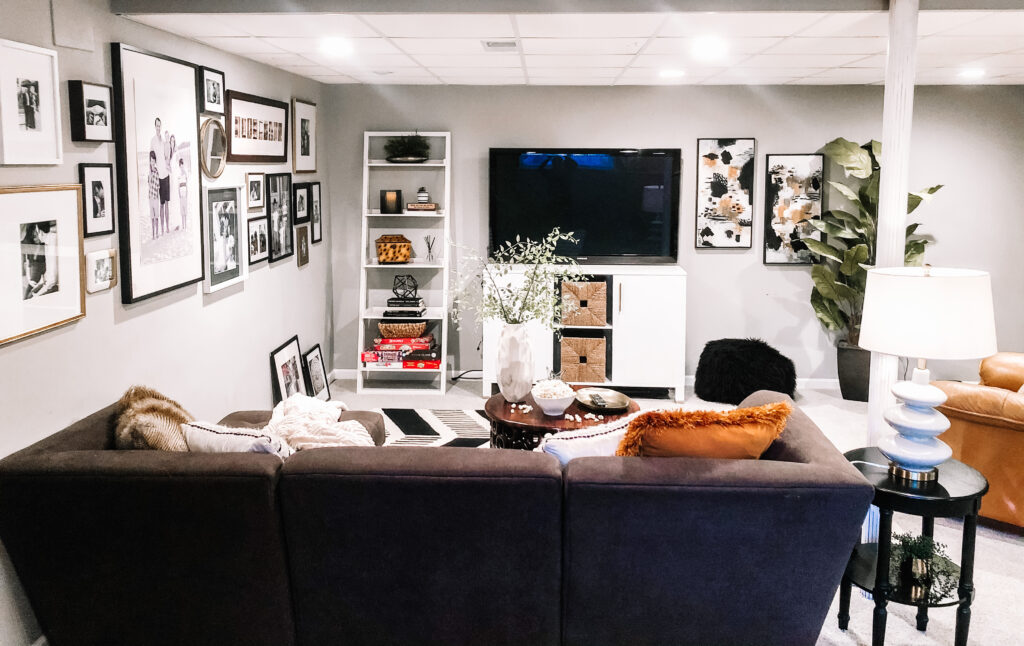
Let’s take a quick look back at the space before the challenge started / how it has looked for the last 4 years 😉
COZY BASEMENT FAMILY LOUNGE BEFORE
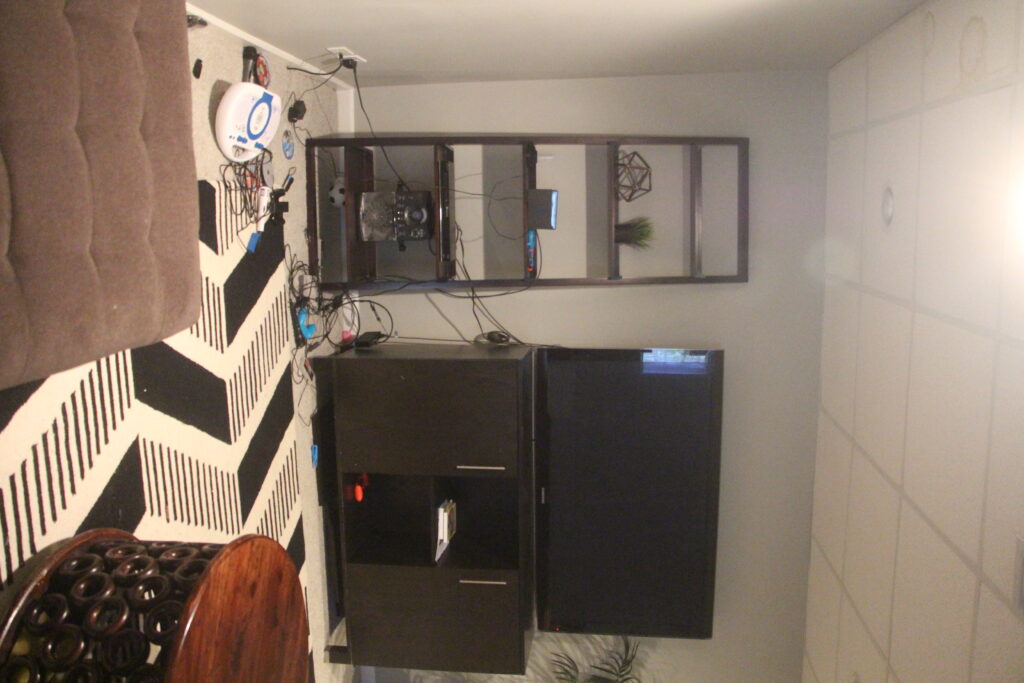
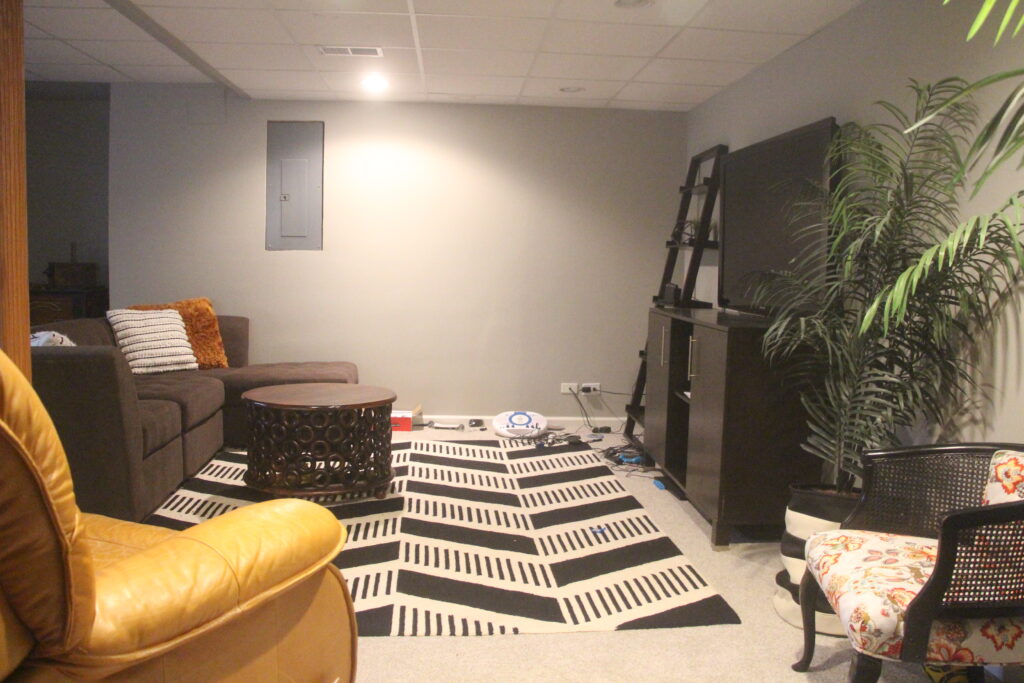
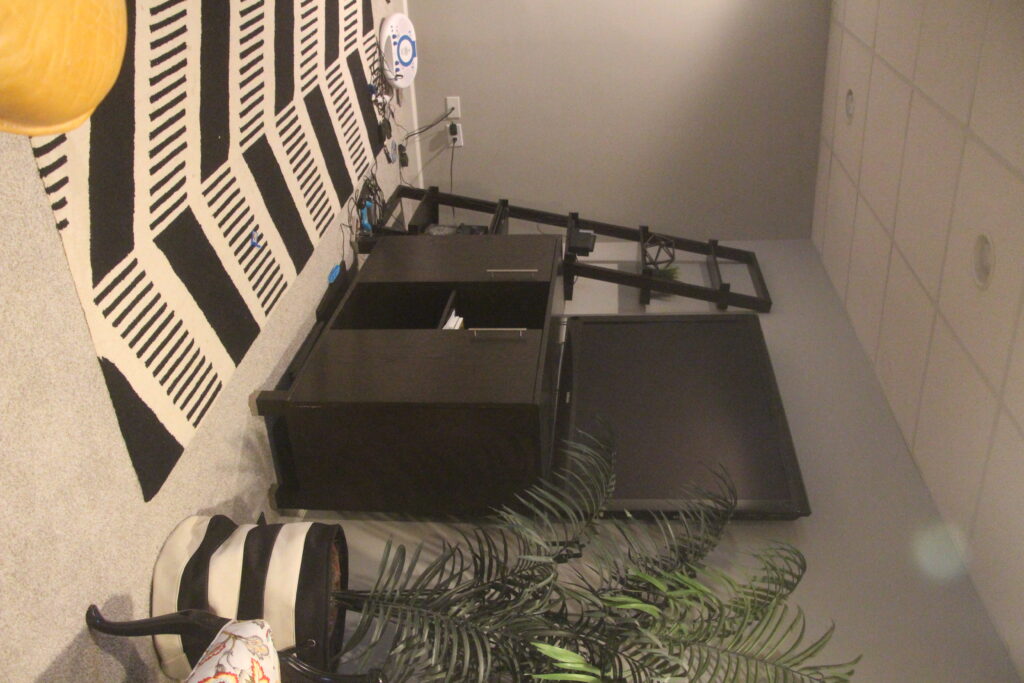
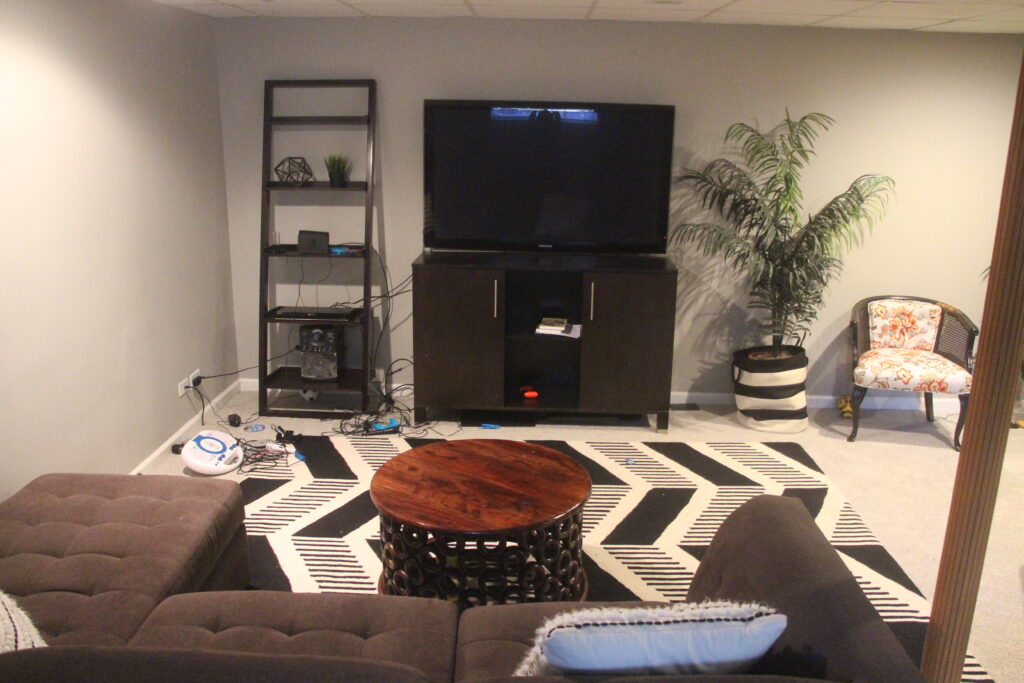
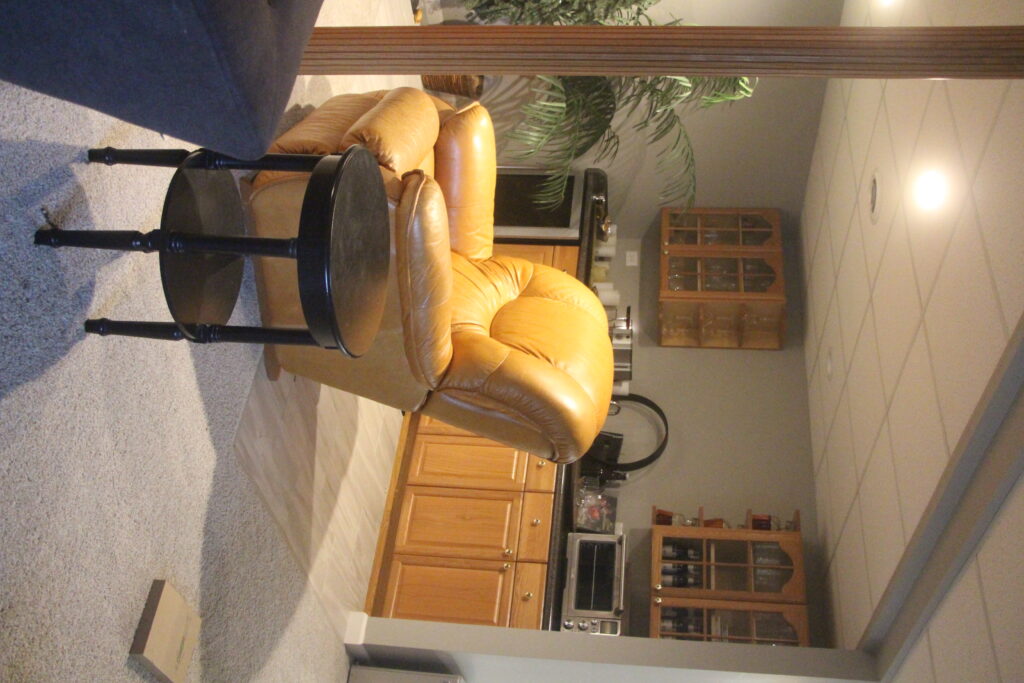
Yikes it’s hard to look at these! I can’t believe we let this space look like this for so long!
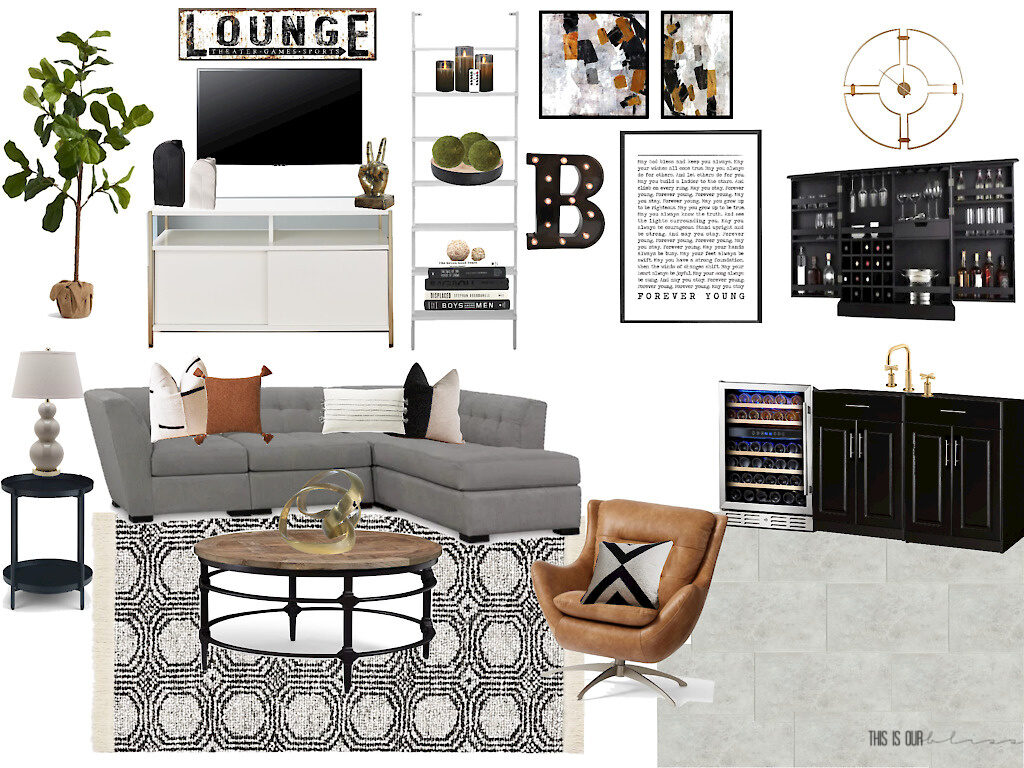
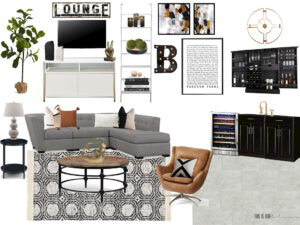
COZY BASEMENT FAMILY LOUNGE DESIGN / MOOD BOARD
Sort of lackluster, right? My vision for this space was to transform it into a cozy hangout space for the whole family. Somewhere we can watch movies, play games and lounge around together on a lazy Saturday night. I also wanted it to serve as a spot for the boys to have their “own space” away from mom and dad every now and then. Our boys are 8, 6 and 2, so they’re starting to desire a little independence and freedom.
tree // lounge sign // media console // vase set // peace sign figurine // leaning ladder shelf // flameless candles // moss balls // wood bowl // stack of books // 2 piece art set // marquee B // lyric art // clock // home bar // faucet // base cabinets // wine refrigerator // tile // lounge chair // x pillow // rug // coffee table // sectional sofa // color block pillow // stripe pillow // rust tassel pillow / black & white line pillow // metal figurine // black end table // gray lamp
I ended up omitting the Wet Bar area because my paint was back-ordered. It’s still not here! Even if it would’ve shown up, I would have been stretched a little too thin. So painting the entire wall of cabinetry was taken off the list and moved to the back burner. I hope to get to it sometime this winter. It’s going to be a beast, but it will really finish off the space nicely once its done!
COZY BASEMENT FAMILY LOUNGE AFTER
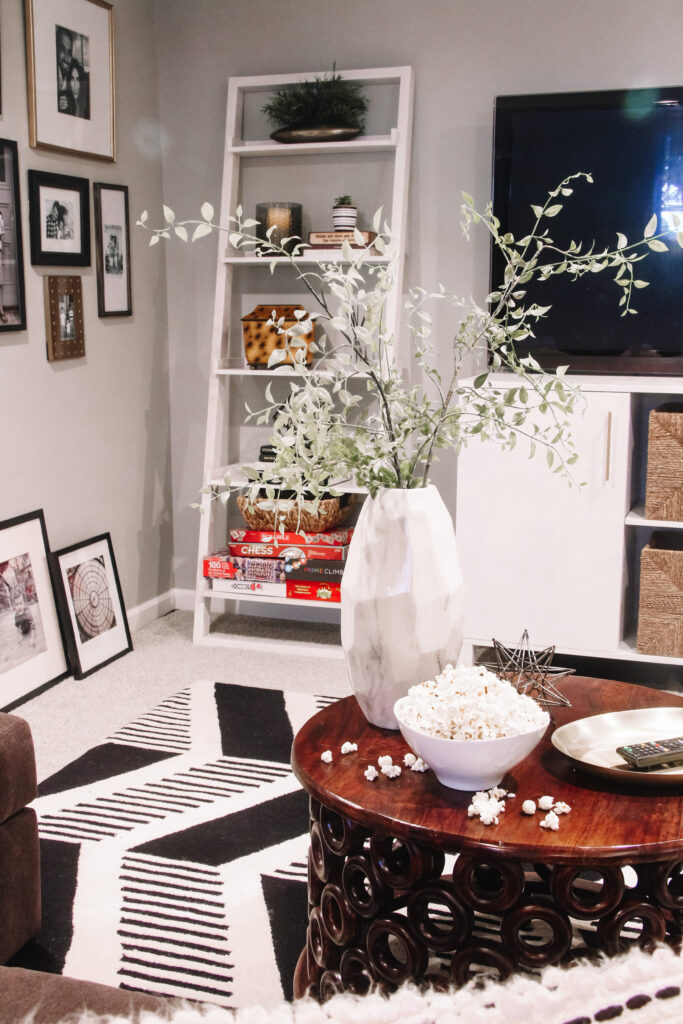
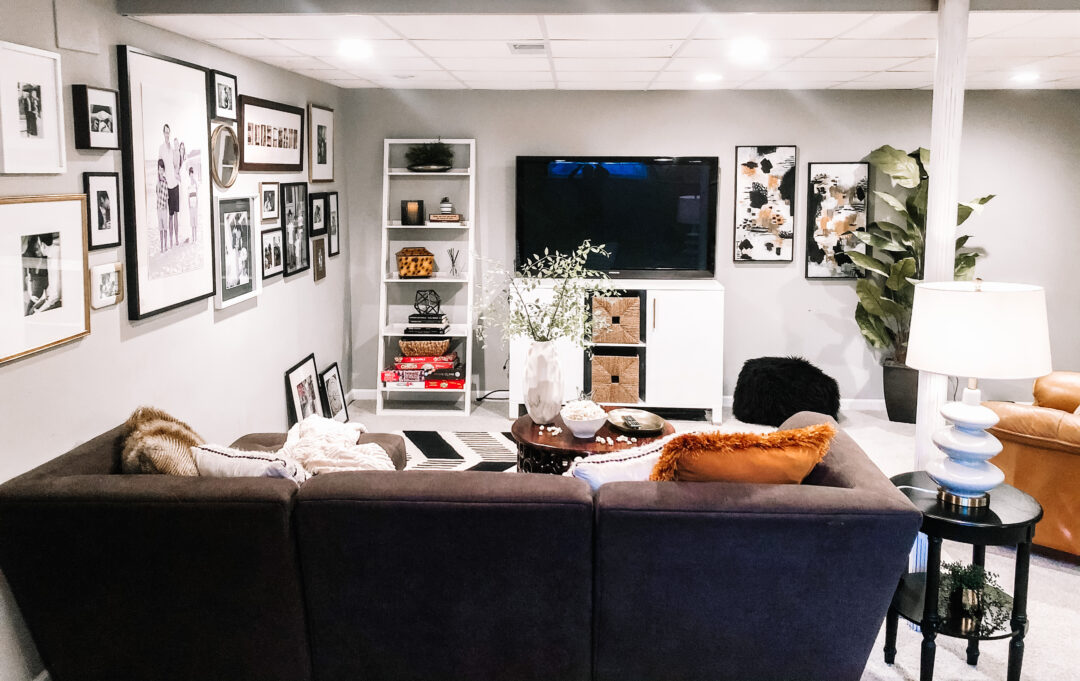
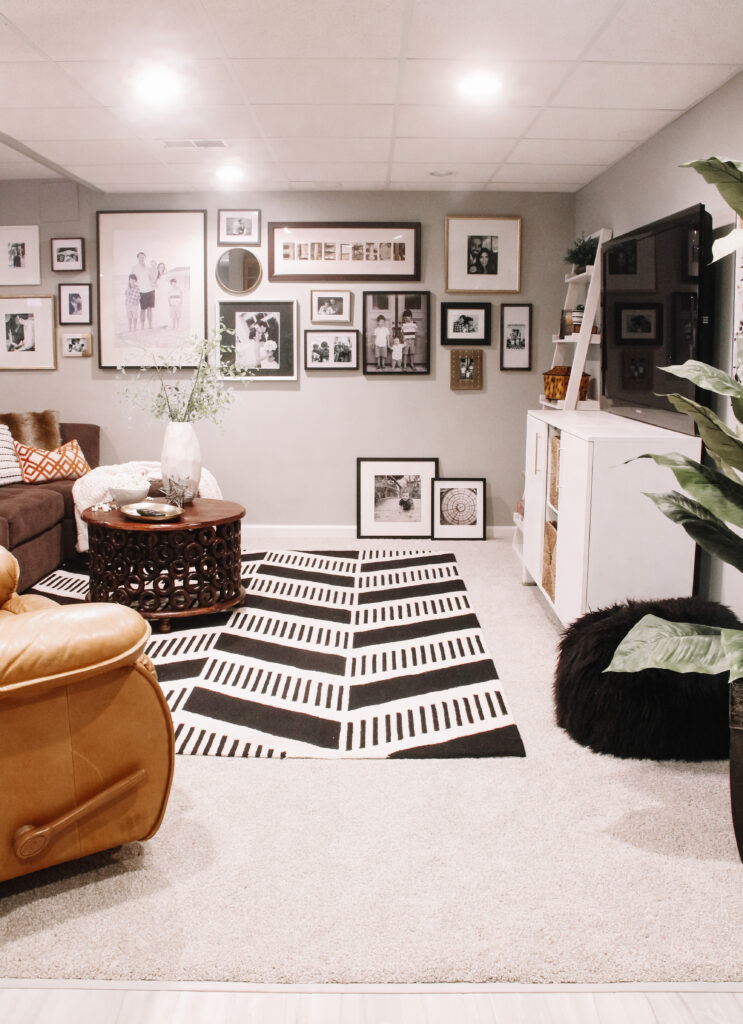
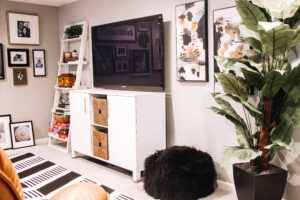
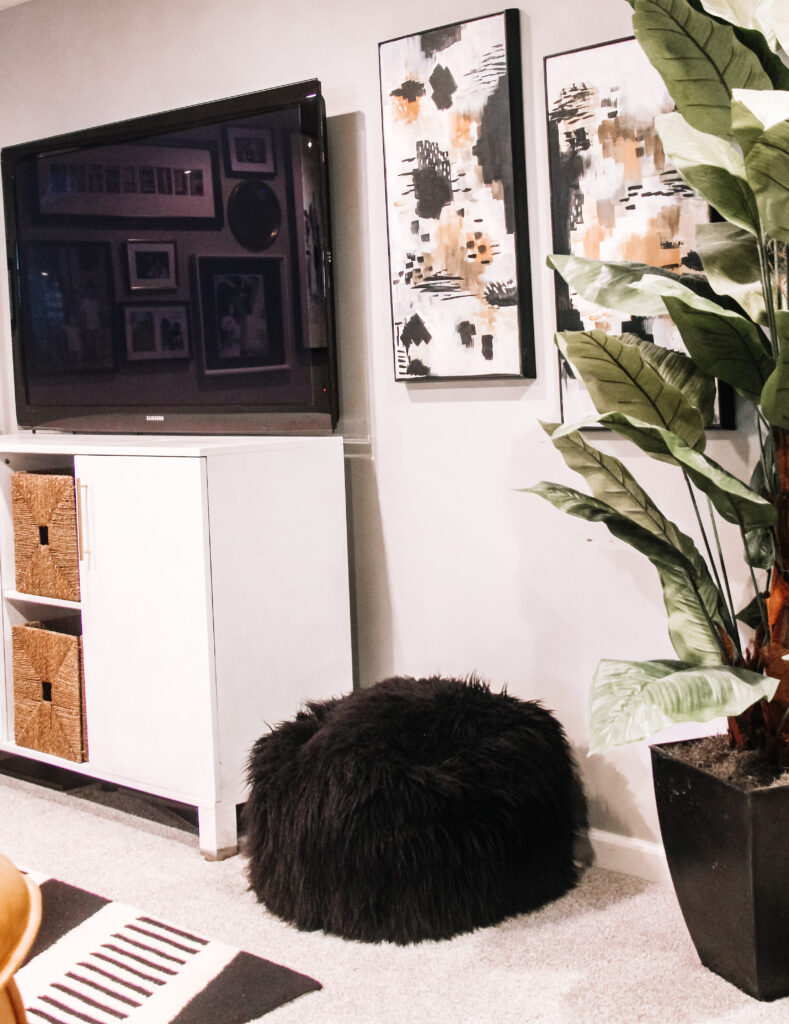
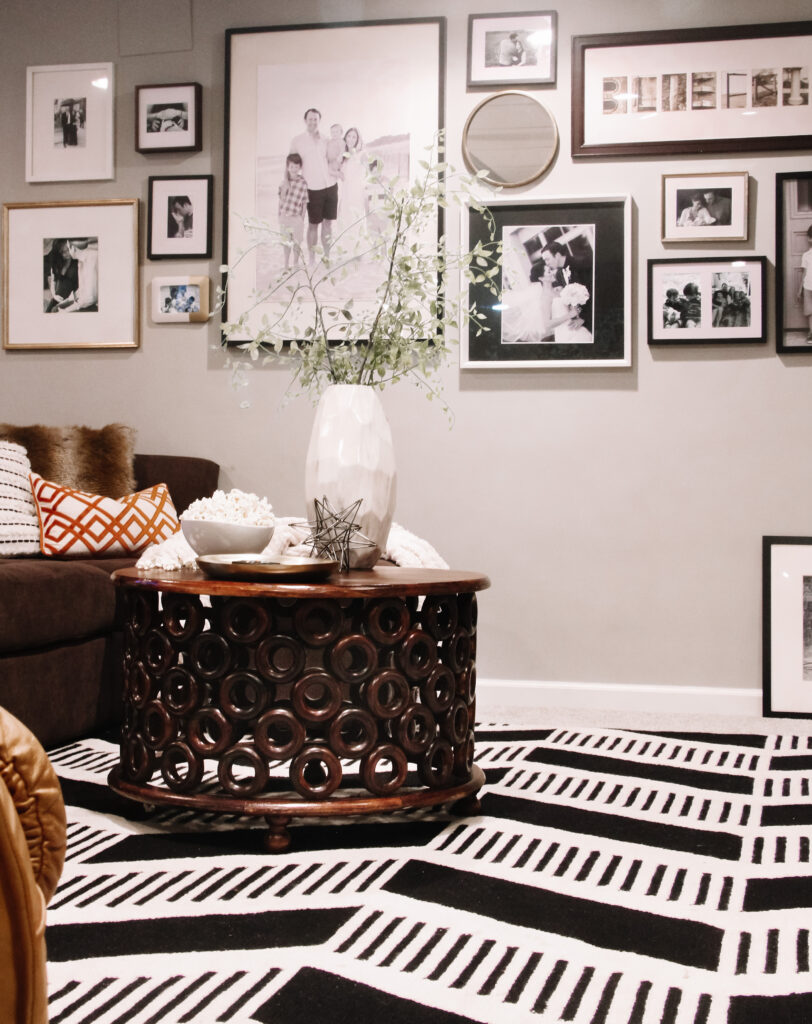
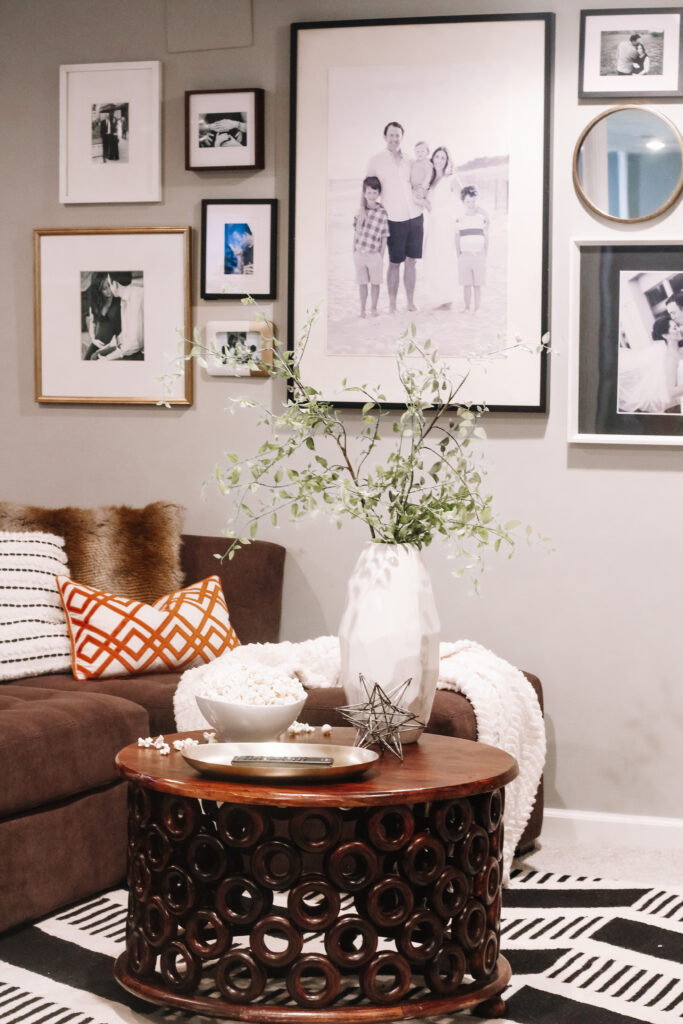
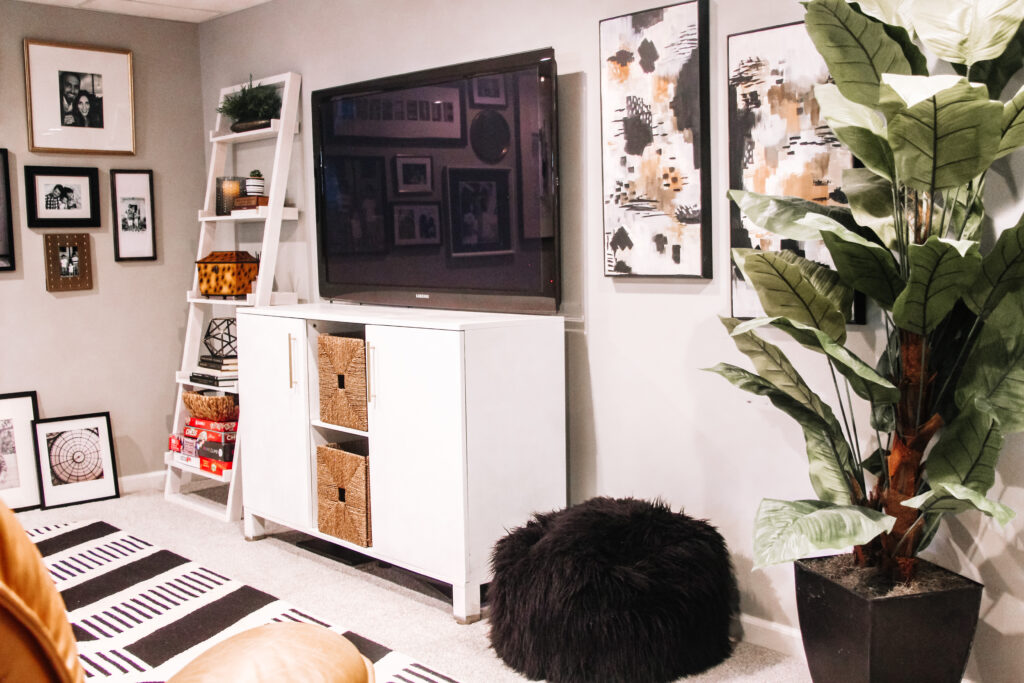
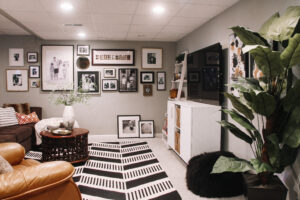
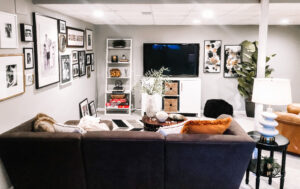
And here is the finished corner of our Basement we now call our Family Lounge and Hangout Spot…
FURNITURE MAKEOVERS TO UPDATE THE LOOK & FEEL OF THE SPACE.
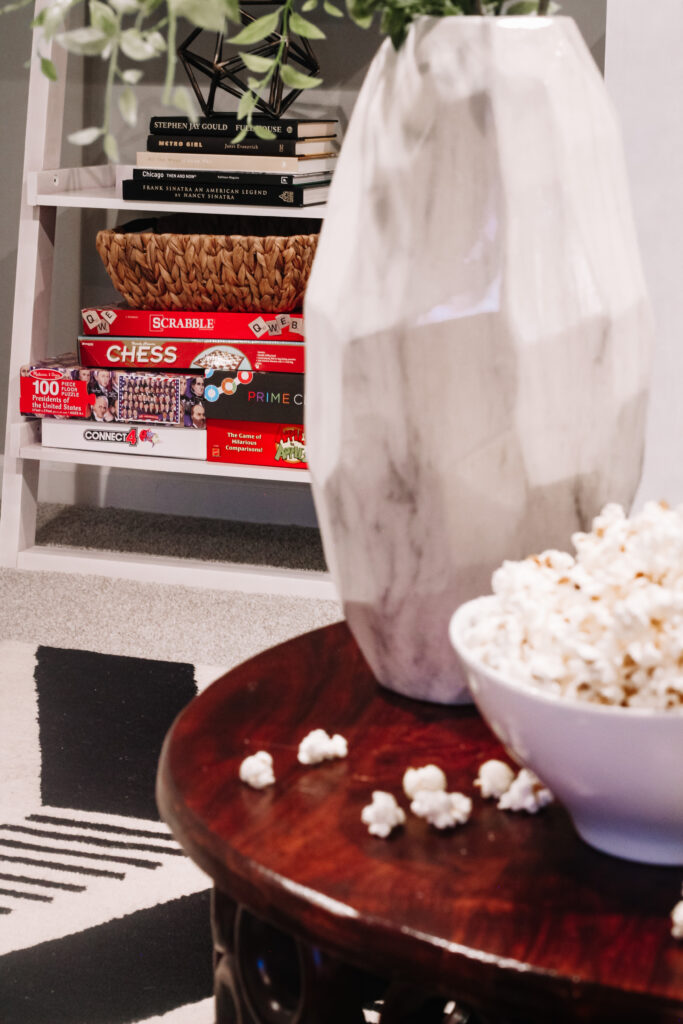
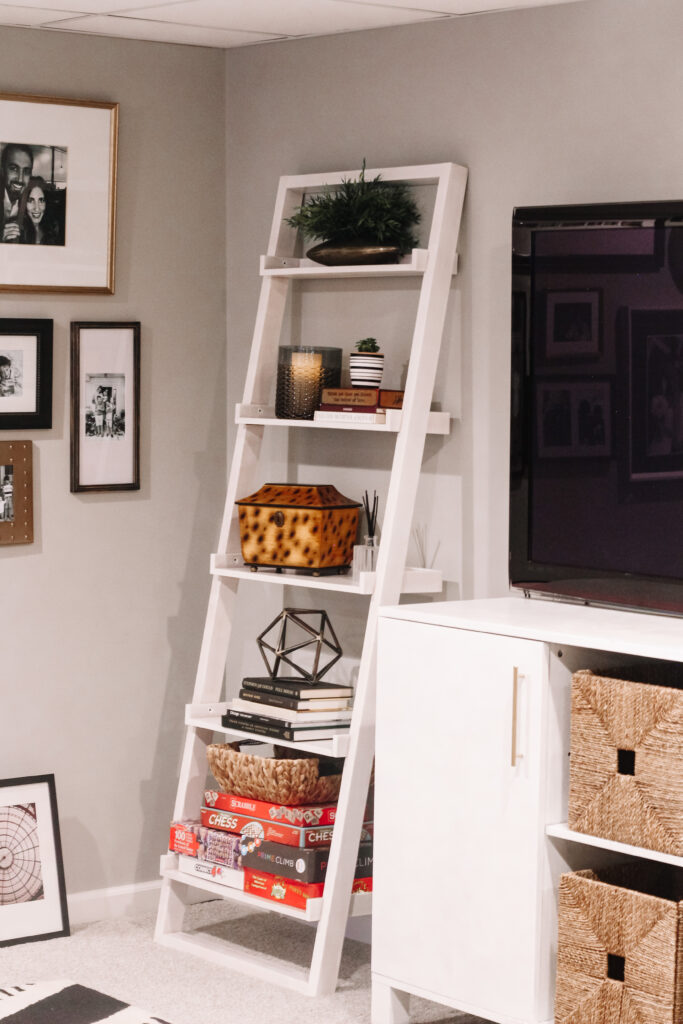
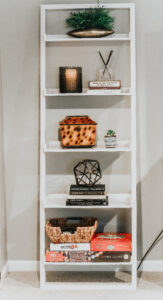
Wow, what a difference a little white paint makes? Basements have a tendency to feel dark and drab, so I wanted to lighten and brighten as much of the space as possible. I used leftover Decoart paint on the ladder shelf that now houses decorative objects, family games and a basket for the Nintendo controllers and miscellaneous gaming equipment.
You can see the full transformation of the ladder in this post.
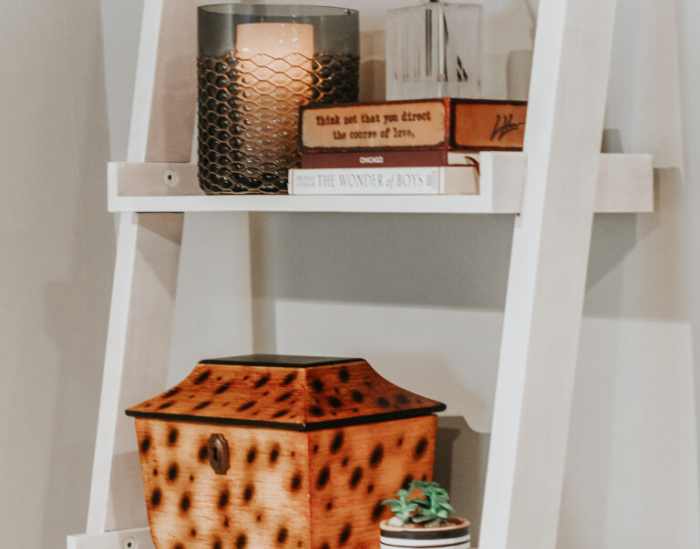
The book titles are fun and have unique meaning to our family. “Full House” and “The Wonder of Boys” ring pretty true 😉
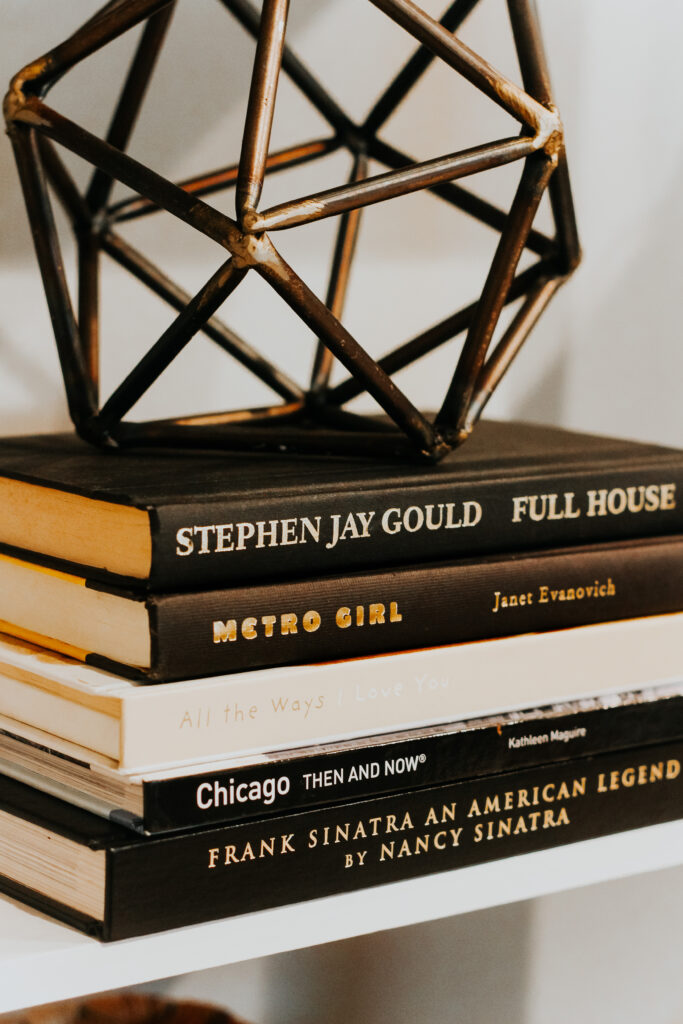
I had enough paint leftover to put a couple coats on the media console and then ended up buying one more container to finish up.
And to my surprise, I was able to squeeze out enough to put a couple coats on the wood post in the middle of the room as well!
Paint was definitely my secret weapon in getting this space updated and pulled together. It’s one of the easiest and least expensive ways to transform a piece of furniture or entire room. The walls were already a light/medium gray [SW Mindful Gray] so I didn’t need to refresh them. They were repainted in 2017 after our Laundry Room flooded the basement which is a story for another day! You can read about it in this post here.
DIY ART USING OLD PIECES
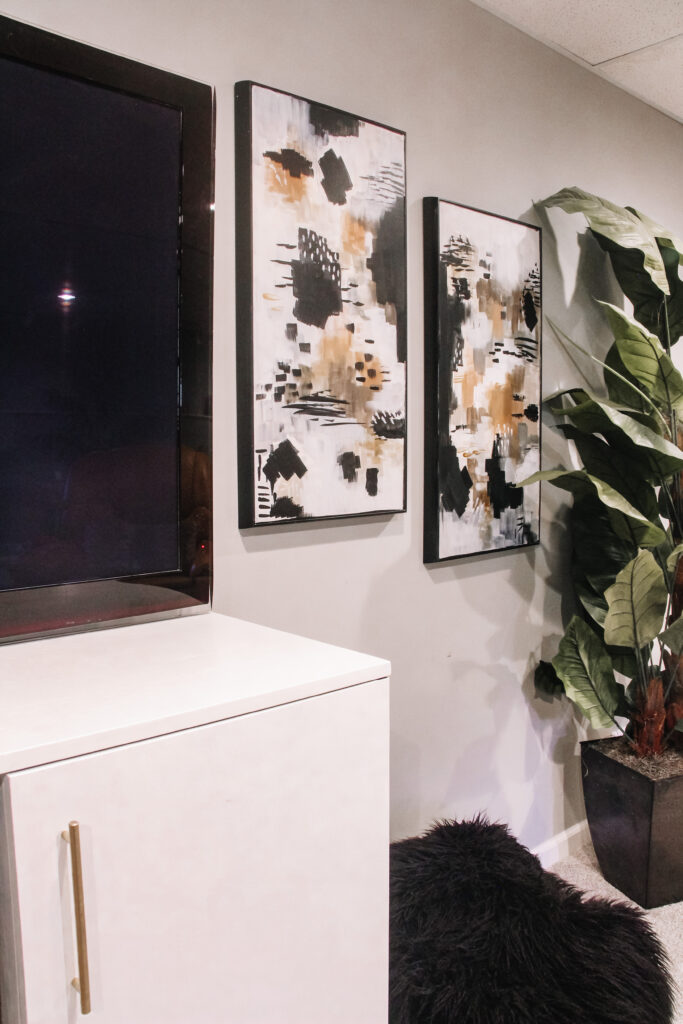
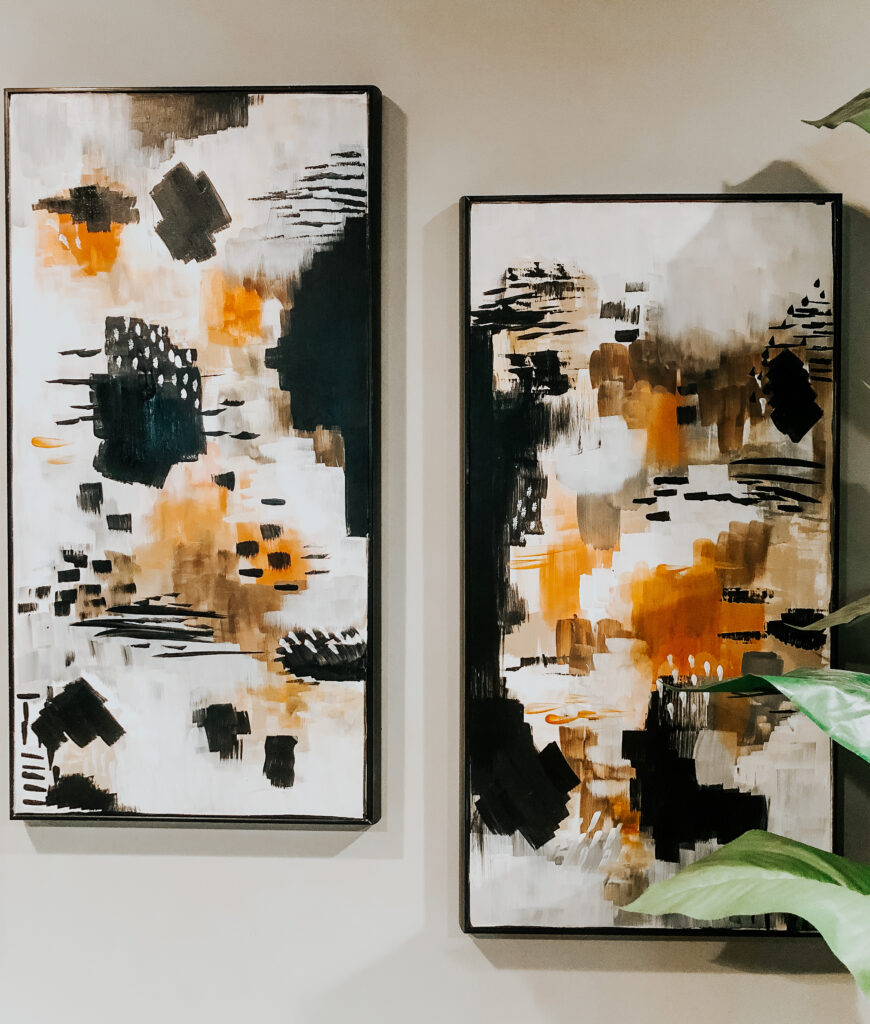
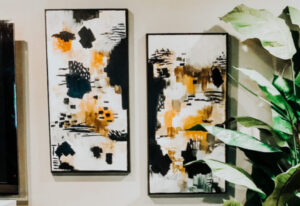
This was such a fun afternoon project! I had quite a bit of wall space to fill down here and wanted to do something fun with a set of wine art we had from our first home. I’d held onto the pieces for such a long time and decided they were the perfect size for the wall next to the TV. Using this art as inspiration, I tackled this painting project one day and ended up with a really fun set of modern abstract brushstroke art to hang up.
The colors are perfect for the palette I was aiming for and when the light catches it just right, you can see the metallic gold brushstrokes I added at the end.
This set only cost me $18 to create and I love knowing what’s hiding underneath all that paint!
See the full DIY brushstroke Art tutorial here.
FAMILY PHOTO GALLERY WALL
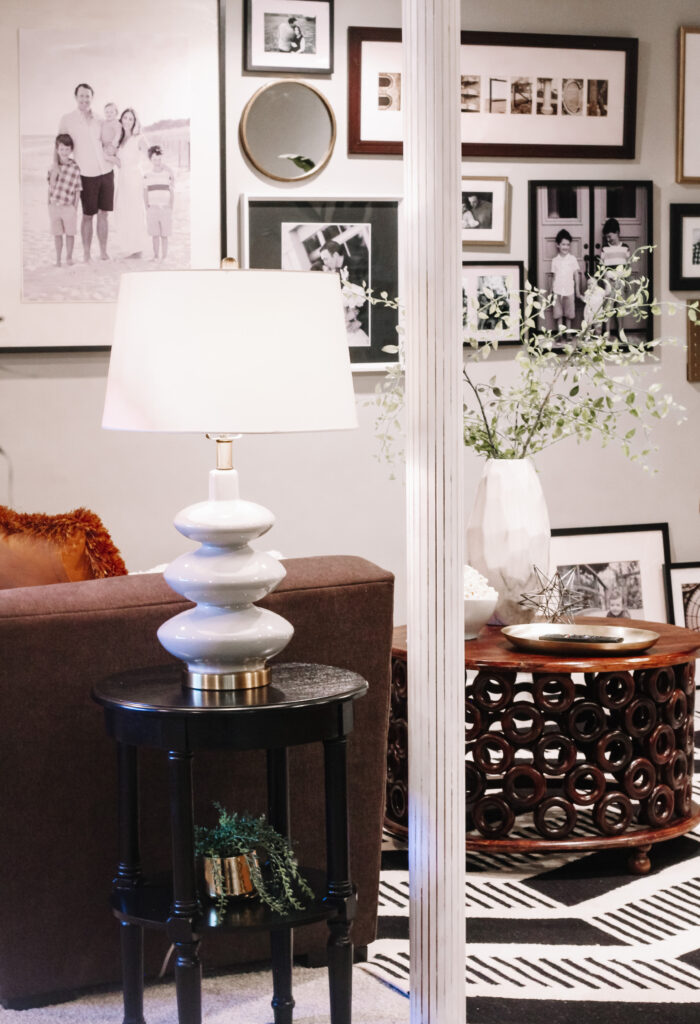
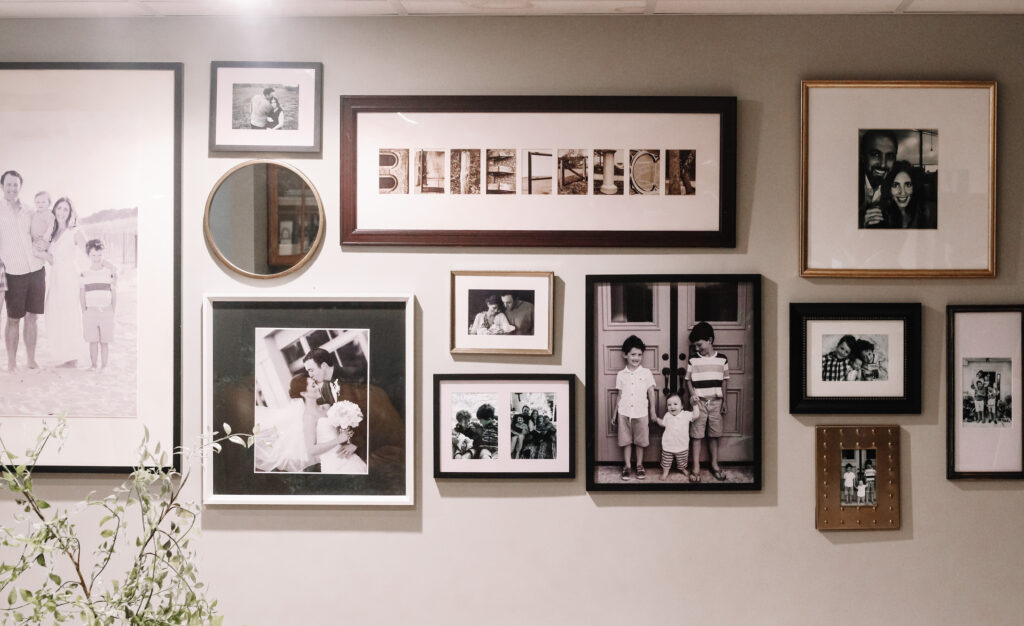
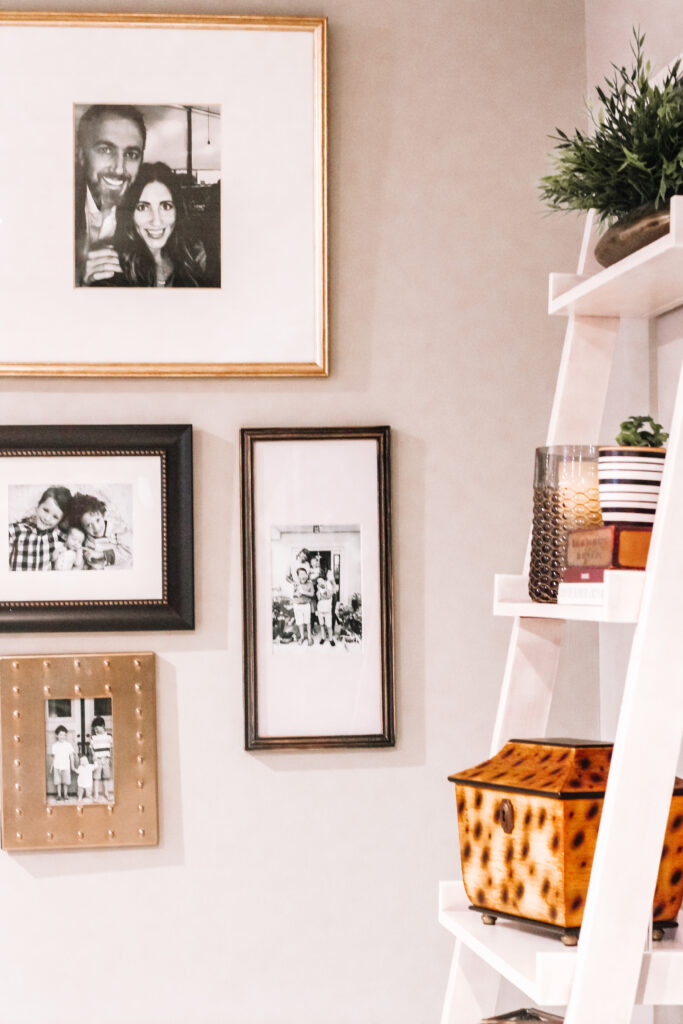
I told Ted that I would eventually get around to using all the hoarded picture frames we brought with us when we moved in 4 years ago. He claims I had hundreds and he wasn’t far off! I used to pick up frames every time I visited a thrift store or popped into the Goodwill. [I wrote a post on Tips for Thrifting Frames here.]
Well, the time came for me to bring some of them out of storage and fill them with family photos. Double win!
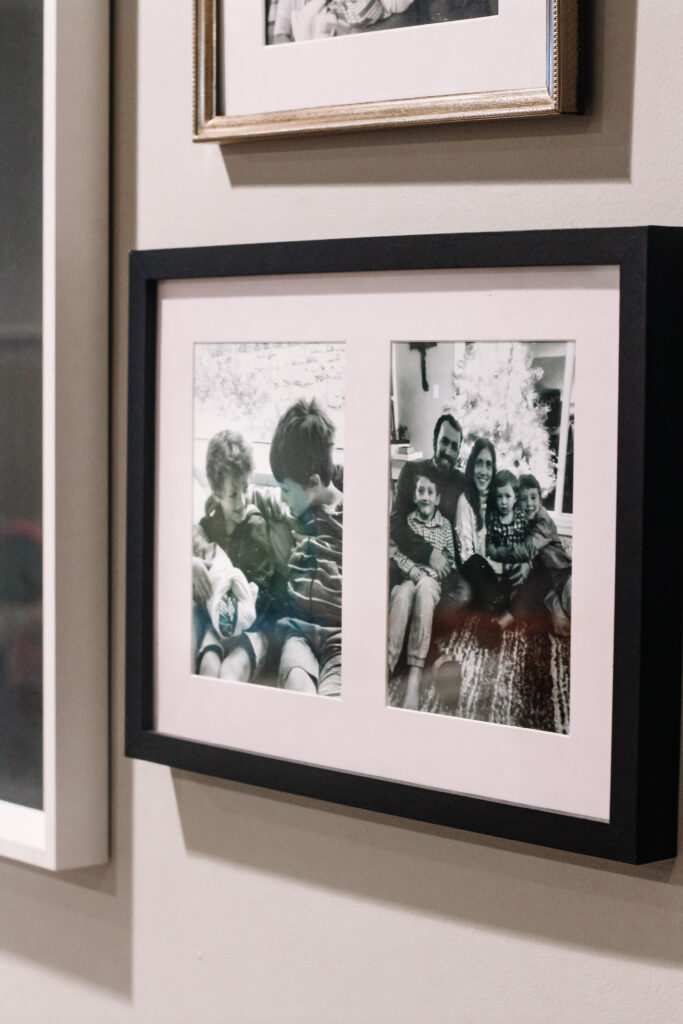
I hardly ever take time to update the pictures in my frames, so this was a great opportunity to order prints of some of my favorite pictures from the past and present and display them.
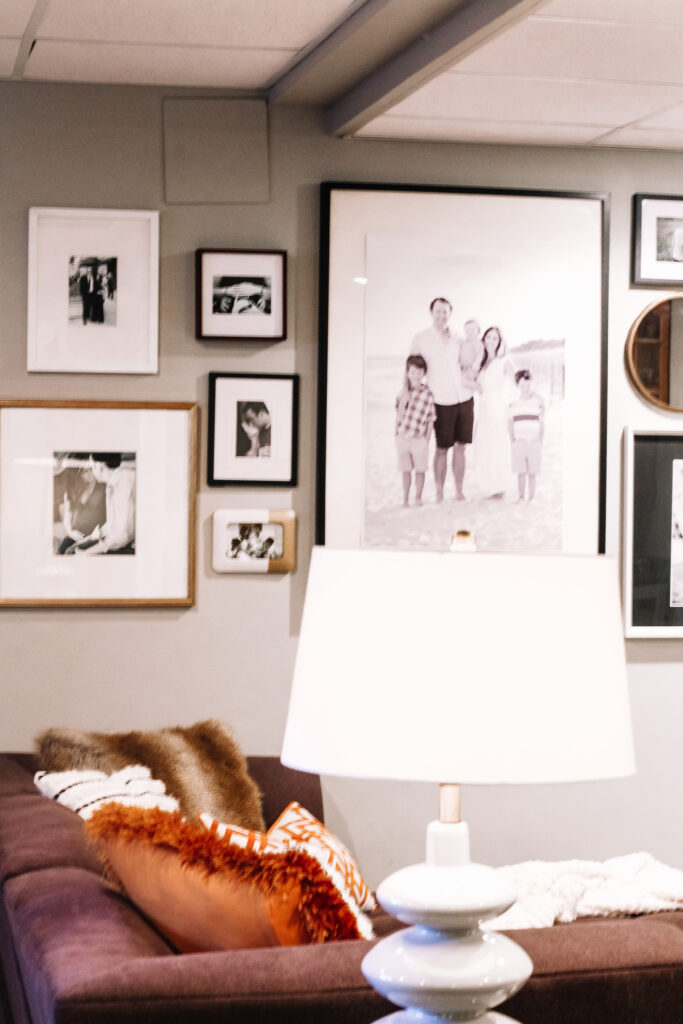
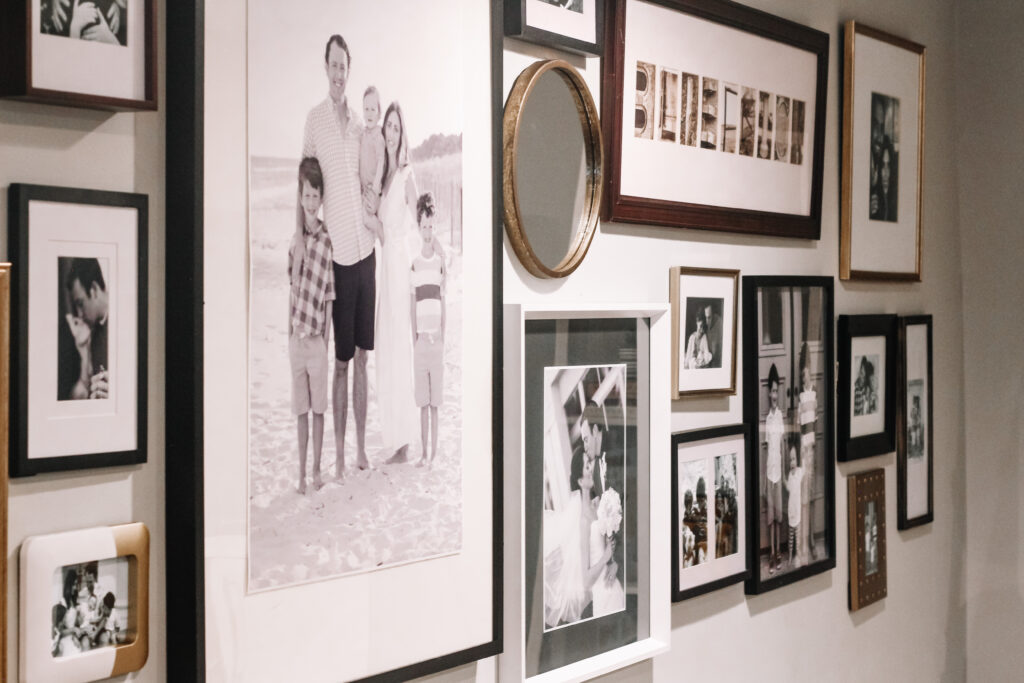
Why take all those pictures if you aren’t able to look at them and be overcome with nostalgia?! From our engagement photos, to wedding photos, maternity photos and recent family snapshots, they all made their way up there! I absolutely love having these frames be the feature on this wall. It’s the first thing I notice when I walk around the corner to enter the room.
Our last name print was a wedding gift from my aunt and uncle so was stoked to be able to incorporate it into the wall as well.
And I even had a massive framed art piece in storage that I scored for $6.99 a couple years ago. It was the perfect size to cover up the breaker box on that wall! So I ordered a 20″ x 30″ print for it and hung it right over the opening. No one will ever even know it’s behind there!
ACCESSORIES TO FINISH THE LOOK
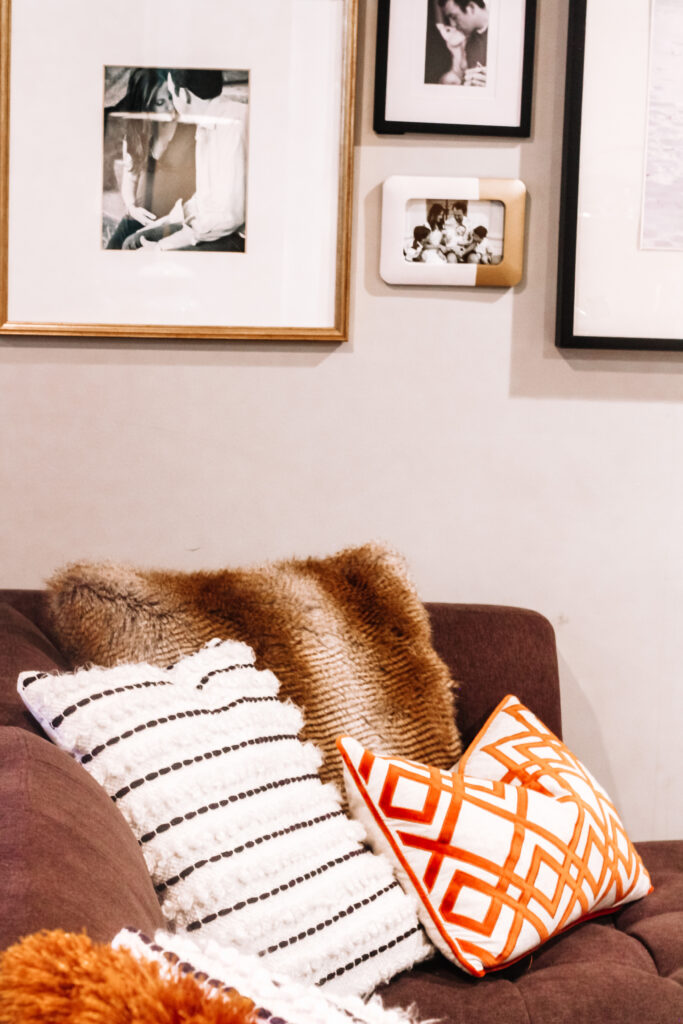
Those that know me would know there’s no shortage of pillows in this house either! It wasn’t difficult to round up a few throw pillows for the sectional as well as the addition of one I took from my mom and dad’s house a couple weeks ago. We tend to trade things back and forth, so I’m sure she’ll be wanting this returned someday!
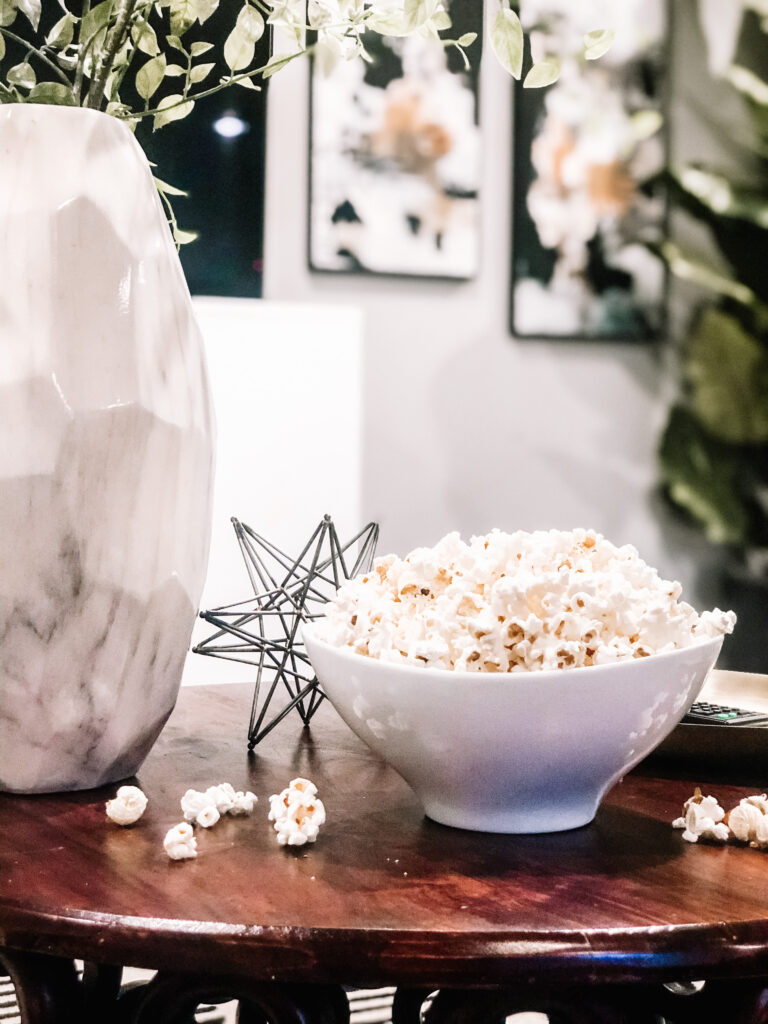
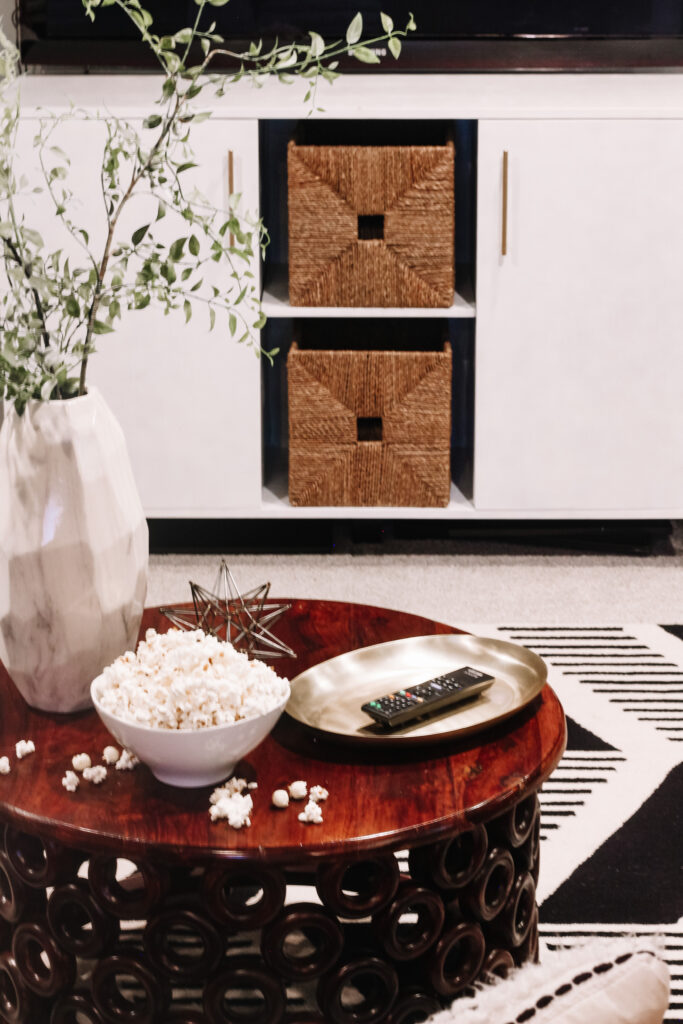
I pulled the gold tray from the guestroom to keep remotes on it. The vase & tall greens were in the living room and I’ll probably be returning since it’s hard to watch TV with them in the way!
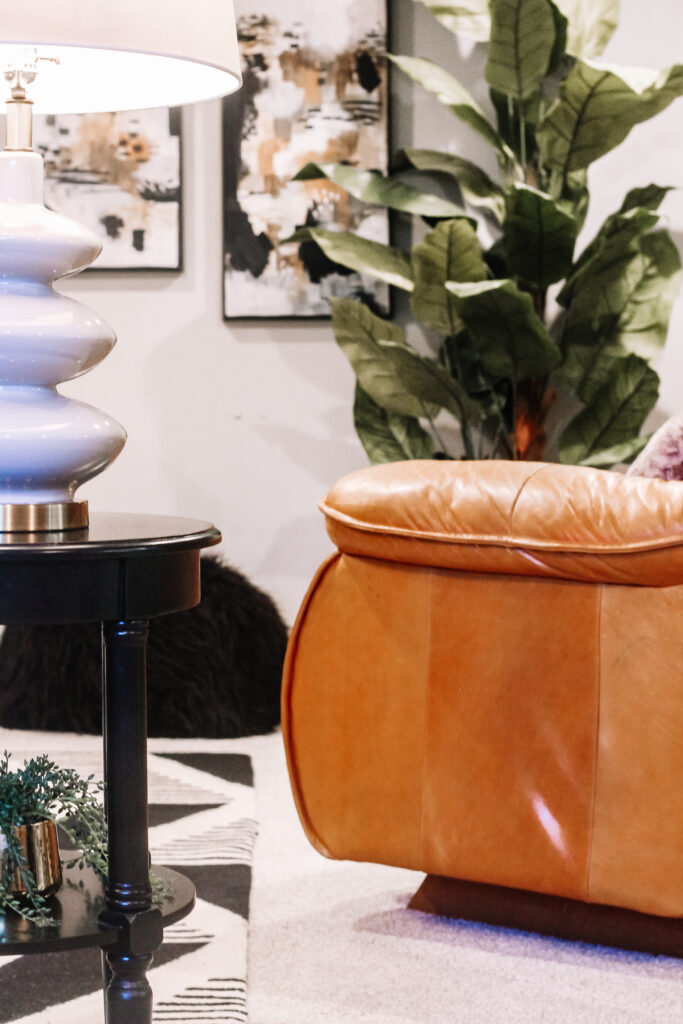
The lamp came from my office because I hunted and hunted and couldn’t find anything that wouldn’t blow my budget!
I have another lamp to try a DIY treatment on that will be used on my desk as soon as I get it finished up. I love how this gray lamp looks in the basement and all I had to do was run an extension cord under the couch to reach the wall.
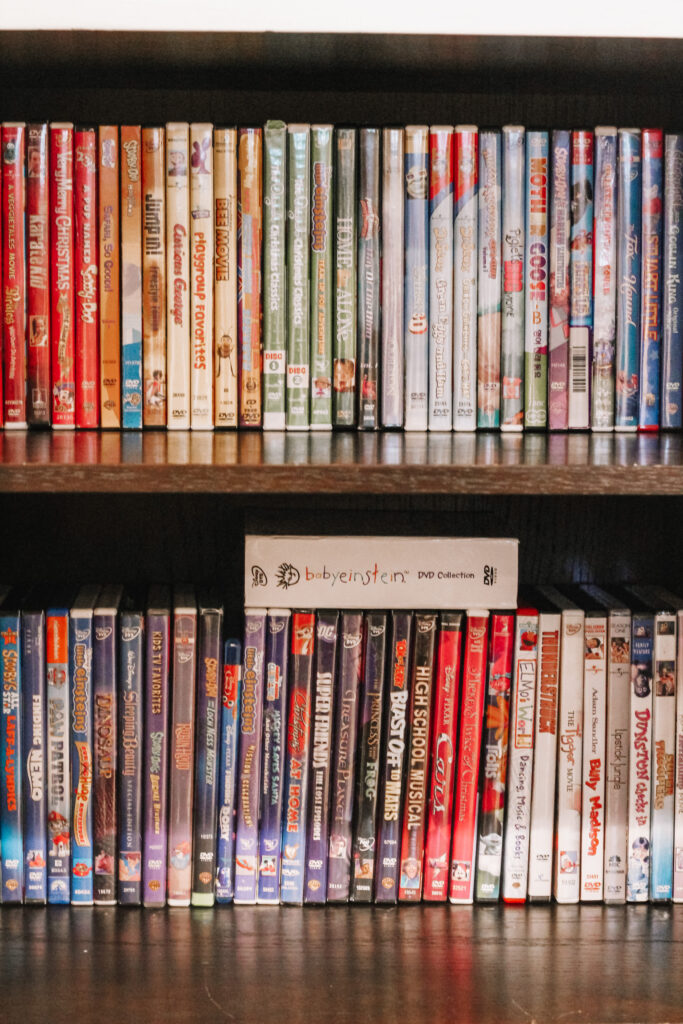
The TV is mounted on the wall and floats just above the media console so I didn’t put any decor on top, but I did organize the heck out of the inside! Baskets in the center to bring in warmth and texture and the boys had fun color coding the DVD collection!
I swapped out the plant for a slimmer one from upstairs and am actually getting rid of the other one. I’m going to let the upstairs Family Room corner sit empty until I find the right one.
And the rest of the accessories are all on the ladder shelf. You can read more about them all in this post. I love that the ladder is tucked away in the corner & serves as a decorative piece as well as functional. We’ve had that ladder for a decade!
And that’s the full tour of our Cozy Basement Family Lounge, so now for the fun part. Let’s see how much I got done and what I spent on the space
PROJECT CHECKLIST + BUDGET:
- paint media console – $11.37
- paint leaning ladder shelf – $0
- style the ladder shelf – $0
- update bar cabinetry with paint – doing later
- DIY countertop update – doing later
- purge and organize barware and entertaining pieces – in process
- style glass cabinets – doing later
- hang clock – doing later
- find / make art – DIY Brushstroke art – $18
- hang wall art / frames – frames – $0, family photo prints – $39.78
- add a lamp – $0
- style the coffee table – $0
- swap out the pillows – $0
- replace a few ceiling tiles – $0
*Total spent on space: $69.15
I’m speechless! I always go over budget – no matter what! It’s surprising that my biggest expense was having the photos printed. I used a 50% off code at Walgreens.com to get them for under $40. The poster sizes were the biggest expense, obviously.
I guess it really does pay off to have a collection of frames and leftover paint. You never know when they’ll come in handy. 😉
It’s such an incredible feeling to have this finished space for my family to enjoy and I was able to do it all for under $70. Now if you count the hours I spent working, I’d have squeaked over $100 ha!
We are so in love with our Basement Family Lounge and I’m pretty sure we now have a game and movie night in the books!
If you’ve missed any of the other posts in the $100 Room Challenge, you can get caught up here:
WEEK 1 // WEEK 2 // WEEK 3 // WEEK 4 // WEEK 5
LADDER SHELF REFRESH + FREE STYLING TIPS
And to see the rest of the rooms we’ve tackled in previous $100 Room Challenges, see them all here!
Now head on down to see the other reveals shared this week. There are so many incredibly inspiring and creative spaces. You don’t want to miss them!
It’s almost the weekend, so I’ll be back tomorrow with The Friday Five. Thanks for being here today and always cheering me on!






Brooke
October 19, 2020 at 8:11 PMOh my this turned out so good!!! What a sweet space for your family!
Rachael @ This is our Bliss
December 9, 2020 at 11:50 AMThank you so much, Brooke! It has become our favorite spot to hang out! Which was exactly the plan 😉
Erin- Lemons, Lavender, & Laundry
October 14, 2020 at 9:02 AMThis room looks AMAZING!!! Painting the furniture brightened up the space SO much! I love the gallery wall of family photos. I need to print some photos because… you are right! We take so many photos and then they just sit on our phones (or on a camera). You did an incredible job with this space! Thank you so much for joining the challenge!
Rachael @ This is our Bliss
December 9, 2020 at 11:51 AMThanks so much, Erin! Your challenge is truly the best! This space has become a favorite spot of ours and I owe it all to you and your challenge for kicking me into gear. lots of work, a few bucks and some creativity and here we are. Thanks again!!
Carrie
October 8, 2020 at 3:09 PMThis space looks so bright and inviting now! I love the family photo wall and all of the storage. Great job!
Jen @ JENRON DESIGNS
October 8, 2020 at 10:15 AMWow that is looks amazing you did such a great job this season I know you are really enjoying this space!
Sophisticated & Small Boys Bathroom Design + Before Photos - This is our Bliss
October 8, 2020 at 7:24 AM[…] And we juuuuust finished the $100 Room Challenge in September where we spruced up our Basement Family Room Lounge and Hangout space! […]
Maria Brittis
October 7, 2020 at 8:16 AMYou nailed this! it looks so much like your inspiration, you hardwork truly has paid off.
Rachael @ This is our Bliss
December 9, 2020 at 11:54 AMAwww thank you, Maria!! We love it so much 😉
Jackie @jackiecantblog
October 7, 2020 at 7:32 AMWow this looks great! I love the gallery wall- the mix of frame sizes make it so interesting to look at. Great job creating your vision mood board on such a small budget.
JAMALA WALLACE
October 5, 2020 at 10:47 PMWow Rachael!!! this is a stunning new look.. and the DIY art that you did!! Priceless.. I could clearly see this will become the ultimate chill-out spot.. Congrats on a fabulous new look!
Leigh
October 5, 2020 at 11:43 AMIt’s so light, bright, and cozy! Amazing transformation.
CHERYL PETERSON
October 2, 2020 at 8:48 AMYou did an amazing job. Love how bright and comfy it looks. Thanks for sharing some great budgeting tips too.
The Friday Five - This is our Bliss
October 2, 2020 at 8:39 AM[…] If you missed the Reveal, you can see it here. […]
Joy
October 1, 2020 at 9:53 PMThis is stunning! Your gallery wall is amazing. I know I have spots in my house like this that just needy attention more than my money! Even if you have things around the house you can use, it’s so great to have a deadline to make a plan and put in the time! I love your makeover!
How to Transform Old Art to Modern Brushstroke Art | This is our Bliss
October 1, 2020 at 1:03 PM[…] WEEK 1 // WEEK 2 // WEEK 3 // WEEK 4 // WEEK 5 […]
Sue
October 1, 2020 at 10:36 AMThis area looks great! What a big difference it makes!! Low budget but hard work!!
XOXO