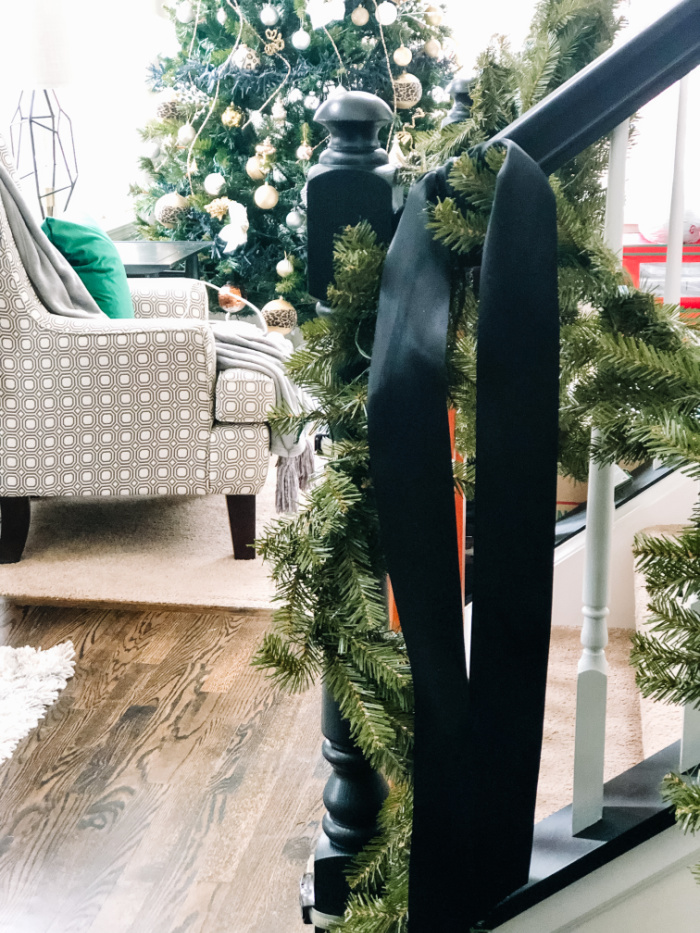
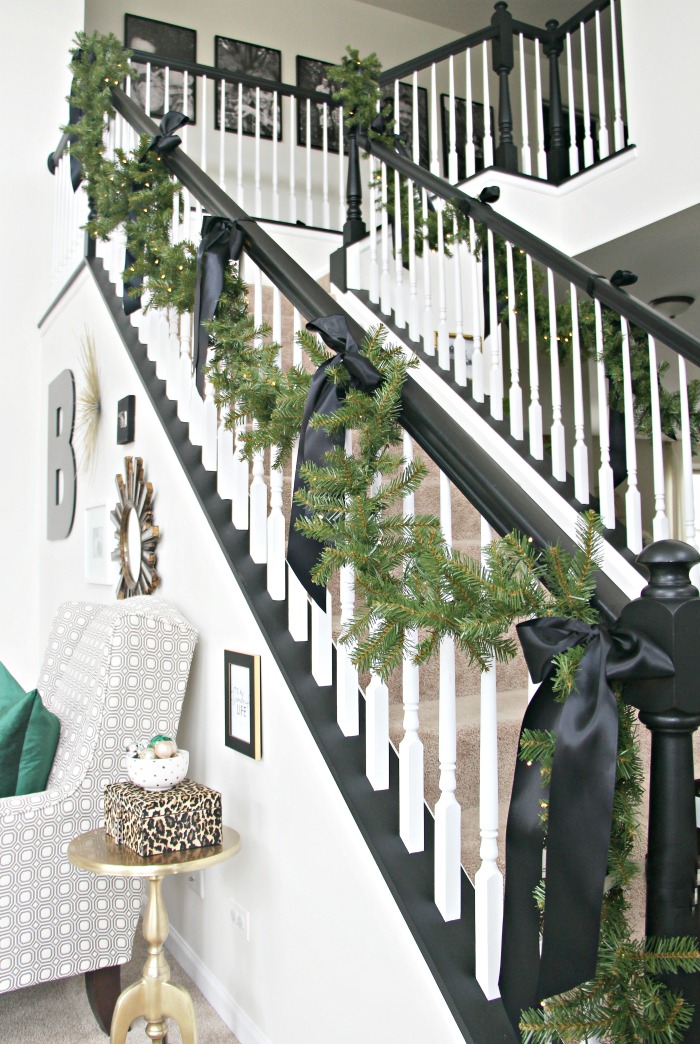
After having our staircase refinished last year, I couldn’t wait to show it off at Christmastime and hang garland on the stairs. I went for a simple and elegant look with pre-lit garland and large, black satin ribbon bows all along the banister. I received a ton of questions about how I hung & secured the garland to the banister, so I thought a quick & simple post might be helpful. Today, I’m sharing How to Hang Garland on the Staircase.
You can see the Full Christmas Living Room Tour here and more Christmas inspiration and ideas here.
The staircase was a spot I had wanted to decorate for years, but didn’t think the “old” look warranted Christmas décor. I really didn’t want to bring attention to it until we had the old oak banister and railings painted. Now looking back, I should’ve just went for it! The twinkling lights lit up the staircase at night and thanks to the built-in timers, they went on right at sunset!
It looked beautiful from up above and down below!
We have a 2-story foyer so the staircase is truly a focal point upon entry to our home. And at Christmastime, its truly a sight.
I can’t wait to get the garland and ribbon out again this year and get to work on my staircase. I’m holding off a few more weeks mainly because I have a little guy just learning to maneuver the stairs 😉
HOW TO HANG GARLAND ON THE STAIRCASE
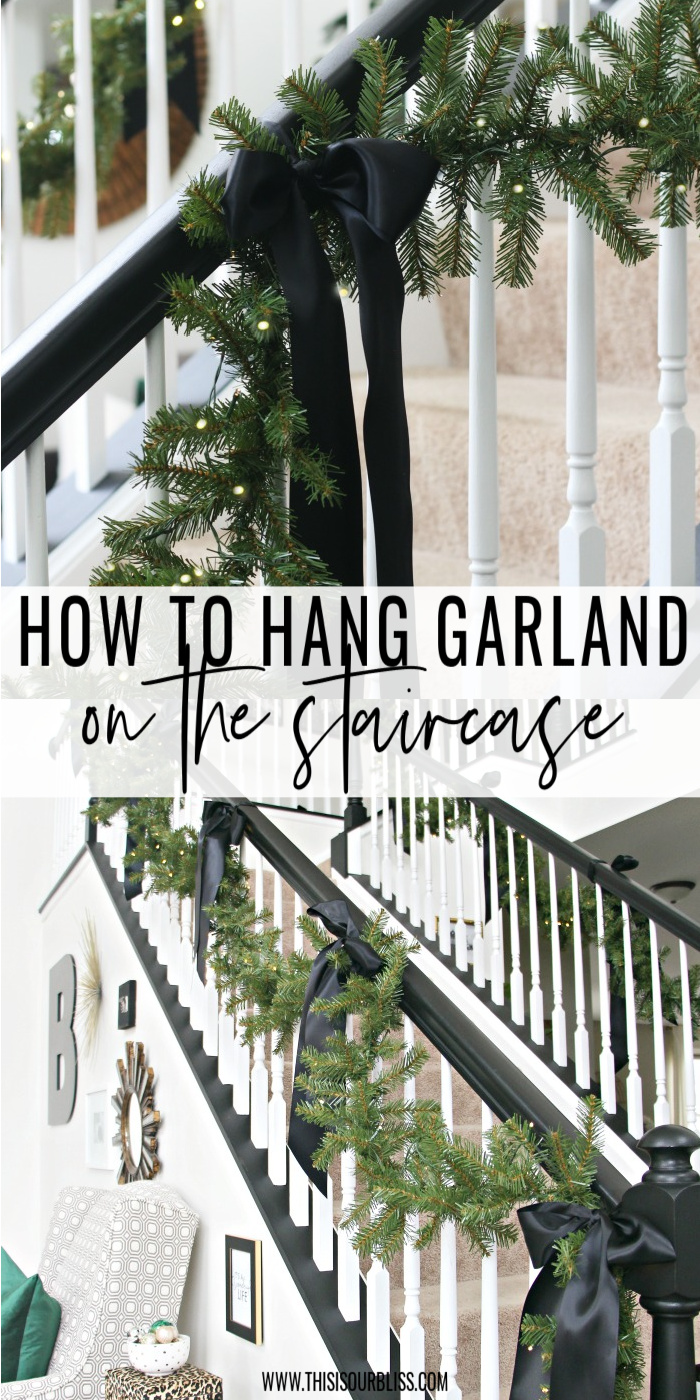
You may have to tweak my method slightly for your own staircase, but this should give you a general idea or maybe even spark a new idea after you take a few minute to think it through.
STAIRCASE GARLAND SUPPLIES
- garland [we used this pre-lit, battery operated 9′ 10″ garland]
- zip ties [I used 12″ black, but you can also use clear]
- satin ribbon [I used 3″ black satin – the same ribbon as on my mantel last year]
- scissors
DIRECTIONS FOR HANGING AND SECURING GARLAND TO THE STAIRCASE
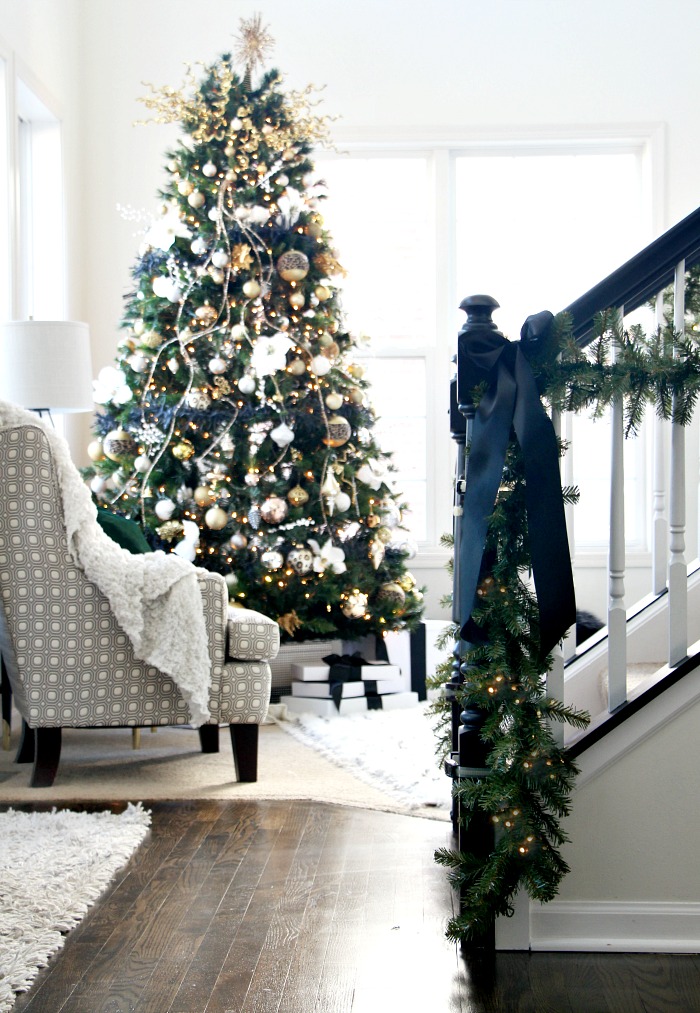
STEP 1 // MEASURE YOUR STAIRCASE
You’ll need to determine how many garlands will fit. Plus, allow for the swag / swoop in between each bow. I used 2 garlands on each side of my staircase. It’s better to have extra, than not enough in my opinion.
STEP 2 // START AT THE BOTTOM & WORK YOUR WAY UP
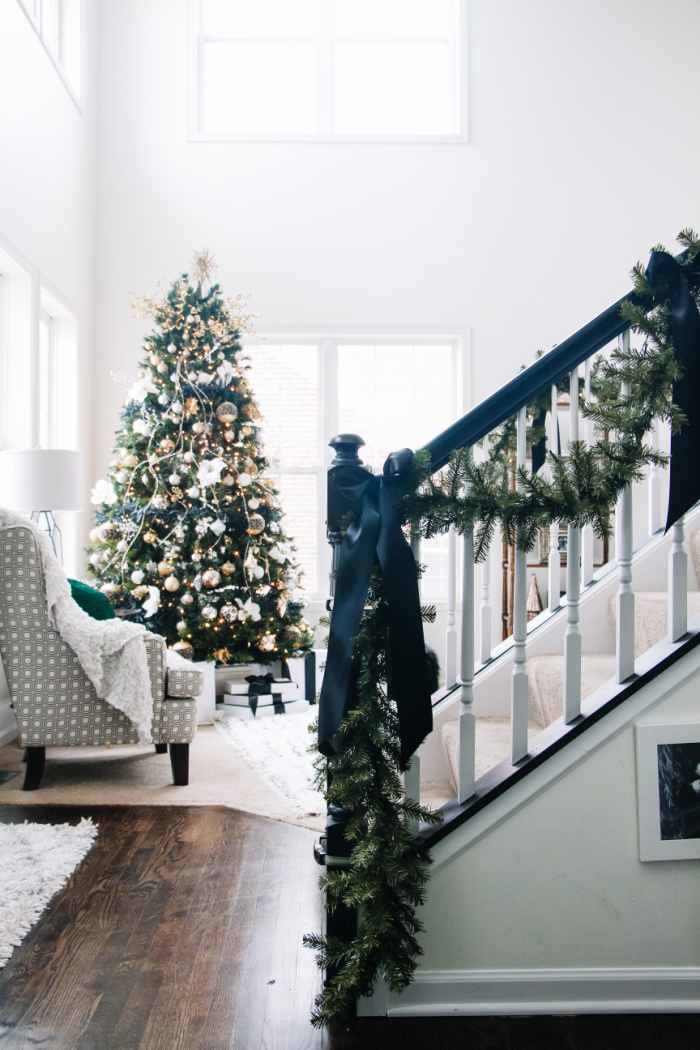
My thought process is that the bottom of the stairs will be exactly how you want it [where people see it most] and if the top isn’t quite perfect, no one will know!
Locate the battery pack and start with the opposite end on the ground at the base of the post. You’ll work your way up and secure the garland with a zip tie where the top of the post meets the base of the railing. Then I made my “swag” allowing the garland to swoop down and back up to the next secured spot creating a semi-circle.
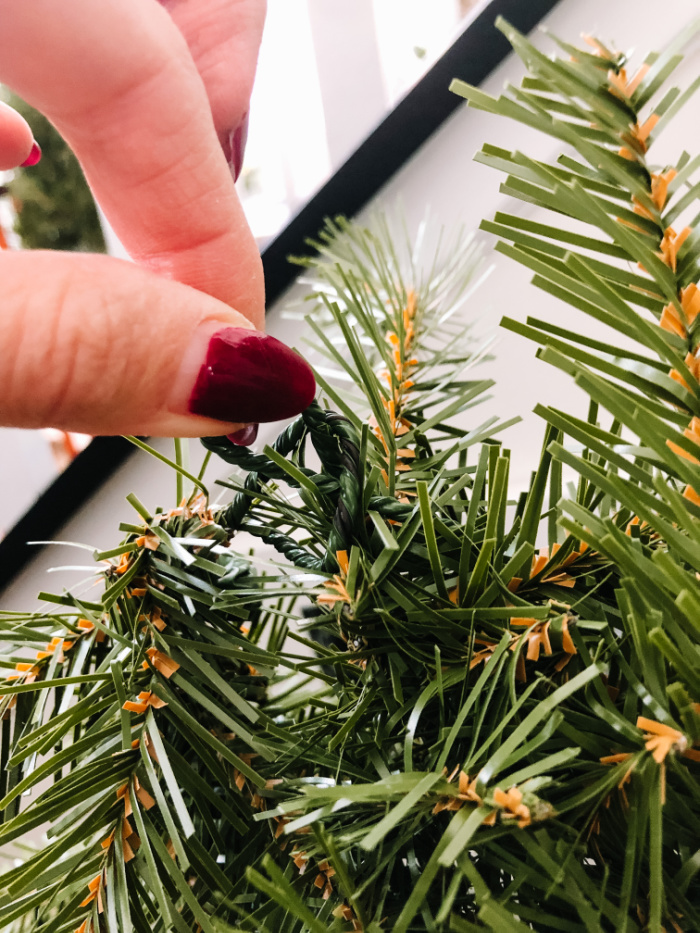
Then, grab the next garland and interlock the wire loops from each end and feed a zip tie through the loops and around the banister.
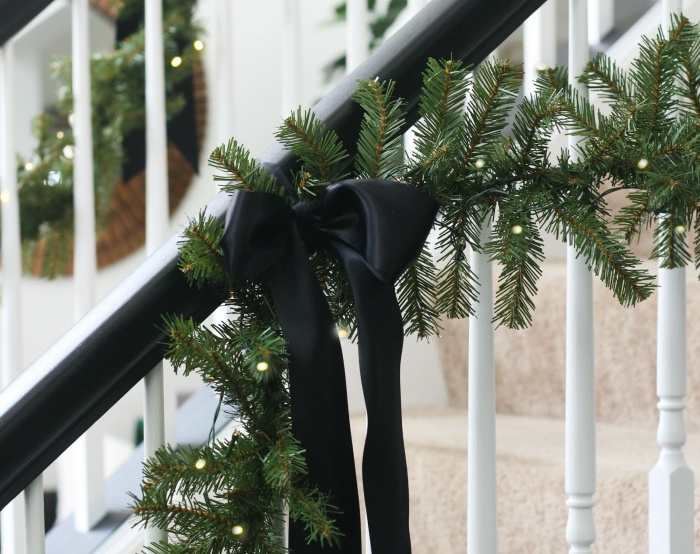
I’ll come back through and trim the excess zip ties and tie a satin ribbon bow around the zip ties.
*Note: my banister is approximately 8.5 inches around, so I used either 10″ or 12″ zip ties.
STEP 3 // ZIP TIE, SWOOP, REPEAT
Zip tie, swoop and repeat. I ended up with 2 “swoops” per garland. So I had 5 bows total. Once you get to the top of the stairs you can wrap the end of the garland around the top of the post and secure the last loop with a zip tie. The battery packs sort of naturally conceal themselves underneath the garland.
STEP 4 // ADD THE RIBBON
Cut desired length of ribbon to create your bows. Each side of the actual bow ended up being about 3 inches across and the ends hung down about 12-18 inches after the bows were tied.
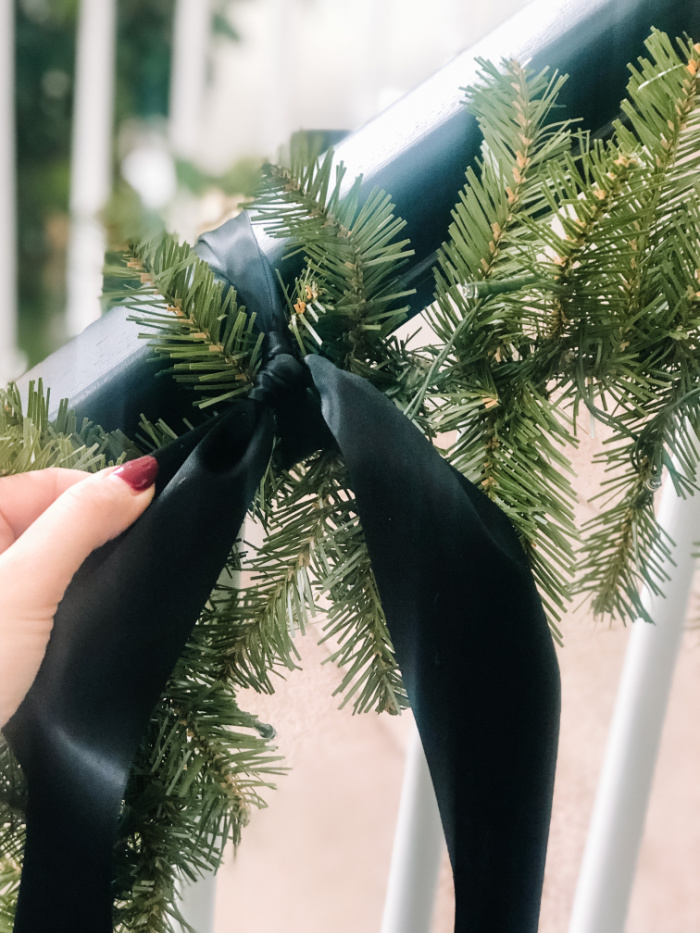
Tie a knot with the ribbon around each zip tie and then create your bow. I don’t have a good method for tying bows, but sort of tweaked it until I was happy.
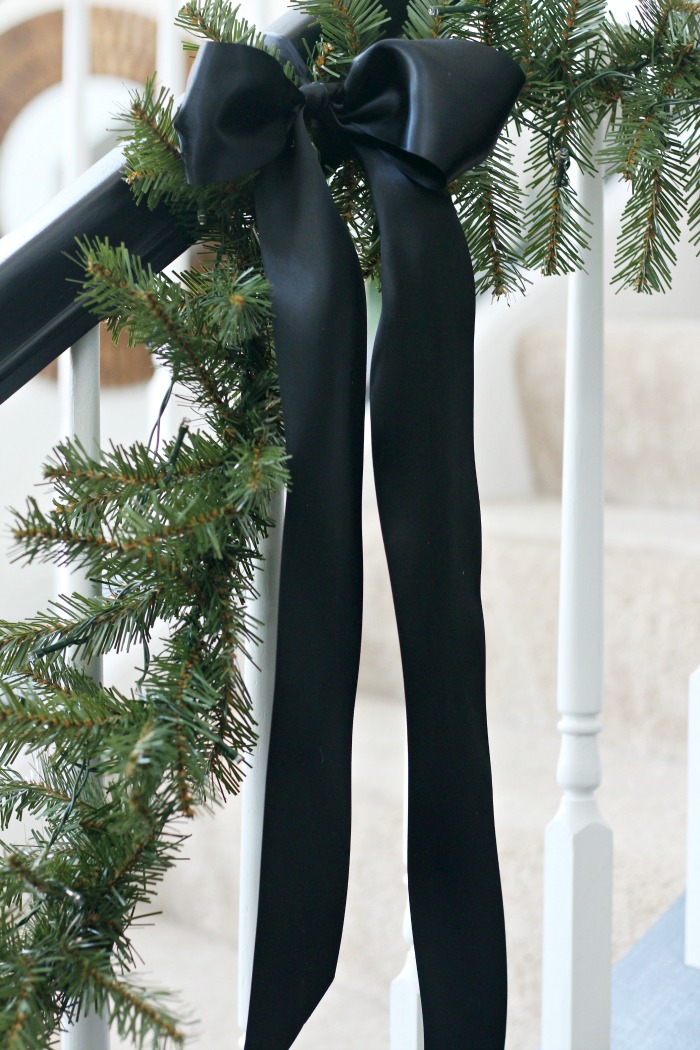
*Pro tip: Snip the ends of the ribbon at a diagonal cut for a sleek & simple look.
STEP 5 // FLUFF THE GARLAND
Go through and fluff all of the pieces like you would a Christmas tree by bending them out and up away from the banister. You want the garland on the stairs to be full & lush.
STEP 6 // SET THE TIMERS & ENJOY
Add batteries to the packs, set the time and enjoy your beautiful staircase garland!
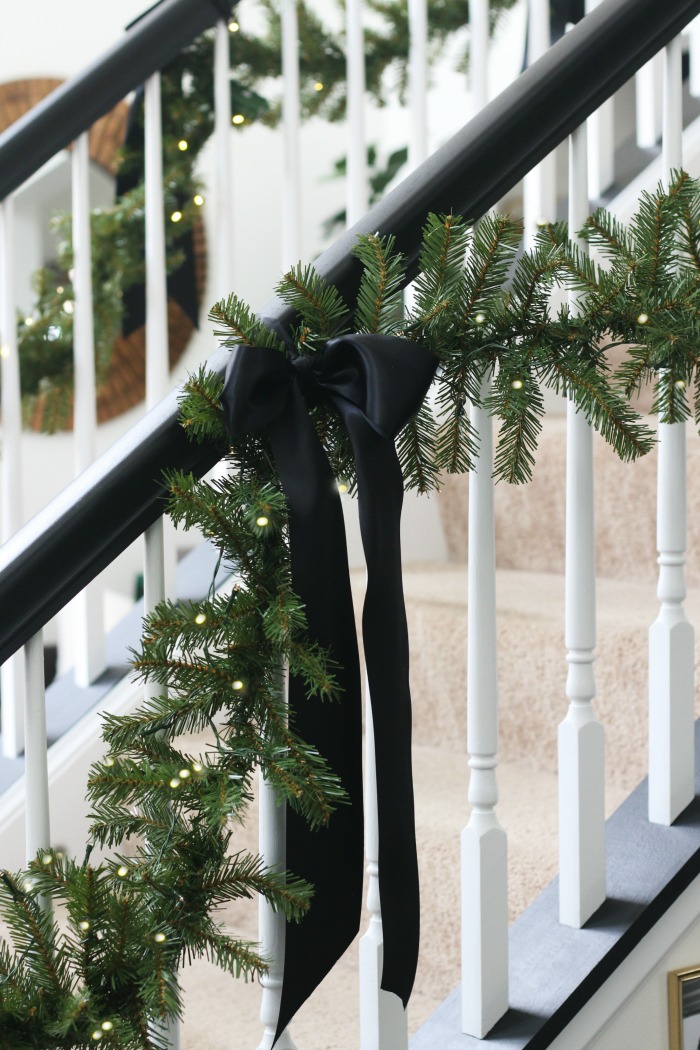
There isn’t anything better than walking downstairs and seeing the garland on the stairs.
I’m so pleased with the quality of the garland and I absolutely love how the look strung along the staircase. The timer is a game-changer and the lights are so warm and pretty. But in all honesty, I think the bows actually steal the show!
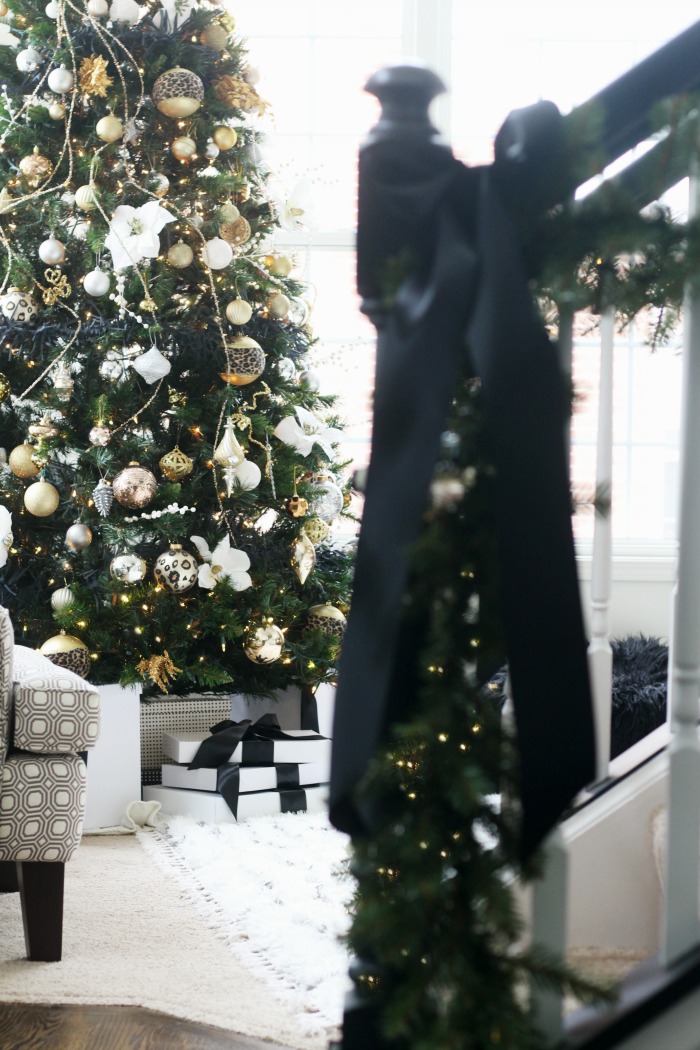
It took me about an hour or 2 total, but I did one side and then came back later to finish the other. The longest part was tying the bows, but it got easier with each one!
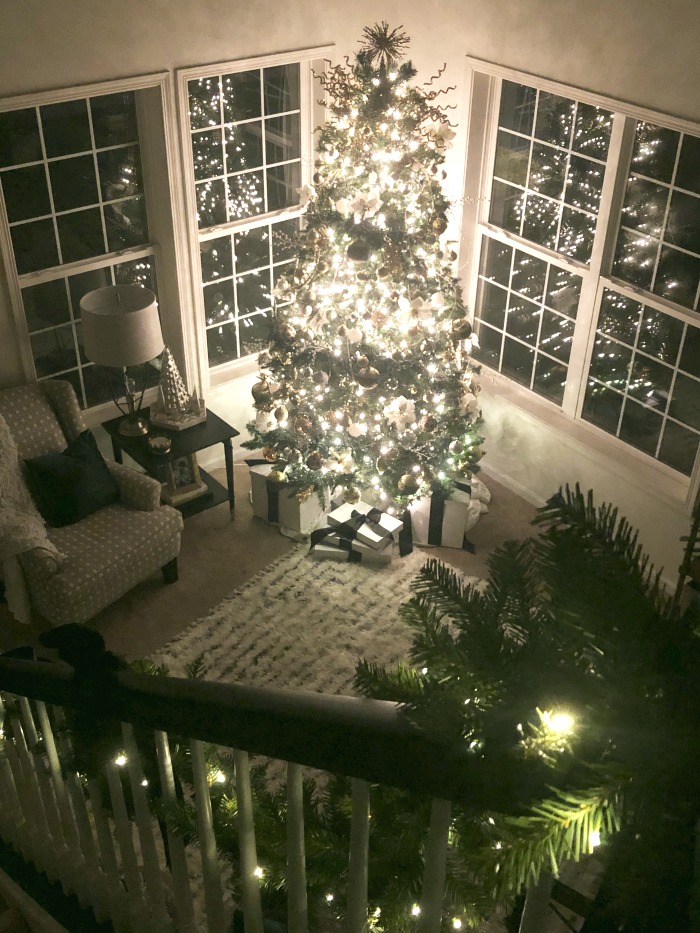
It’s a magnificent sight at night!
Do you hang garland on your staircase for Christmas? If you’ve ever wanted to, I say go for it. What better time than now! Hopefully this post will help out a bit 😉
Be sure to check out the Simple & Elegant Christmas Living Room and Family Room Tour, including the Christmas Mantel details.
The silky satin ribbon was my favorite part of last year’s décor.
Don’t forget to pin for later!

For more Christmas ideas and inspiration, visit my Full Christmas Gallery here filled with décor, recipes, cocktails, tablescapes, holiday outfit ideas and gift guides!
I’ll be back tomorrow with my first official gift guide of the season, so be sure to be on the lookout!
MORE GARLAND SOURCES & SHOPPING LINKS BELOW:
BE SURE TO FOLLOW ME ON SOCIAL SO YOU DON’T MISS A THING!
LTK // INSTAGRAM // FACEBOOK // PINTEREST // TIK TOK // AMAZON STOREFRONT





A Simply Neutral Christmas Dining Room - This is our Bliss
December 1, 2020 at 7:40 AM[…] How to Hang Garland on the Staircase […]
Cary
November 29, 2020 at 1:02 PMLove the simple elegance of this! What length did you cut the ribbon for the bows?