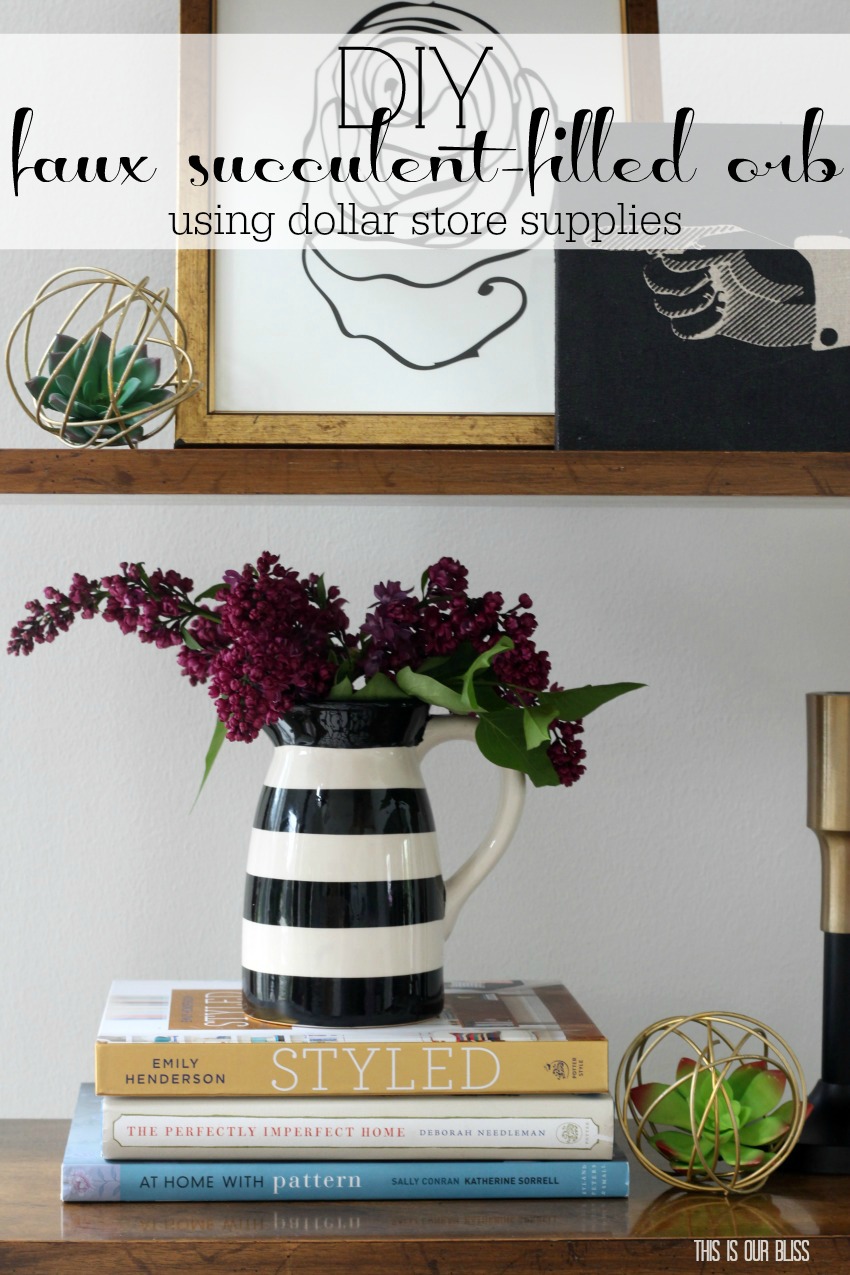
He-llo out there! Yes, it’s been a little bit since you’ve heard from me, but rest easy. Not only am I back with a new post, but today I’m sharing another project in our new monthly My Dollar Store DIY challenge! You can see March’s DIY dollar store project here. Our theme for the month of April is Spring-inspired florals / greenery and of course we are using supplies from our local dollar stores to create it! Today, I’m sharing my DIY Faux Succulent Gold Wire Orb
I know you are going to love the fresh & fabulous ideas that each participant came up with this month, so be sure to stick around to the end to see their projects.
The best part is that you can replicate ALL of them for just a few dollars!
Spring is finally present here in Chicago so I’m totally up for any decorating that will bring the fresh colors of the season indoors. Are things starting to green and brighten up around you?!
While I love using fresh flowers & real plants around the house in my decor, sometimes the faux stuff does the trick! For this project I opted to use a couple of faux succulents from Dollar Tree and insert them into my DIY orb — which is why I’m calling this project “DIY Faux Succulent-filled Gold Orb“. That is literally all I did! It couldn’t have been easier!
Keep reading to see exactly how I made the gold orbs and how they look on my freshly styled shelves.
SUPPLIES FOR DIY SUCCULENT GOLD WIRE ORB
[*Affiliate links were used below.]
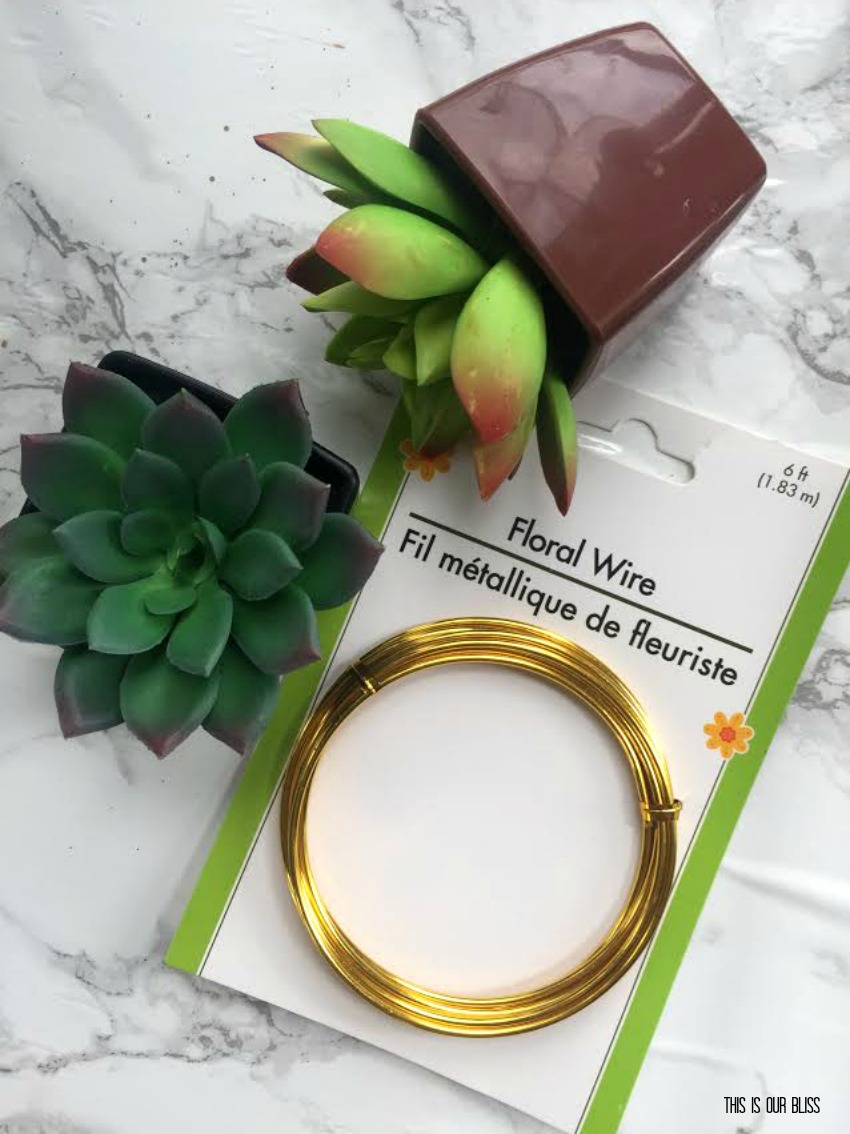
- floral wire
- faux succulents [mine came in pots, but these would also work]
- gold spray paint
DIRECTIONS FOR DIY SUCCULENT GOLD WIRE ORB
So let me start by saying I thought this process was going to be a bit more involved. But once I un-packaged the wire, I instantly knew I could cut out a few steps from my original plan!
Here is what I did…
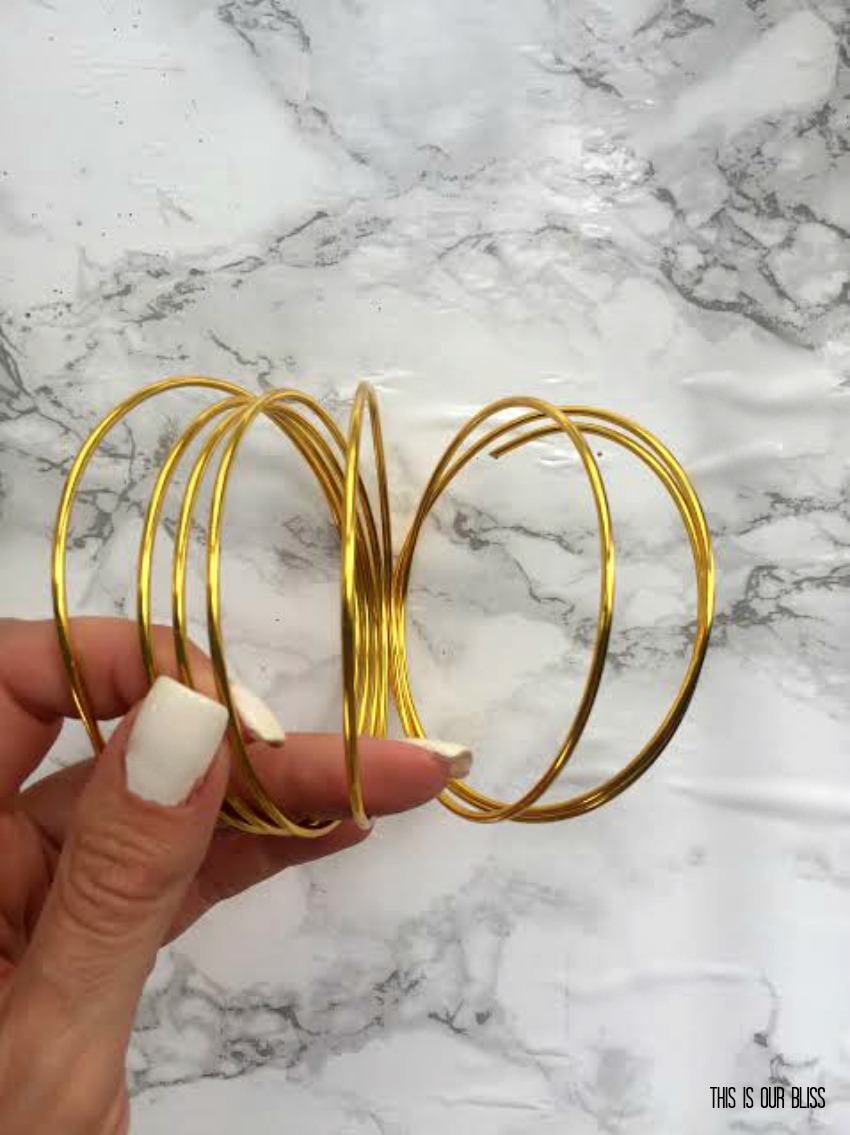
First, I took the twisty-ties off of the wire packaging and simply fanned out the wire by spreading it apart with my fingers, but keeping its shape.
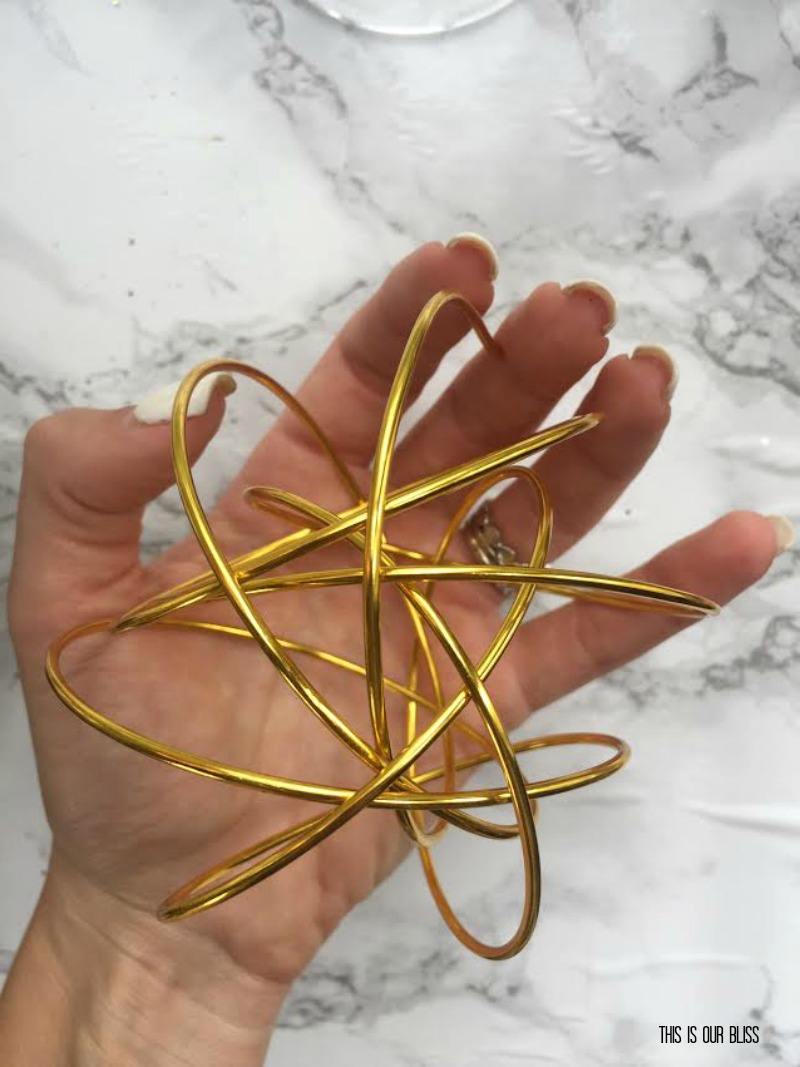
Then, with my hands, I cupped the wire, forming it into a ball. I was pretty much able to keep it the same size and shape as it was when it was coiled up on the package.
So with a few minor twists and pulls, allowing the wires to cross over one another, I had my wire ball or orb, rather! I did this with 2 packages of wire, so I had 2 orbs.
Here you can see what size they come out to be using 6 ft. of floral wire.
Next, I took the orbs outside to spritz with gold spray paint. The wire I bought at Dollar Tree was already a gold color, but it definitely had a very yellowish hue to it. I wanted to give it a more brushed gold look.
After the orbs were dry [about 1 hour], I brought them in and set them aside. Next I disassembled the succulent by removing it from the styrofoam that was keeping it upright in the mini pot.
There were a few different varieties of succulents available and the two that I chose had slightly different stem situations.
One, I was able to twist off so it was just the main part of the succulent and could lay flat…the other one’s stem was actually holding the layers of the succulent in place, so I had to leave it on. You definitely can’t see it though when looking at it from the front.
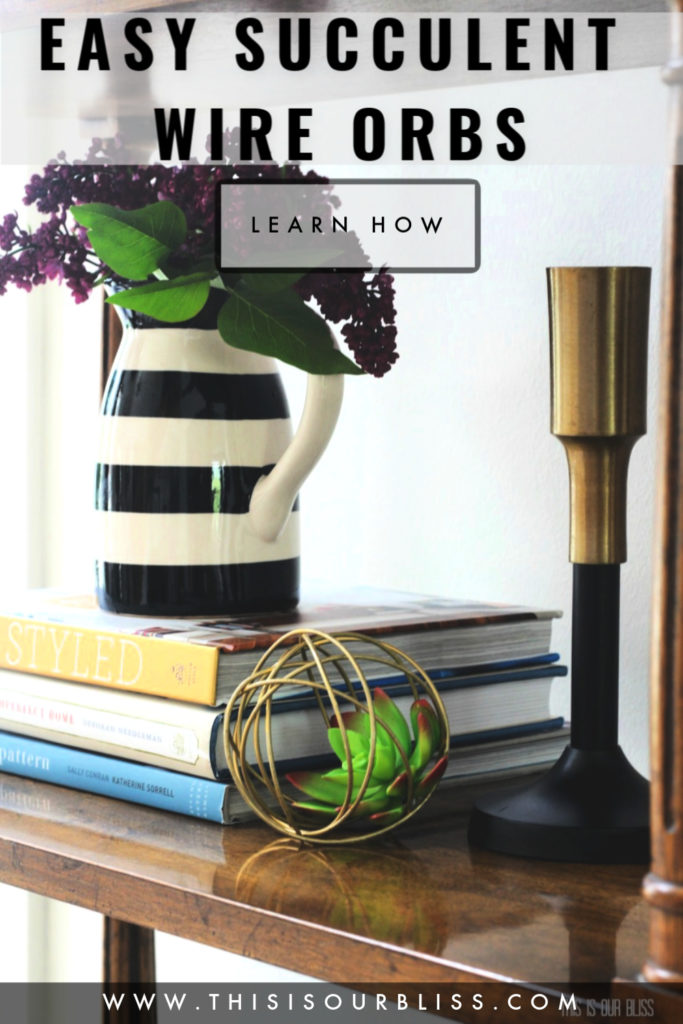
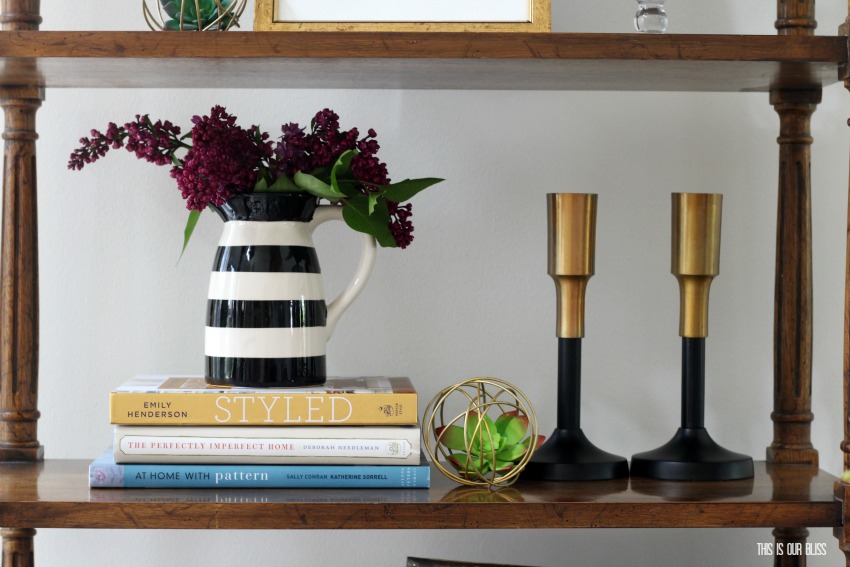
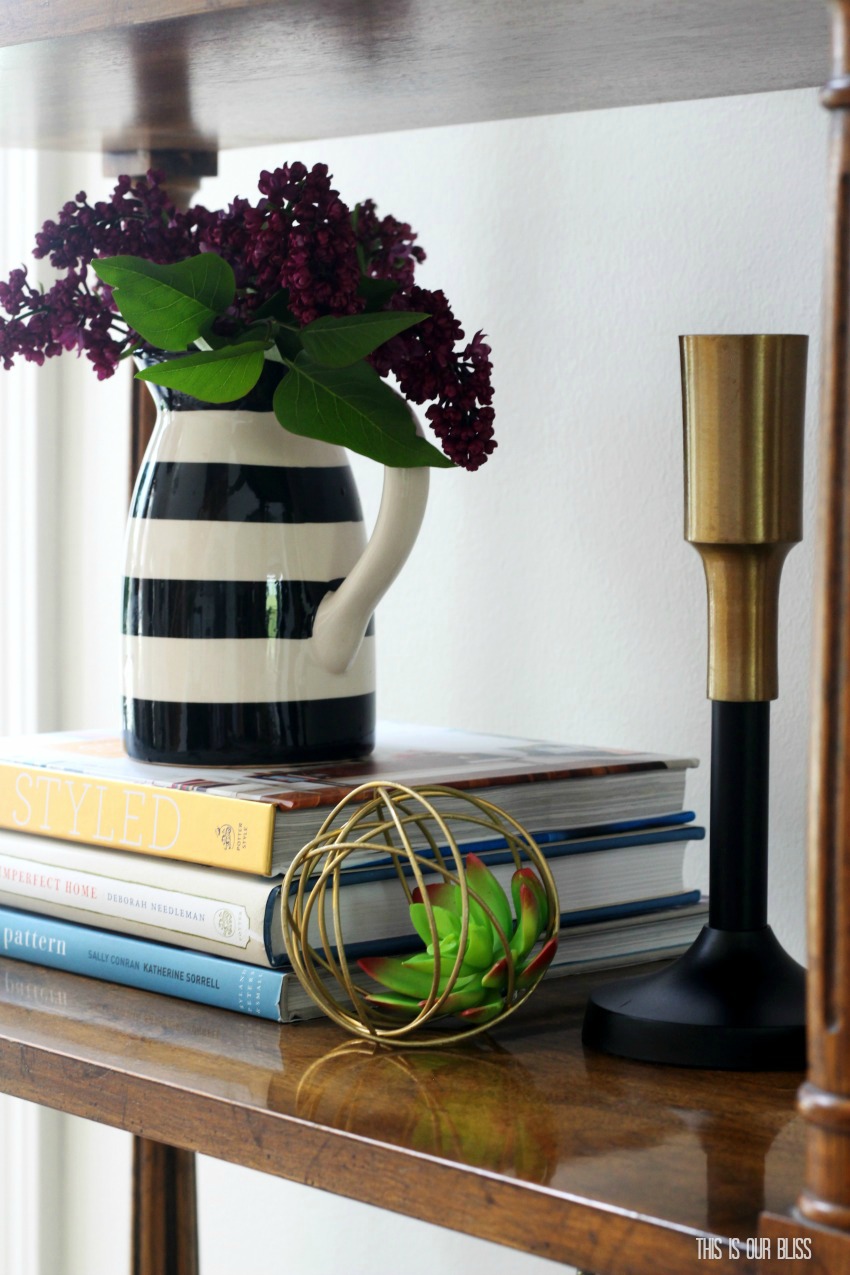
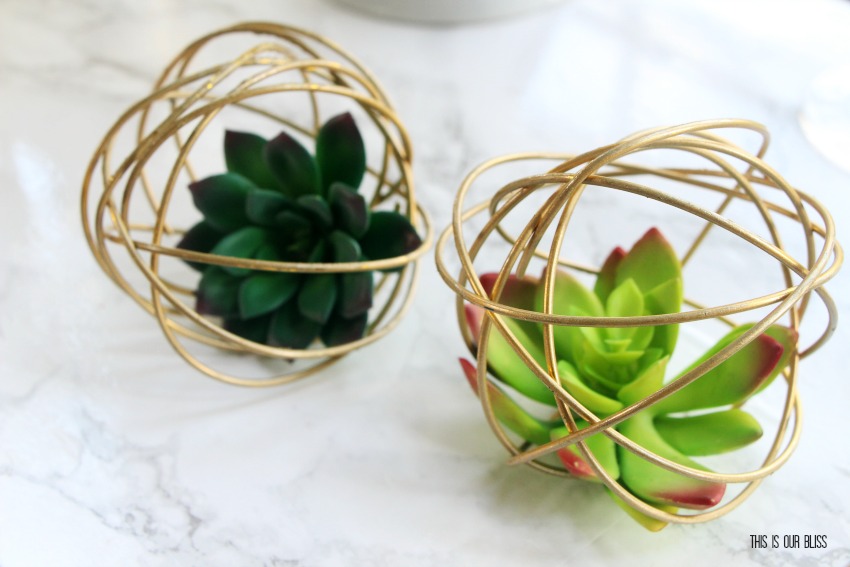
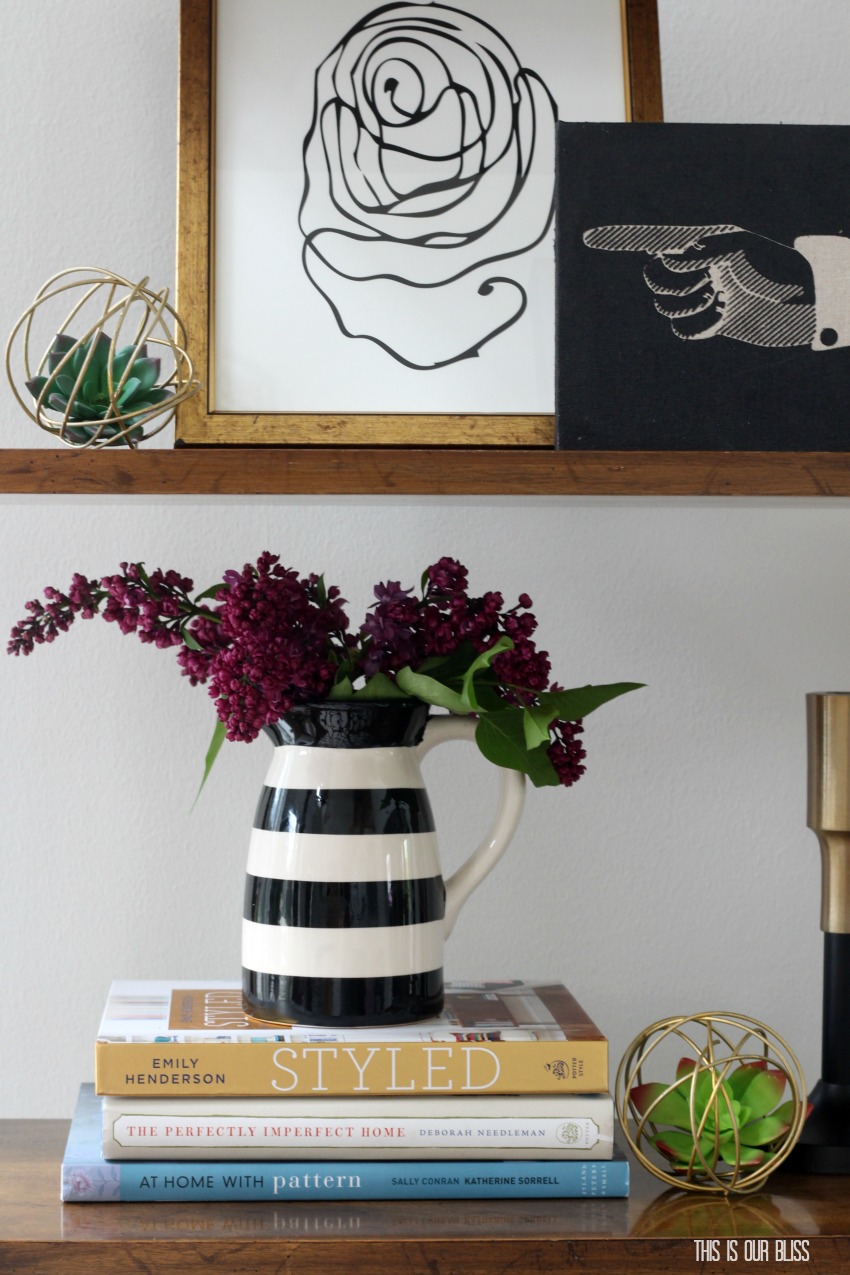
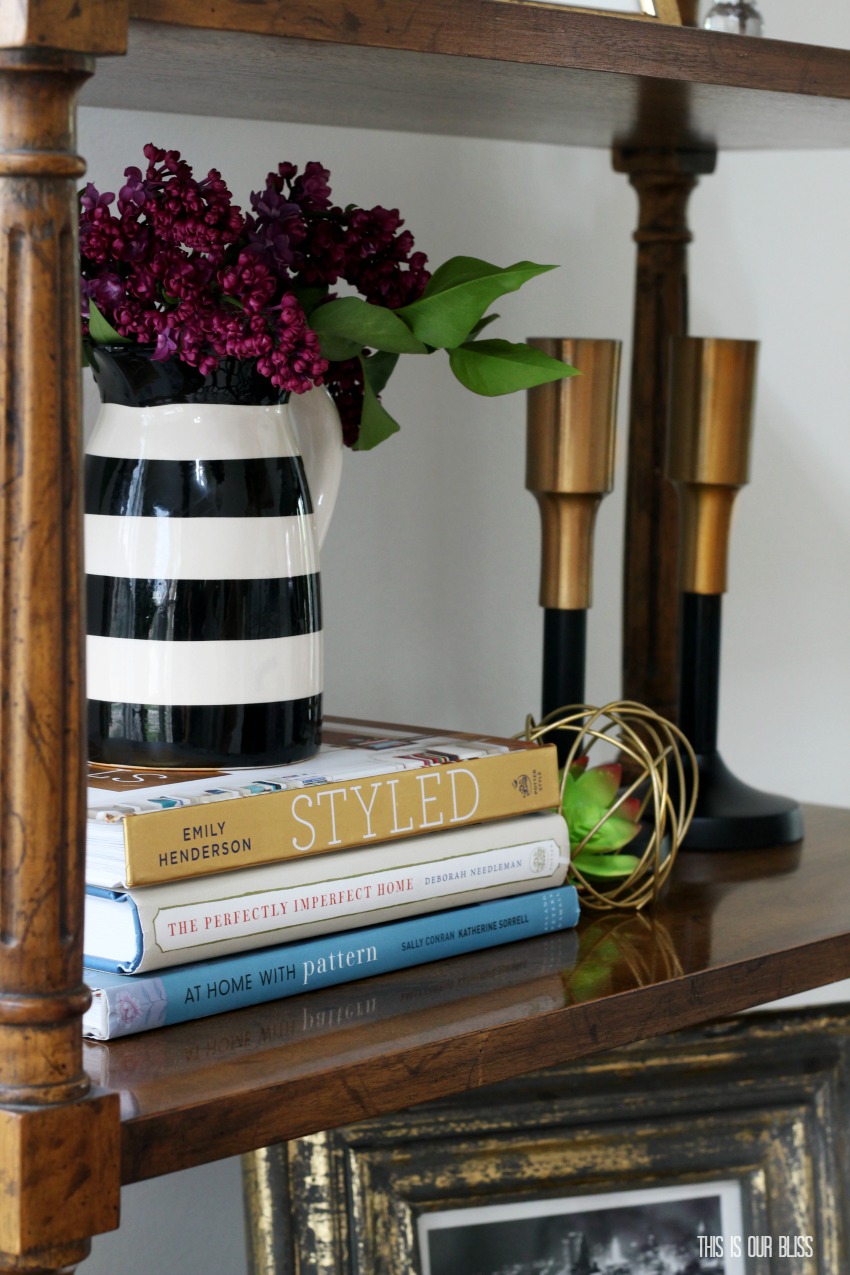
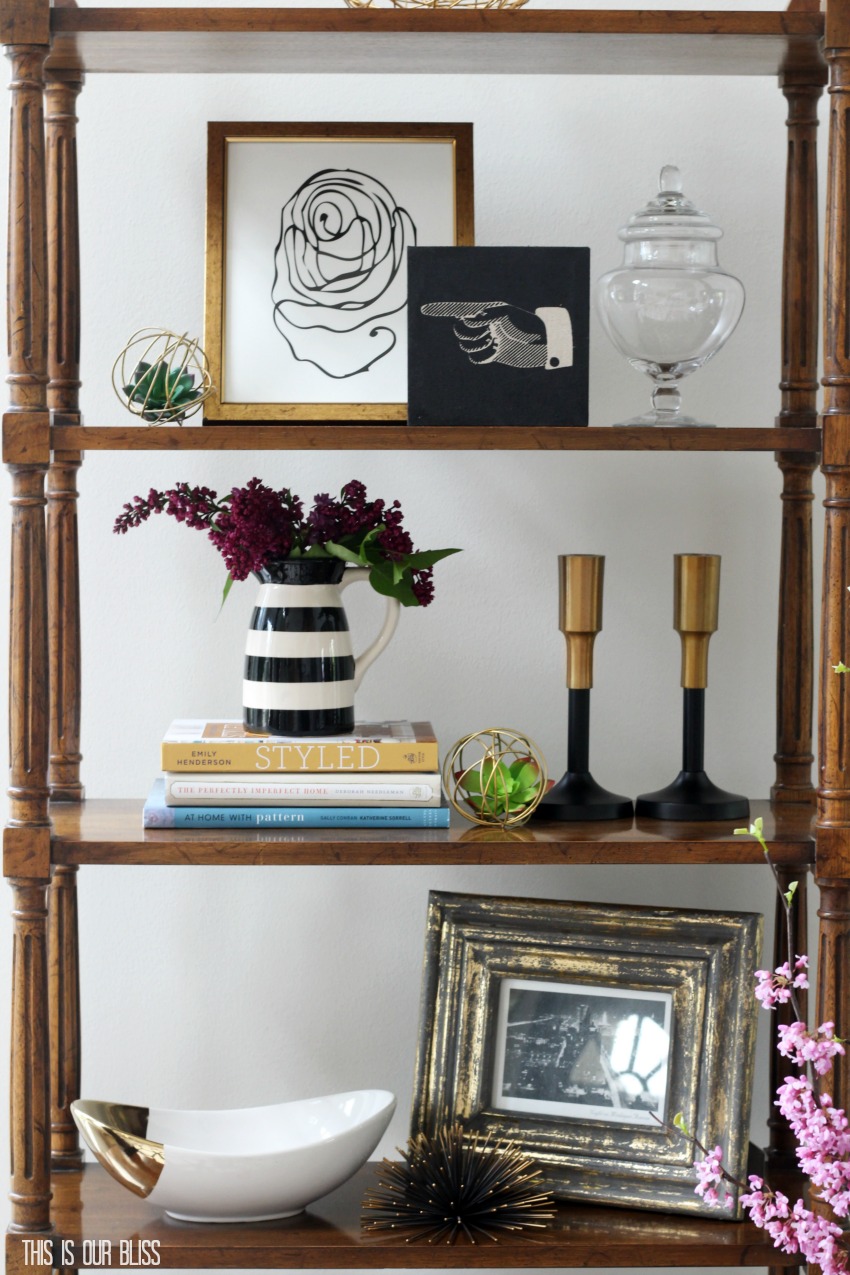
I shimmied one succulent into each wire orb and placed them on my shelves. It might seem like it might be a process to get the wire to form in a perfect sphere, but it really wasn’t at all!
My original plan consisted of inserting a succulent into a deflated balloon, blowing it up and using it as a mold to wrap the wire around to create the sphere.
I was thrilled when I realized I wasn’t going to need the balloons after all!
And here they are!
I placed them on 2 separate shelves, but could have easily tossed a group of them into a basket or bowl and placed them on a coffee table.
Filling a large orb with 3-5 succulents would be fun to try, too!
The awesome part about this DIY is that they don’t have to be perfect. I’ve seen wire orbs in the stores and think they look the best when they are wiry and messy.
One other thing to note – if you can find the color of wire you want the orbs to be, this project will only take about 3 minutes if you don’t have to spray-paint.
The touch of green brings the outdoors in and they are right at home with the rest of the shiny, metallic decor. #givemeallthegold
No, really. Give me all. the. gold.
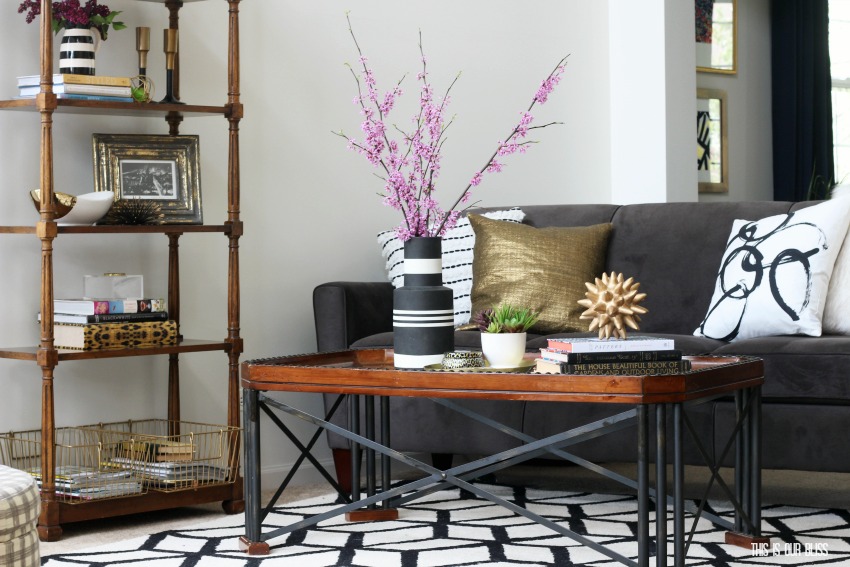
And since I haven’t shared much of my living room since my Merry & Metallic Christmas Living Room tour, I thought I would show off my newly styled shelves on this thrifted piece, as well as my freshly thrifted cocktail table I placed in front of the sofa in here!
I’ve been out treasure hunting and I’ve found some GEMS 😉
After sharing a sneak peek of the shelves on Instagram earlier this week, I’m thinking I need to hurry up and crank out the bookcase styling post I have in the works.
A new coffee table styling post might not be a bad idea either!!
You can check out my coffee table styling tips here and the essential elements for styling a nightstand here.
Would you be interested in learning a few shelf styling tips? I’d love to know!
What do you think? Heading to your local dollar store this weekend?!! Every time I pop in, I leave with a couple sacks full of goodies. Plus a crazy amount of DIY ideas brewing!
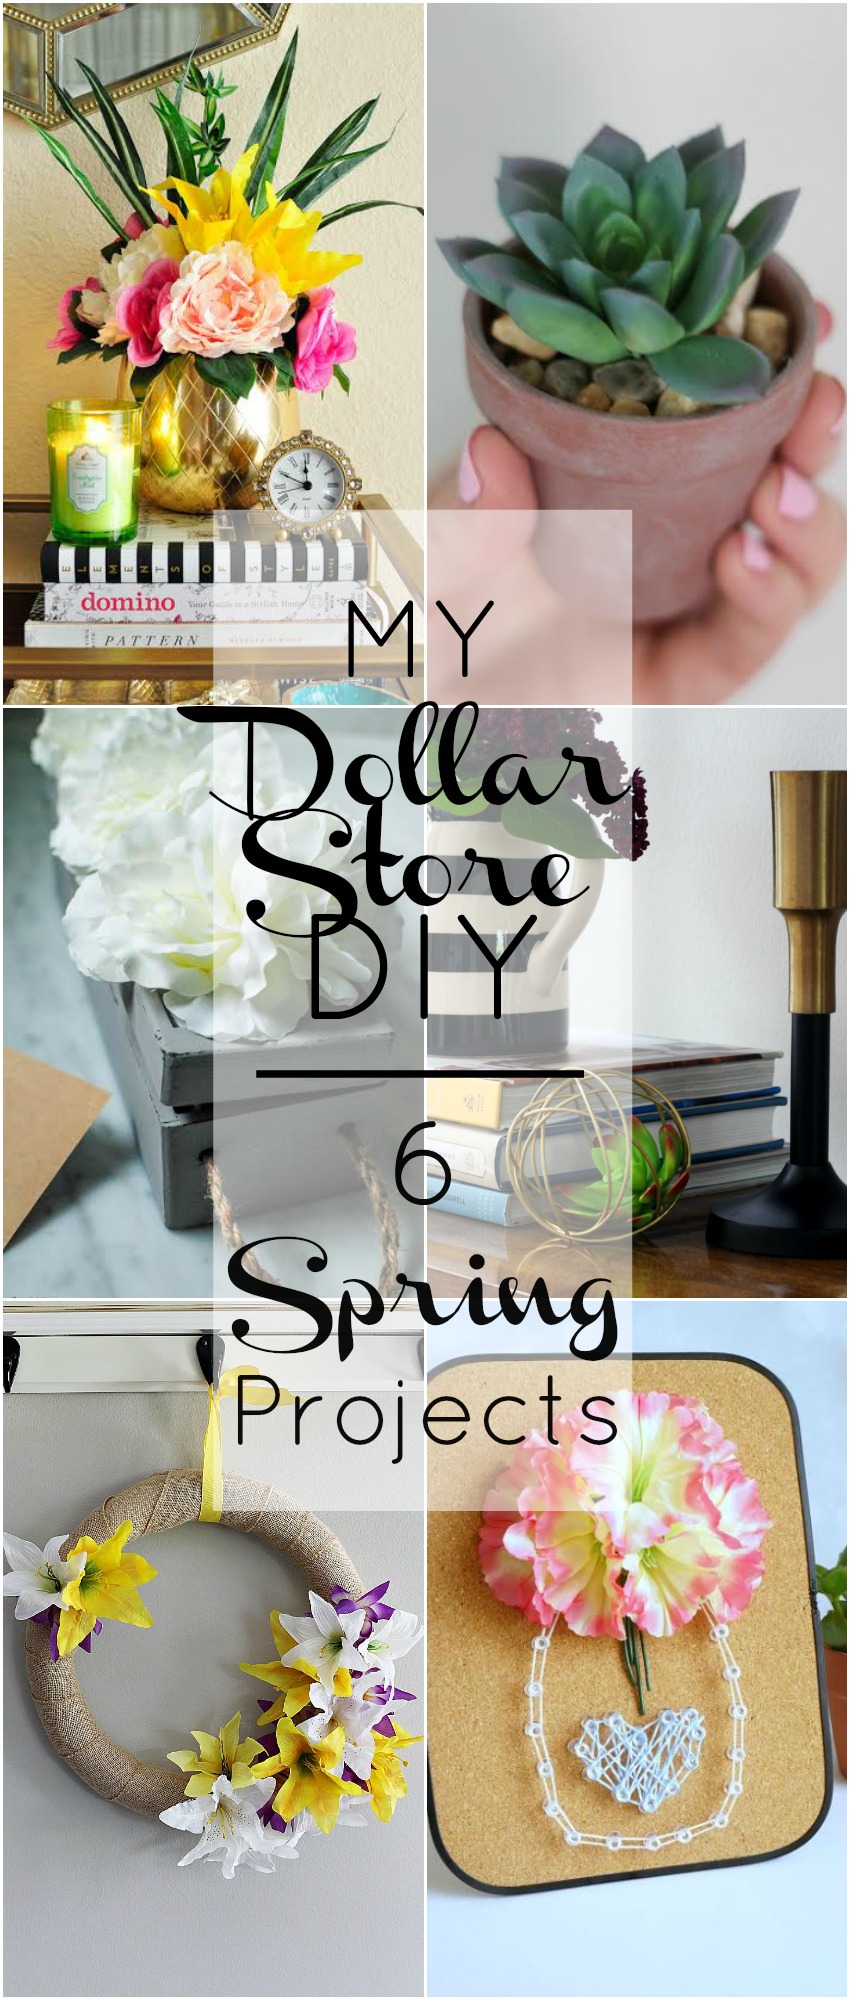
You guys MUST head over to see what my talented friends whipped up with supplies from their dollar stores.
These DIY floral and greenery decor items are all spring-inspired beauties!!
Go take a peek!
This is our Bliss
Southern State of Mind
The Organized Mama
Creative Ramblings
Monica Wants It
Hunt and Host
I know it’s been quiet over here the last couple of weeks, but I’ve been able to take some time for myself & our family to get caught up on life! My little blogging break allowed me to re-focus and come back recharged and rejuvenated.
I’ve got some fun posts in the works and I’m confident the sunshine is going to inspire me to spruce up our home for spring and summer. Stay tuned!
Don’t forget to pin for later!









Stephanie @ Casa Watkins Living
May 3, 2017 at 5:18 PMSuper cute!!!! I’ll take any succulent in an orb any day. 🙂
Rachael @ This is our Bliss
May 3, 2017 at 6:26 PMThank you so much, Steph! Girl! You and me both! And you definitely don’t have to say gold twice haha!!
Leanna
May 3, 2017 at 1:46 AMThese don’t look like they came from a dollar store, they look very high end. I have not seen succulents at the dollar yet and need to look because the quality of your project looks great. Love this idea.
Rachael @ This is our Bliss
May 3, 2017 at 6:25 PMThanks, Leanna!! I had seen the succulents when I stopped into Dollar Tree when I was visiting my parents in Arizona, so I was hoping when I got back home (to Chicago) that they would have them near me. They did and I was thrilled! I hope you score a few!! 😉
Karen Marie Kedzuch
May 2, 2017 at 8:30 PMRachael,
You have found a reasonable price point beauty to create in less than three minutes plus paint. AWESOME! Thanks for sharing with TADA!
Karen Marie
Rachael @ This is our Bliss
May 3, 2017 at 6:19 PMSo sweet of you! Thanks, Karen! I couldn’t believe how FAST I was able to mold them to the shape and look I wanted!!
harropaj
May 2, 2017 at 10:18 AMThat orb looks fabulous Rachel and I had to double check that is was a Faux succulent !
Rachael @ This is our Bliss
May 3, 2017 at 6:12 PMThanks so much!! It was way TOO easy and far too inexpensive so I was thrilled! Love how I was able to plop the lightweight pieces right onto my shelves 😉
Sam
May 2, 2017 at 4:07 AMWhat a gorgeous project!! It looks like it should be in a designer shop! So awesome that you made it all with dollar store finds!
Thank you so much for sharing your brilliant project with us over at Waste Not Wednesday!
Rachael @ This is our Bliss
May 3, 2017 at 6:10 PMThank you, Sam! I thought the succulents looked pretty life-like and a little gold spraypaint always finishes a look for me!!!
organizedmamas
April 27, 2017 at 8:47 PMRachael these orbs are adorbs! I just love how different they are, yet so functional for practically any space in the house!
Rachael @ This is our Bliss
May 1, 2017 at 11:05 AMThanks so much, Jessica!! I agree! I think I could plop them anywhere in the house… bookcase, coffee table, dining room table…so many possibilities!
Lisa
April 27, 2017 at 3:41 PMGreat idea! They look much more expensive!
Rachael @ This is our Bliss
May 1, 2017 at 11:04 AMThank you, Lisa! I was hoping so! I really like how they look on my shelves right now! I might even make some more 😉
allisondyoung
April 27, 2017 at 10:01 AMI love the gold orb you made! I got some very realistic looking succulents at Dollarama the other day that this would be perfect for!
Rachael @ This is our Bliss
May 1, 2017 at 11:04 AMThank you, Allison!! Oooo yes! I hope you give it a shot! I have this really large wire orb from HomeGoods and I’m debating whether or not I want to fill it with 10+ succulents. I think it would be a cool look!! 😉
sevanderkooy
April 27, 2017 at 9:57 AMI love this, the gold is beautiful. Faux succulents can be expensive, love that you got these at the Dollar Store.
Rachael @ This is our Bliss
May 1, 2017 at 11:03 AMThanks, Sarah! I was happy to find the succulents there AND in a cute little vase. I totally could have left them as-is…but the gold wire idea was calling my name!
kimjonesfive
April 27, 2017 at 8:26 AMWhat a cute and easy idea! I love the orb and never would have thought of that! such a good little décor piece!
Pamela List
April 30, 2017 at 10:24 PMSuper cute idea! I love the orb and the photos are so fabulous that a pushing me to go shopping for stuff right now!
Rachael @ This is our Bliss
May 1, 2017 at 11:07 AMAwww thank you, Pamela! I scooped up several items from the thrift store and then the rest were accumulated over time from some of my go-to’s – HomeGoods, Target, etc. It’s fun when you can style your shelves from shopping your house! Thank you for stopping by 😉
Rachael @ This is our Bliss
May 1, 2017 at 11:02 AMThank you, Kim! I can’t believe how easy it was! I thought I was going to have to reshape the wire and mess with it for awhile to get it right! Pleasantly surprised ha!