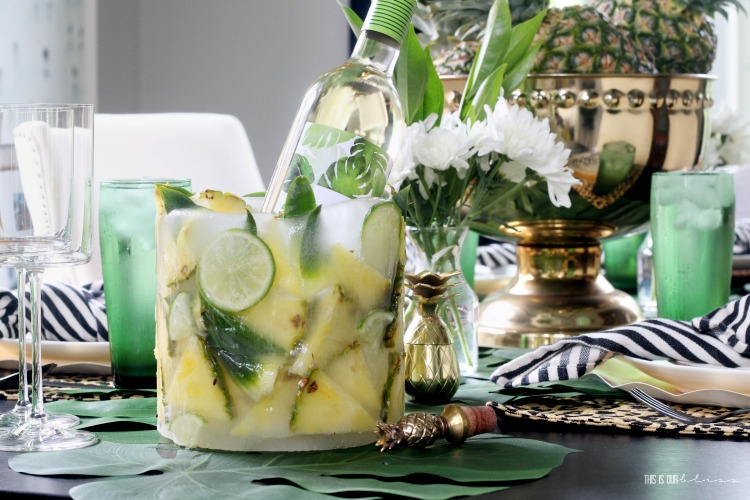
With school out, the kids running circles around me all day, everyday and the warmer weather upon us, I guess it’s time to call it what it is… SUMMER! I’m pretty sure those are all telltale signs, am I right?! We’re more than a week into June, which means Baby #3 will be here soon, but it also means its time to join my girlfriends for another virtual Progressive Dinner Party and this time we’re hosting in Summer Style! Today, I’m going to show you a simple way to instantly amp up your Summer dinner party with this DIY Tropical Fruit Ice Mold Wine Chiller.
Thanks to Heather of Southern State of Mind for assembling our hostesses again for this fun seasonal entertaining hop.
I know it’s a mouthful and may seem a tad complicated, but I assure you it was a cinch to put together!
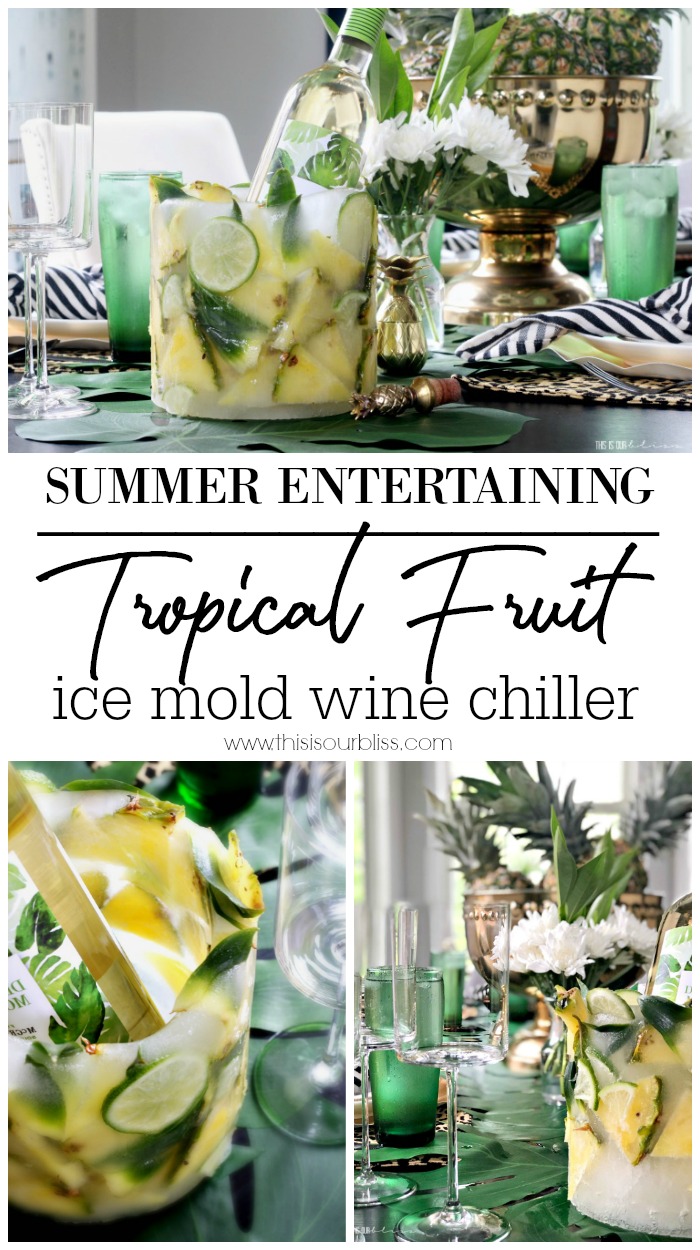
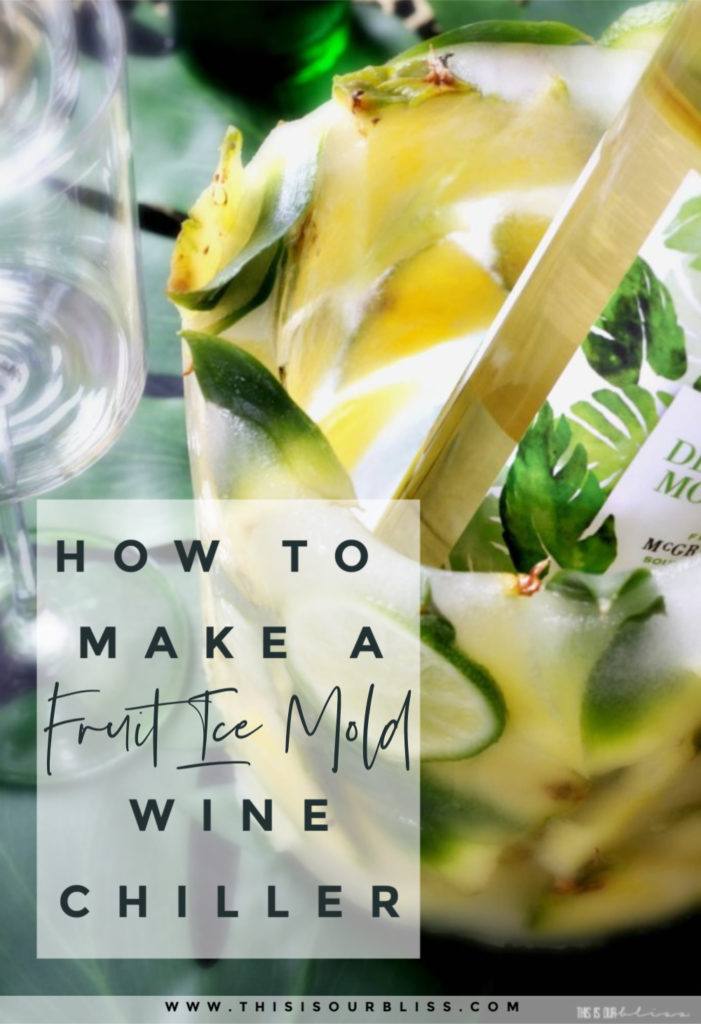
HOW TO MAKE A FRUIT ICE MOLD WINE CHILLER
Although the pineapple trend has been ongoing for several years now, I just can’t help but think of the cute little things in the Summer time! They just belong in summer entertaining!
No matter the season or occasion, one dinner party [heck, anytime] staple around here is wine. I have countless wine chillers and ice buckets in my stash, but decided I would try my hand at a Fruit Ice Mold one instead.
If the wine’s gotta stay cold, might as well be in an adorable summer-y, tropical fruit-filled chiller!
Here is what I did…
FRUIT ICE MOLD WINE CHILLER SUPPLIES
- 1 pineapple
- 1 lime
- fresh basil leaves
- water
- ice bucket
- smaller container to fit inside the ice bucket, but big enough for a bottle of wine to fit inside [I used a large peanut butter powder container]
- rocks or other heavy object for weighing inner container down
FRUIT ICE MOLD WINE CHILLER DIRECTIONS
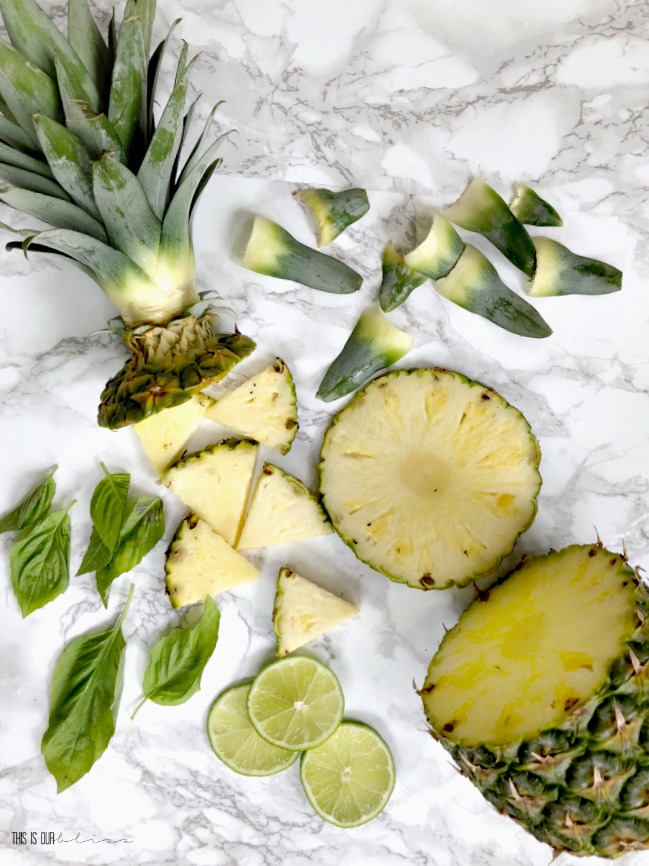
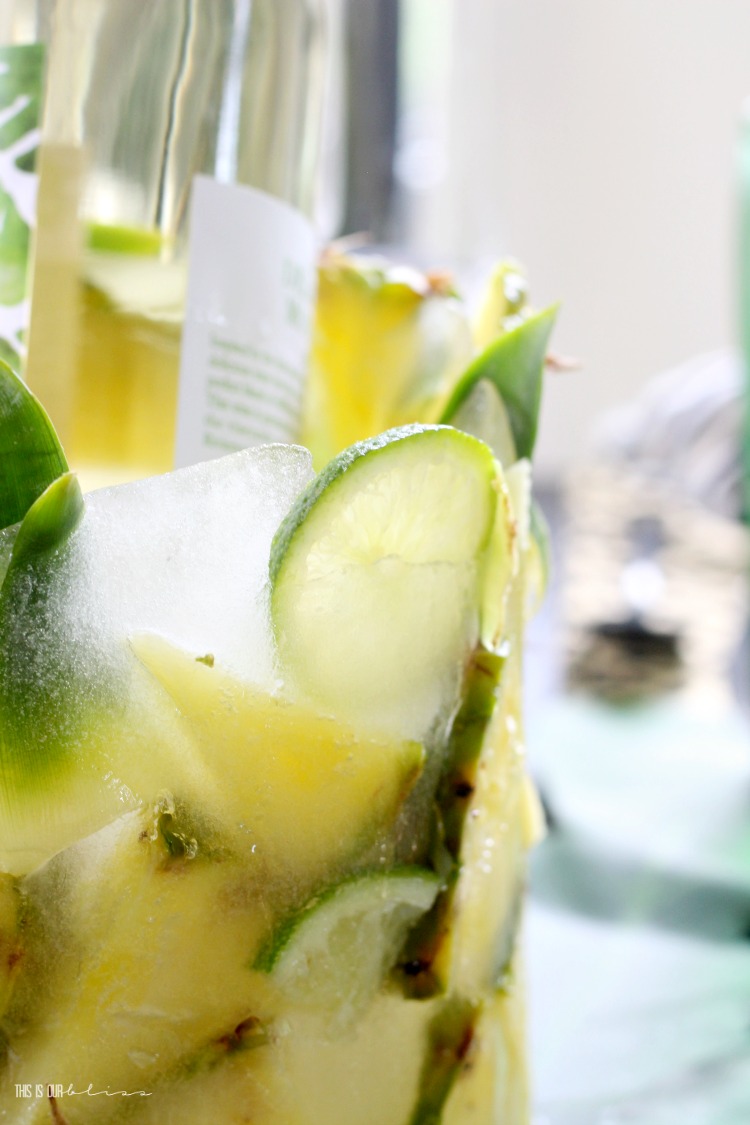
First, cut up your fruit. I sliced the pineapple down side to side to form 1/4″ to 1/2″ thick rings. After I had 4 or 5 rings cut, I cut each ring into 6-8 pieces to form triangles. Note: I left the outer skin on the pineapple pieces to give them some texture.
The limes were cut in rings and then from there, some cut in half, some in quarters and a couple pieces I left as round slices.
Next I grabbed 5 – 6 fresh basil leaves and put them with the cut fruit. Since I knew the fruit would float to the top once in the water, at the last minute I pulled 8-10 pieces of the crown of the pineapple in hopes they would stick out from the edge of the mold a bit. And in fact, they did!
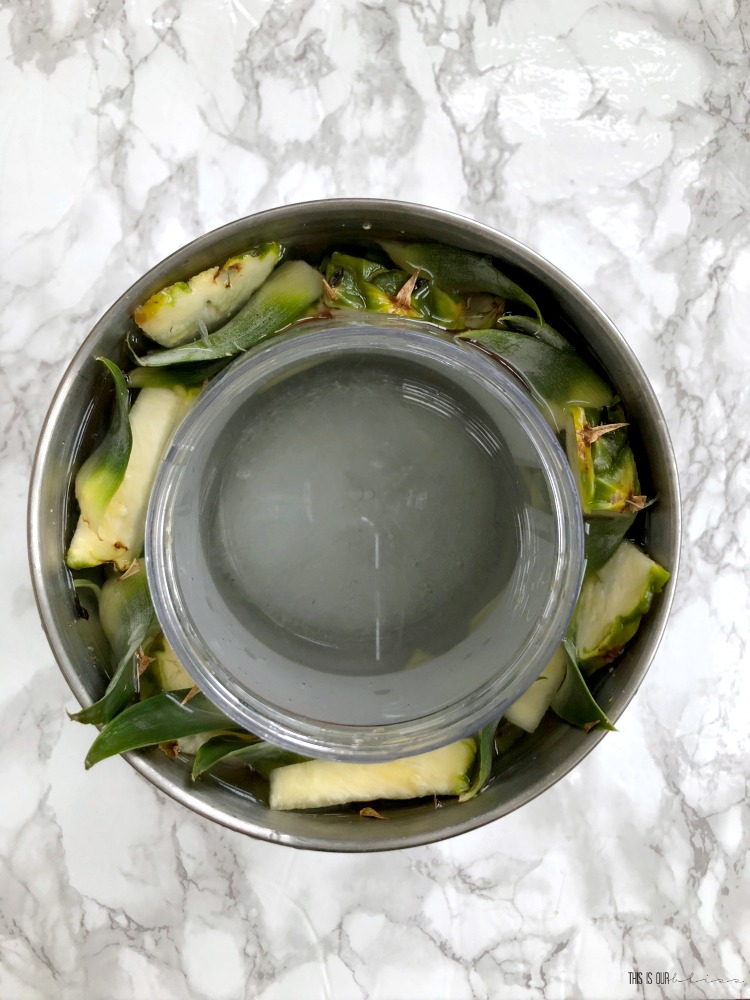
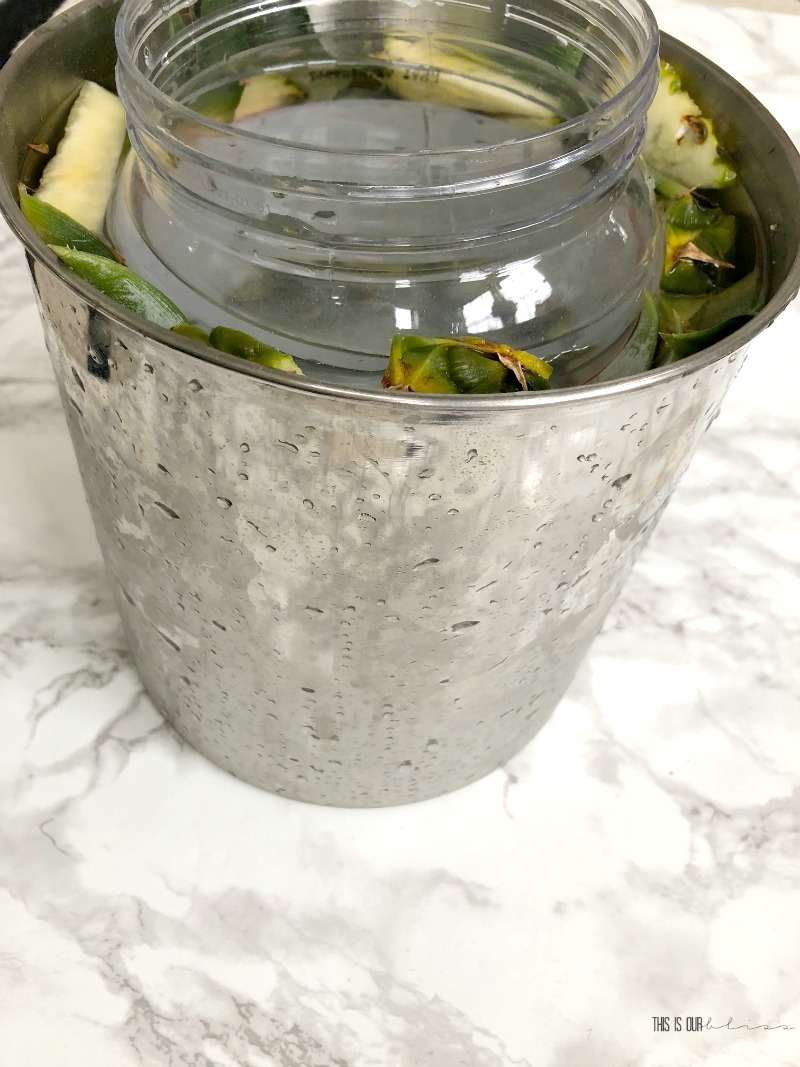
Now on to the assembly of the mold! I filled up my stainless steel ice bucket with about 2 inches of water to create a solid base and then put in the freezer for about 6 hours.
Once it was frozen, I placed my plastic container inside the bucket and filled it with water.
Side note: if you have rocks to use instead, I would recommend using them.
It was a bit tricky to get the container out once the ring was assembled and fully frozen because you’re working with ice on the outside of it and rock solid ice on the inside.
Next, fill the area outside the plastic container with water leaving about an inch or so at the top. Then, start dropping your fruit pieces and basil leaves in!
I alternated pineapples and limes as I made my way around the ring and tossed in a few leaves and pineapple crown pieces along the way and a few extra on top at the end!
The amount of fruit I used was approximate but I did fill the ring pretty full. If your fruit didn’t displace the water too much, you can add a bit more on top before you put it in the freezer, but be sure to leave an inch or so for expansion while in the freezer.
I let the ice mold freeze overnight to be sure it was rock solid.
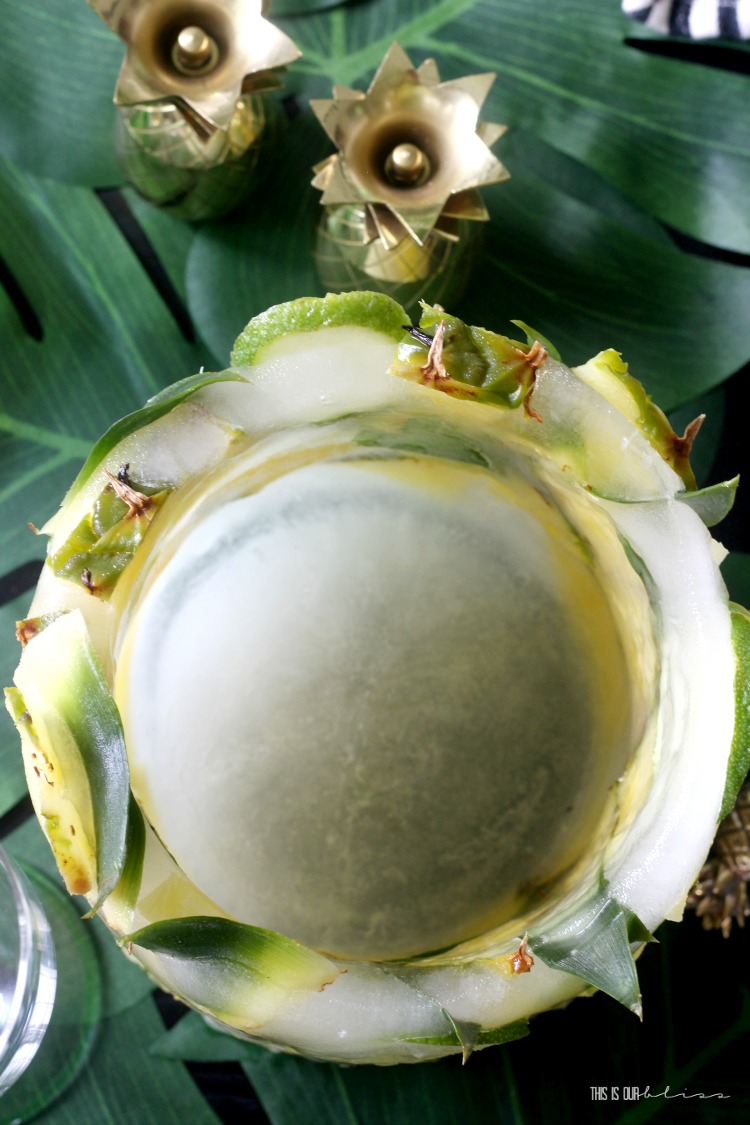
After you pull it out of the freezer, gently flip it over so the bottom is up in the sink and gently run hot water on the bottom and sides. The mold should slide right out. As for the middle container, run hot water inside and let it sit on top of the frozen block of ice.and gently twist the container around until it’s loose.
You might have to keep working at it for a few minutes by re-running hot water and more twisting. This is the part you would avoid if you had heavy rocks to weigh down the center container. We didn’t. We also tried a wine bottle and 2 hammers before deciding filling it with water might be our best bet!
Trial and error at it’s finest ha!
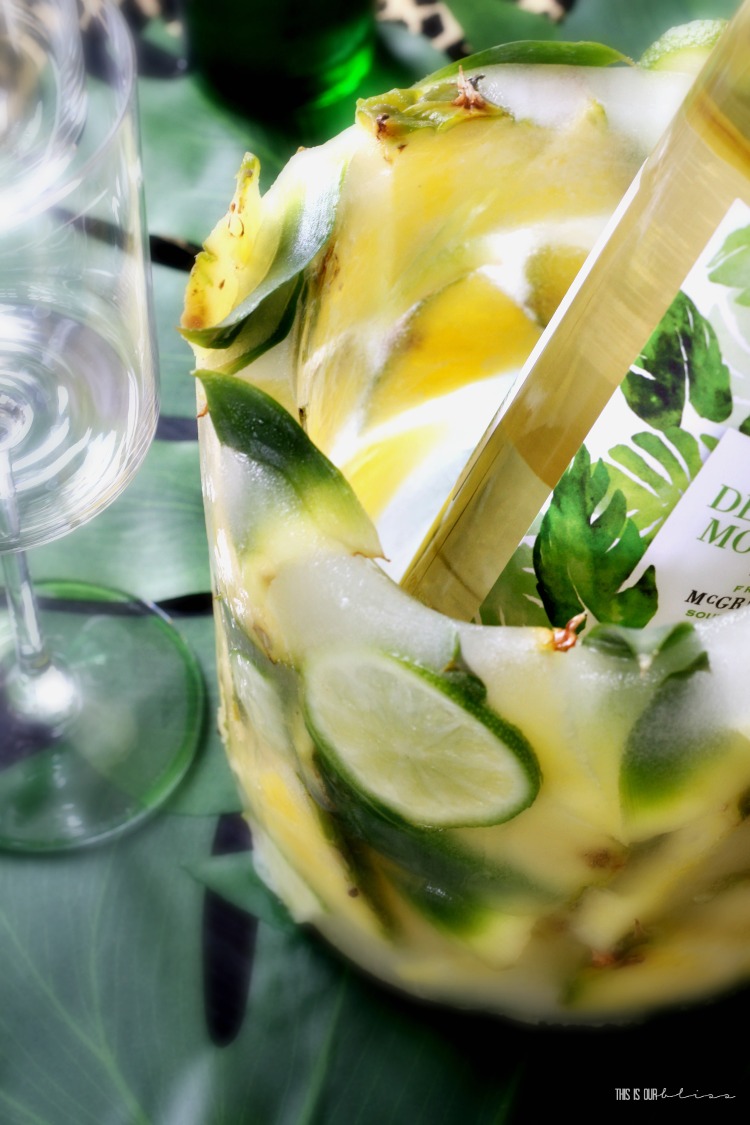
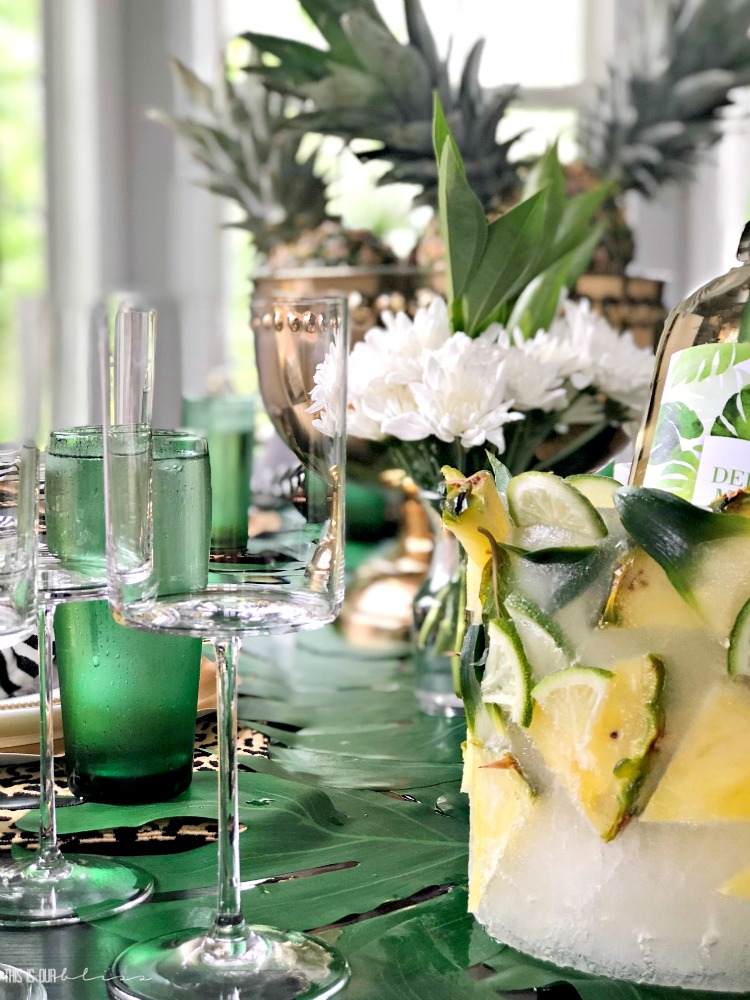
Finally, pop a bottle of wine inside and set it out for guests to ooh and ahh over! It really is a stunning work of art!
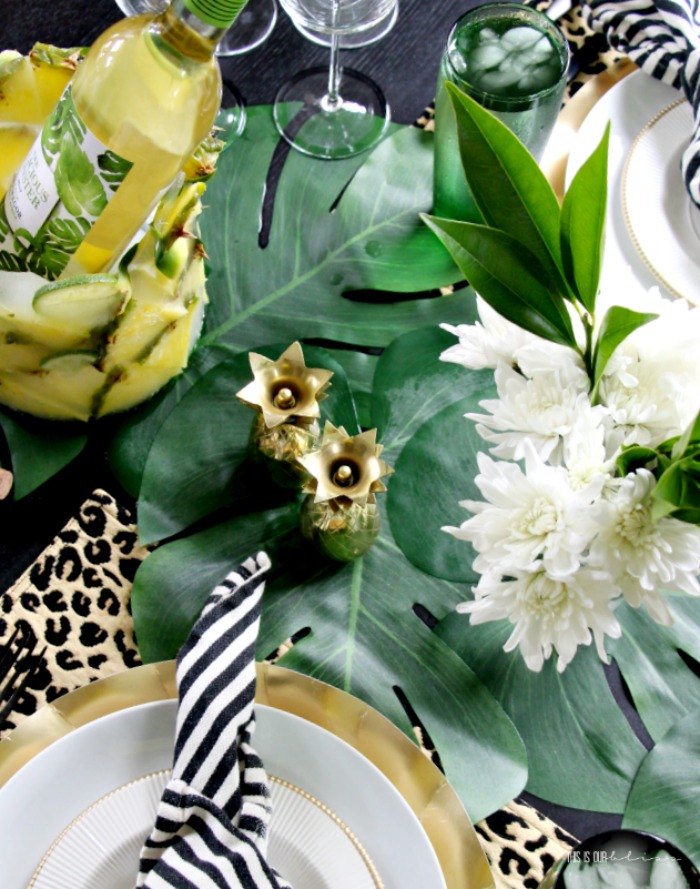
I stumbled upon this tropical-ish bottle of white wine from Trader Joes and knew it had to go on my table! Aren’t the palm leaves darling? It was really inexpensive, so I can’t fully commit to a recommendation, but it fit my motif so it went in the cart 🙂
It’s best to wait until just before your guests arrive to pull the ice bucket out. You don’t want a sticky, slushy mess before your wine is even chilled!
Yes, the fruit ice mold wine chiller will slowly melt over time, so you could put a small towel underneath to absorb the water or a pretty dish if you have one that works!
I realize my tutorial was long-winded and it does need 1-2 days to prepare, but I had so much fun making this that I can’t stop coming up with new ideas for my next ice mold wine chiller.
How cute would it be to make one for the holidays with cranberries and pine cones? Or fruit mixed with fresh flowers for a baby or bridal shower?!
The possibilities are limitless.
Guaranteed to be the talk of the table!
While I did enjoy my little makeshift DIY mold, I sourced an actual wine chiller ice mold in case you’re feeling like this might be too cumbersome. I, myself just might be purchasing it to use for all the ice molds in my hostessing future!
I’m going to make these so often my friends are going to get sick of them!
Now that you have yourself a pretty pineapple wine chiller, you need to head down the line-up below and see what else is on the menu. We have tablescapes and Summer-y centerpieces, to sweet treats, desserts and more!
My friend Charlotte of At Charlotte’s House is starting us off with a darling kid-friendly outdoor table for her whole crew to enjoy dining together at! Happy Summer entertaining, my friends!!
At Charlotte’s House
Dixie Delights
Dimples and Tangles
Haneen’s Haven
Our Fifth House
Southern State of Mind
This Is Our Bliss
*If you missed the Spring Progressive Dinner Party, you can see my Fresh & Faux Floral Centerpiece post here!
Don’t forget to pin for later!
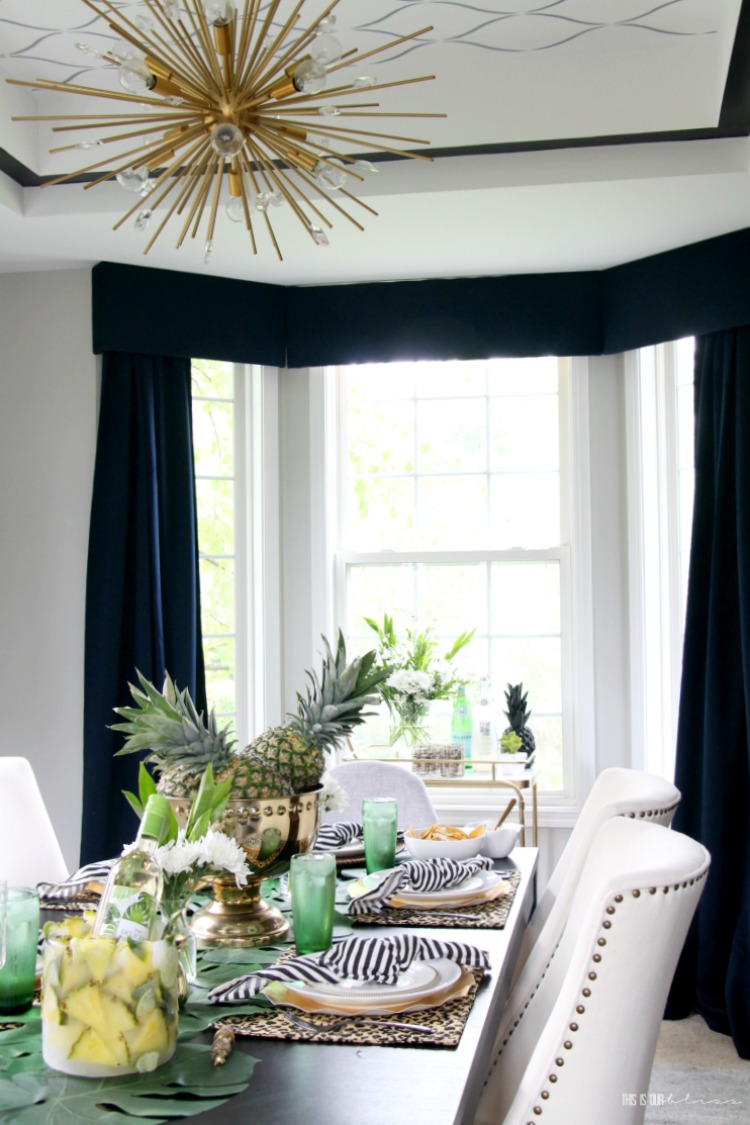
The rest of my Tropical Summer Table will be on the blog later this week, so be sure to come back by to see more!
Isn’t summer style the best?!
And if you are a pineapple lover like me, then you might want to check out these other posts:
Patriotic Pineapple Printable
Current Crush: All Things Pineapple
Thrifted Pineapple Vase
For more entertaining ideas, you can check out my Full Entertaining Gallery here full of Tablescapes, Recipes and more!
Have a lovely day, friends! I hope to see you here again soon 🙂


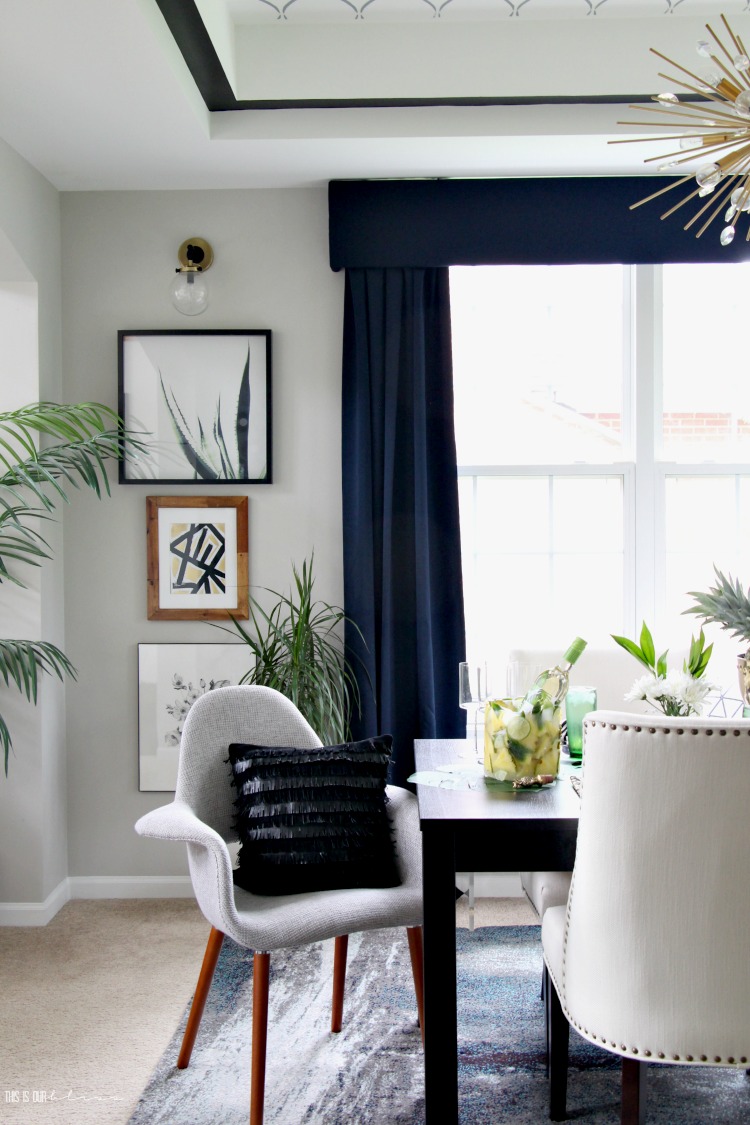




Tropical Summer Table With Pineapples, Palm Leaves & Leopard Print - This is our Bliss
June 14, 2018 at 5:02 AM[…] fave blogger gal pals for a virtual Summer Progressive Dinner Party earlier this week and shared my Tropical Fruit-filled Ice Mold Wine Chiller as a stylish Summer entertaining idea and you probably caught a few glimpses of the table. So […]
Carmel
June 12, 2018 at 11:32 PMI’ve always wanted to do this! It’s so pretty and festive for a party!
Rachael @ This is our Bliss
June 15, 2018 at 11:43 AMThanks, girl!! It really was fun to make! It might be my new party staple 🙂
T
June 12, 2018 at 11:34 AMThis is one of the coolest projects and very summer appropriate! Maybe it will bring some sunshine too…
Rachael @ This is our Bliss
June 15, 2018 at 11:43 AMThanks for all your help!! xo
Summer Progressive Dinner Party- Citrus and Hydrangea Centerpiece - Southern State of Mind
June 12, 2018 at 10:13 AM[…] sure to check out the next stop on the dinner tour over at This is Our Bliss. That ice mold is […]
Rose Sorbet Mimosa or Charleston Sunset - You Decide - Our Fifth House
June 12, 2018 at 9:39 AM[…] At Charlotte’s House Dixie Delights Dimples and Tangles Haneen’s Haven Our Fifth House Southern State of Mind This Is Our Bliss […]