
It’s Friday, folks and this girl couldn’t be any happier. Ready for a relaxing night tonight & date night tomorrow 🙂 The nursery is getting so very close to completion. I have a few more projects in the works, but the big stuff is done! If you follow me on Instagram, you’ll see I started on this little DIY project the earlier in the week:
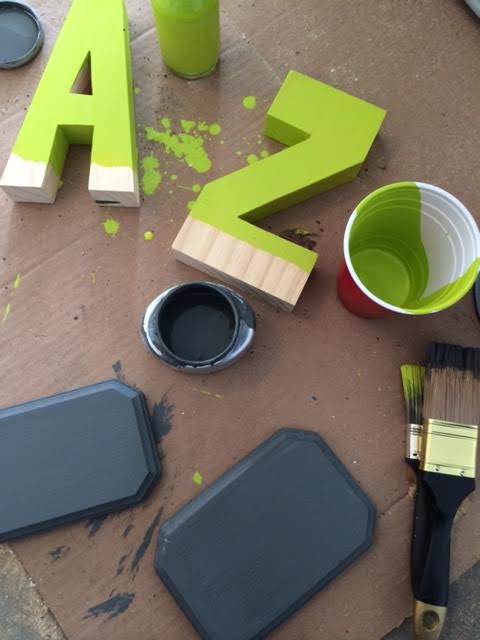
I snapped a quick picture because I realized I hadn’t taken any “before” pictures for the tutorial. Sorry! Oh well. I think it is pretty self-explanatory. I had several of the supplies on-hand which was a huge bonus and picked up the rest for less than 15 bucks.
I started with the following materials:
wooden letters {A & Z} @ $4.99 each (but used a 40% off coupon on each) | Jo-Ann Fabric
2 wooden bases {5″ x 7″} @ $1.79 each | Jo-Ann’s
paint – lime green {leftover from the closet makeover} & gray {leftover from the pegboard project}
2″ paintbrush
craft glue
clear lacquer spray
Metallic silver tape from Amazon {same type as the gold tape I used here}
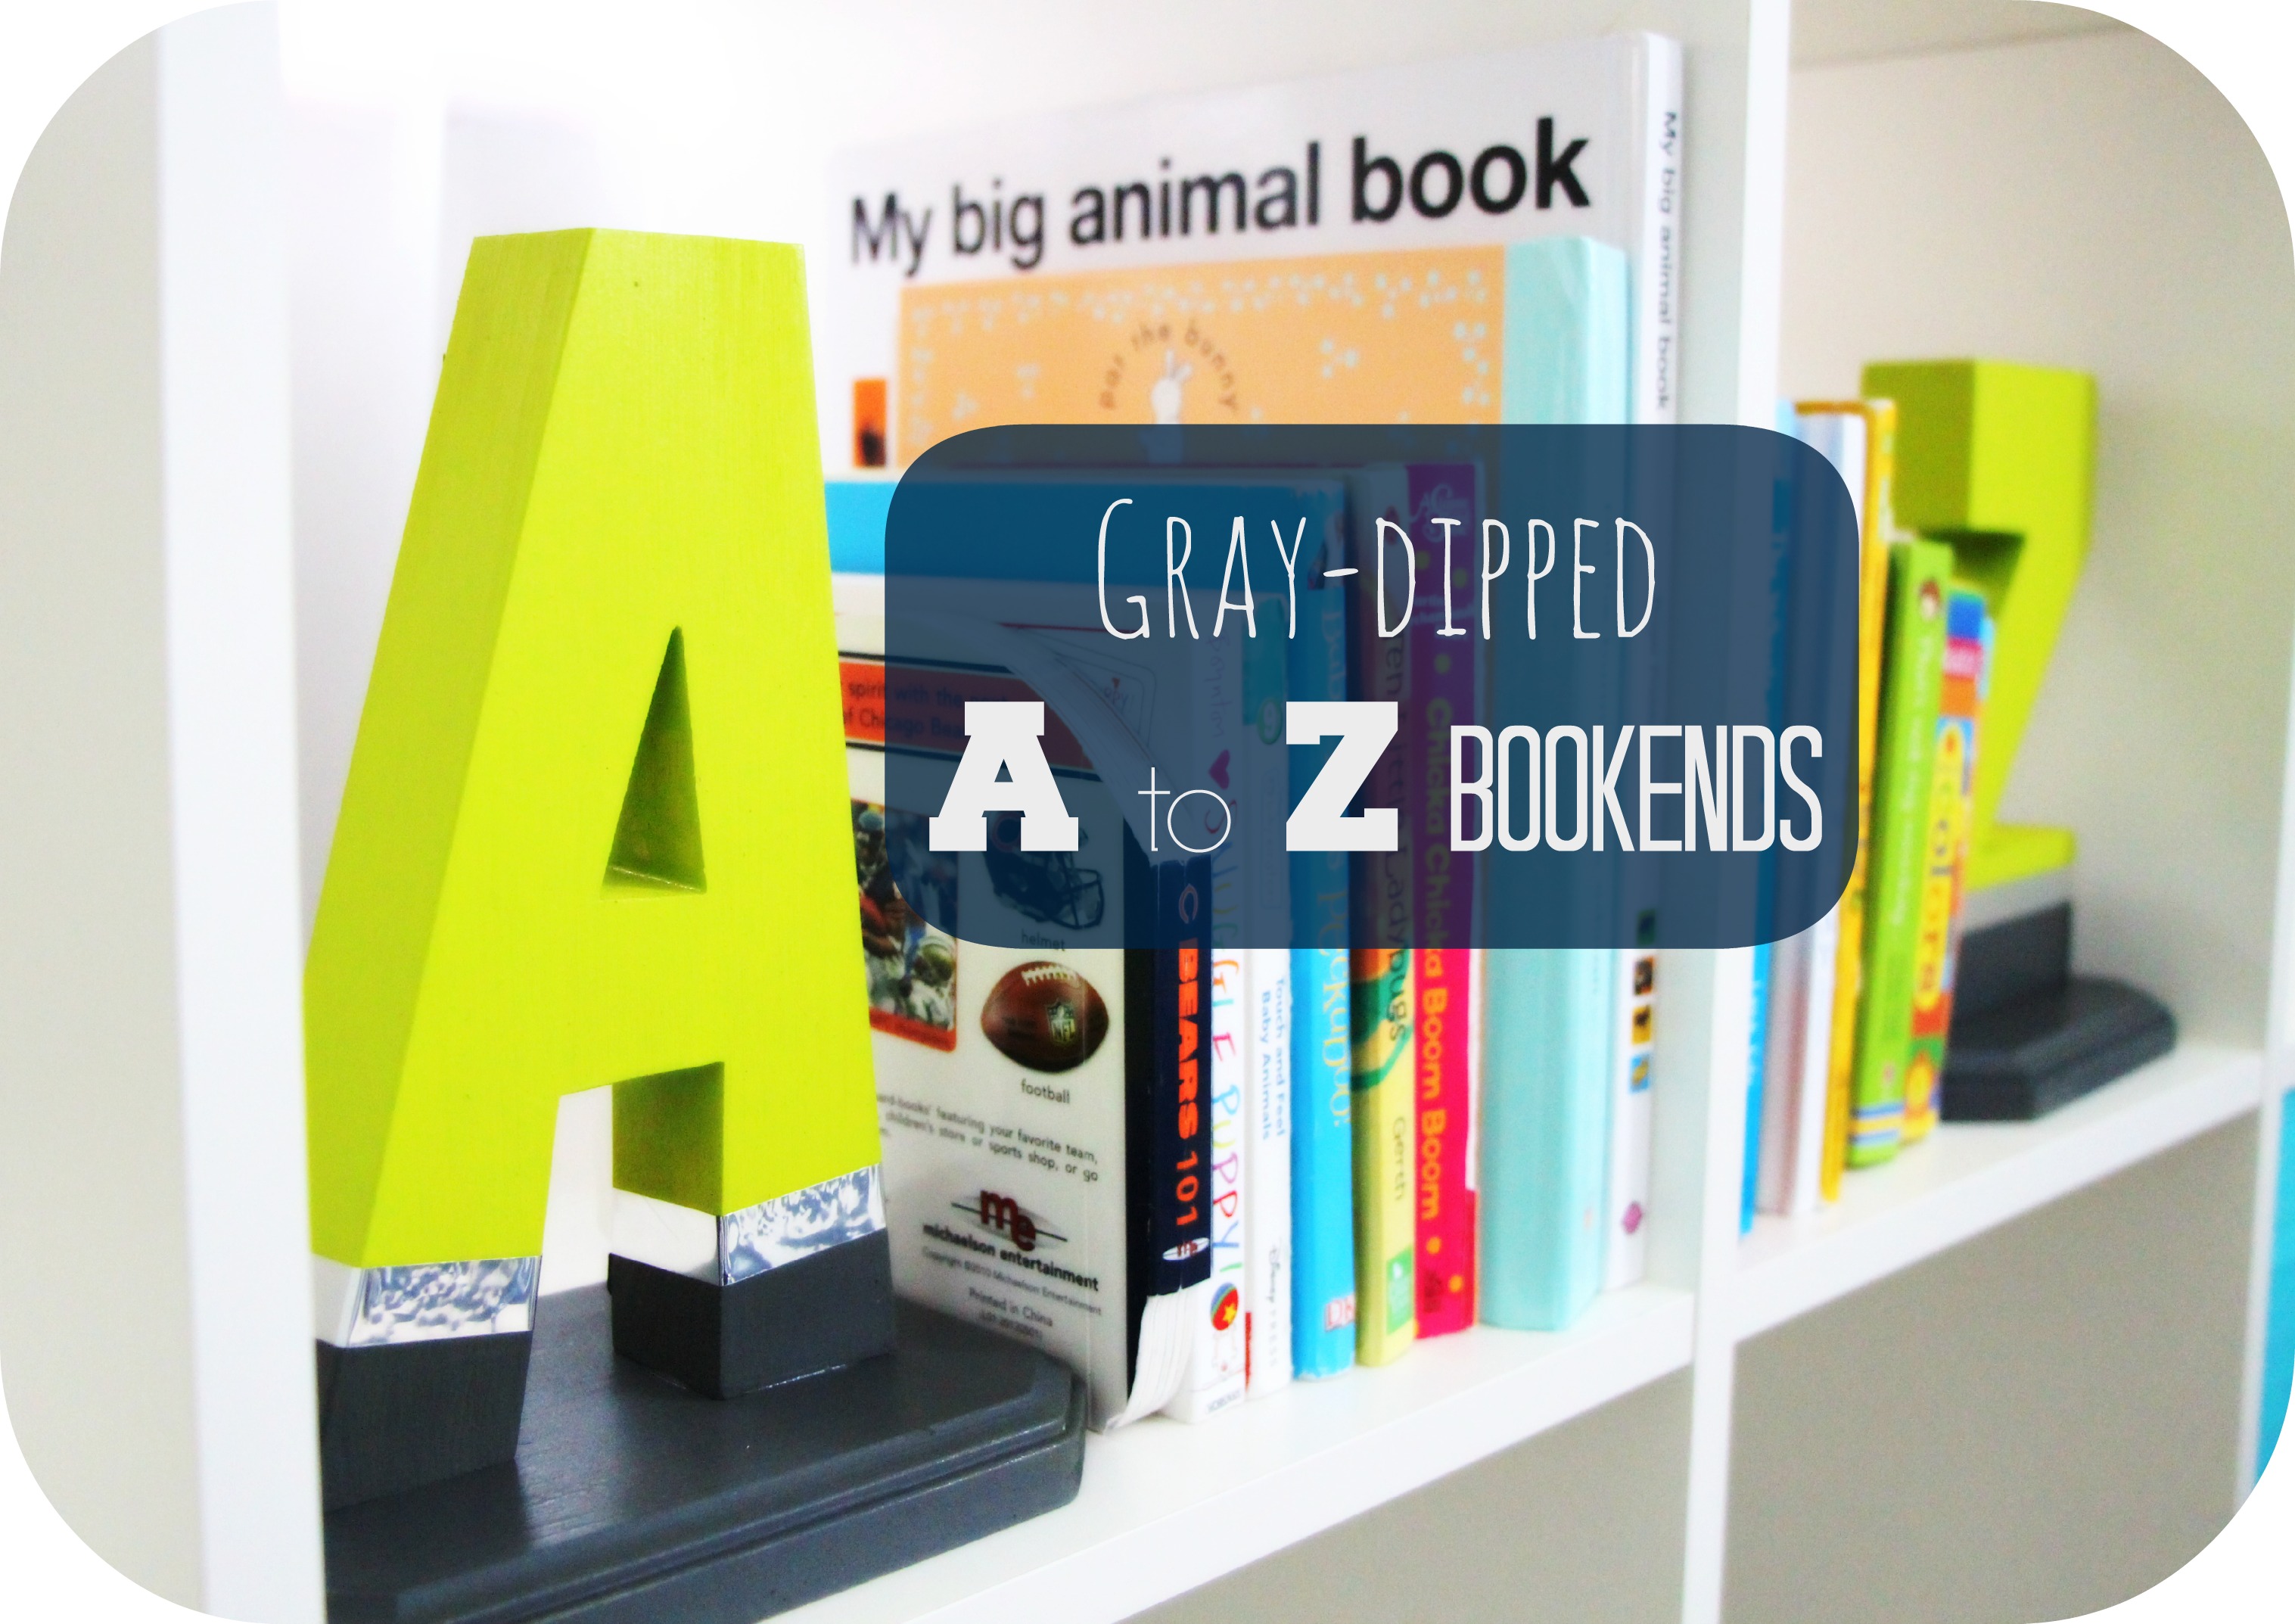
I started by painting about 80% of the letters in green working my way down from the top. I just eyeballed where I wanted to stop. My plan was to paint the gray color at the bottom of the letter and the base as well. I was going for the “dipped” look. BTW, I saw these PB Teen Dipped Wall Letters for $39/letter… CRA-ZY, I tell you! I really liked the look of them though… part of my inspiration for this project.
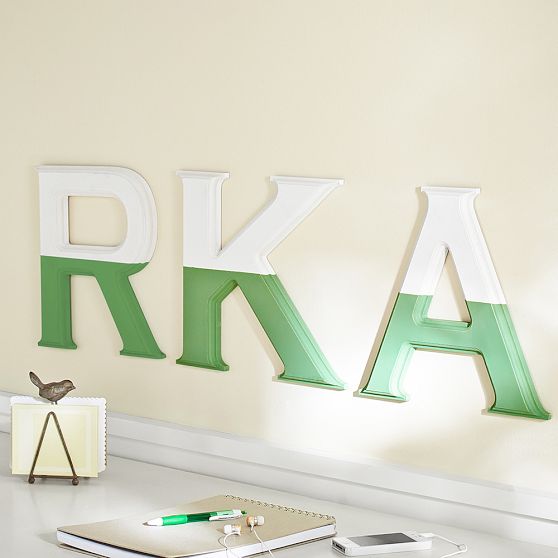
Another inspiration:

Liz from Love Grows Wild shows this DIY tutorial from another set of PB Teen bookends… the price just doesn’t make sense when something similar is so easy to make!
Back to my project…From there, I painted the gray at the bottom of the letter and the bases & let dry. Applied 2nd coat of each color & let dry. I then, spritzed a light coat of clear lacquer to the letters & bases since the paint was matte finish and I wanted them to have a slight sheen.

Next, I wrapped the silver tape around the letters where the paint colors met, which meant the tape would cover my unclean paint line.
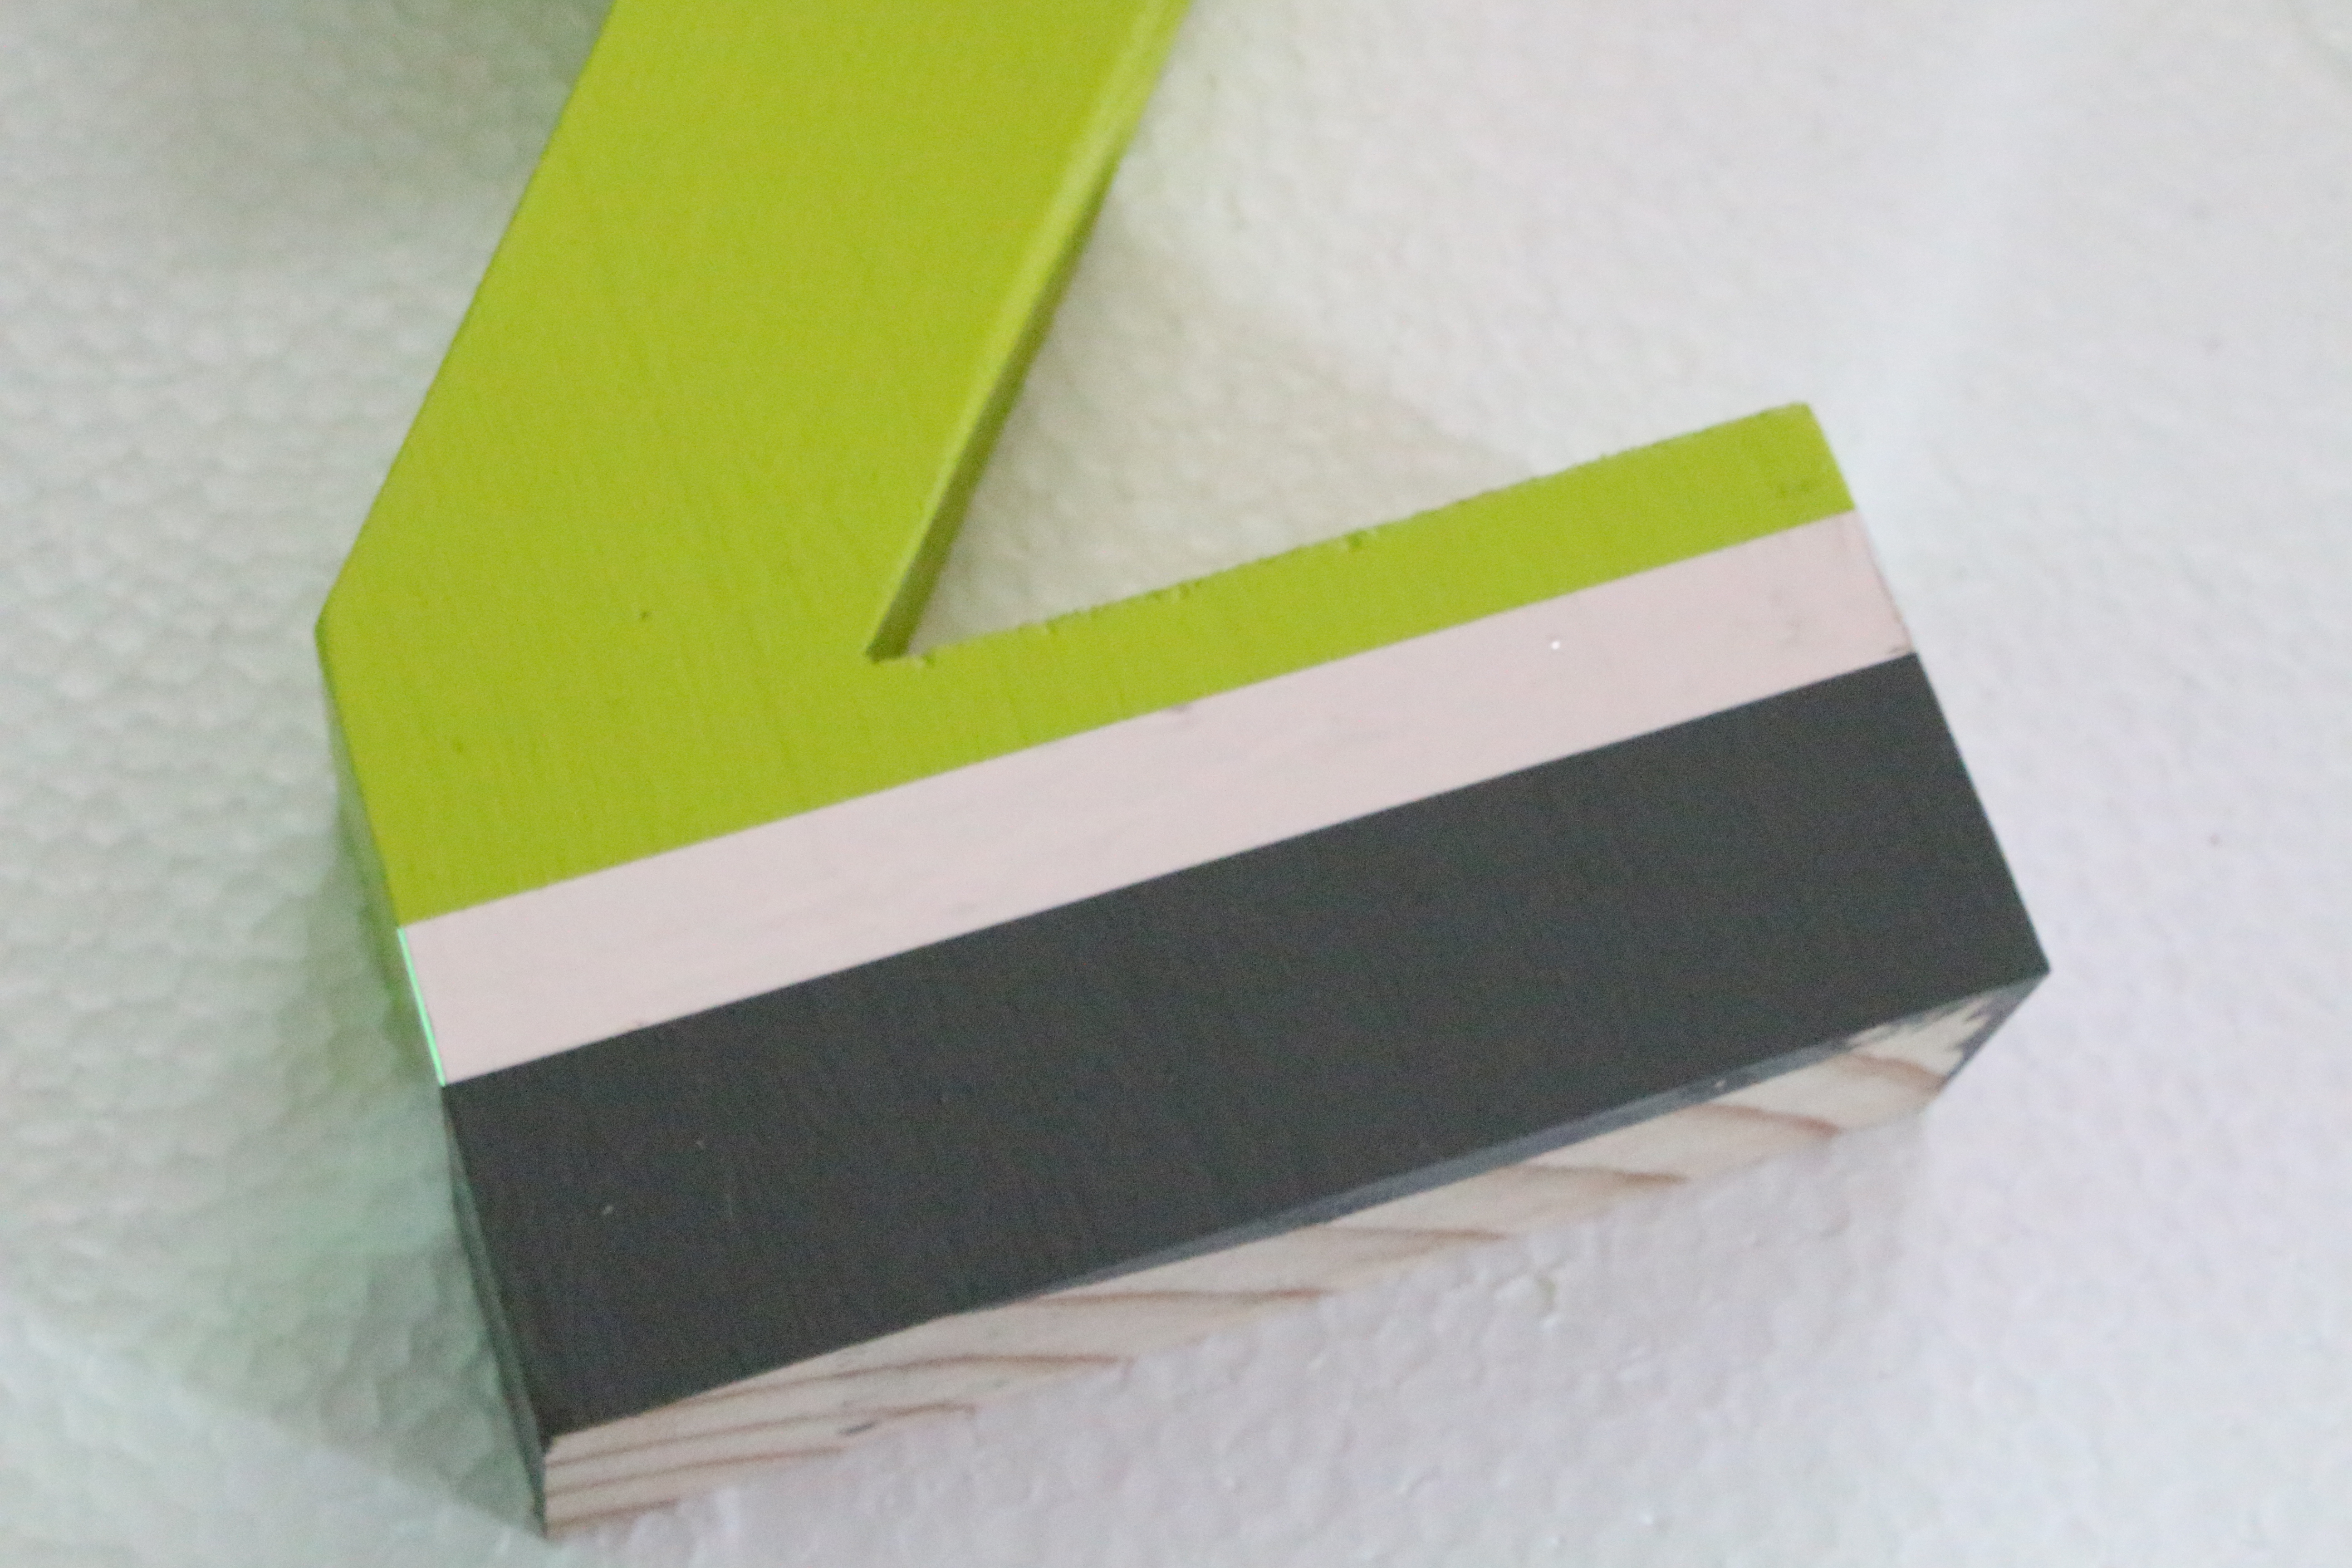
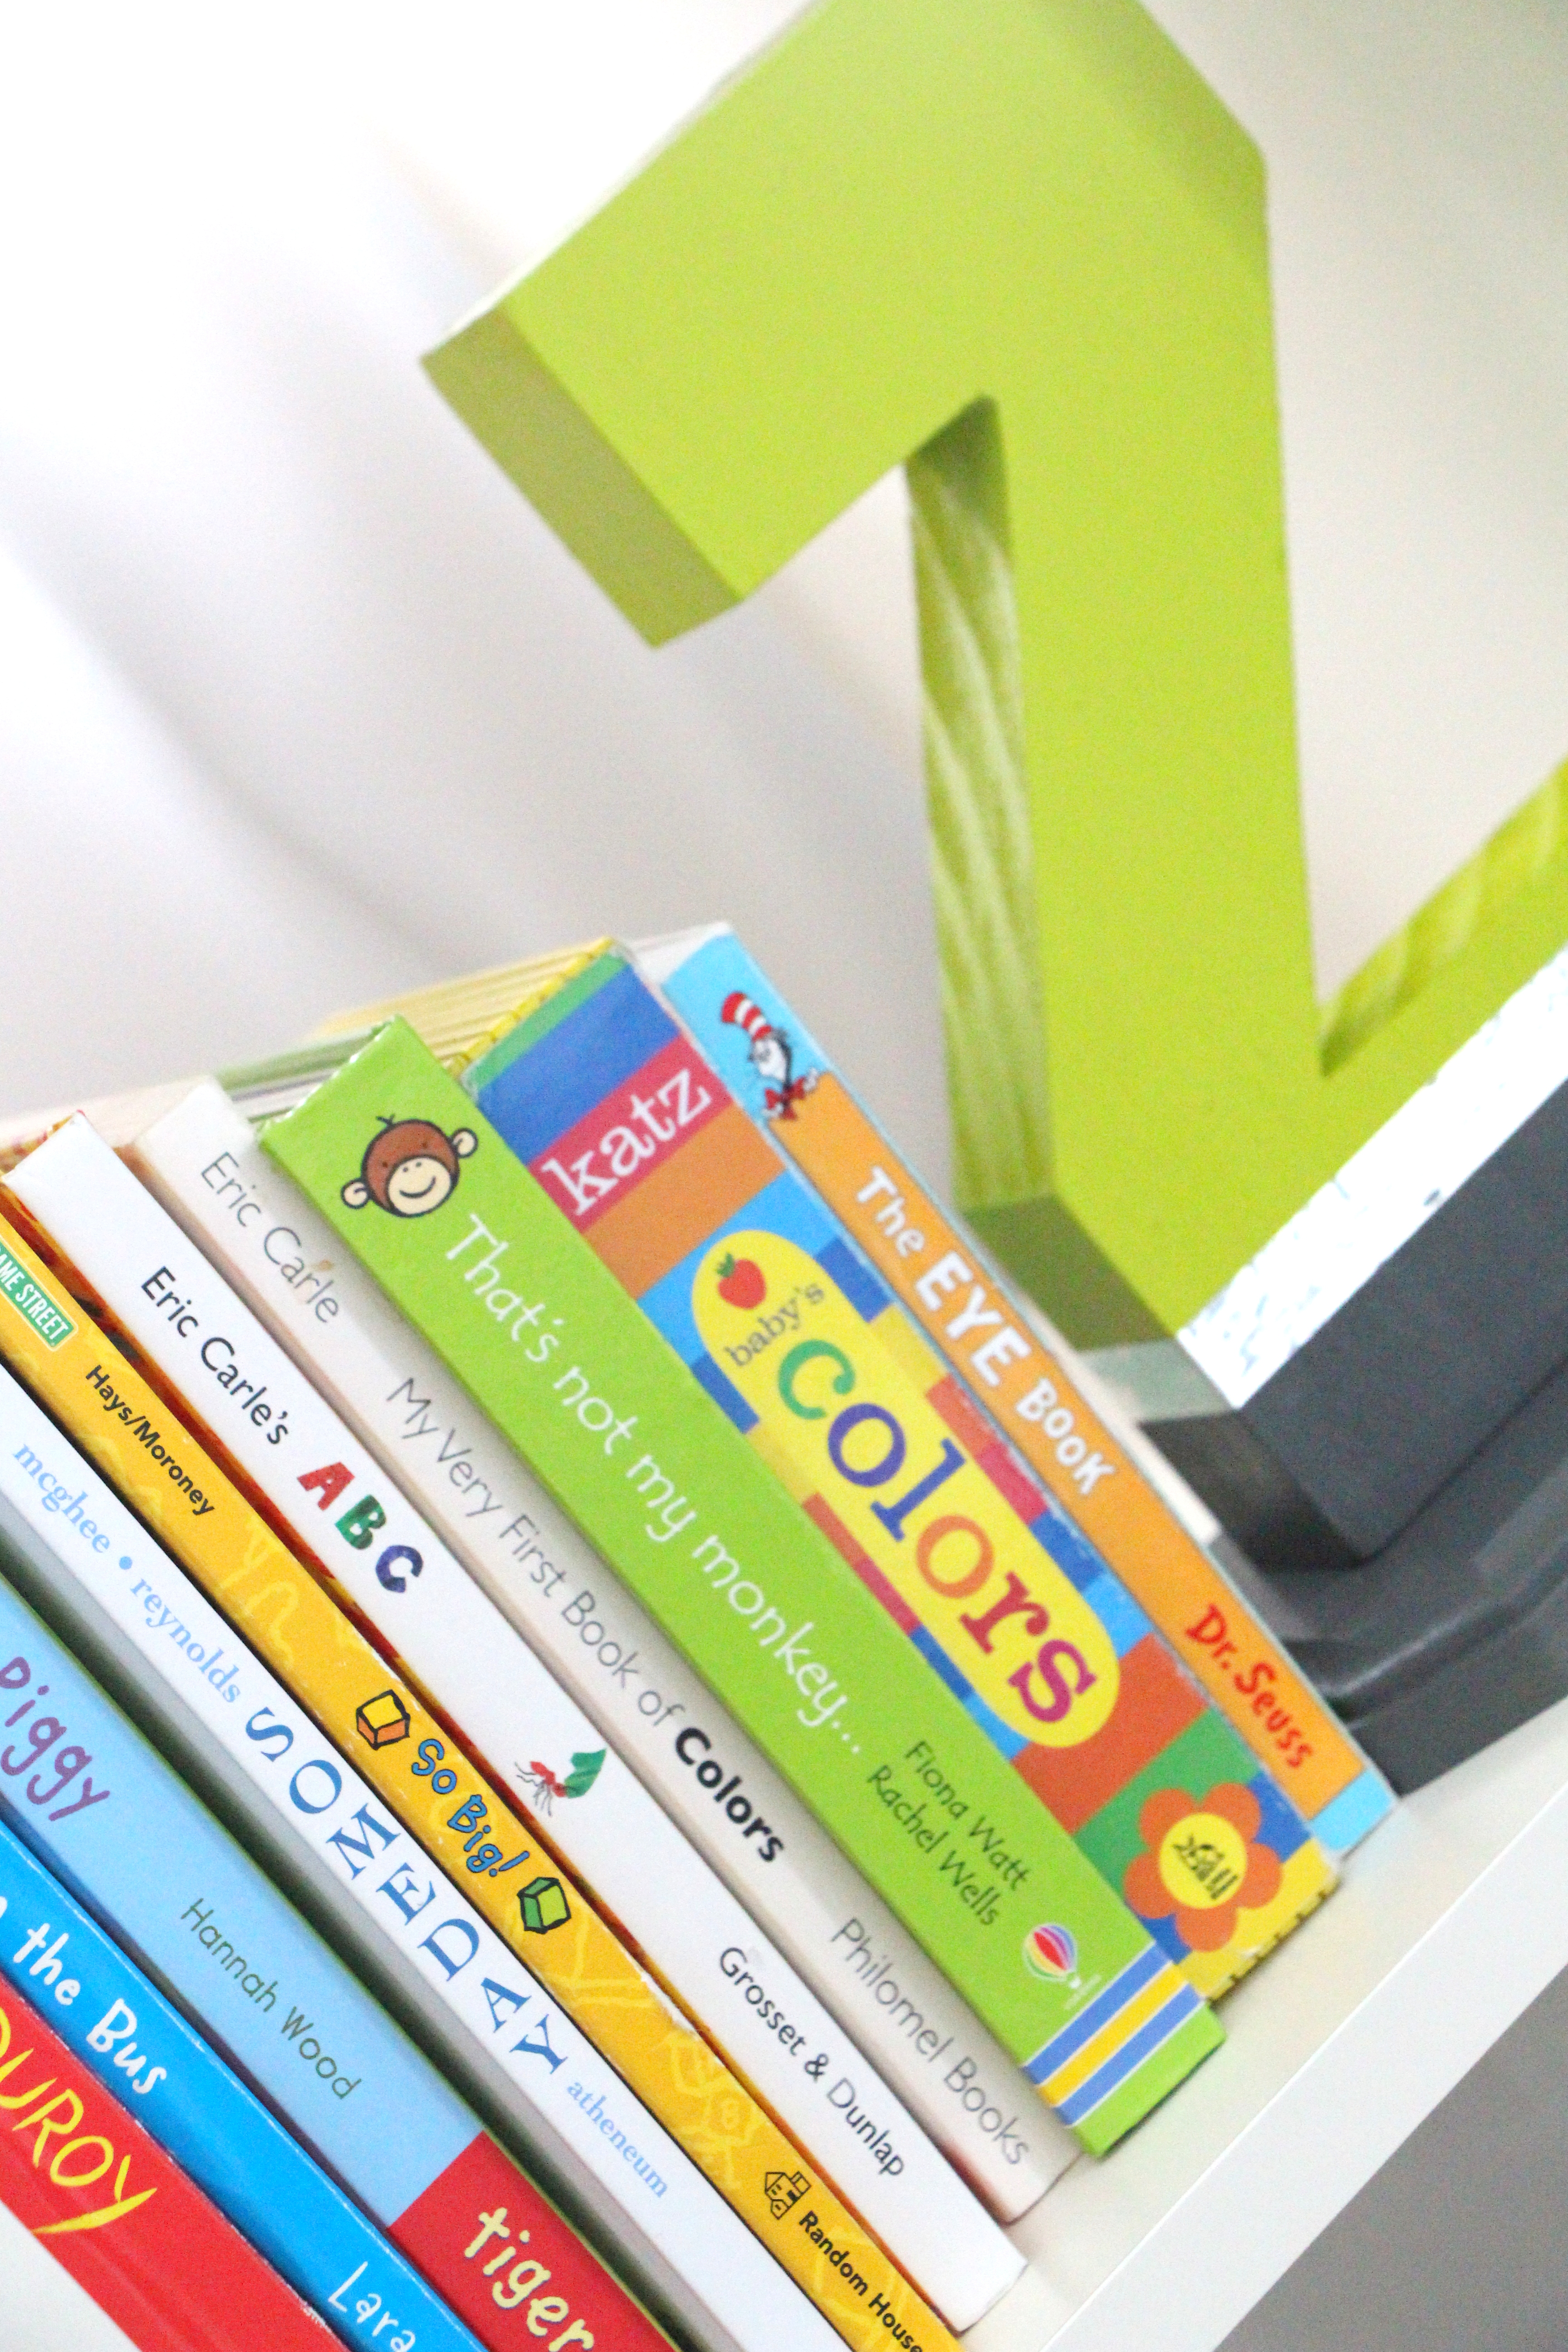
After the tape was in place, I applied craft glue to the bottom of the letters and placed them on the wooden base, pressed firmly & allowed the glue to dry.

I put them on the shelves & fell in love!


What do you think? Just buy or try to DIY?
Next week, I will update you on the checklist, post the mobile project and try to sneak in something fun totally unrelated to babies & nurseries 🙂 I know, it’s been an overload, but that is what got me going on this whole blog adventure in the first place! Thanks for reading & enjoy the first weekend of May.


This is our Bliss @ IHeart Organizing | This is our Bliss
February 4, 2015 at 3:39 PM[…] Reveal DIY Silver Dinosaurs DIY Curtains from bedsheets A to Z Bookends DIY Lampshade Nursery Mobile Pegboard Gallery Wall Free Nursery Word Art Printable Mustache […]
S is for Simon {DIY Marquee Letter} | This is our Bliss
June 4, 2014 at 8:11 PM[…] curtains | Nursery closet | lampshade | Mustache shadow box | A to Z bookends | Silver Dinosaurs | Nursery […]
>>> Simon’s Nursery Reveal<<< | This is our Bliss
May 31, 2014 at 2:06 PM[…] A to Z Bookends – Tutorial here […]
Simple Silver Dinosaurs {DIY for $2} | This is our Bliss
May 8, 2014 at 10:35 PM[…] ← A to Z Bookends {DIY} for my future reader […]