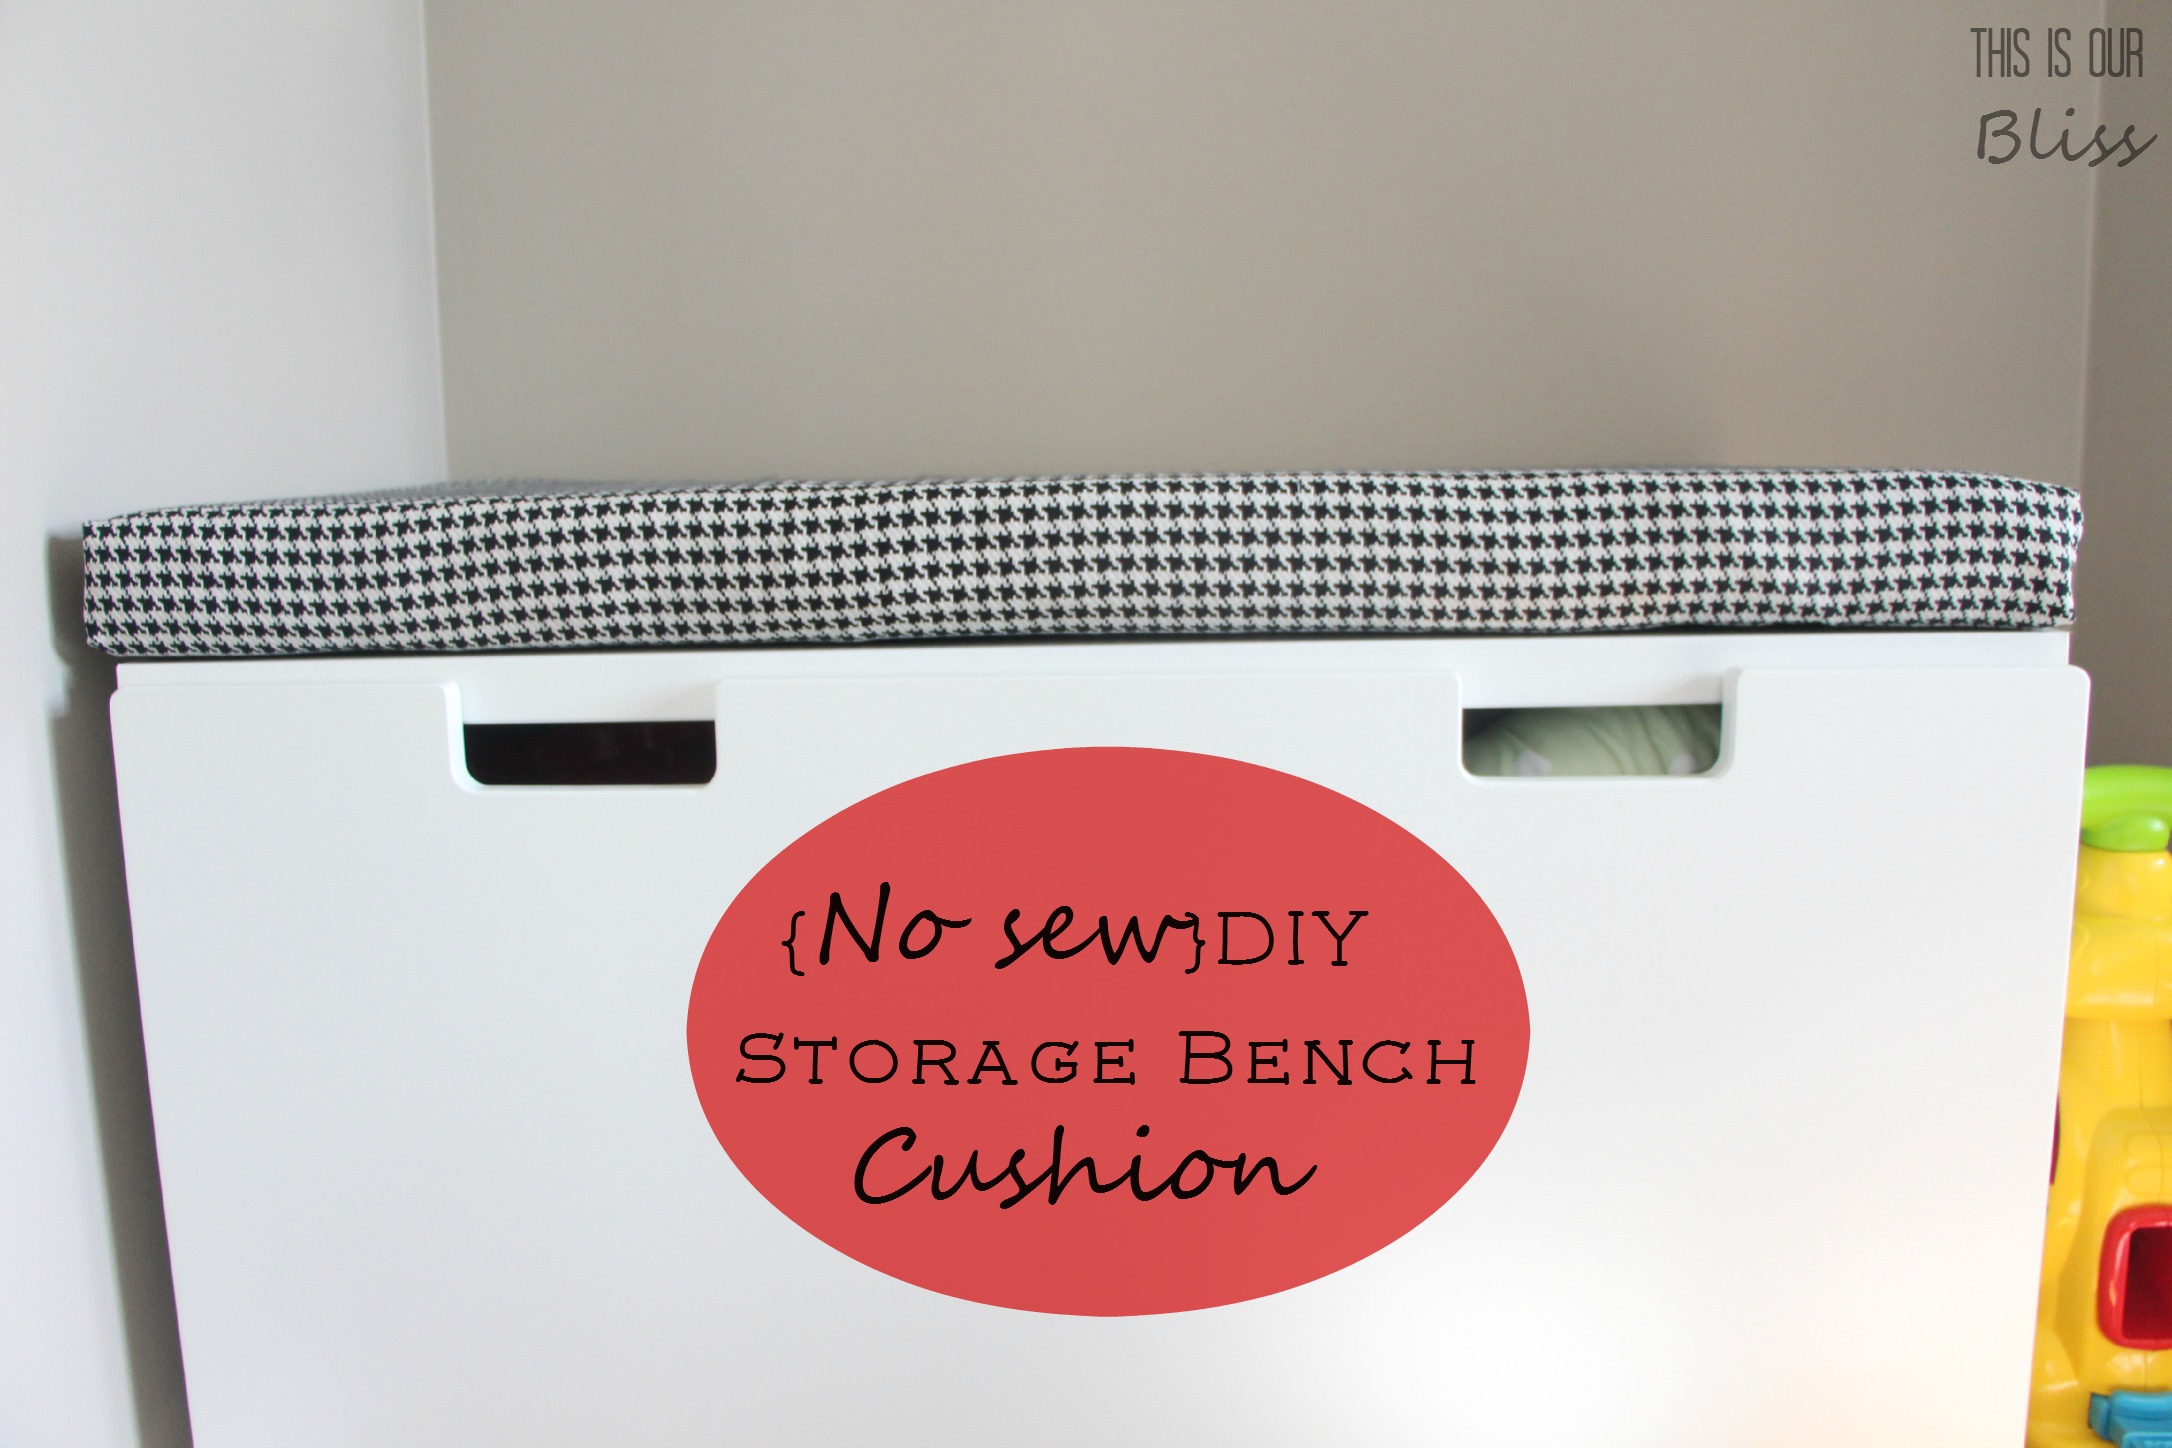
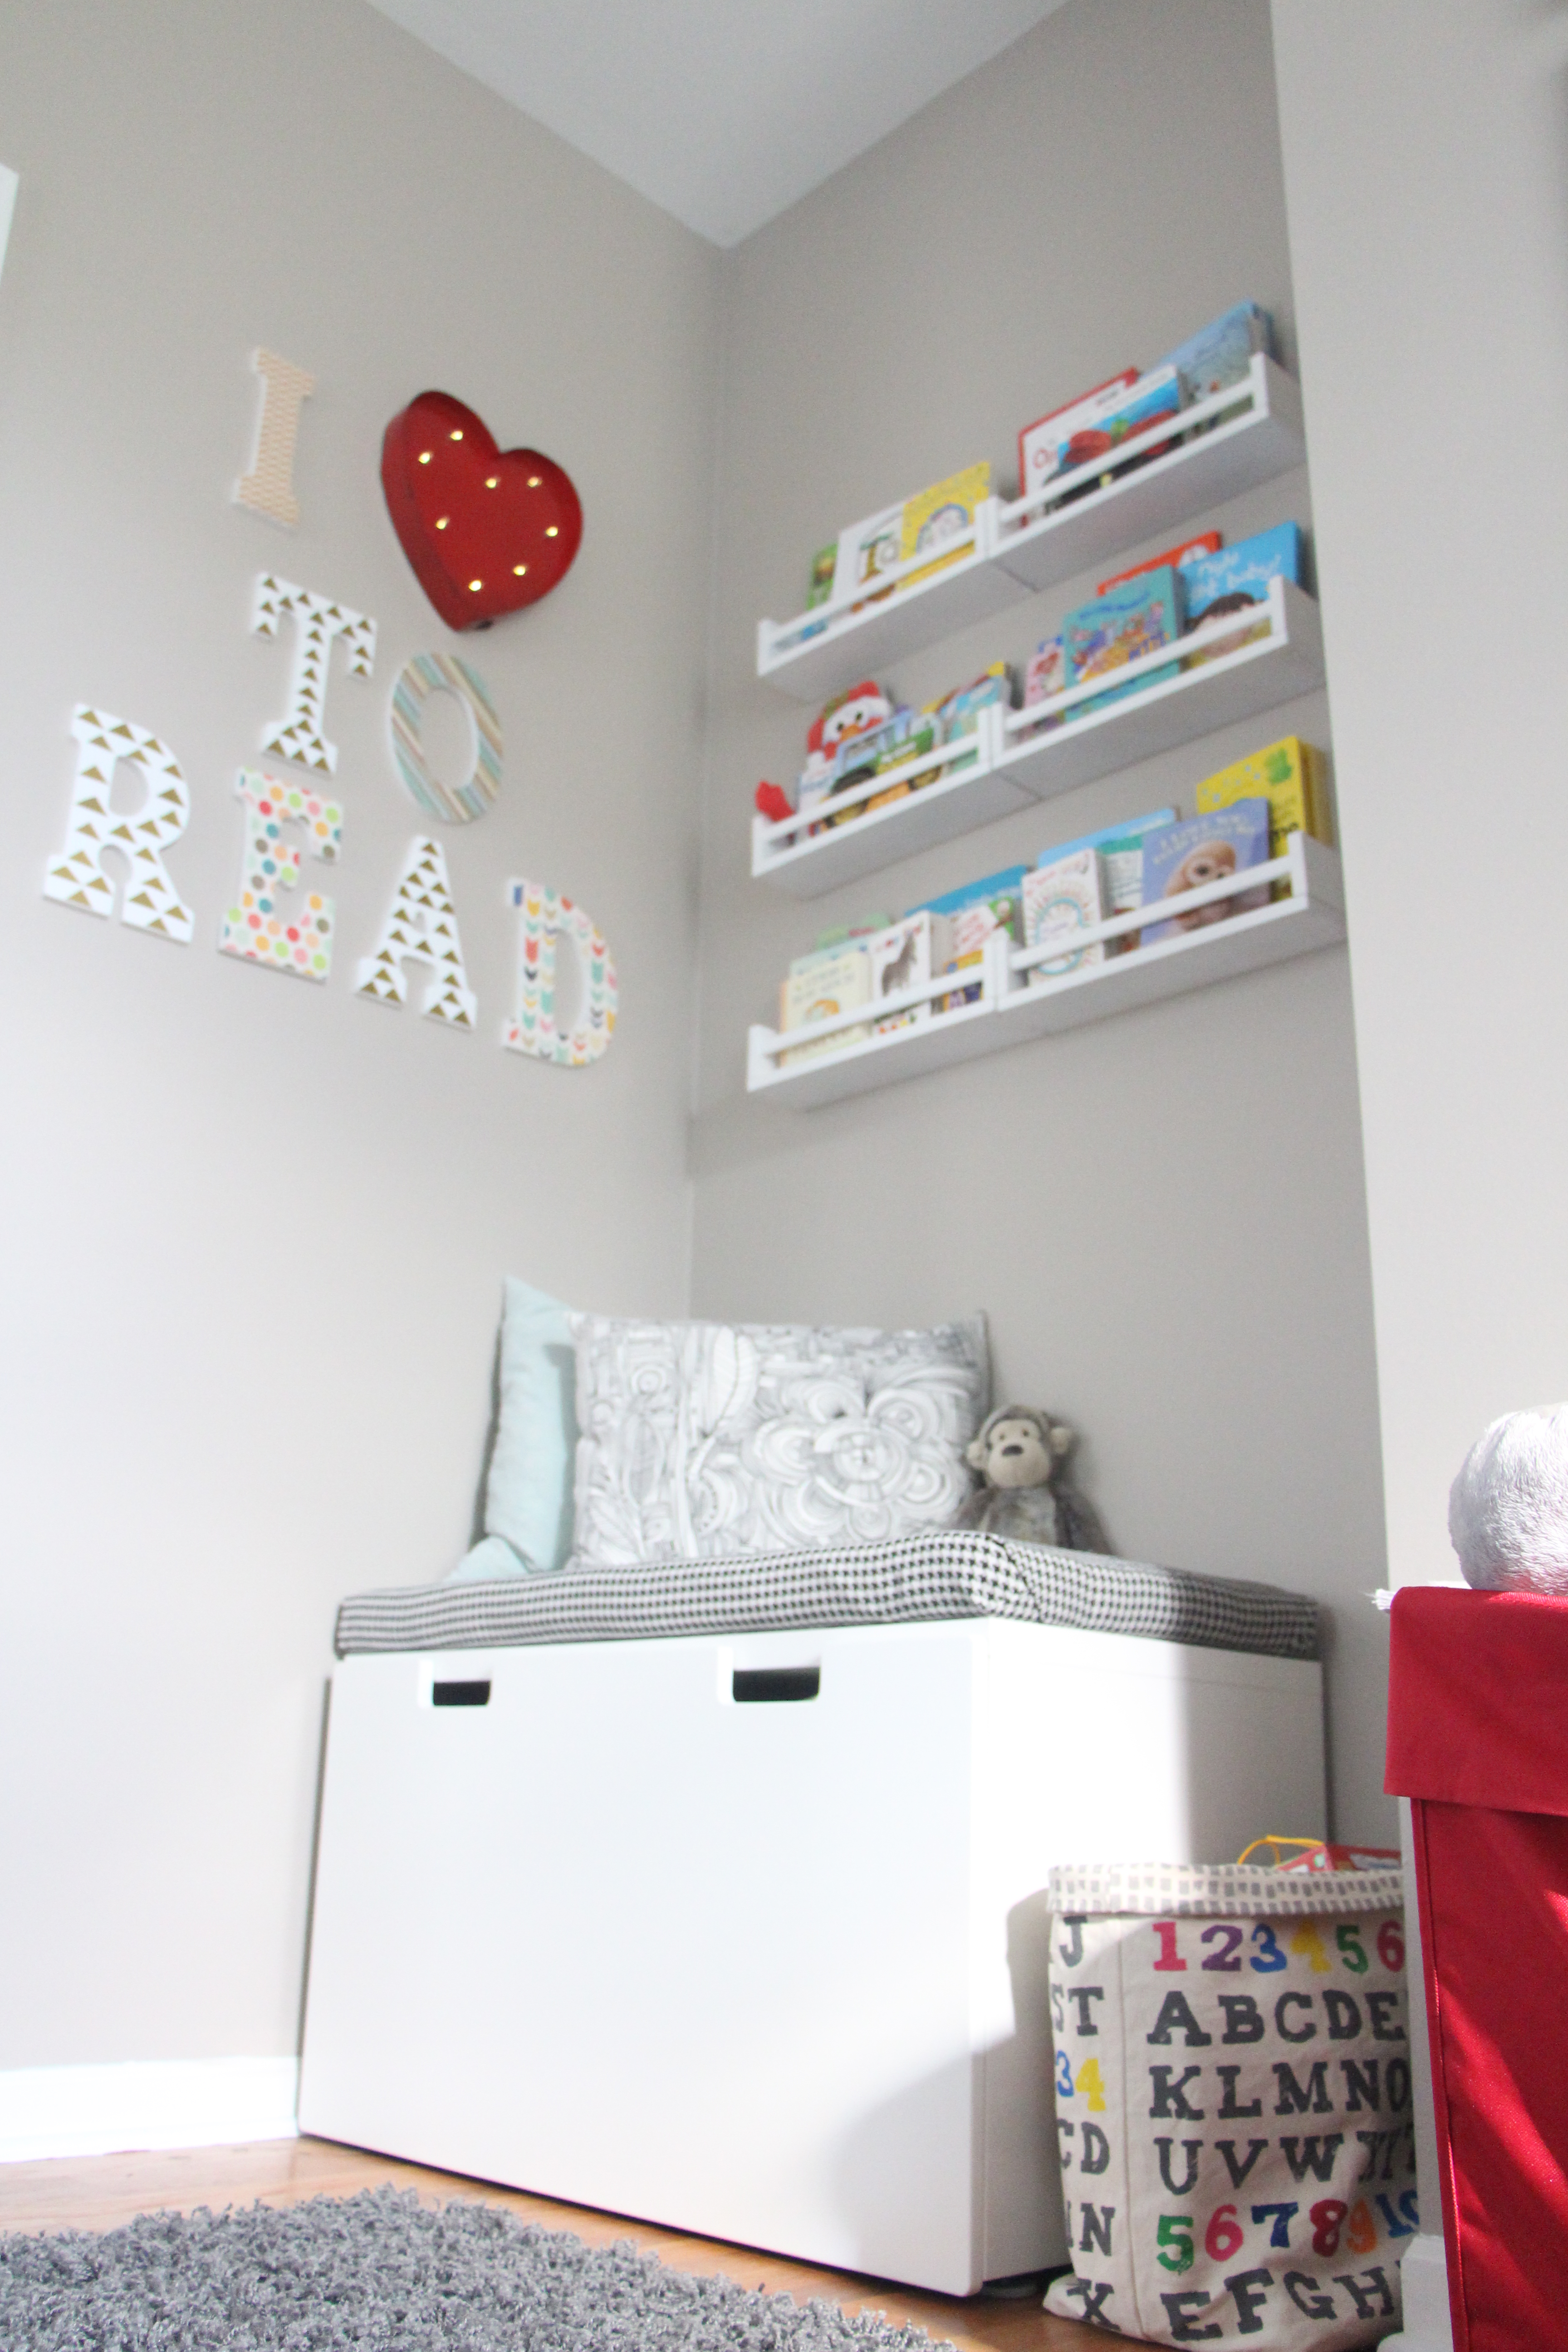
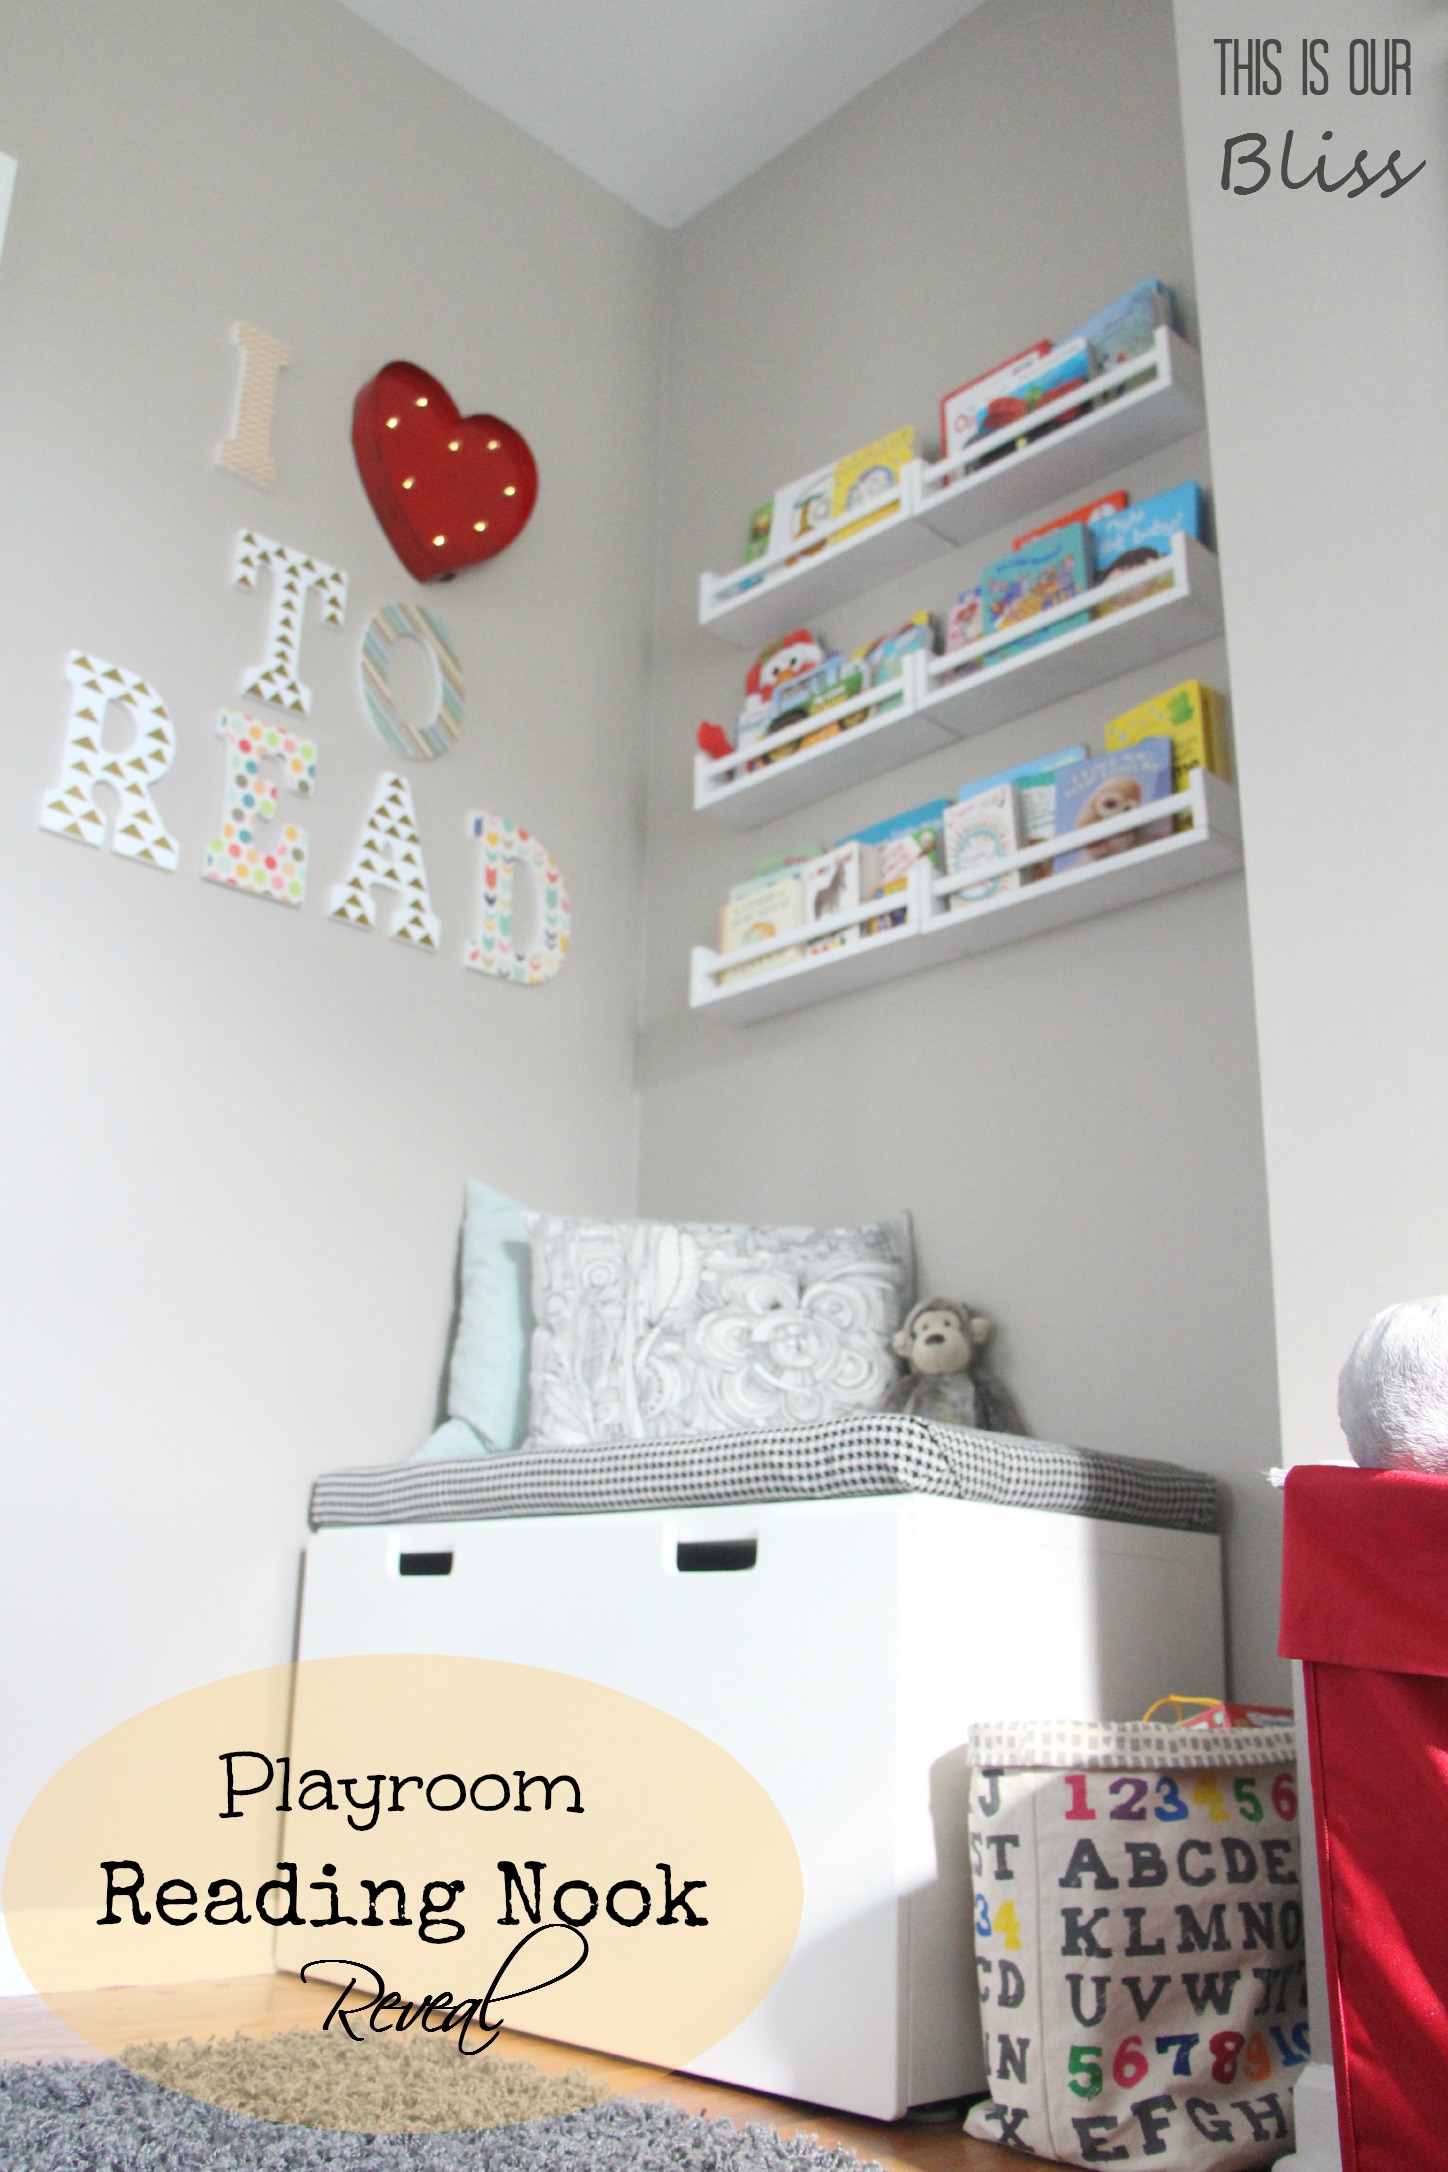
Hi everyone! I am happy to report I had 2 awesome nappers today and was able to knock out the playroom bench cushion! Woo hoo! If you are new to This is our Bliss, then you probably have no idea how long this room & the Reading Nook series has been dragging on…like forever. Well, now I can say that one corner of the room is absolutely & completely finished. There really isn’t a whole lot more I am going to do to the room, but will share more photos soon.
Other than working on the cushion today, I have been concocting a few fall / Thanksgiving décor ideas in my head since I loaded up this week on supplies. I scored a ton of goodies at Michaels & Joann’s in their Fall & Halloween clearance section with 70-80% off everything I bought! If you haven’t stopped into your local craft & hobby store (or even Target) yet this week, you are totally missing out. I found black burlap & black chalkboard paper marked down to basically nothing… huge bonus because I can use these them year-round…for some reason they must have thought people only want to use them at Halloween?! Oh well, lucky me 🙂 .
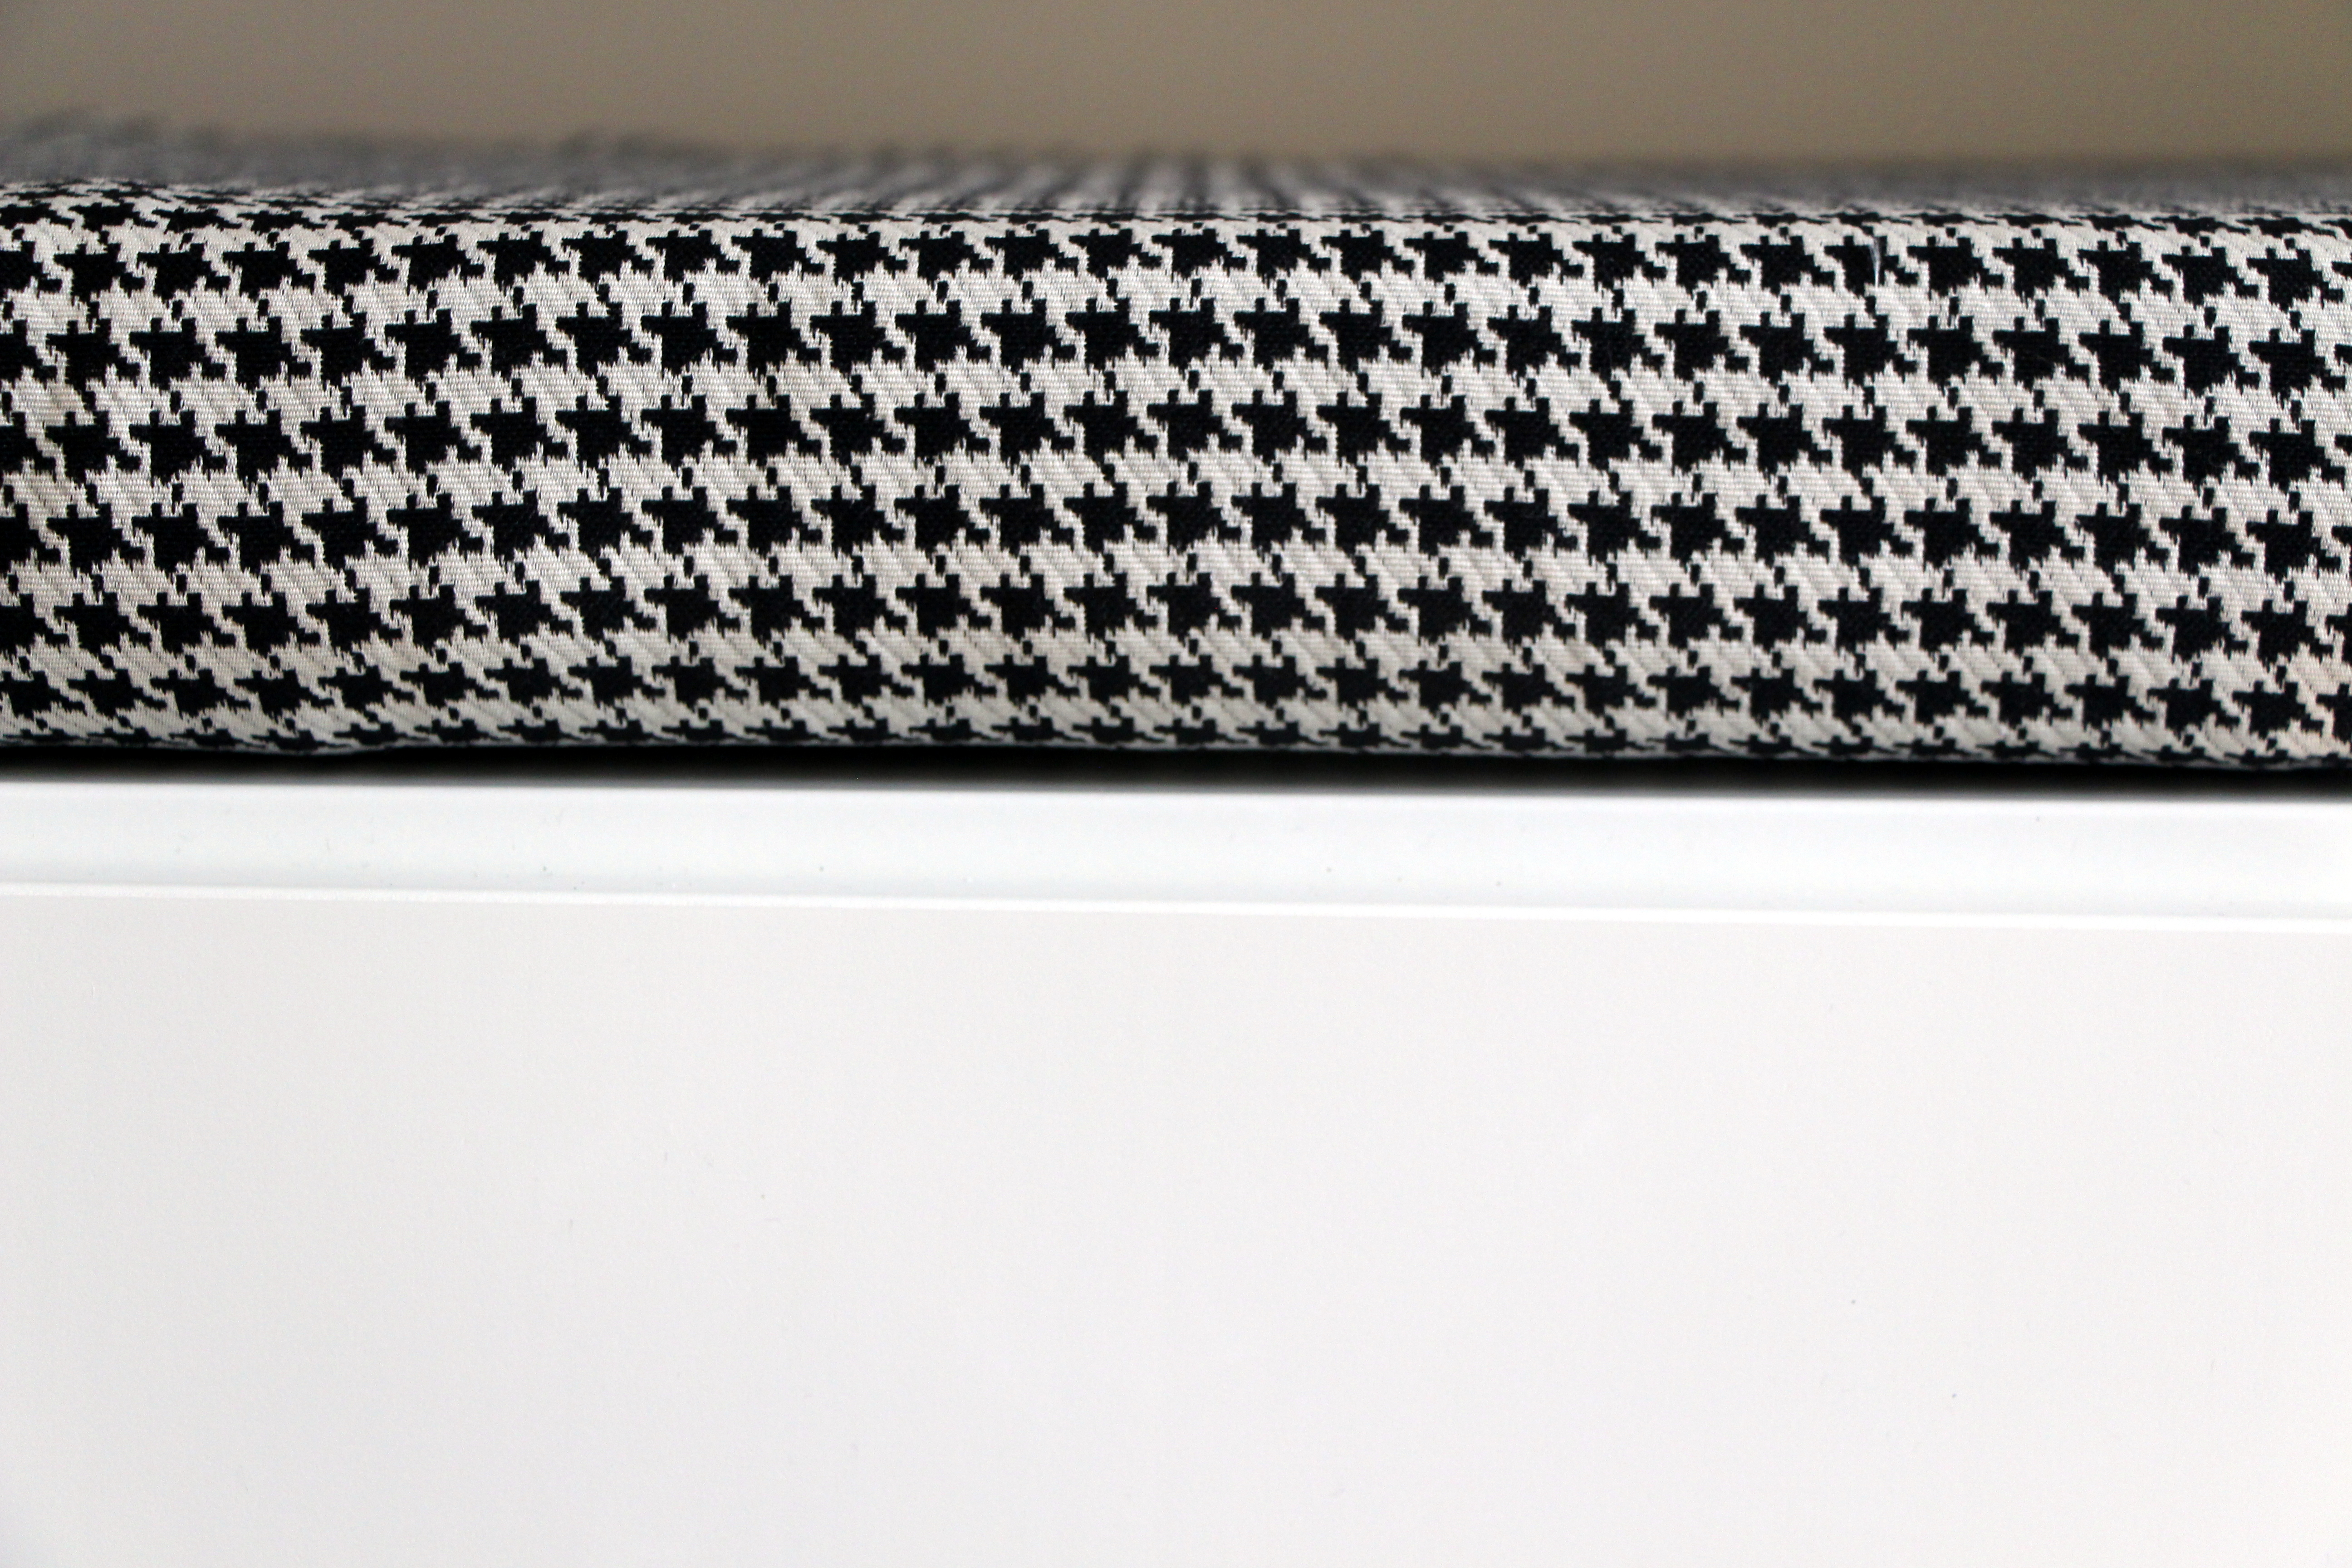
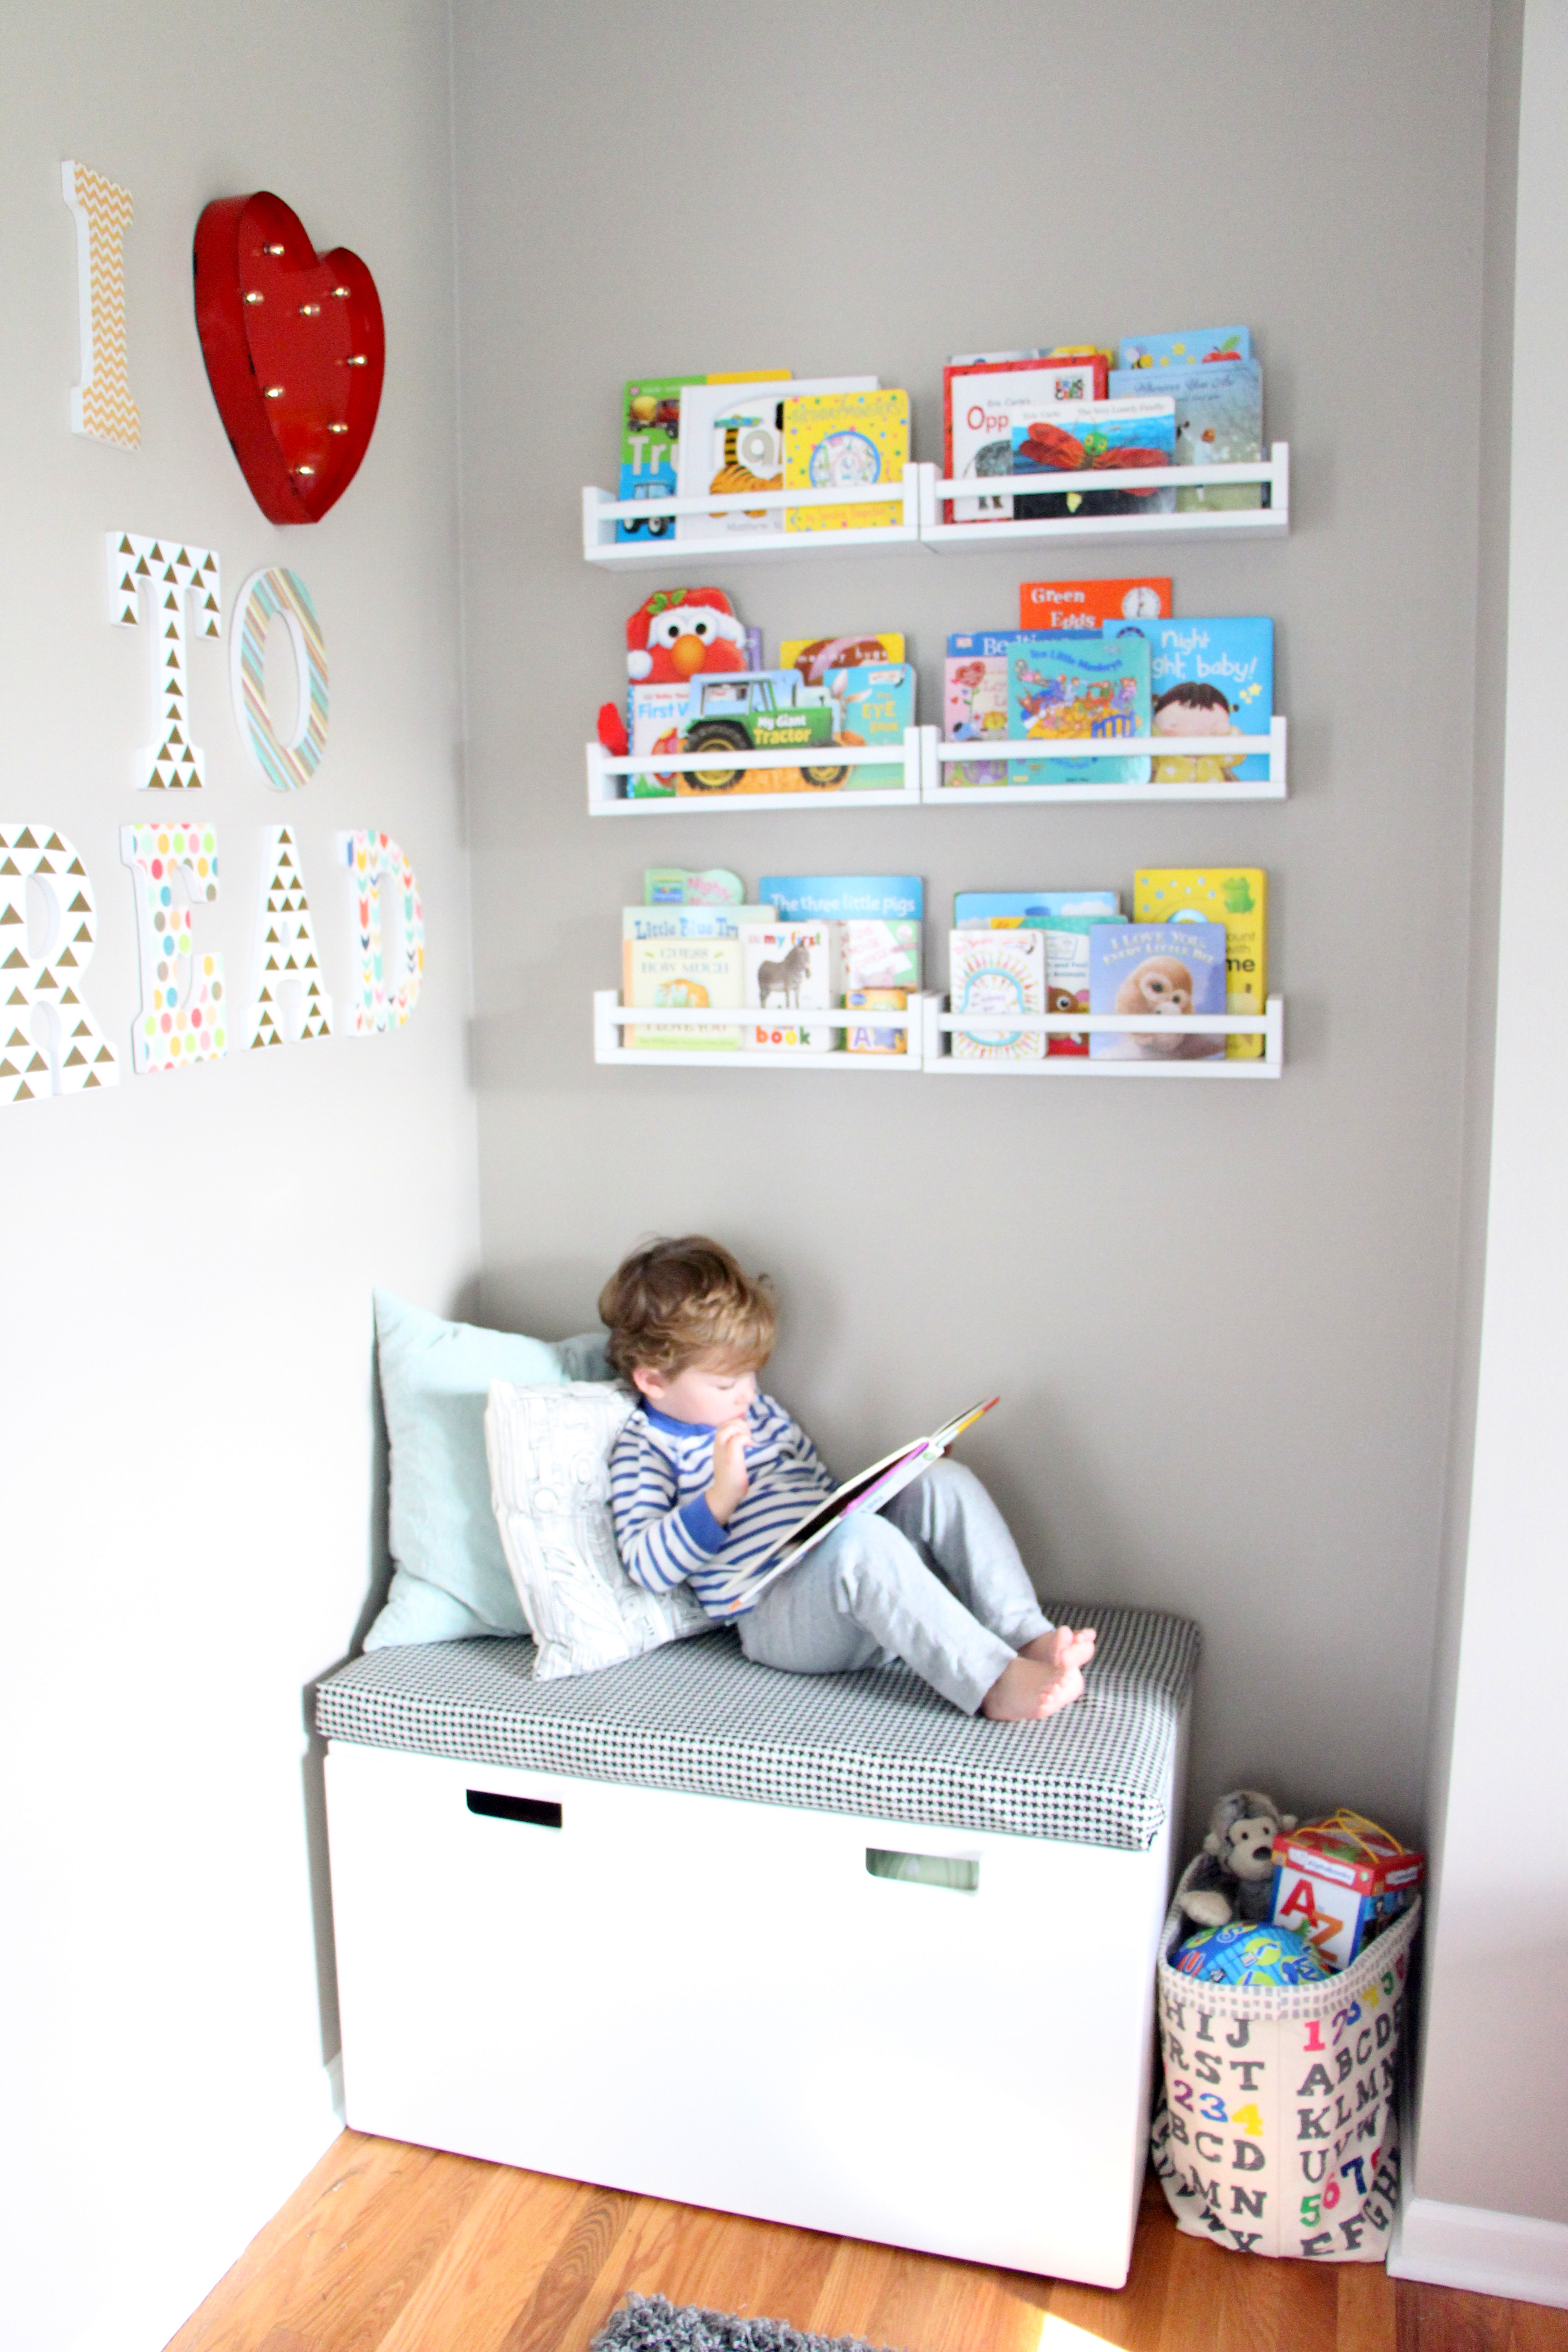
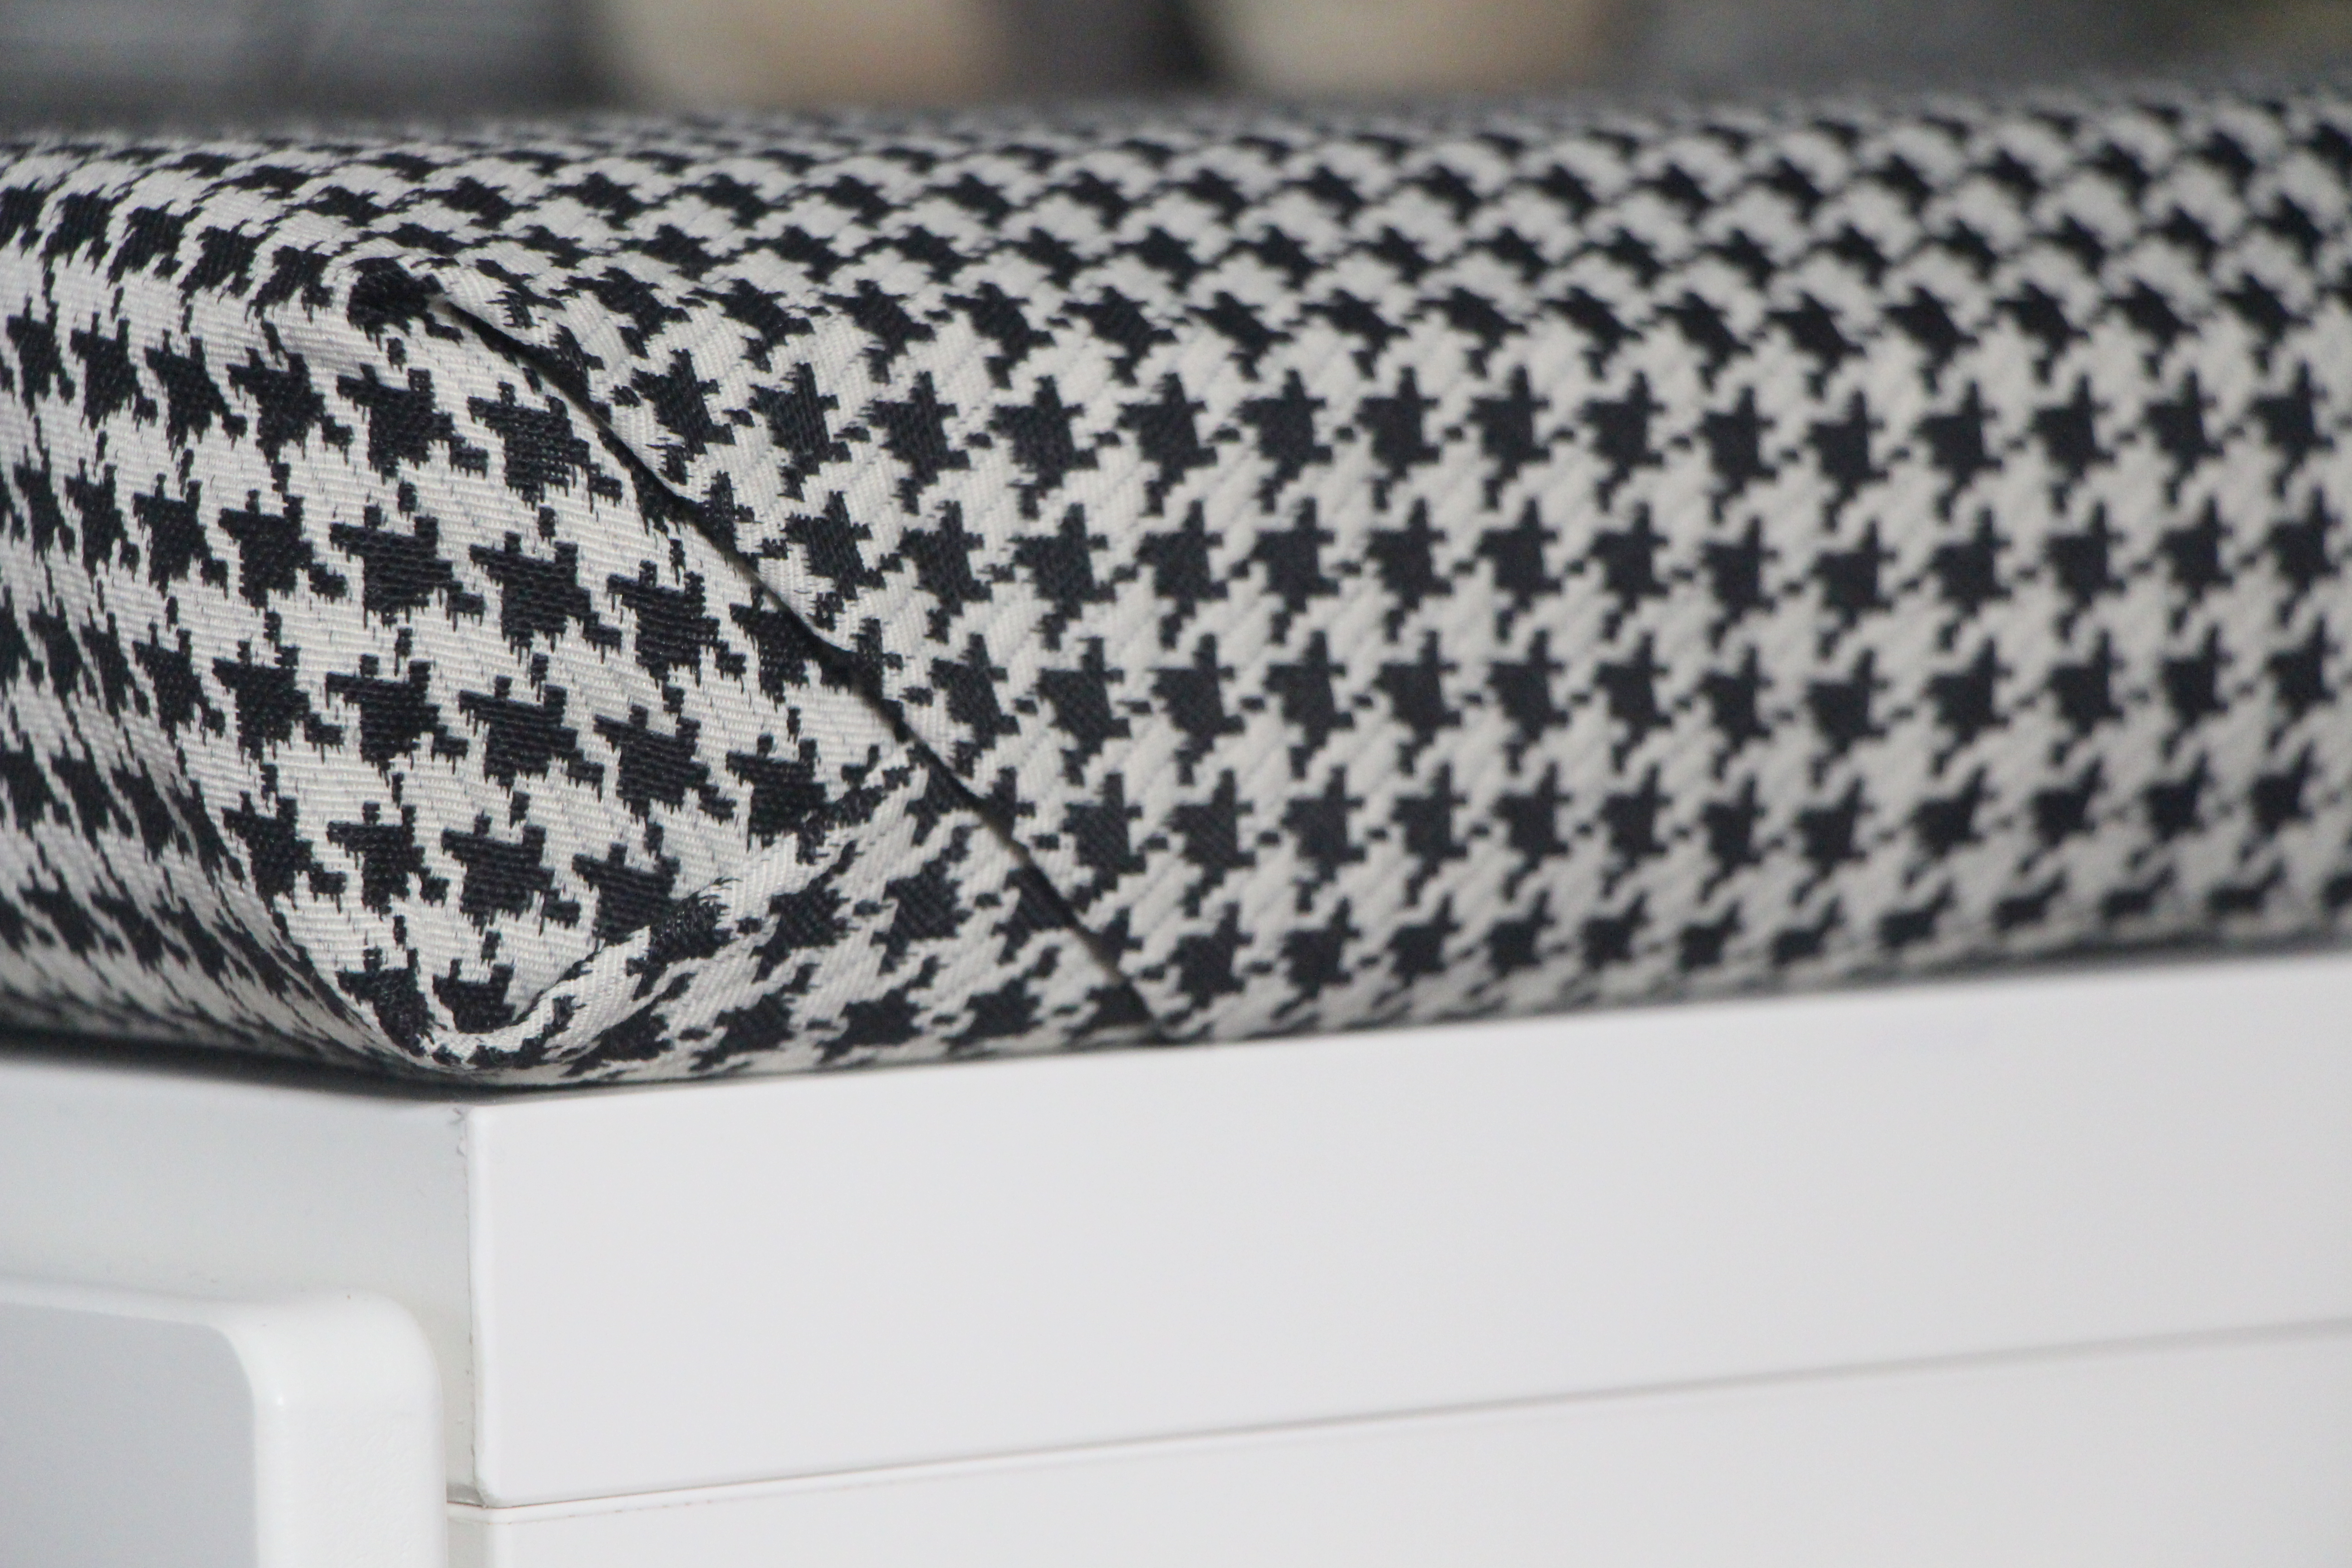
Back to the bench. I went with a classic black & ivory houndstooth print. It is fun, but still simple. I have a lot of color going on in the Reading Nook with the I <3 to Read Wall & the colorful books in the DIY bookshelves, so I thought sticking with timeless neutrals was the way to go. The chairs I madeover last week are also black & white so they work well together, along with the greige walls and dark gray rug. The toys & books provide plenty pops of color in this space alone.
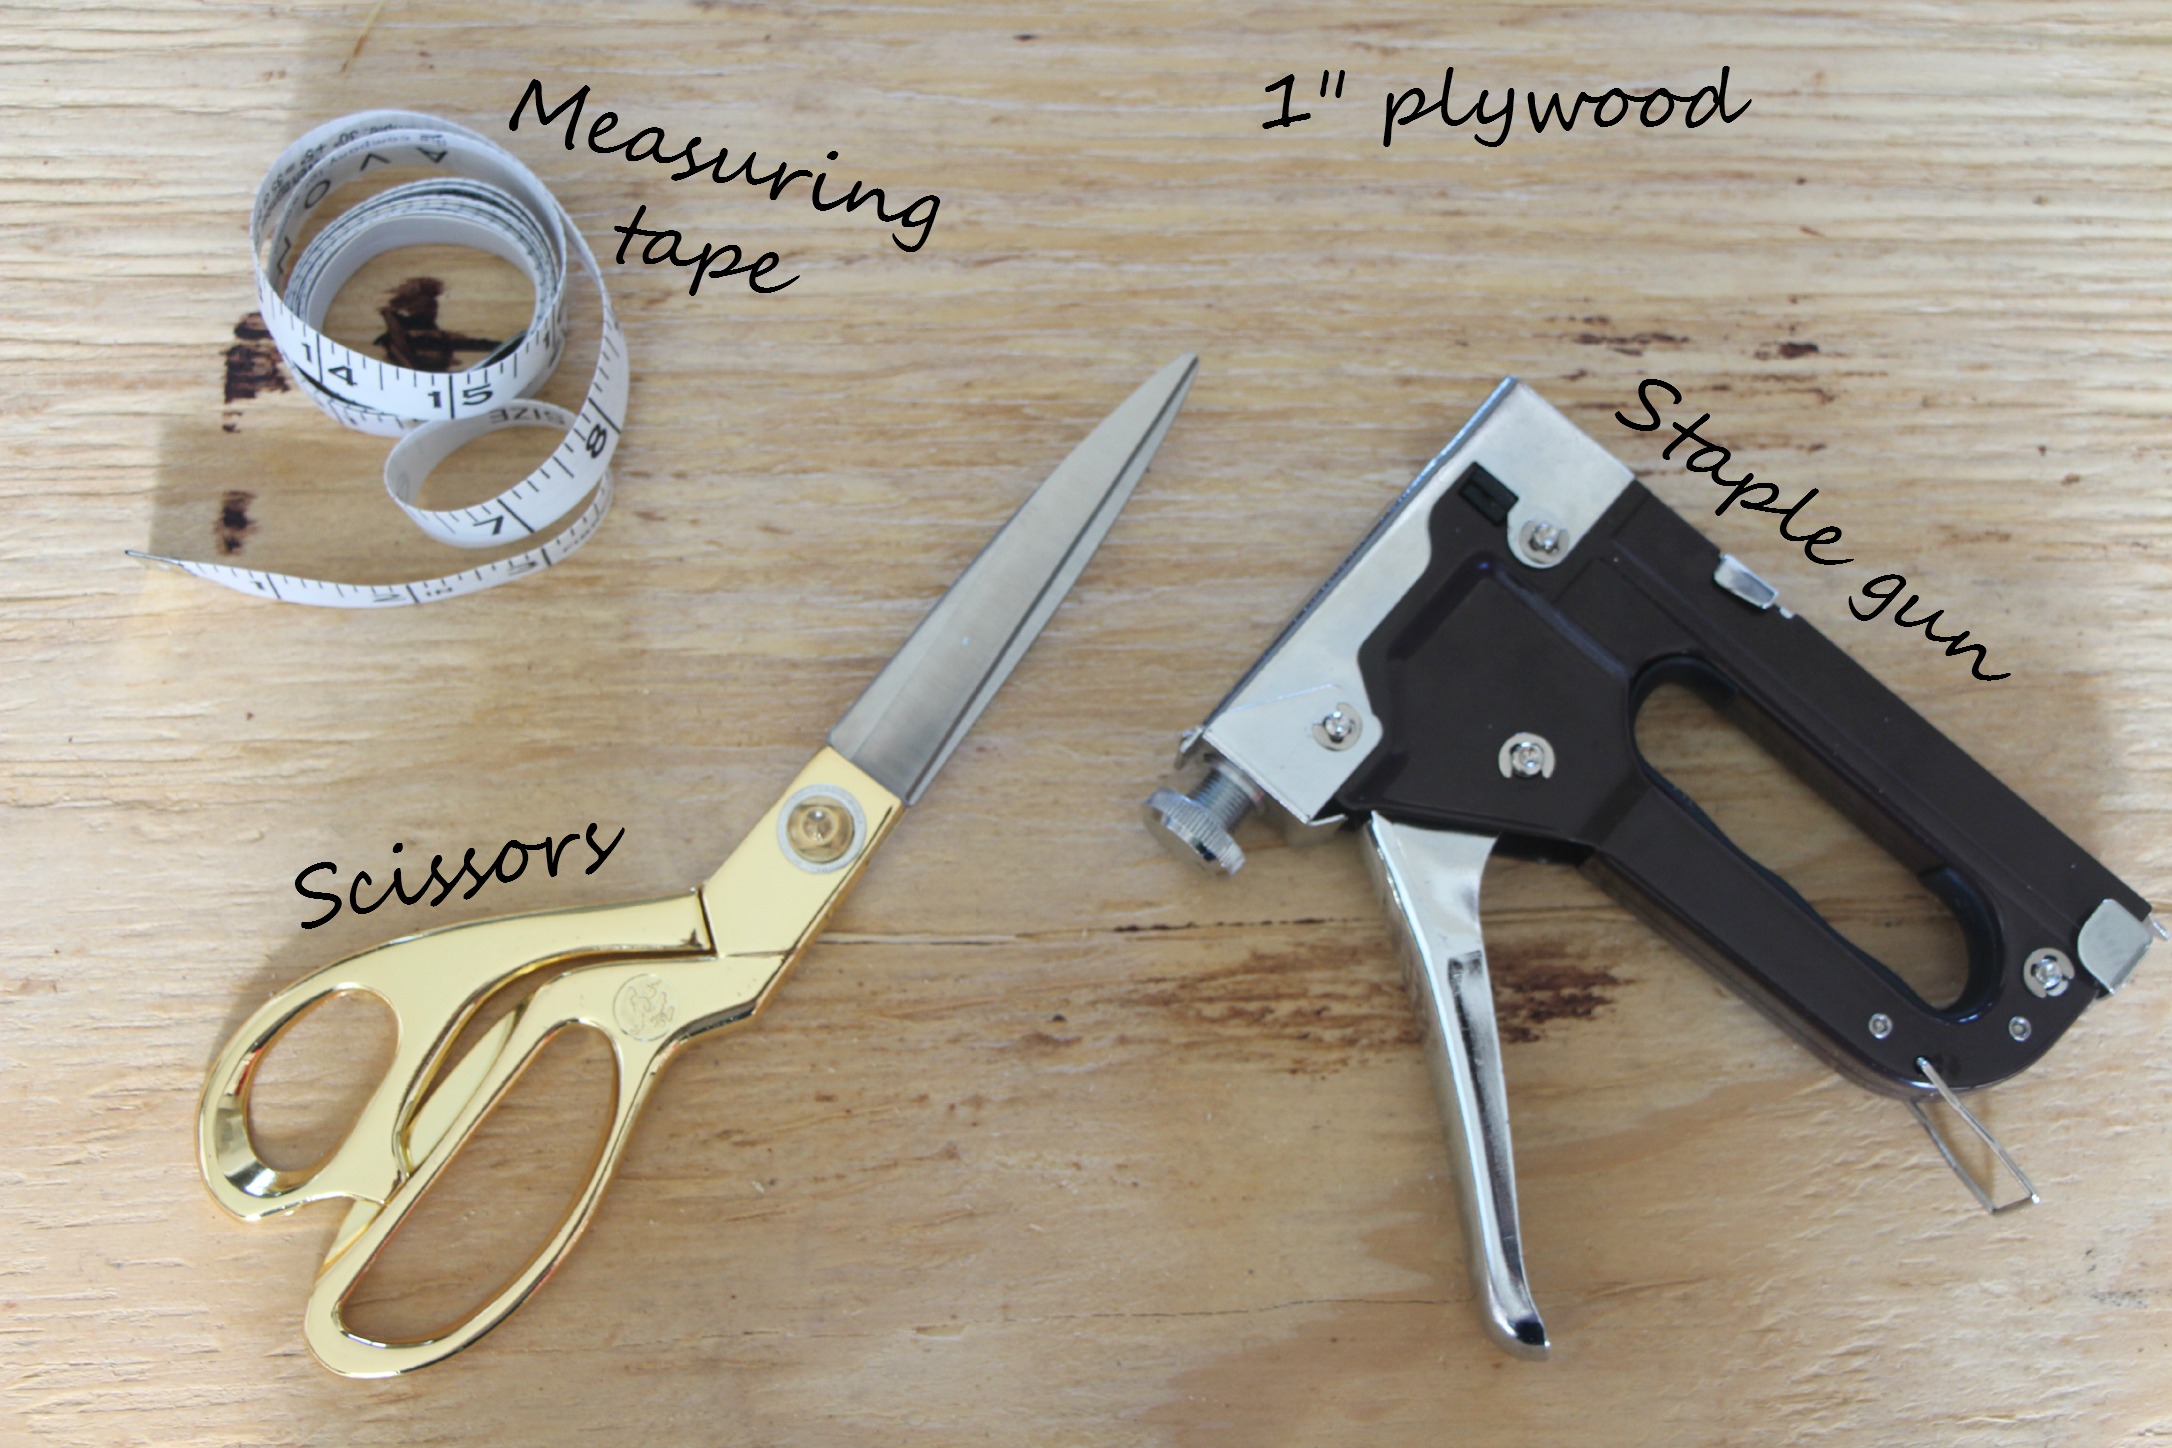
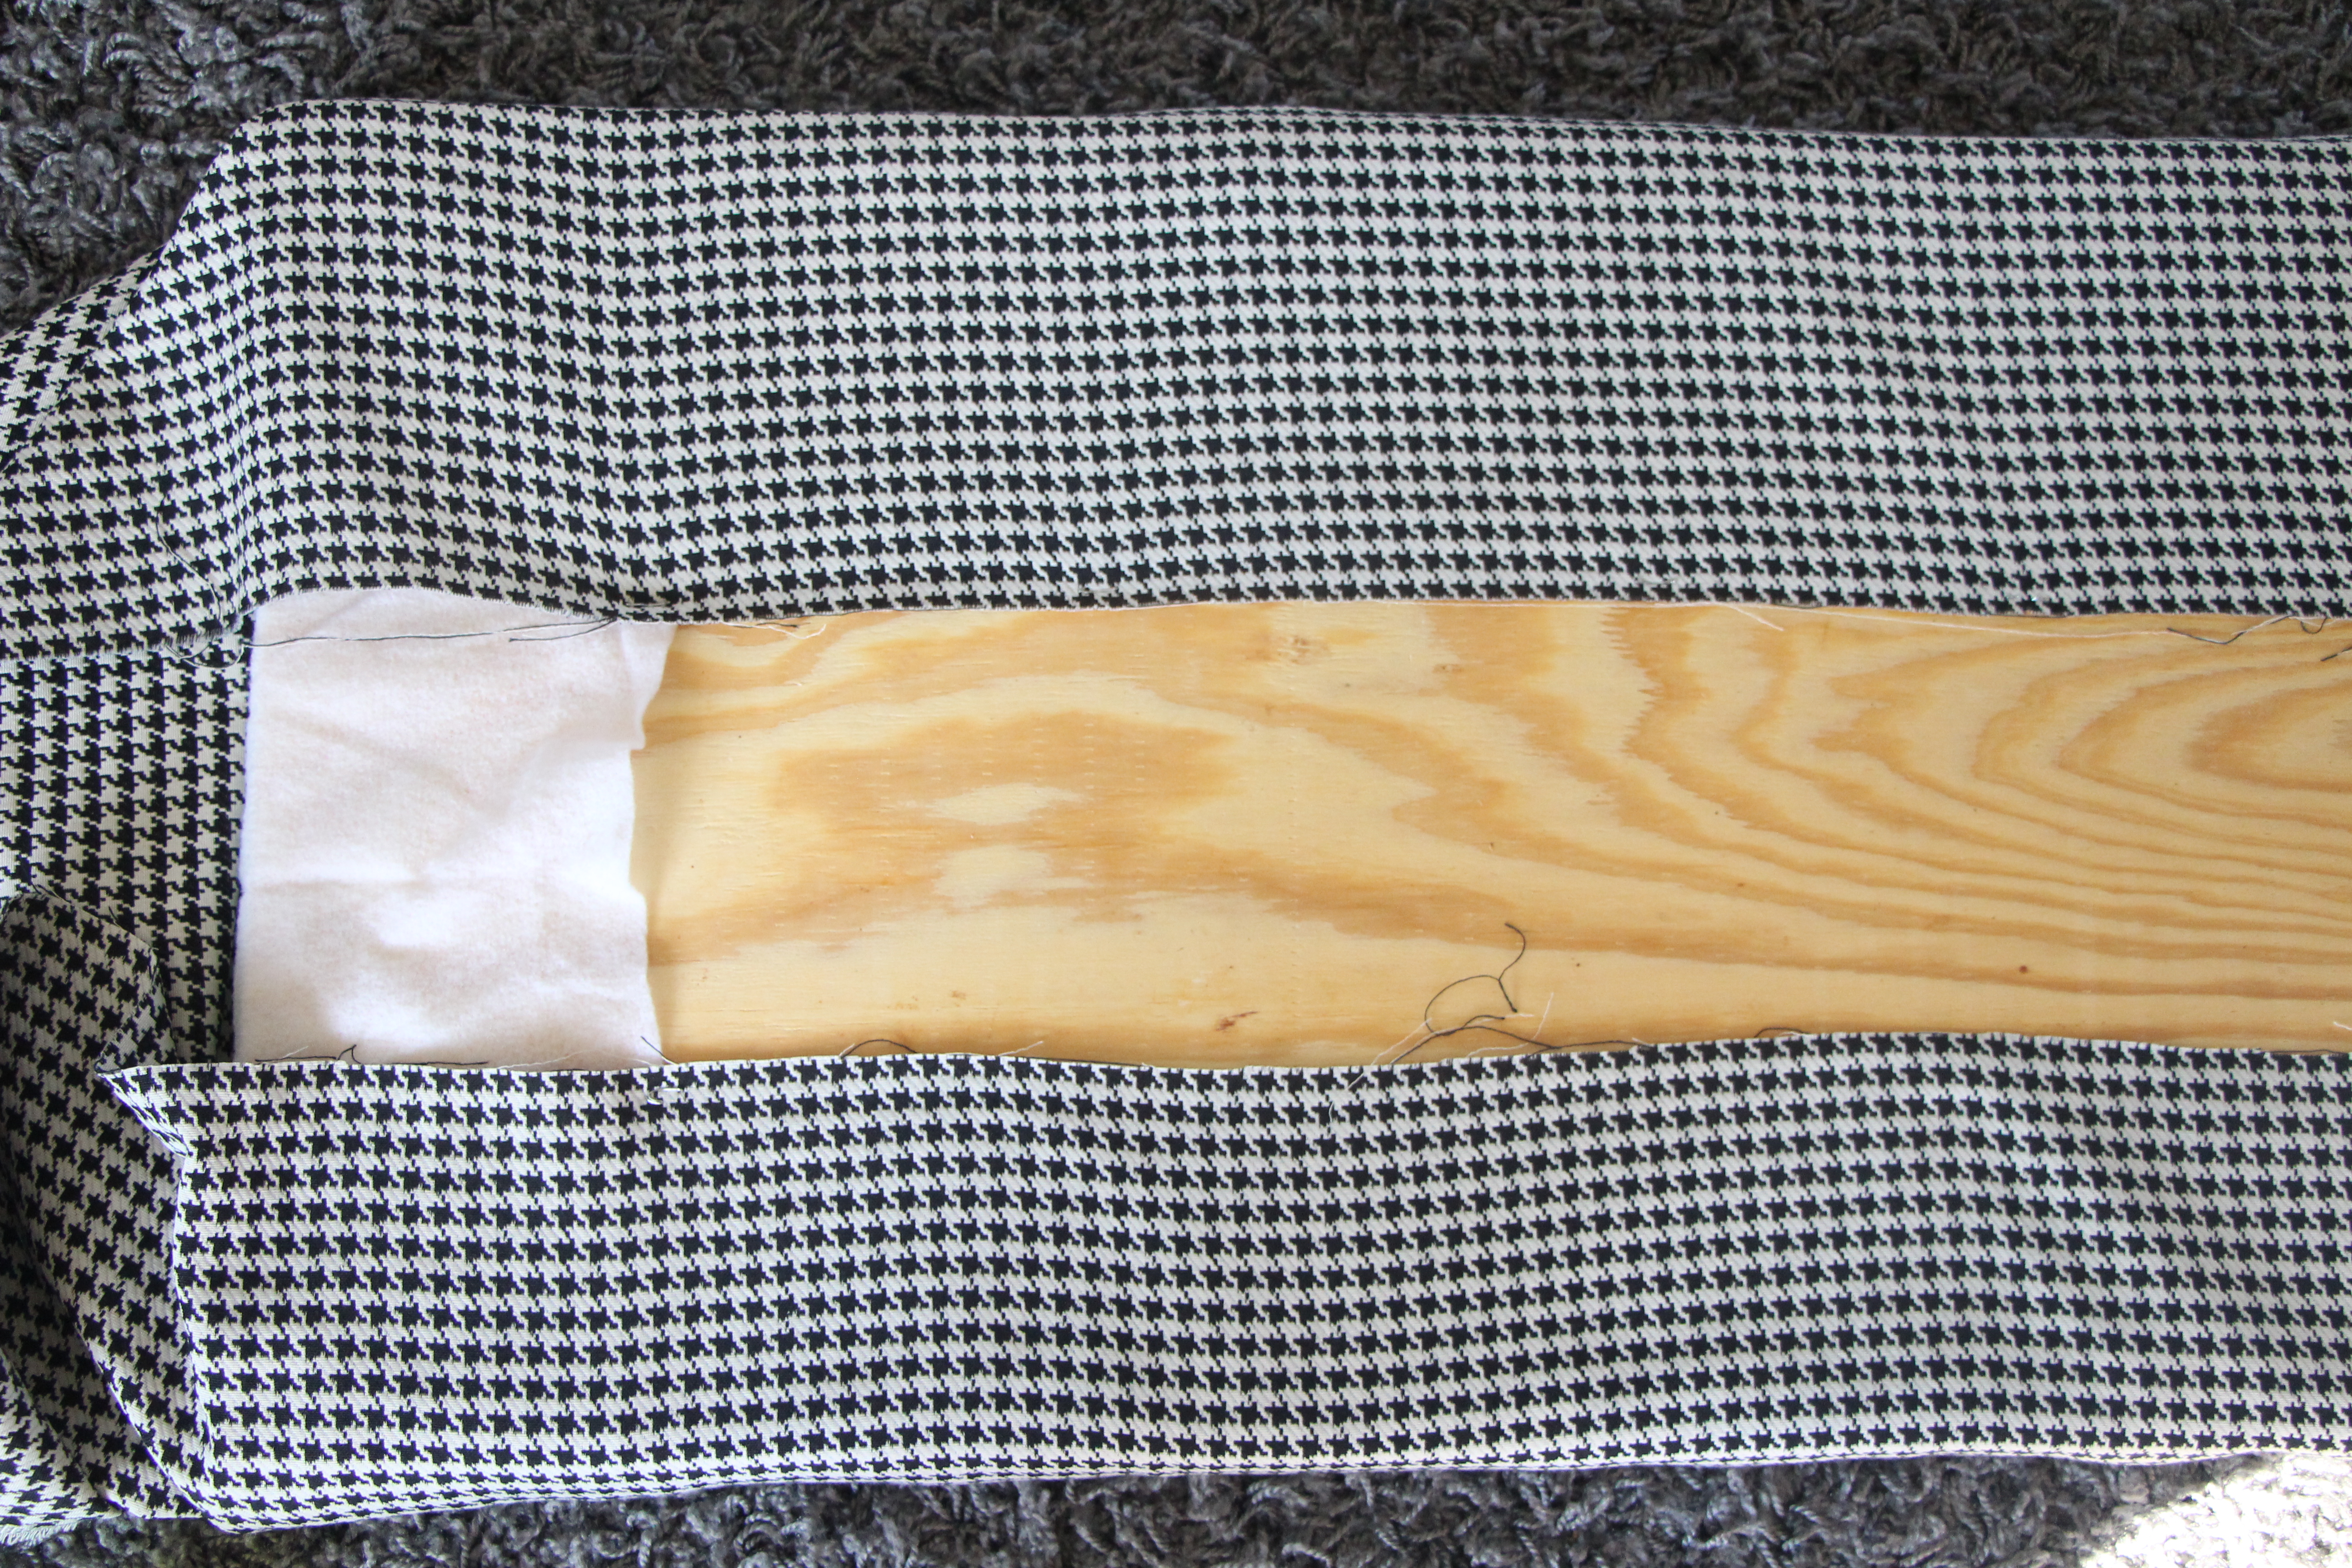
Ted cut the plywood (Lowes) down to fit the bench dimensions and then I grabbed batting (Michaels) & Command picture hanging strips (Lowes).
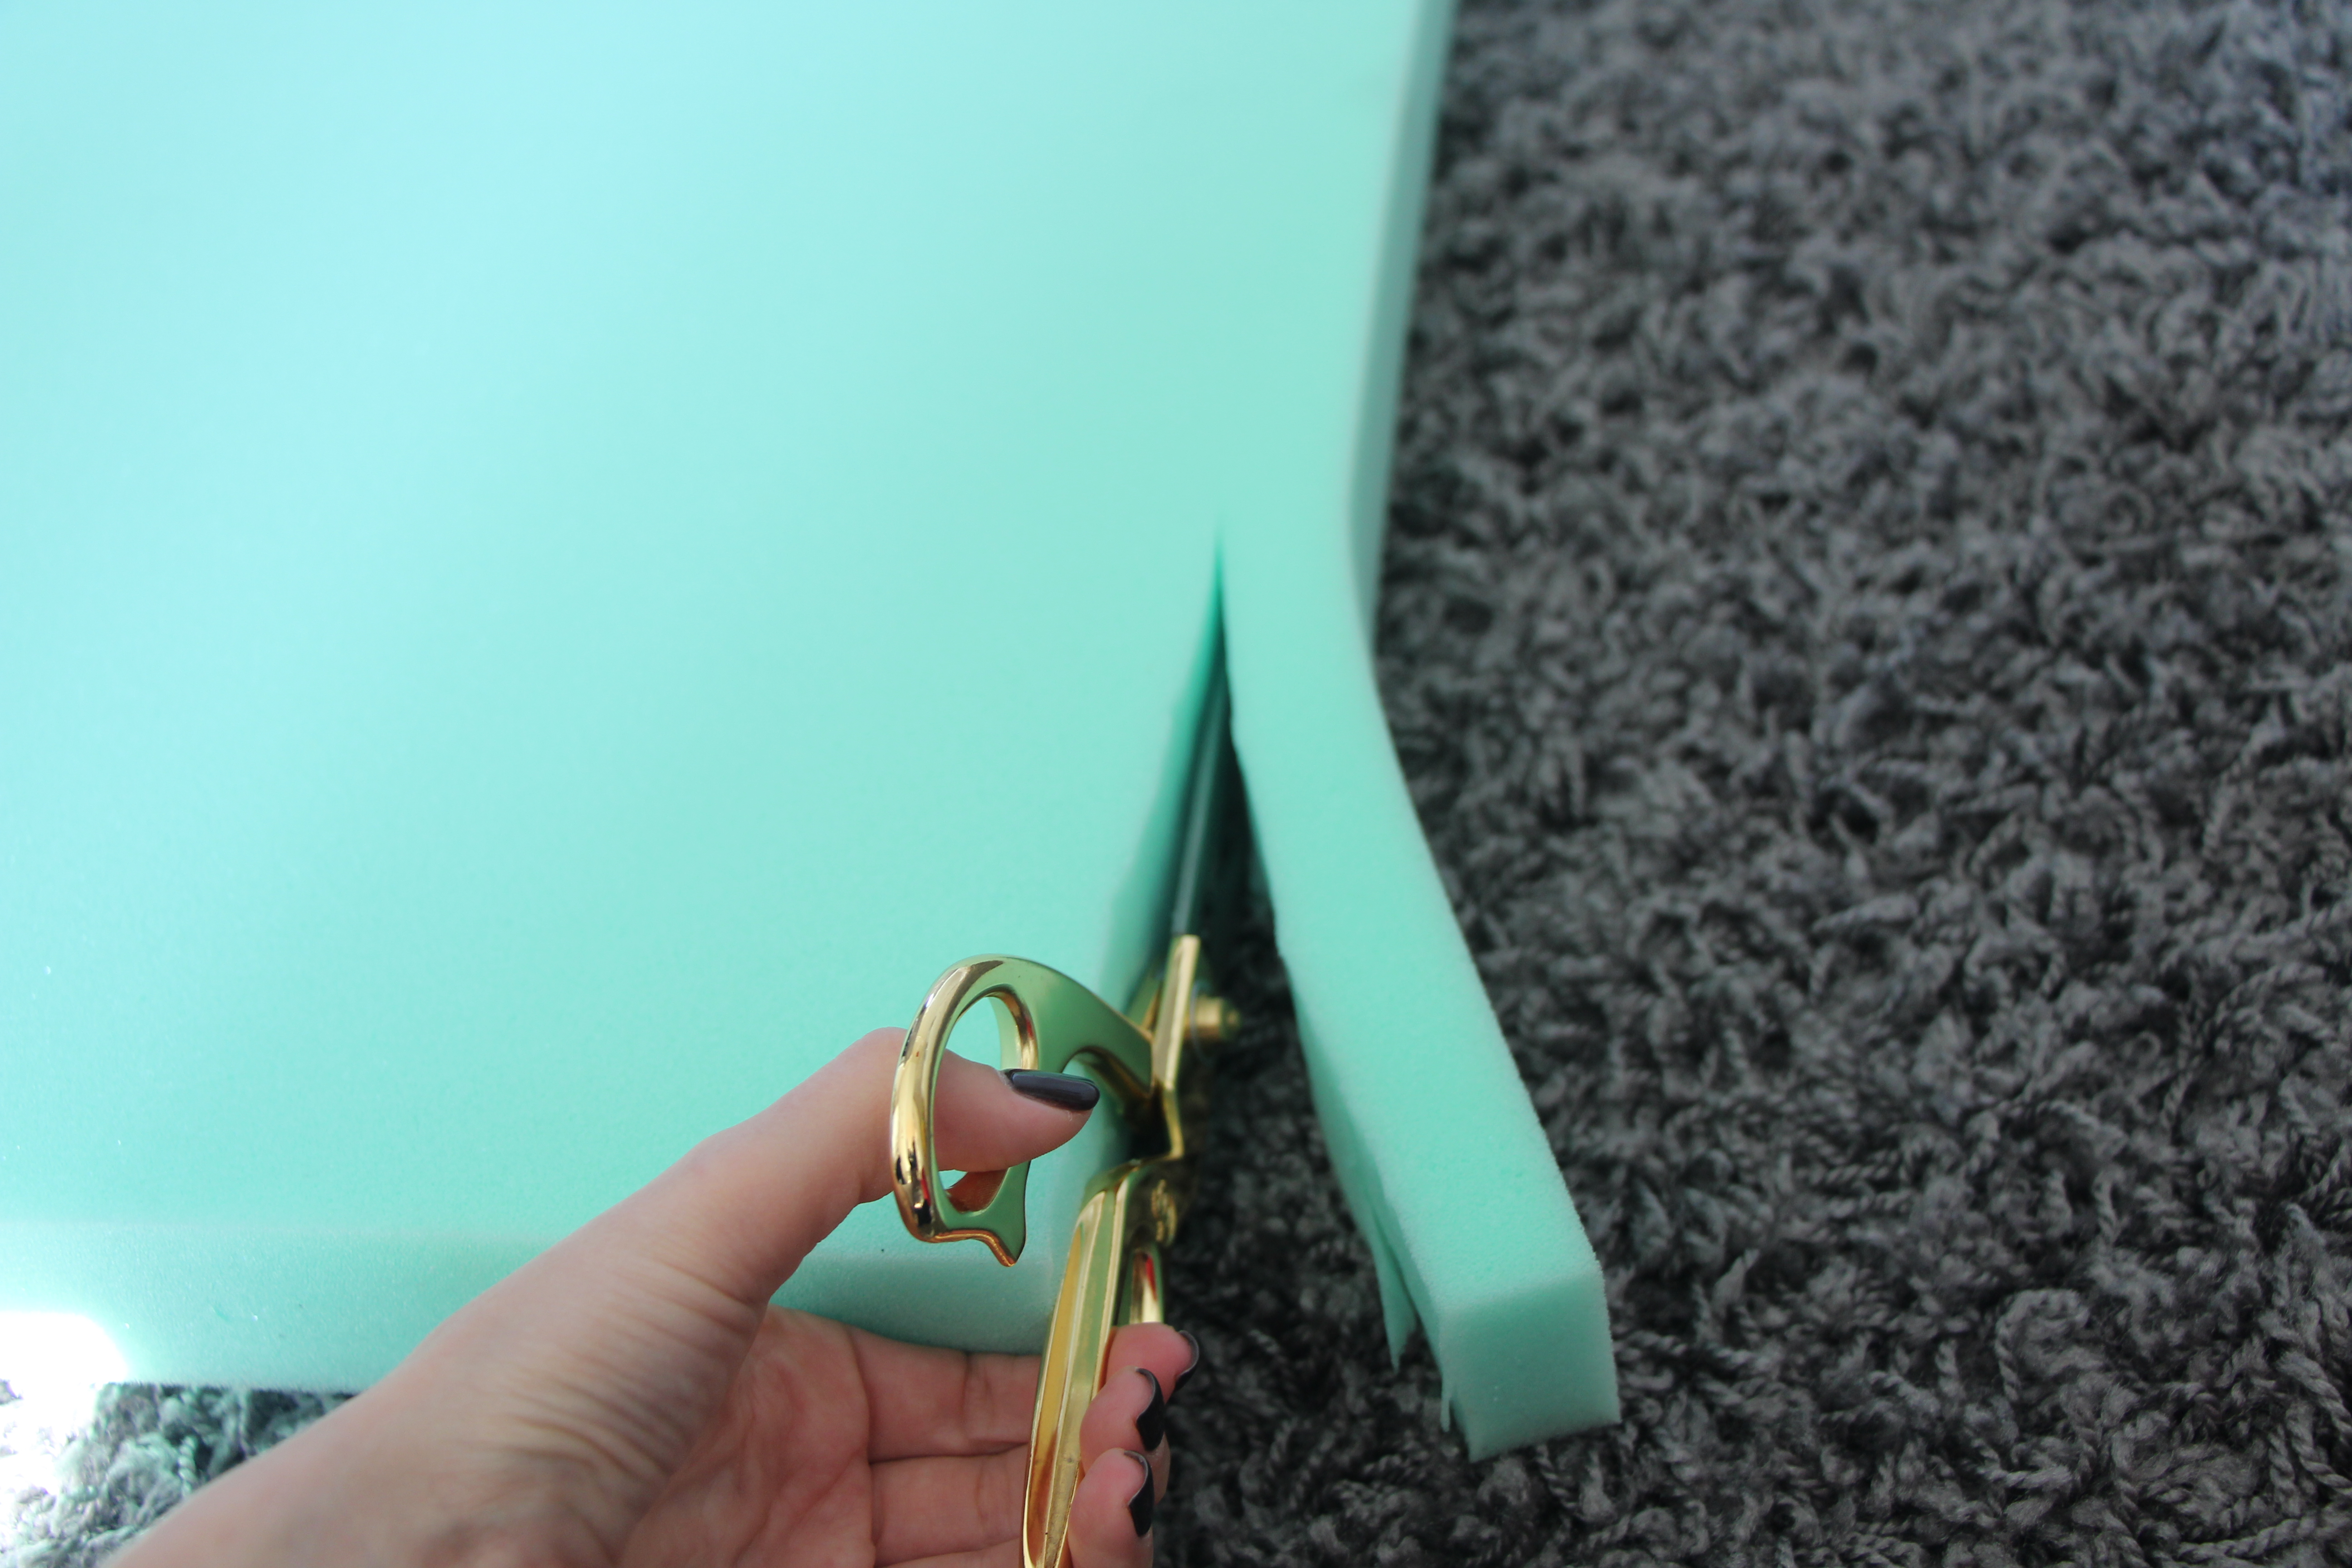
Next, I cut the 2″ foam to fit the length & width with scissors (they suggest you use a serrated knife, but I couldn’t find ours!) The scissors did just fine.
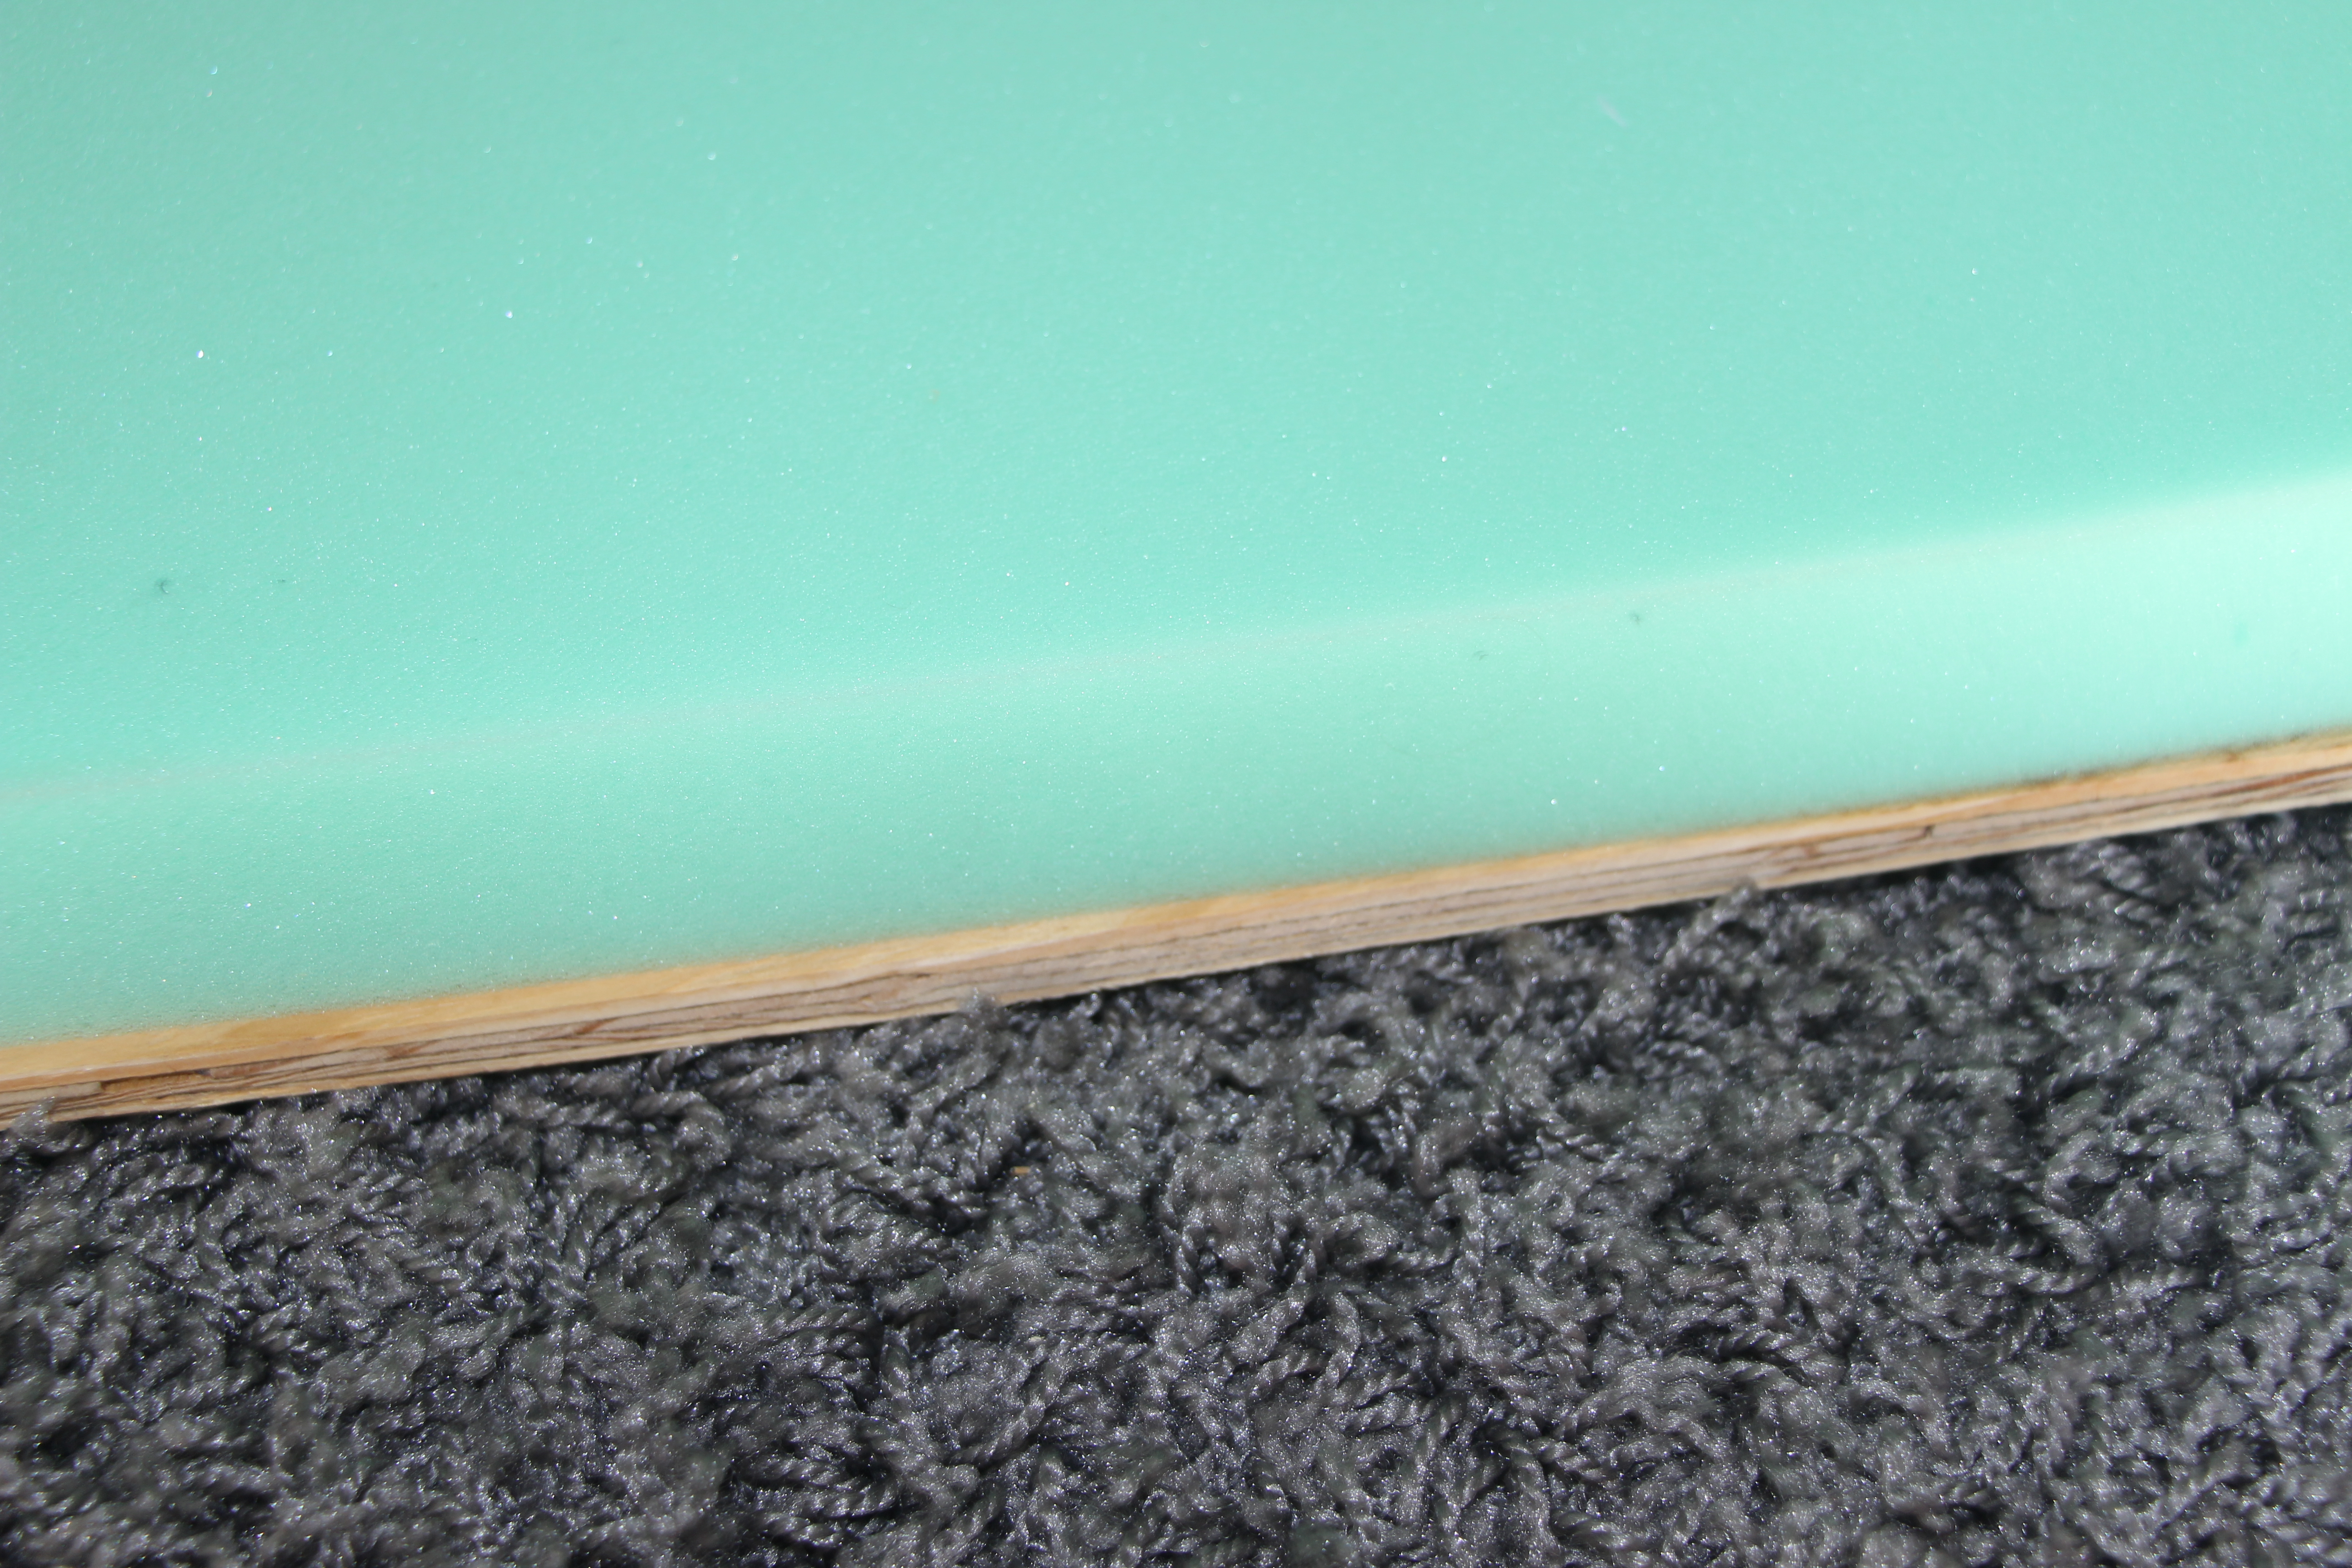
Then I set the foam on top of the plywood to make sure they lined up.
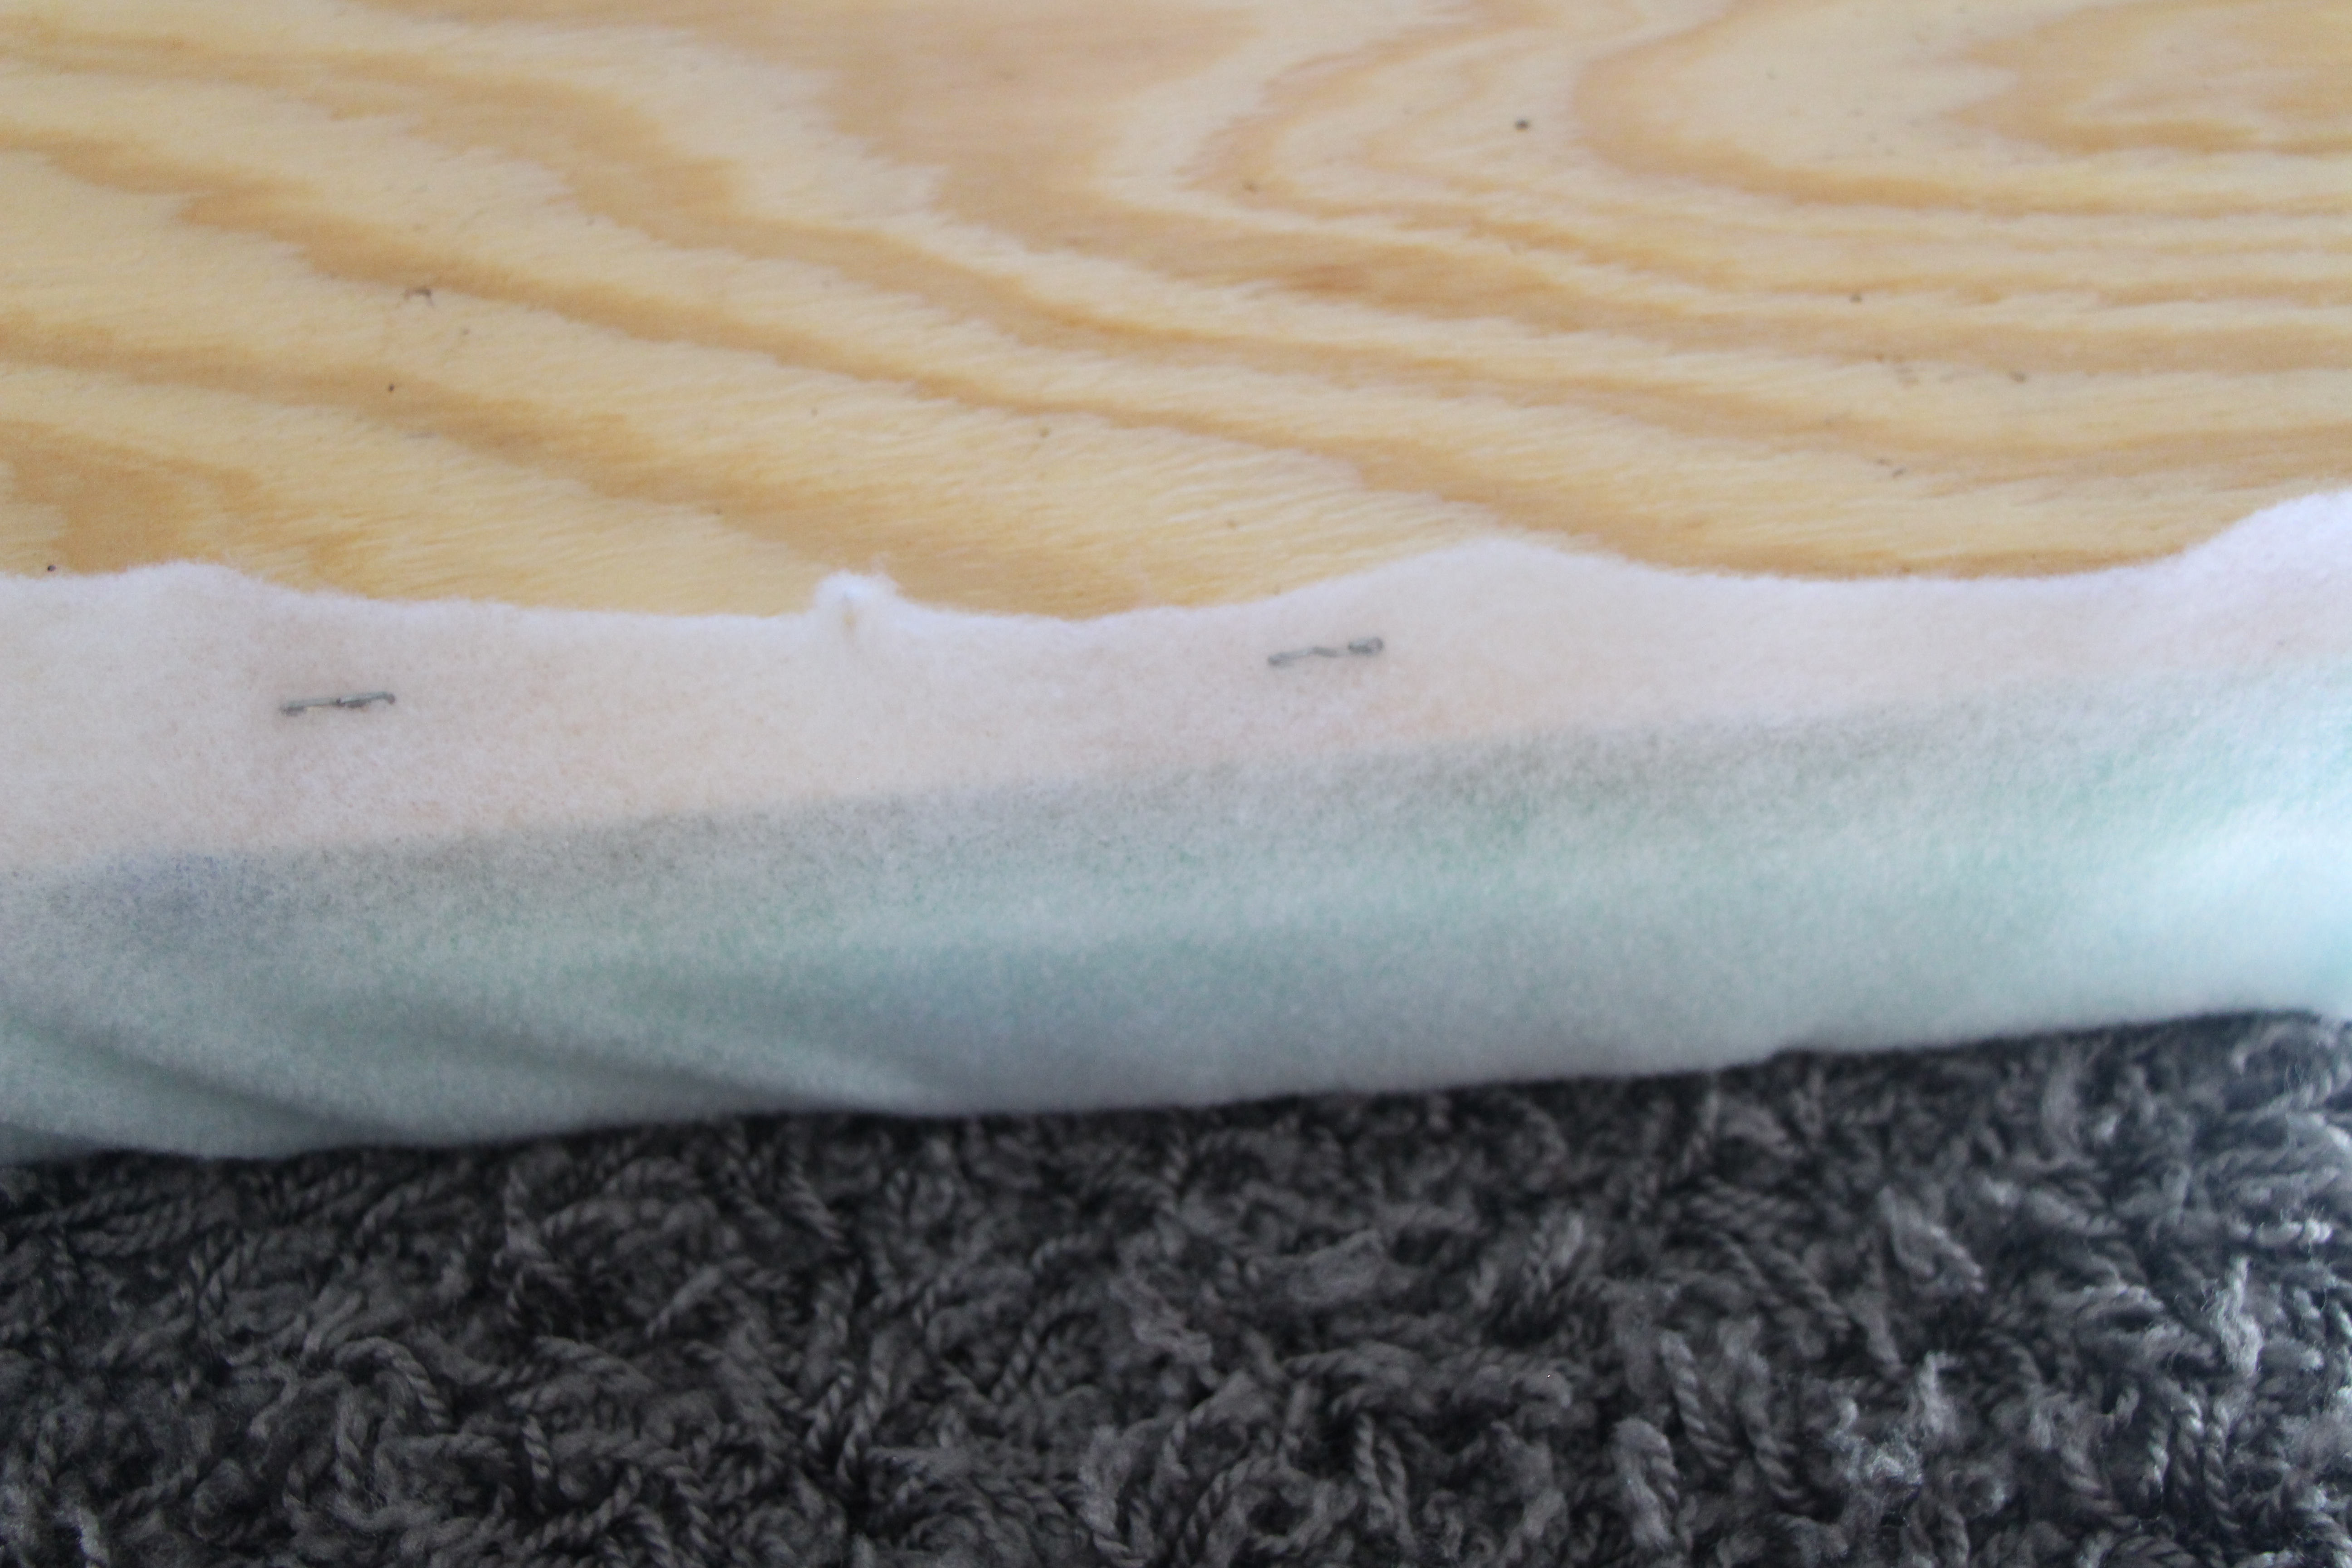
After that, I cut the batting to approximately 24″ x 42″ so I had enough to wrap around the wood & foam cushion. I laid the batting on the cushion and then flipped the whole stack over so the batting now rested on the ground. Then I popped in a few quick staples to secure the batting down before attaching the fabric.
Next, I slid my fabric underneath my cushion, good side face-down.
I stapled down the side, length-wise first and then the opposite side next.
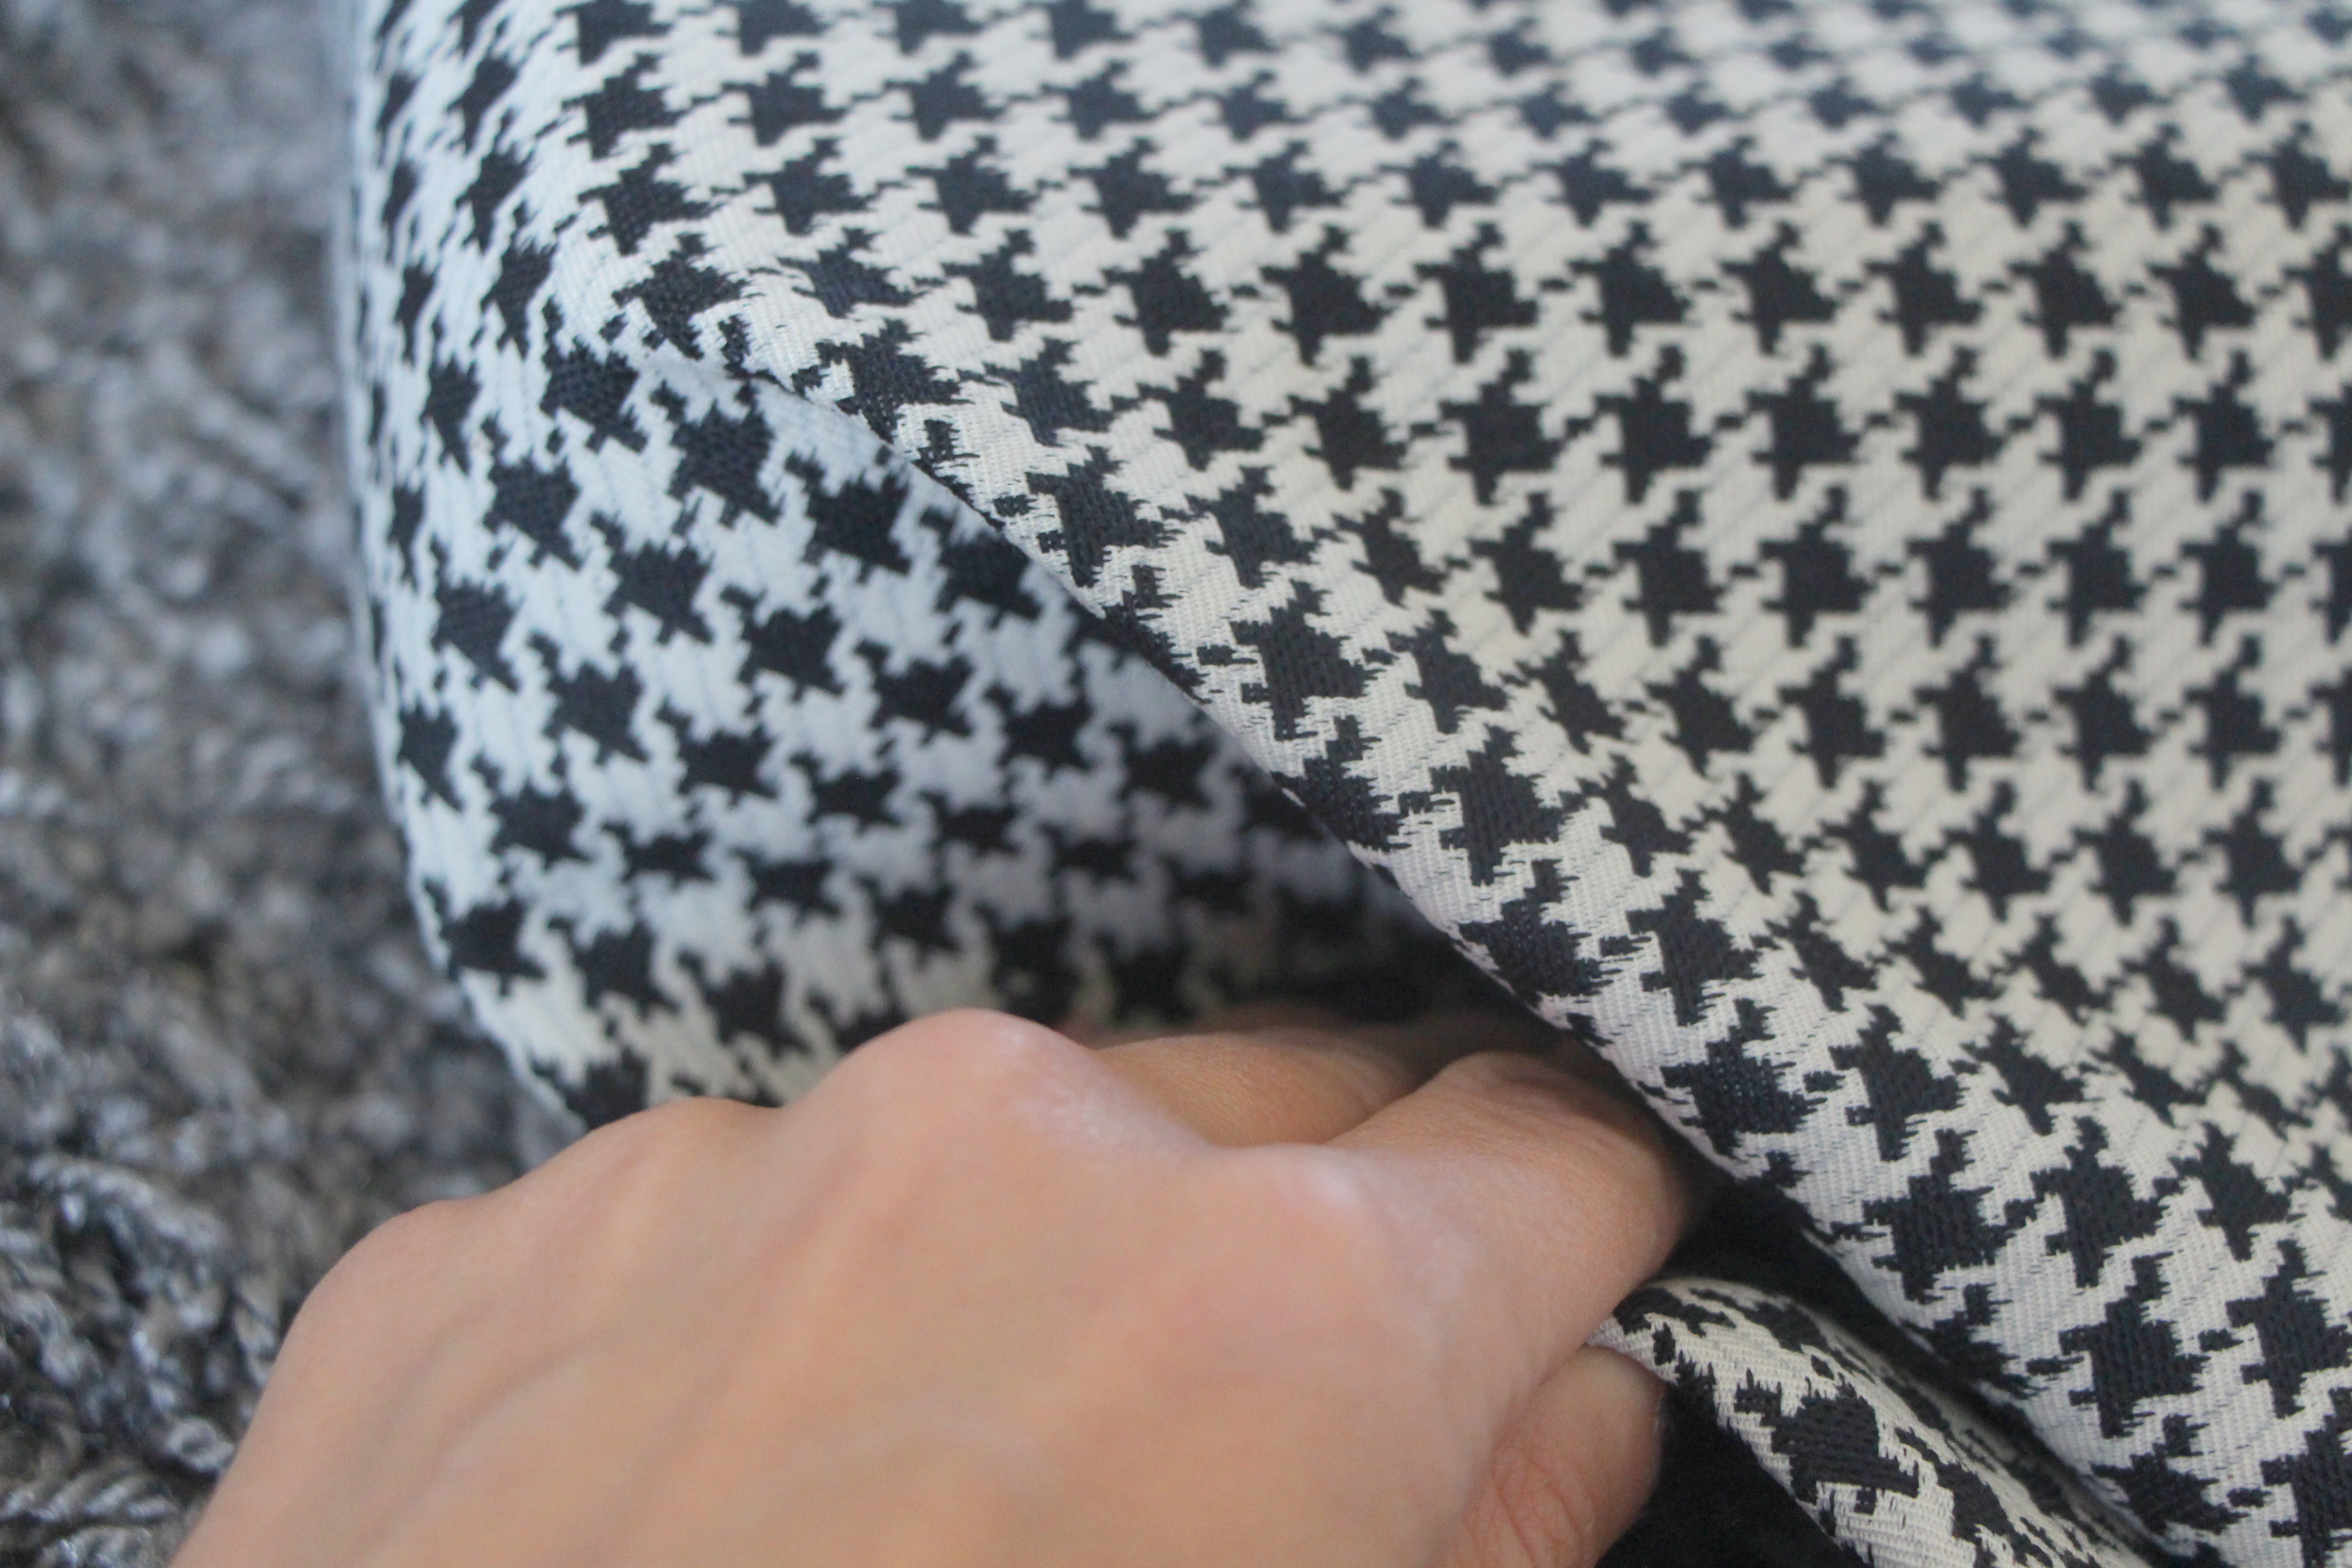
For the sides, I folded over the corners like I was wrapping a gift. Folding the fabric over and creasing it along the edge of the board, top & bottom and pulled it taught as I went.
{I hope that makes sense!}
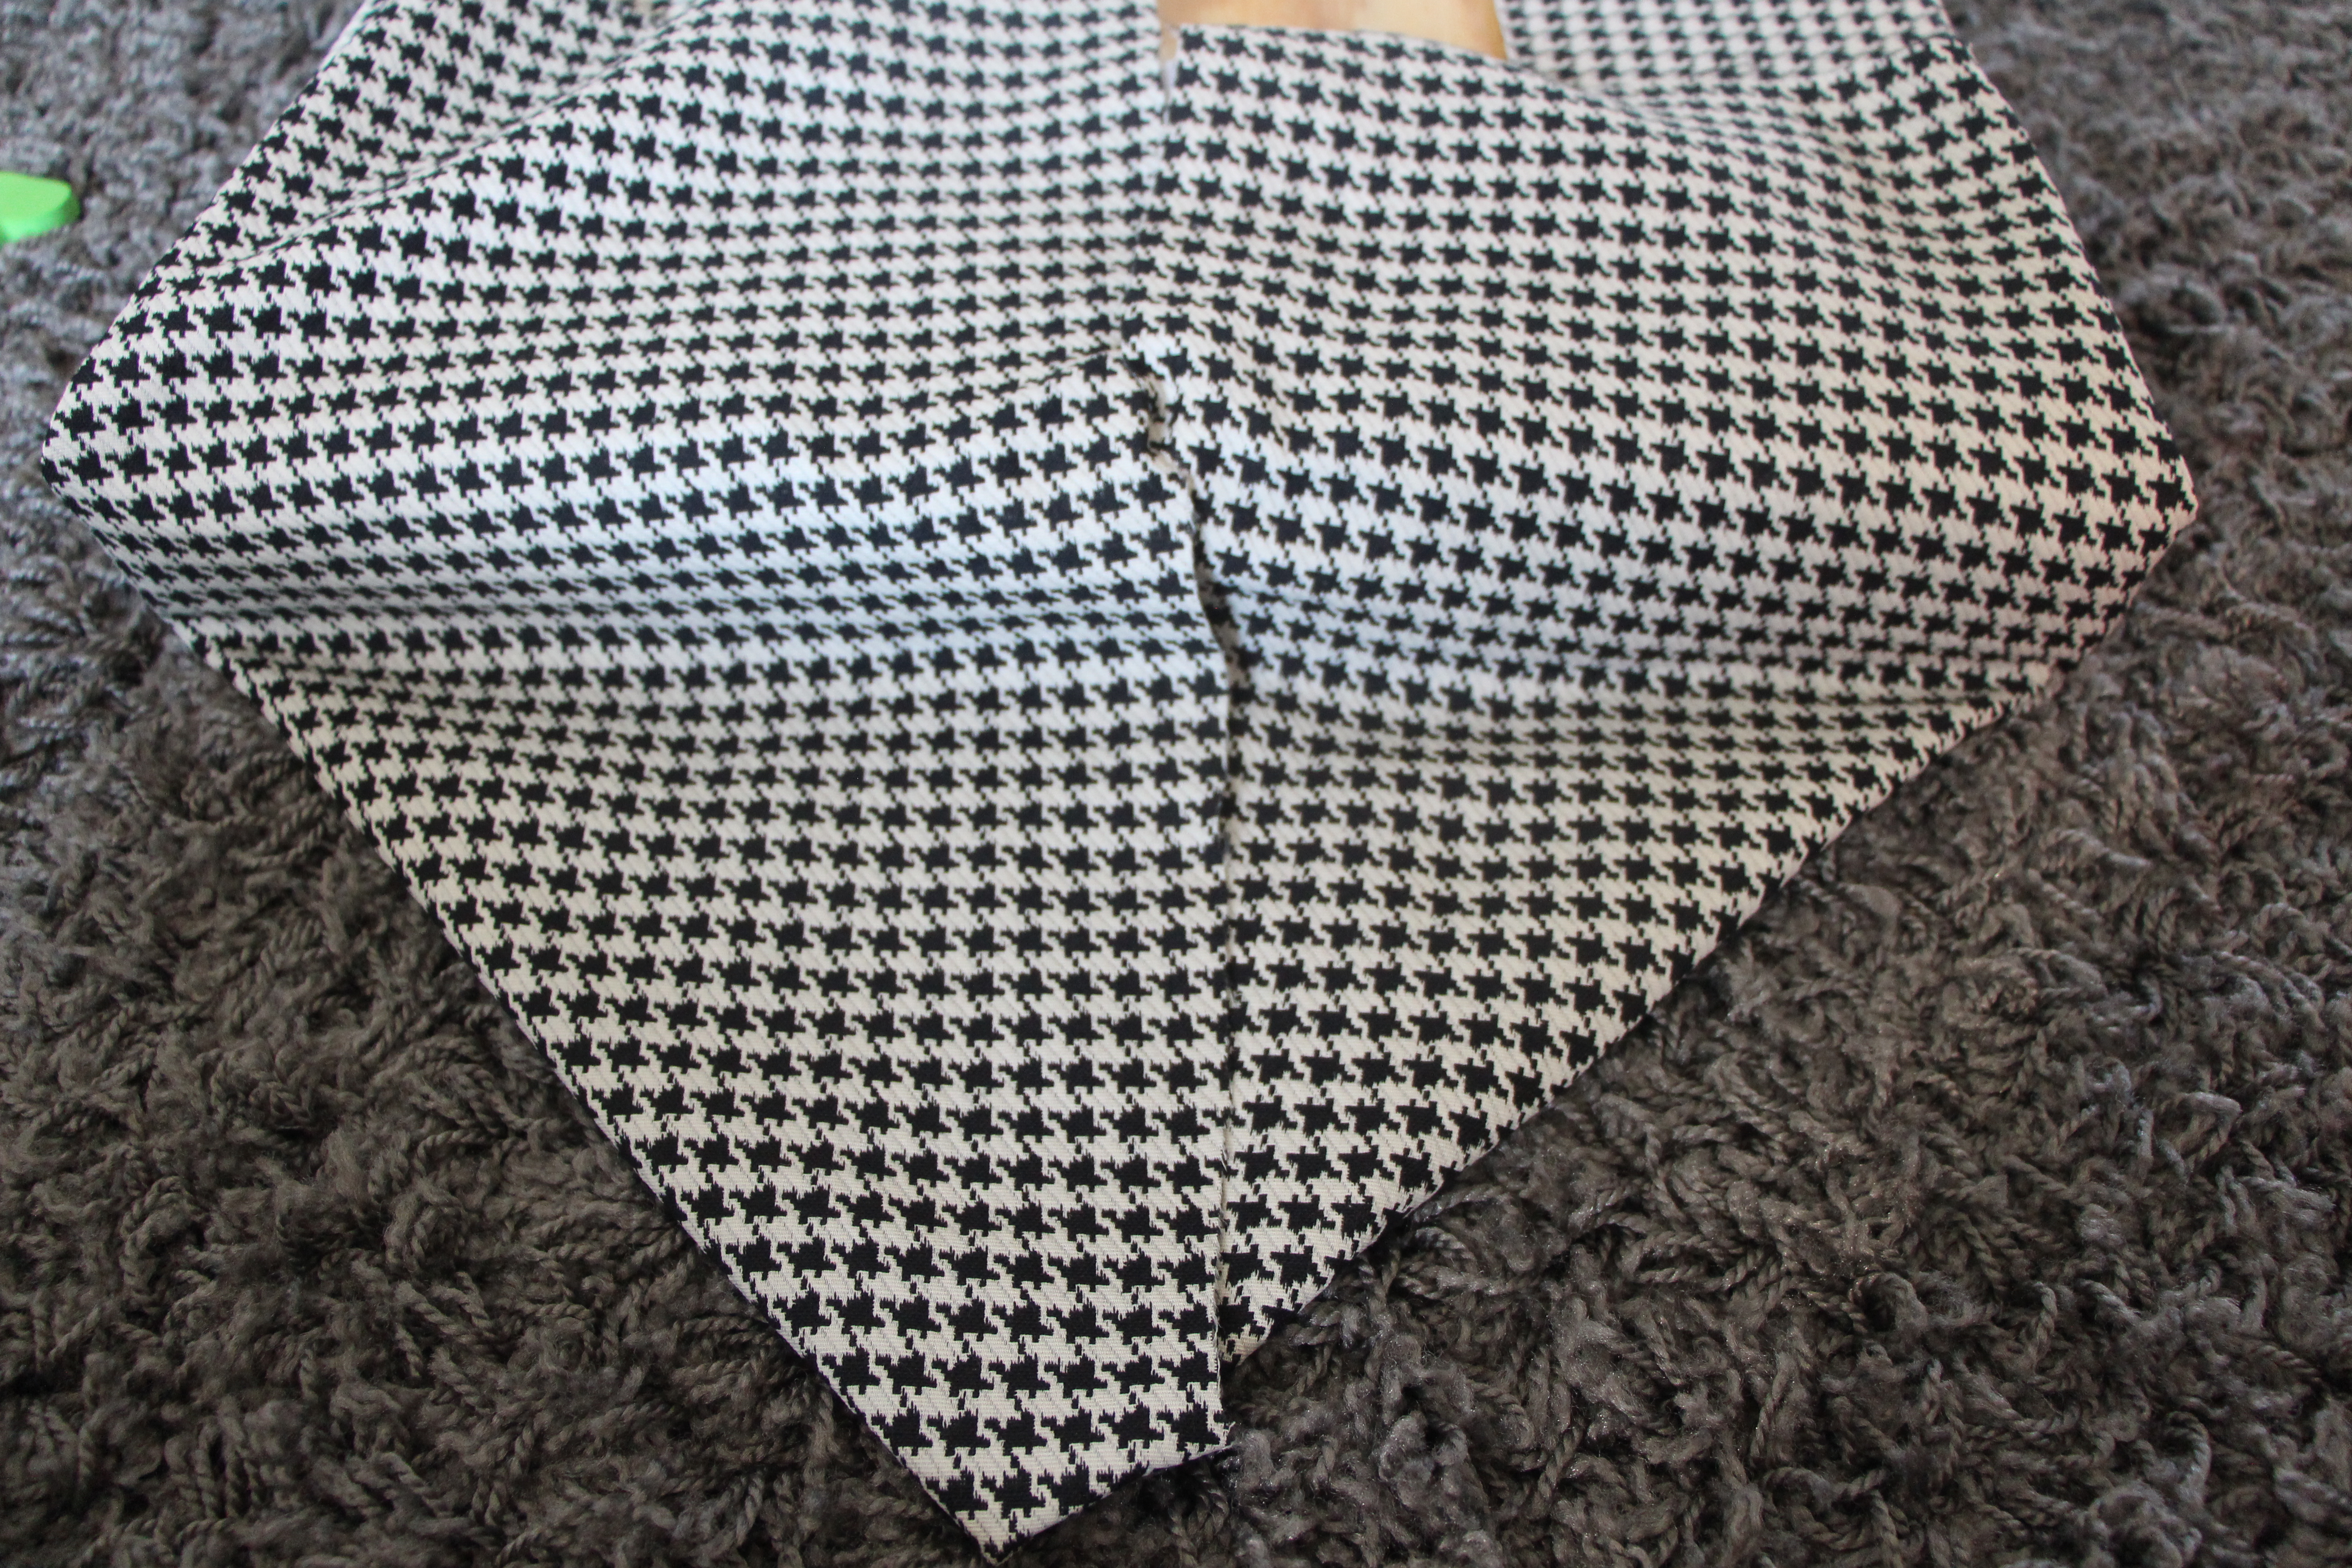
Lastly, I secured the 2 ends with 6 – 8 more staples on each side.
DONE!
It is far from perfect on the back-side, but guess what? No one will see it 🙂
The last step is to simply attach the cushion to the bench with the strips. I followed the instructions on the package and laid all 4 out on the top of the bench.
Finally, I positioned the cushion evenly over the bench and pressed down firmly. This is not the most secure way to keep it in place, but I didn’t want to do any drilling in case we decide to remove the cushion someday and use it for something other than to house random toys!
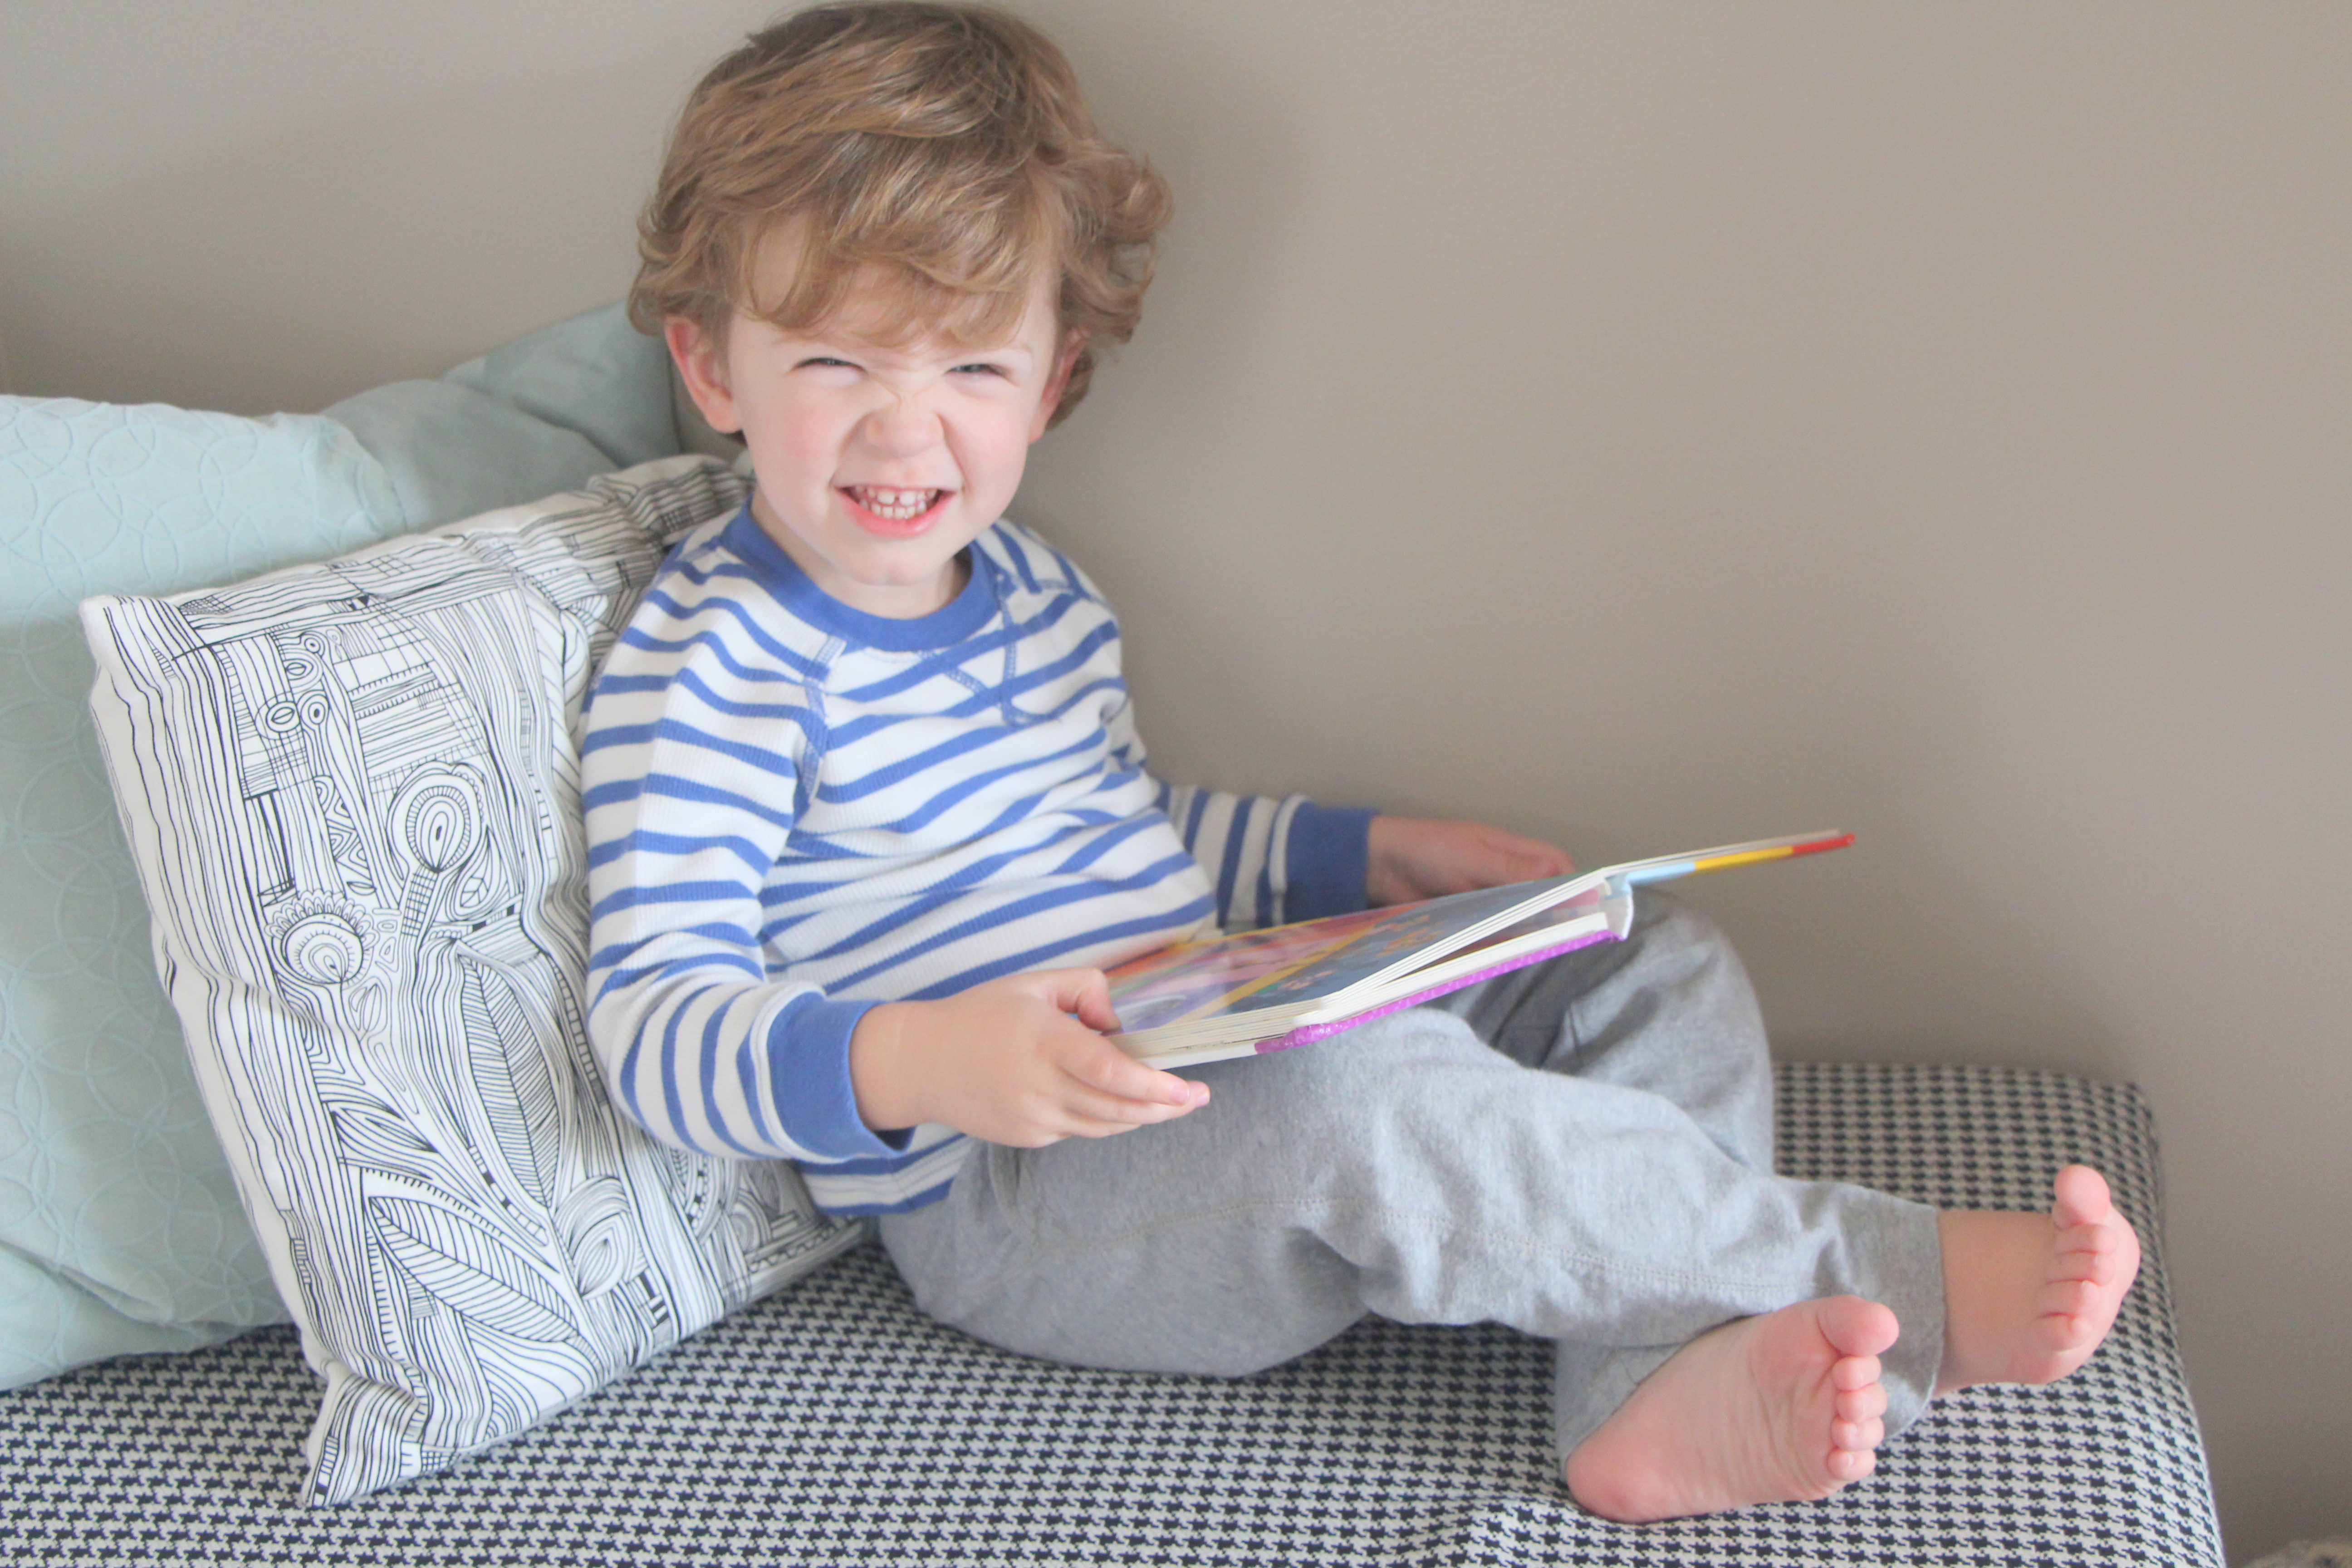
I am so happy with how it turned out & although Henry was clearly modeling, he stayed on the bench reading long after I stopped snapping pictures! Hopefully it will be one of his new fave spots in the room.
I would LOVE to hear what you think? Have you tackled any simple, no-sew projects lately? What other things have you used a staplegun for? I’m kind of addicted 🙂
I wish you a wonderful weekend and please check back in next week for more projects I will be sharing with you, including a Thanksgiving Tablescape & other simple décor pieces to make & use this month before we jump head-first into the Christmas season…Can’t.Even.Wait!
[…] our upstairs guest bathroom (Sherwin Williams Passive Gray – SW 7064)… We painted our dining-room-turned-playroom… the same color as our formal living room (Sherwin Williams Versatile Gray – SW 6072)… […]
[…] our upstairs guest bathroom (Sherwin Williams Passive Gray – SW 7064)… We painted our dining-room-turned-playroom… the same color as our formal living room (Sherwin Williams Versatile Gray – SW 6072)… […]


 After that, I cut the batting to approximately 24″ x 42″ so I had enough to wrap around the wood & foam cushion. I laid the batting on the cushion and then flipped the whole stack over so the batting now rested on the ground. Then I popped in a few quick staples to secure the batting down before attaching the fabric.
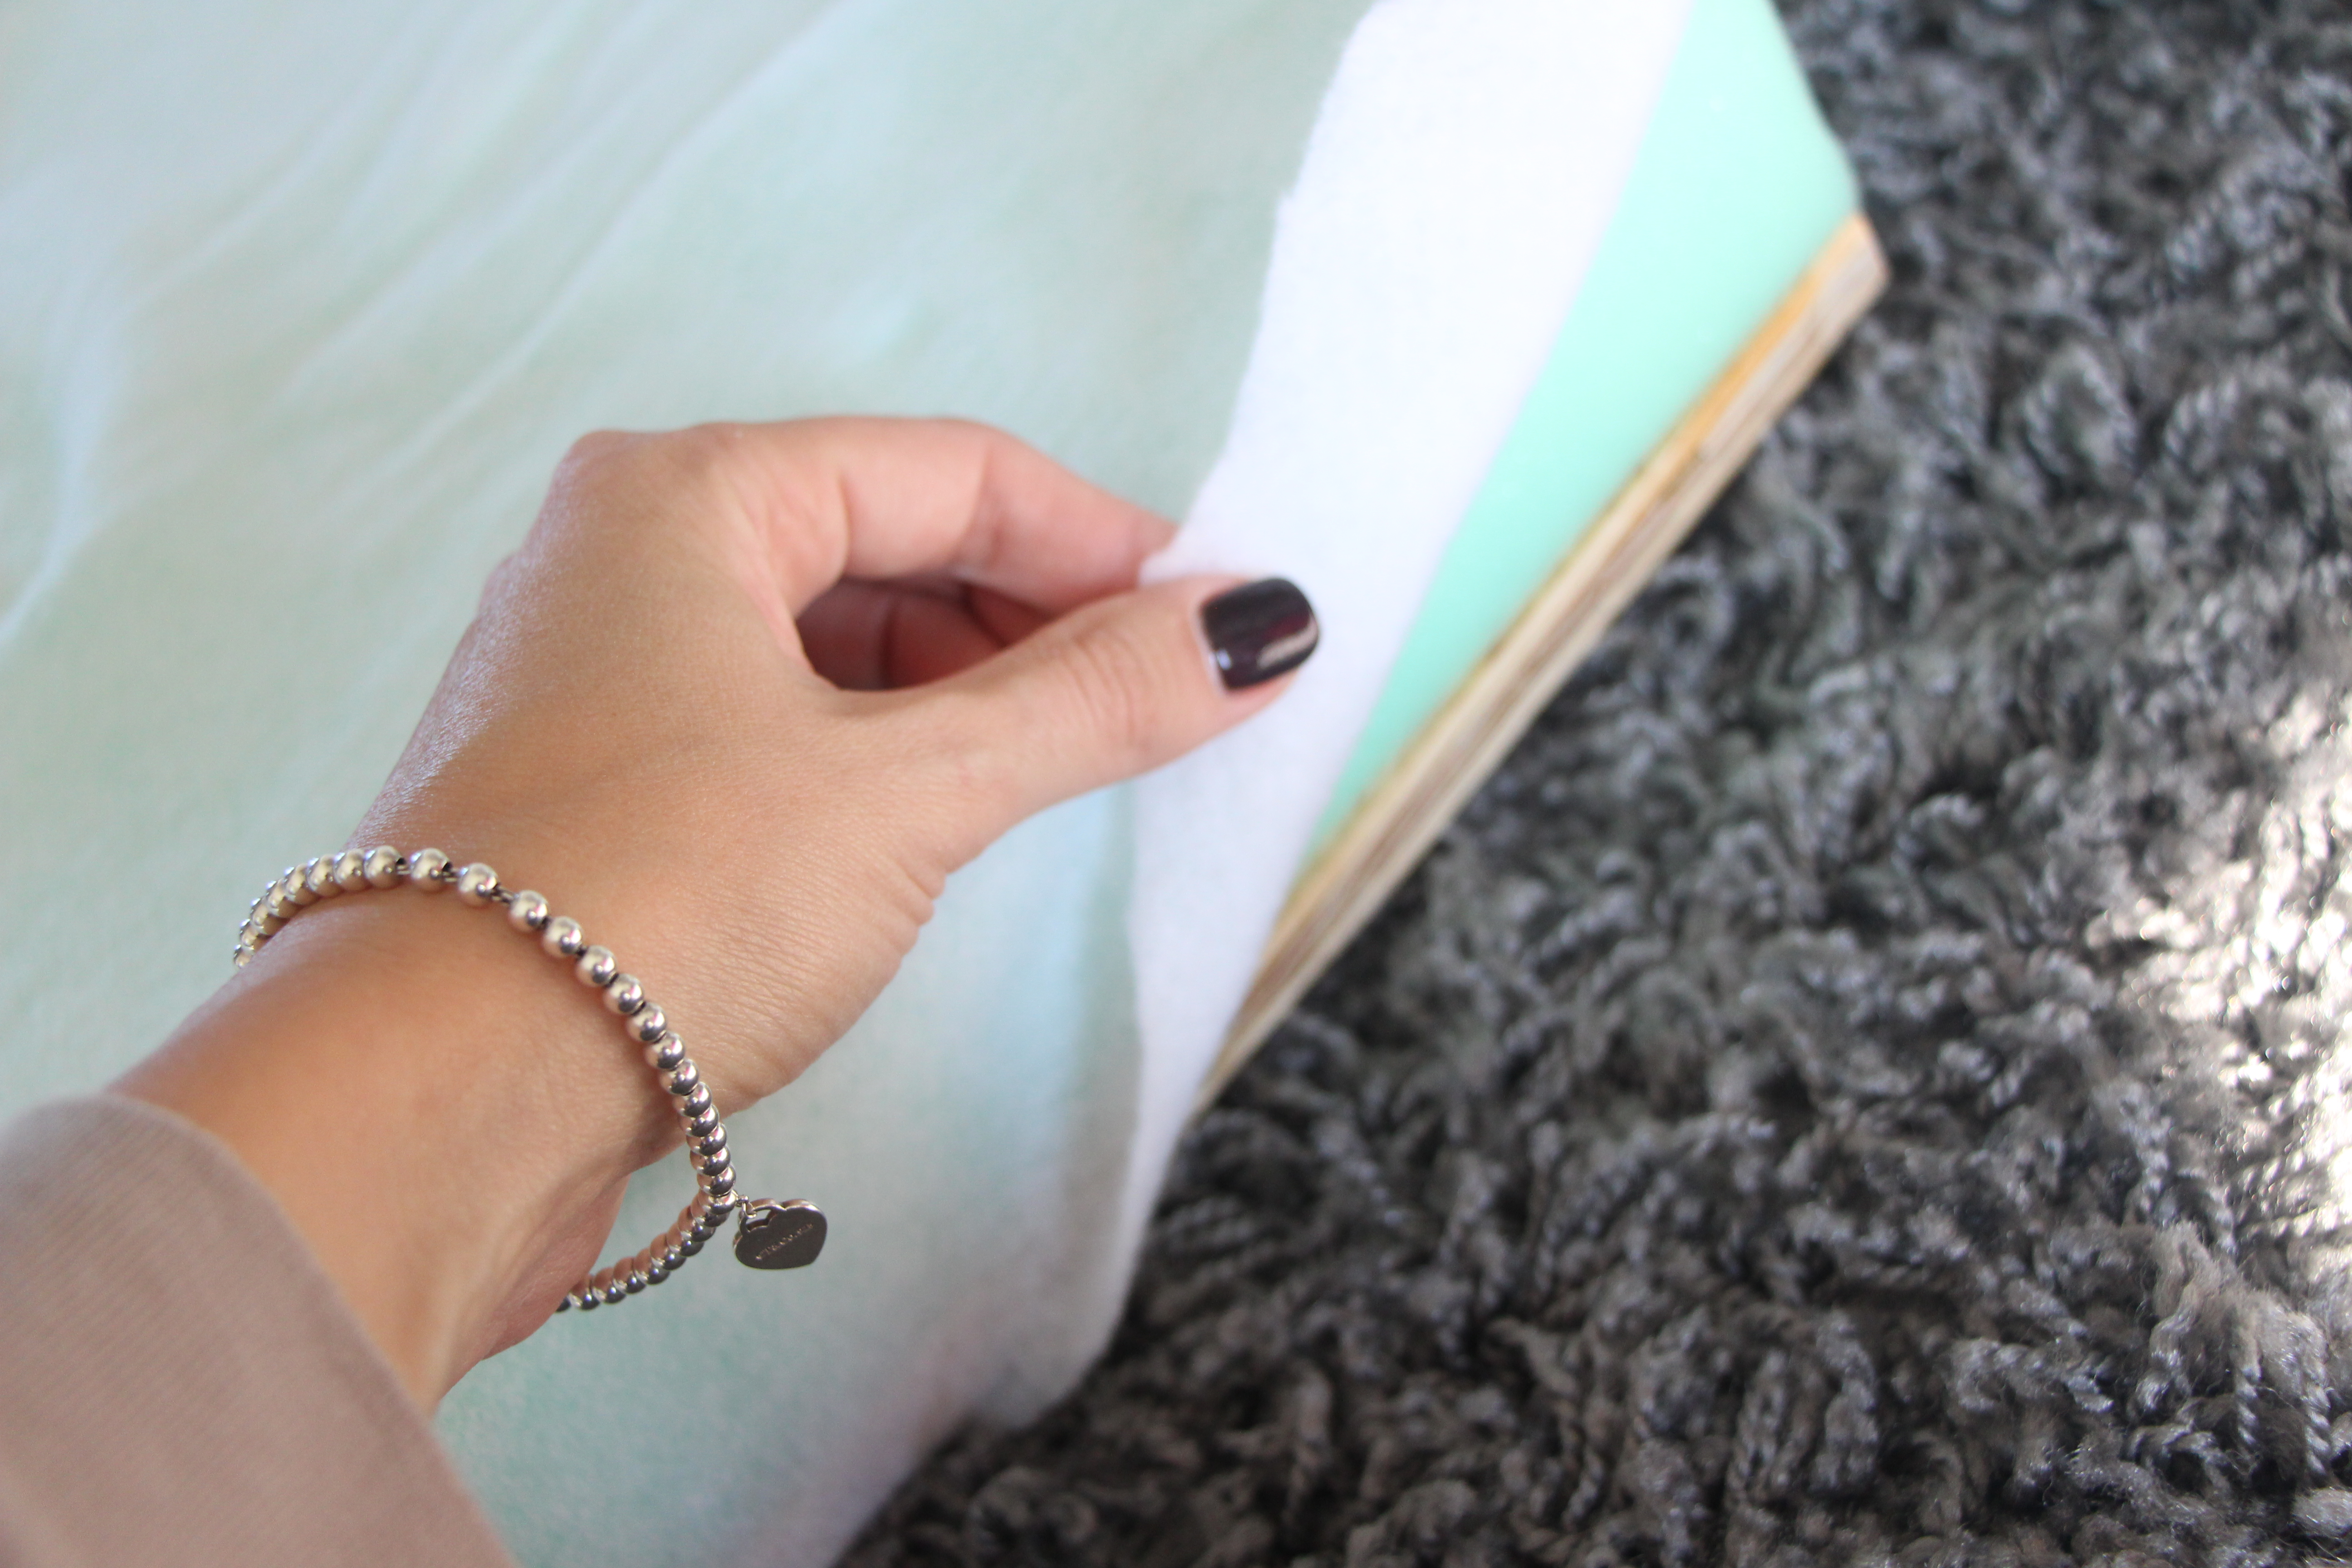
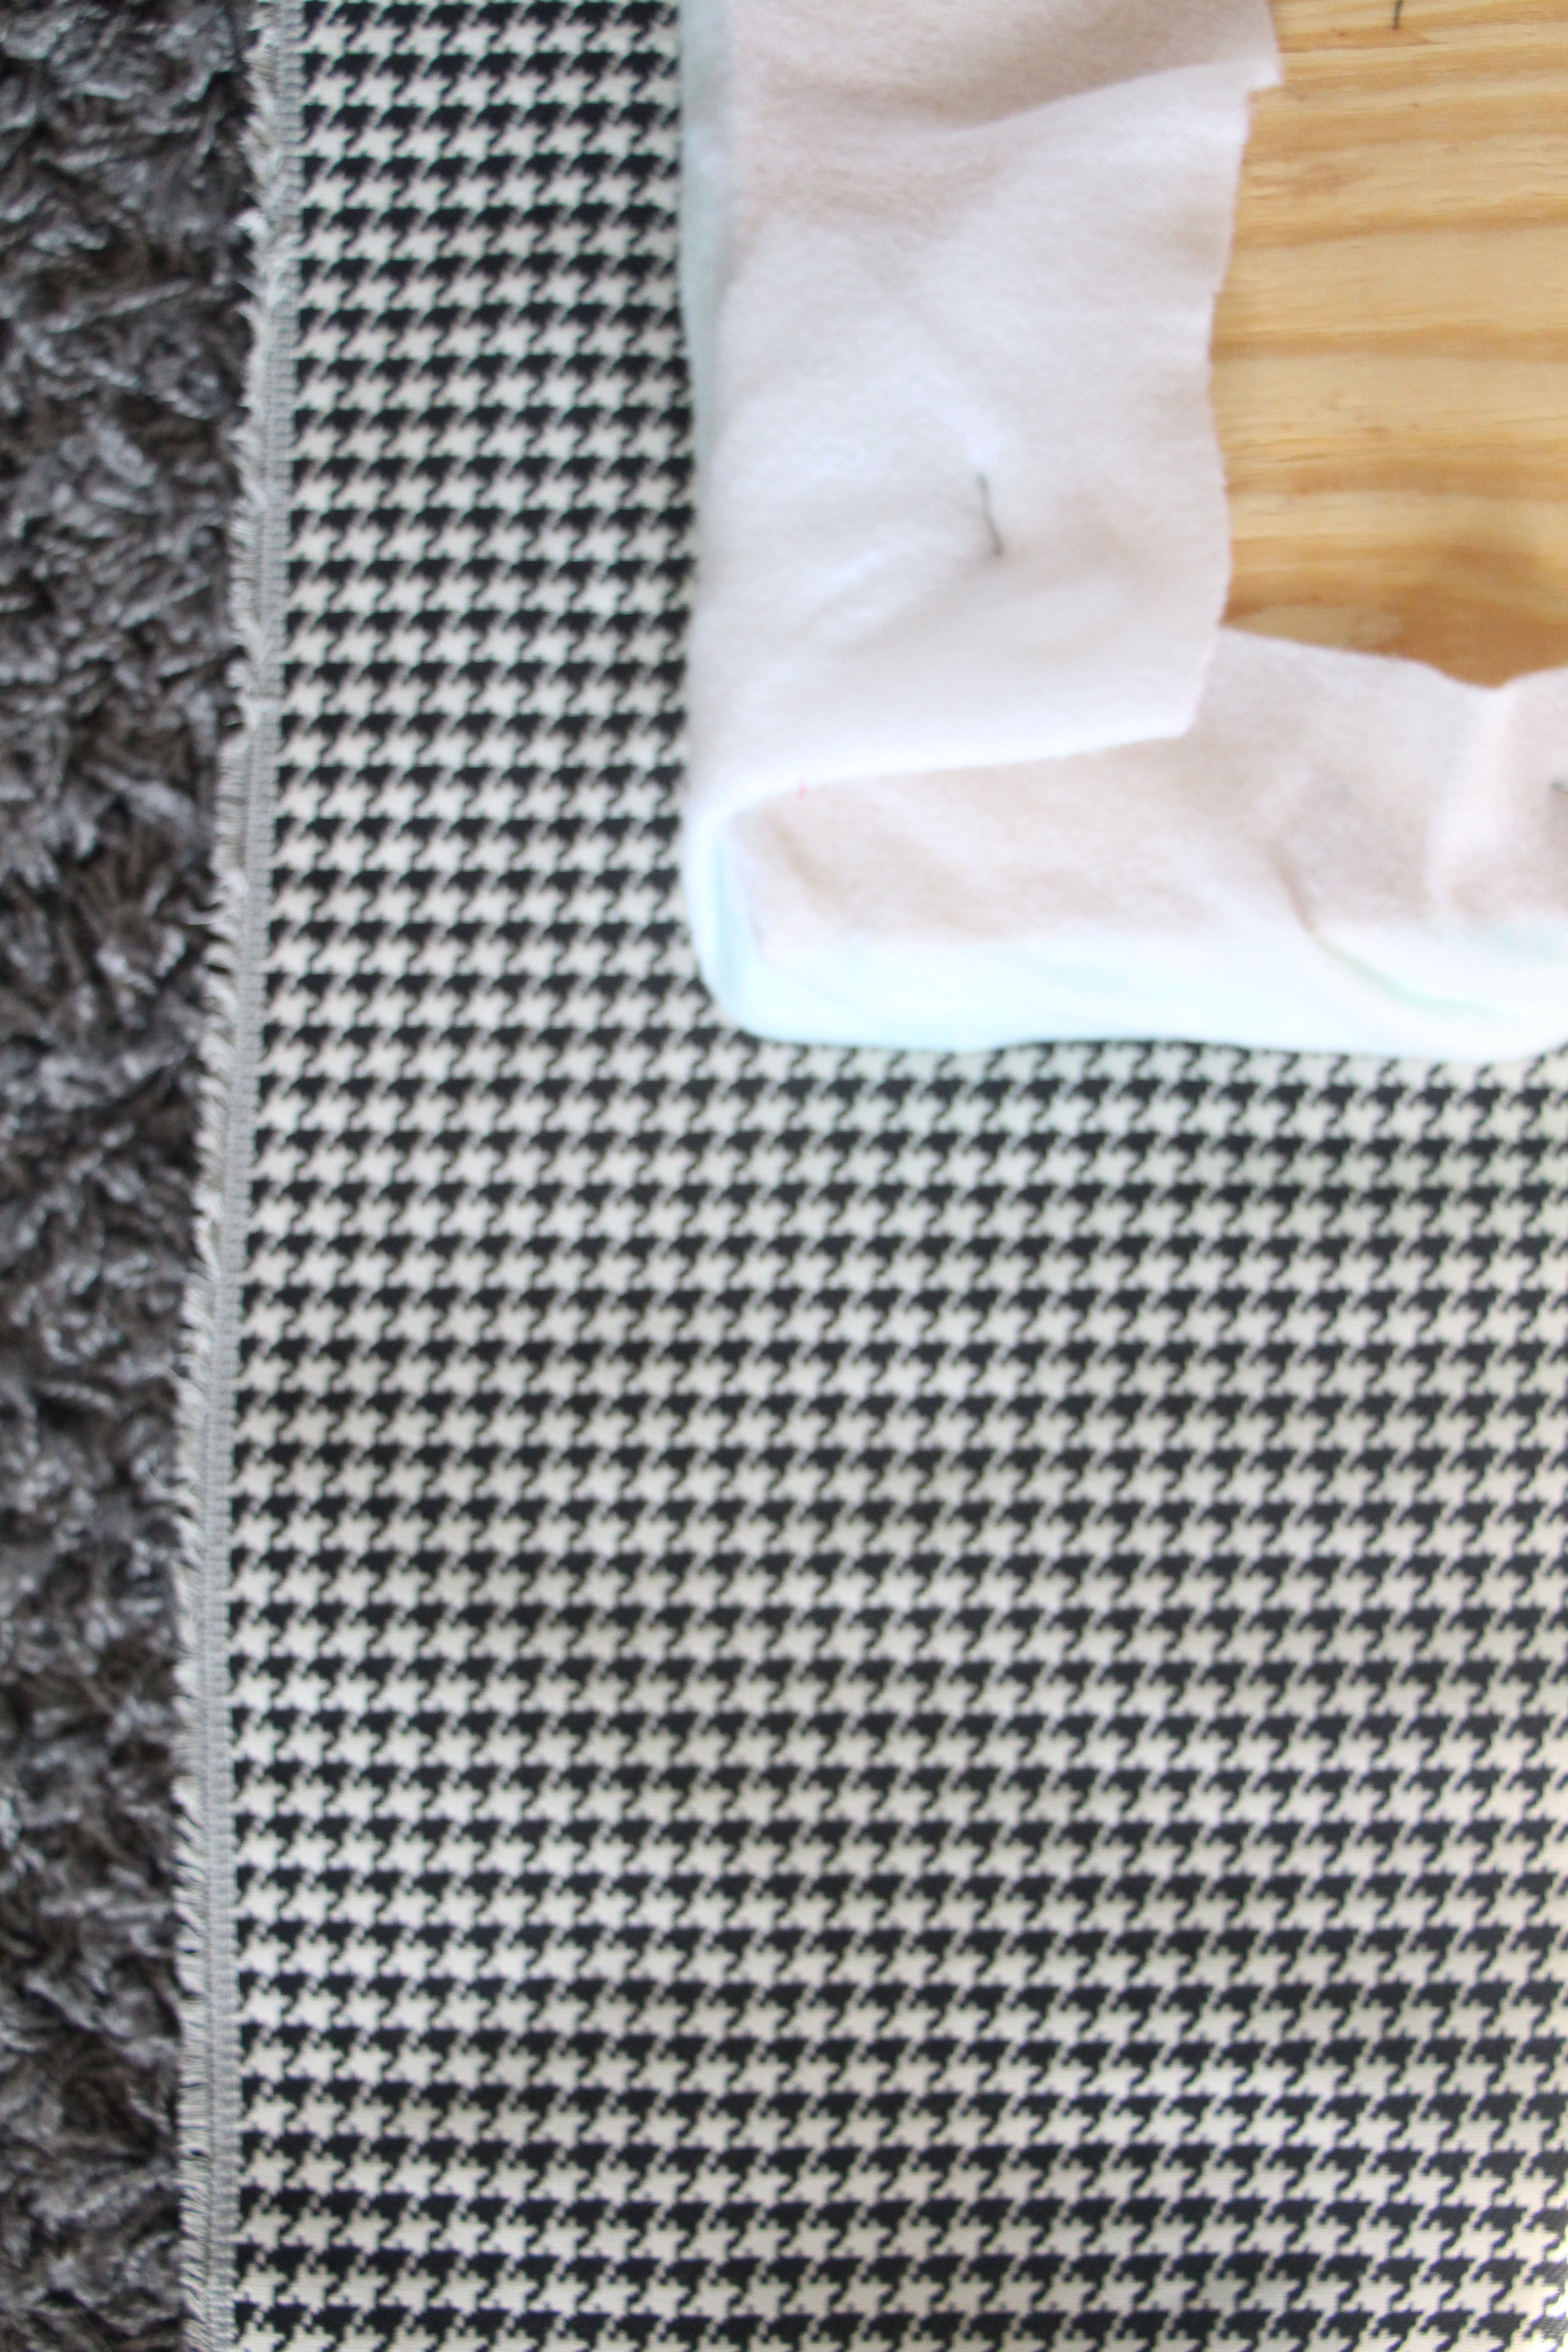 I stapled down the side, length-wise first and then the opposite side next.
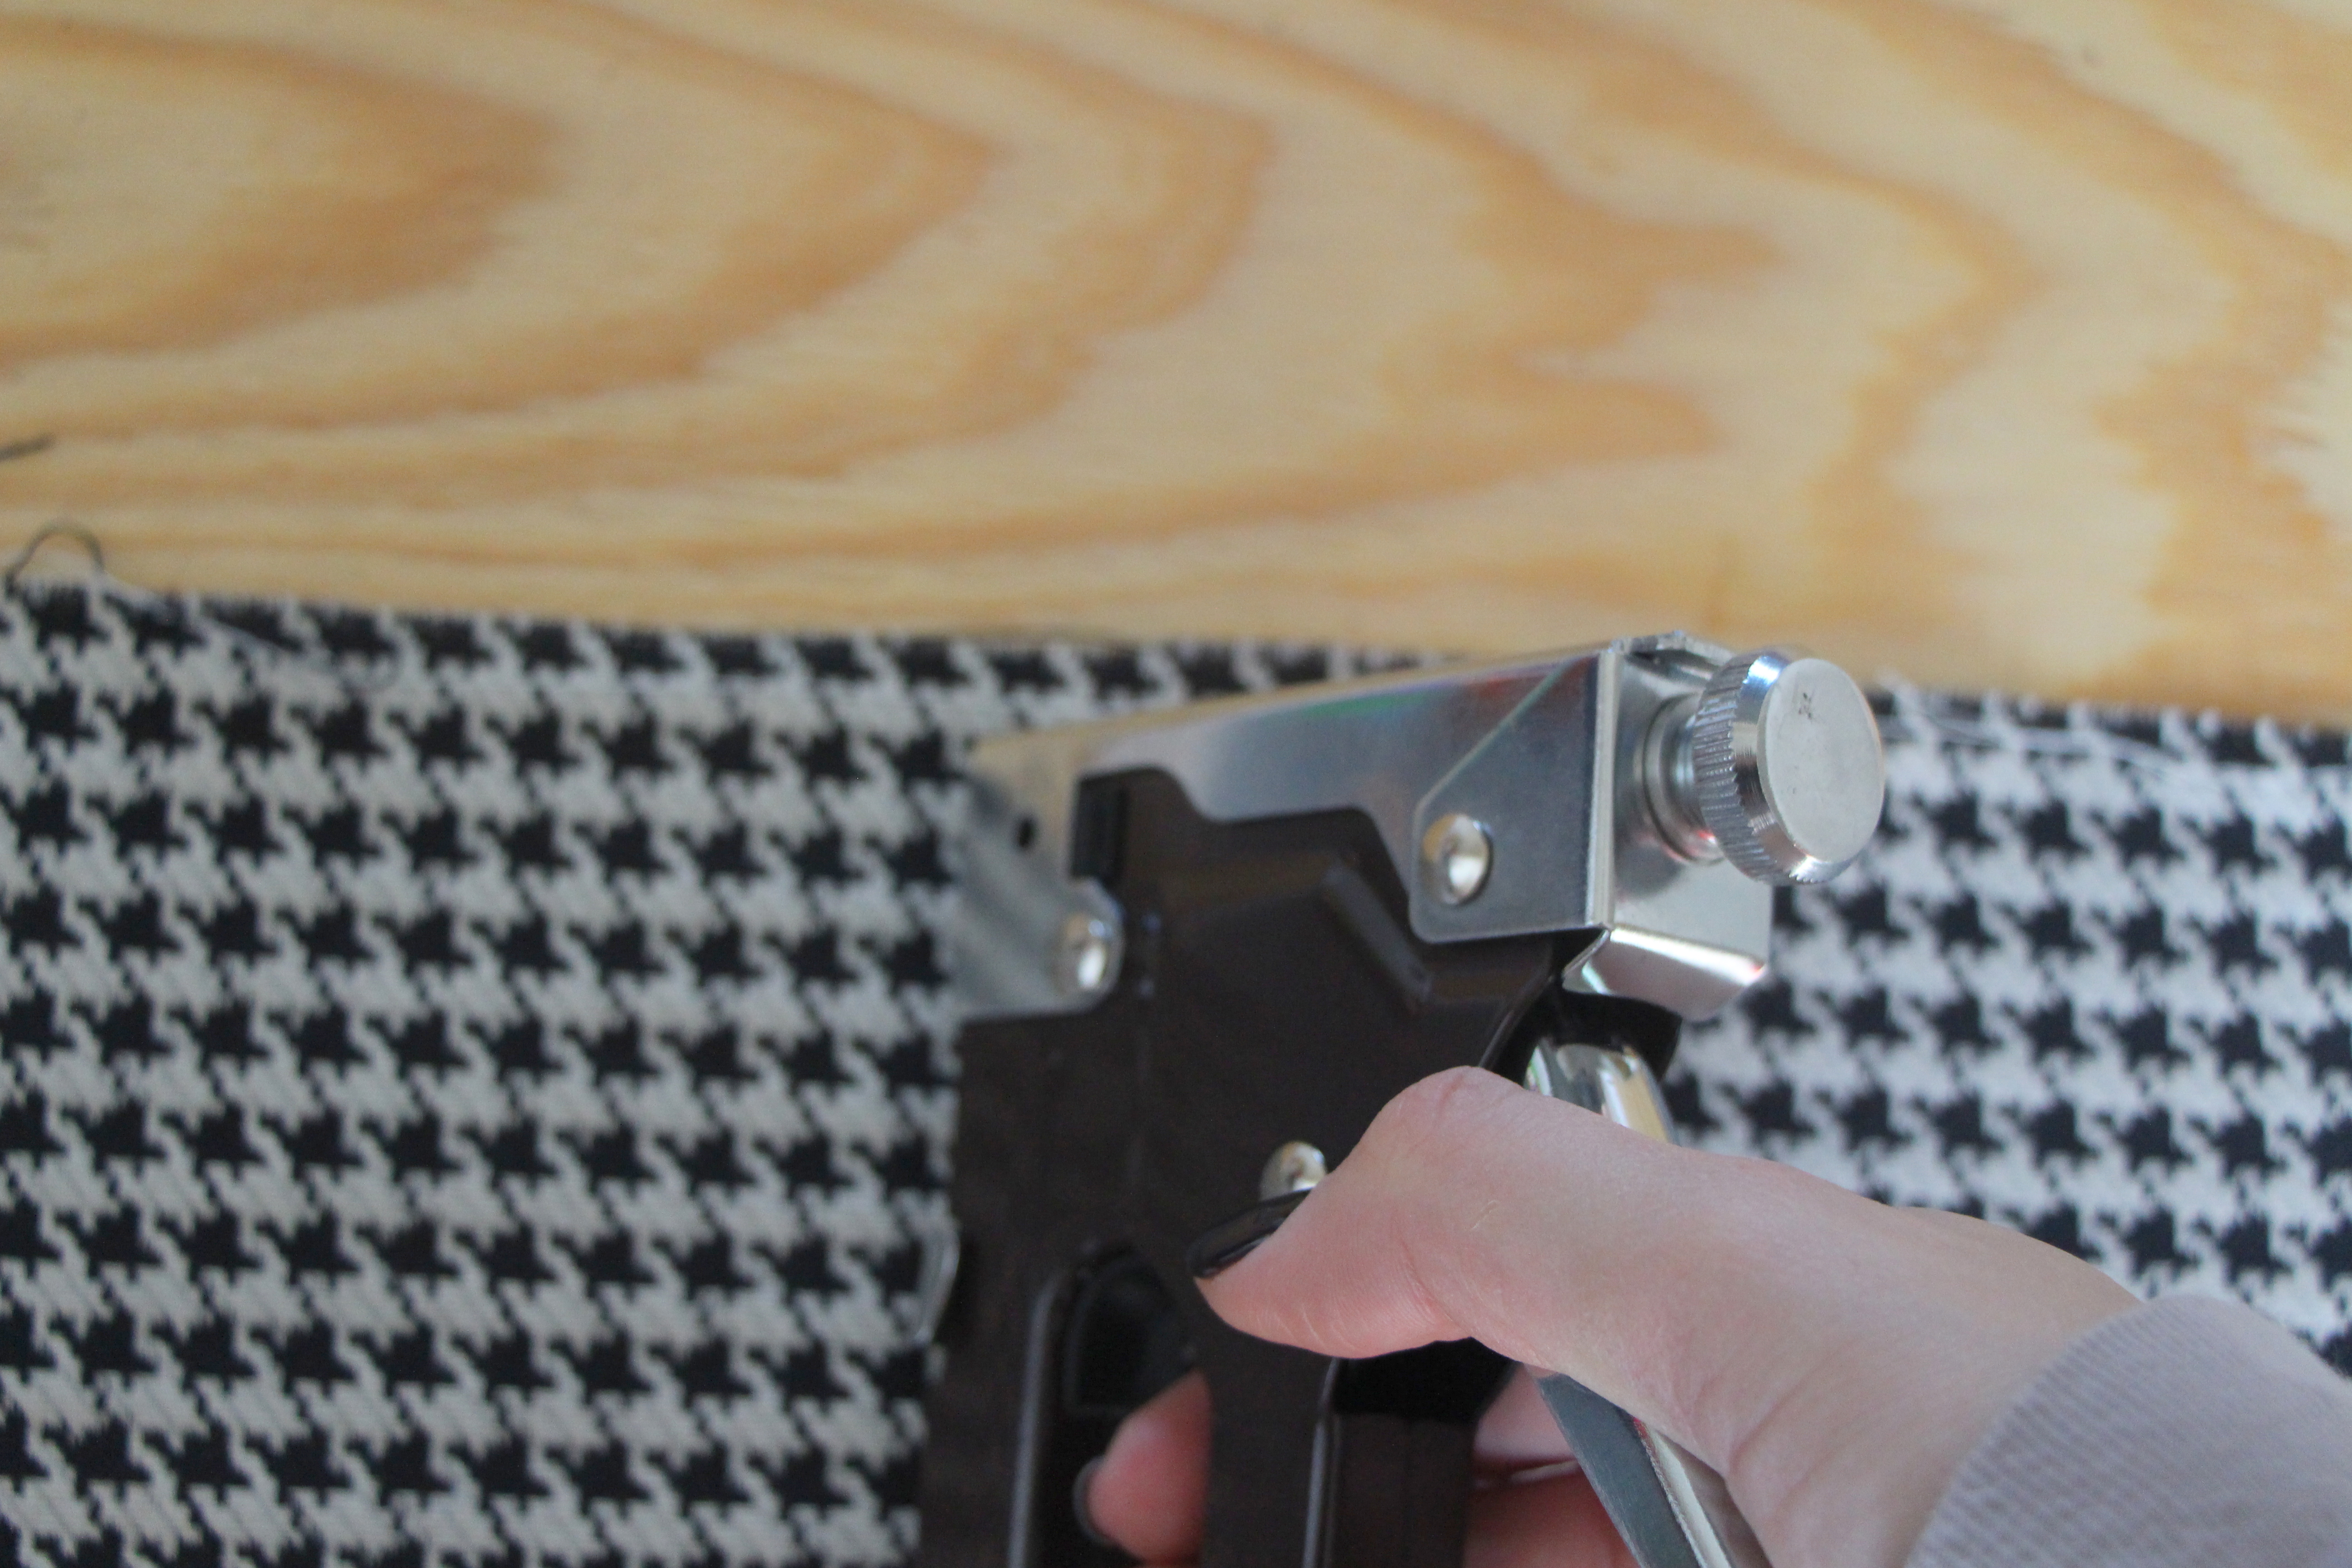

 {I hope that makes sense!}
 It is far from perfect on the back-side, but guess what? No one will see it 🙂

 *Affiliate links were used in this post.


The Best Basement Paint Color and Carpet Choices | This is our Bliss
January 6, 2017 at 10:55 AM[…] our upstairs guest bathroom (Sherwin Williams Passive Gray – SW 7064)… We painted our dining-room-turned-playroom… the same color as our formal living room (Sherwin Williams Versatile Gray – SW 6072)… […]
Playroom Reading Nook: Part 4 [The light] | This is our Bliss
November 4, 2015 at 6:12 PM[…] about this reading nook? I mean…the bookshelves, the “I <3 TO READ” wall, the bench + cushion….what could possibly be left to […]
Basement Carpet + Paint sources | TIOB Basement Project Update V | This is our Bliss
October 26, 2015 at 4:08 PM[…] our upstairs guest bathroom (Sherwin Williams Passive Gray – SW 7064)… We painted our dining-room-turned-playroom… the same color as our formal living room (Sherwin Williams Versatile Gray – SW 6072)… […]
>>> Simon’s Nursery Reveal<<< | This is our Bliss
August 26, 2015 at 8:47 AM[…] Closet DIY Details Closet details: Accessories & labels Nursery Pegboard Gallery Wall DIY Playroom Reading Nook […]
Betty
November 14, 2014 at 3:40 PMyou make it look so easy that I think I can do it myself. Going to try to tackle this project. Thank you
Rachael @ This is our Bliss
November 19, 2014 at 10:57 AMThanks, Betty! Give it a shot – I am sure it will turn out great! Please let me know if you have any questions along the way 🙂
Me, Myself and DIY
November 10, 2014 at 6:31 AMlove it – I made a similar rolling bench for my garage with storage too! These are the greatest projects. Yours is adorable!
Rachael @ This is our Bliss
November 10, 2014 at 7:06 AMThanks! Awesome! We’re working on our garage now too… I’ll have to go search through your posts to see it 😉