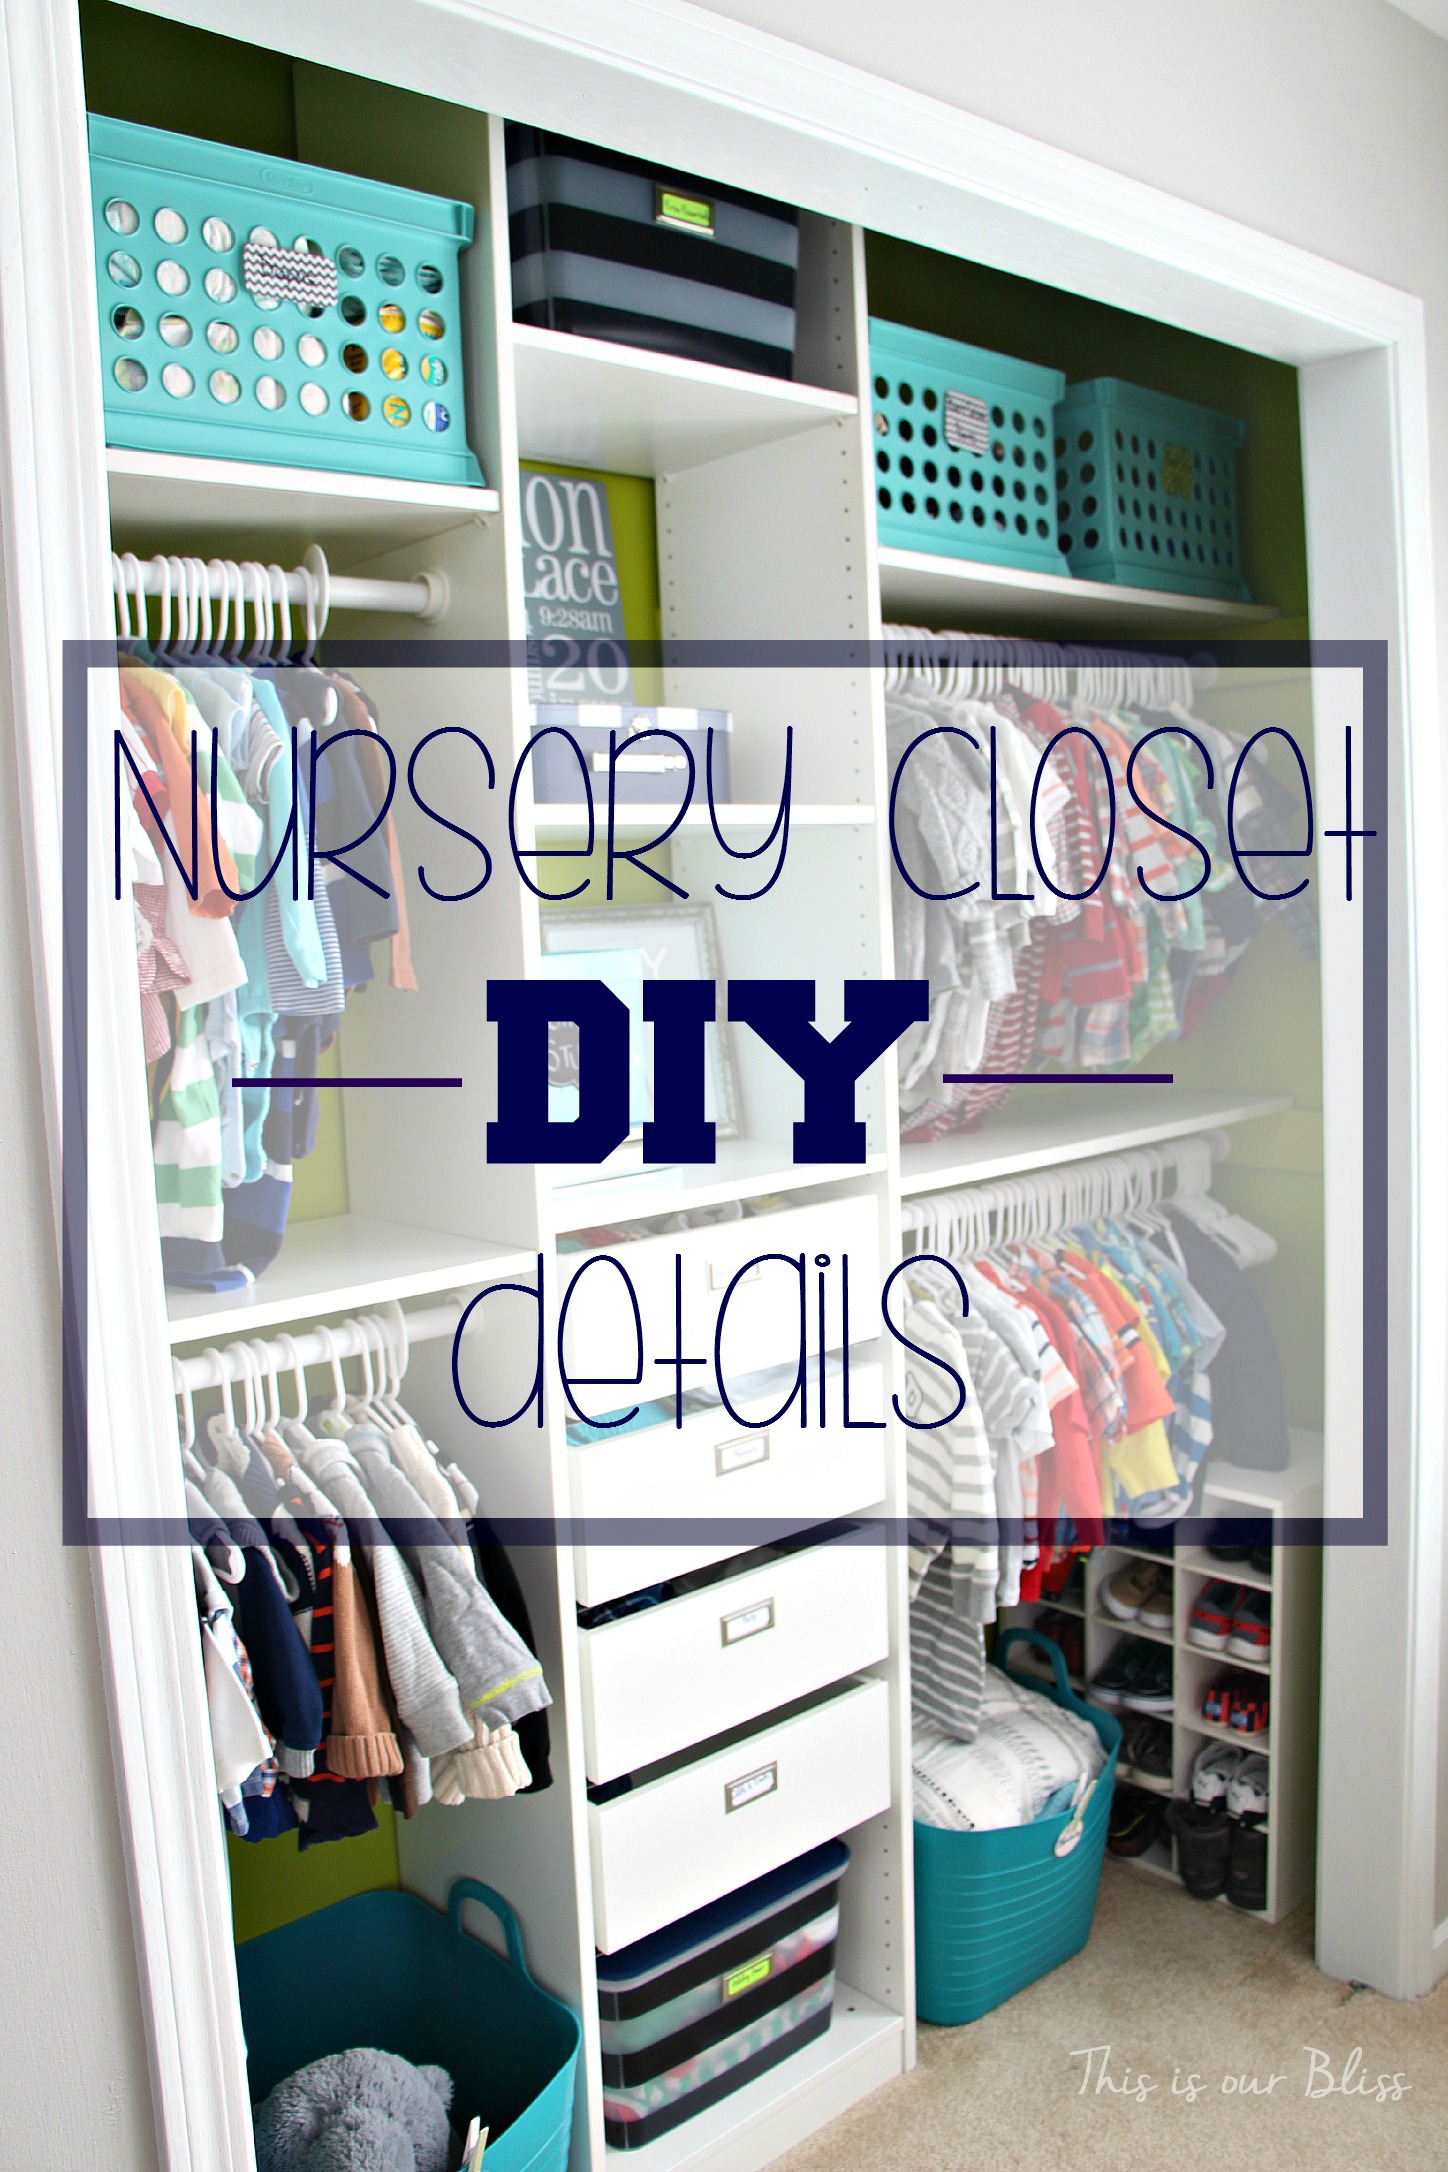
Nursery Closet Details: Part I [DIY shelves + drawers + rods]
Posted on March 3, 2015
As my blog’s traffic has started to increase, so have the number of emails I receive. Although it is coming up on one year since I revealed Simon’s Nursery, it is still by far, the main attraction. The Pegboard Gallery wall and the nursery closet have created most of the buzz, thanks to Pinterest and a feature at IHeart Organizing last month. Both sites have really given my blog a boost and I am so very thankful.
The readers I hear from sometimes write in with super sweet notes telling me how his nursery is the inspiration for their soon-to-be little one’s sleeping quarters. Talk about humbling! Many other readers have questions about something they have seen and need more information and quite often, it is pertaining to the closet details…
…”How did you hang your large shelves?” “Where did you find that shoe storage organizer on the bottom right?!” “Do you still like the PAX unit today?”…
After realizing I probably need to get some more info out there, I decided it might be a good idea to revisit the closet in a 2 (possibly 3) part mini series, where I will dish on some of the closet components – How we painted it, installed the DIY closet system and the deets on the accessories and labels. I do my very best to reply back to the emails in a timely fashion and I DO love hearing from all of you, but I am hoping to cover enough content in this series so you all don’t have to go searching everywhere, scouring all of my posts and then end up having to email me because you can’t find something. My apologies!
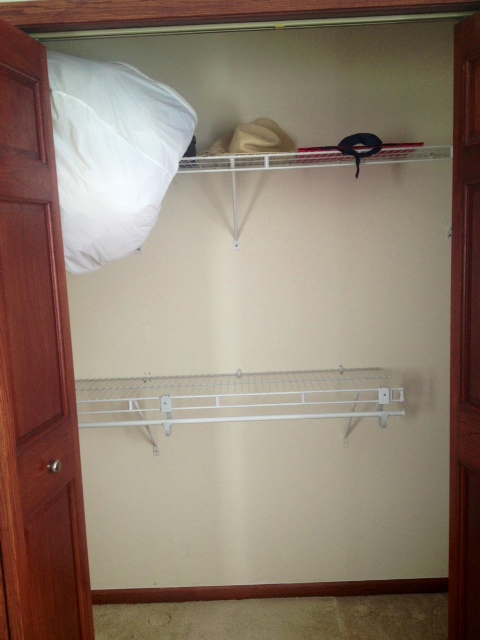
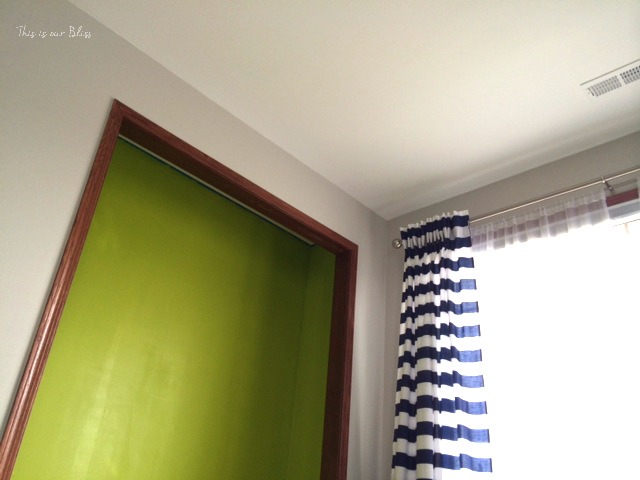
Let’s start from the beginning. Here is what the closet looked like before:
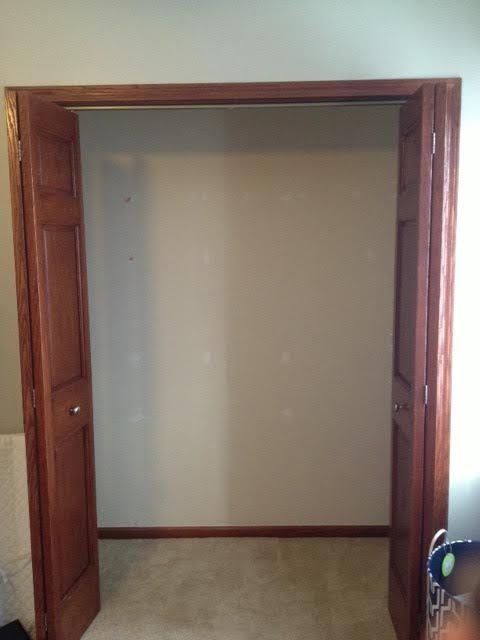
The first thing we did was empty the closet and remove the old wire shelving. The next step was patching the screw holes in the drywall. We waited 24 hours and then sanded down the patches to try to create a flat, smooth surface for painting.
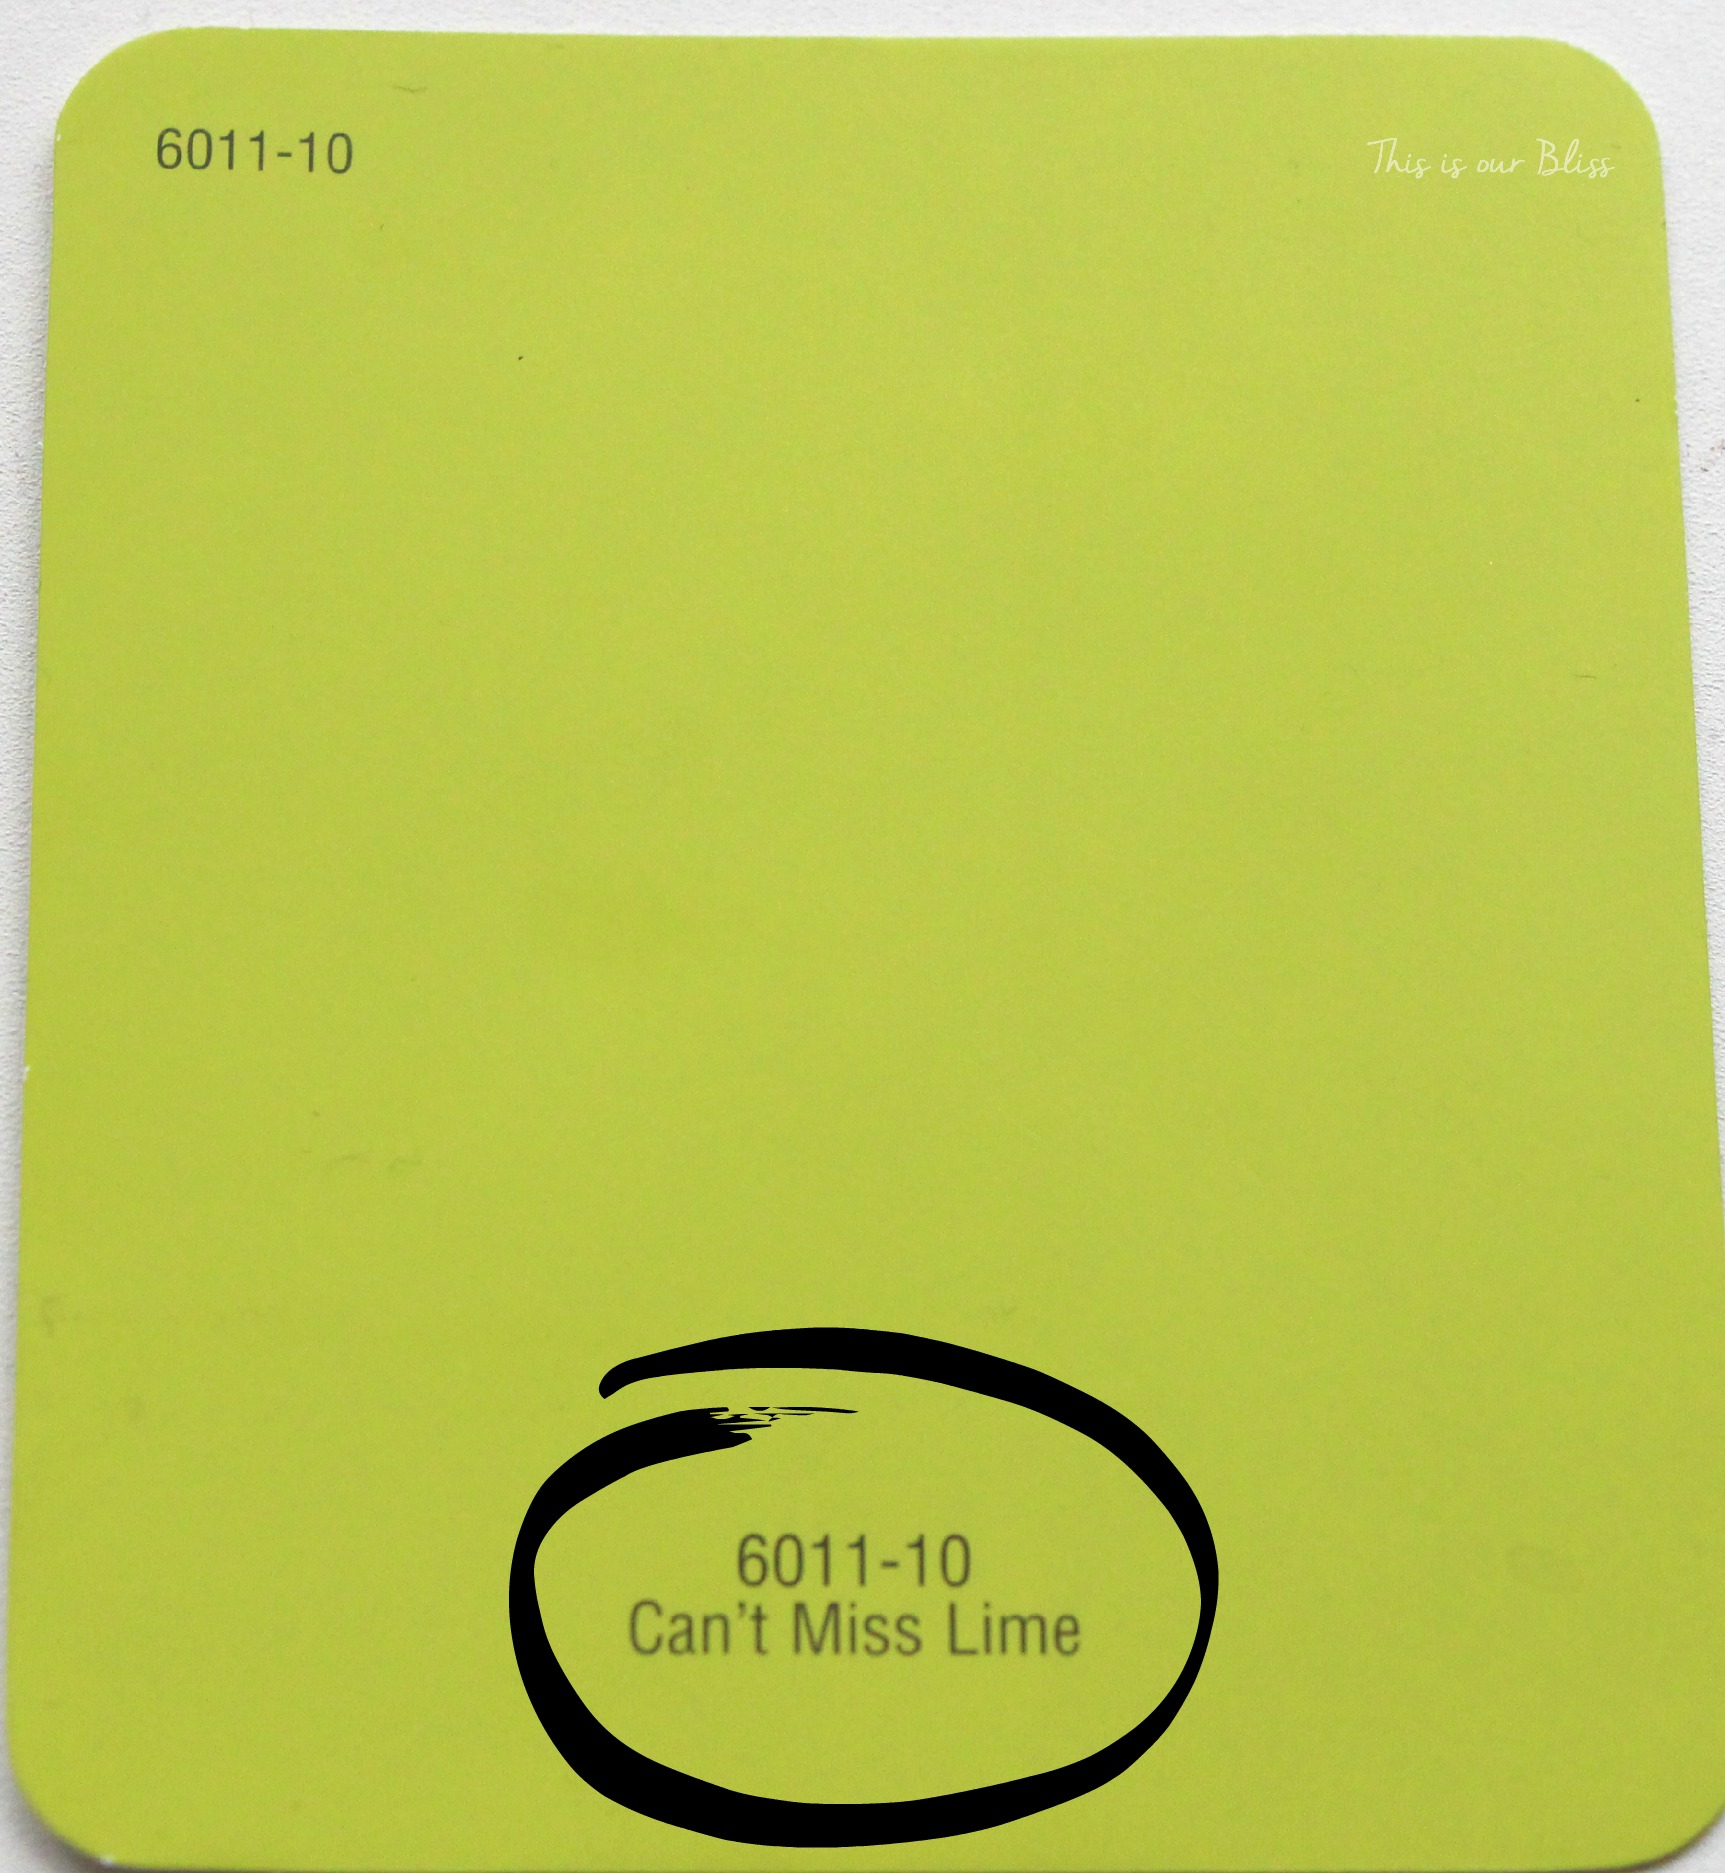
Oh and then we removed the doors in hopes that the closet would come out looking so good we wouldn’t need to hide anything away! Next, we tested a couple of paint samples and then selected “Can’t Miss Lime” by Valspar and applied 2 coats.
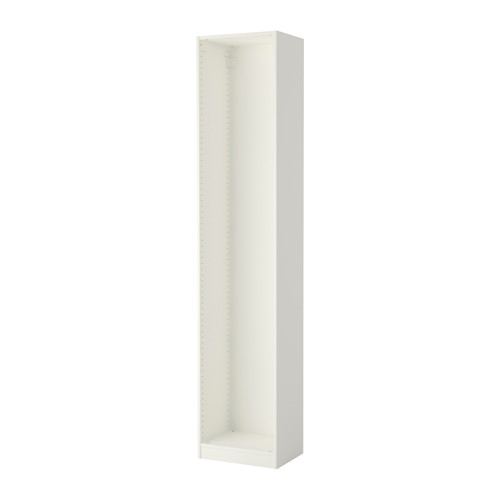
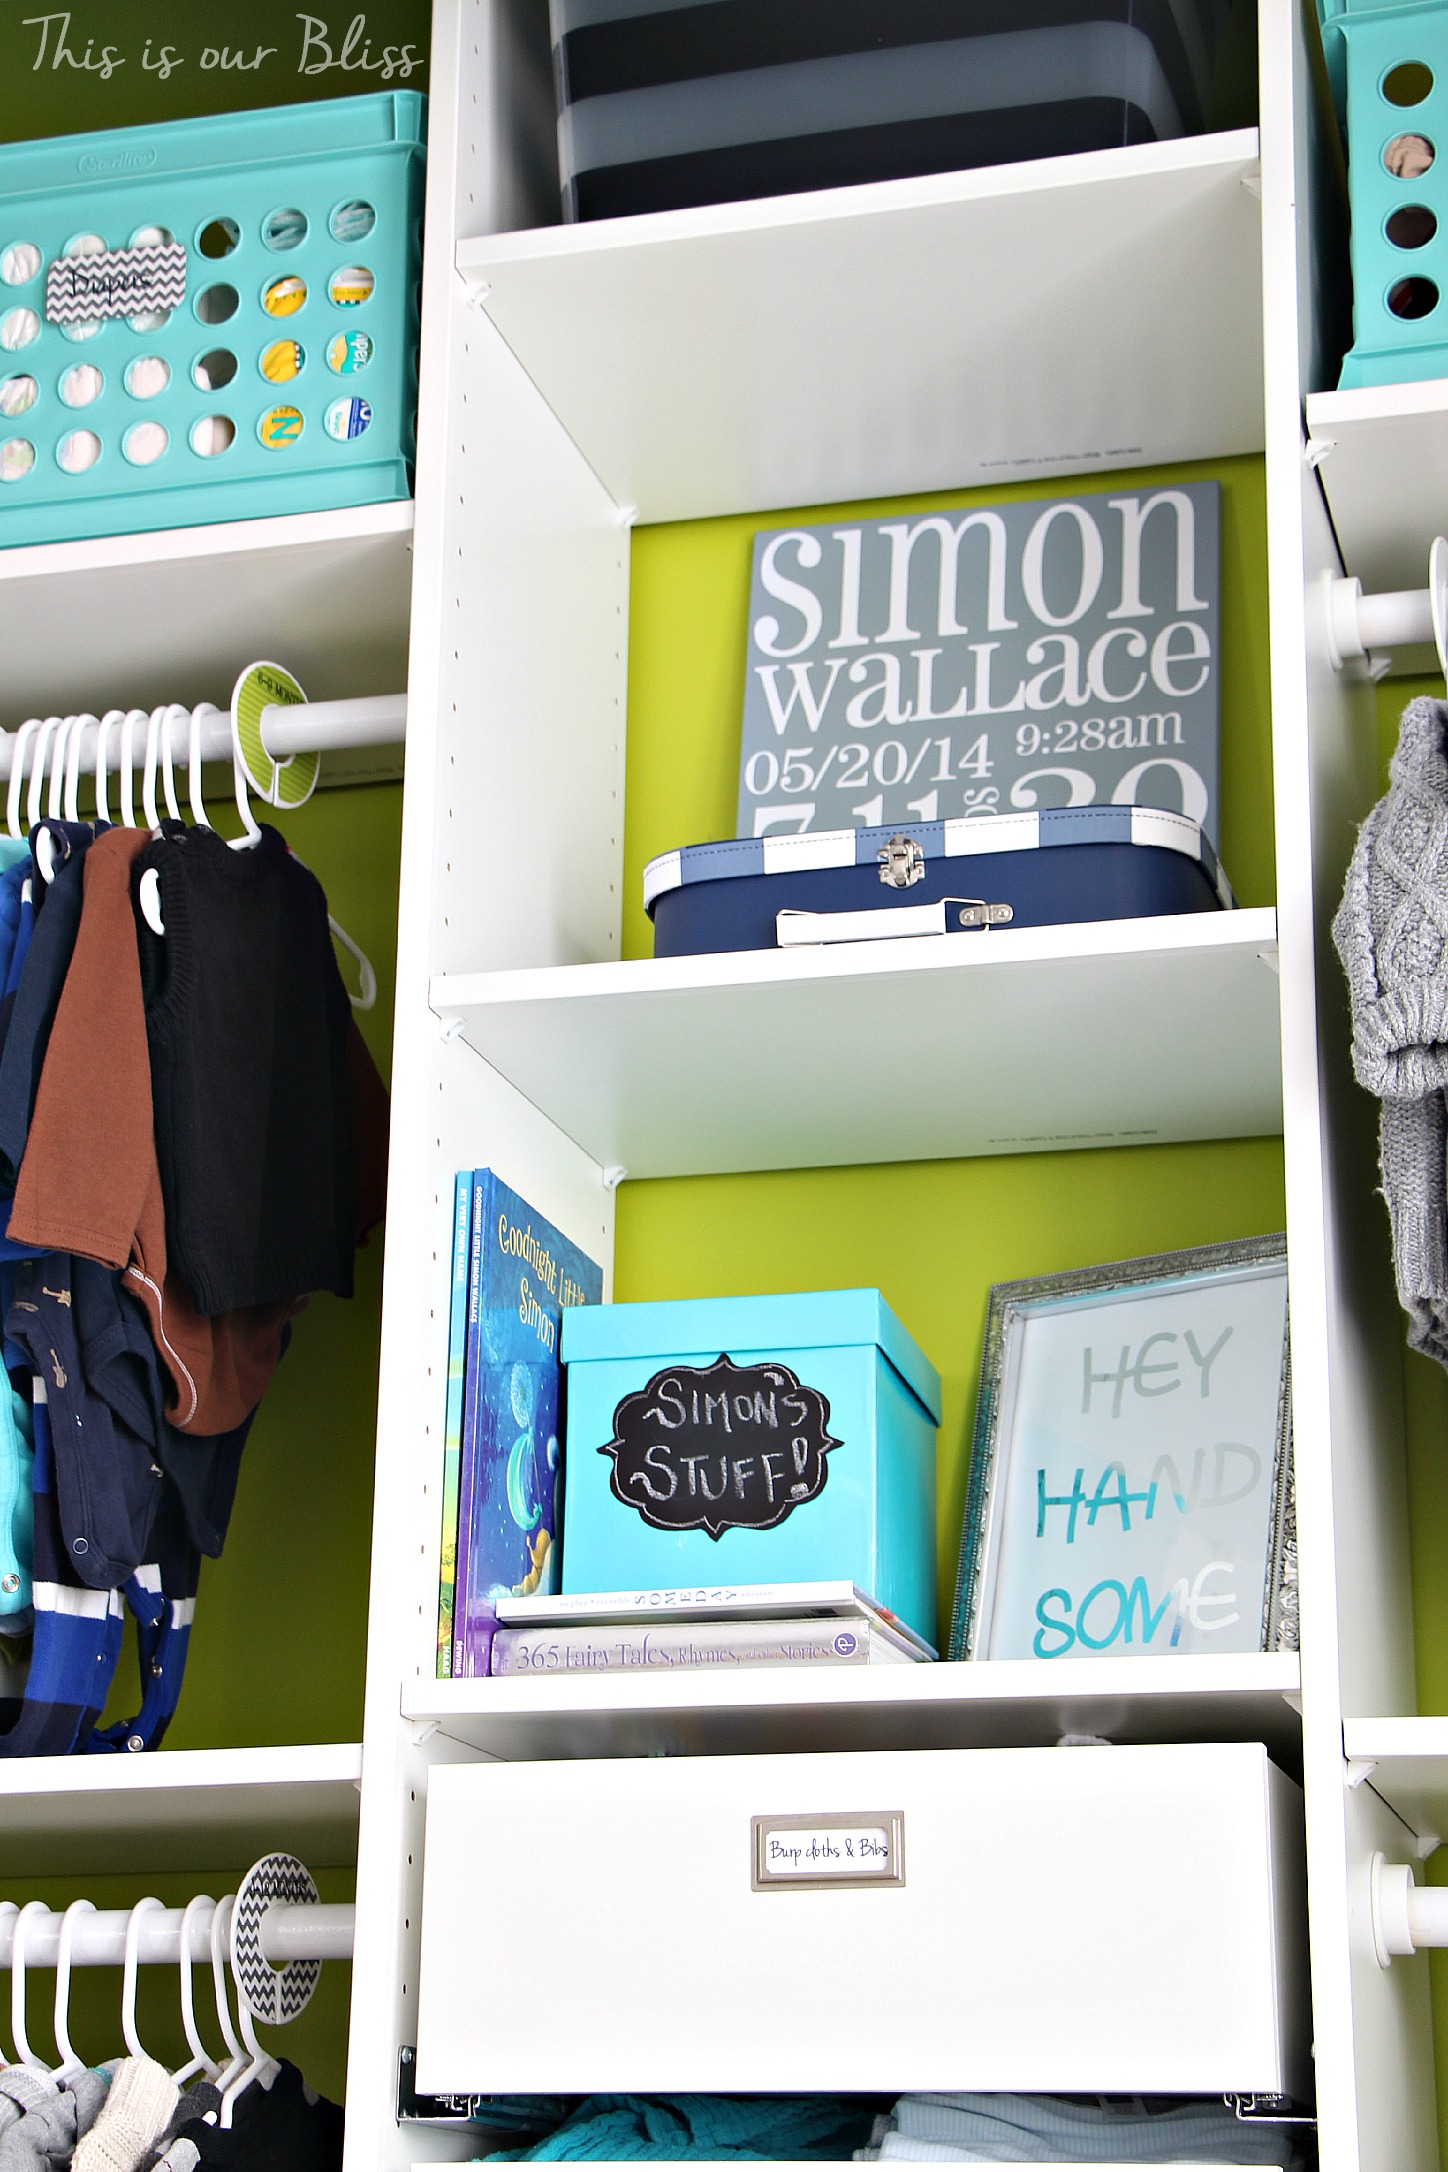
The entire closet was built around the IKEA PAX Wardrobe frame. What we loved about the PAX system is the ability to pick and choose what interior organizers would work best for our needs. I knew I wanted to store bibs, burp cloths, swaddle blankets, etc. in the closet and then have shelving for storage bins and decorative accessories, too. The frame size we chose is the 19 5/8″ x 13 3/4″ x 93 1/8″ and we purchased 4 KOMPLEMENT drawers and 3 KOMPLEMENT shelves to fit inside the frame.
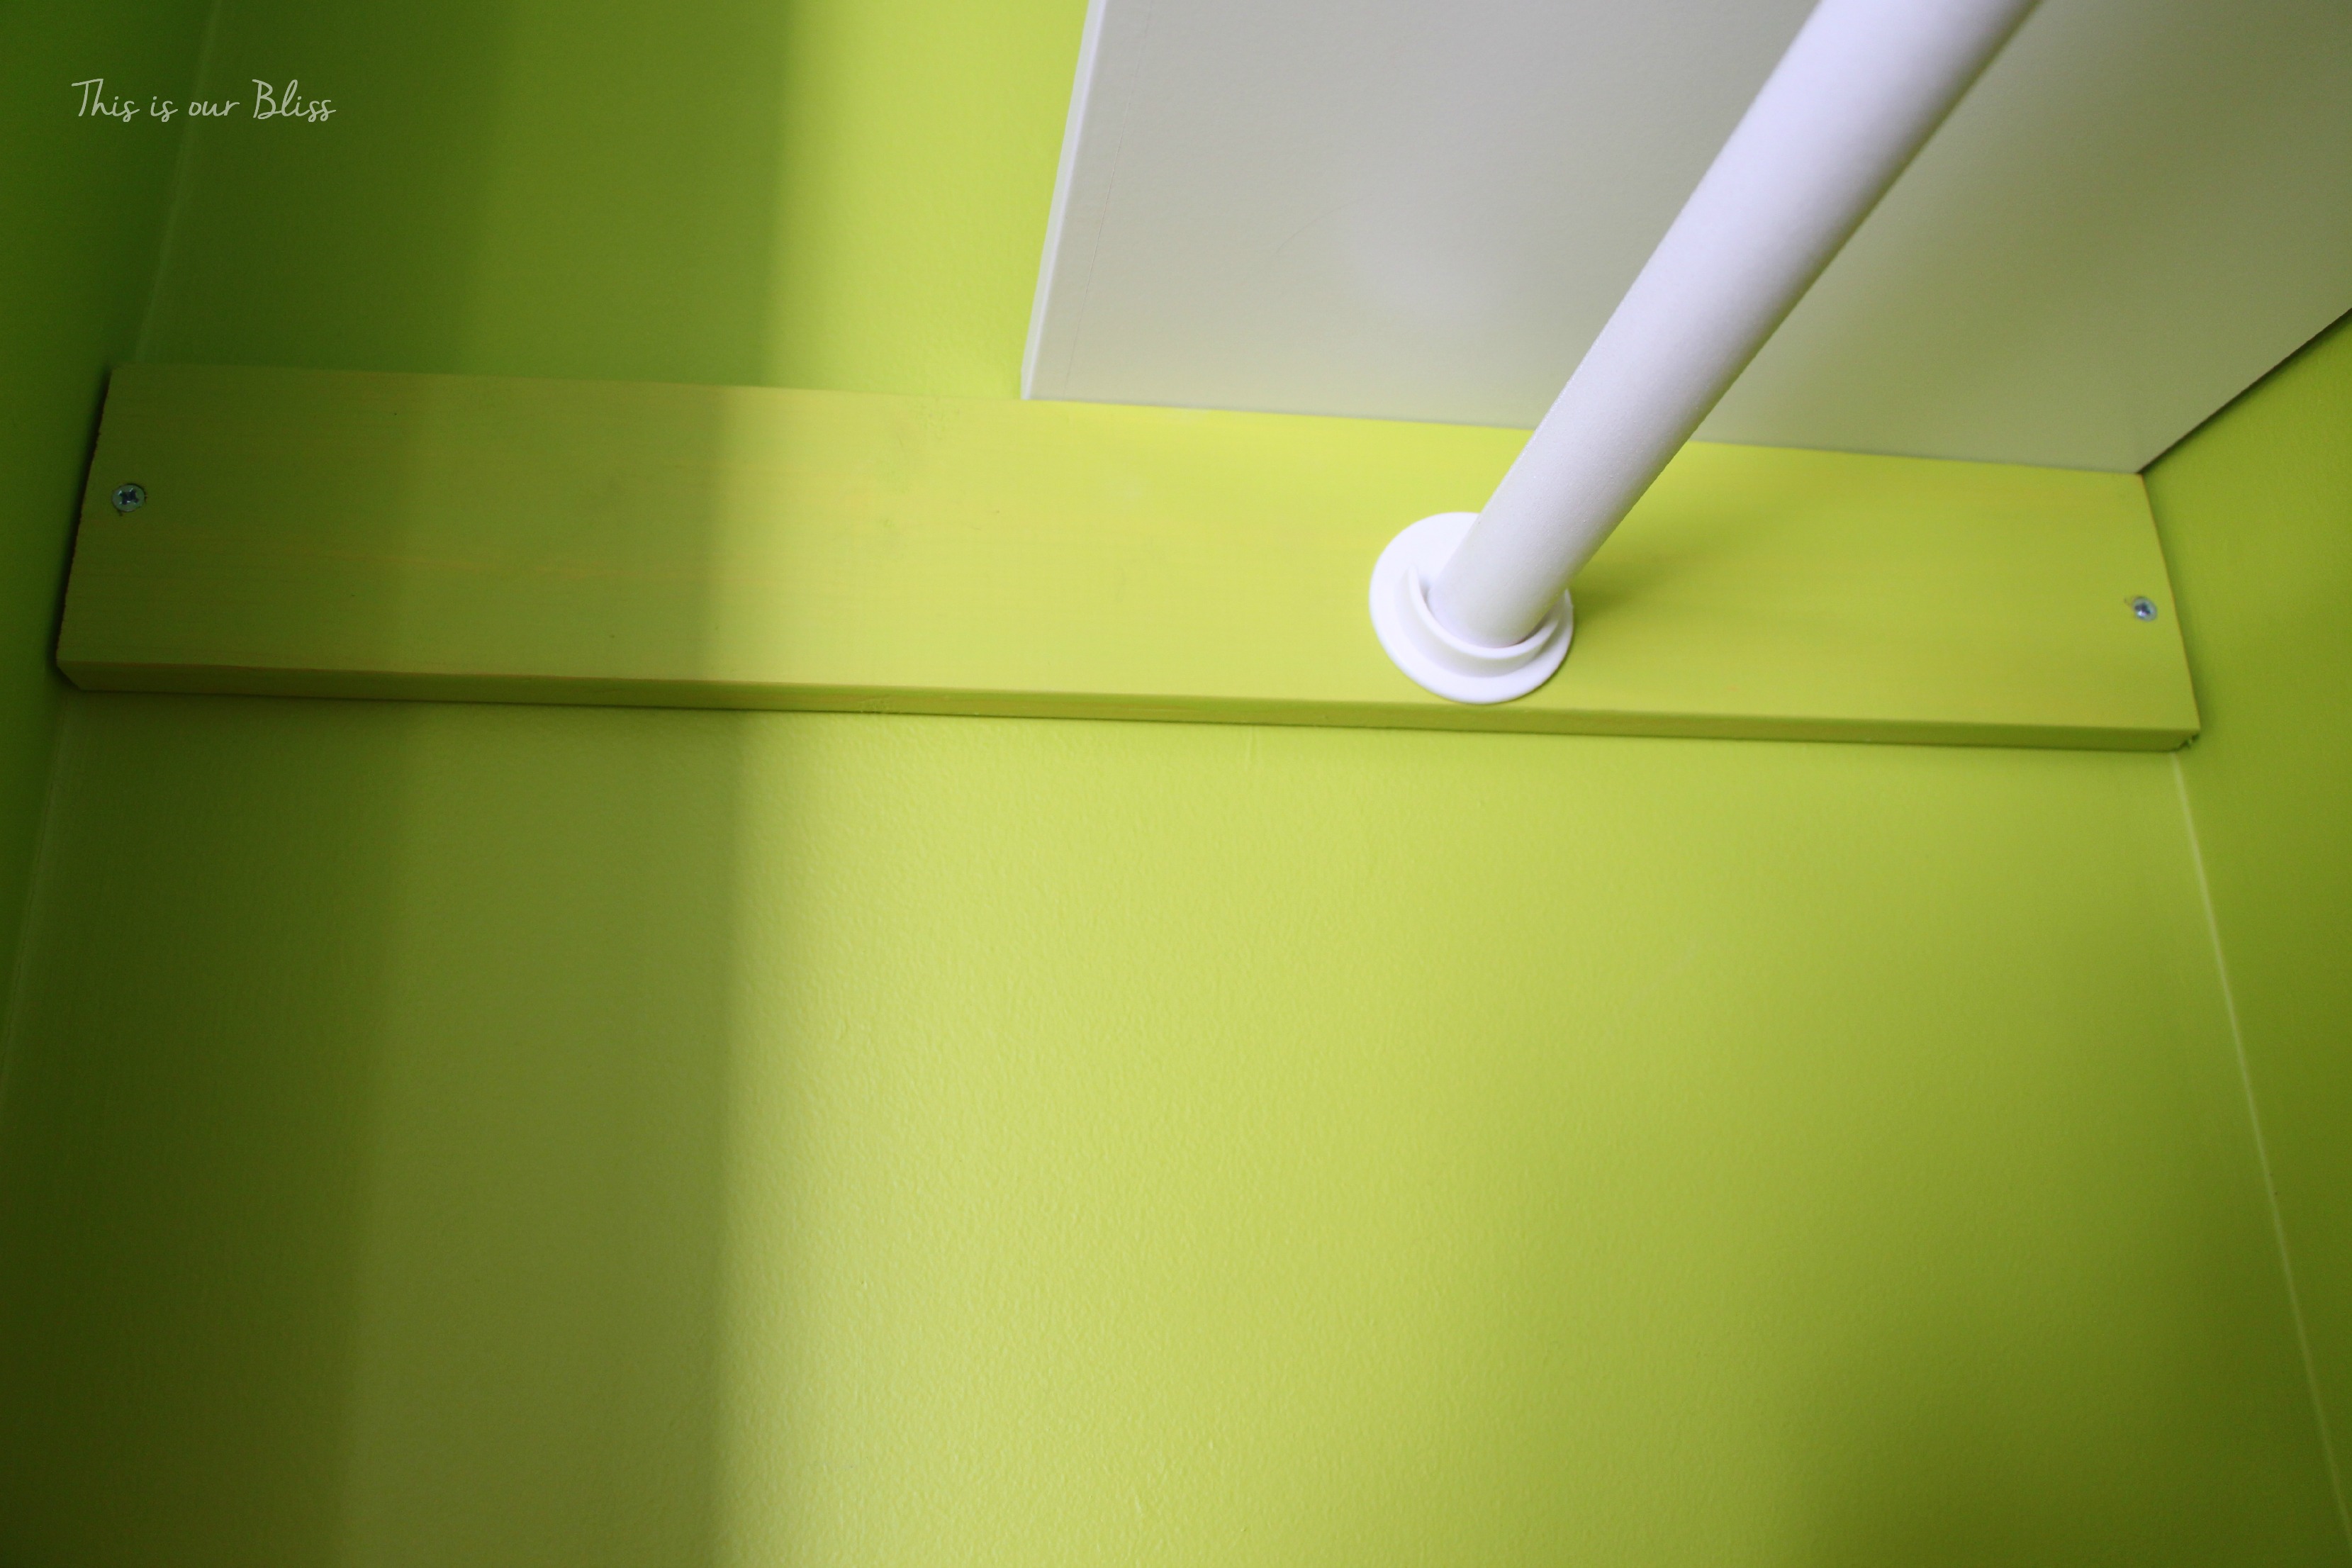
After this middle unit was assembled and installed, we built out to the left & right of it. We determined we wanted 4 shelves (longer version of IKEA KOMPLEMENT shelves) and 4 clothing rods outside of the middle unit, so we needed support blocks to hold them securely in place. We bought 1″ x 3.5″ pieces of plywood and cut them down to measure 23 1/4″ long. They were painted to match the walls and then were drilled into the sides of the closet – 2 on the left and 2 on the right.
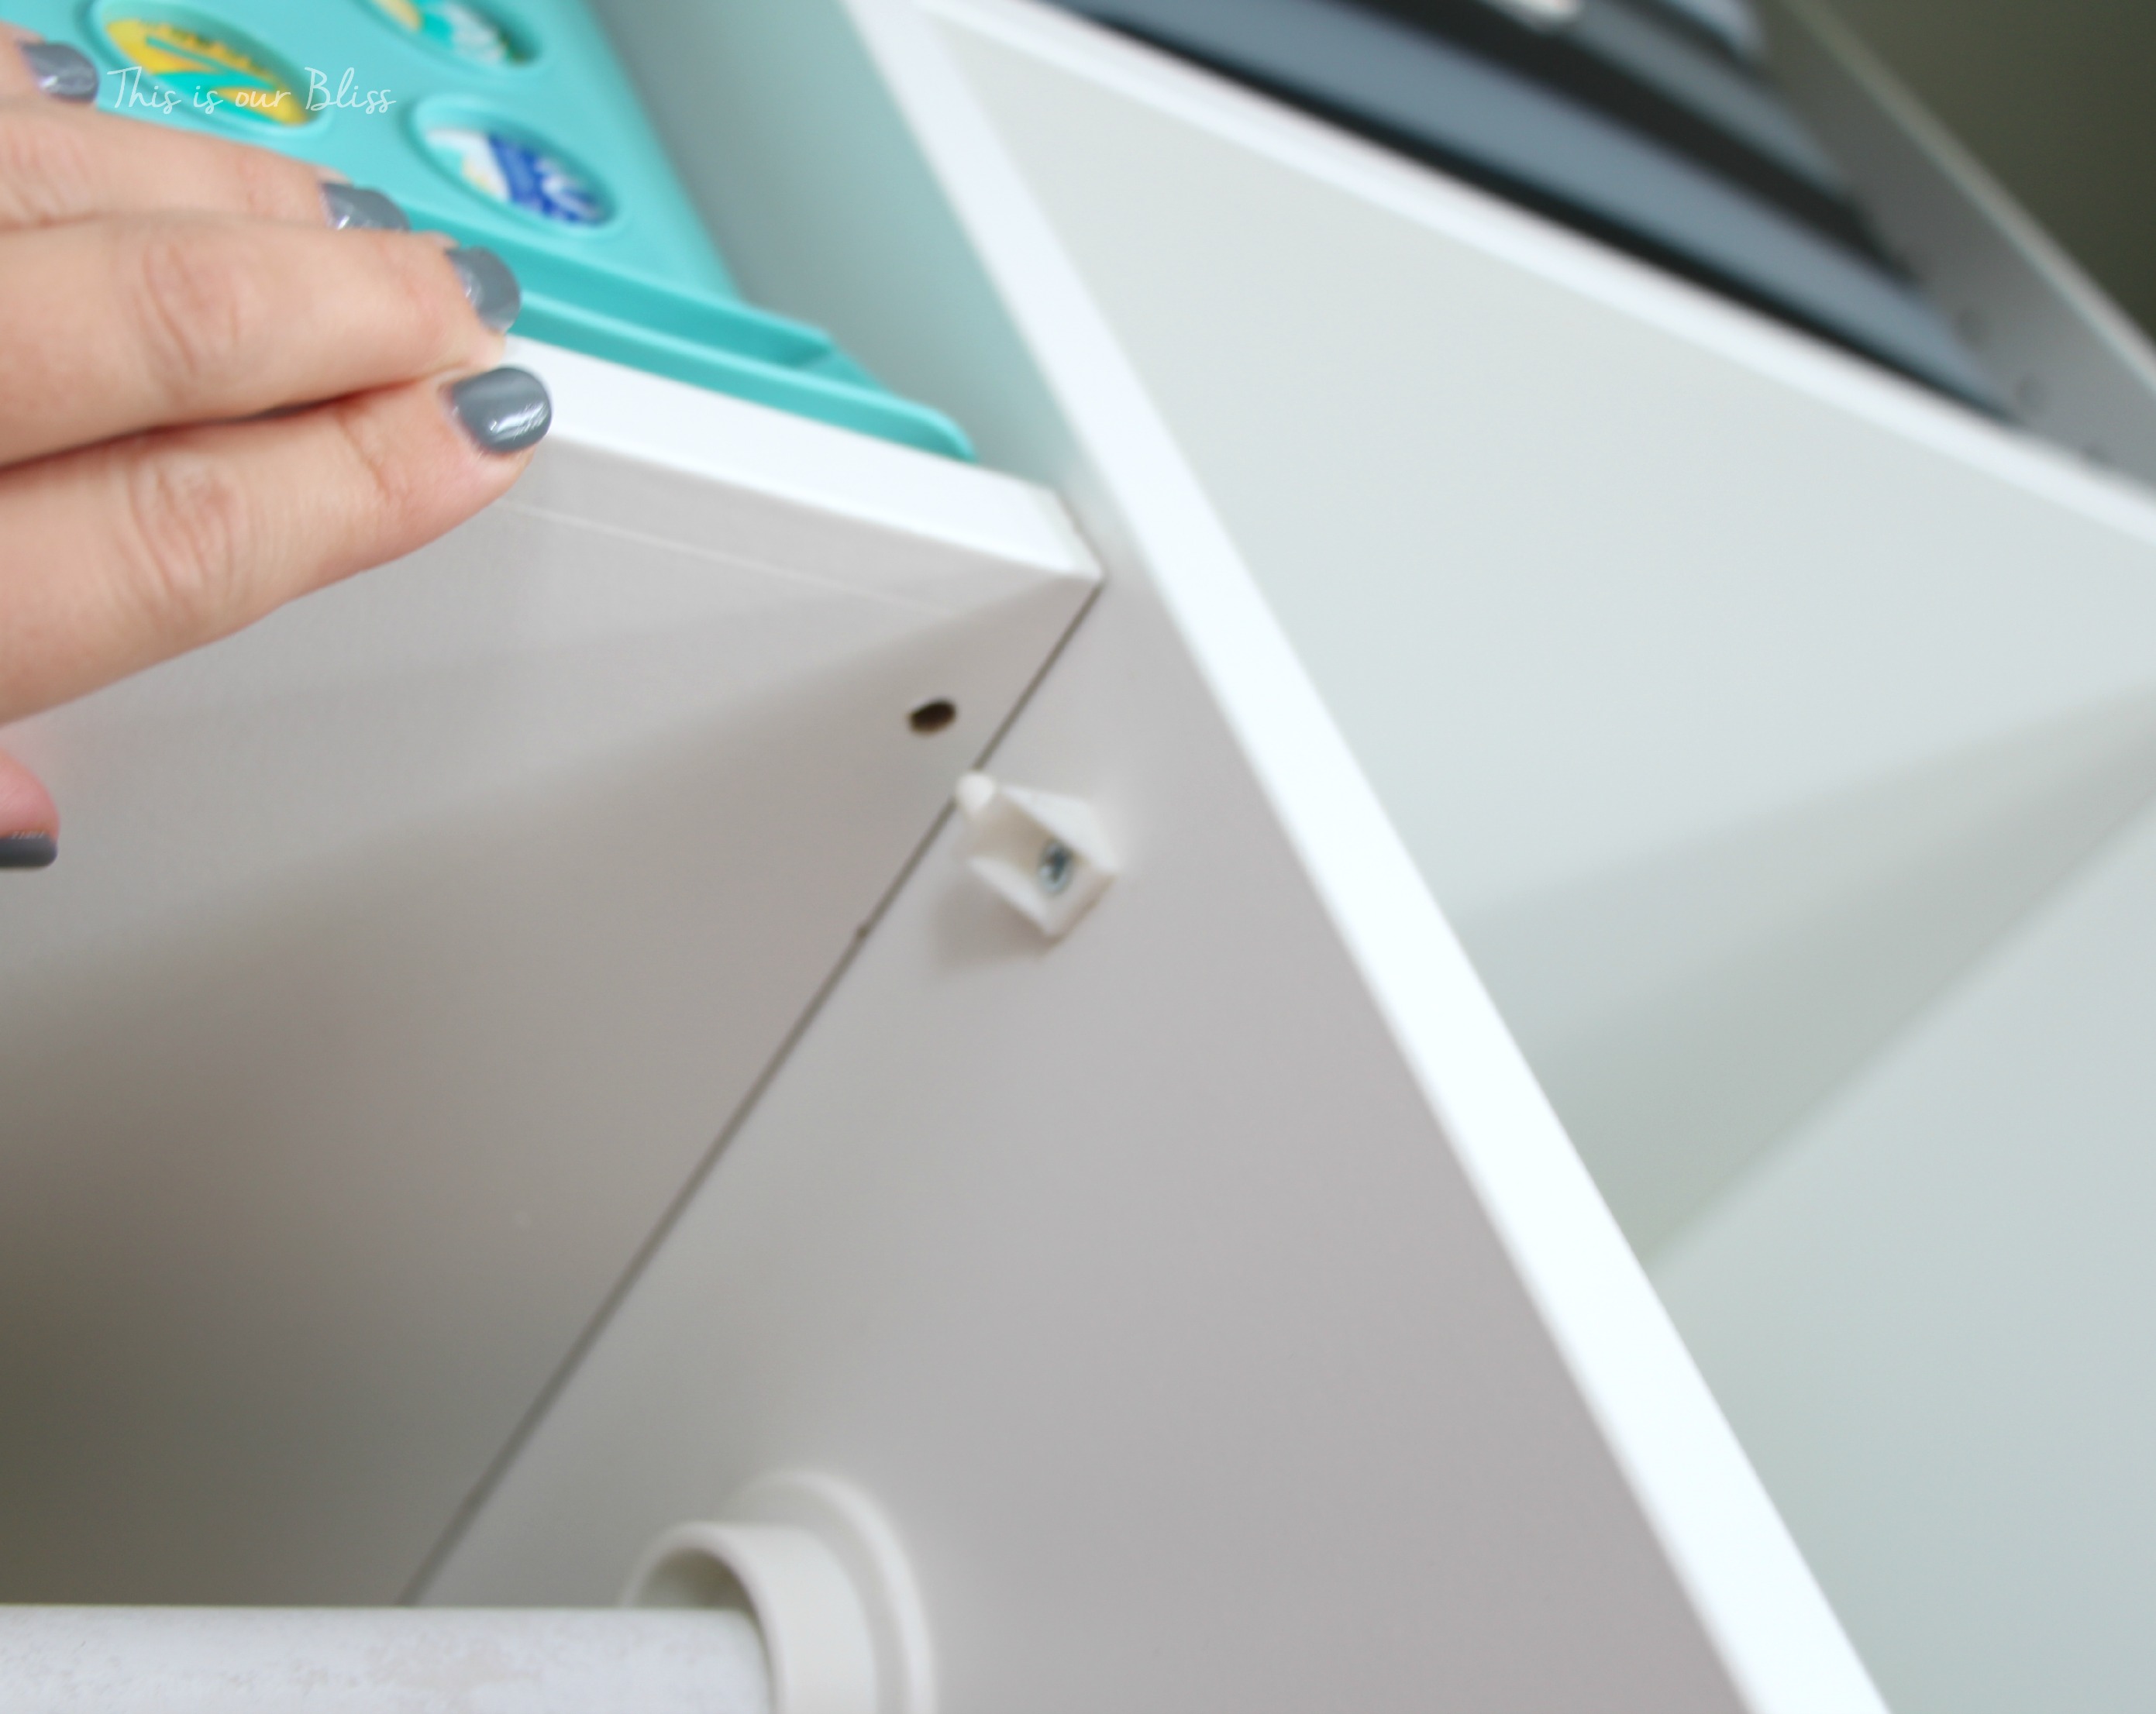
We purchased the 39 3/8″ x 13 3/4″ shelves which we cut down to be 35″ in length. These shelves rest on top of the plywood support blocks on the “wall” side and on the frame side, we inserted the white clip / pegs that came with the shelves, which fit into the pre-cut holes on the underside of the shelf. Then we drilled the screw into the outer side of the frame.
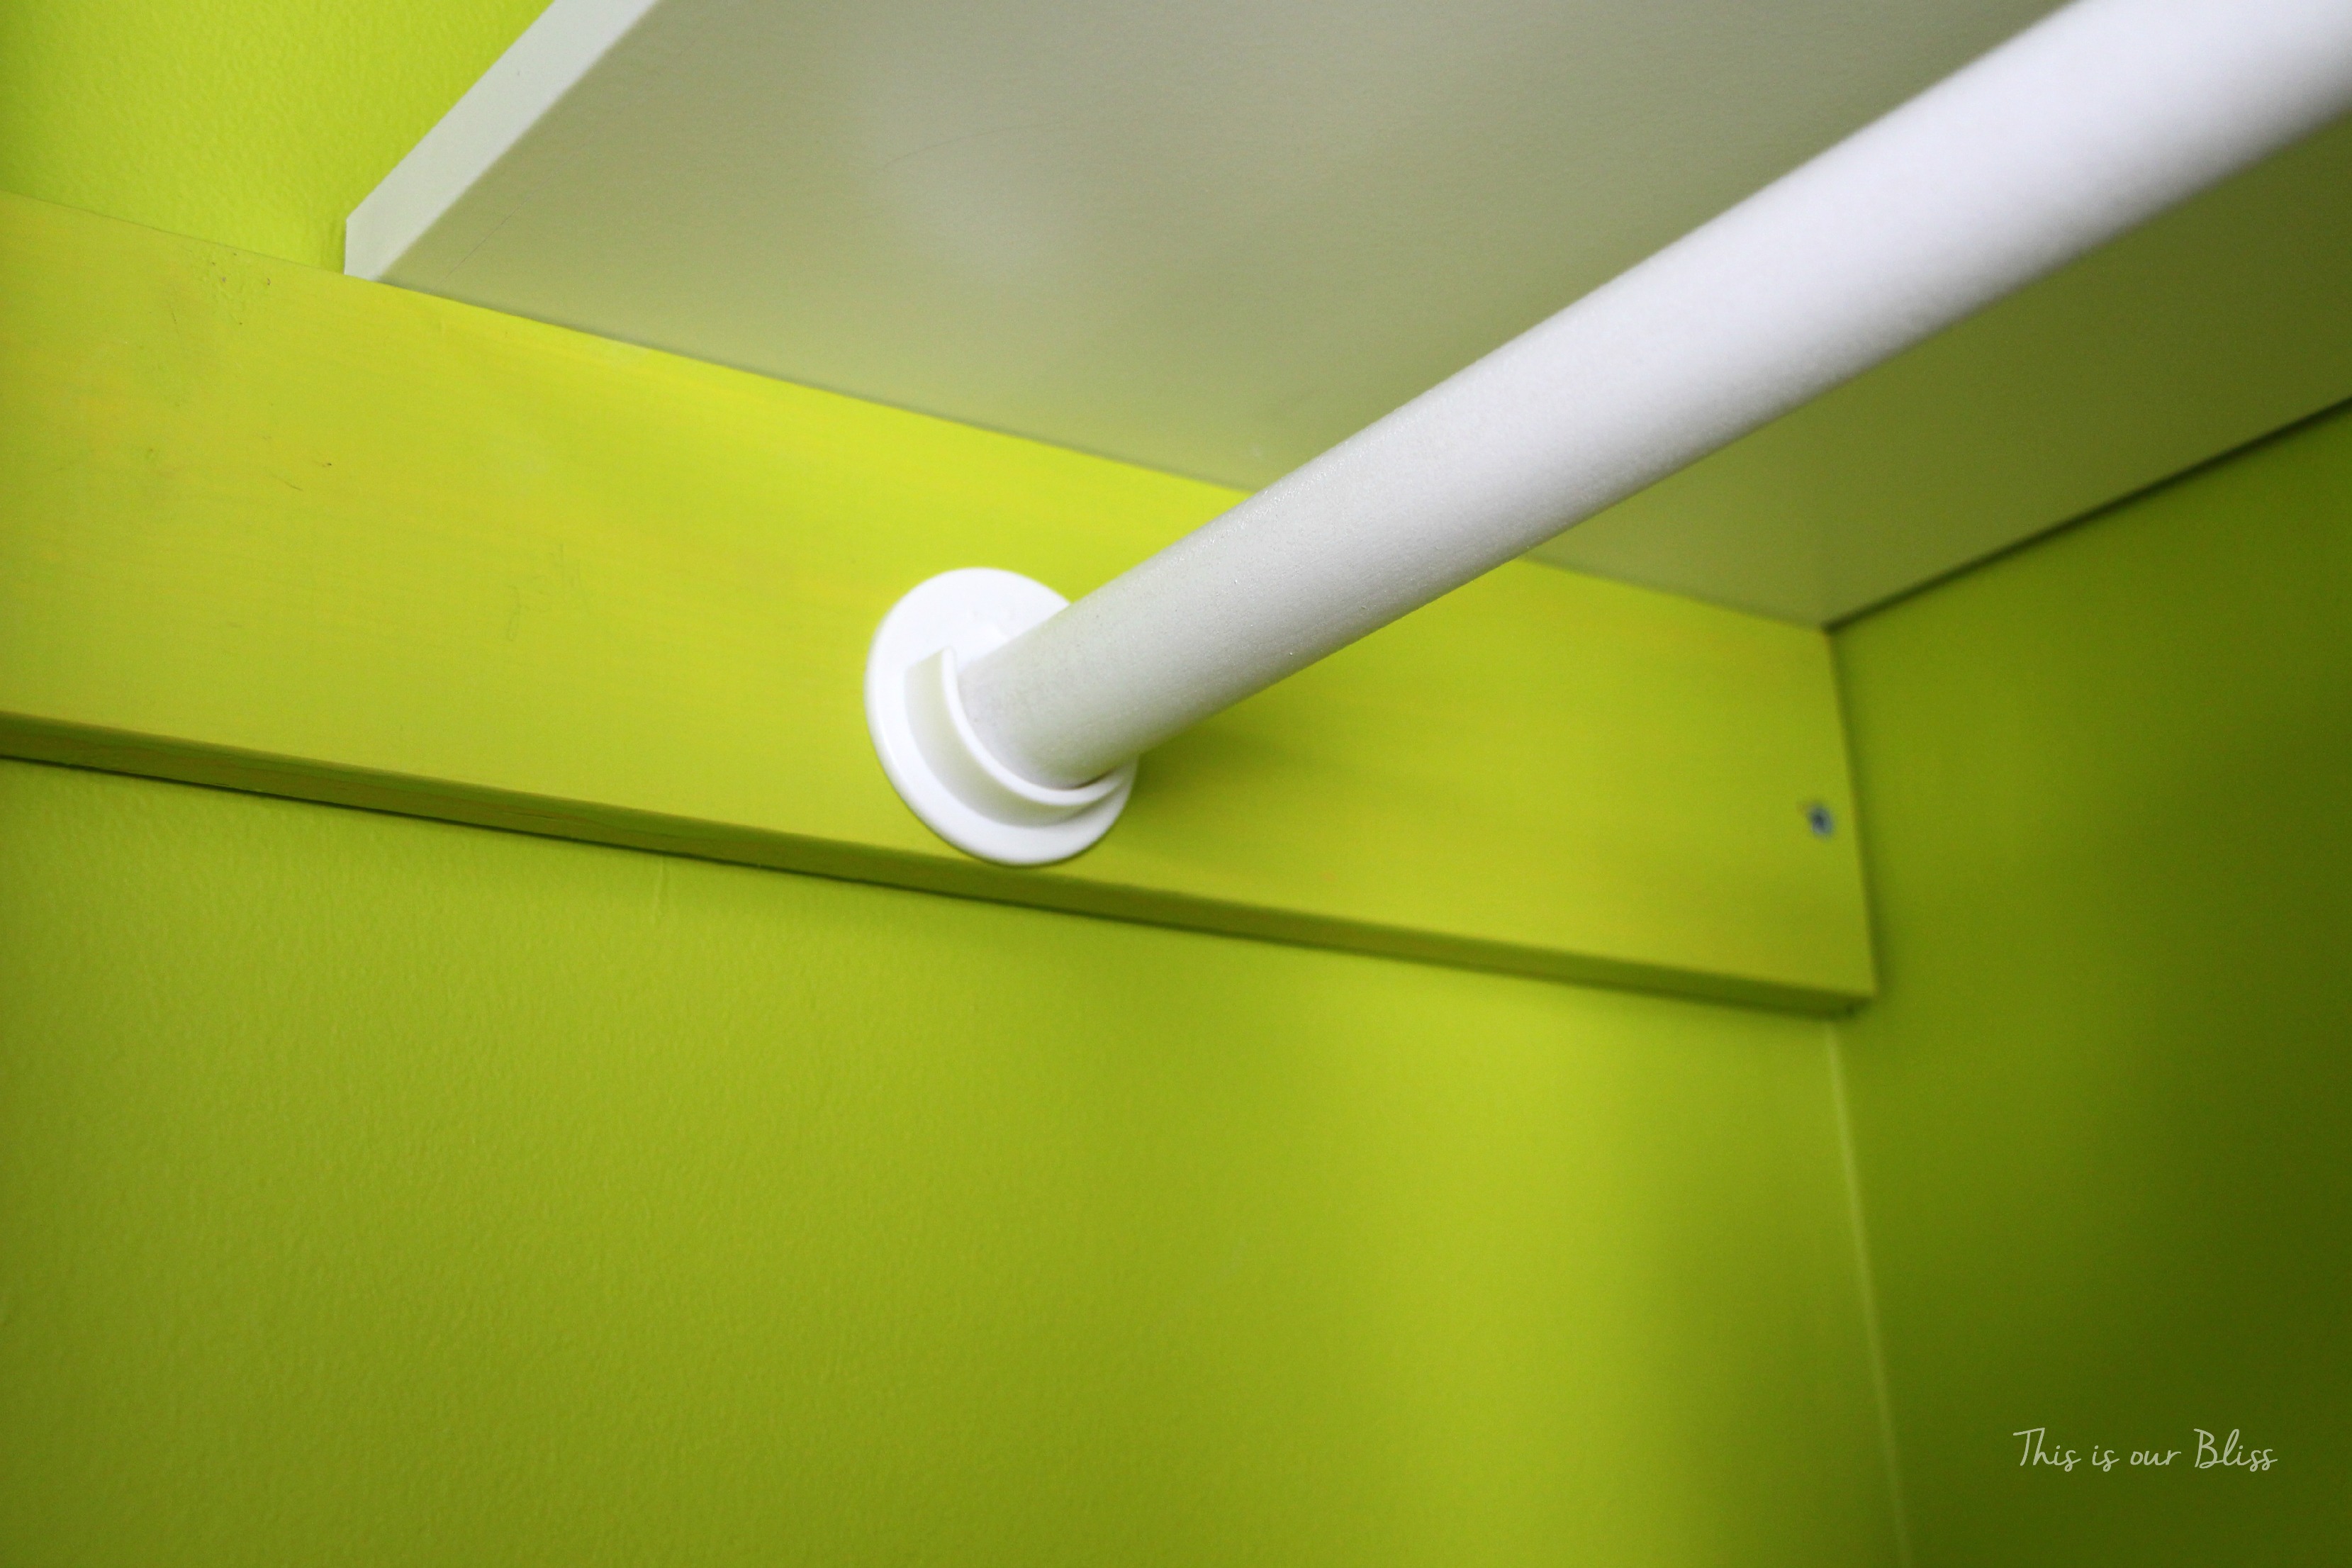
The clothing bars are actually 1″ dowel rods from Lowes which we spray painted white and cut down to fit in between the side of the PAX frame and the wall itself. They are held up by these rod holders, which we drilled into the frame and support blocks on the wall.
This is what it looked like after all of the parts were assembled and installed.
You’ll notice the trim – ick! It has since been painted and is now white, bright and wonderful 🙂
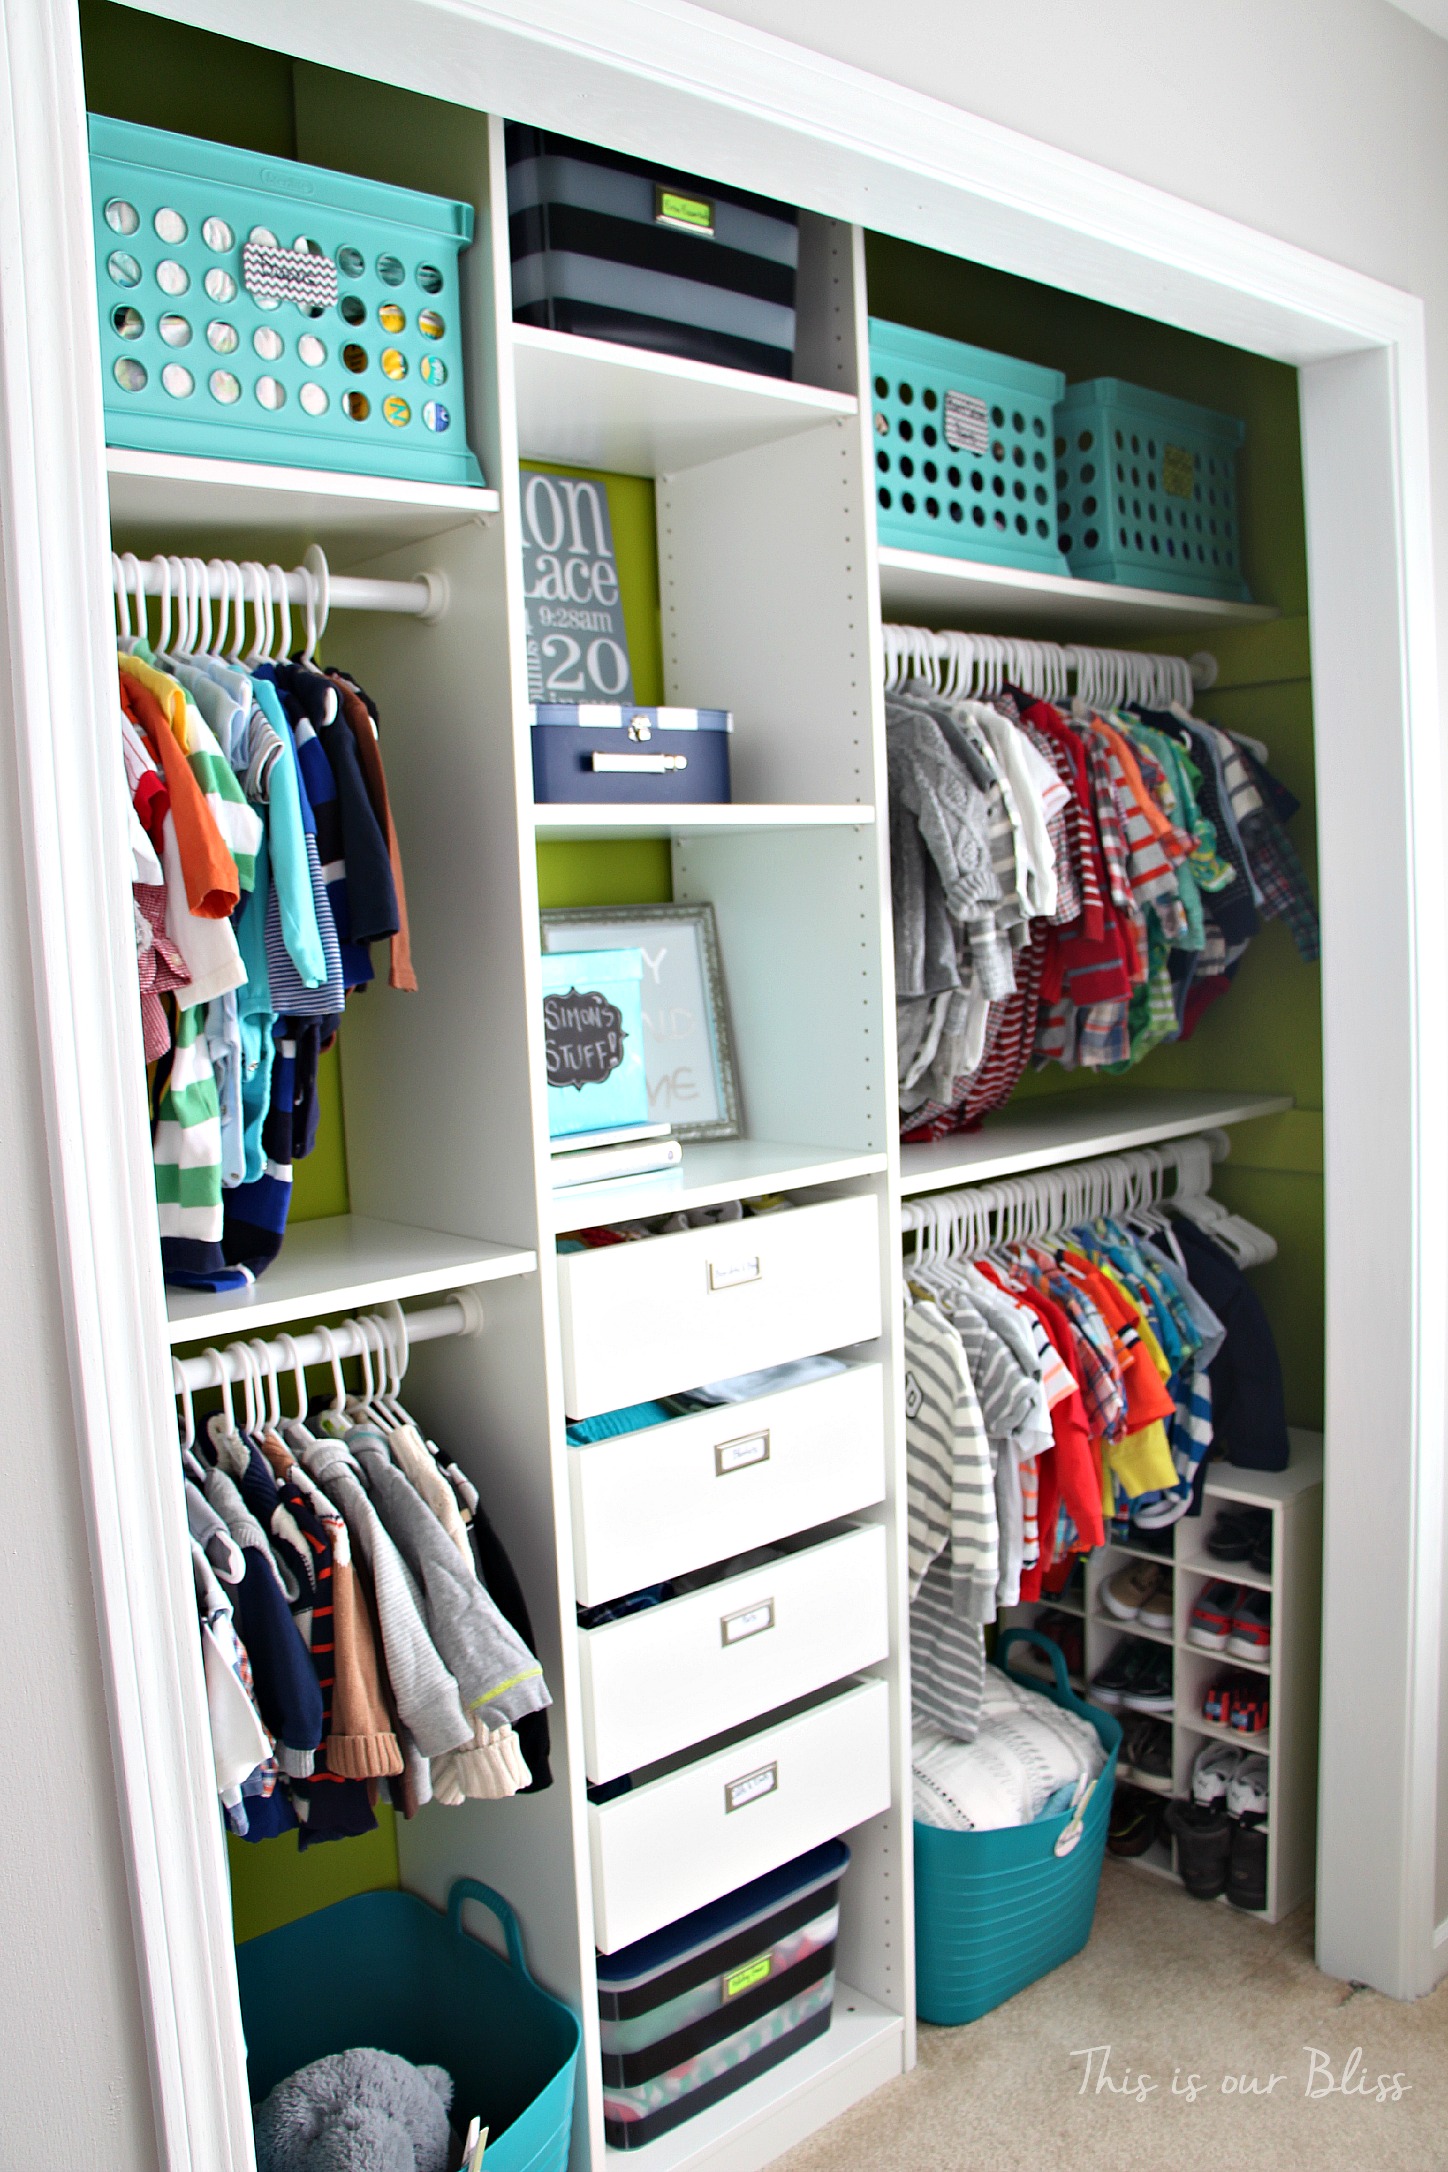
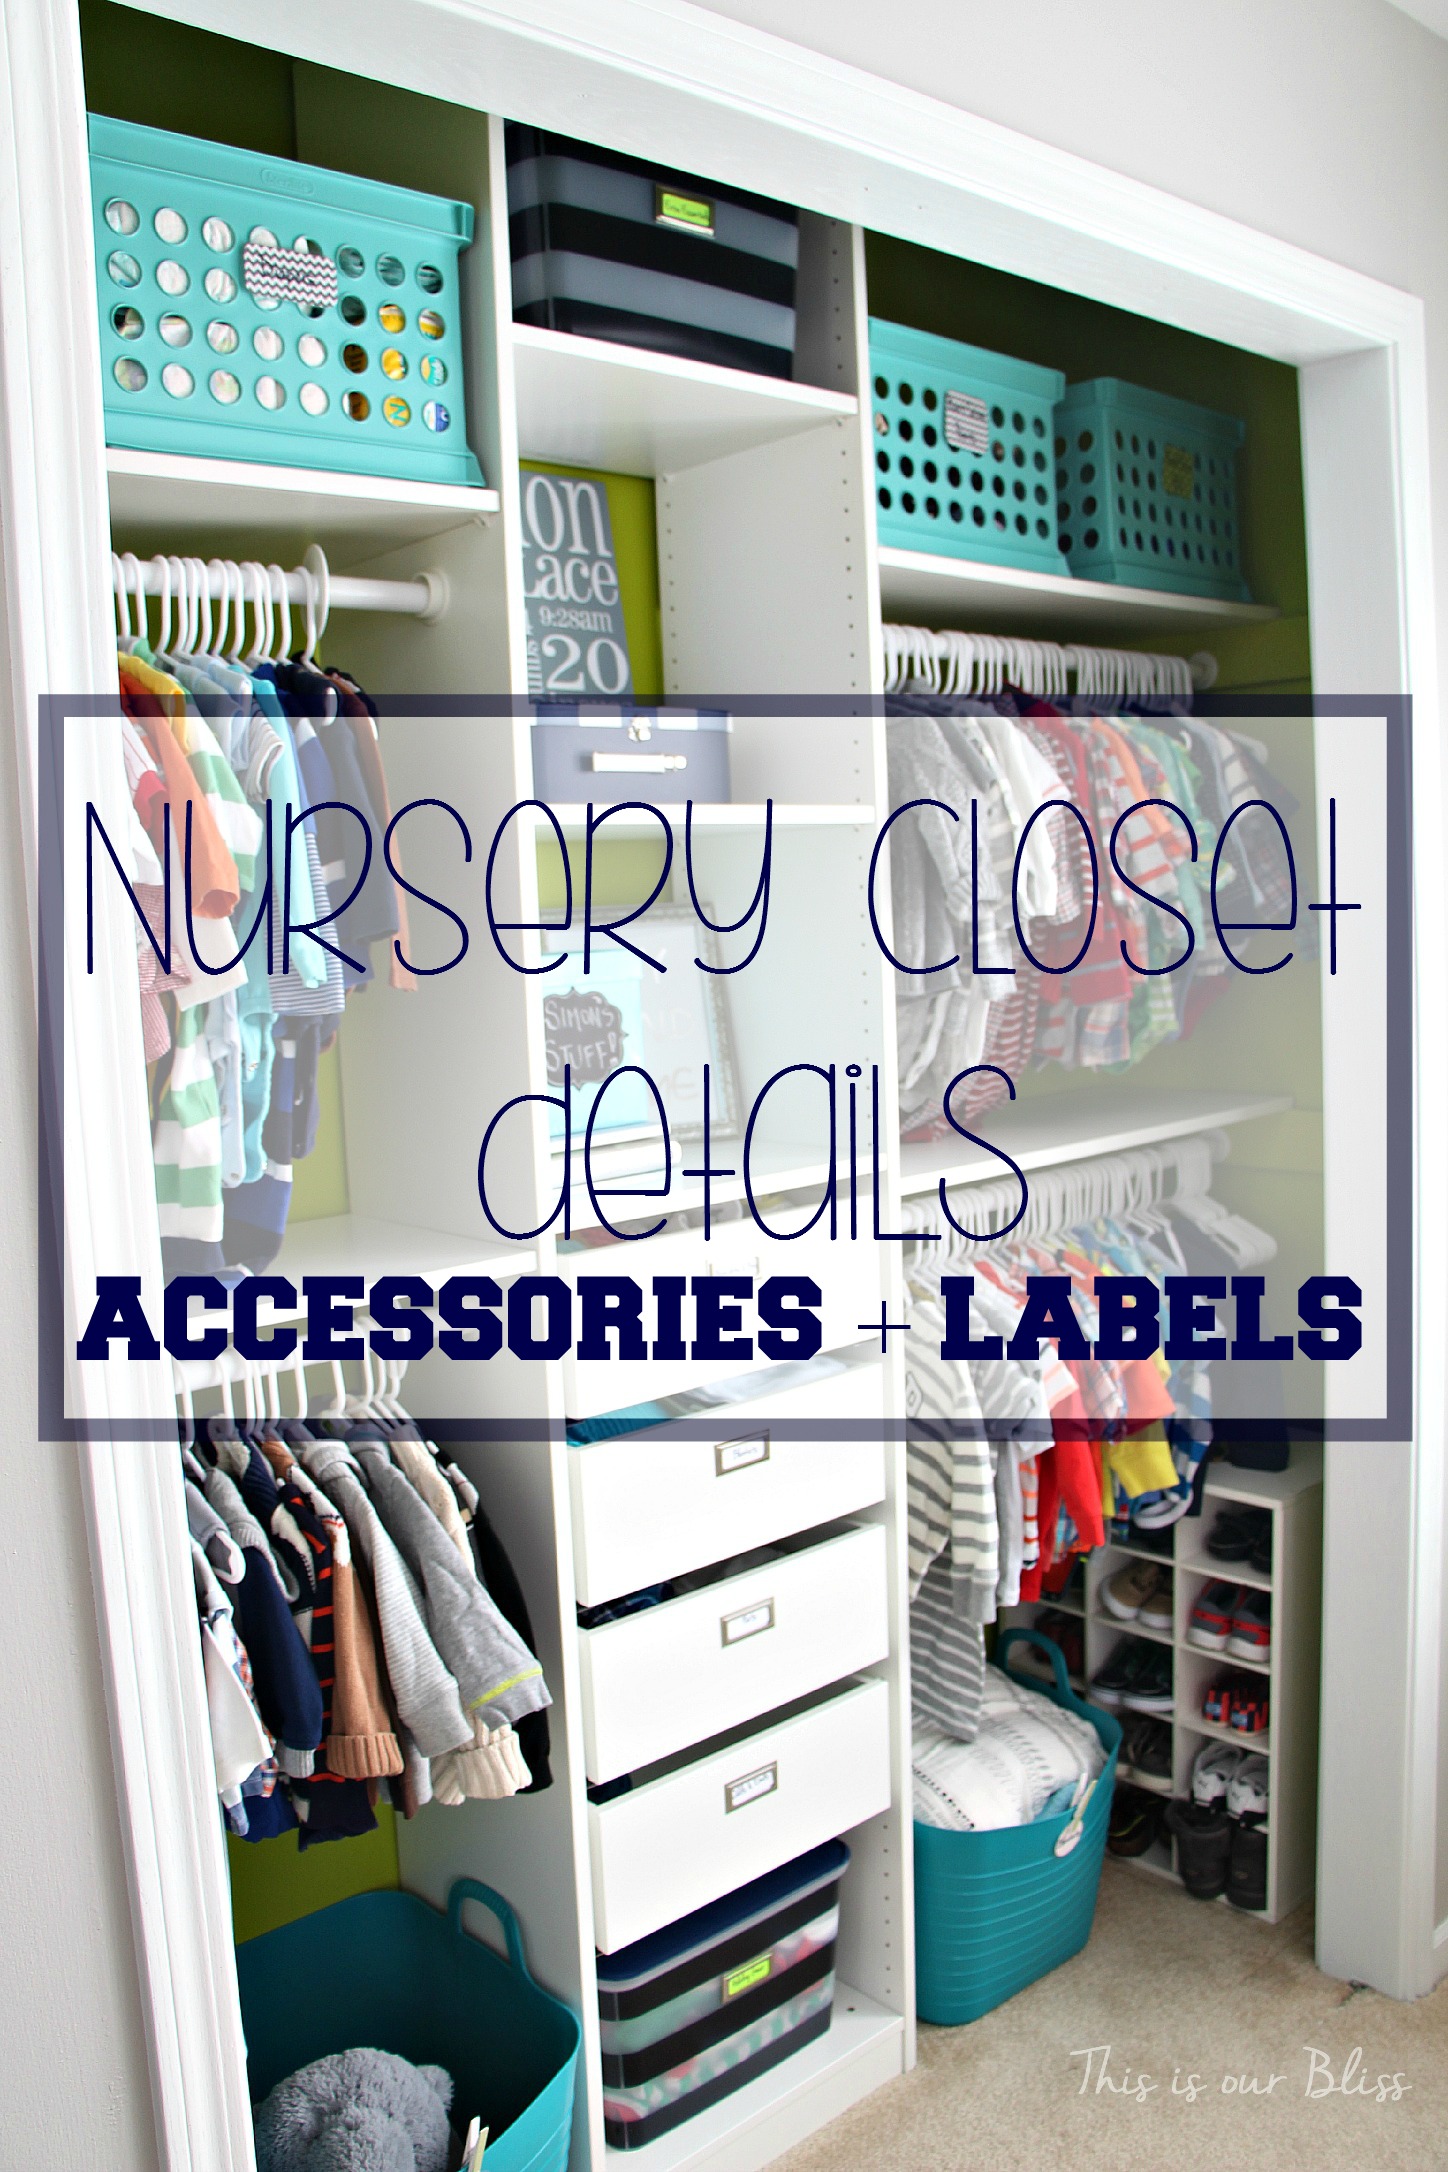
After the main components / foundation of the closet was successfully assembled and installed, then the fun began. Since the “after” has already been revealed in other posts, I will leave you with some shots of the closet in all of its bright & cheery glory.
If you have any questions or comments, please leave me a note! I do have to say, Simon’s closet, our recently spruced up linen closet and our pantry are the only three closets that actually stay clean & organized.
It might have something to do with the fact I put forth the time and effort on the front-end to purge, design, create and organize the space, so I know just how it is supposed to look like when it is in tip-top shape. So even if it does get a little messy, it is a quick fix to get it back to an eye-pleasing and organized state. Give it a try. You’ll be surprised how a little bit of work in an itty bitty space can make such a big impact.
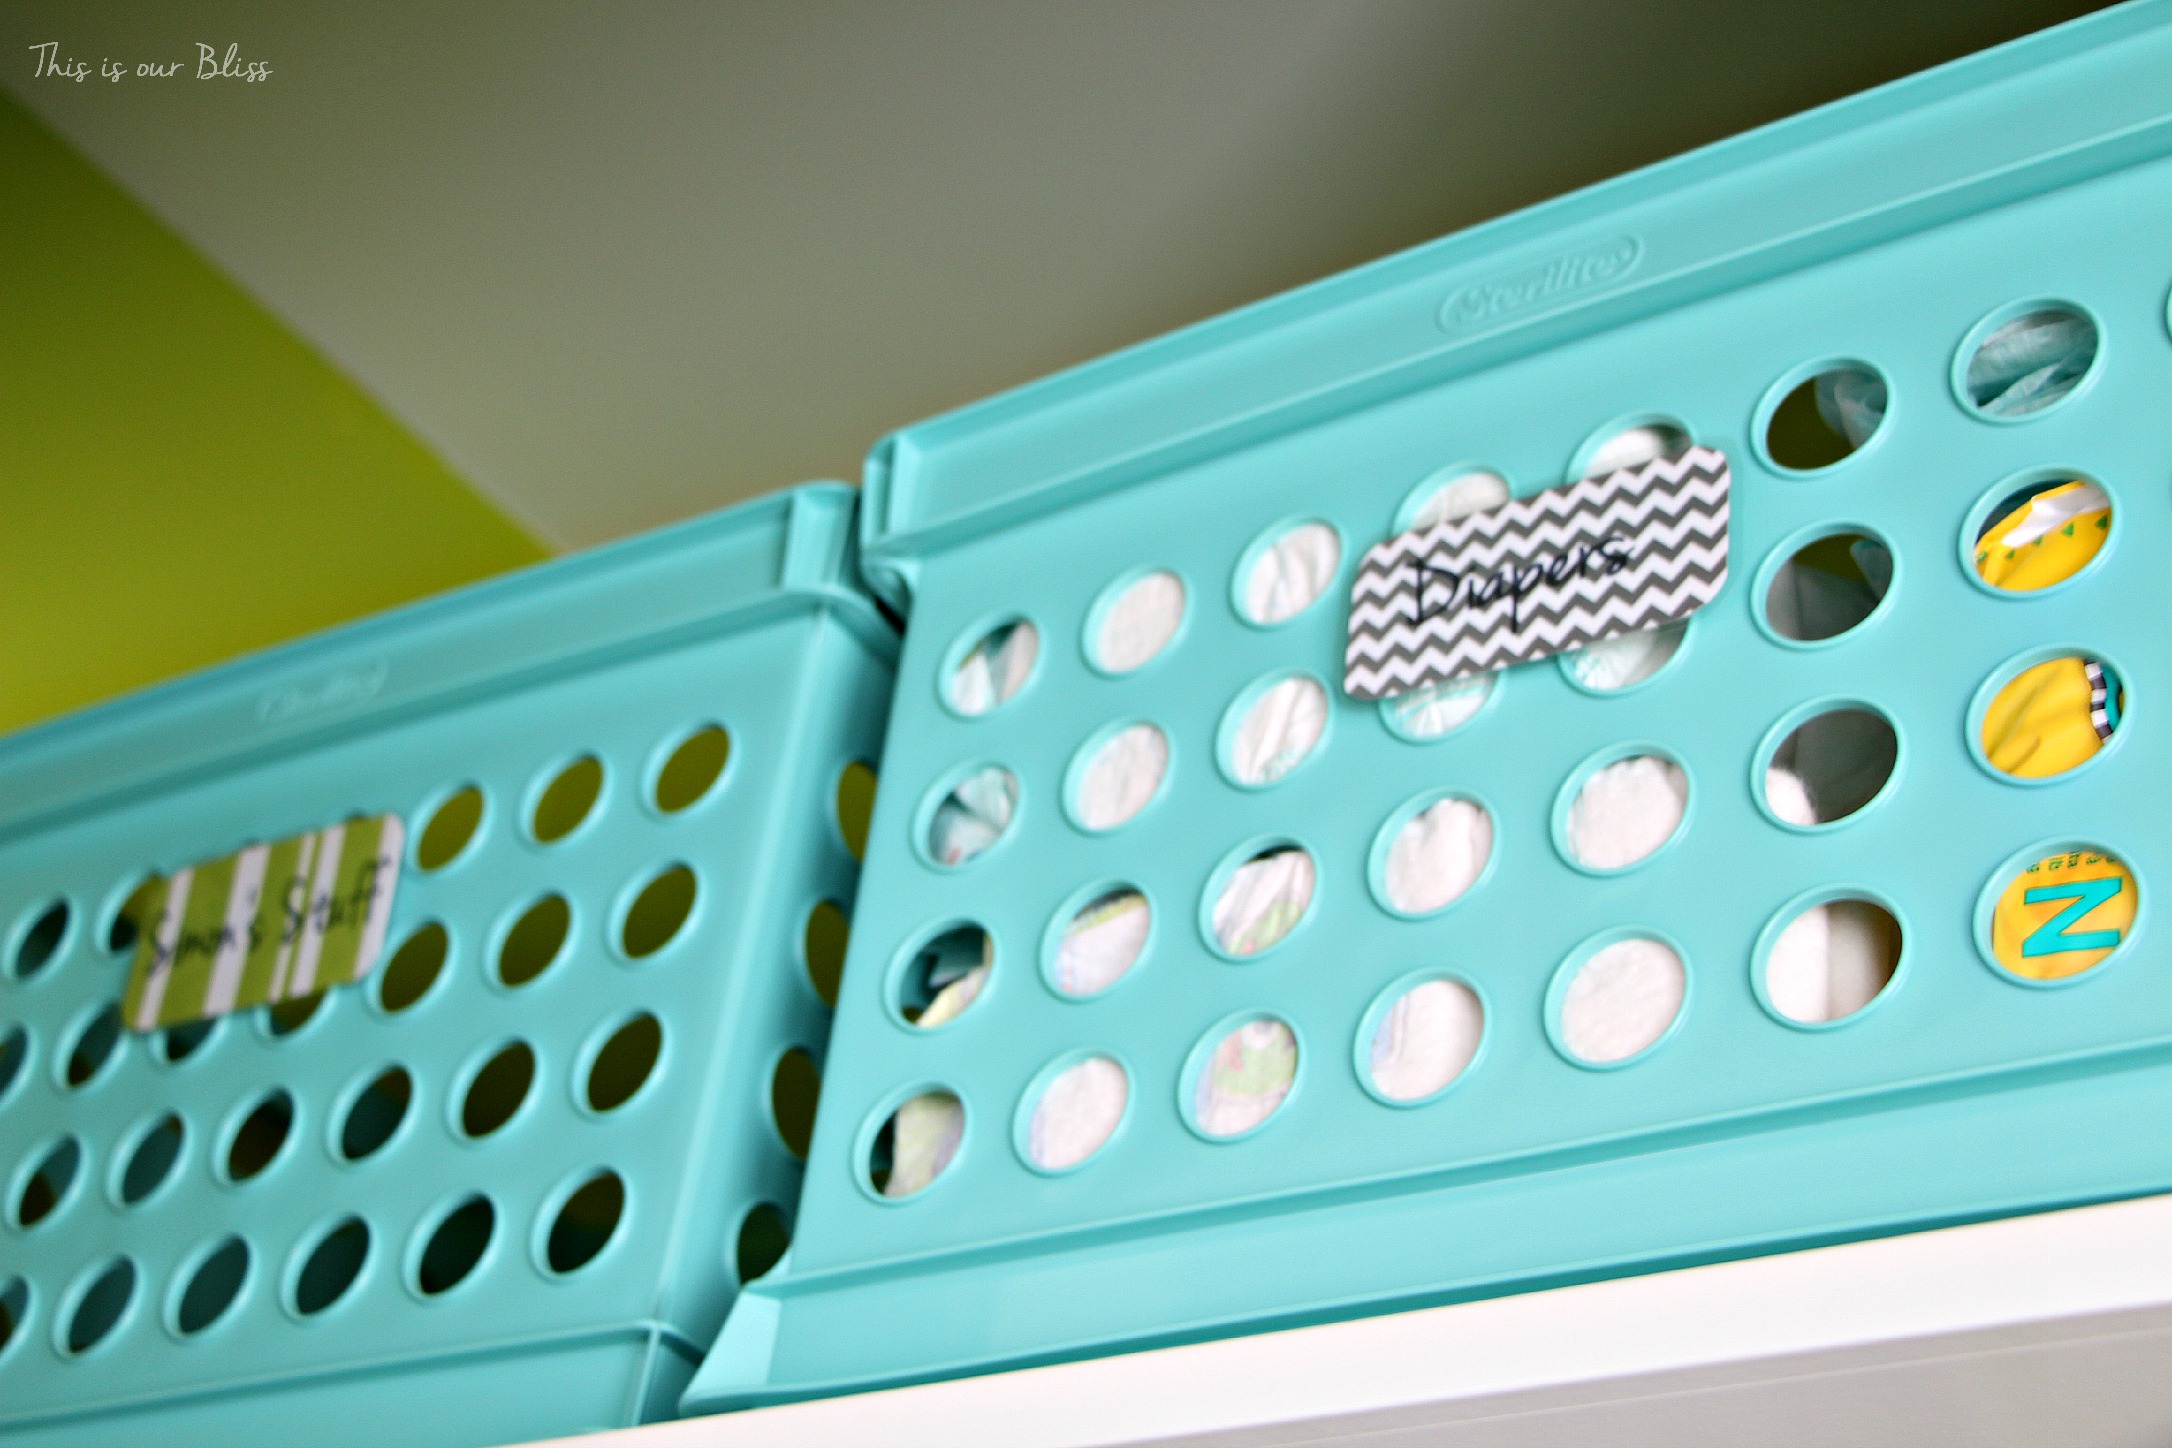
Part 2 of the Nursery Closet Details mini series focuses on the organization & labels you see in the photos above. Every little thing has a home [and a label :)] and that’s just the way I like it.
Have you tackled any closets lately? What are your tips and tricks for keeping them neat & tidy?
Hi Chris! Here are the dimensions: 87.5″L x 23.5″D x 95.5″H Please let me know if you need anything else at all!
Ashley
October 4, 2016 at 7:41 AM
What grey paint color is in the actual room? I love the combo
Sarina
September 17, 2016 at 5:33 PM
Is the trim in your house white or brown? Our closet trim is brown like yours originally was. Obviously I like the look of the white better but the rest of the trim in the bedroom and house is brown so I’m not sure I should paint it… thoughts?
Katie
June 25, 2016 at 10:07 PM
We went to purchase the pax and konplement shelves. IKEA told us that the pax would split of we drilled into it like you guys did to add the rod holders and the external supports for the external shelves. Did you have any issues with this? Did you pre drill the holes before you screwed things in?
Thank you!
Hi Katie! No! We didn’t have any issues with splits in the unit after drilling in the rod holders. Each one held up perfectly fine. I am not sure if we pre-drilled or not. So sorry!
How far from the back did you install the rods? and at what heights?
Jenny Simpson
March 2, 2016 at 1:21 PM
How did you attach or secure the middle frame, the Komplement part to the wall? I want to make sure that secure, especially with everything else coming off of it. Thanks!
Anne
February 8, 2016 at 12:41 PM
Could you please give detailed instructions on how you did the drawers in between? What did you buy? How did you assemble?
[…] painting the inside of a closet like we did in Simon’s nursery [see paint info here & the DIY closet details here] By FAR, the boldest paint choice we’ve made in the entire […]
Hi Danielle! Are you referring to the PAX frame? I emailed them a little bit ago to see if they still make it and / or have renamed it. I wasn’t able to find it on their site when I just checked… I will keep you posted when I hear back from them!
Kim
October 1, 2015 at 1:32 AM
I bought this frame just in a different measurement from the store a couple weekends ago.
This is so cute! I saw you in the DIY Summer School linkup and I love this idea. I was just telling my sister-in-law (who’s expecting baby #3!) that she needs to use Ikea wardrobe pieces for her nursery, and this is the perfect example. Sharing it with her now 😉 Thanks for sharing!
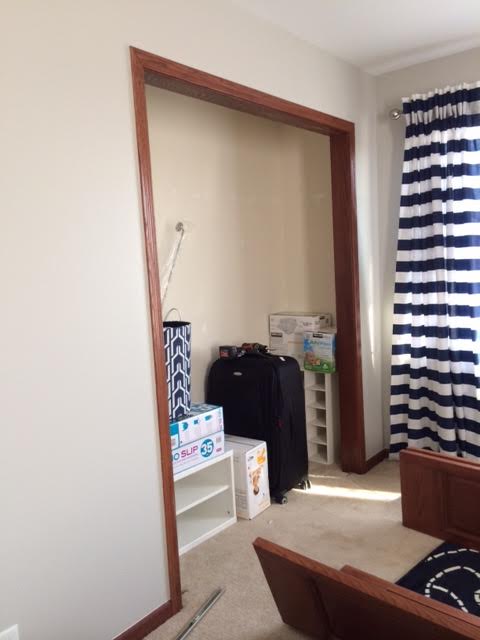

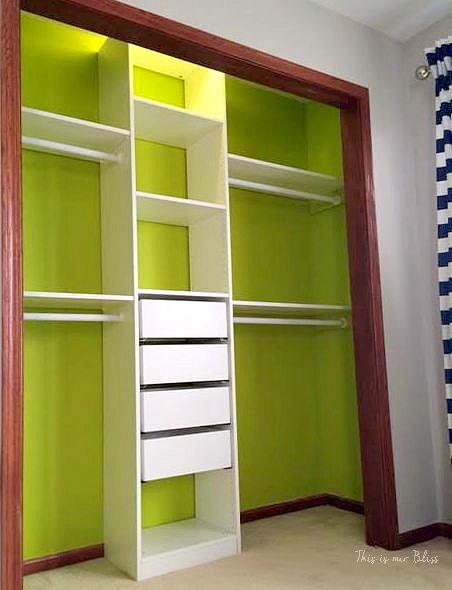 You’ll notice the trim – ick! It has since been painted and is now white, bright and wonderful 🙂
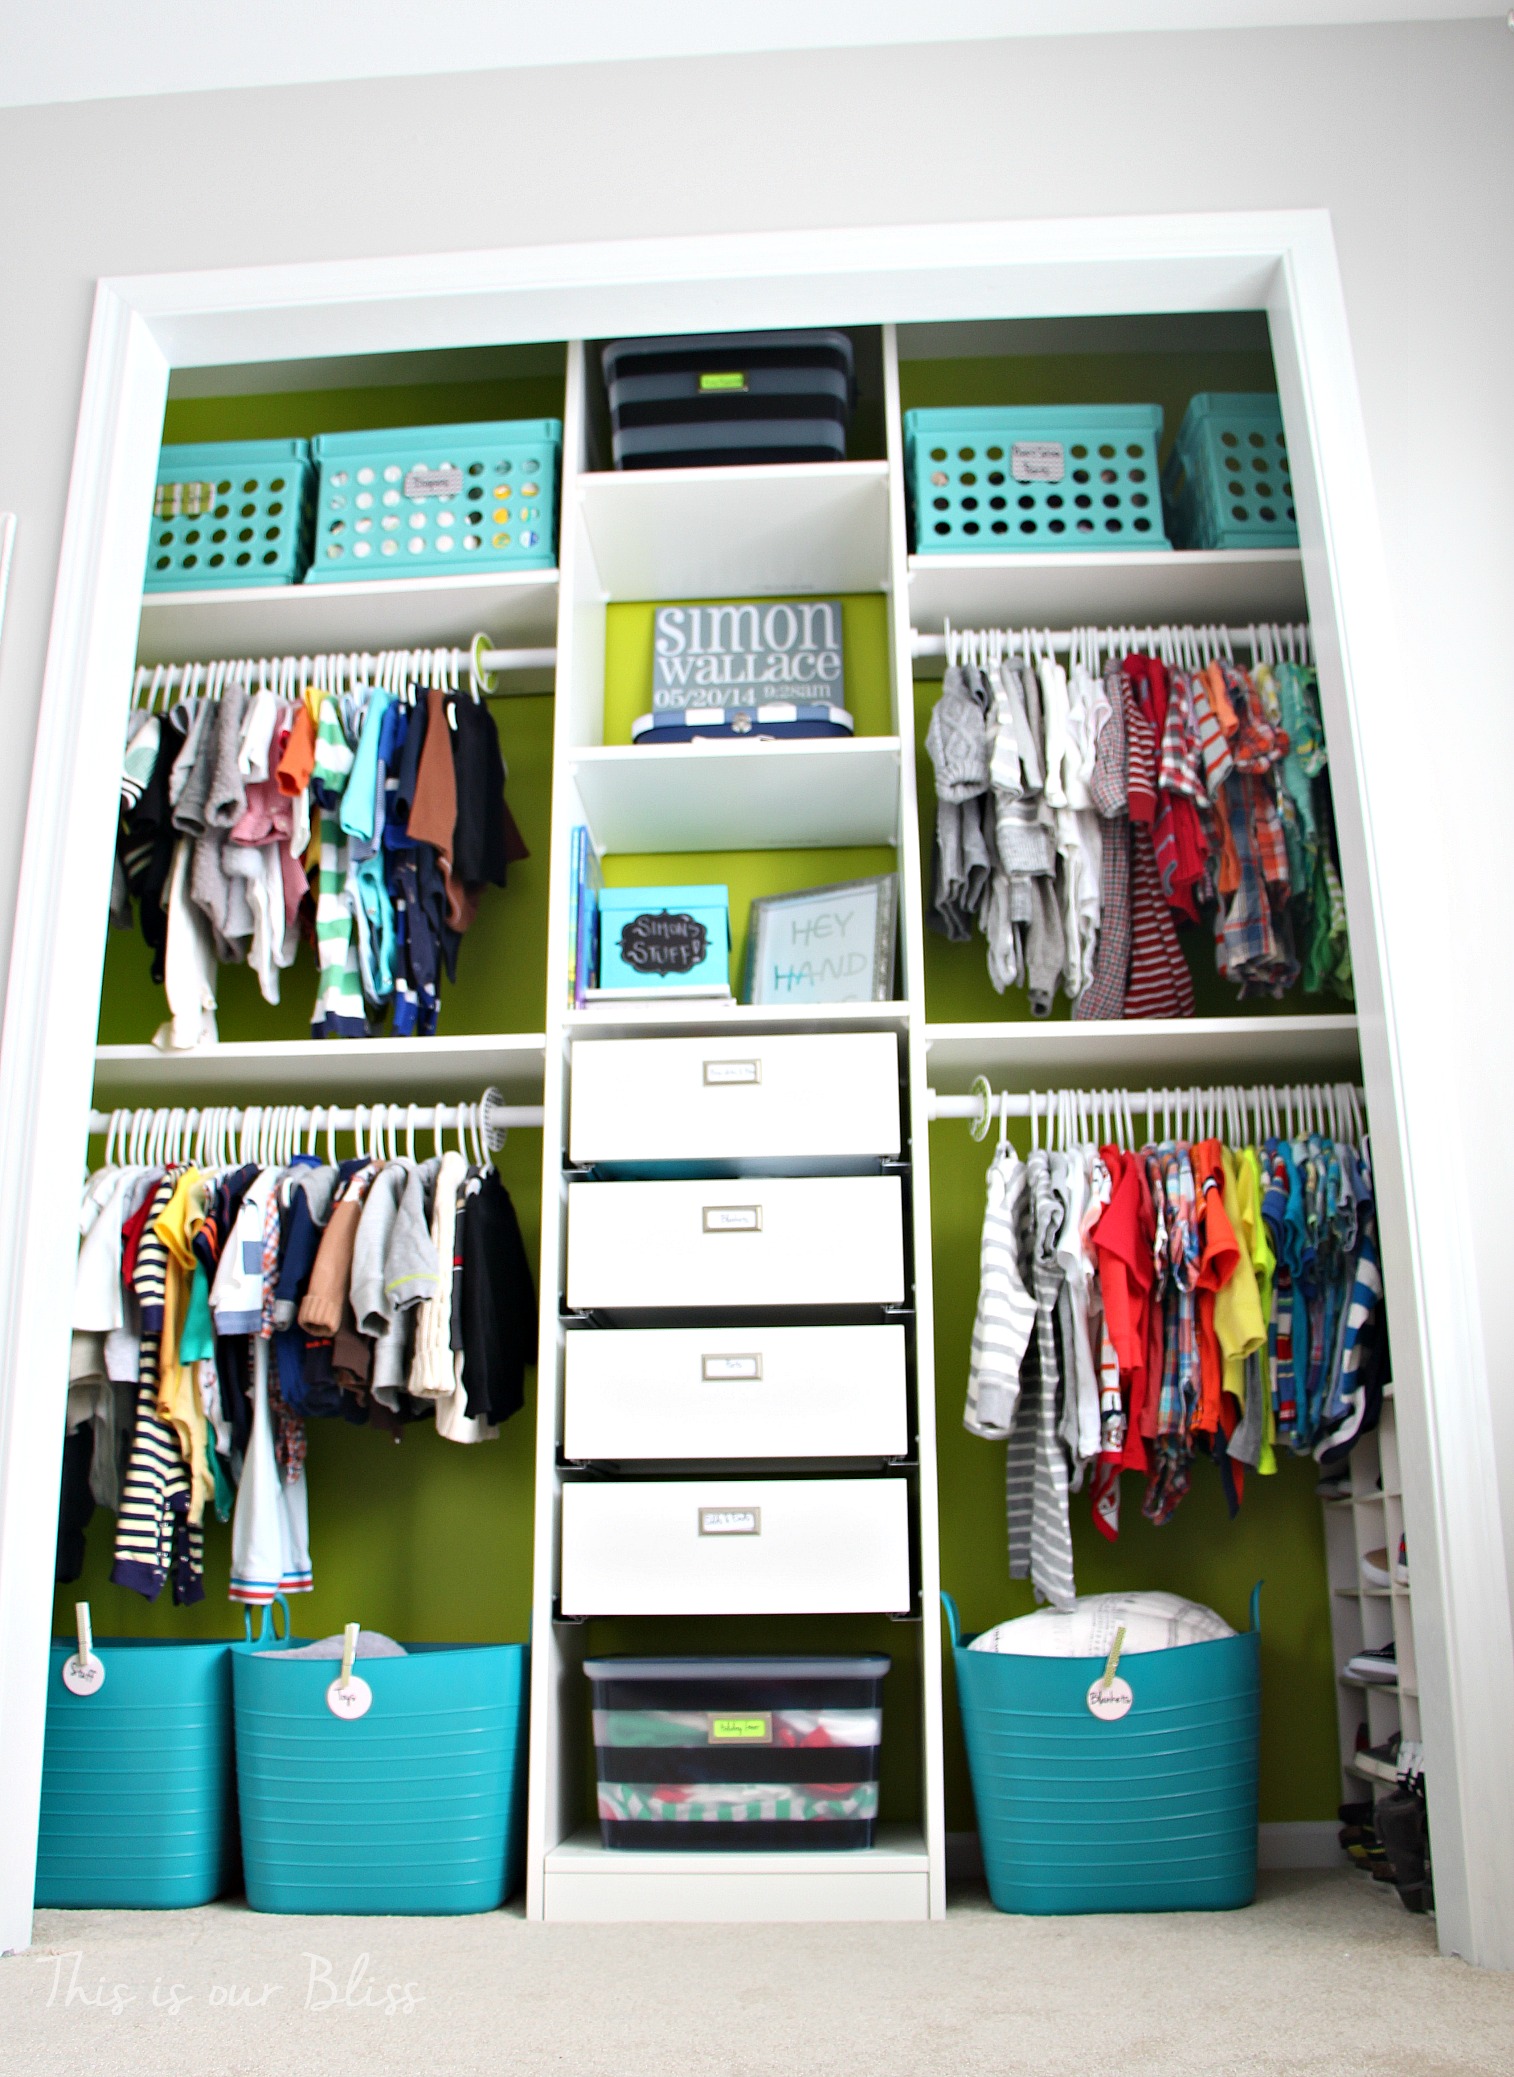


Monica
November 29, 2016 at 10:02 AMLove it! I’m having a baby girl and want to do her closet just like this! Thanks so much for this and taking the time to explain!!
Rachael @ This is our Bliss
December 1, 2016 at 7:33 AMAbsolutely!! So happy to help! Best of luck to you, Monica and happy holidays!
Chris Karnacki
October 30, 2016 at 4:23 PMI love this. How wide is your closet? I’m trying to size mine out.
Rachael @ This is our Bliss
November 2, 2016 at 3:43 PMHi Chris! Here are the dimensions: 87.5″L x 23.5″D x 95.5″H Please let me know if you need anything else at all!
Ashley
October 4, 2016 at 7:41 AMWhat grey paint color is in the actual room? I love the combo
Sarina
September 17, 2016 at 5:33 PMIs the trim in your house white or brown? Our closet trim is brown like yours originally was. Obviously I like the look of the white better but the rest of the trim in the bedroom and house is brown so I’m not sure I should paint it… thoughts?
Katie
June 25, 2016 at 10:07 PMWe went to purchase the pax and konplement shelves. IKEA told us that the pax would split of we drilled into it like you guys did to add the rod holders and the external supports for the external shelves. Did you have any issues with this? Did you pre drill the holes before you screwed things in?
Thank you!
Rachael @ This is our Bliss
July 12, 2016 at 5:36 PMHi Katie! No! We didn’t have any issues with splits in the unit after drilling in the rod holders. Each one held up perfectly fine. I am not sure if we pre-drilled or not. So sorry!
Brian Macedo
April 27, 2016 at 9:21 AMHow far from the back did you install the rods? and at what heights?
Jenny Simpson
March 2, 2016 at 1:21 PMHow did you attach or secure the middle frame, the Komplement part to the wall? I want to make sure that secure, especially with everything else coming off of it. Thanks!
Anne
February 8, 2016 at 12:41 PMCould you please give detailed instructions on how you did the drawers in between? What did you buy? How did you assemble?
Whitney Wemhoff
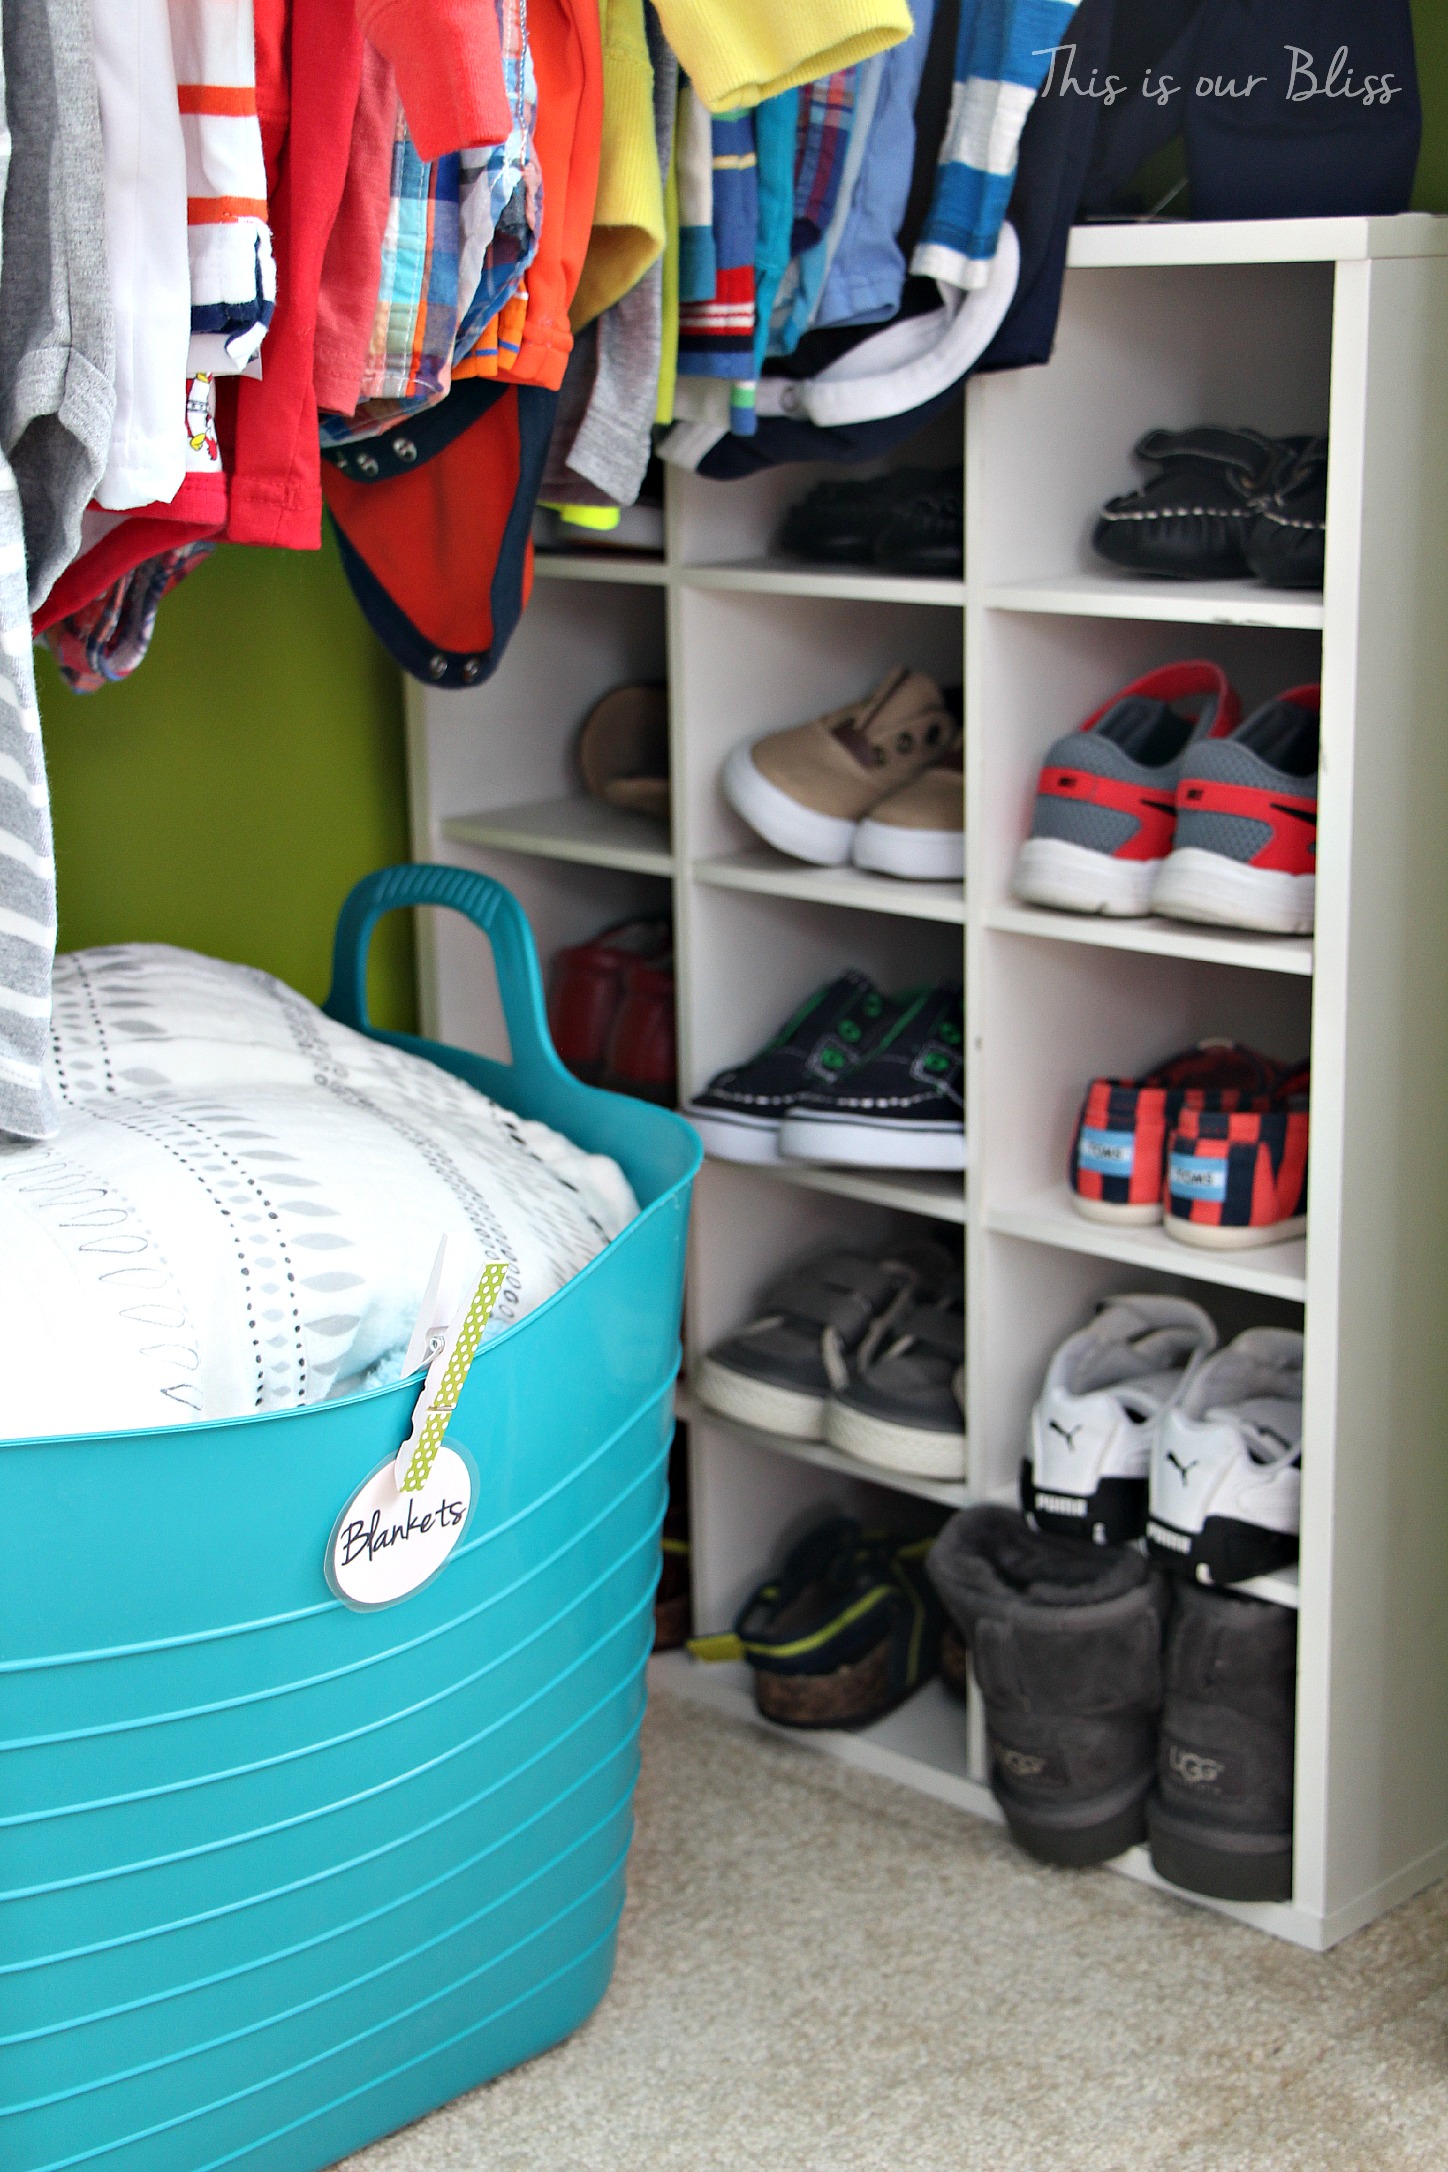
October 26, 2015 at 10:48 PMlove it! Where did you get the shoe organizer?
Rachael @ This is our Bliss
October 27, 2015 at 7:27 AMHi Whitney!! I included the source in this post: http://thisisourbliss.com/2015/03/06/nursery-closet-details-part-2-accessories-labels/
But it looks like it’s unavailable 🙁 try this one: http://m.target.com/p/room-essentials-15-unit-stackable-organizer-white/-/A-15103997?ci_src=17588969&ci_sku=15103997&gclid=CjwKEAjwwbyxBRCS74T049iEp0wSJACkO5v1rvakizwrKJXZwPDx474LBO4uZUdjbly1IFyBAQVlDRoC2PDw_wcB
Thanks for reaching out & good luck!
Basement Carpet + Paint sources | TIOB Basement Project Update V | This is our Bliss
October 26, 2015 at 4:08 PM[…] painting the inside of a closet like we did in Simon’s nursery [see paint info here & the DIY closet details here] By FAR, the boldest paint choice we’ve made in the entire […]
Jada Roberts
October 15, 2015 at 8:52 PMBut where did you get that awesome rug?! 🙂
Rachael @ This is our Bliss
October 19, 2015 at 1:17 PMThanks! It’s from IKEA! and still available – http://www.ikea.com/us/en/catalog/products/80225524/
such a steal at only $34.99!!
>>> Simon’s Nursery Reveal<<< | This is our Bliss
August 26, 2015 at 8:47 AM[…] Closet DIY Details Closet details: Accessories & labels Nursery Pegboard Gallery Wall DIY Playroom Reading Nook […]
Danielle C
August 23, 2015 at 12:20 PMI went on the IKEA website but cant seem to find just the frame that you bought! Any ideas?
Rachael @ This is our Bliss
August 23, 2015 at 7:45 PMHi Danielle! Are you referring to the PAX frame? I emailed them a little bit ago to see if they still make it and / or have renamed it. I wasn’t able to find it on their site when I just checked… I will keep you posted when I hear back from them!
Kim
October 1, 2015 at 1:32 AMI bought this frame just in a different measurement from the store a couple weekends ago.
Nursery Word Art | This is our Bliss
July 22, 2015 at 6:13 PM[…] Nursery closet DIY details Nursery closet accessory & label details Nursery Mobile DIY curtains […]
Lauren English
June 4, 2015 at 8:14 AMThis is so cute! I saw you in the DIY Summer School linkup and I love this idea. I was just telling my sister-in-law (who’s expecting baby #3!) that she needs to use Ikea wardrobe pieces for her nursery, and this is the perfect example. Sharing it with her now 😉 Thanks for sharing!
Rachael @ This is our Bliss
June 8, 2015 at 9:21 PMThank you, Lauren!! Good luck to your sister! It has been a great closet set-up for our little guy so far 🙂
Nursery Closet Makeover || And the {paint} winner is… | This is our Bliss
March 7, 2015 at 10:22 AM[…] Closet Details: Part I […]
Nursery Closet Details: Part 2 [Accessories + Labels] | This is our Bliss
March 6, 2015 at 8:43 PM[…] ← Nursery Closet Details: Part I [DIY shelves + drawers + rods] […]
Hollie @ Fancykins
March 3, 2015 at 4:42 PMGosh, this is a darling closet. I’m so glad I found your blog – maybe it will be the kick I need to do something about my own storage solutions!
Rachael @ This is our Bliss
March 5, 2015 at 3:18 PMThank you, Hollie! I’m heading over to yours now! Thank you for stopping by 🙂