Vacation has been wonderful, but the idea of being home is sounding pretty great! Aside from the severe drop in temperature, I am looking forward to getting back – back to our own beds and our normal daily routine. This trip has definitely been a nice reset button for me and a little break from the winter blues. Today, we’ve already had our coffee, taken our morning walk and are heading off to the pool to swim and have lunch shortly. It doesn’t get much better than that 🙂
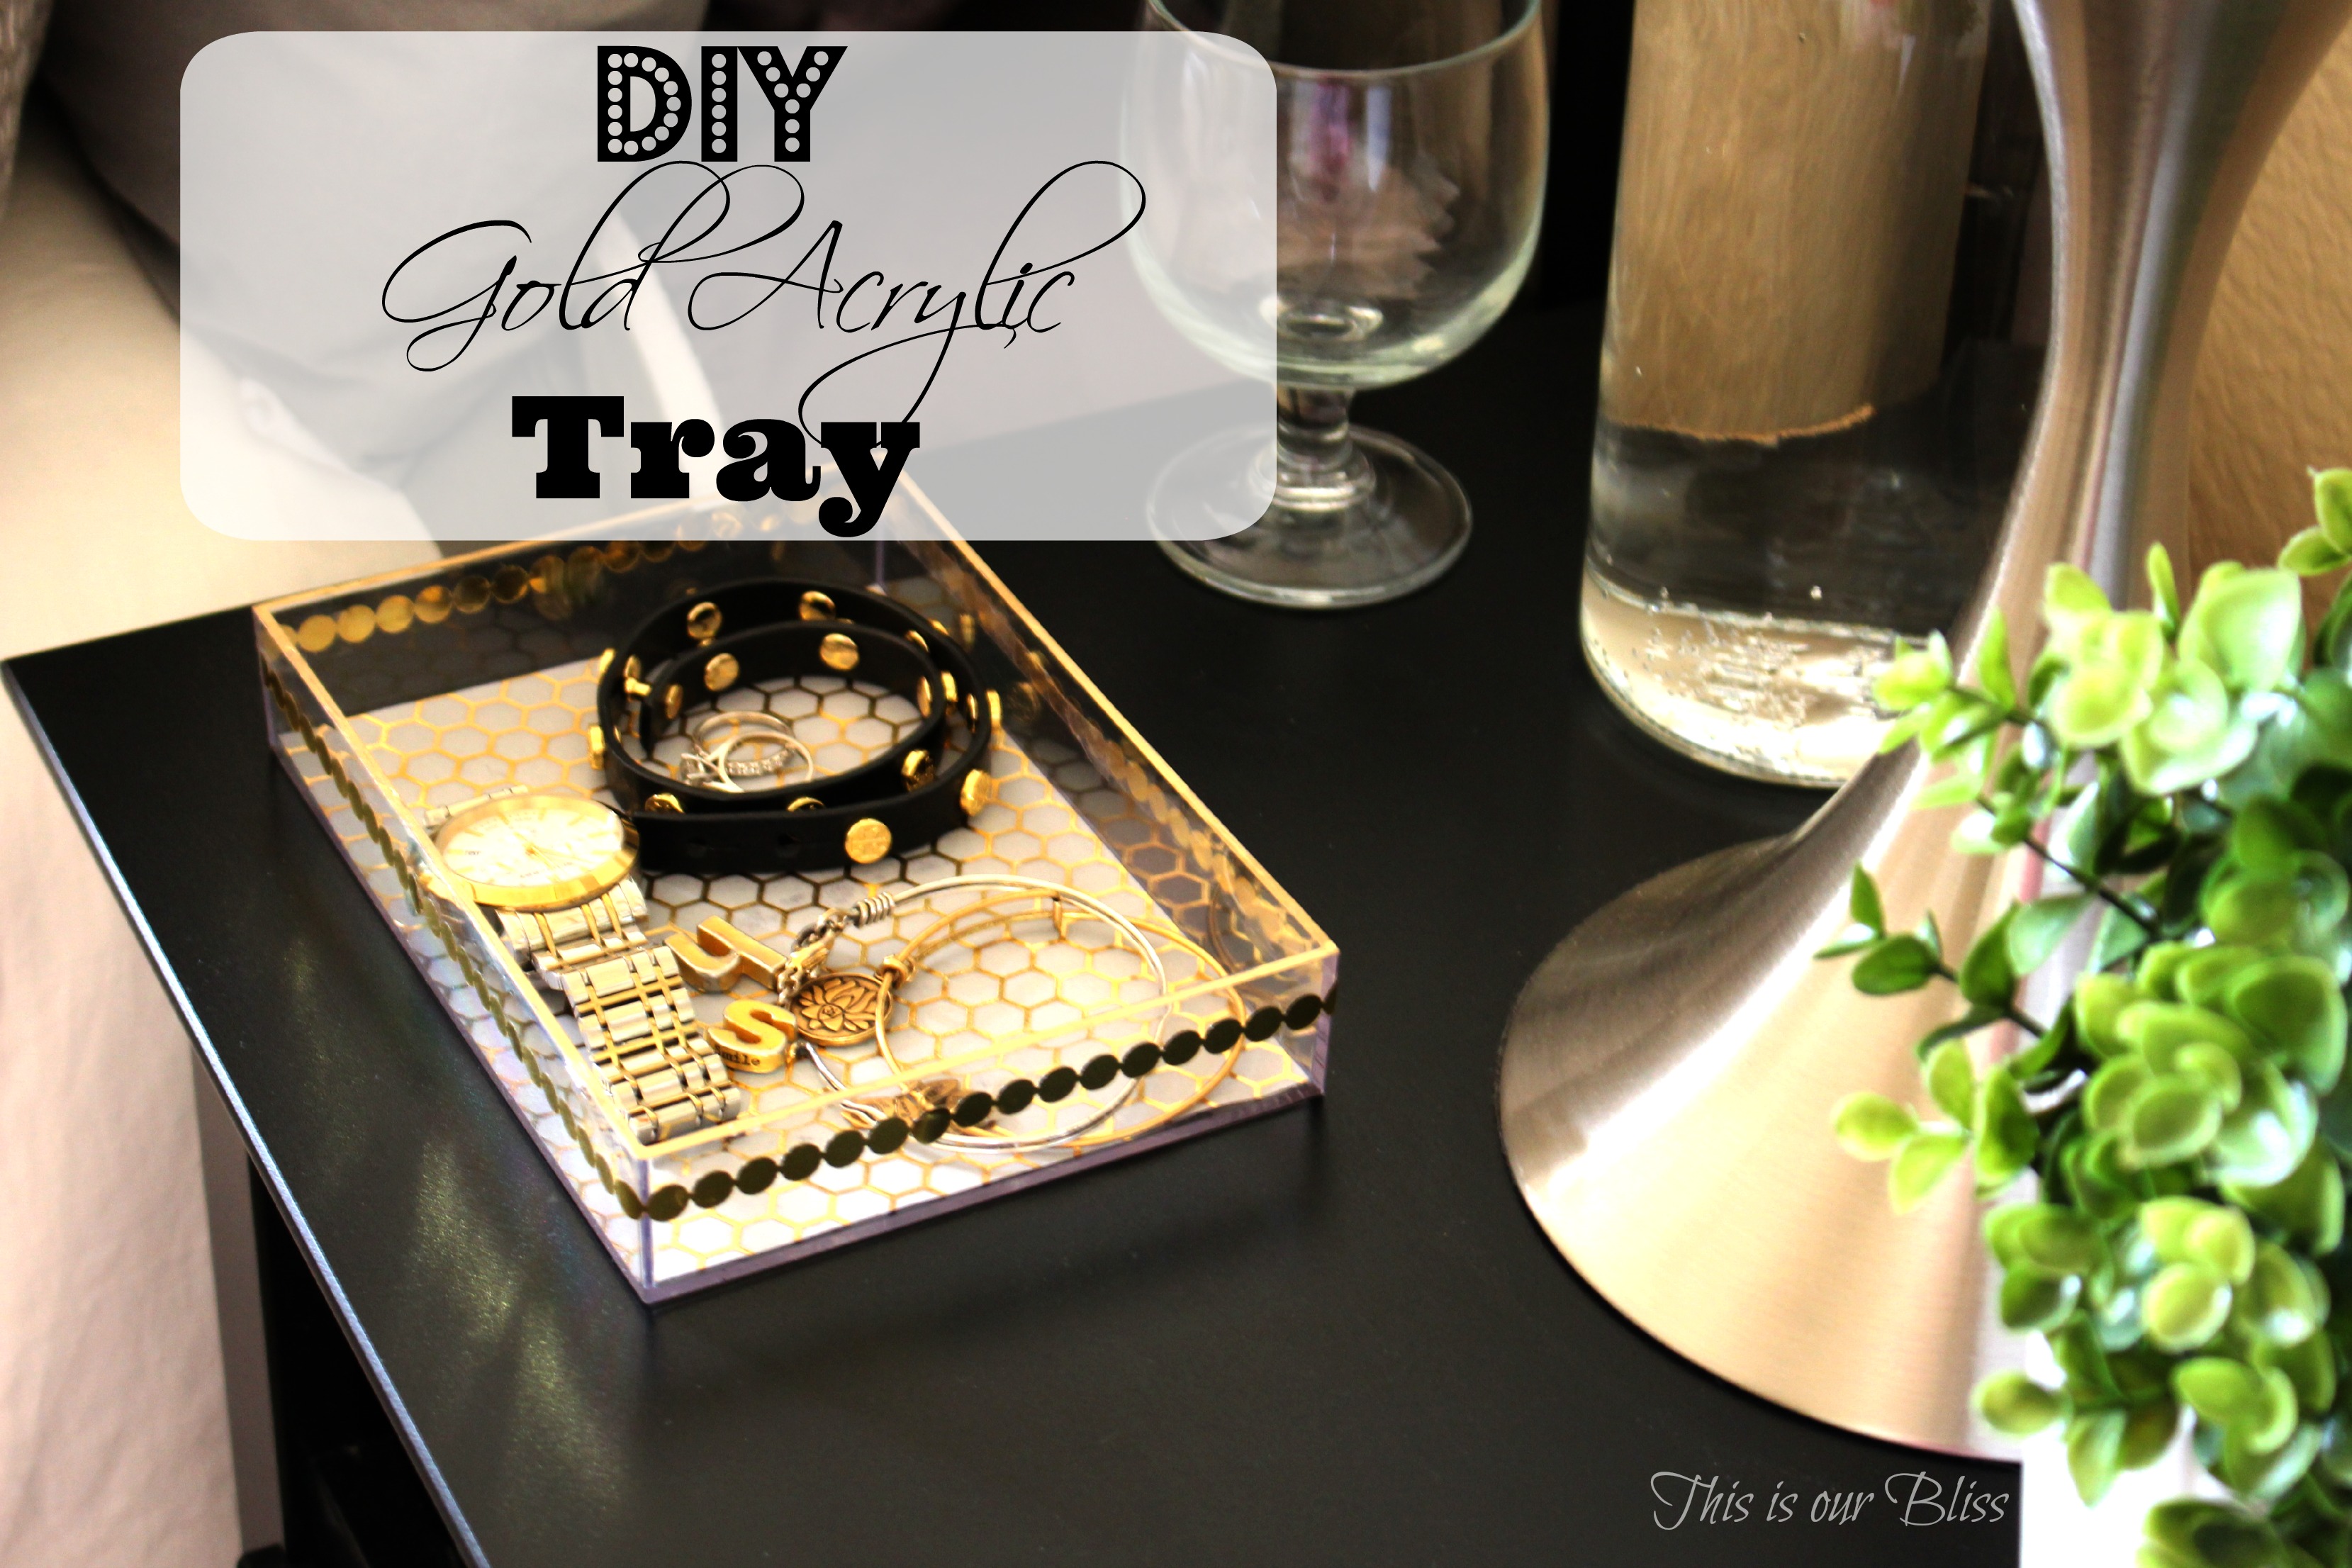
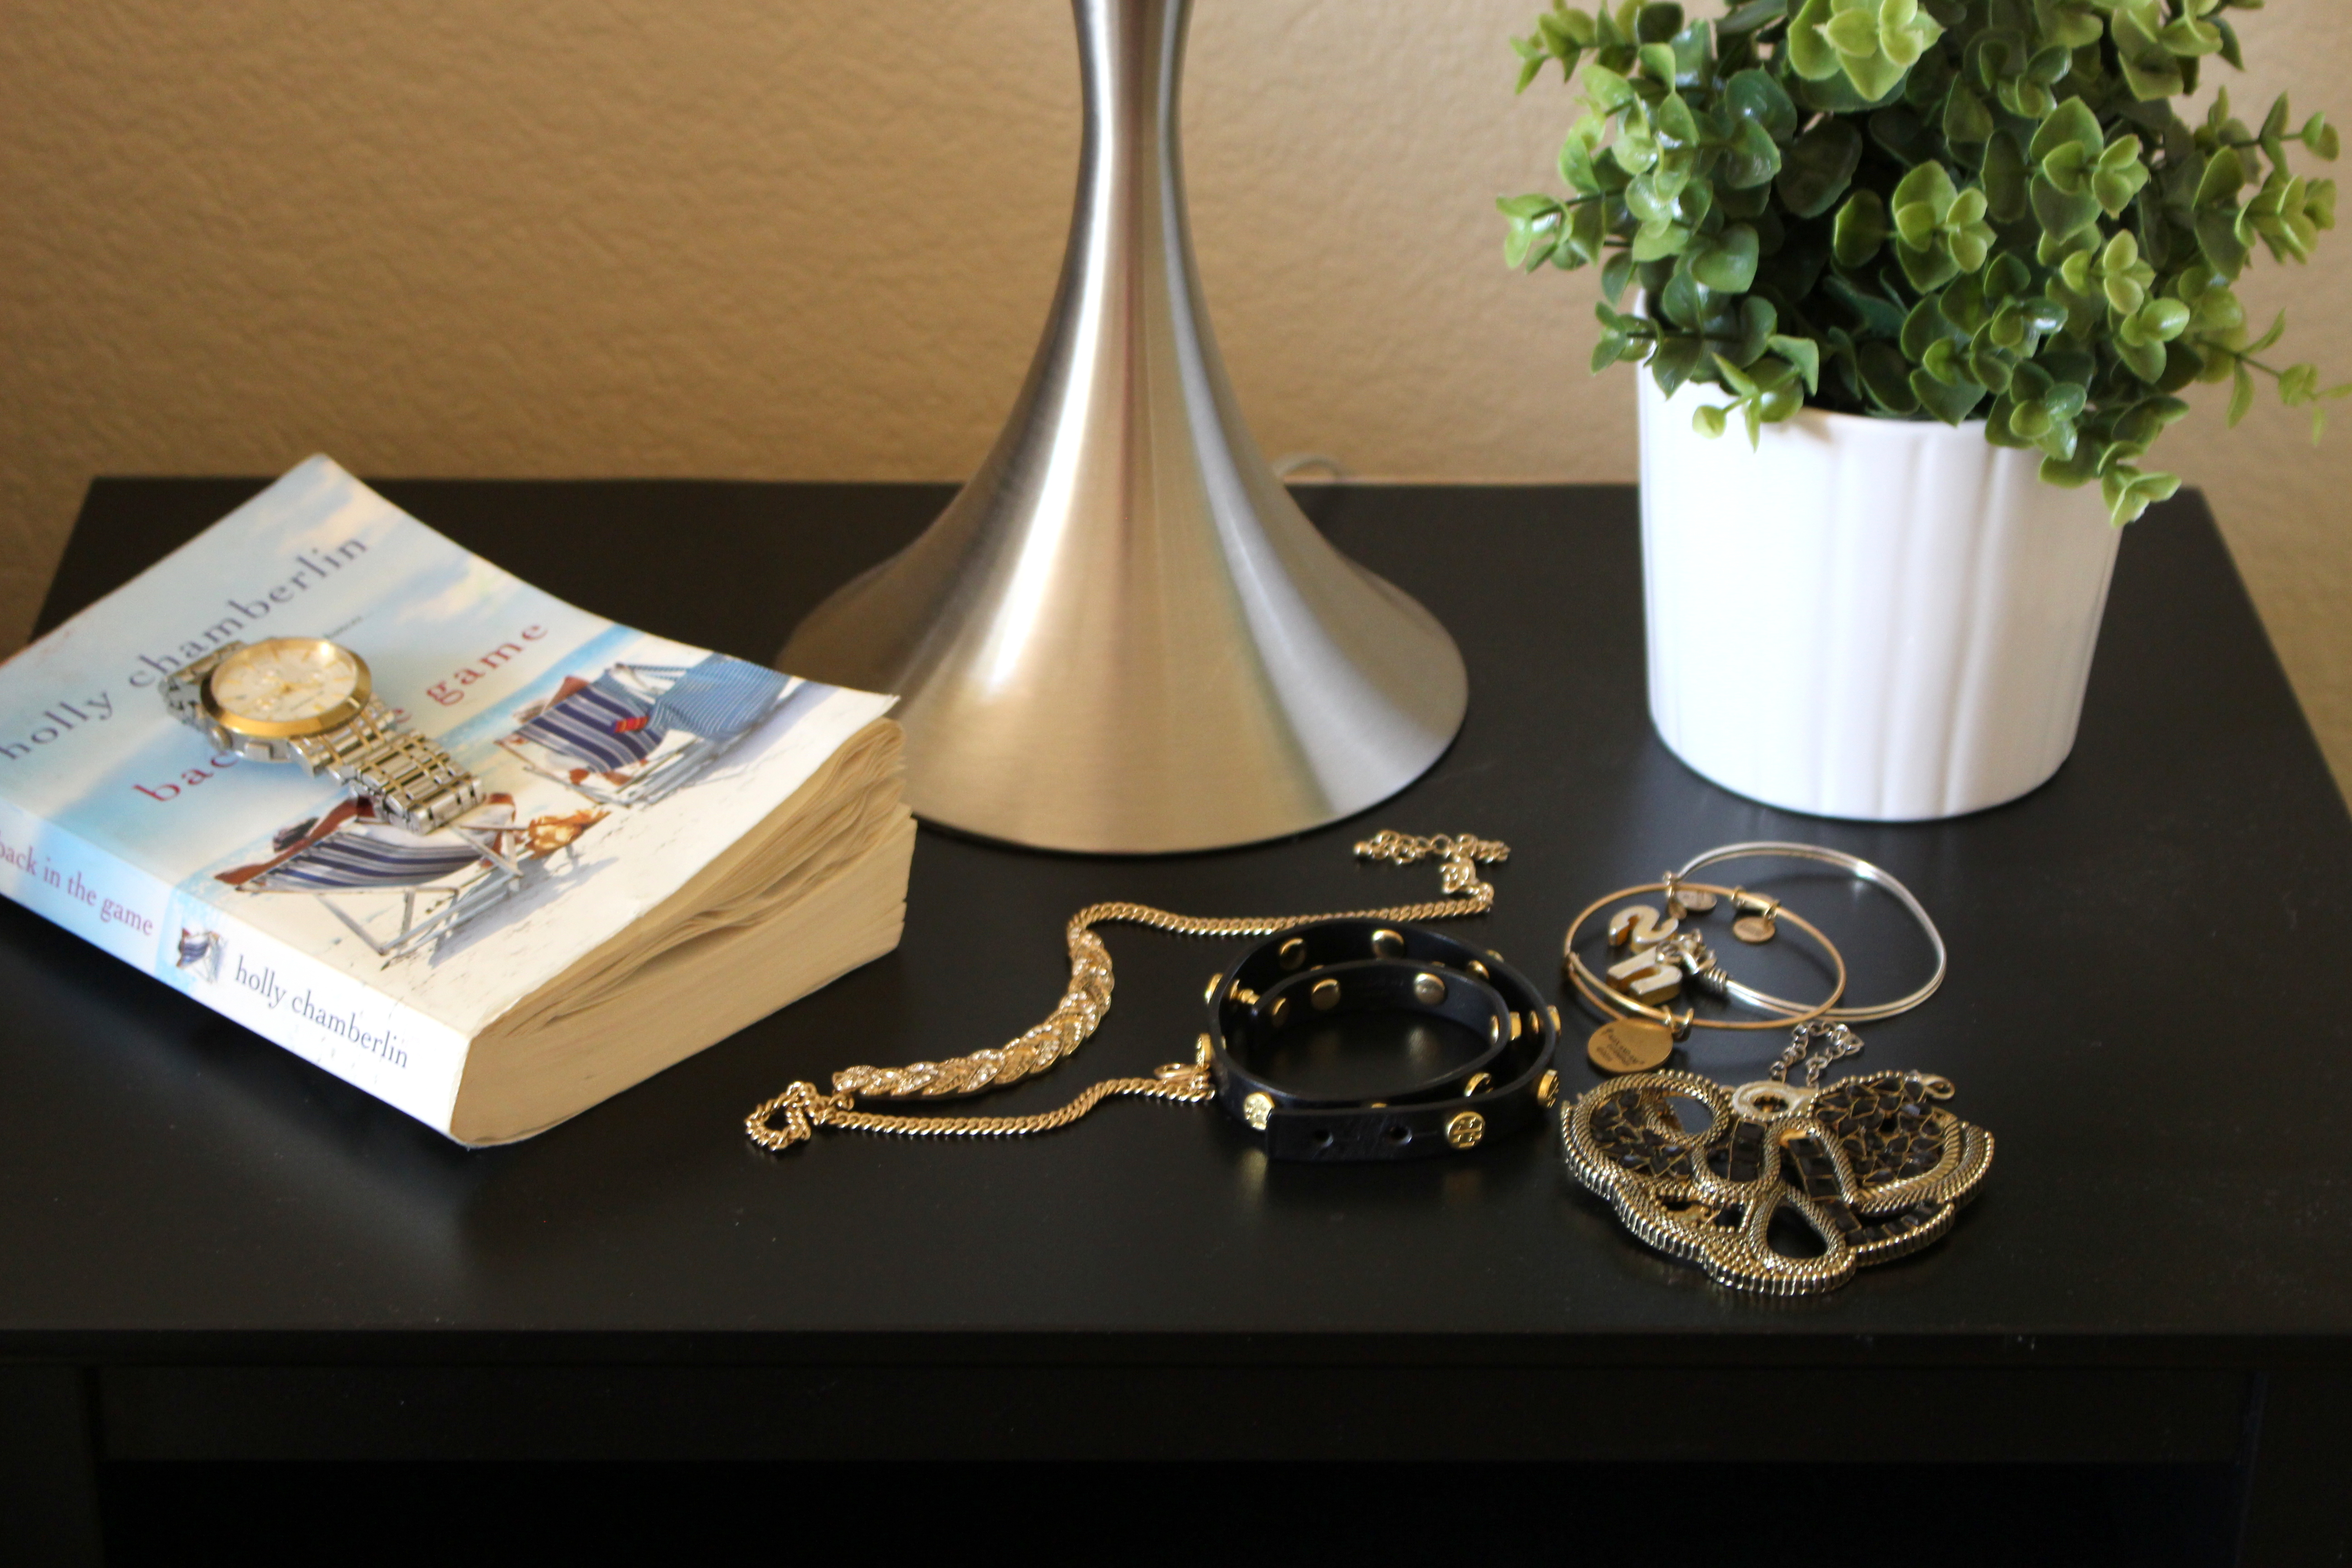
Speaking of being back in our own beds, last week I shared a glimpse of the room I am staying in at my parents’ house down here and how I made a few tweaks to the bedside area. Their set-up is great and I have actually had some excellent sleep, which is always an added bonus when you are away from home! Today, I am going to share a quick tutorial for the DIY gold detail acrylic tray I made to use as a catchall for my jewelry after taking it off at the end of the day. It was quick, easy and gold. Need I say more?!
Materials:
Elmers Craft Bond Permanent Tape Runner
Gold leaf paint pen
Vellum scrapbook paper
scissors
ruler or measuring tape
Martha Stewart Decoupage gold trim

 Instructions:
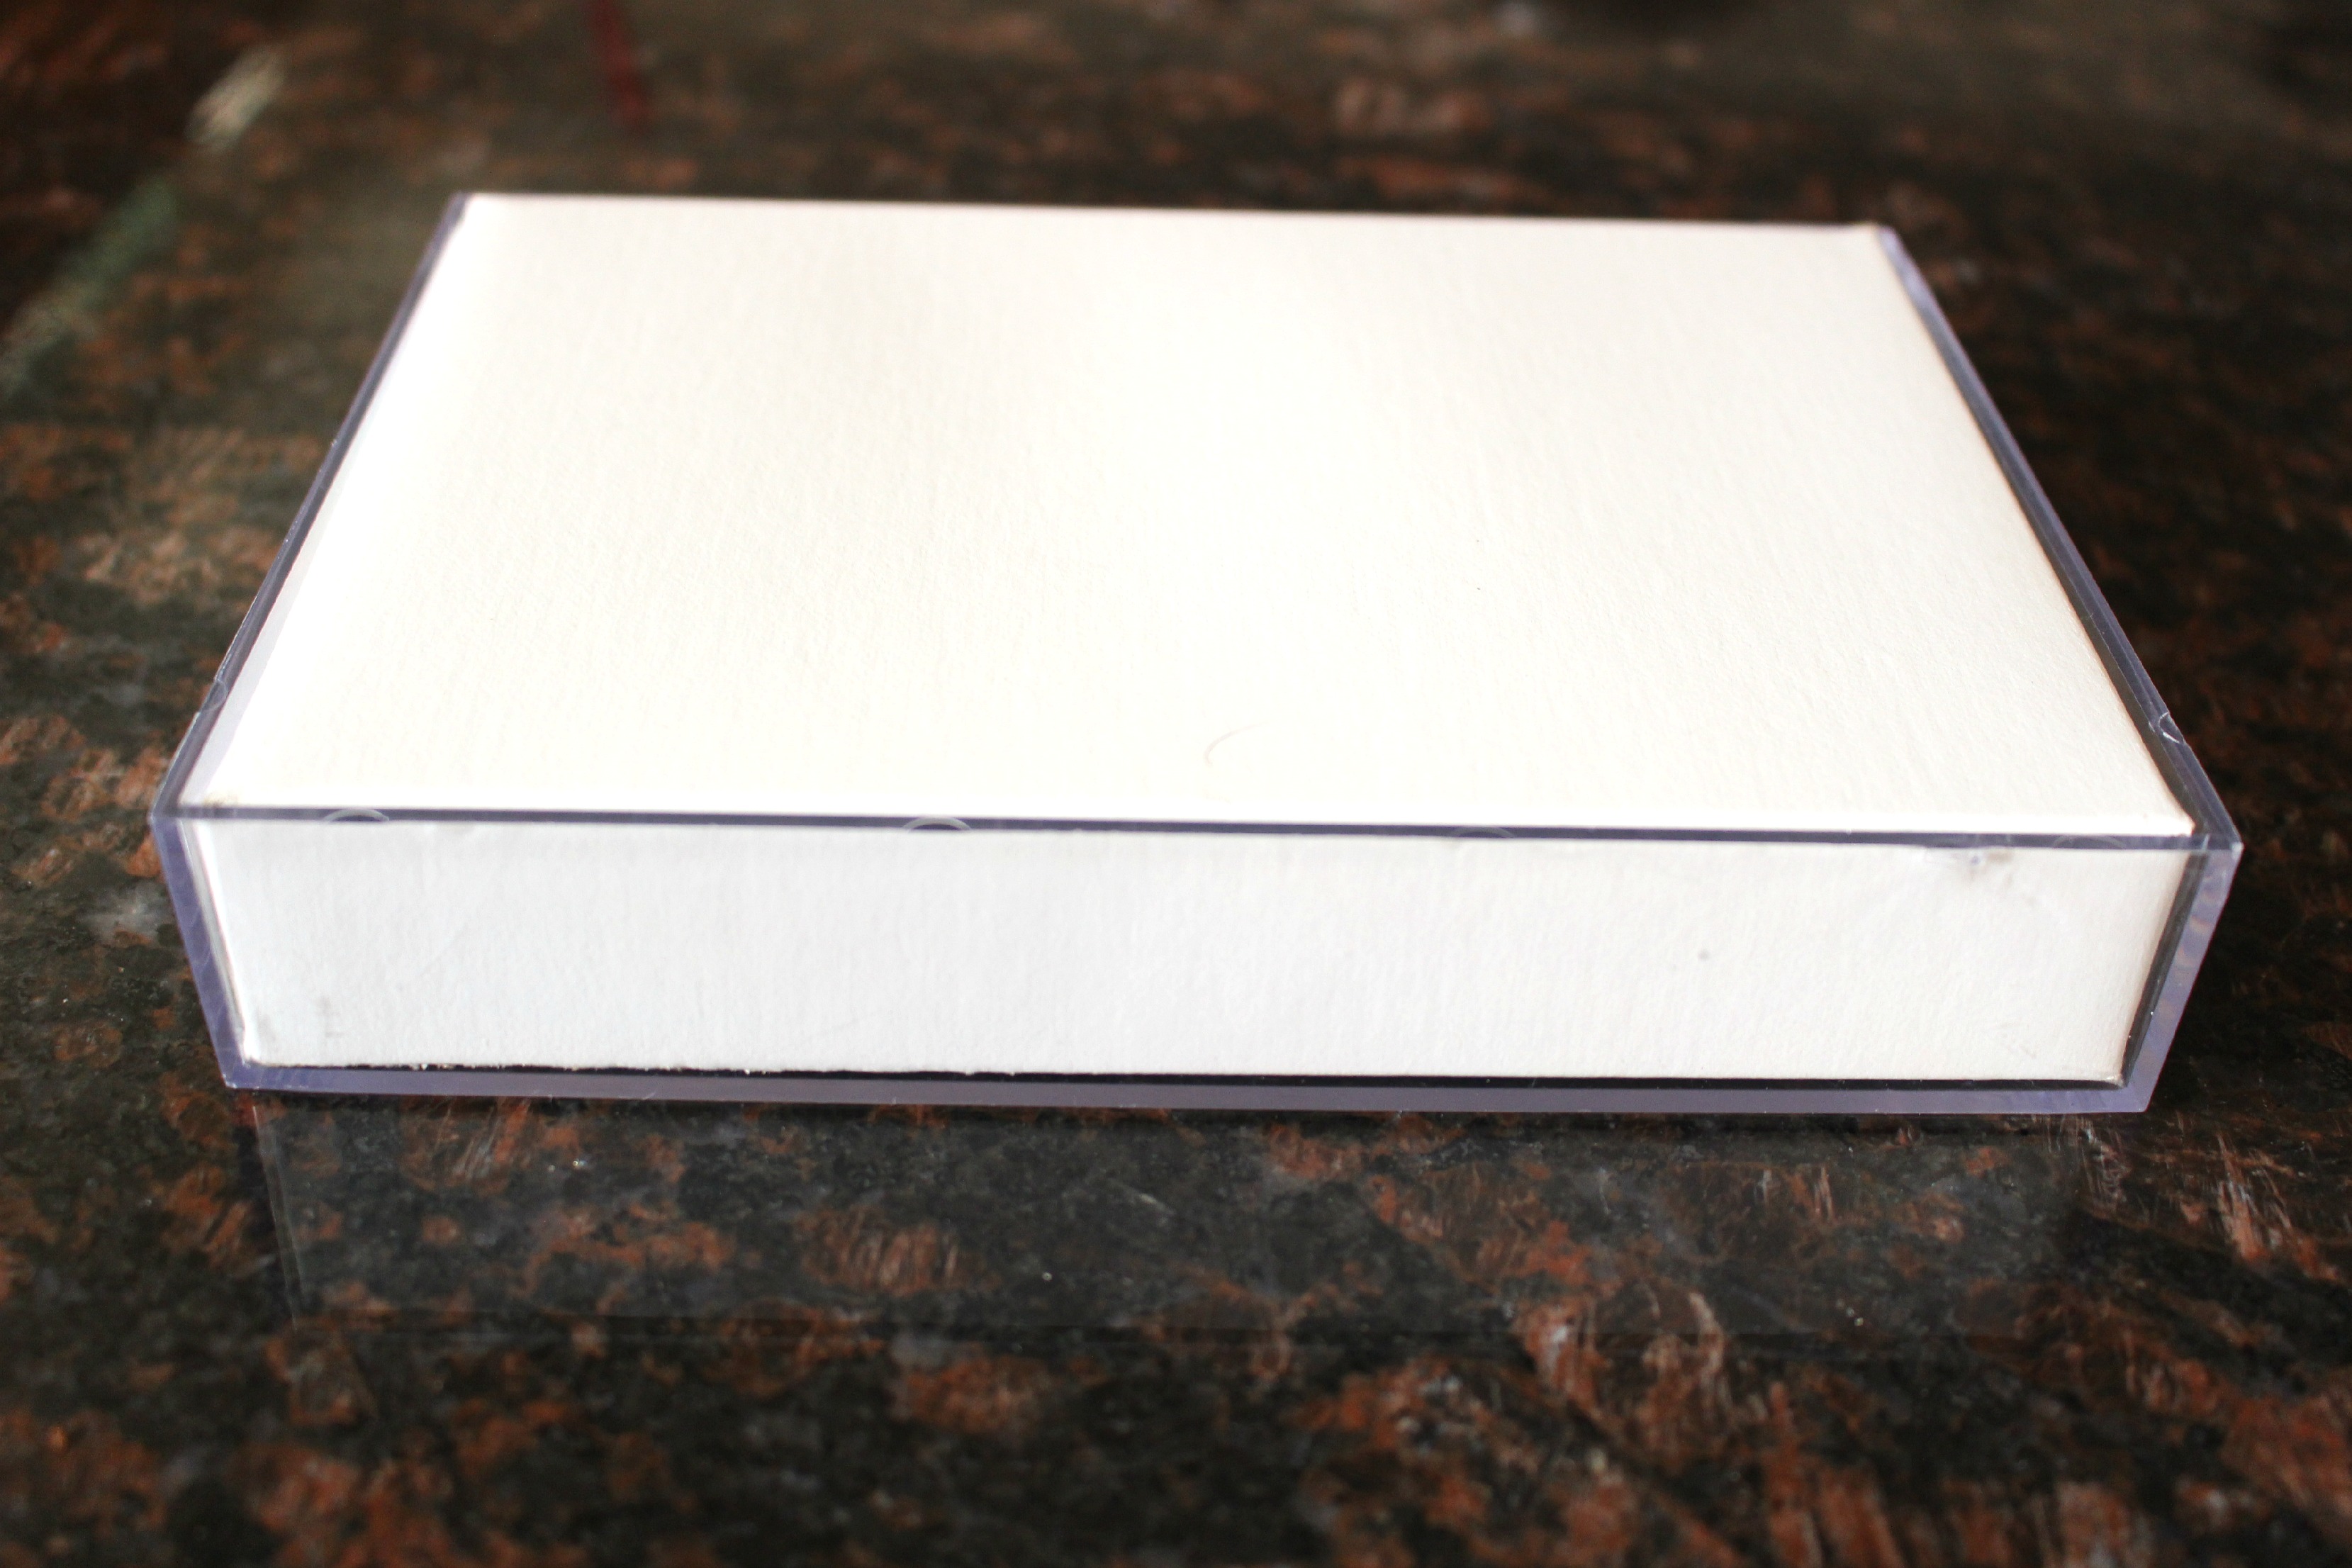
1 – Start by cutting your paper to fit inside the acrylic frame. My frame was a 5″ x 7″ so I measured my paper, made a couple of pencil marks and then made the cuts.

2 – Run 3 strips of the tape on the inside of the frame.
3 – press your paper down so it adheres to the bottom of the tray.
4 – Take the tape runner and make 3 – 4 little dabs on each side of the tray, spaced about an inch or so apart. I made the marks just big enough so it wouldn’t show above or below the gold trim once I wrapped it around the edge.
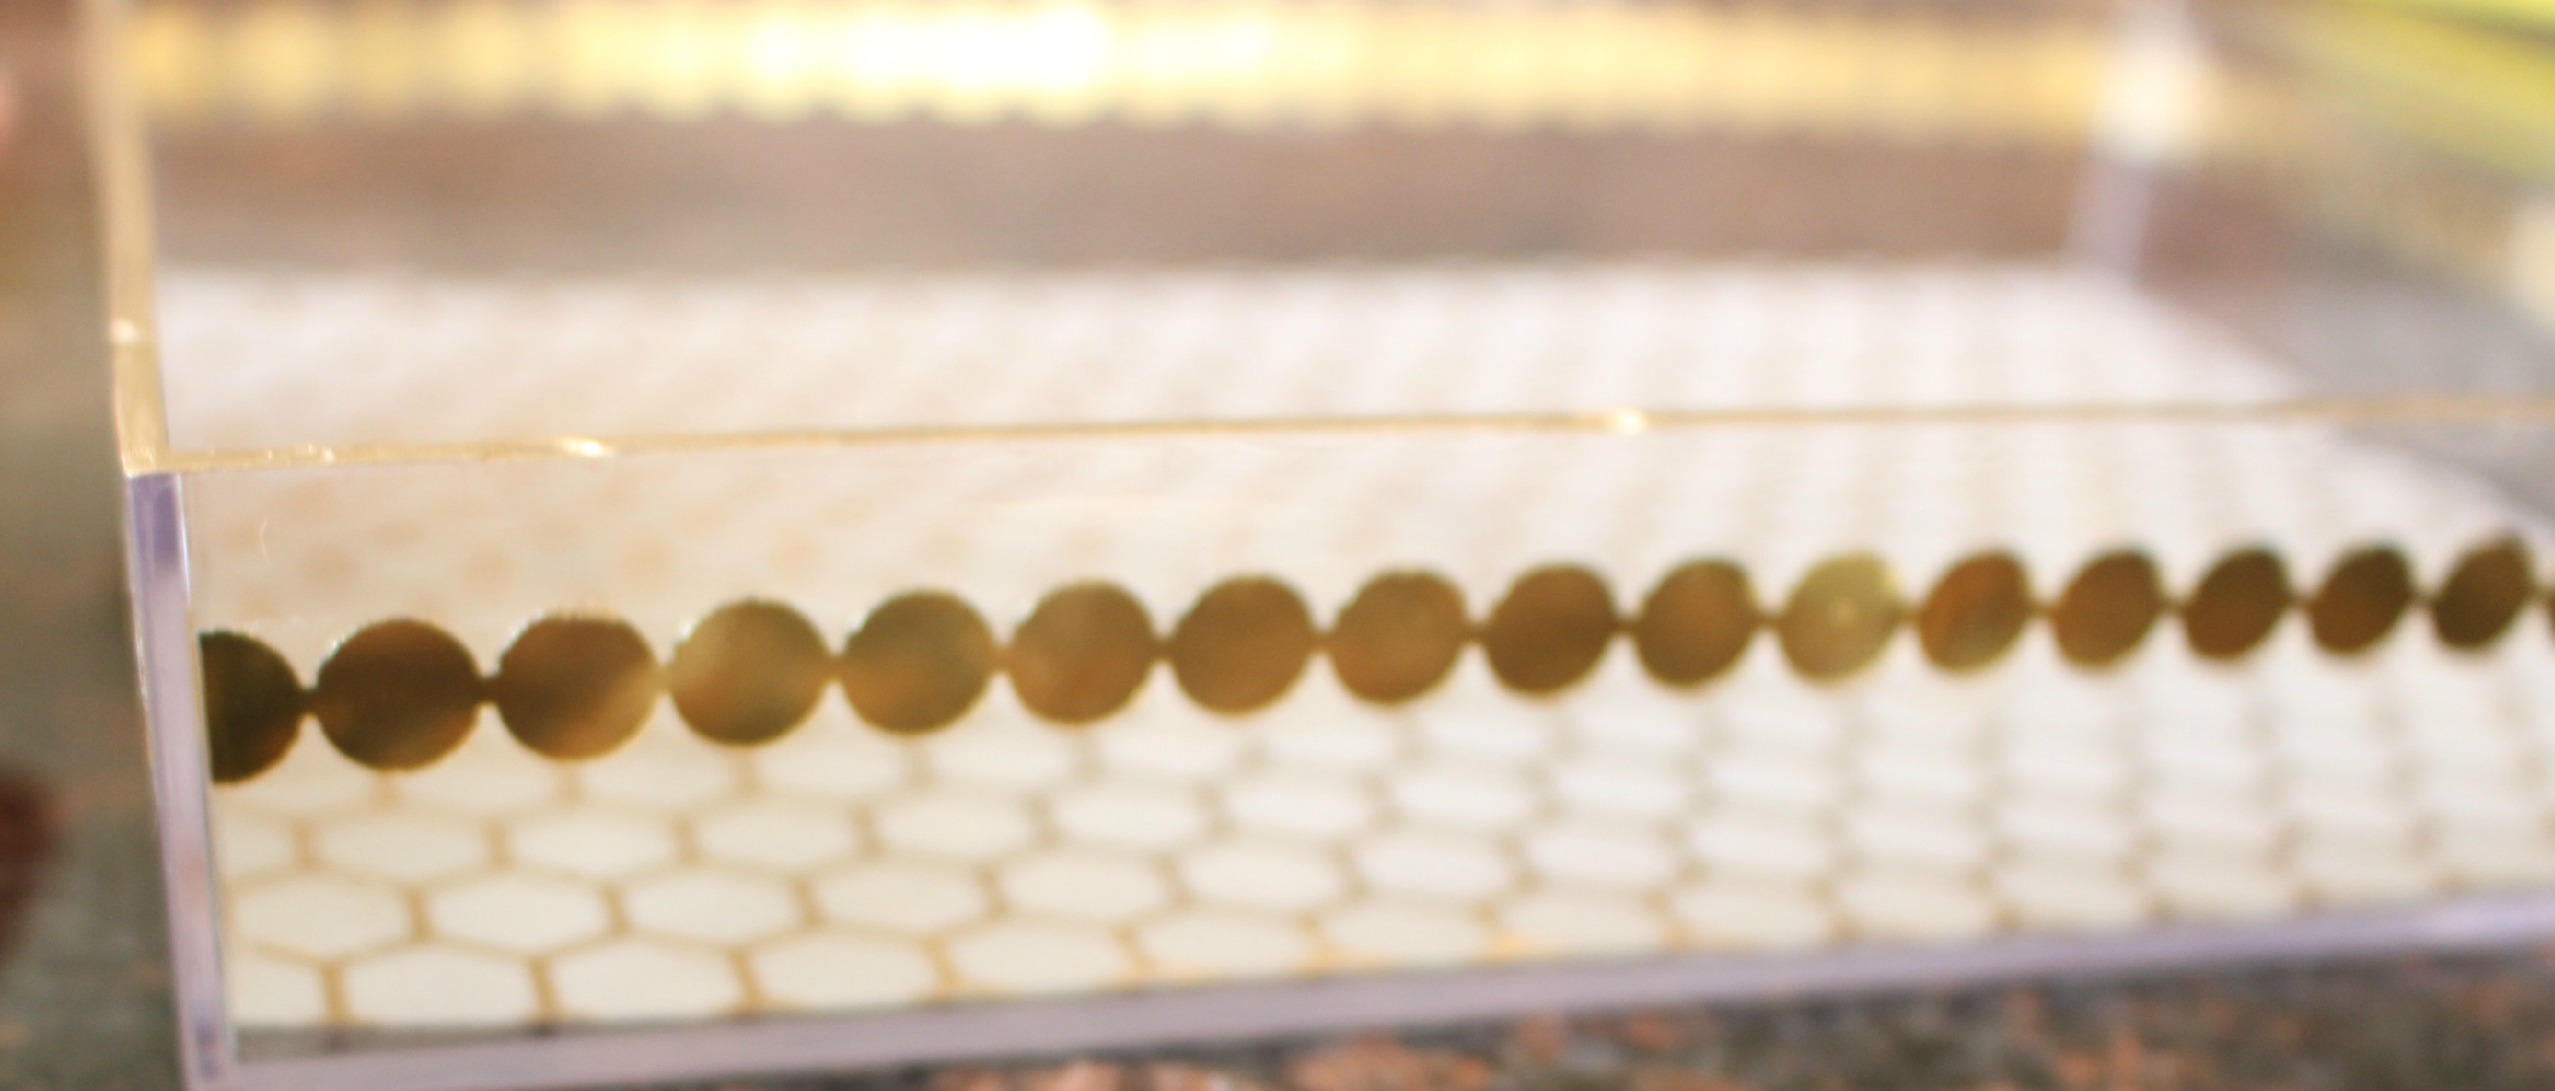
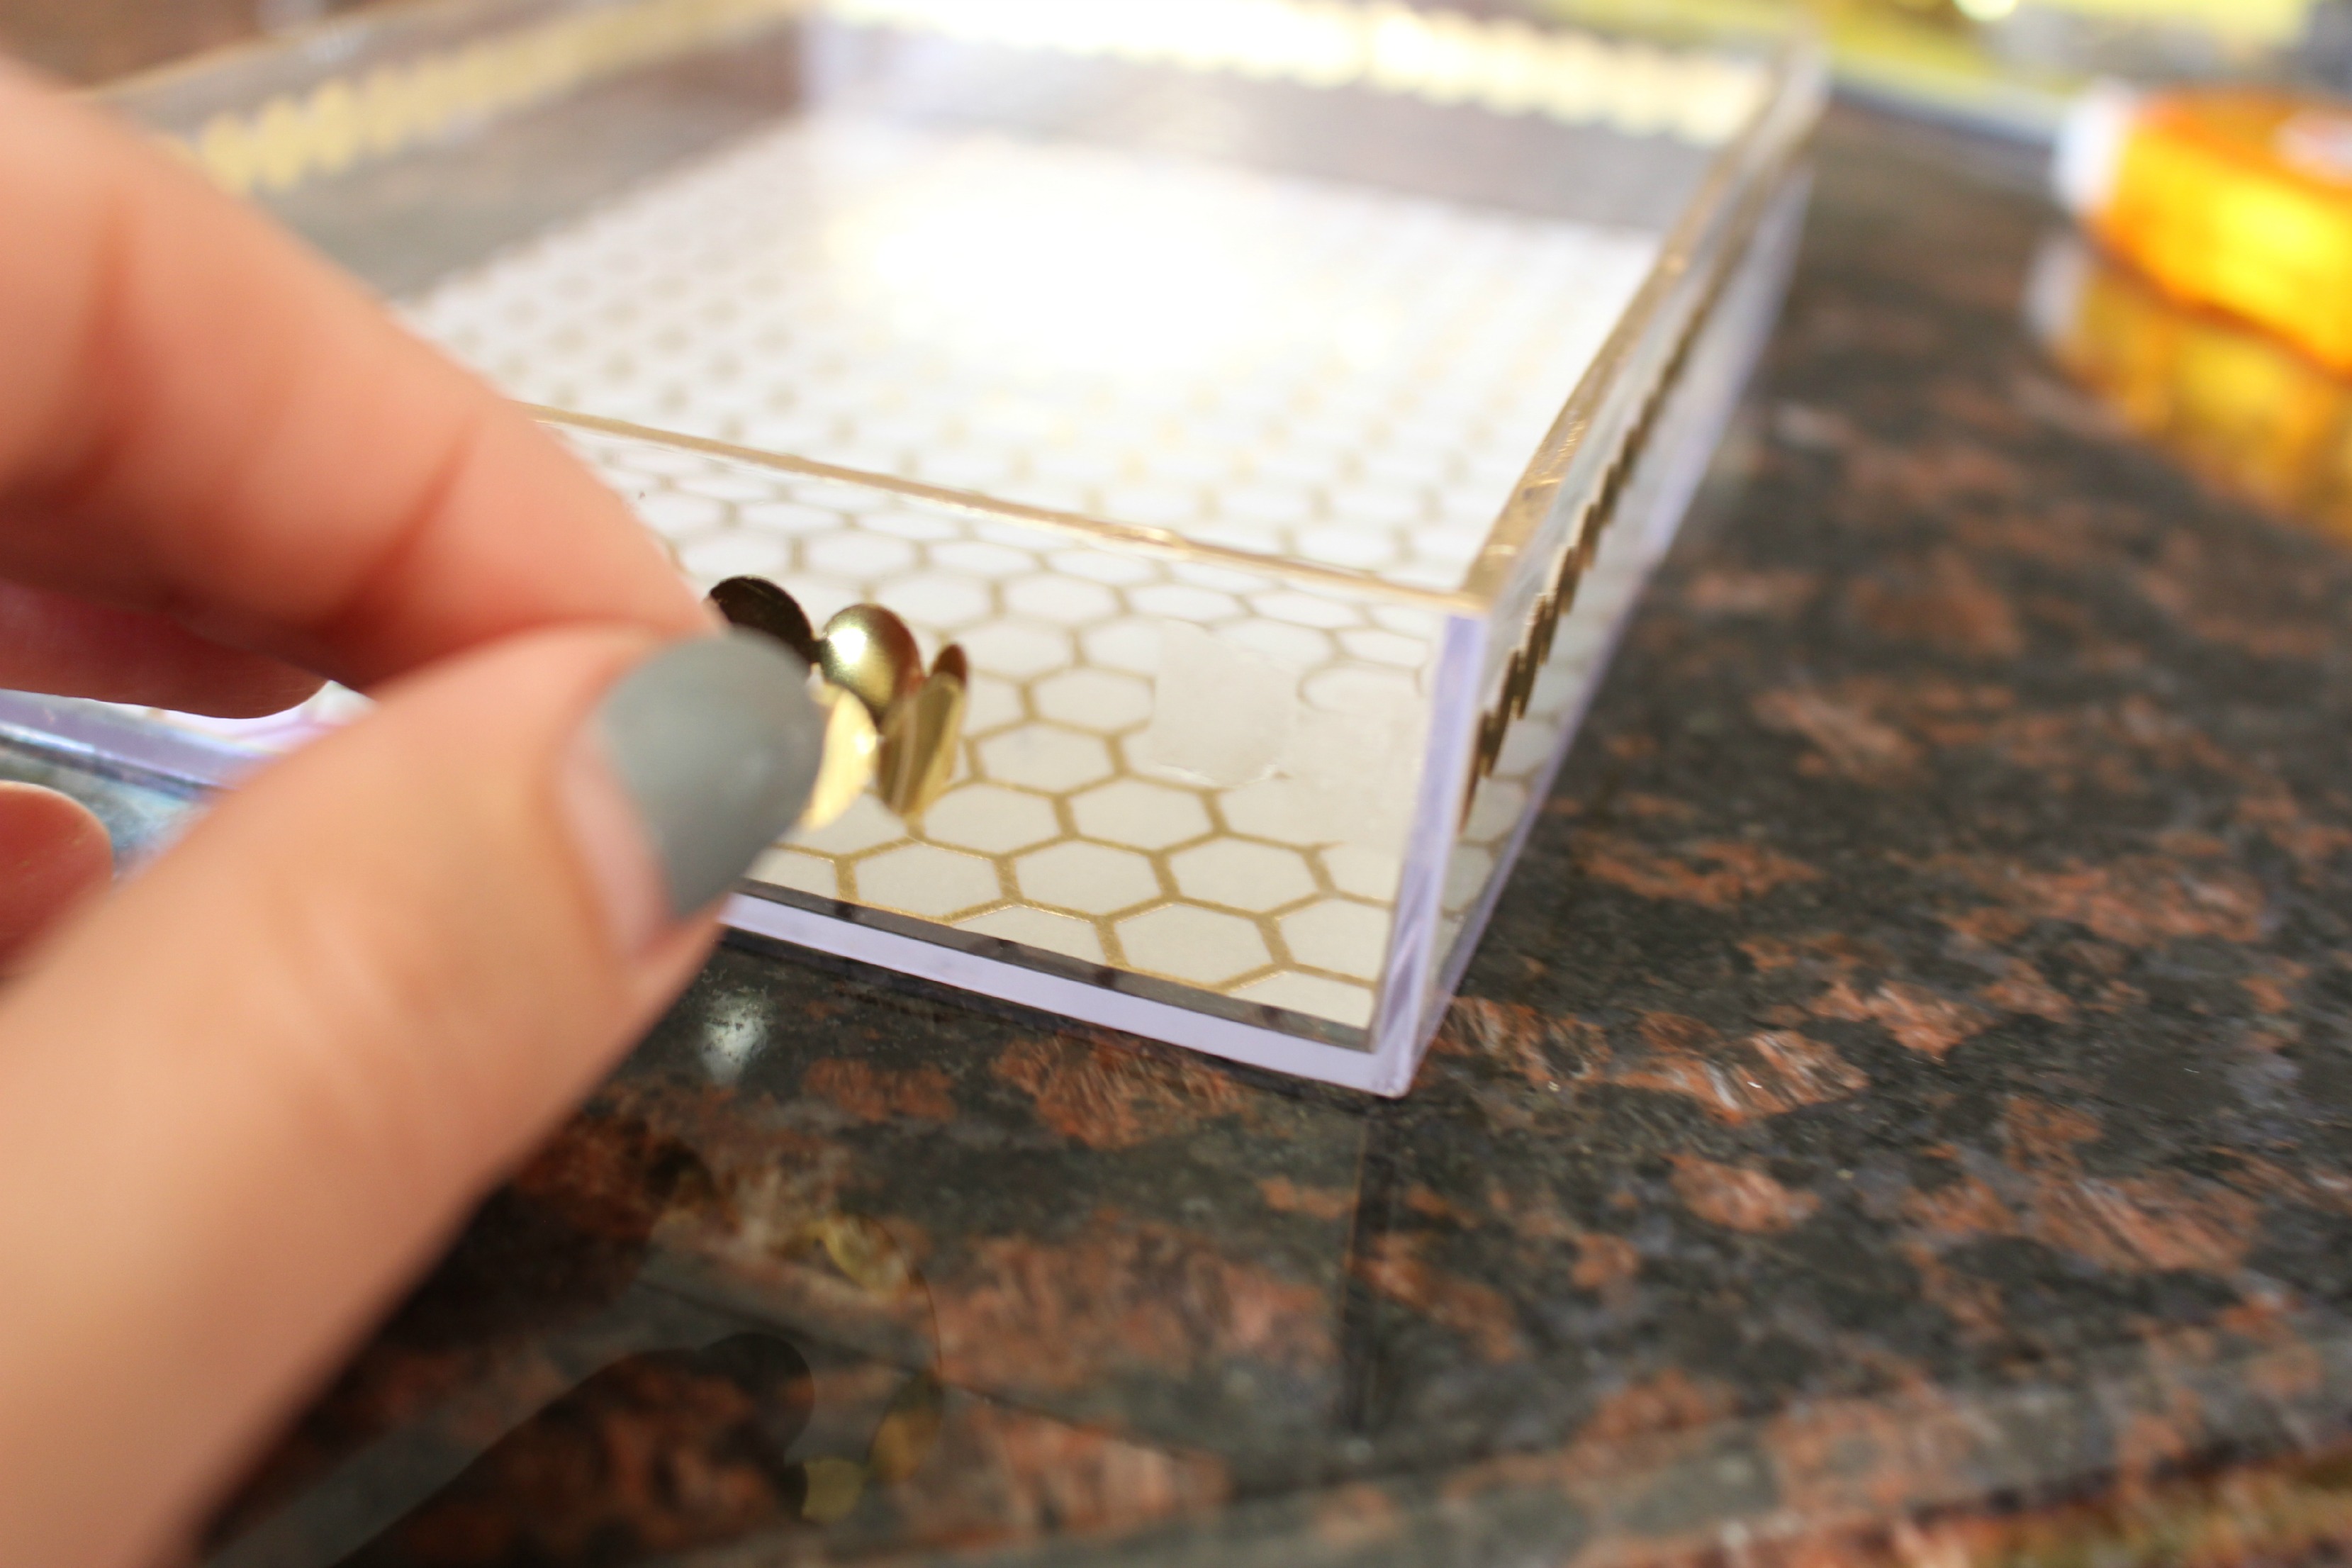 5 – Take the trim & wrap it around all 4 sides of the tray along the tape marks, pressing down as you go, on the corners as well. You need to get the trim to form around the edges. Cut off the excess trim once you make it all the way around.
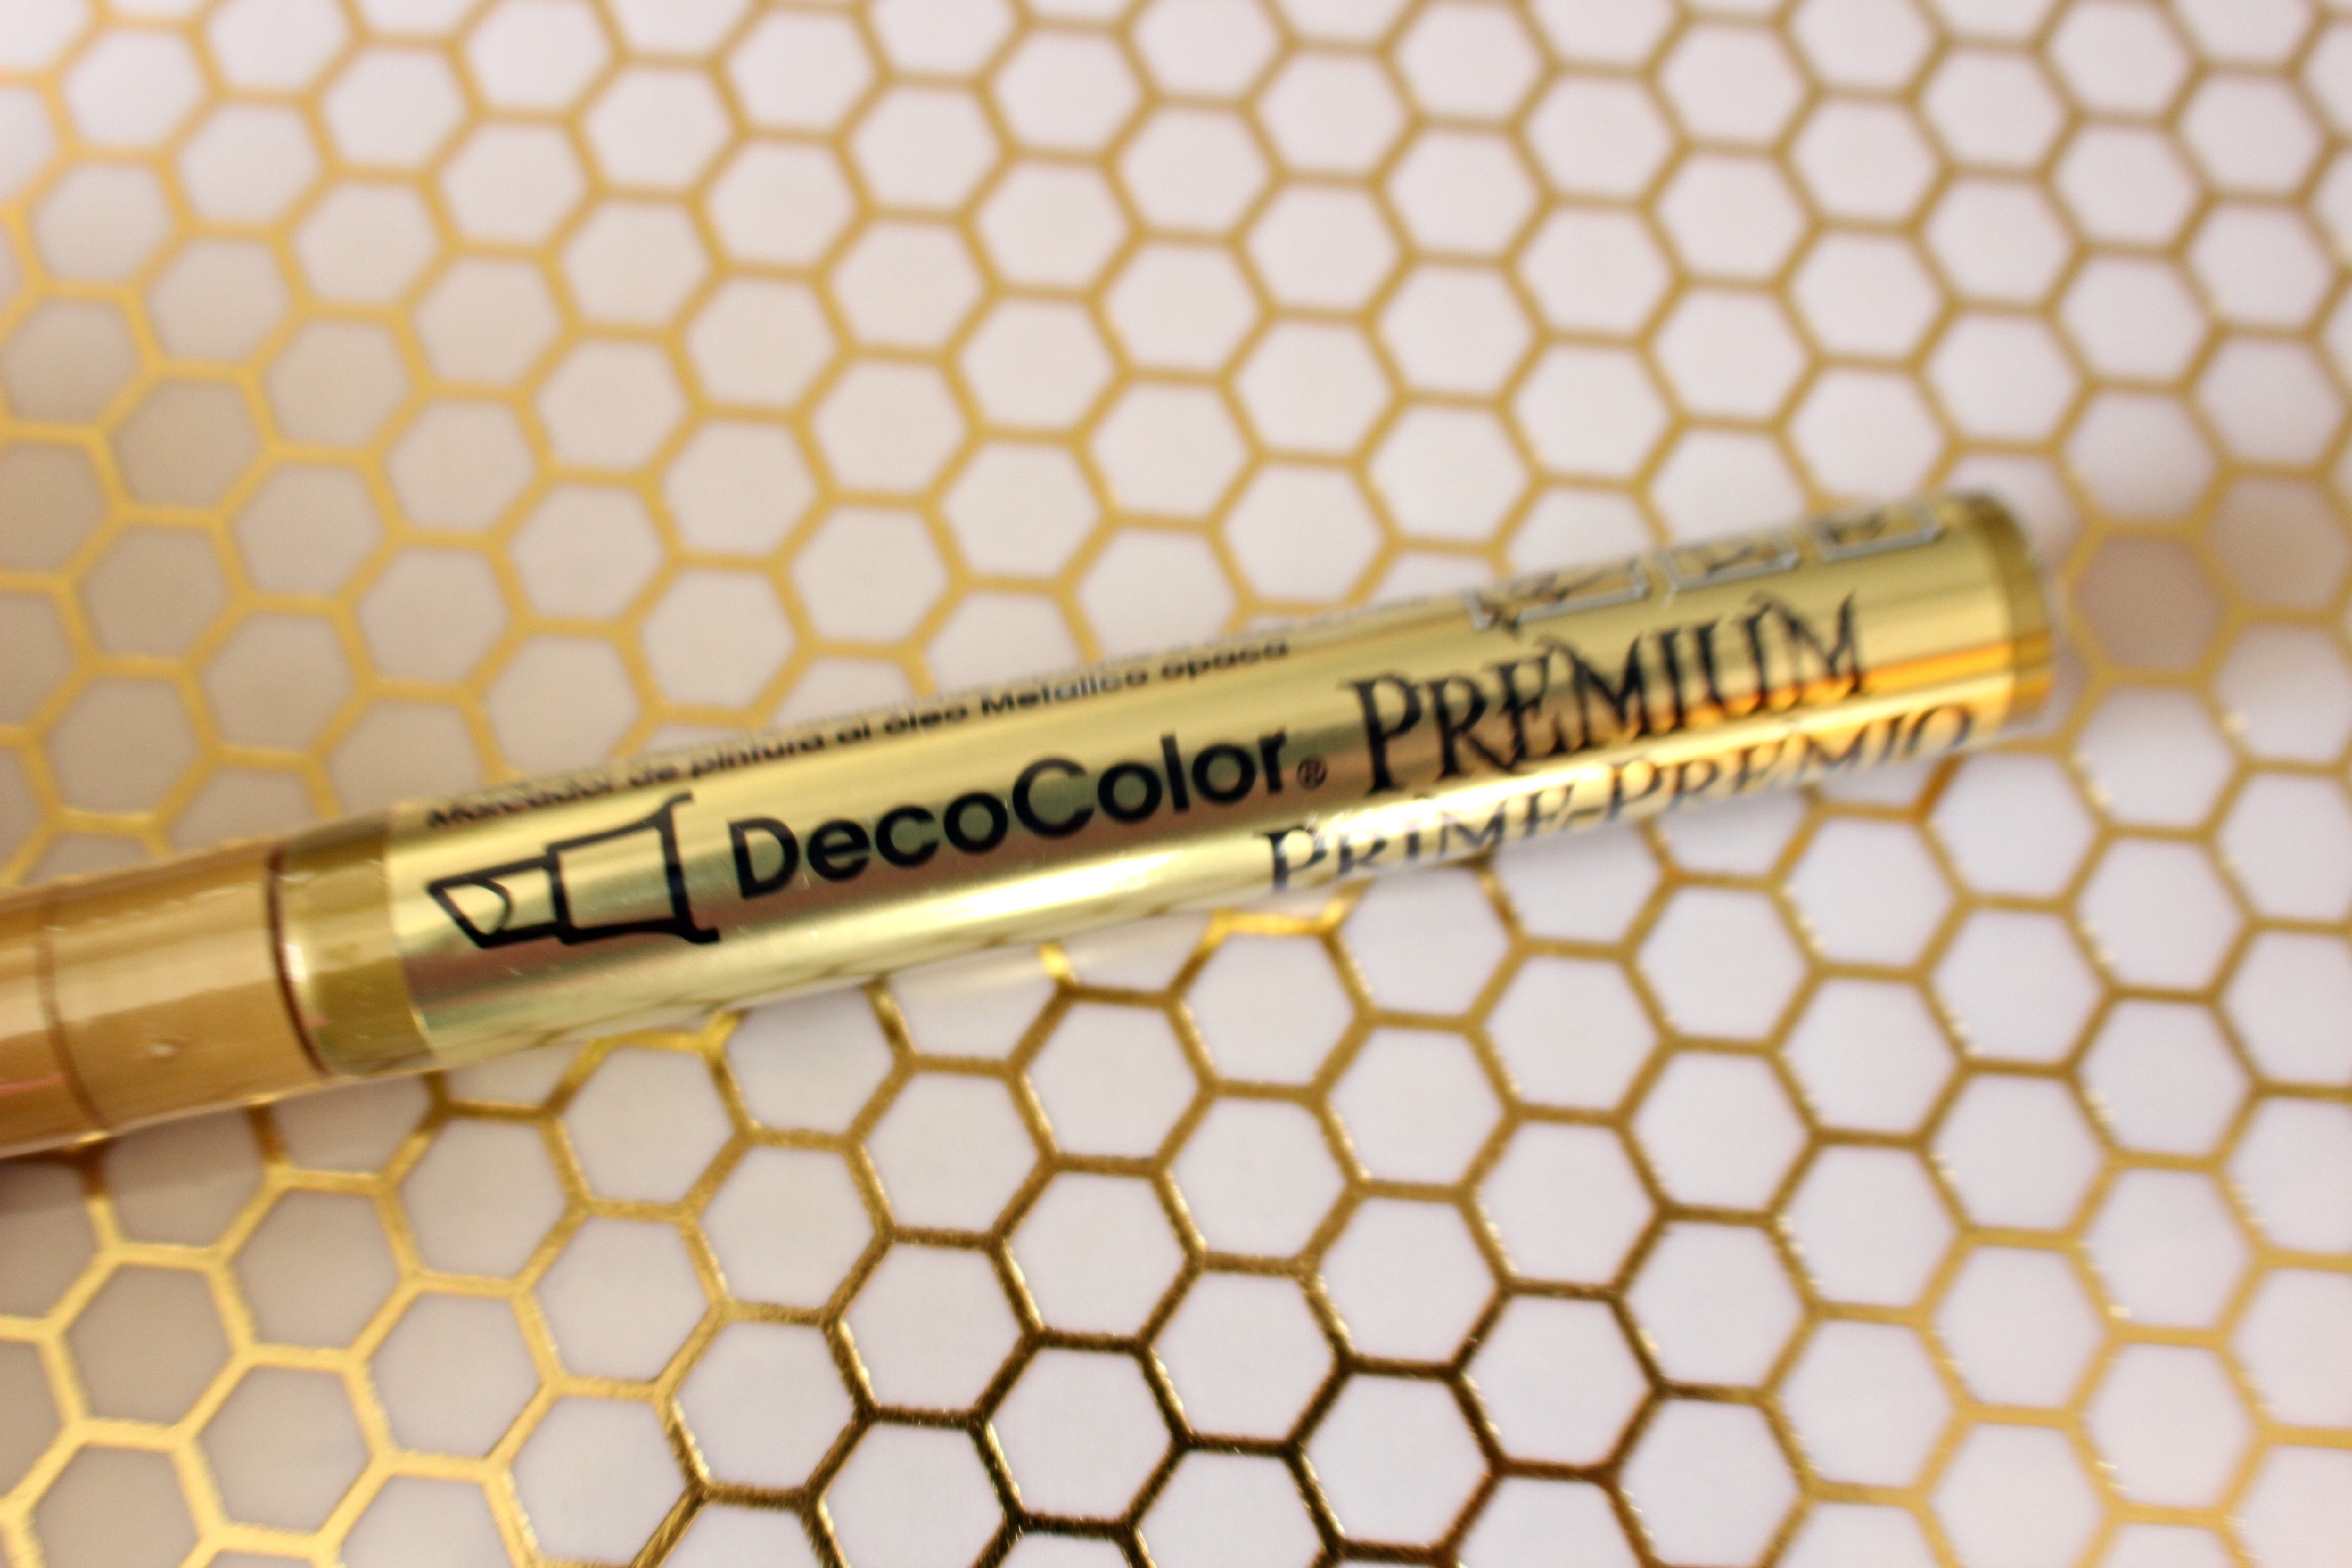
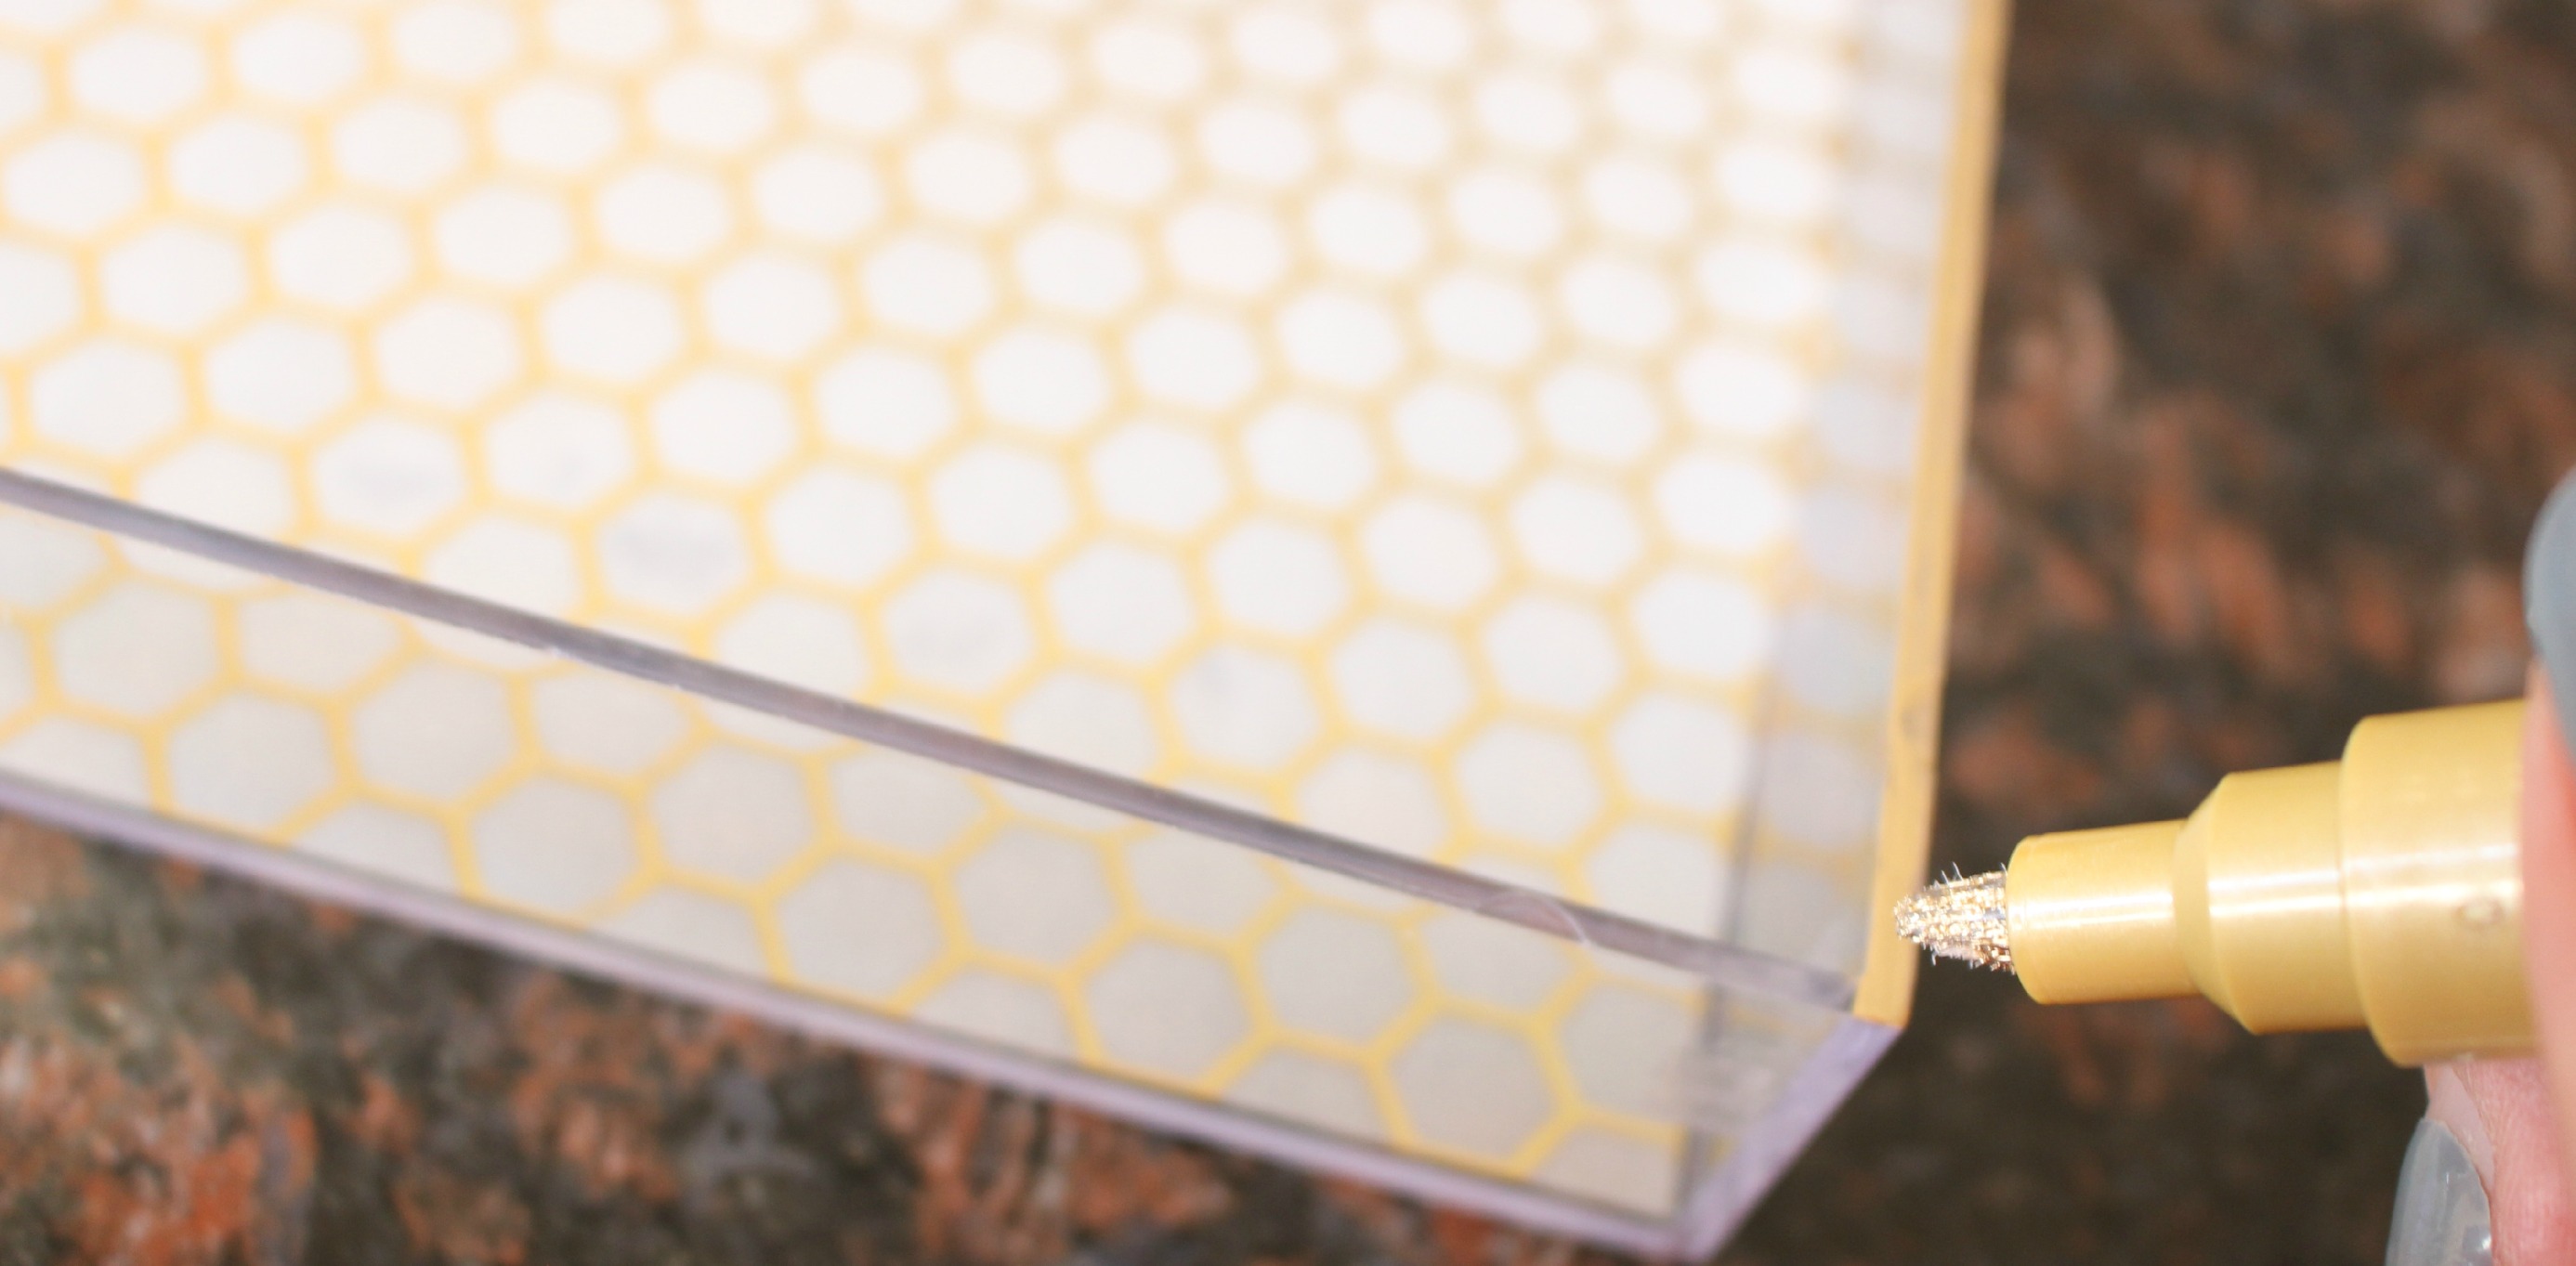
6 – Take the gold leaf pain pen and run it along the top edge of the tray for a bit more gold detail. Once it is dry, you can put it right to use!
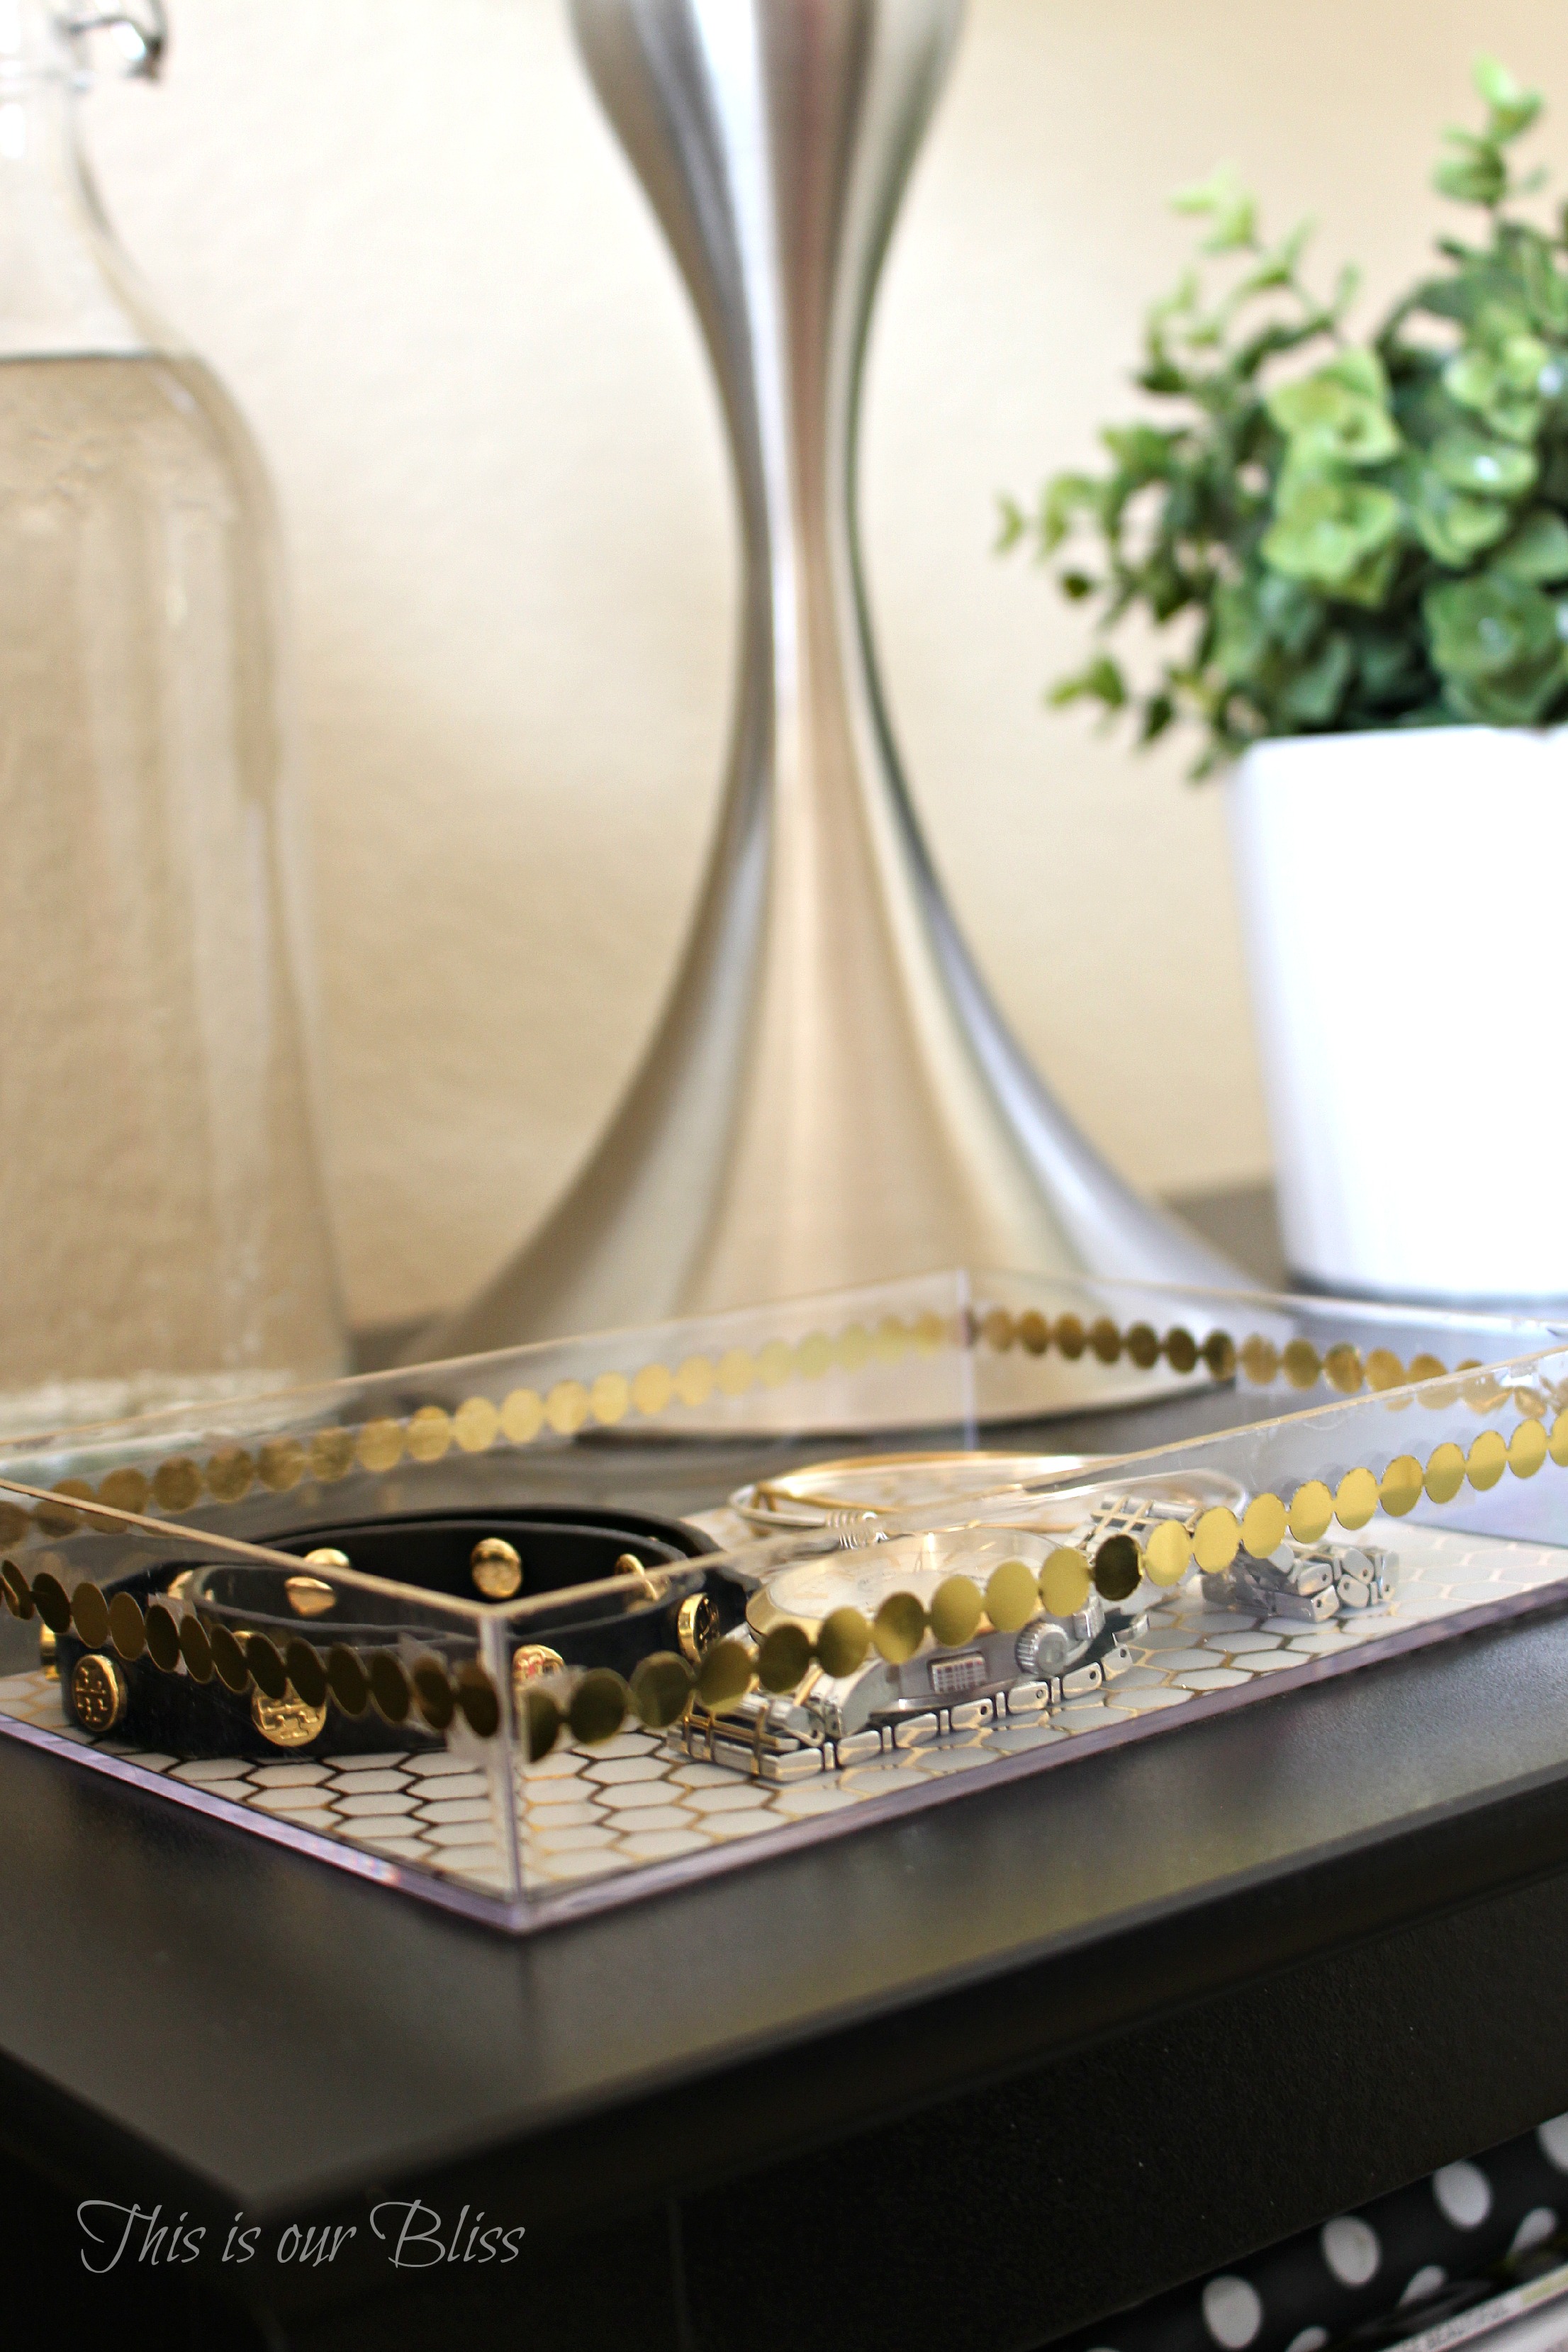
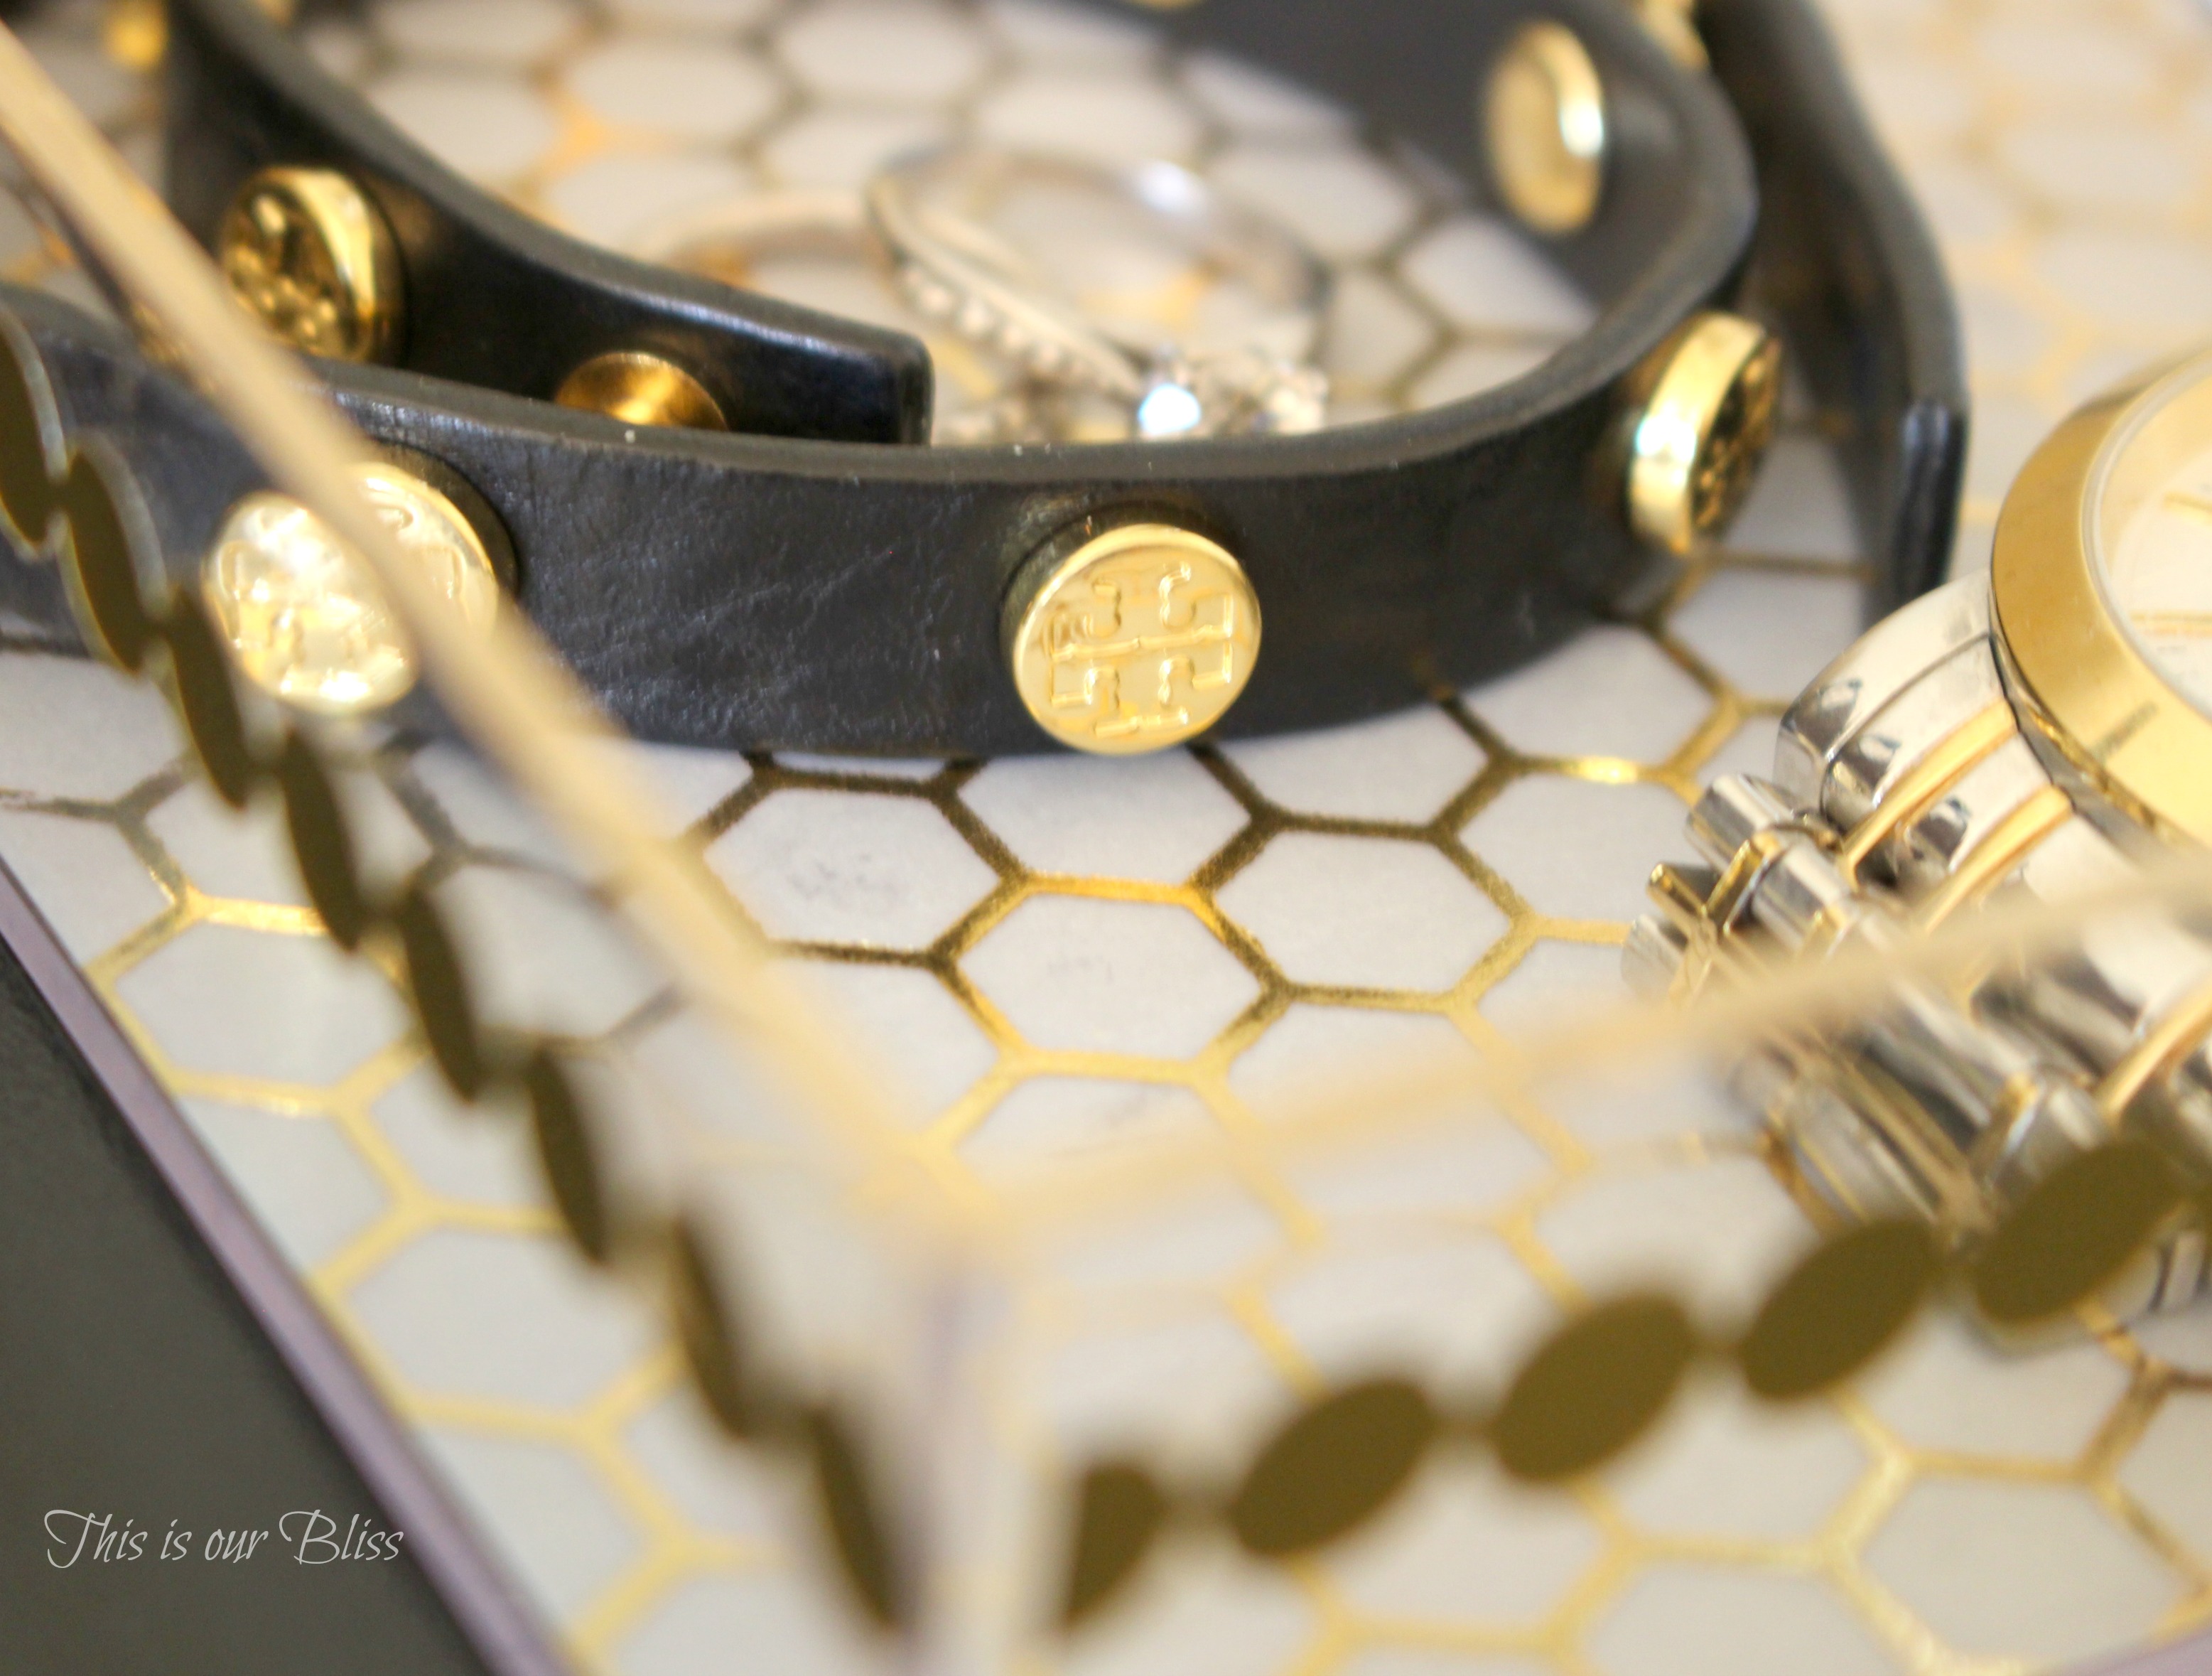
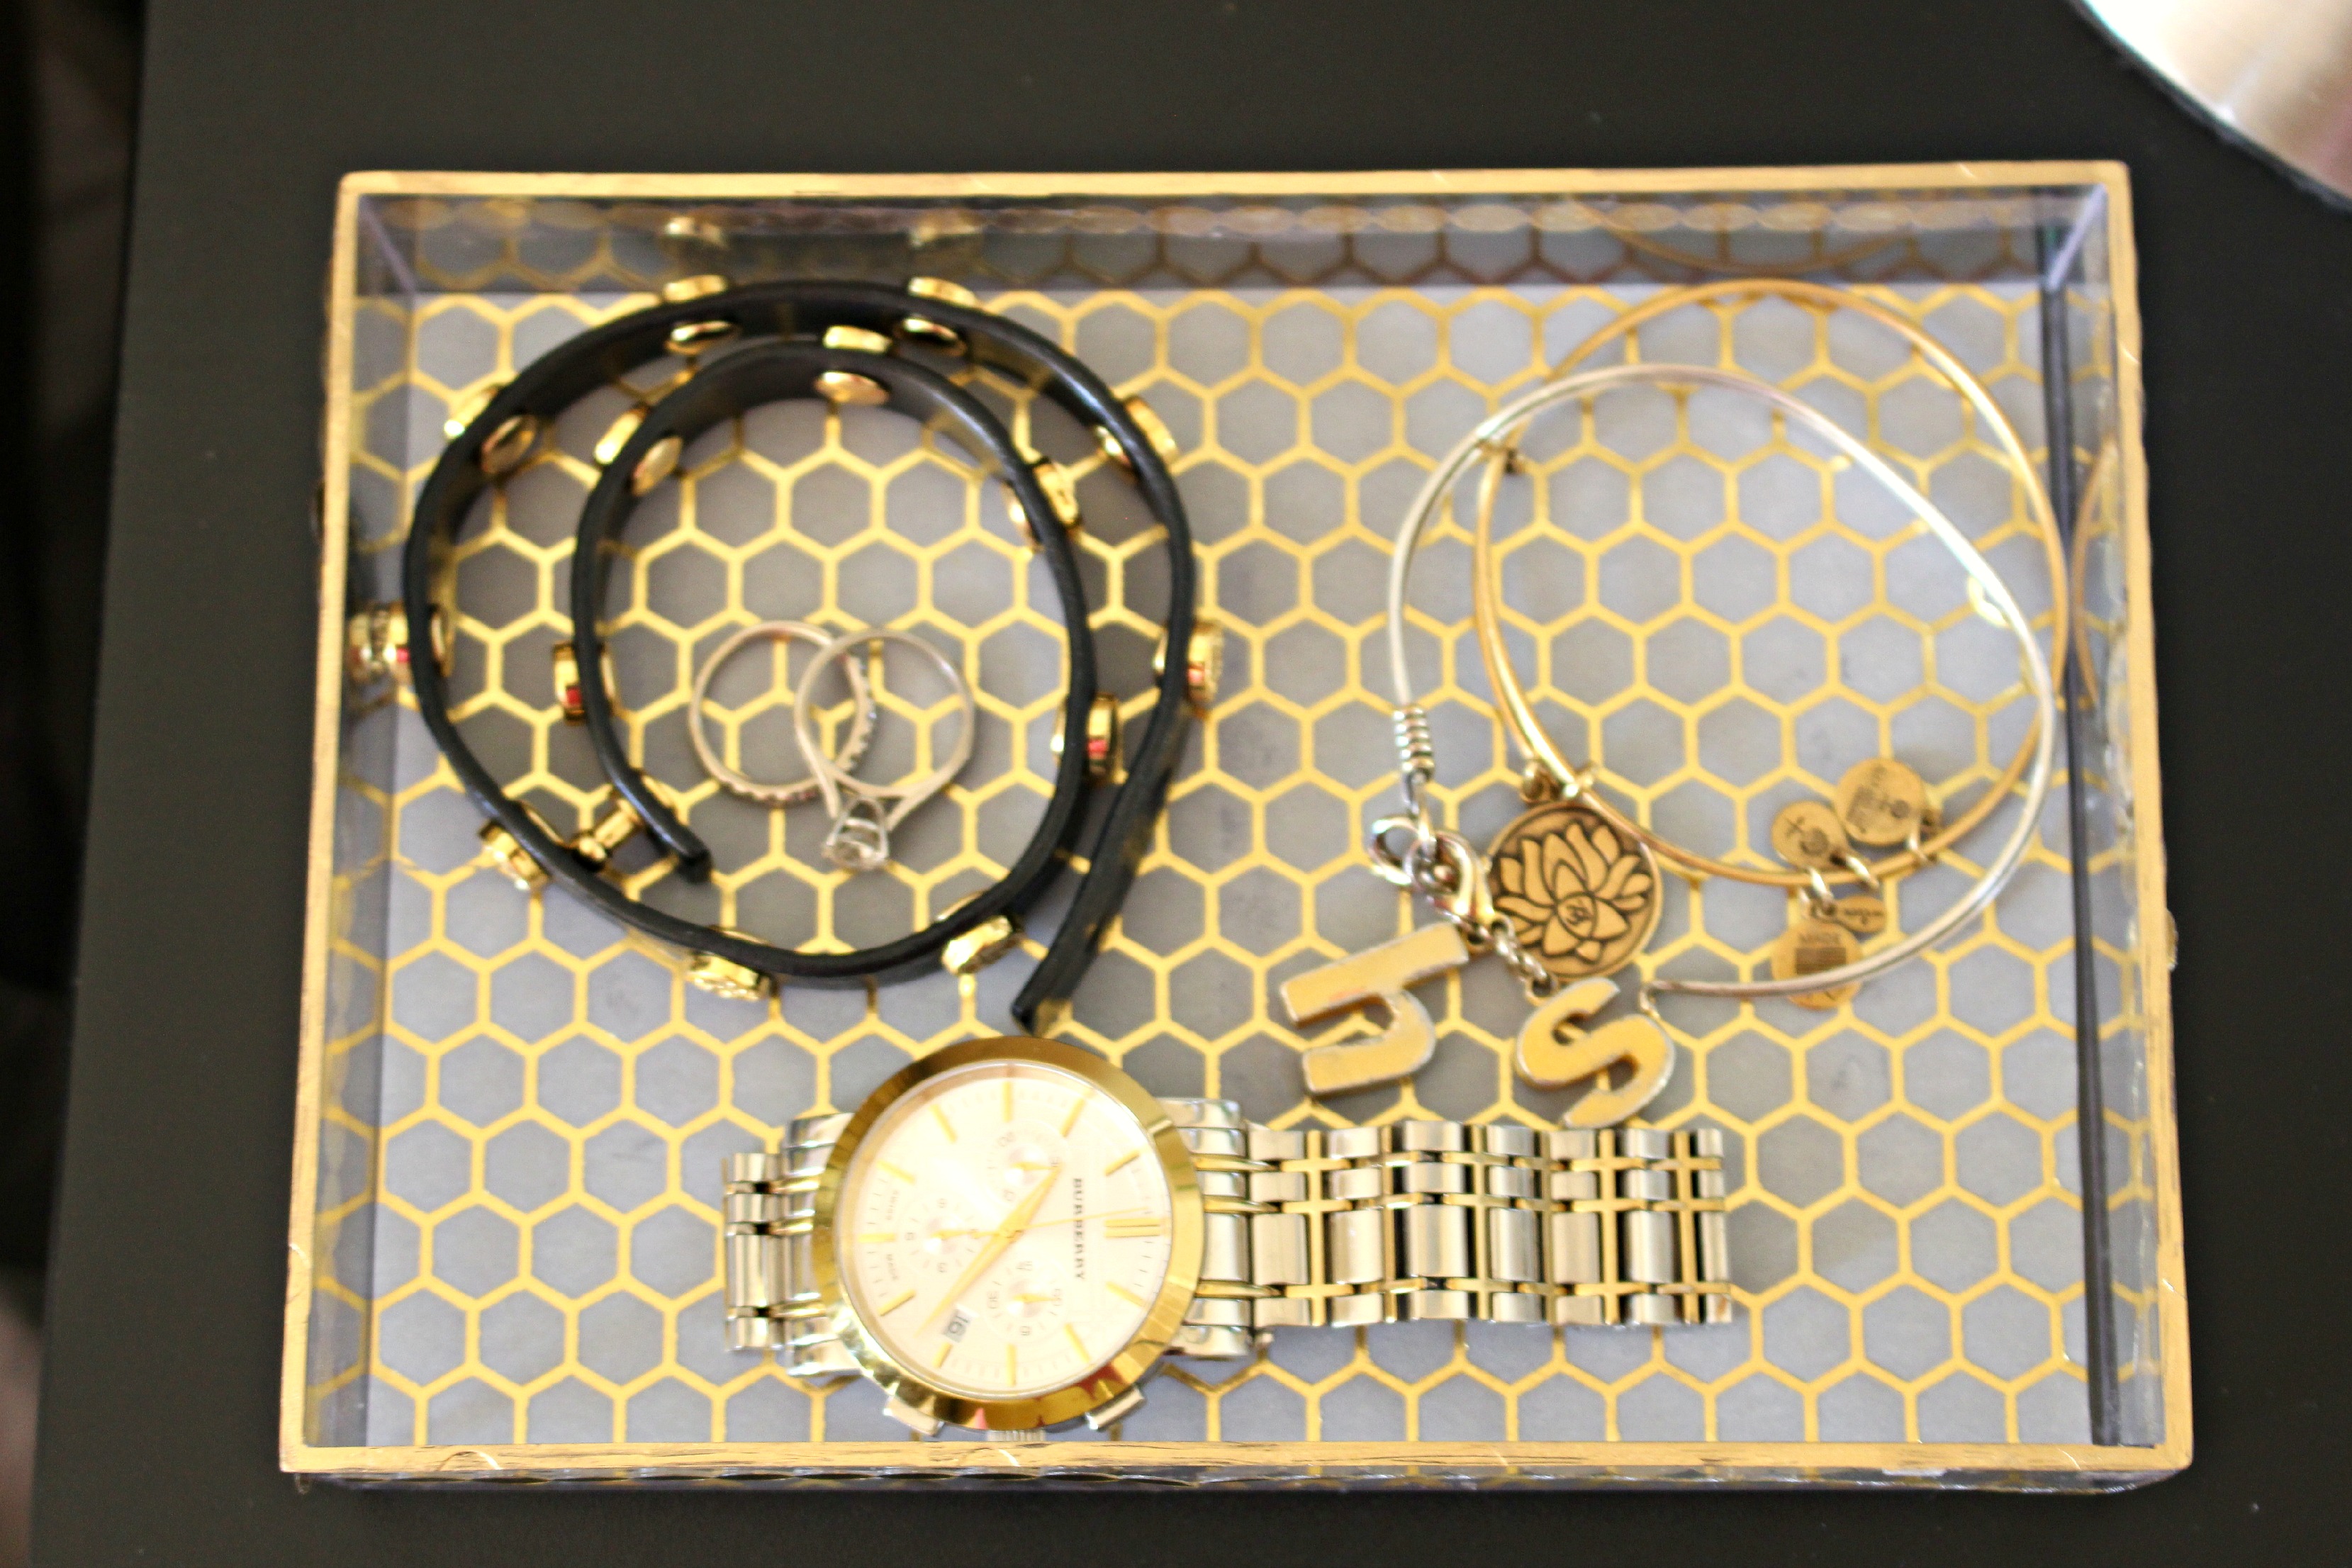
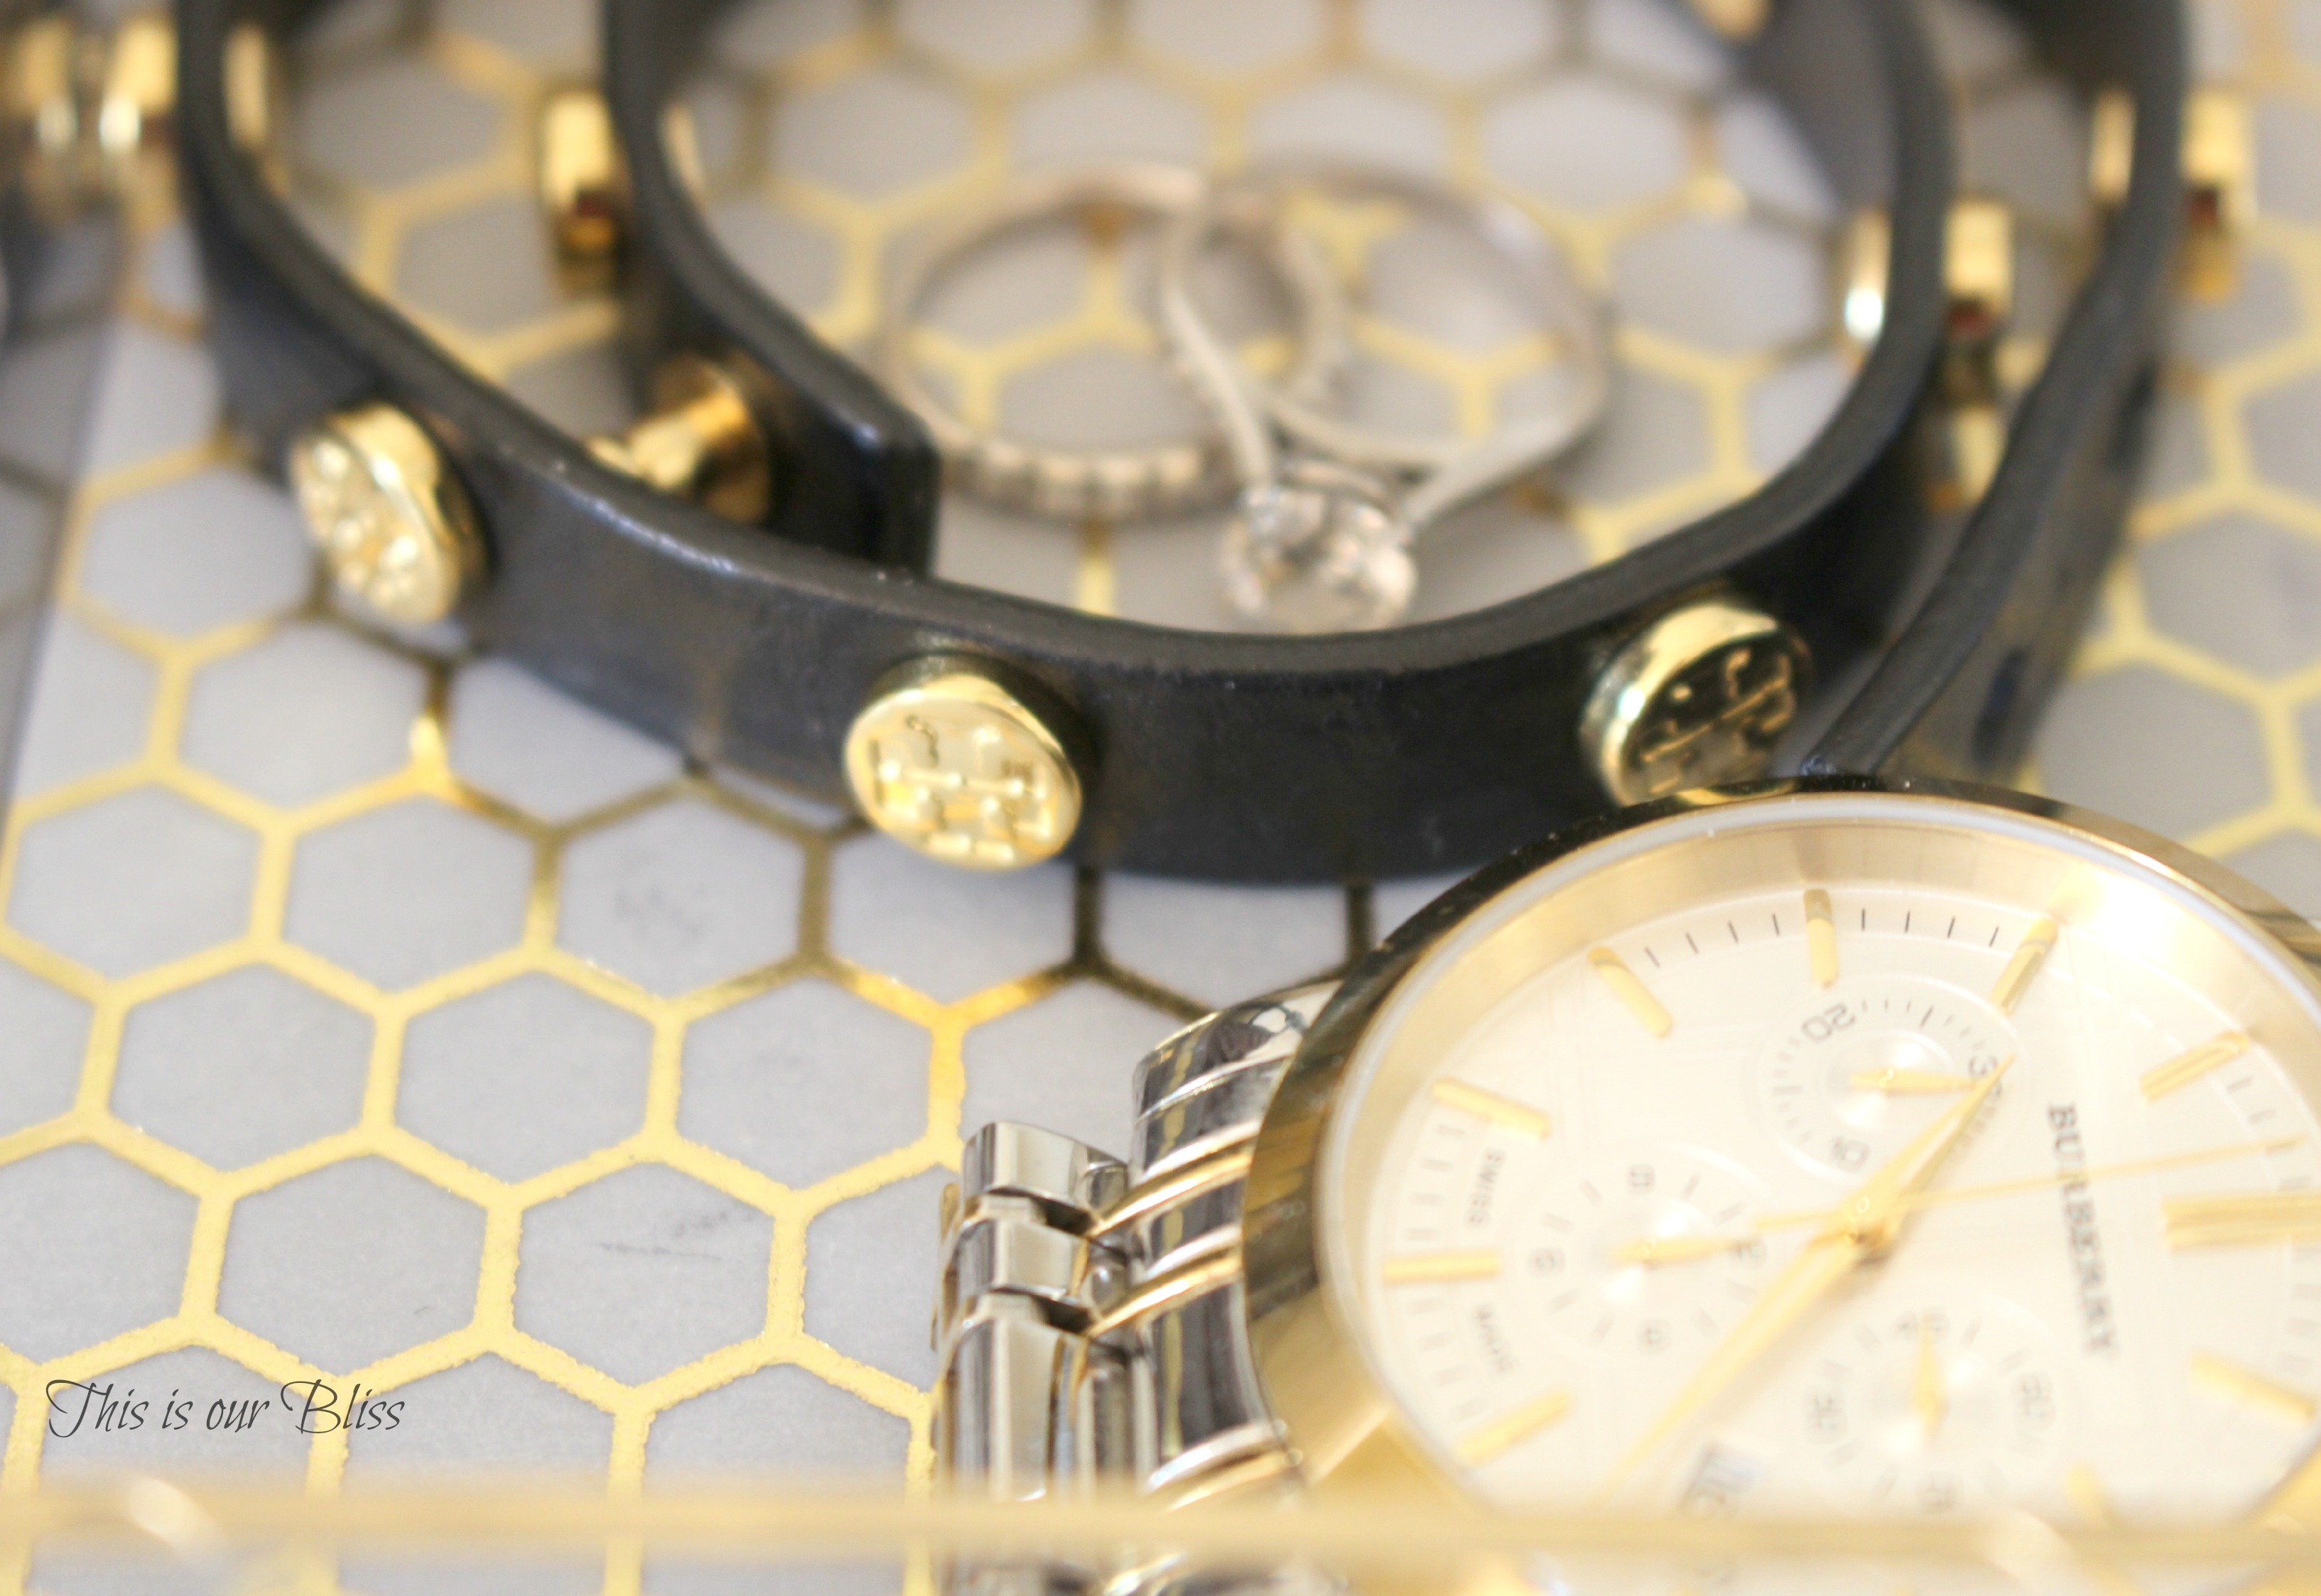
A few minute later, I set it on the bedside table and filled it with my gems! It is just the right size to hold a few bracelets, watch and my rings and not take up to much room on the nightstand.

Please note!
If I were to make this tray again, I would probably look for another method for sticking the trim on… you can see the tape marks from the inside of the tray looking out and it isn’t quite holding the gold trim very well. It is meant to be decoupaged on, but I didn’t want to decoupage on the acrylic for fear of seeing brush strokes, etc. Next time, I will leave the trim off or experiment with other adhesives! lesson learned 🙂 I just might be making one of these for our master bedroom or our soon-to-be-revamped guestroom.
Once I return home, I hope to have my project posts [and a few progress ones, too] flowing. I am almost done with my ugly green chair, so the guestroom should be in full-swing makeover mode very soon!
Have a great Monday and please stop back again to see what I have been up to back in Illinois!


DIY Chic Easter Art [gold foil edged bunny] | This is our Bliss
April 1, 2015 at 11:19 PM[…] After that, all that was left was to put it in a frame. I also wrote out “Happy Easter” with my gold leaf paint pen and laid a piece of the Martha Stewart Decoupage gold trim in the middle. Both of those items were supplies from my DIY gold acrylic tray. […]
Hello, Scarlett Blog
March 26, 2015 at 8:26 AMLove this DIY! Your blog is so perfect as well!
💚
Emory
helloscarlettblog.com
Rachael @ This is our Bliss
March 27, 2015 at 12:05 PMThank you, Emory! So sweet of you 😊
Crafty Coin
March 25, 2015 at 12:08 PMLove the gold! This looks super simple to do. Such a great idea! 🙂
– BreAnna
http://craftycoin.com
Rachael @ This is our Bliss
March 25, 2015 at 12:29 PMThanks, BreAnna! It was – I love a quick DIY 🙂 Such a cute blog you have! Thanks so much for stopping by! ~Rachael
Crafty Coin
March 25, 2015 at 12:35 PMThanks for checking out mine as well! 🙂
Rachael @ This is our Bliss
March 25, 2015 at 12:43 PMof course! Happy to have found a new blog to follow 🙂
barbarataavares
March 23, 2015 at 5:27 PMThis is an amazing idea for jewelry tray! Ive been going DIY crazy this week and i love the gold accents ! Looks great!
Rachael @ This is our Bliss
March 25, 2015 at 12:31 PMThank you! It was super simple [my only kind of DIY :)] Thanks so much for taking a peek! ~Rachael
peeledwellness
March 23, 2015 at 4:41 PMI can’t believe this is a DIY- it looks just like the trays I have looked at for a much higher price tag in stores. Great idea! I’d love for you to share a post at my link up tomorrow, if you’re interested!
Xoxo K
http://peeledwellness.com
Rachael @ This is our Bliss
March 24, 2015 at 11:35 PMThank you!! I just posted at your party! Thanks so much for mentioning it 🙂 looking forward to following you & getting all caught up 🙂 thanks again!