
Well, here they are! I am finally ready to share these DIY Back-Tab Curtain beauties with you all. I love them! They were not only a great bargain, but I felt a real sense of accomplishment in completing this project. When we found out we were pregnant, I knew I wanted to design and decorate the baby’s room with a few DIY projects as I did the first time, but I wanted to take on a little more this time around. We did not find out the sex with our first, so a large chunk of our decorating and purchases came after he was born. After finding out we were having a boy the second time, I realized we have a bit more time for planning and that my hands might be slightly more full after the baby arrives. In other words, I am going to work my butt off to get things done before BBB (Baby Boy Bliefnick) #2 arrives so I can do less after he is home with us. After all, it won’t just be me and my little buddy all day anymore. Whew. I am tired just thinking about it! The surprise of our first little guy at birth was a surprise like nothing in the world and I am so glad we decided to wait with our first. Although I did a lot of work in his room after he was born, I still had PLENTY of time to get it just right. After all, he didn’t even sleep in his own room until he was 12 weeks old. Ahhhh… those first few months with a newborn… there’s nothing like it. Pure joy AND sleep deprivation. That nearly sums it up 🙂
Back to the curtains. I will walk you through the steps I took to make these, but I kid you not. They were so incredibly simple. If you have used a basic sewing machine before, I promise you can make these. I took sewing lessons when I was in elementary school… Fast-forward to 10 months ago… I was able to hop right back on after all those years.
Supply list (for 3 curtain panels):
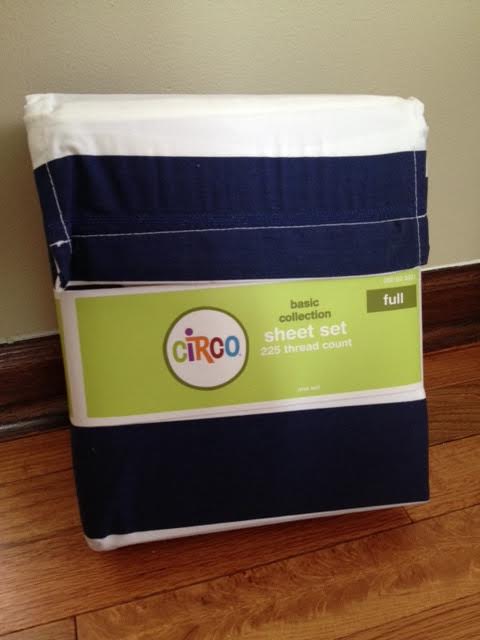
2 full size sheet sets (each set included 1 fitted, 1 flat and 2 pillowcases) – I used 1 of the fitted sheets & both flat sheets (Target)
sewing machine
coordinating thread
2 spools of 1/2 inch ribbon (Michaels)
hot glue gun
iron
Directions:
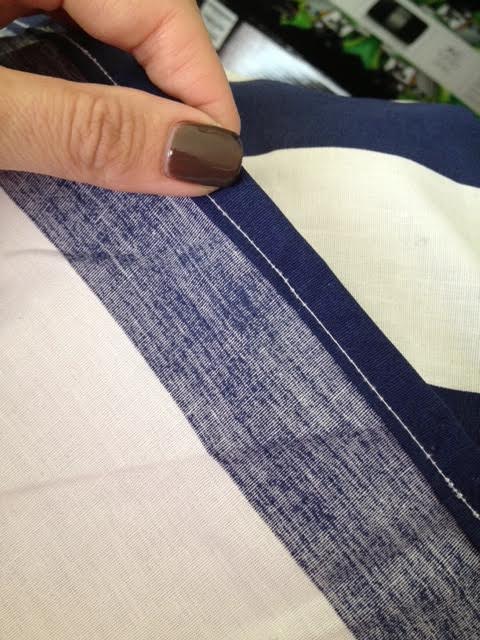
Cut off elastic from fitted sheet and trim all 4 sides of the sheet to match dimensions of your window allowing extra for your hems. Fold over 1/2 inch lengthwise edges, and then another 1/2 inch, pin and sew. Repeat on top and bottom edges as well.

Stitch around the entire perimeter of your sheet until you have a nice clean hem. The sides of your curtain panel are completed.
Now you need to sew the top and bottom hem. Fold the bottom of your panel over 4 inches. Pin and sew. The bottom hem of your panel is done. Repeat previous step using the top of your panel to create the top hem. You are done sewing on this panel!
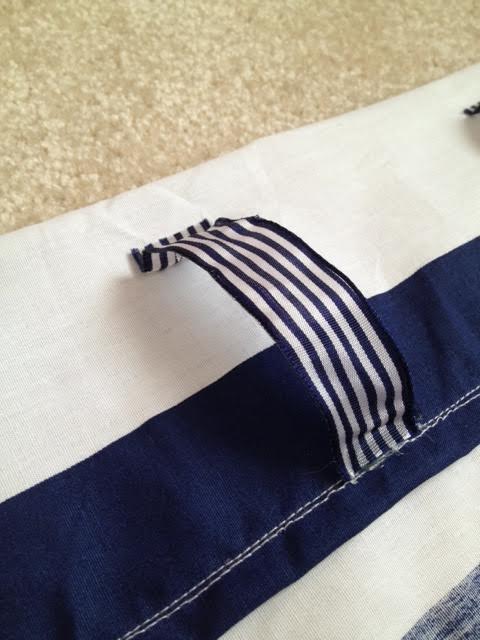
Now for the back-tabs. Cut 4 inch strips of ribbon to be spaced out every 4 inches across the backside of the top of your panel. I used 12 strips. Lay the ribbon at the edge of the panel about an inch down from the top and glue ribbon strip down loosely allowing space for the rod to fit through.


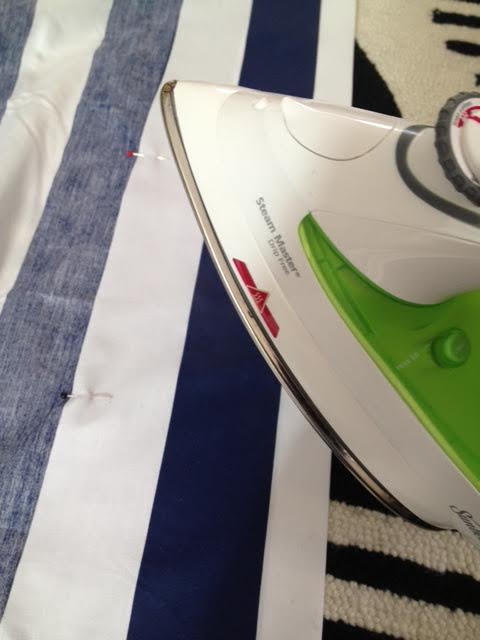
For the flat sheets, I totally lucked out. I was able to use the existing hem on the 2 sides and the bottom. For the top, I simply folded down 4 inches, pressed it with the iron and then folded it over another 6 inches in order to make a 6 inch hem from the top of the curtain.
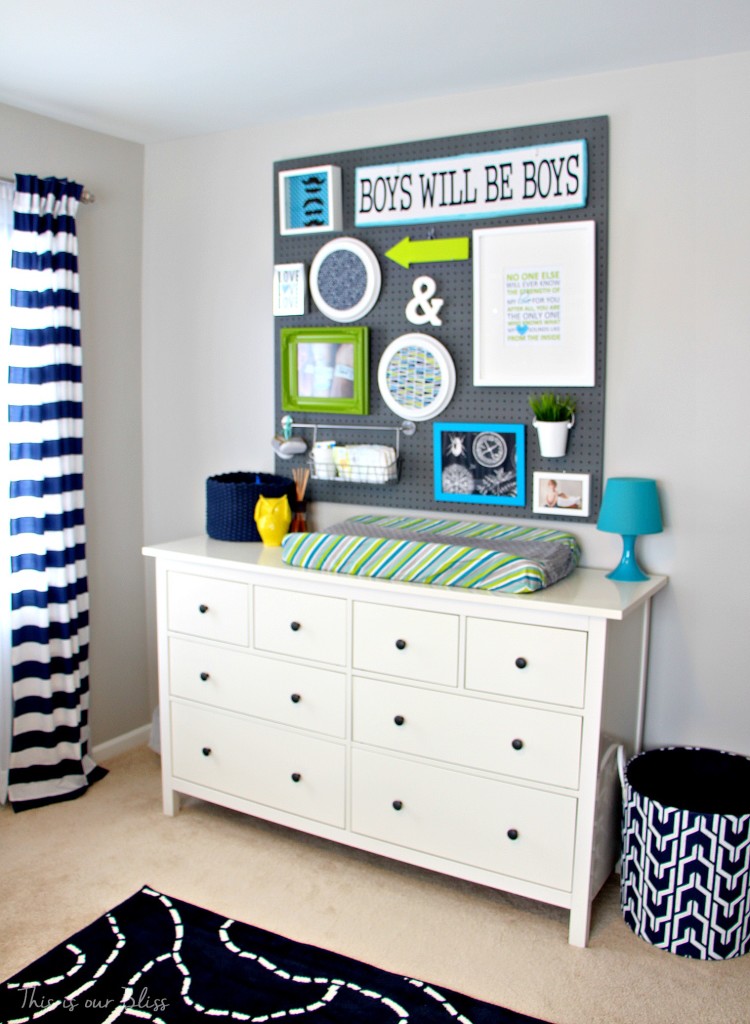
My hem is slightly larger on these 2 panels using the flat sheets because I had more fabric to work with and wanted to use as many existing seams as possible. The 2 flat sheets will be used as 2 panels across the large window and the fitted sheet curtain panel will be used on the single window on the other side of the room.
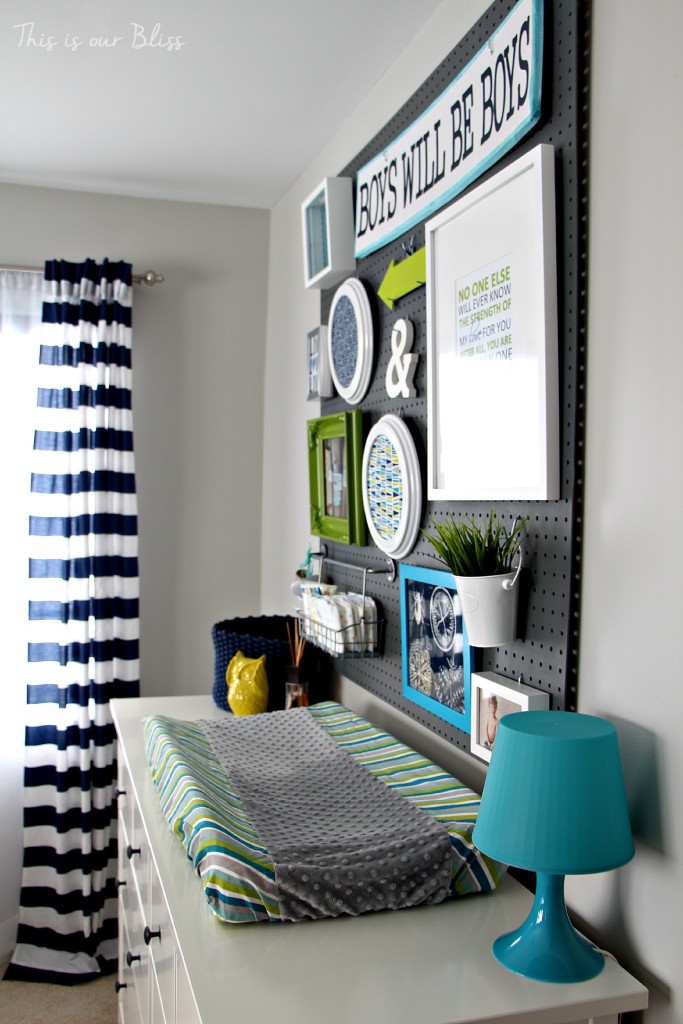
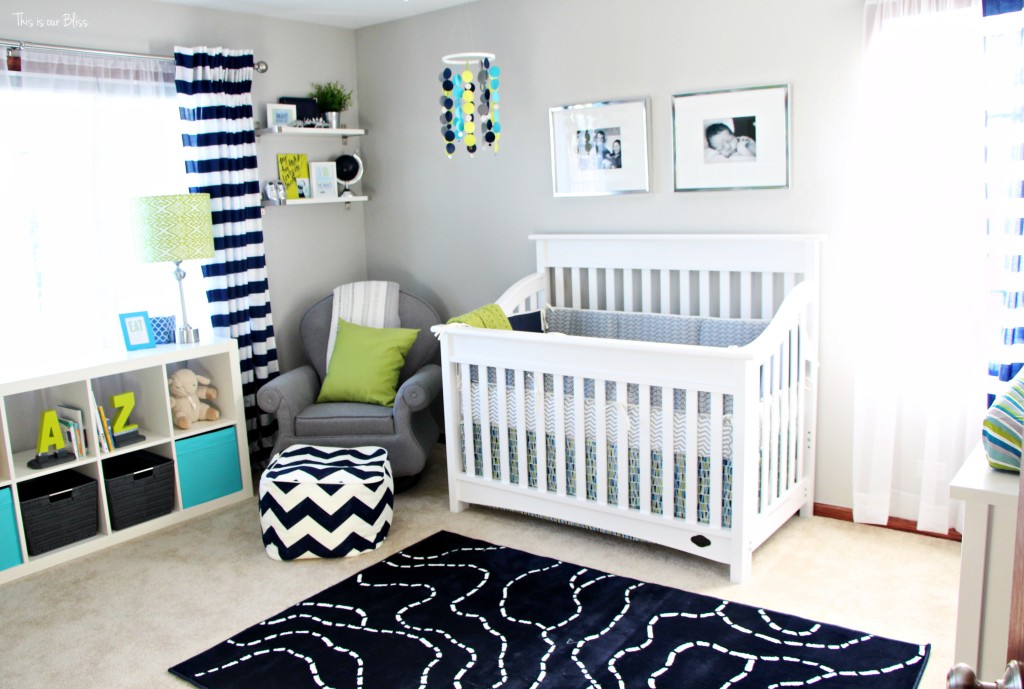
Here they are after we hung them up. Take a peek!

Quick cost comparison {AKA how I saved some cash}:
Striped Sheets from Target – Full size sheet set x 2 @ sale price of $23.74 + 5% Target Redcard discount & free shipping = $45.10 + tax (I have an extra fitted sheet & 4 standard pillow cases left over to use for future projects, guest, etc.)
Original fabric option – 10.5 yards @ $7.45/yd = $85+ after tax & shipping
I saved $40 and saved a ton more than if I would have splurged on the fabric I REALLY wanted @ $55/yard. Yeah. right.
We’ve made some progress in the last week since my nursery checklist post. In addition to getting the curtains wrapped up, we ordered the crib & mattress, purchased the closet system and ordered fabric swatches of the crib skirt I am having made. We want to use the swatch so we can match some colors for some small accent painting projects coming up. Be on the lookout for these. We are hoping to get some painting done next weekend!
*Update: Head over to the Nursery Reveal so you can see these curtains in action!


DIY Fall Pillows [for under $3] | This is our Bliss
September 24, 2015 at 7:04 AM[…] print ones in the guestroom. And, you might remember back to last year when I made Simon’s nursery curtains out of bed sheets. Other than that, I don’t bust out the sewing machine […]
Back to Basics [Week 1 | How to Style a Nightstand] | This is our Bliss
September 7, 2015 at 7:00 AM[…] list – create a gallery wall using eclectic & unique items as art, new curtains (I might DIY curtain panels like I did in Simon’s room) and some new pillows would be great, too. I’m searching for […]
This is our Bliss @ IHeart Organizing | This is our Bliss
February 4, 2015 at 3:39 PM[…] Reveal DIY Silver Dinosaurs DIY Curtains from bedsheets A to Z Bookends DIY Lampshade Nursery Mobile Pegboard Gallery Wall Free Nursery Word Art Printable […]
2014 Highlights | This is our Bliss
January 9, 2015 at 4:01 PM[…] Simon’s Nursery Reveal |2| How to: DIY Ribbon Back-tab Curtains from Bed Sheets |3| DIY Nursery Project: Pegboard Gallery Wall |4| Paint & Fabric Choices (for the nursery) |5| […]
FREE Nursery Word Art Printable! | This is our Bliss
September 3, 2014 at 9:08 PM[…] missed all of my past nursery project posts, such as the DIY Mobile, Marquee “S”, the Striped curtains & the Silver Dinosaurs. The printable I am sharing with you today is one I created for my son […]
S is for Simon {DIY Marquee Letter} | This is our Bliss
June 4, 2014 at 8:11 PM[…] Striped curtains | Nursery closet | lampshade | Mustache shadow box | A to Z bookends | Silver Dinosaurs | Nursery Mobile […]
>>> Simon’s Nursery Reveal<<< | This is our Bliss
May 31, 2014 at 3:44 PM[…] Striped Curtains – Tutorial here […]
Simple Silver Dinosaurs {DIY for $2} | This is our Bliss
May 8, 2014 at 10:35 PM[…] of my little projects for in there. If you’ve missed any of them, you can find them here: Nursery curtains, closet makeover, lampshade, Nursery art and A to Z […]
Nursery update… what else?! | This is our Bliss
April 7, 2014 at 5:06 PM[…] see post here […]
Saturday & A Look Back | This is our Bliss
March 22, 2014 at 2:54 PM[…] post today. In case you missed 2 popular posts so far this week, you can check them out here: How to Make Back Tab Curtains {DIY from bed sheets} and yesterday’s post on Pantry […]
Sarah Lagen (@SarahLagen)
March 17, 2014 at 8:04 PMRachel, this is great!! I love your blog!! And the curtains look great!!
rbliefnick
March 18, 2014 at 7:17 PMThanks, Sarah!! I’ve peeked at your blog a few times too… so cute! Thanks again 🙂