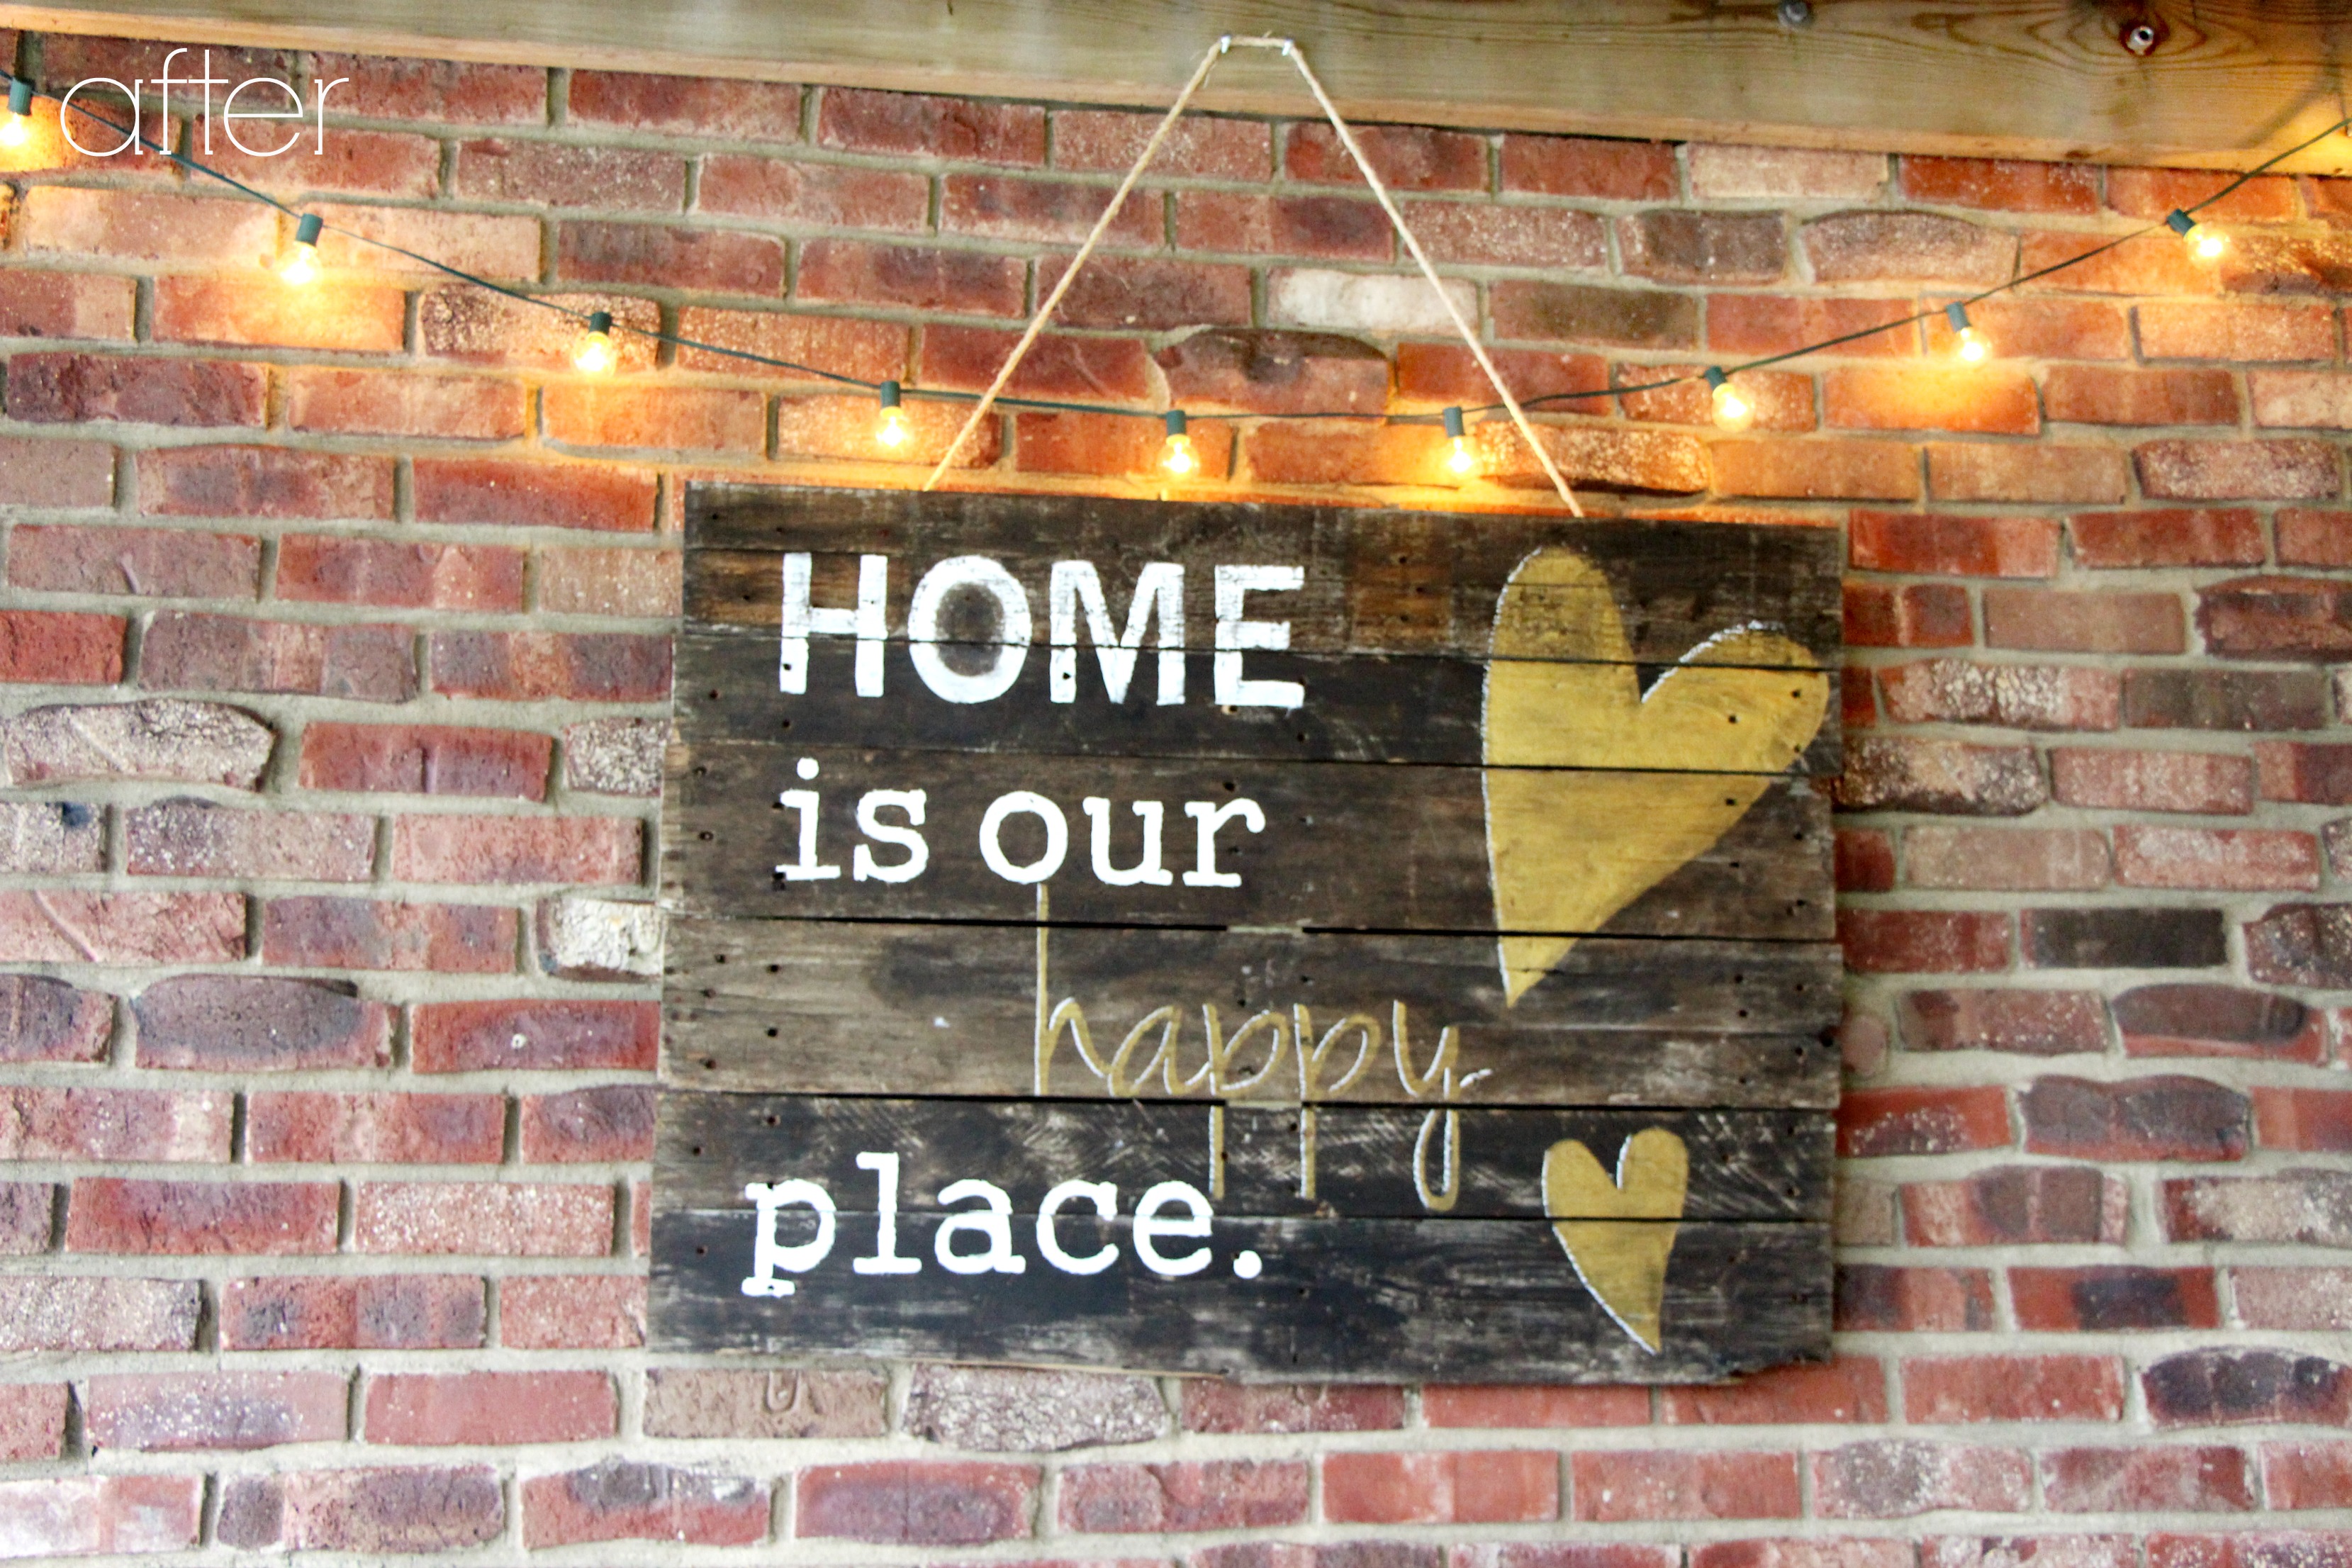
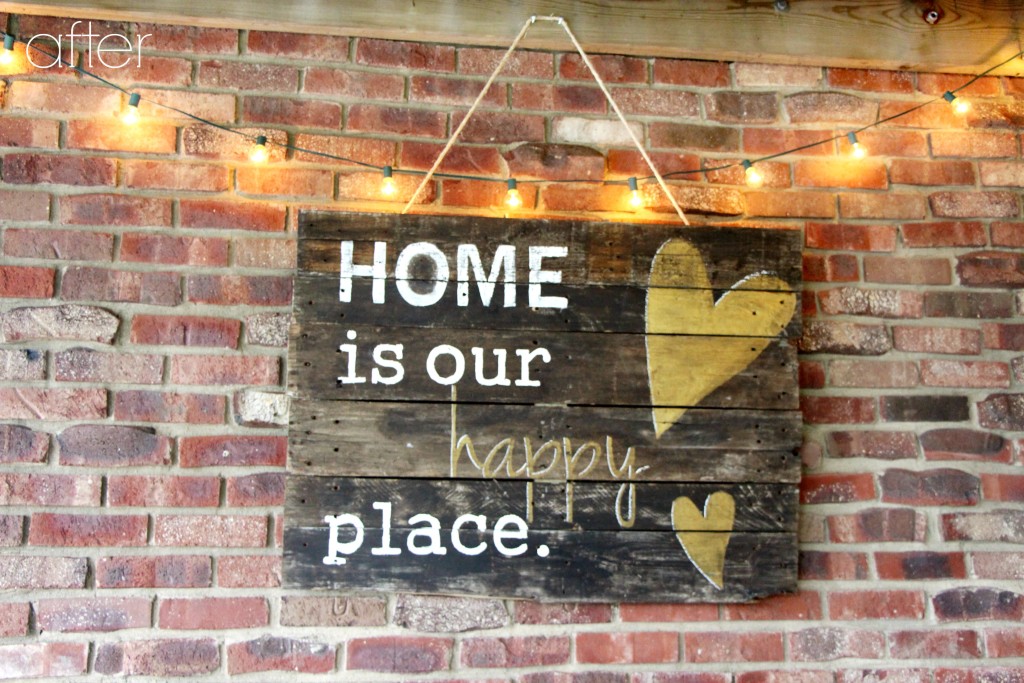
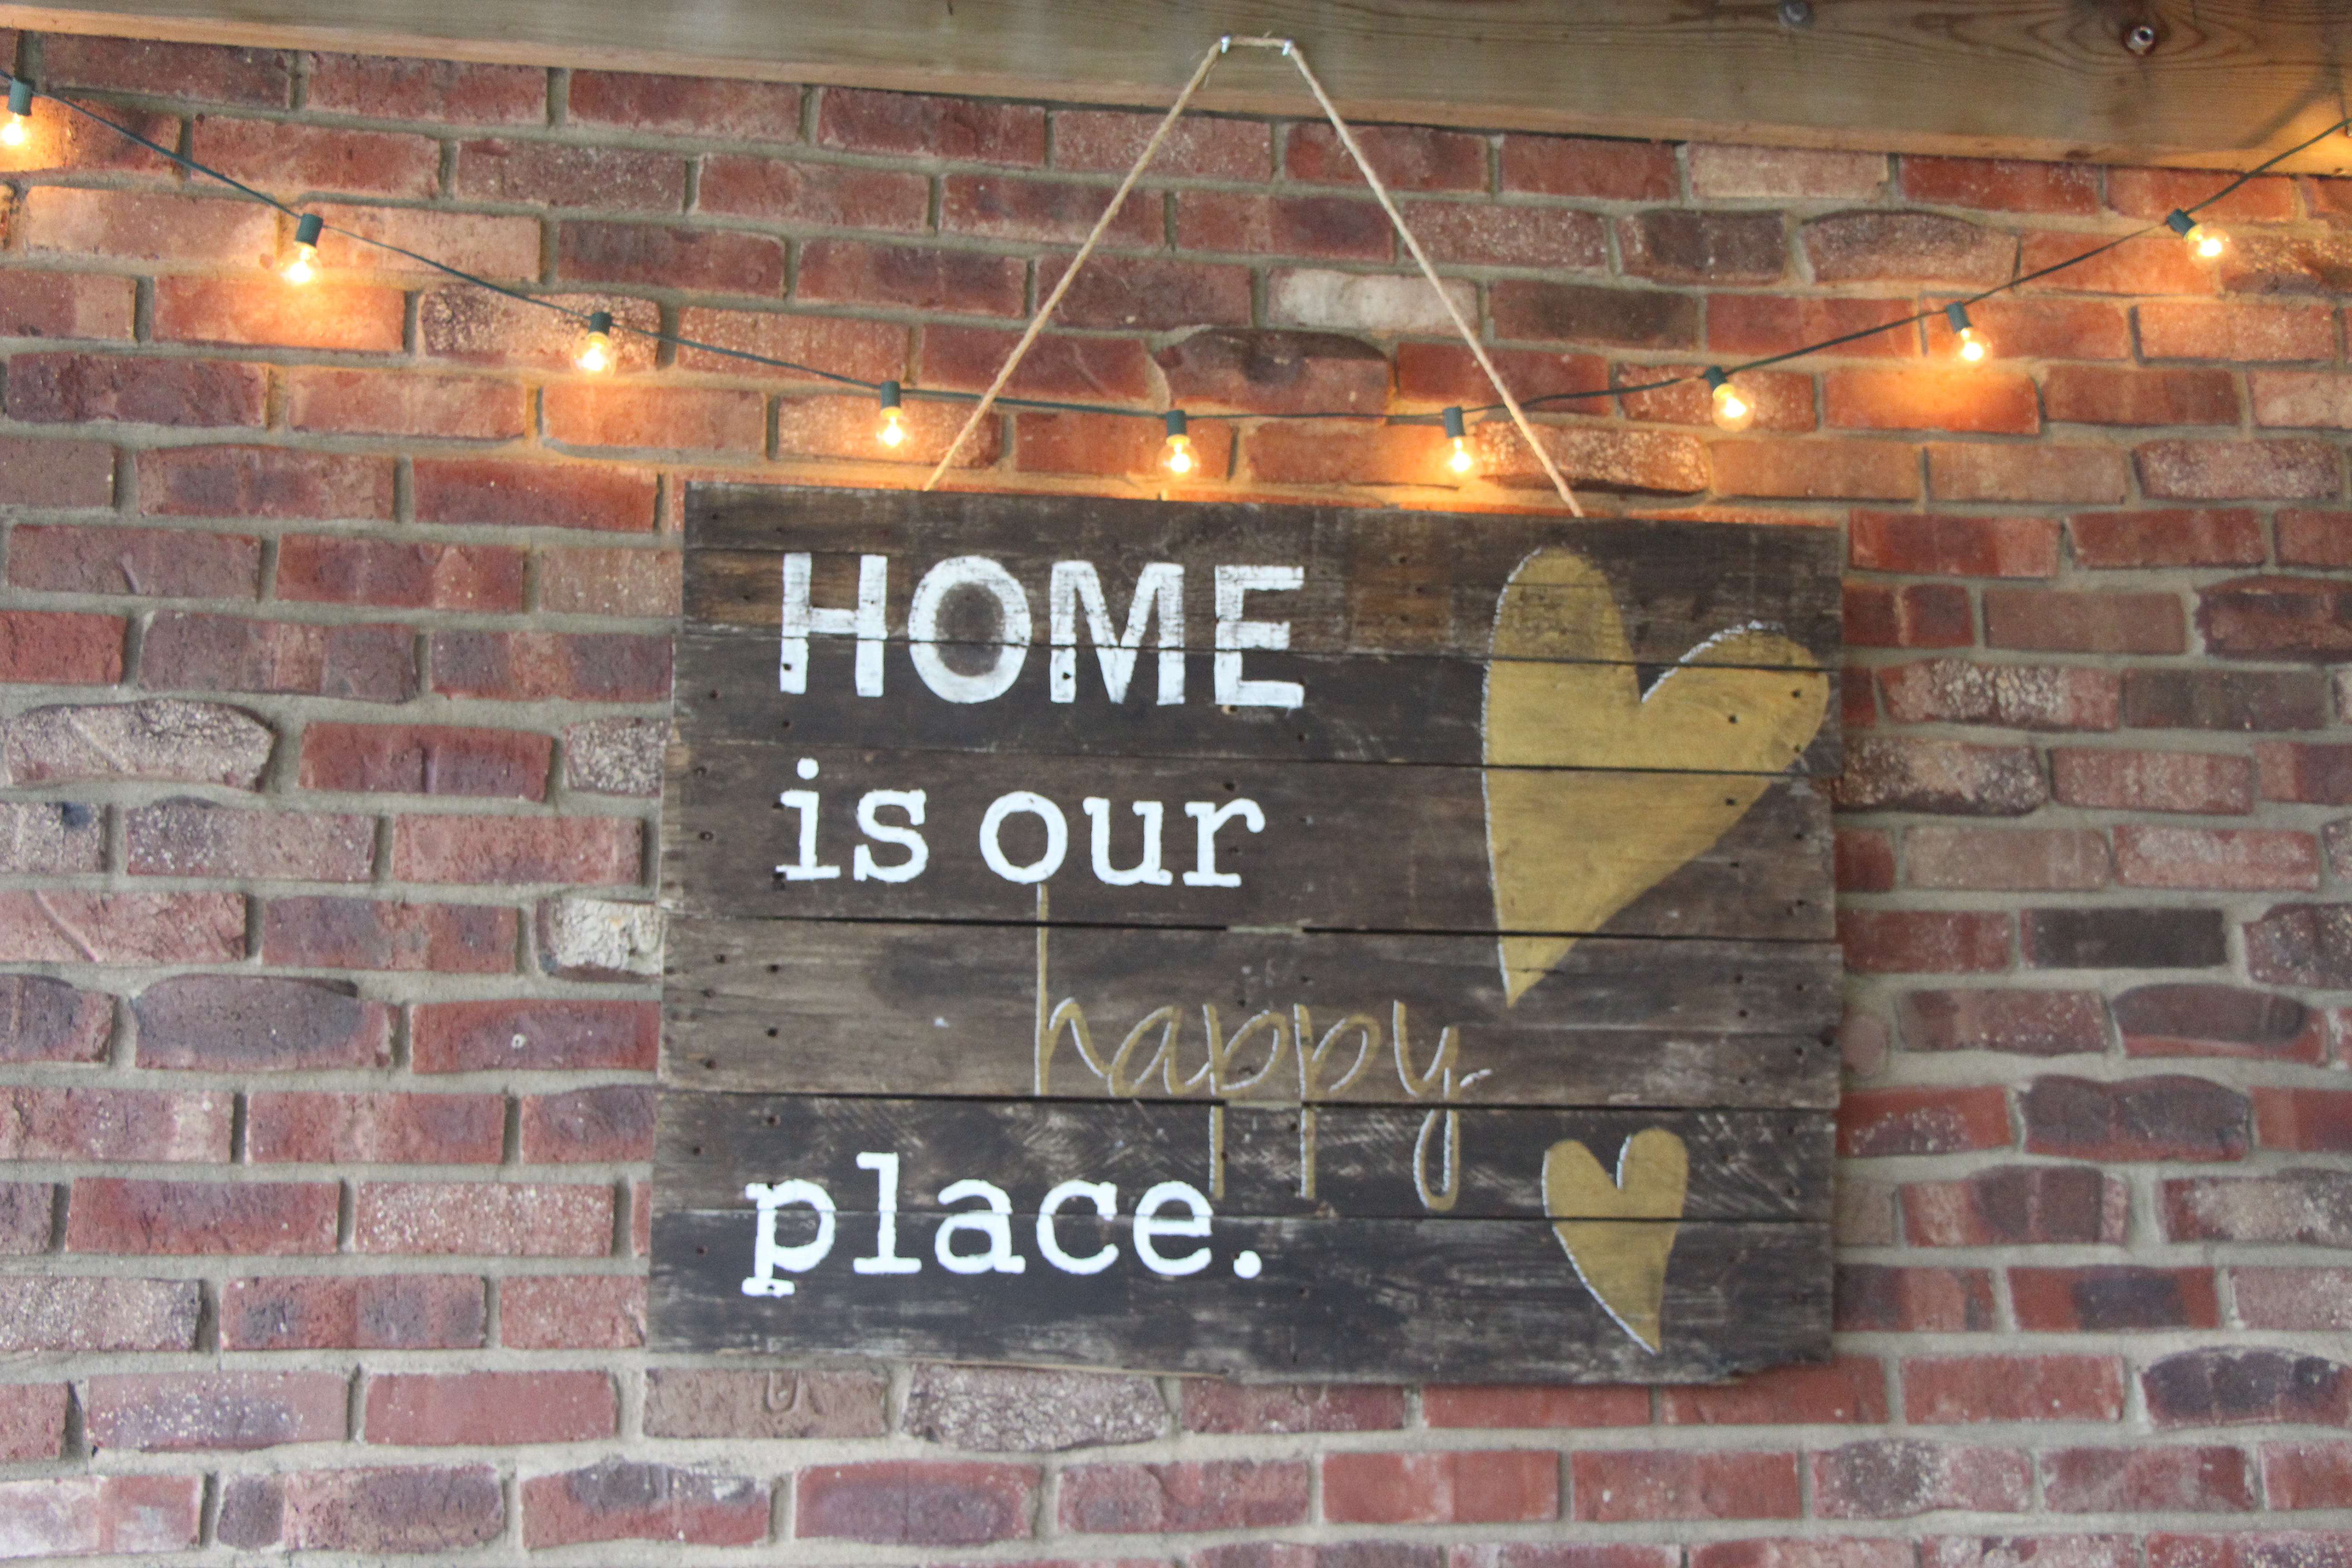
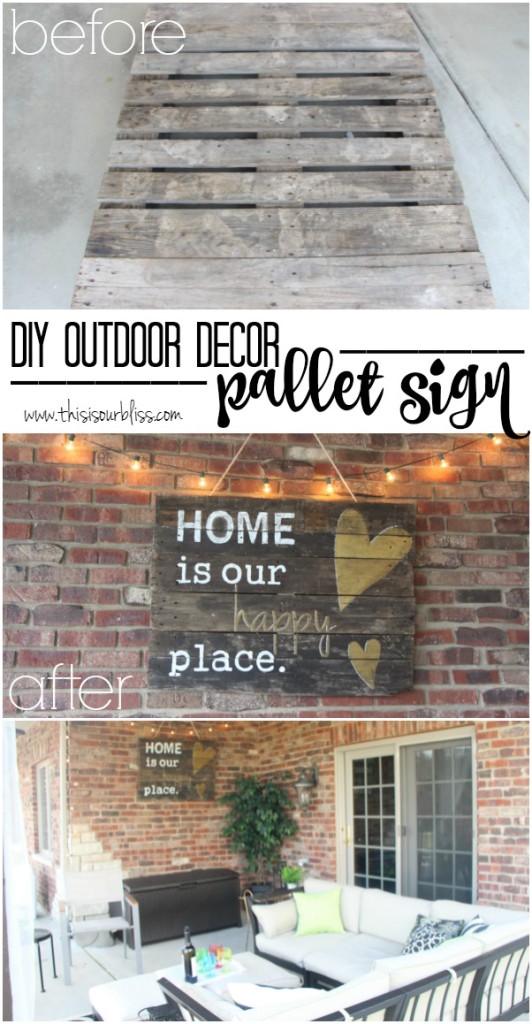
Hello! I’ve checked off another project for our Outdoor Oasis! I have been wanting to make something, anything with a pallet lately. And I thought a sign for our new outdoor lounge space would be a great first attempt! Not only do I love how it turned out, but we were able to hang it pretty easily too. Today I’m sharing how to make a pallet wood sign and hang it on brick.
There are such cool projects floating around Pinterest and tons on pallet items for sale on Etsy. I remember reading somewhere that most local lawn & garden shops have old pallets lying around and are usually thrilled to have someone come and take them off of their hands, so I thought I would give it a shot. I stopped by the cute little place we buy our outdoor flowers and the guy said just that…
“How many would you like? I will pay YOU to take some outta here!”
That was all I needed to hear before he had one of his workers head out to the shed to grab a couple for me.
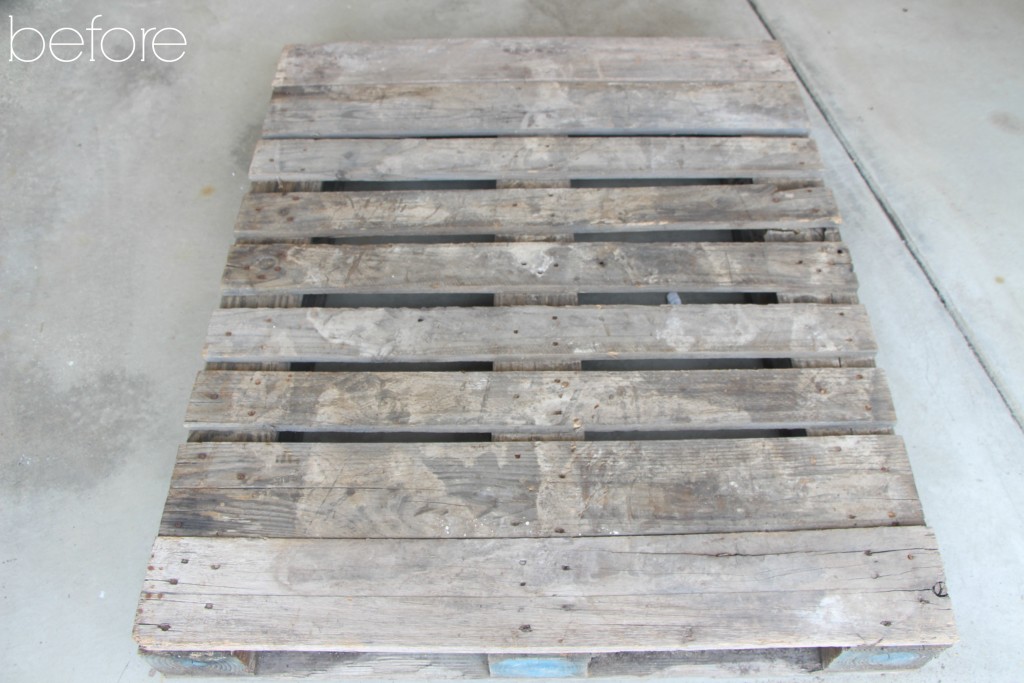
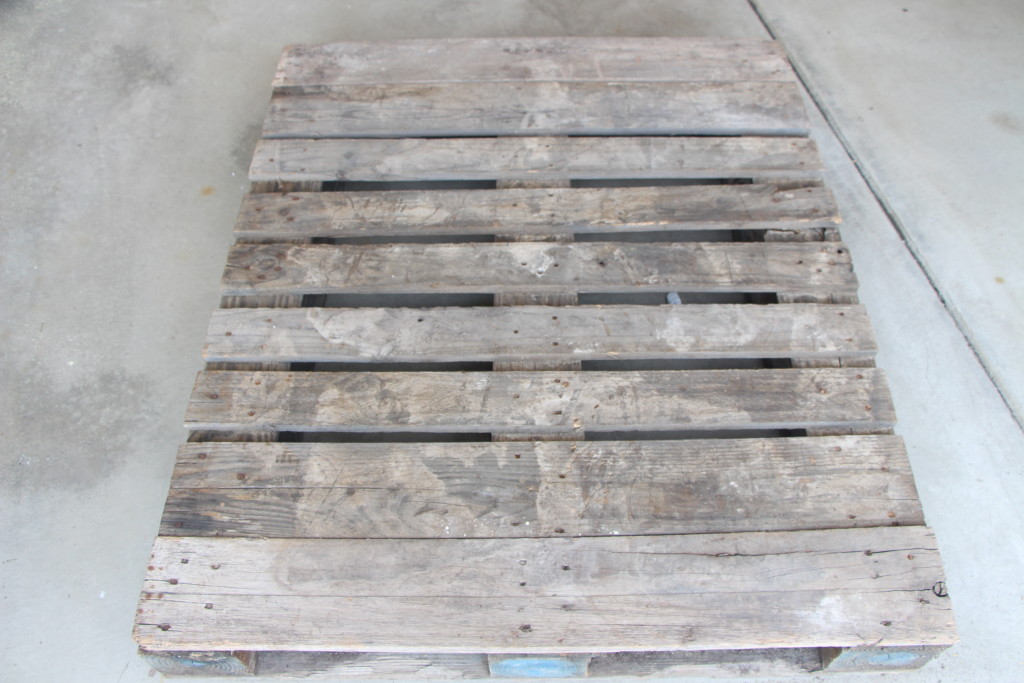
I told him I would take 2 at first. But after he brought them over to my car, I noticed one was in better shape than the other. I figured I would only be able to crank out one project for now. So I drove home very proud of my free pallet and then sprung the news on T.
“I have a project for us and I want to do it TODAY!!”
He was a little surprised, seeing as how when I left the house I told him I was going to run to Target quick.
Whoops. I went there too, but now I was bound and determined to get this pallet project rollin’.
If you are reading for the first time today, then you probably didn’t know I have been working on our outdoor patio off and on for the last couple of months. I wanted to create a calm & relaxing space for us to be able to hang out in while the H played in the yard. Also a place for to have drinks and grill out. We bought furniture, I hung curtains and made pillows.
Besides sprucing up the patio with some other décor, the last big thing I wanted to do down there was hang some sort of a sign or piece of art. Enter Pallet project idea. I decided on a cute saying and put T to work. Here is what our DIY pallet wood project looked like from start to finish.
HOW TO DIY A PALLET WOOD SIGN & HANG ON BRICK
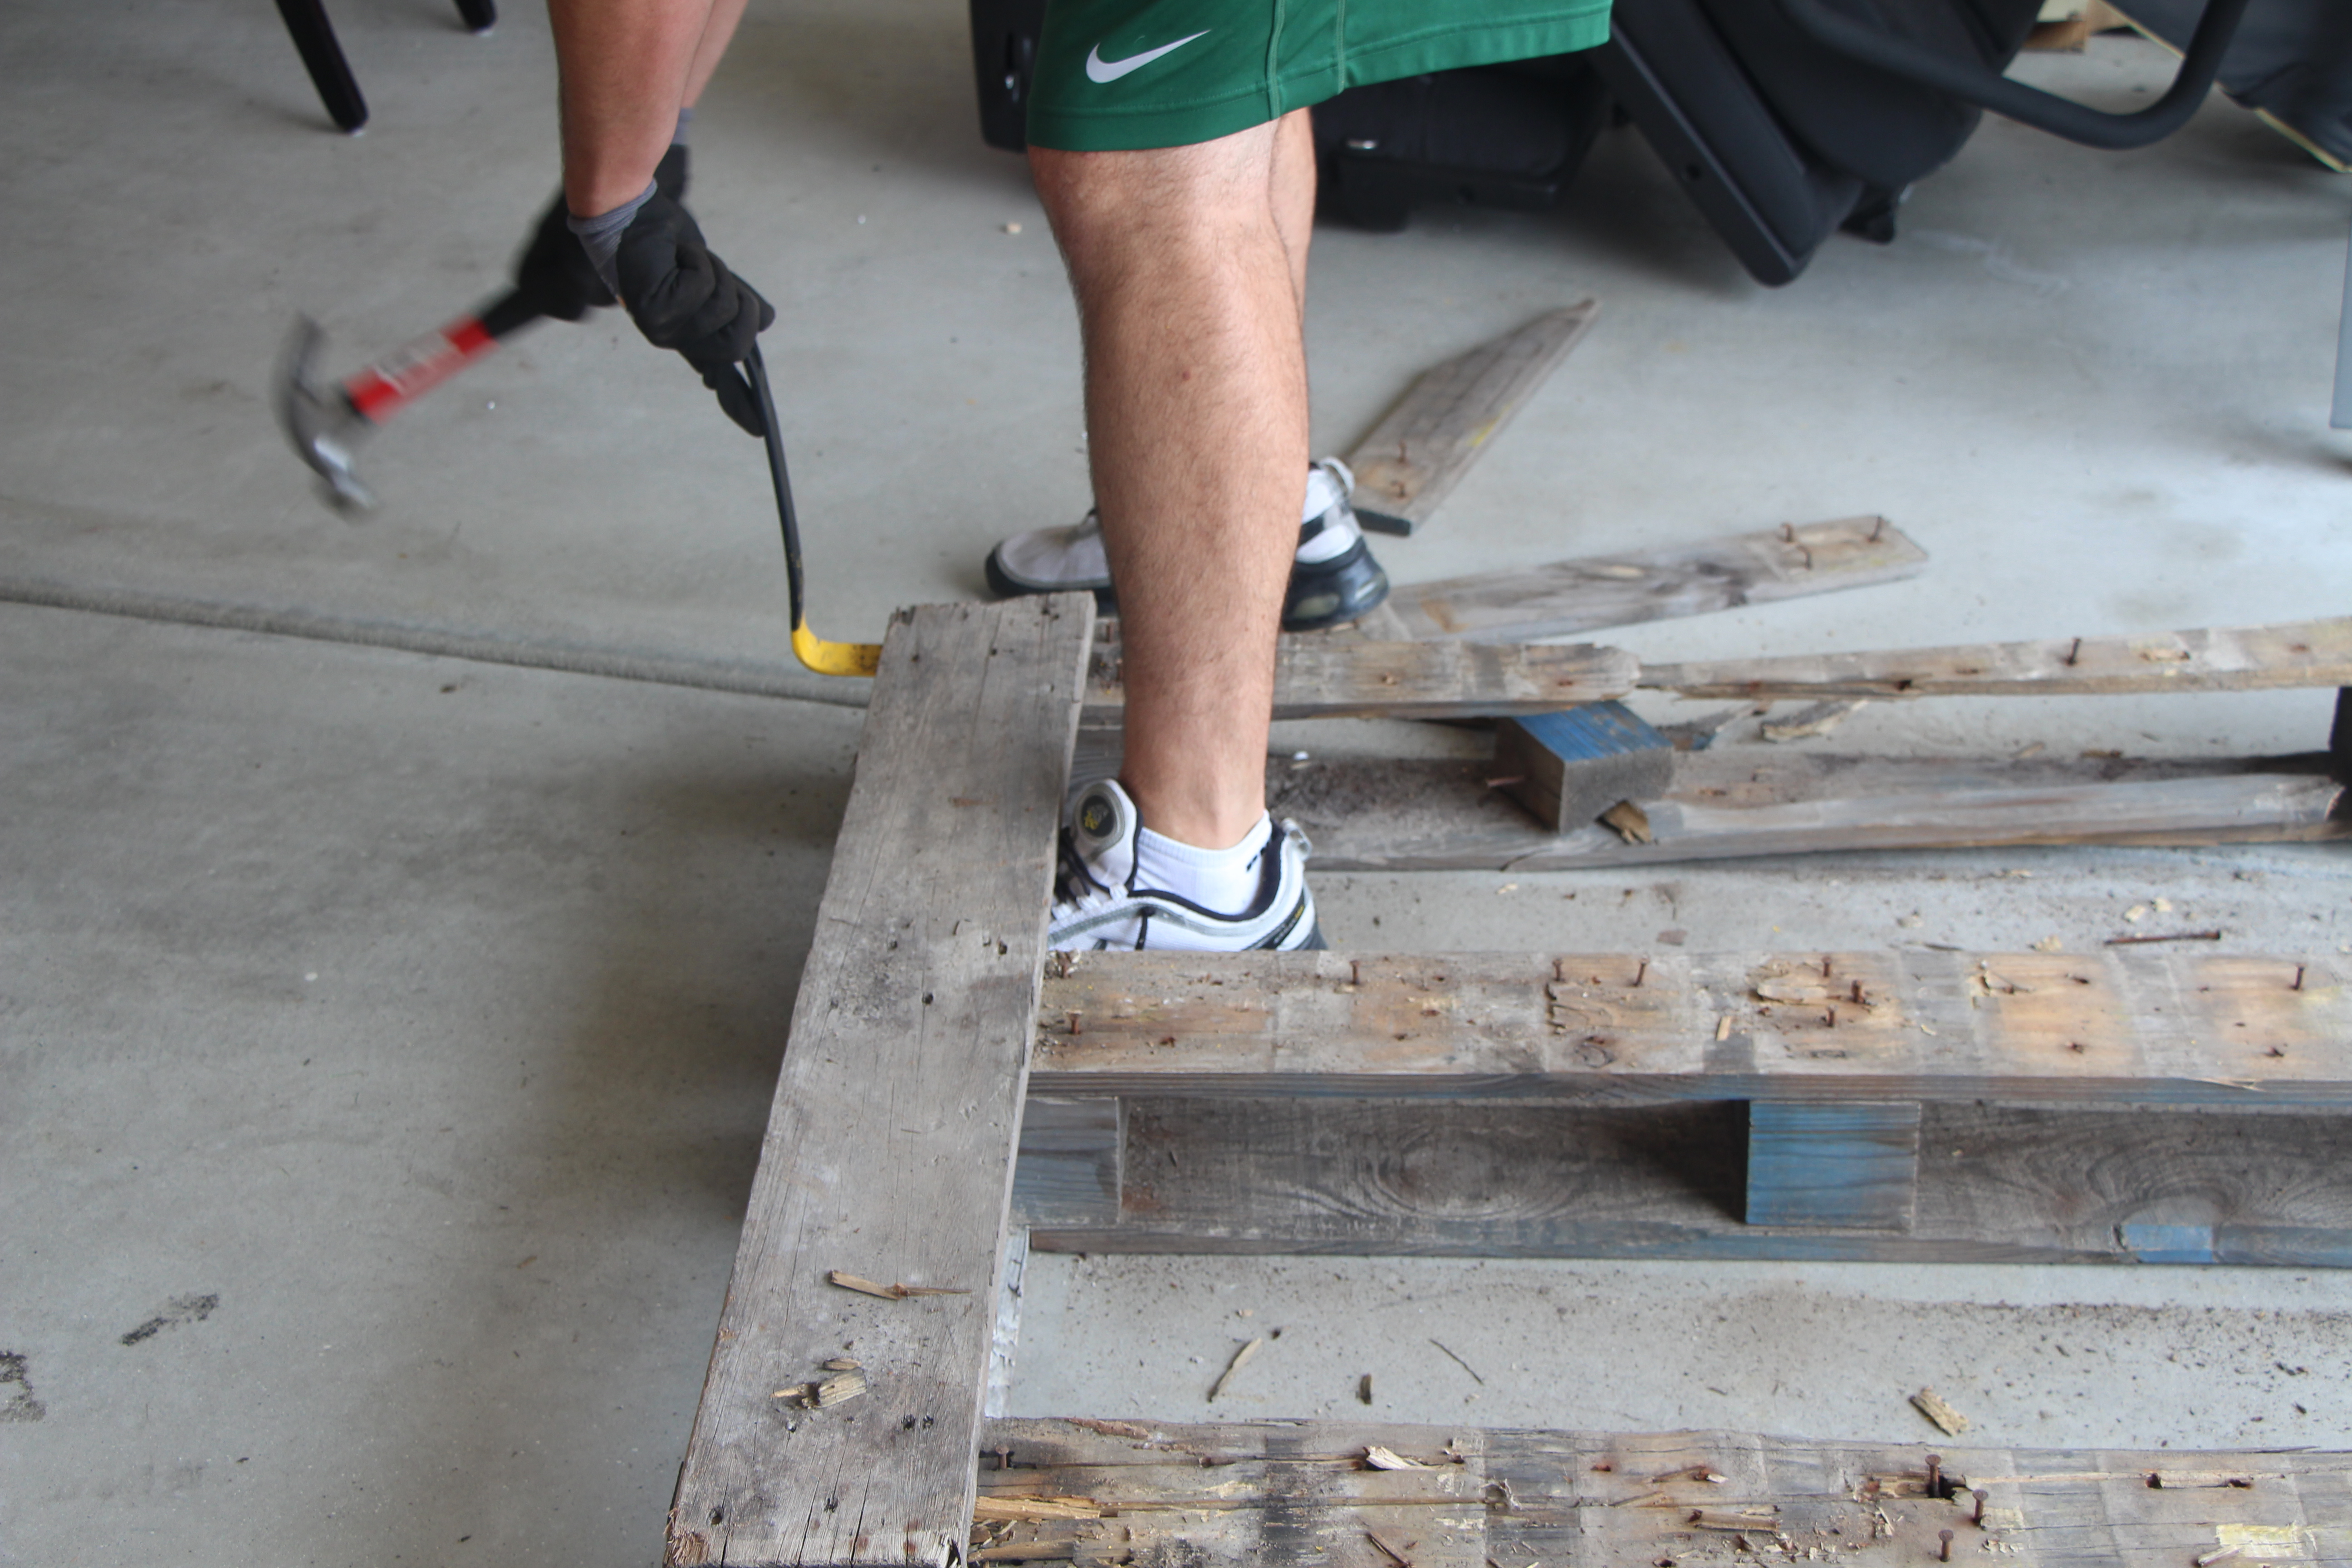
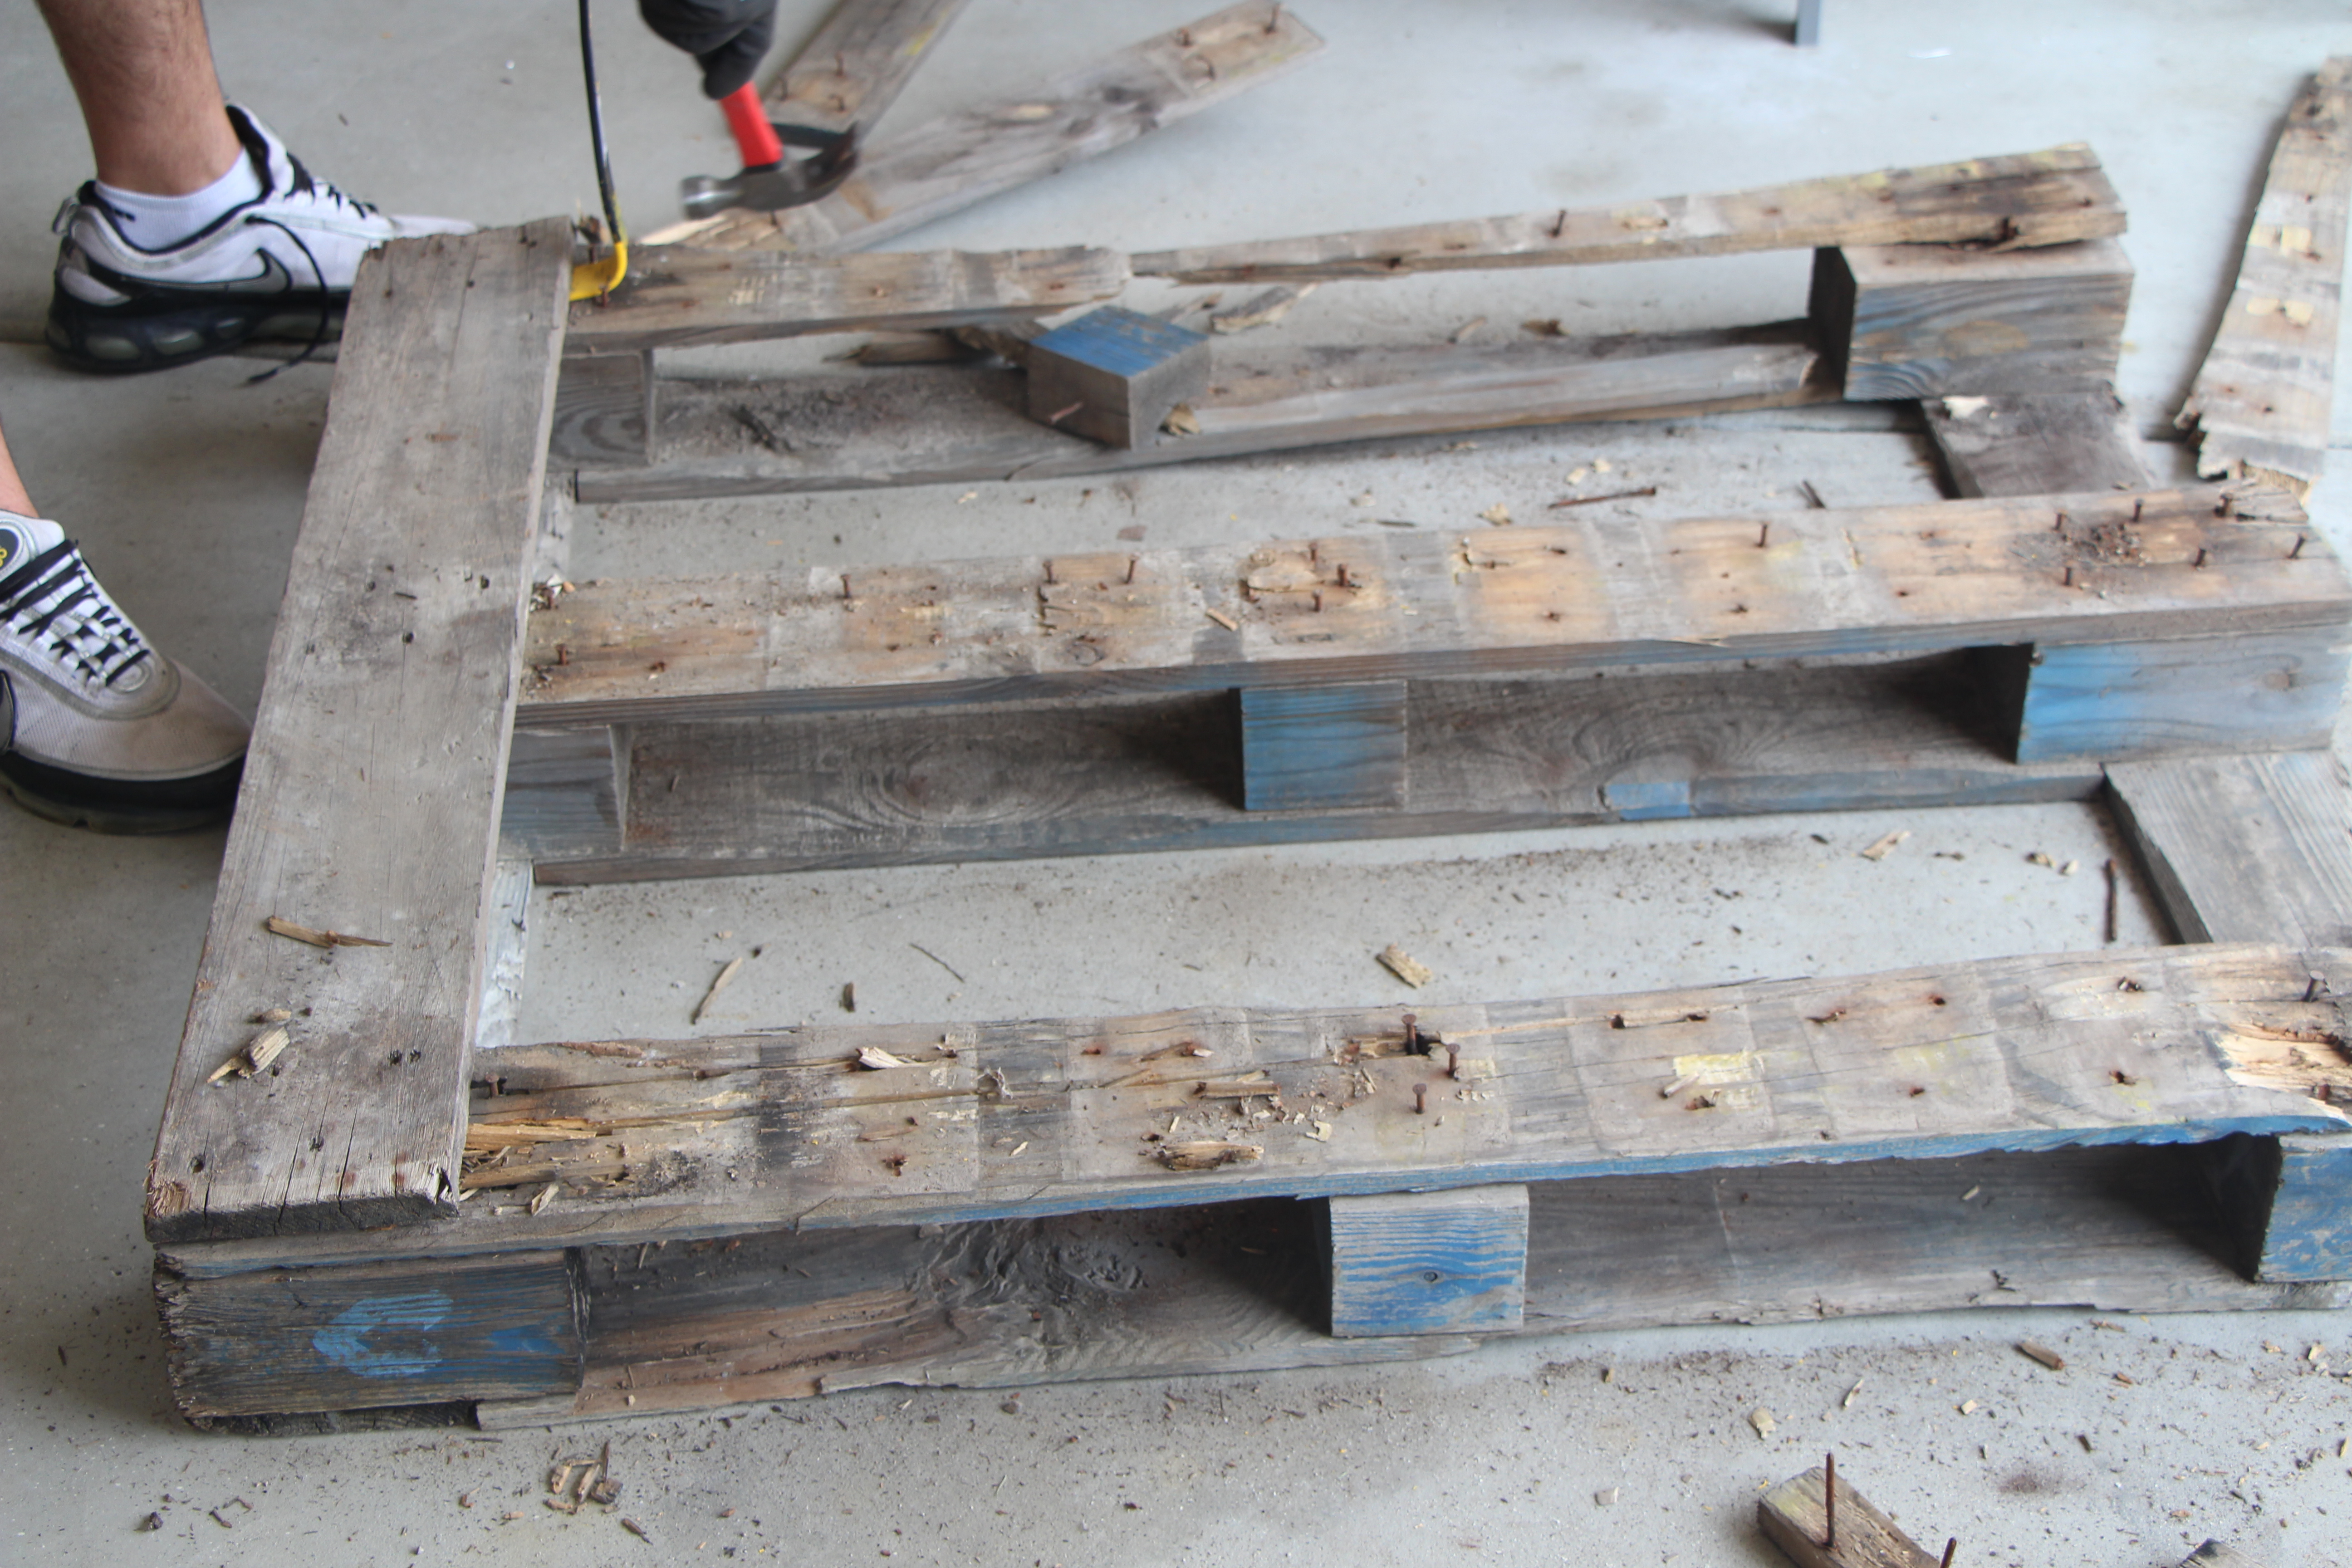
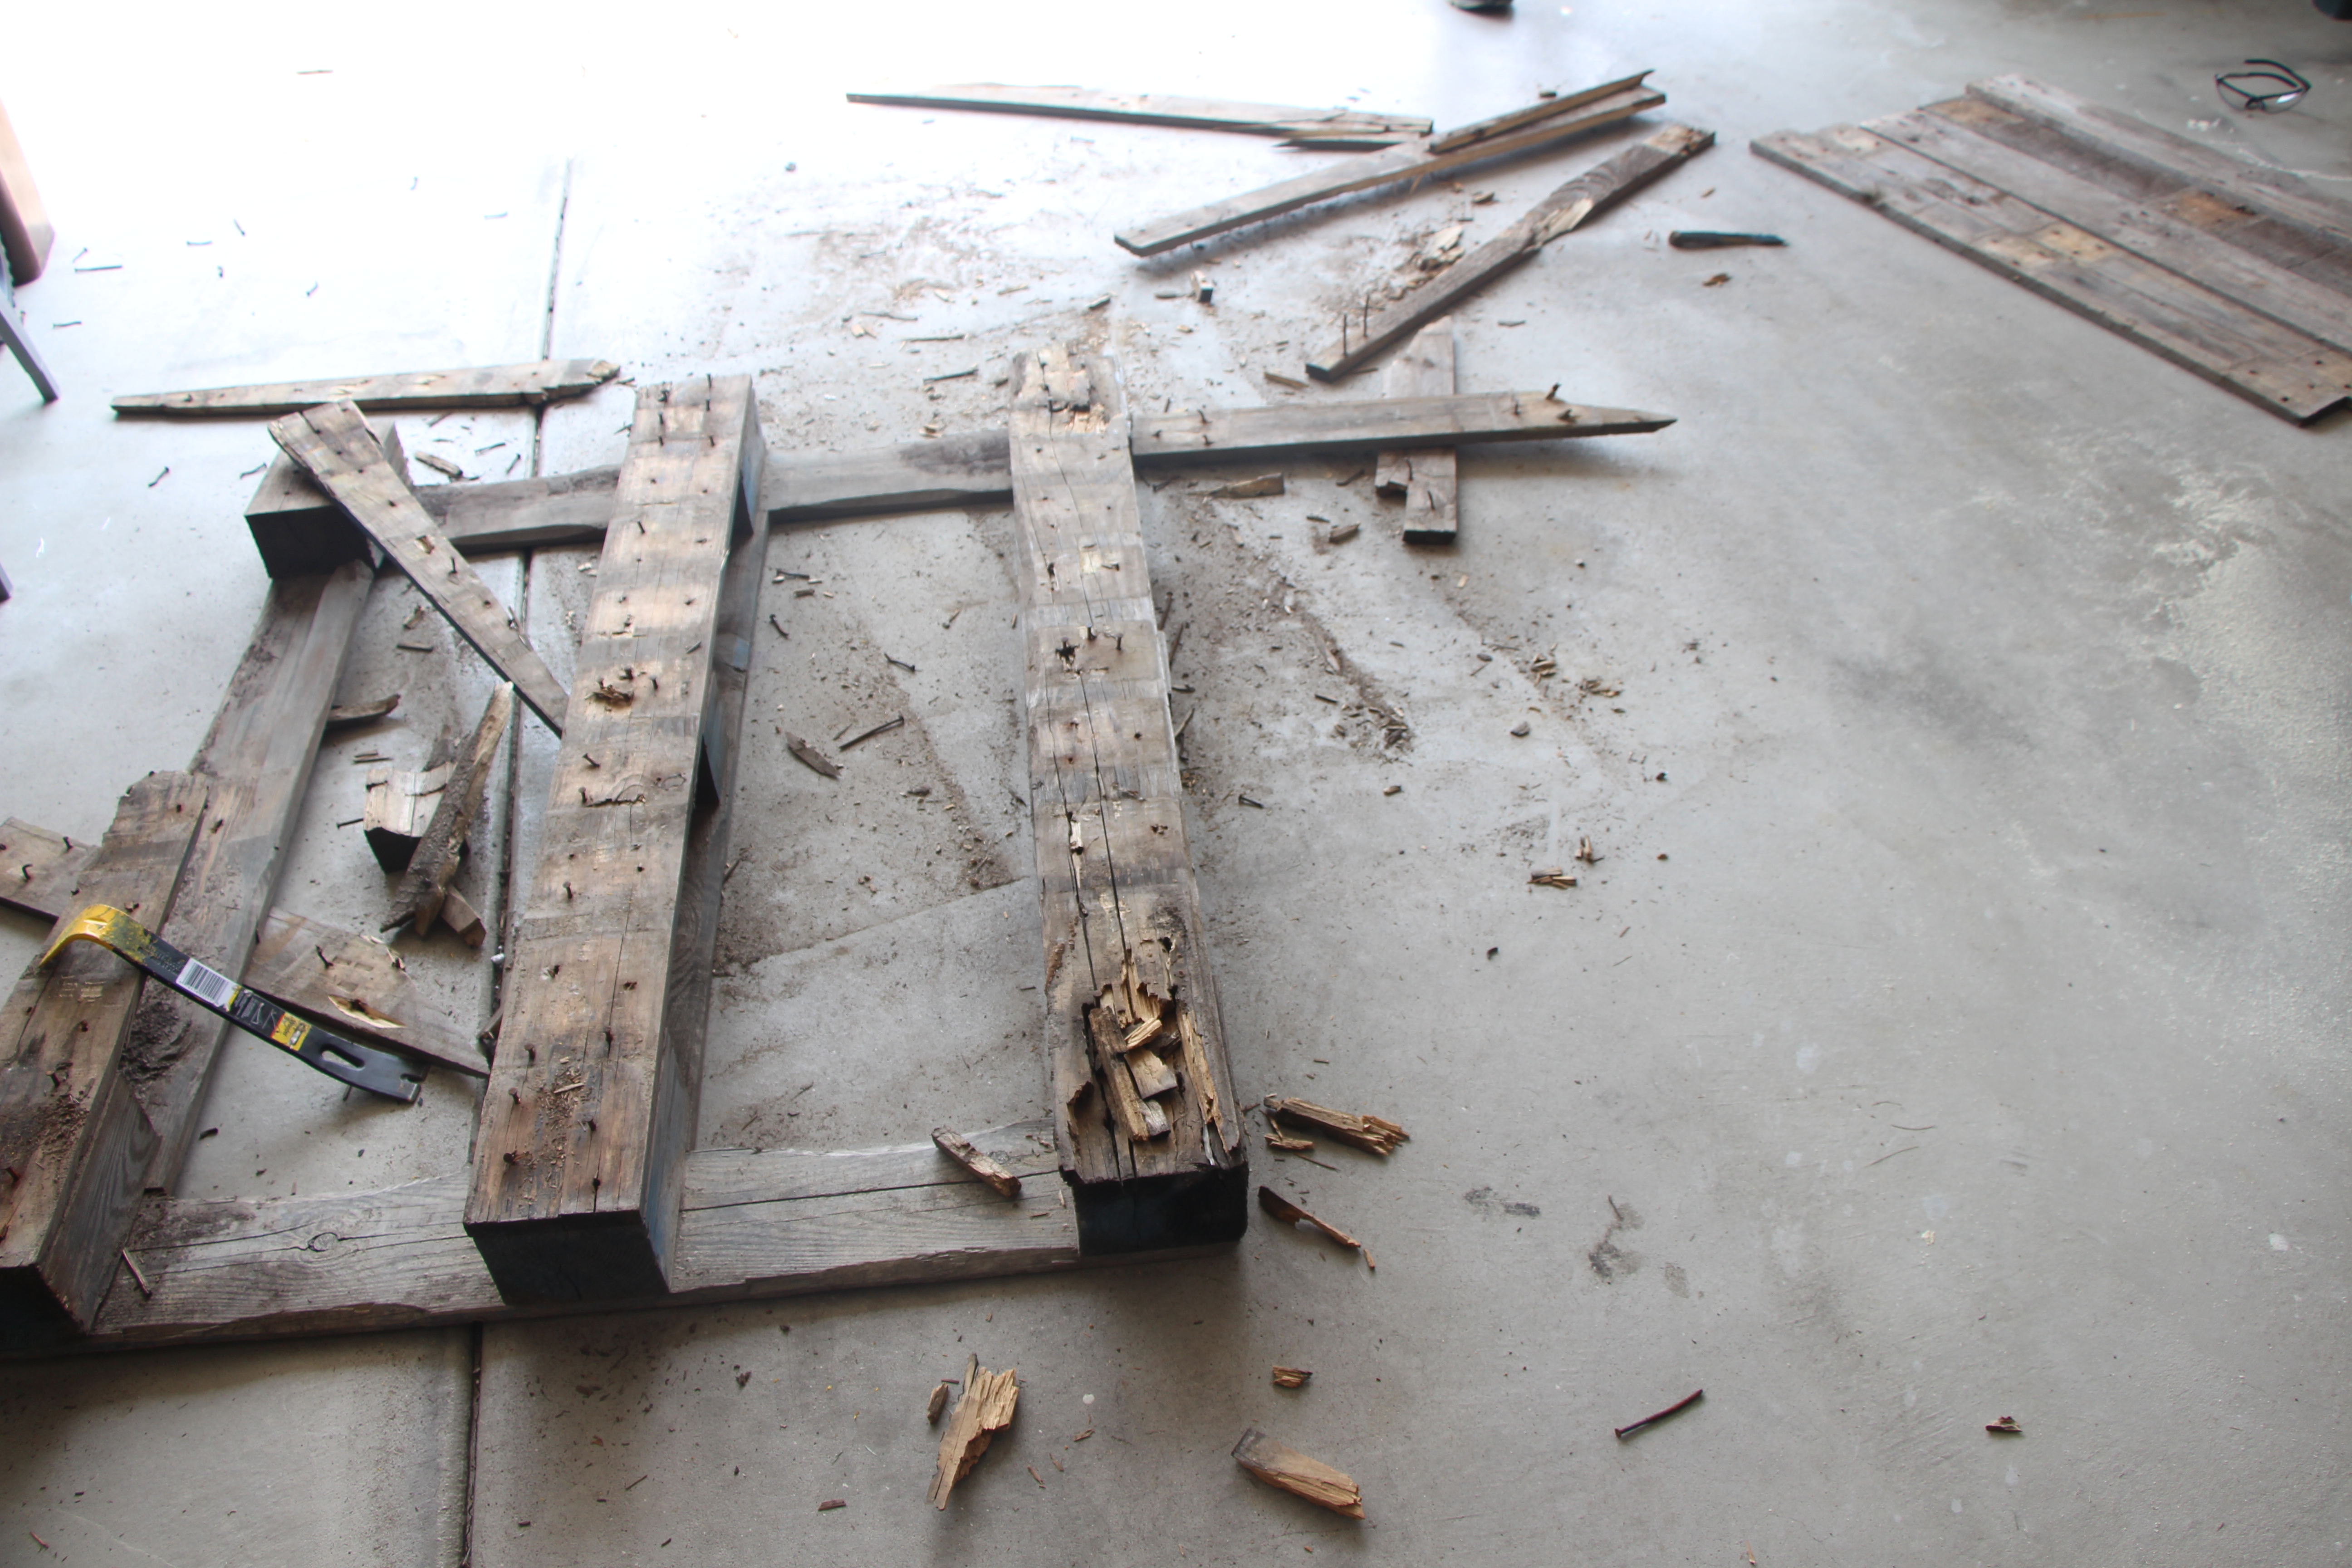
We disassembled the pallet piece by piece. Some of the pieces of wood were easier to pry off then others.
We weren’t able to salvage each and every piece of wood, but we didn’t need them all anyways!
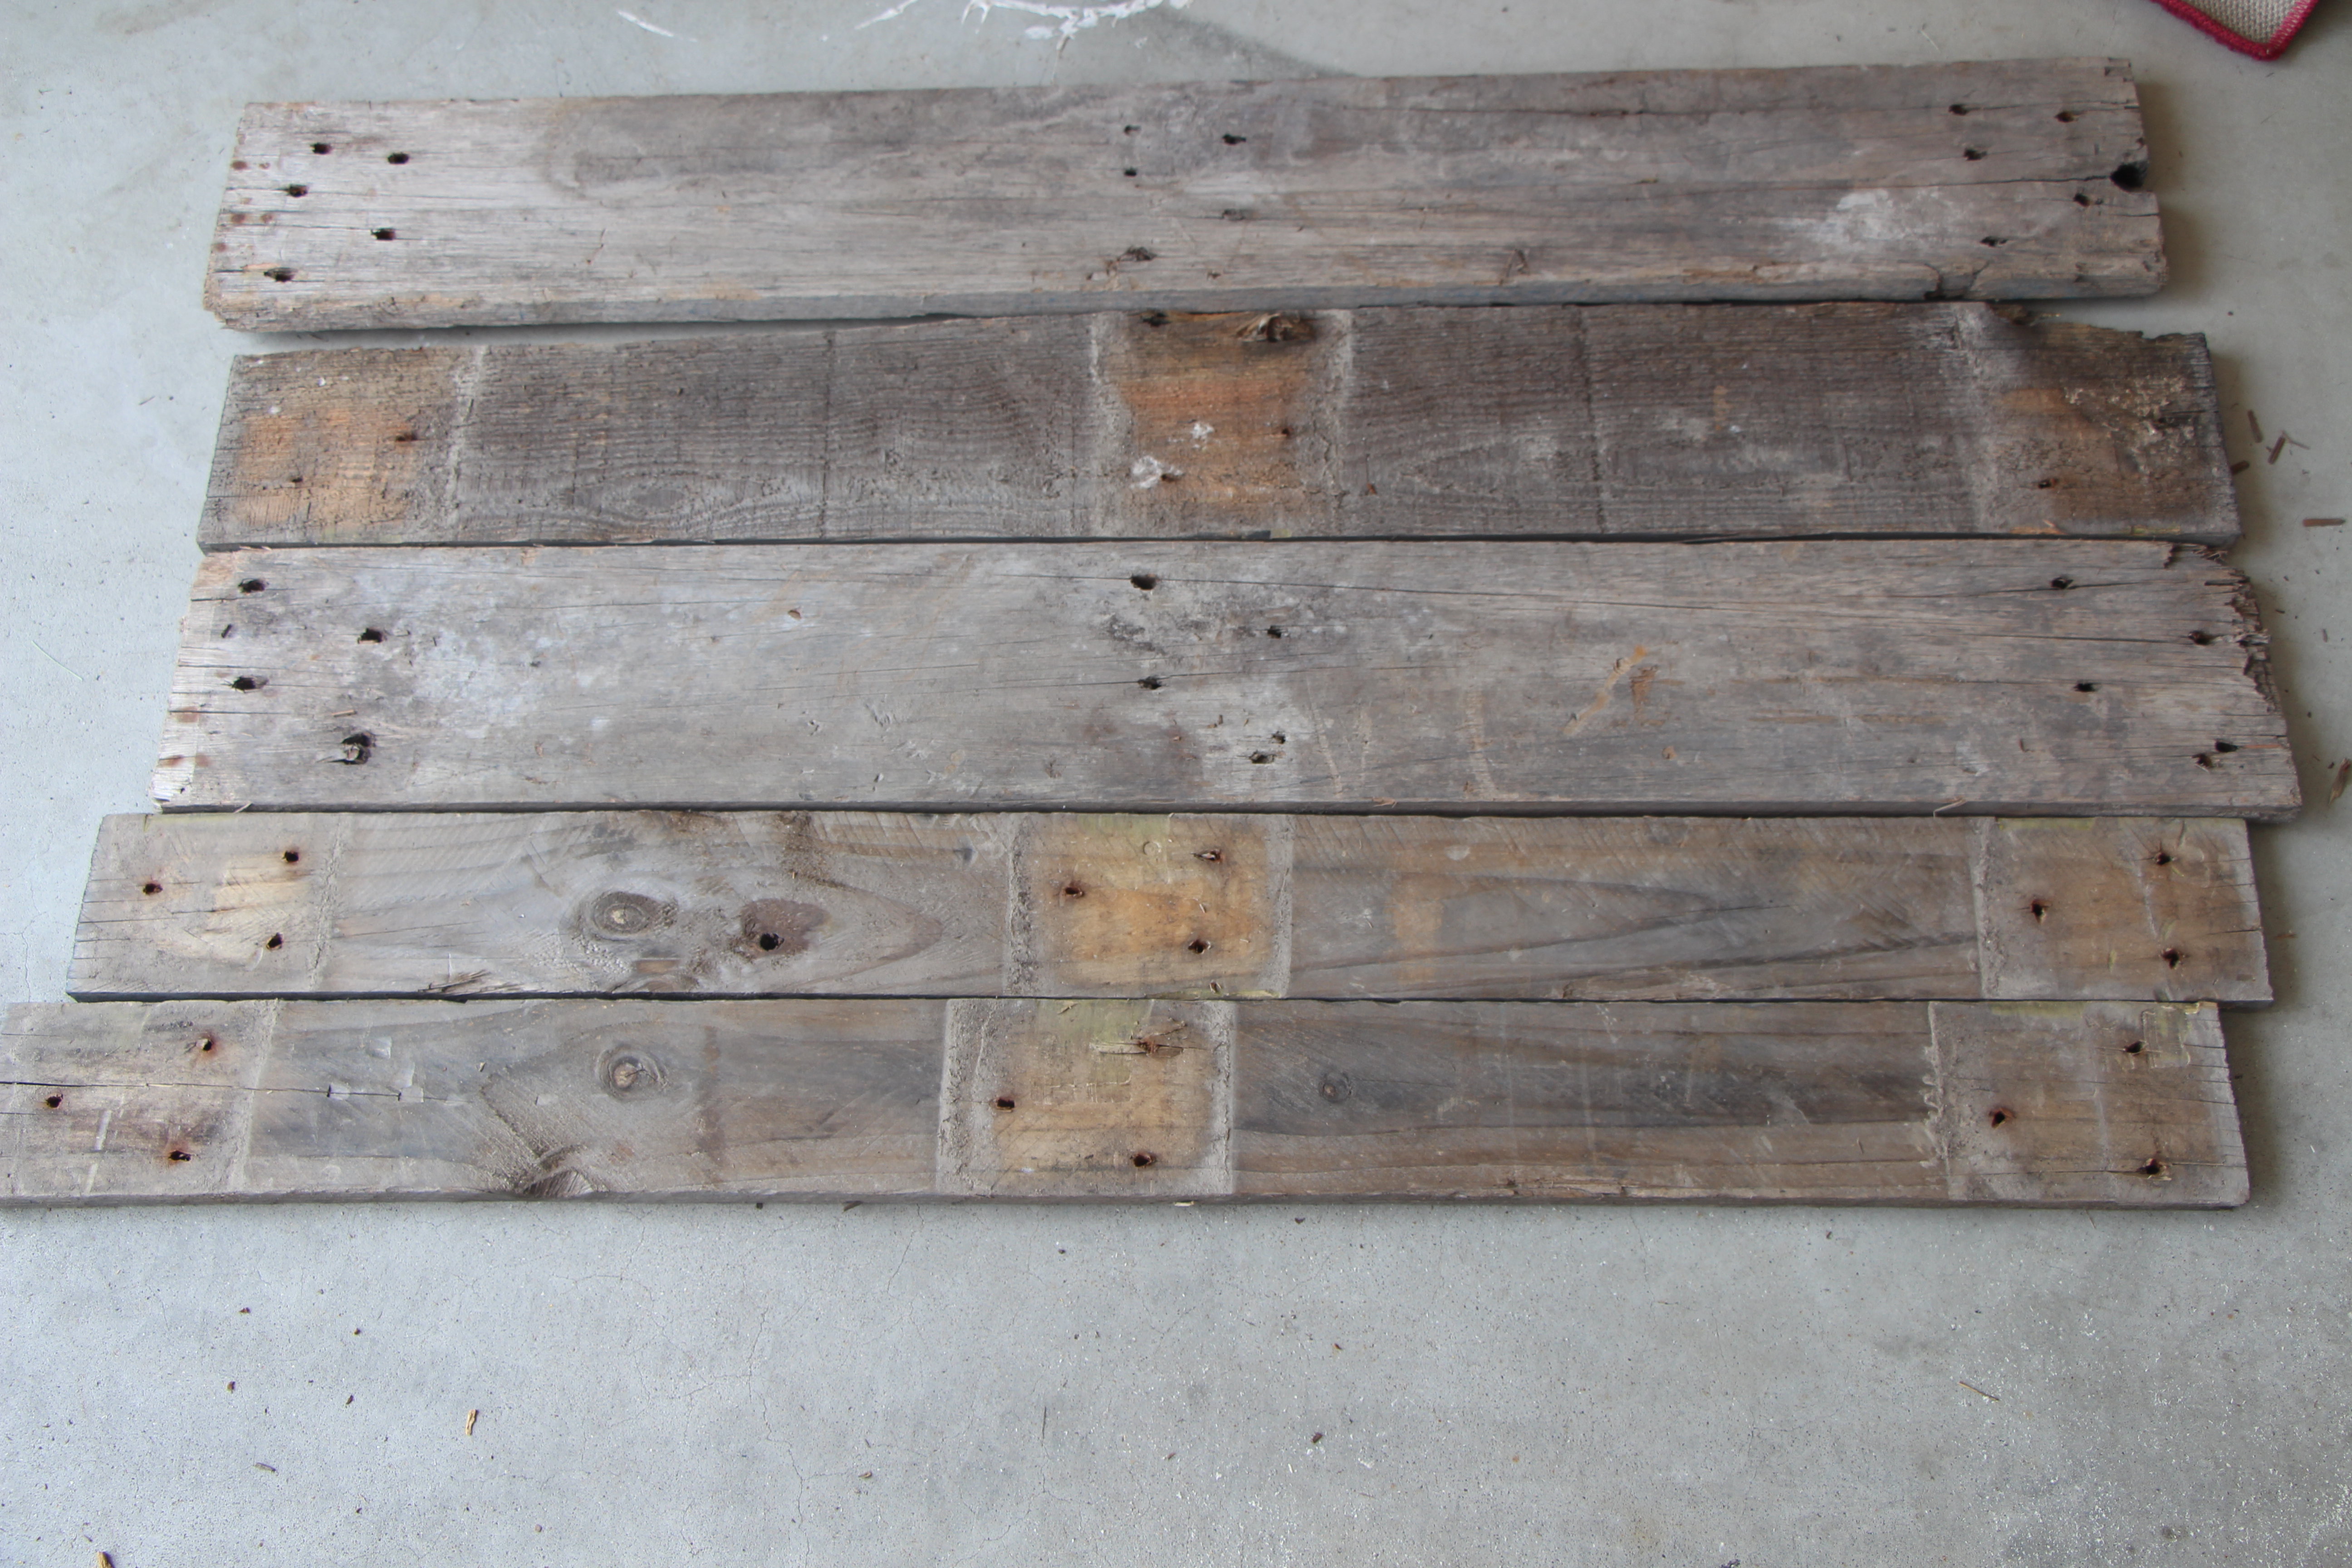
We were able to get 6 to 8 sold pieces of wood to construct our pallet wood sign with.
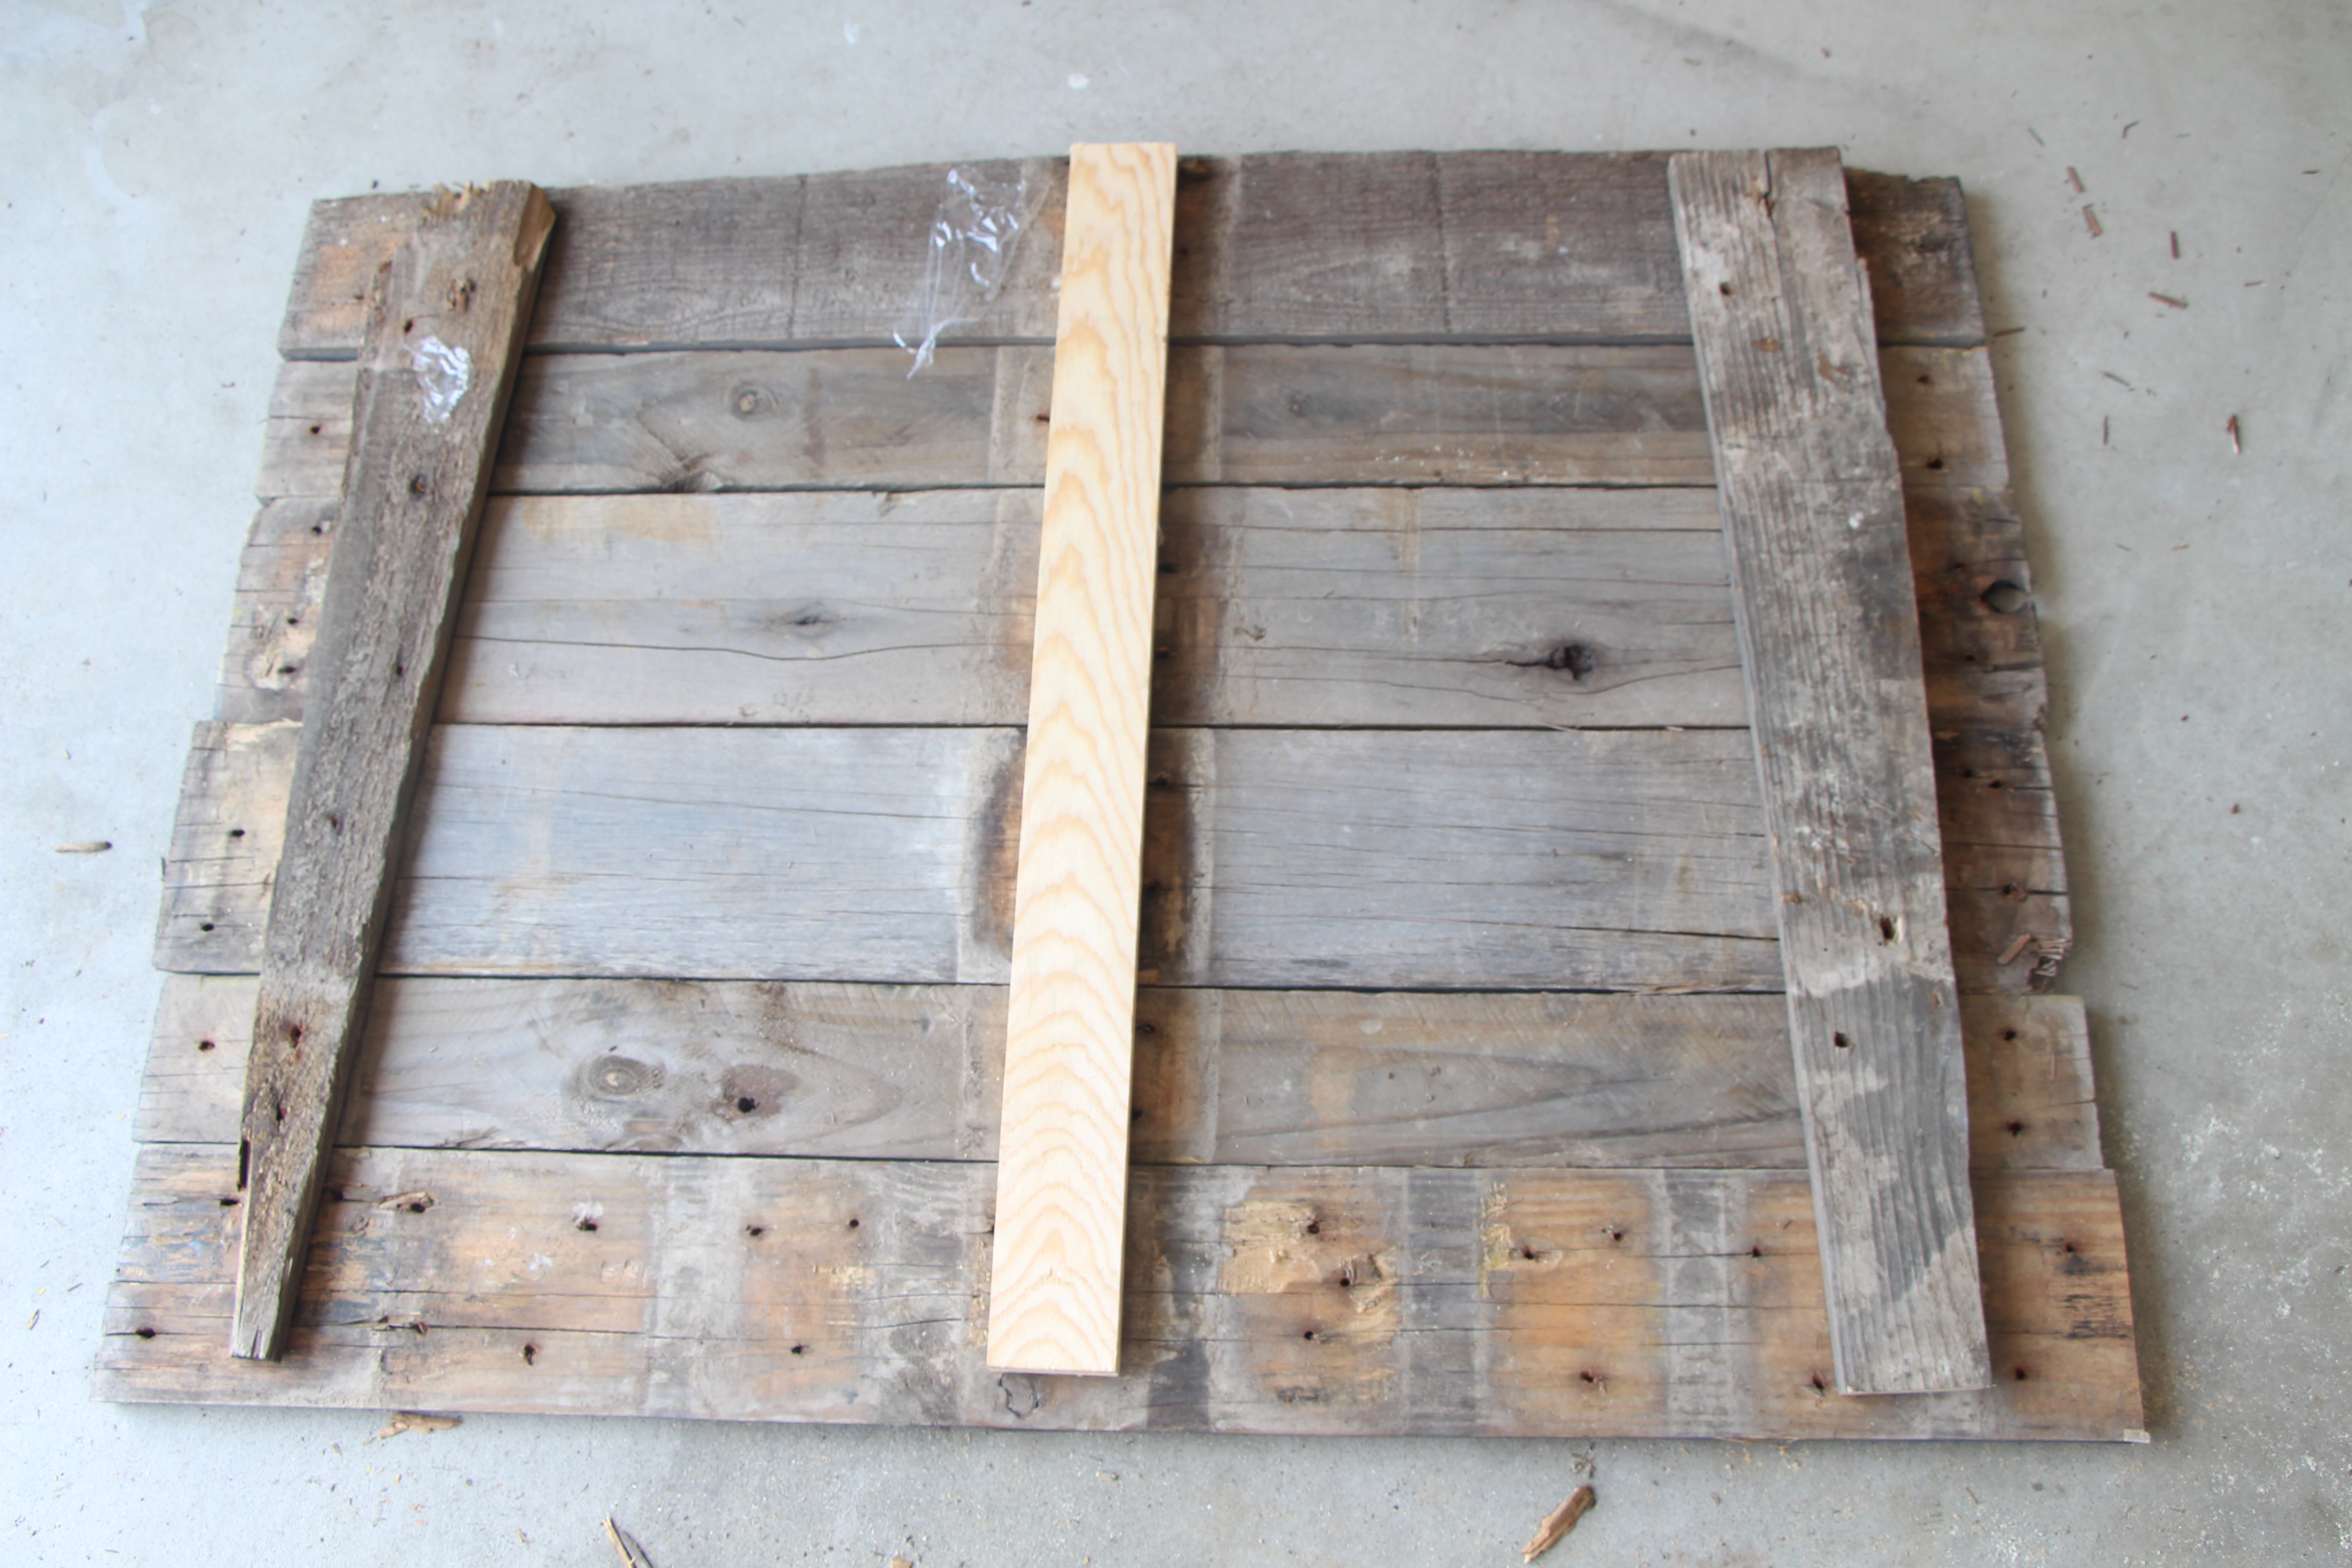
After determining the order of the boards, we laid them out and flipped them over so the backsides faced up.
Next, we attached 3 pieces of wood (2 scraps from the pallet and one piece of a scrap 2″ x 4″ we had in the garage) using several screws and a drill across the back of the boards from top to bottom.
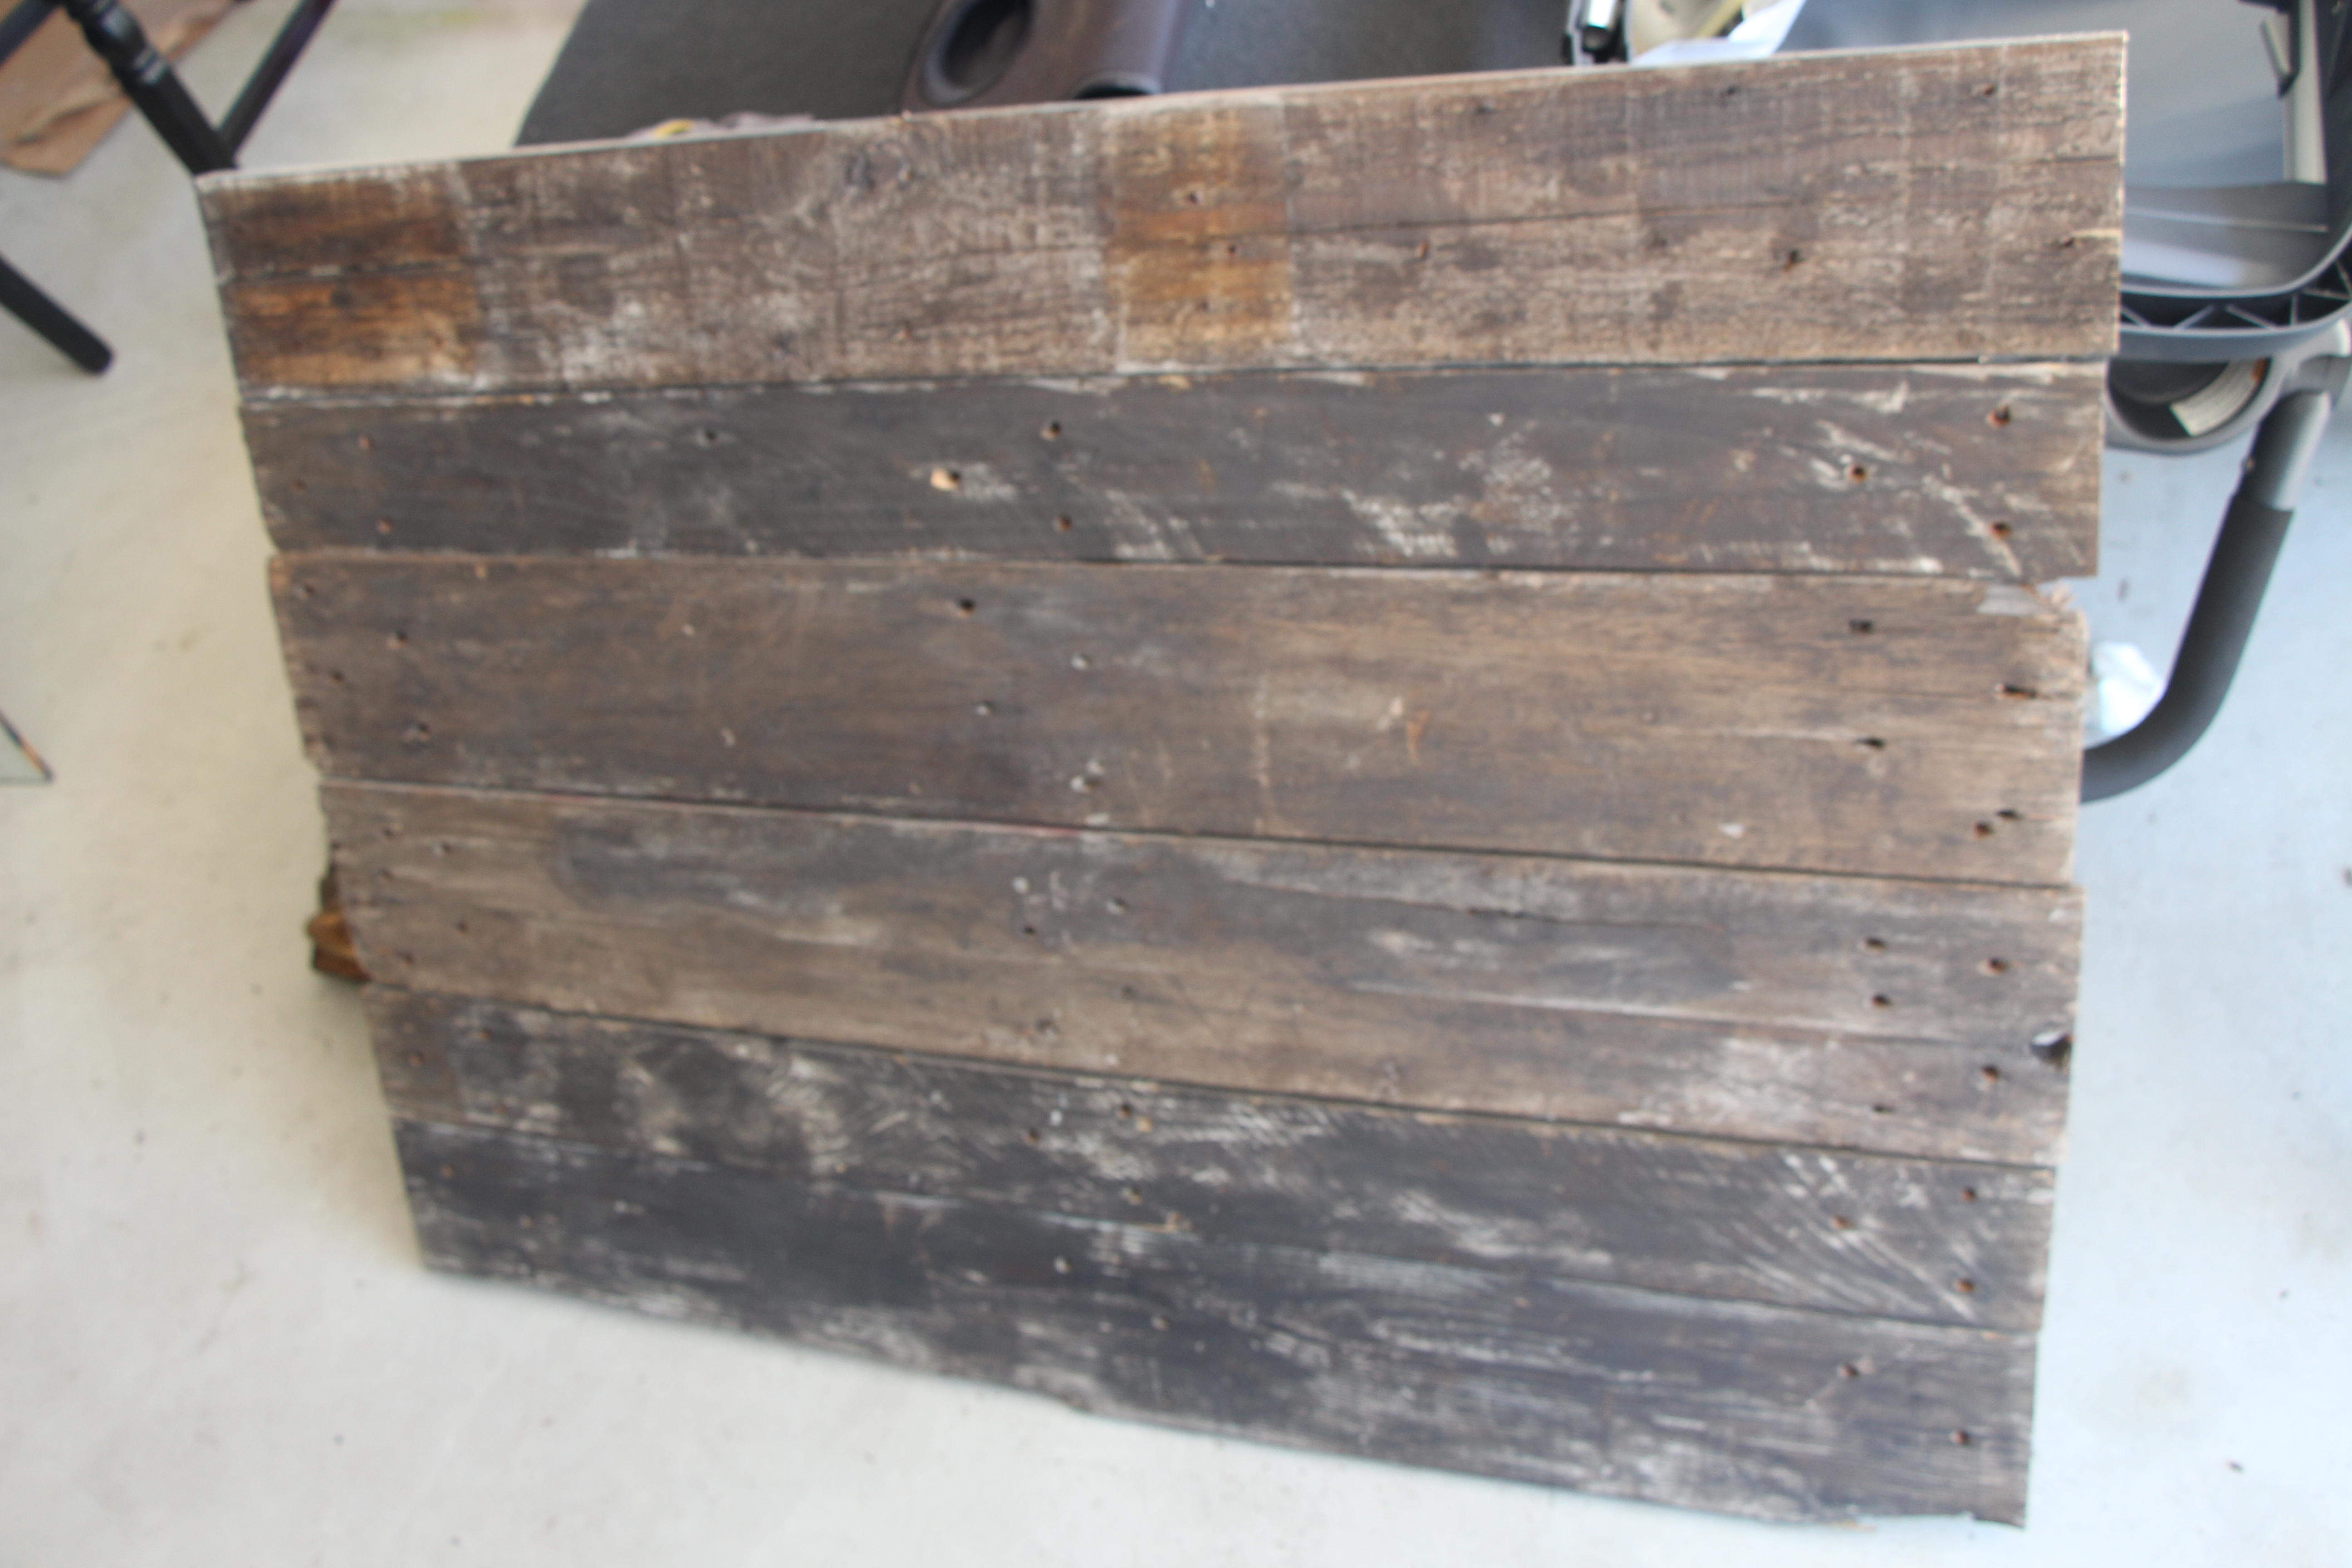
After that, I then, gently rubbed some stain to the front of the pallet wood sign with an old towel.
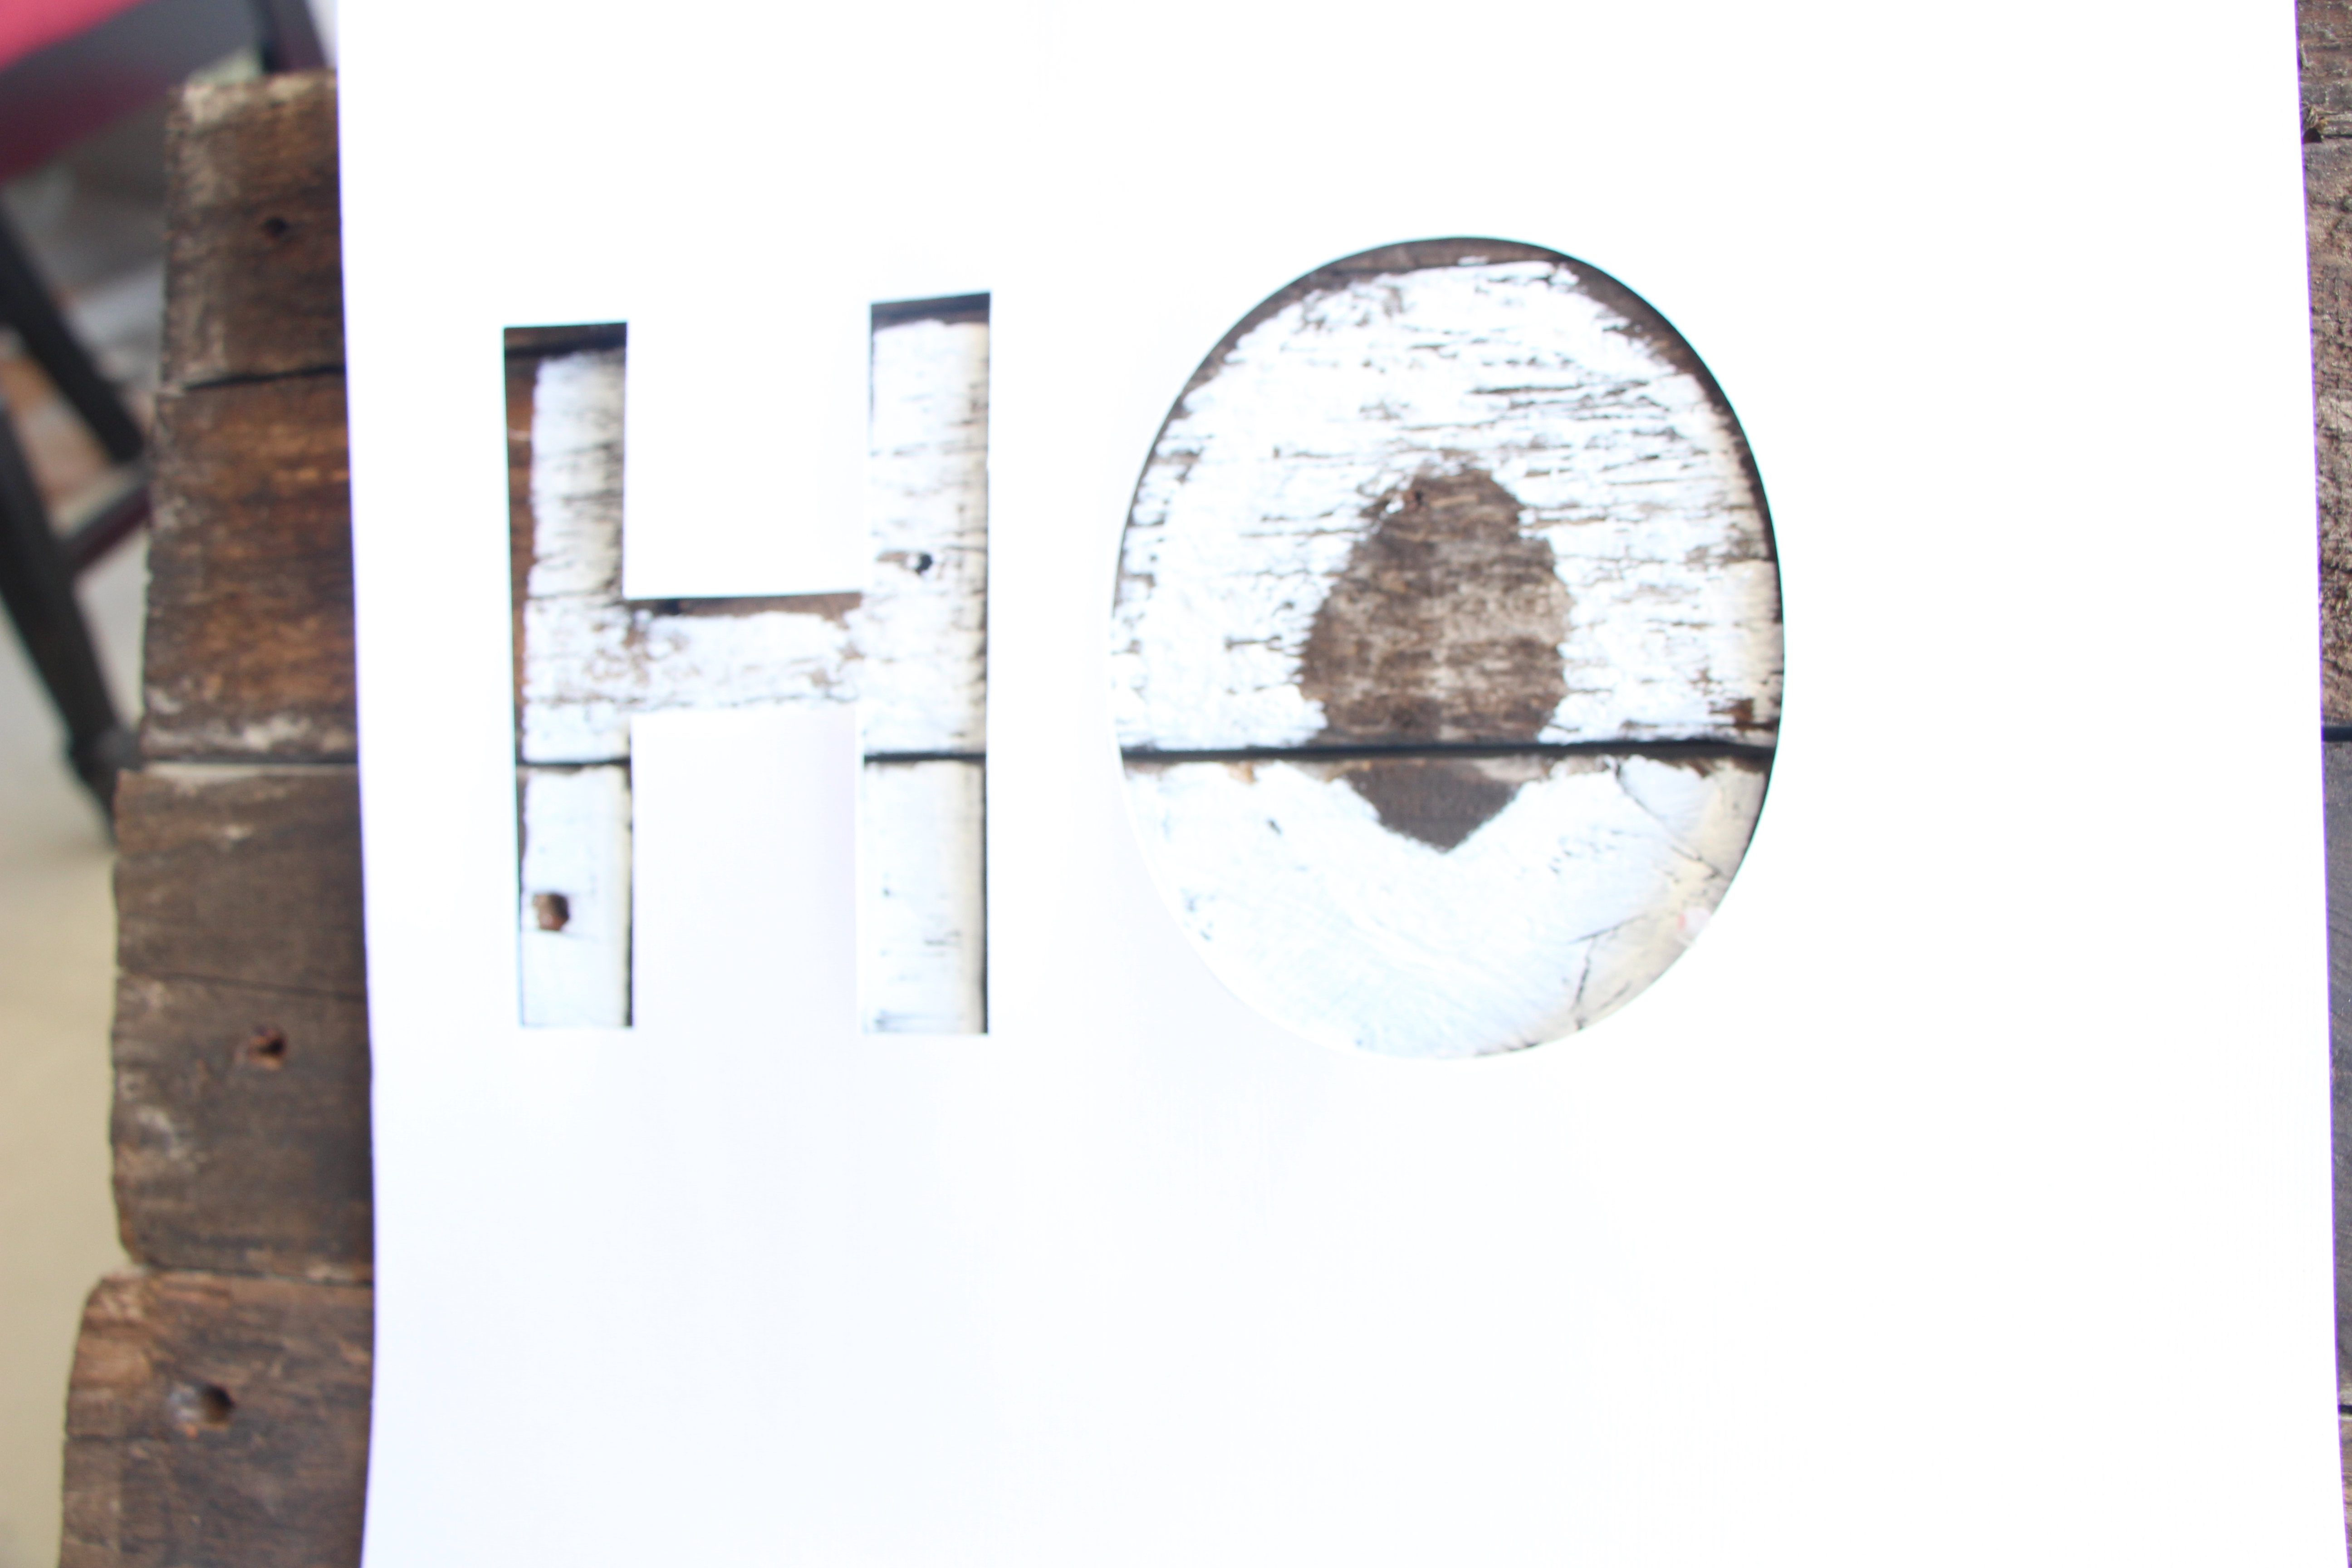
After letting the stain dry overnight, I used my Silhouette Cameo to cut out my letters on cardstock which served as a stencil.
If you don’t own a Silhouette or other die cutting tool, you could print out your letters, cut them out and trace each one on your pallet before painting. You could also buy a set of stencils to use. I wanted 2 different fonts on mine, but you could make it work!
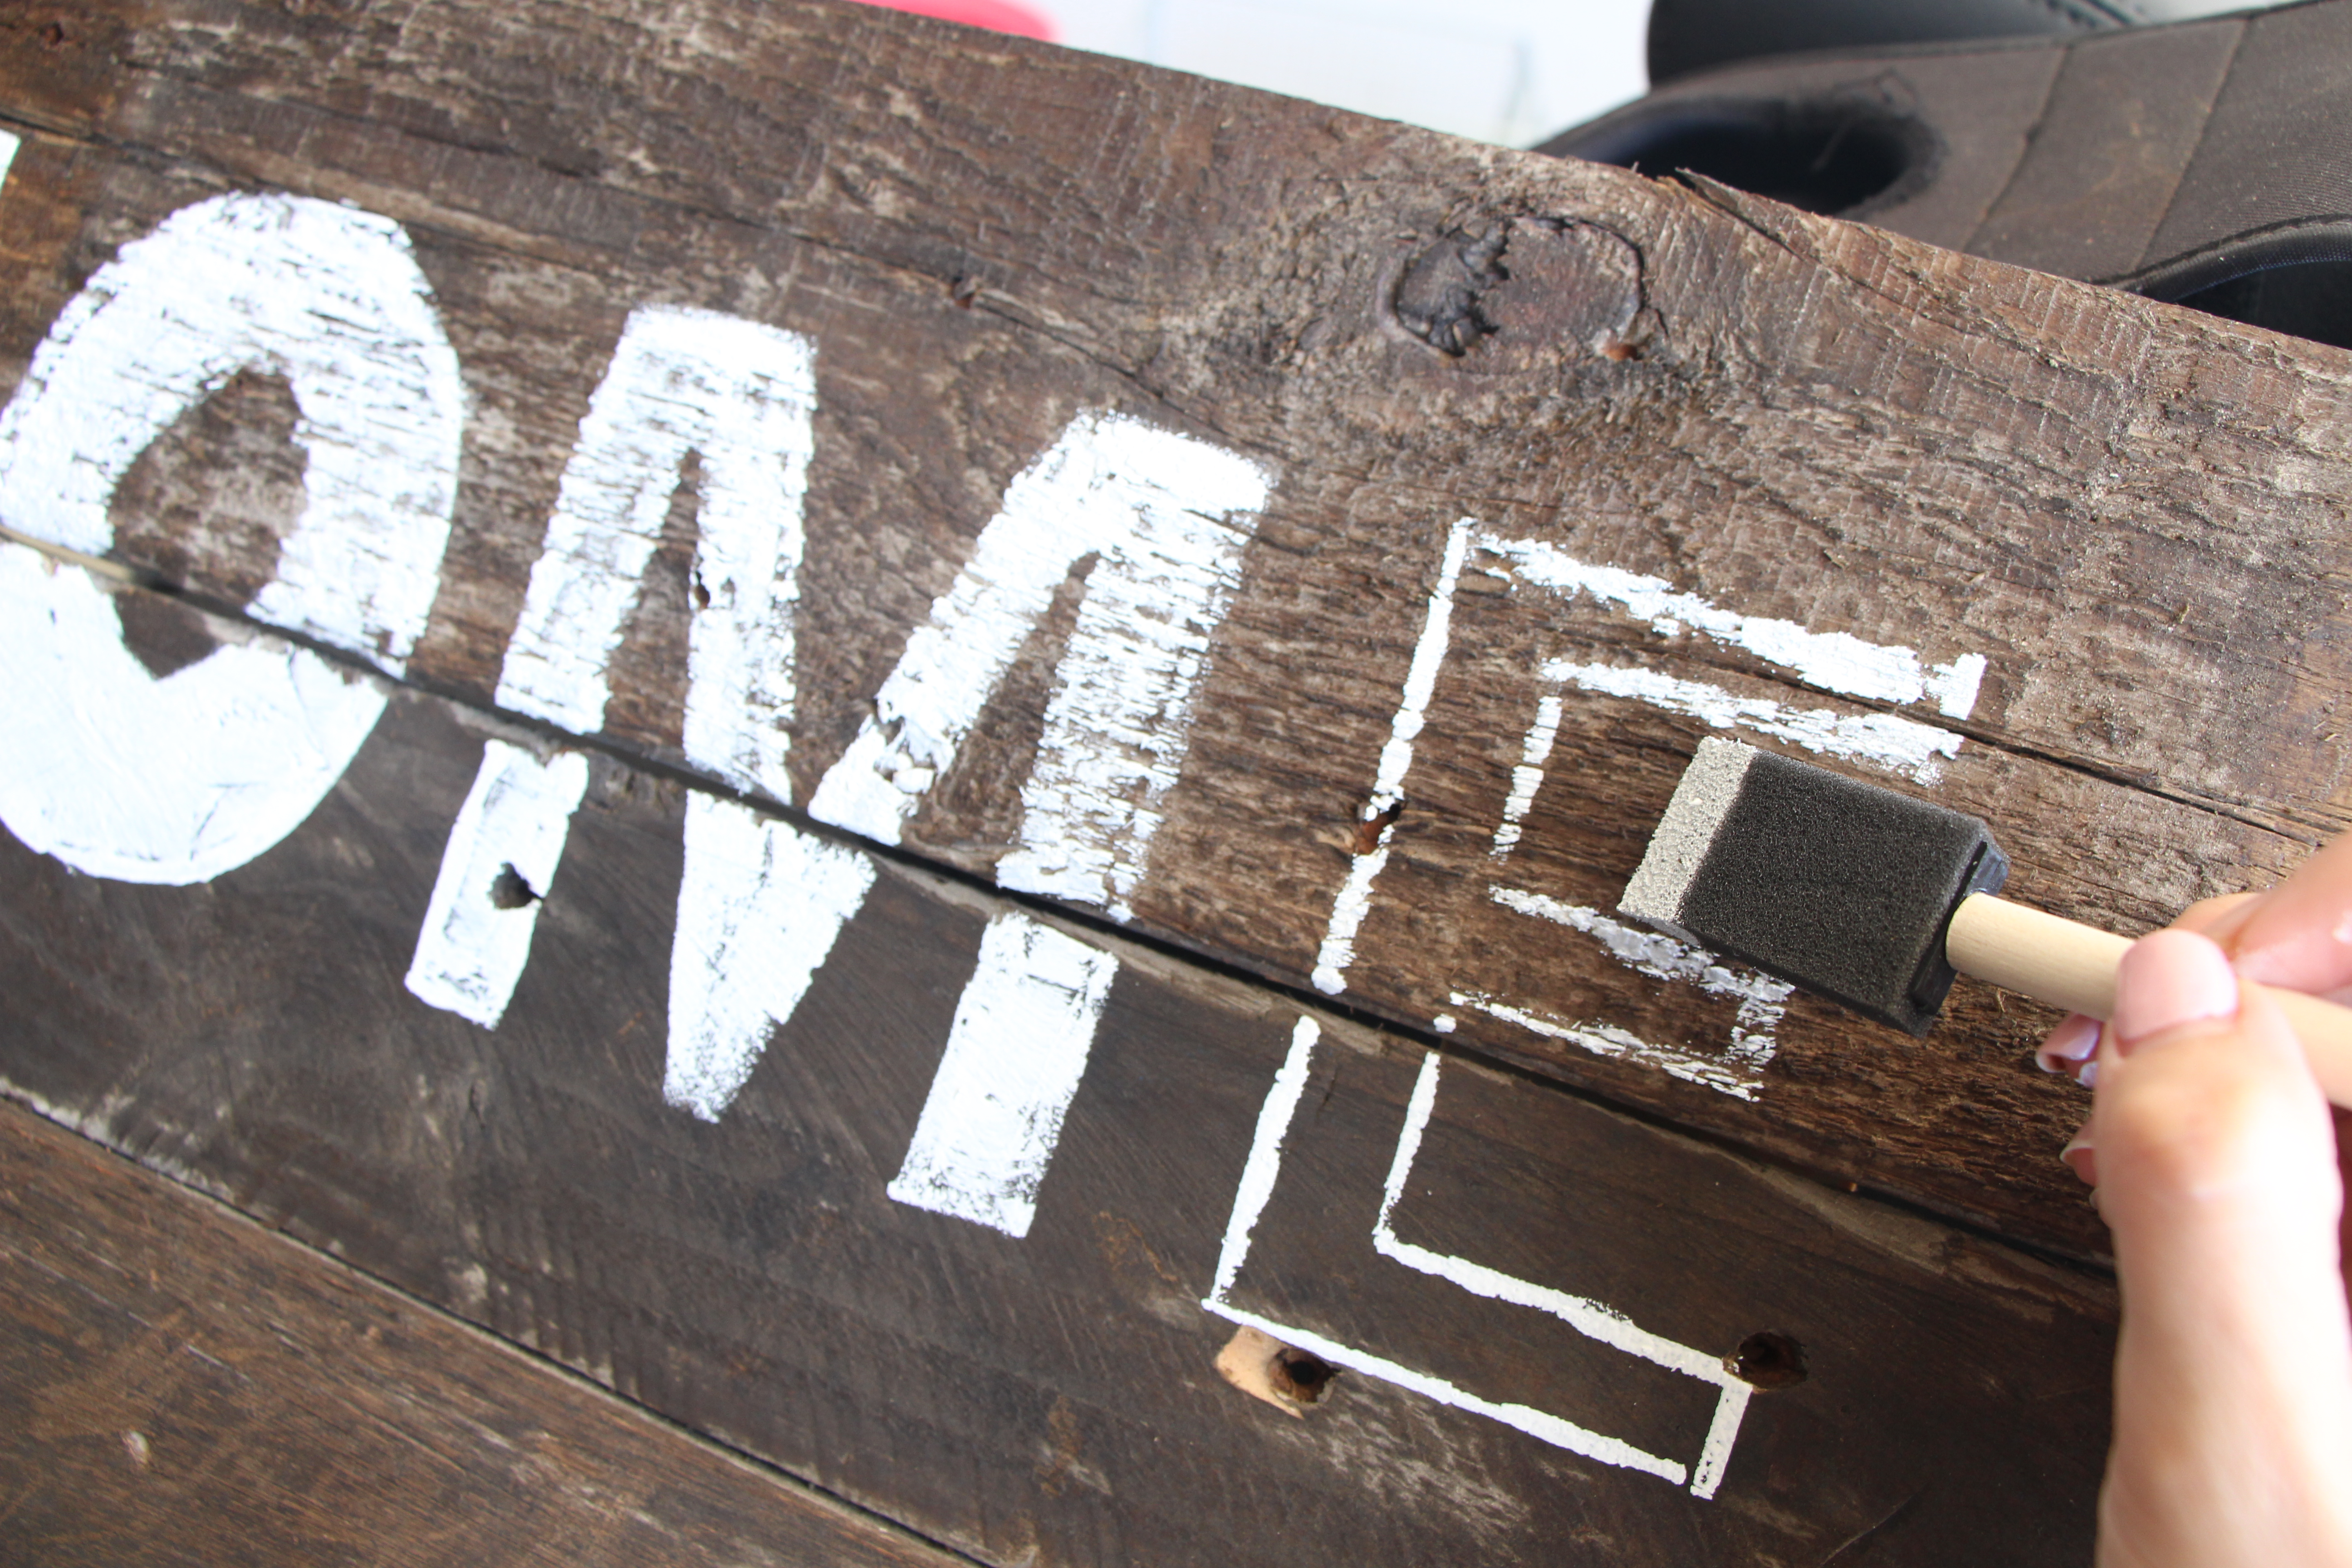
Then I laid the paper out across the pallet and using white craft paint and a foam paintbrush, I lightly dabbed inside of the stencil. I used metallic gold craft paint on the “happy” and on the 2 hearts. After realizing the gold didn’t show up quite as bold and glam on the wood, my dad added a bit of white chalk along the sides to help the gold pop a little.
My dad is an artist and his little tricks often come in handy!
HOW TO HANG A DIY PALLET WOOD SIGN ON BRICK
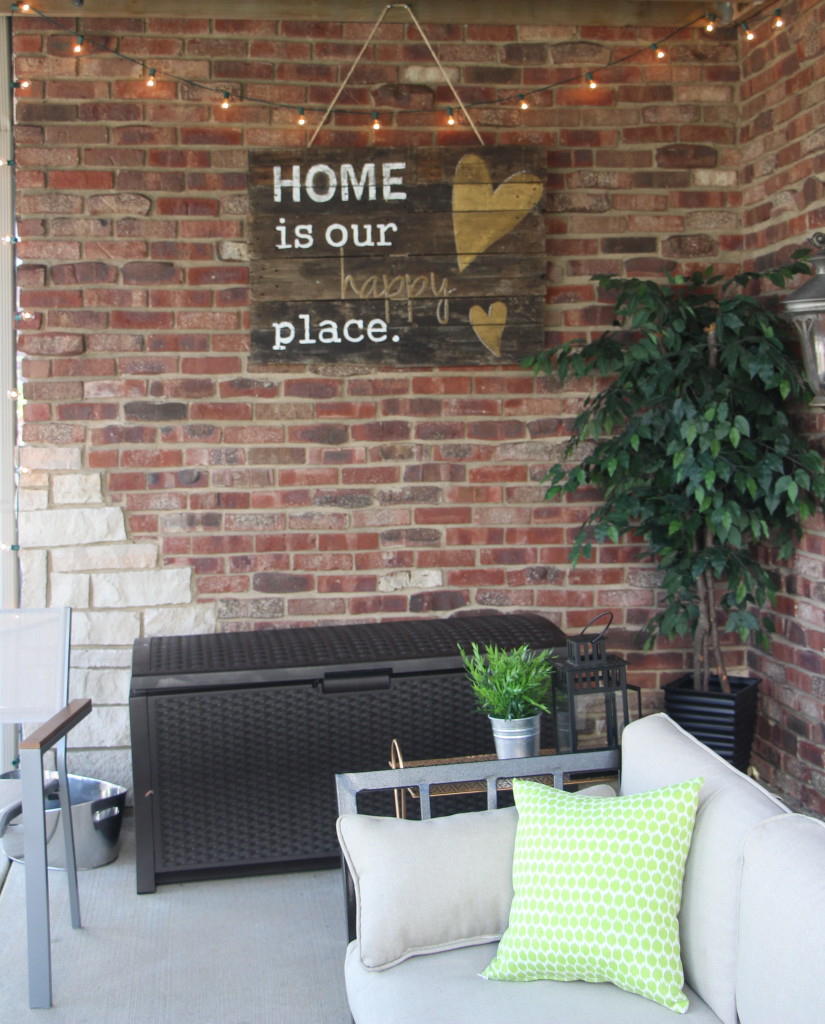
When it came time to hang the sign, I solicited the help from my dad, my father-in-law and T. They drilled 2 screws into a board which is at the top of the brick wall and then hung the sign with sisal rope (same as what the outdoor curtains were hung with).
I had originally bought a masonry drill bit and masonry screws to be able to secure the sign directly to the brick, but we decided against using them and I kind of like the way it hangs on the rope.
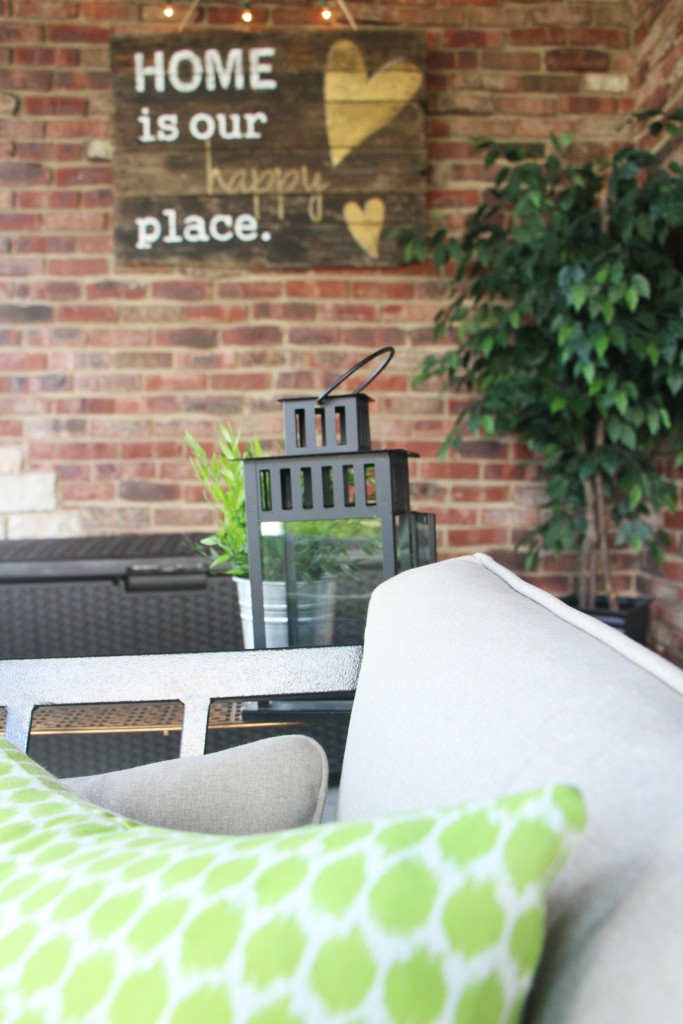
It gives off a bit of a rustic glam look down there and I think it fits our style well.
I LOVE how it turned out!
This DIY pallet wood sign project was a total “learn as we go” type of project. That is how we roll over here…figure it out along the way! I forgot to mention this project was completely FREE to me. Remember I scored the pallet at no cost and we already had the rest of the supplies on hand!
I sure can’t complain when that happens
Taking apart the pallet was a bit of a job (I was told) and a little difficult to have enough salvageable pieces left, but it turned out to be just the size I envisioned on our brick wall.
The only other tricky part was figuring out the best way to hang it. Thankfully I had 3 handy and helpful guys to help with this task!
See the rest of the Outdoor Oasis series below:
Part 1: The Curtains | Part 2: The Pillows | Part 4: The Reveal








How to: DIY Wood Shelves {& Gold Brackets} | This is our Bliss
August 22, 2014 at 5:18 PM[…] you have it. My 2nd staining project after I took on a Pallet Sign project. I think I like doing […]
Project: Outdoor Oasis Part 4 {The Reveal} | This is our Bliss
August 4, 2014 at 3:39 PM[…] theme of this series of posts, even though I didn’t plan for it to be that way. My outdoor pallet sign kind of sealed the deal […]
Kristi
July 31, 2014 at 4:51 PMLOVE IT. Gave me some inspiration to get my old crappy VINTAGE door stenciled….and you just helped me figure out how to do it! Keep the ideas coming – Thanks Rach~
rbliefnick
July 31, 2014 at 5:33 PMThanks! Glad I could help Can’t wait to see your door and of course, have a drink in your new cute little hangout area!