My favorite day of the week is here and I am happy to say this is my 3rd post this week! I decided to start making some goals around my projects and blogging about them. I am a lover of any kind of to-do list, so creating a few goals and checklists related to my project posts only makes sense! In order to try to be more consistent with what is actually going on around here on a daily / weekly basis, I set a goal of 3 posts minimum per week. They won’t be fabulous room reveals or finished spaces every time, but more posts on progress, ideas, family stuff, etc. After all, that is the stuff that is real and real is why I enjoy blogging. The content I post is what is really going on around THIS place and THIS is our bliss, remember? 🙂 The good, the bad, the ugly, the “whoops that project didn’t turn out how I planned” type of stuff. You know what I mean!
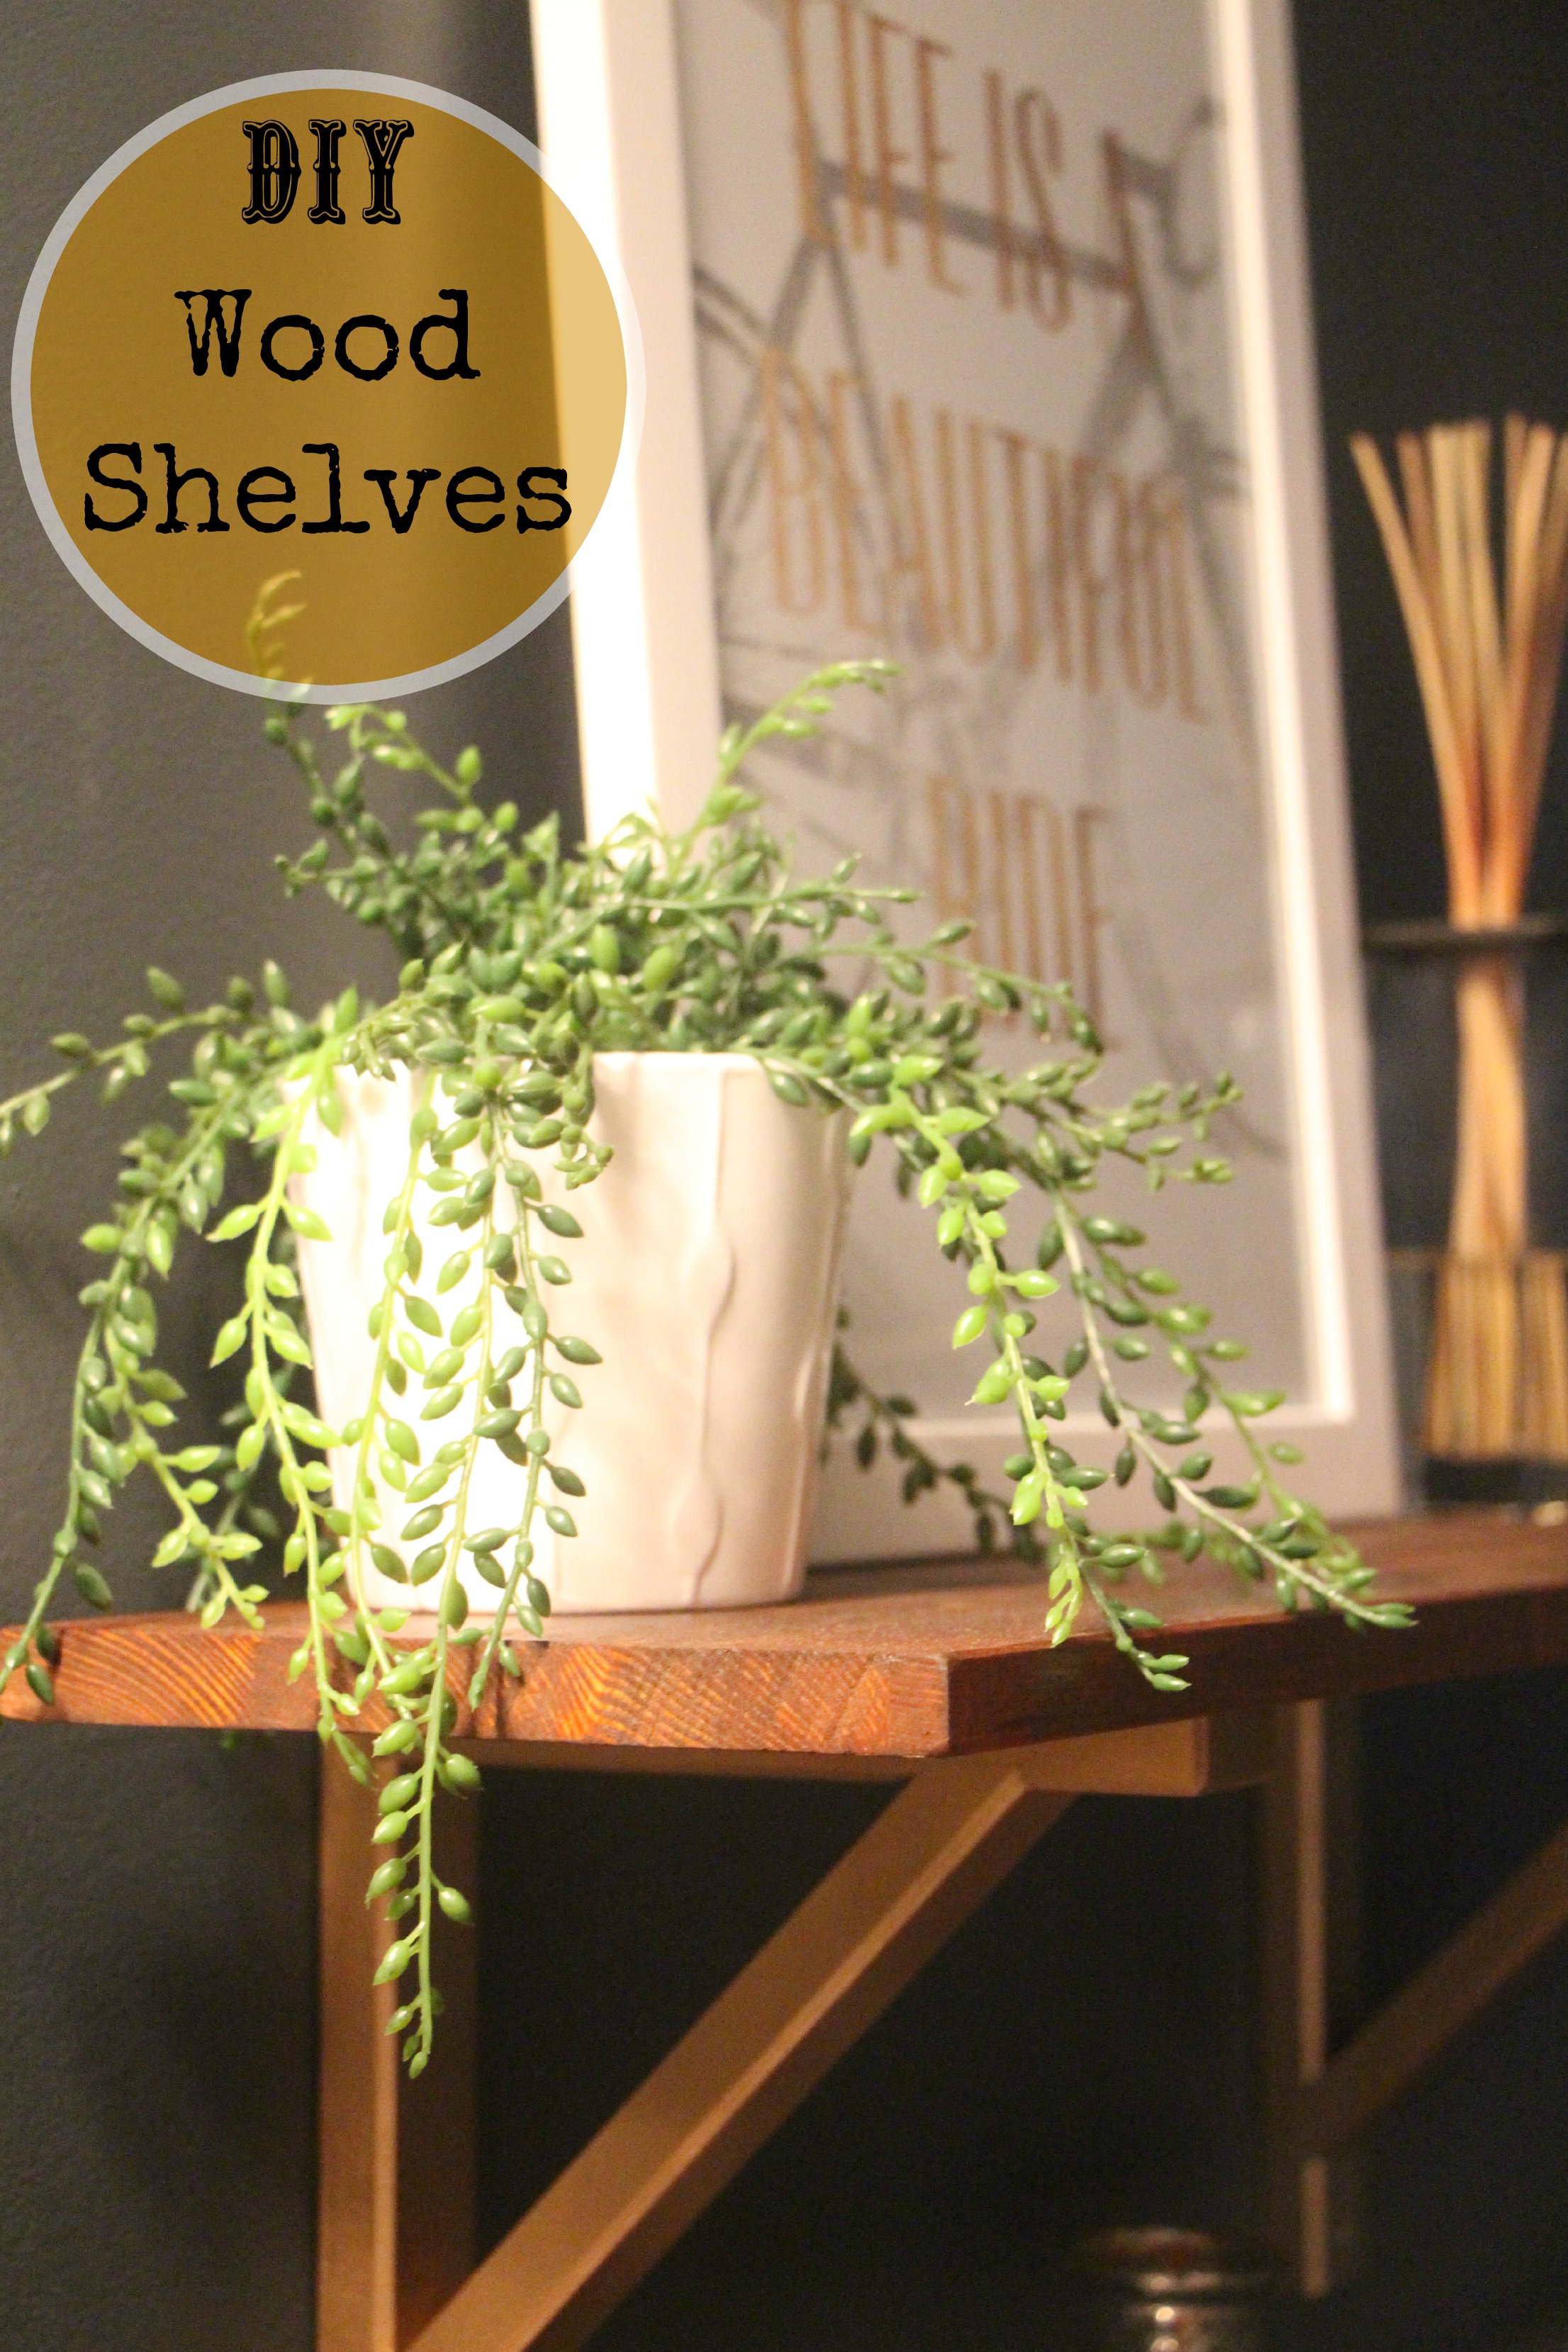
So for today, I am sharing a quick a tutorial on the DIY Wooden Shelves we put up in our main floor Powder Room. If you missed the reveal post, you can check it out here.
We had some dark espresso floating shelves up before, but they were not holding up very well. The were actually starting to come loose. They were the kind where you screw a shelf-type bracket to the wall and then the back of shelf itself slides on top of the metal piece and that’s how its attached to the wall. It wasn’t too sturdy, plus I wanted the chance to create the wood color of my choosing!
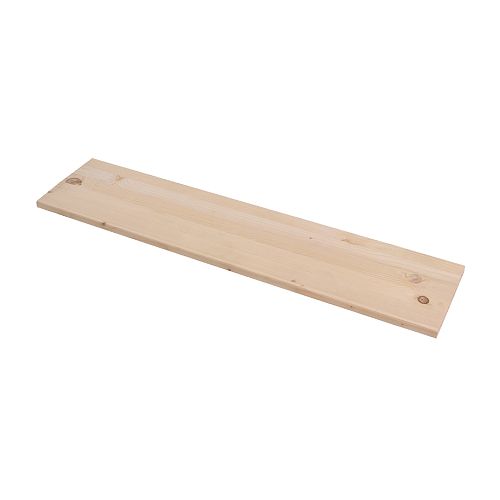
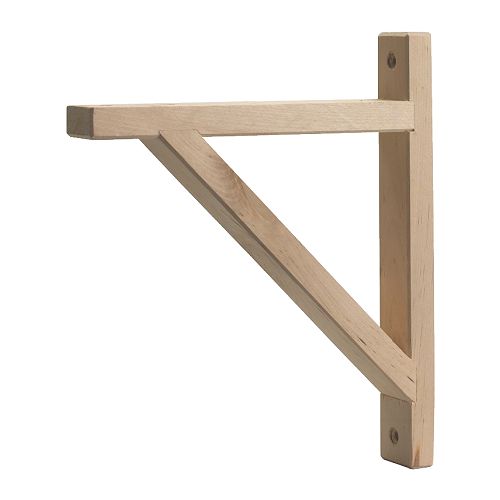
I started with 2 of these IKEA shelves & 4 brackets (both in birch)
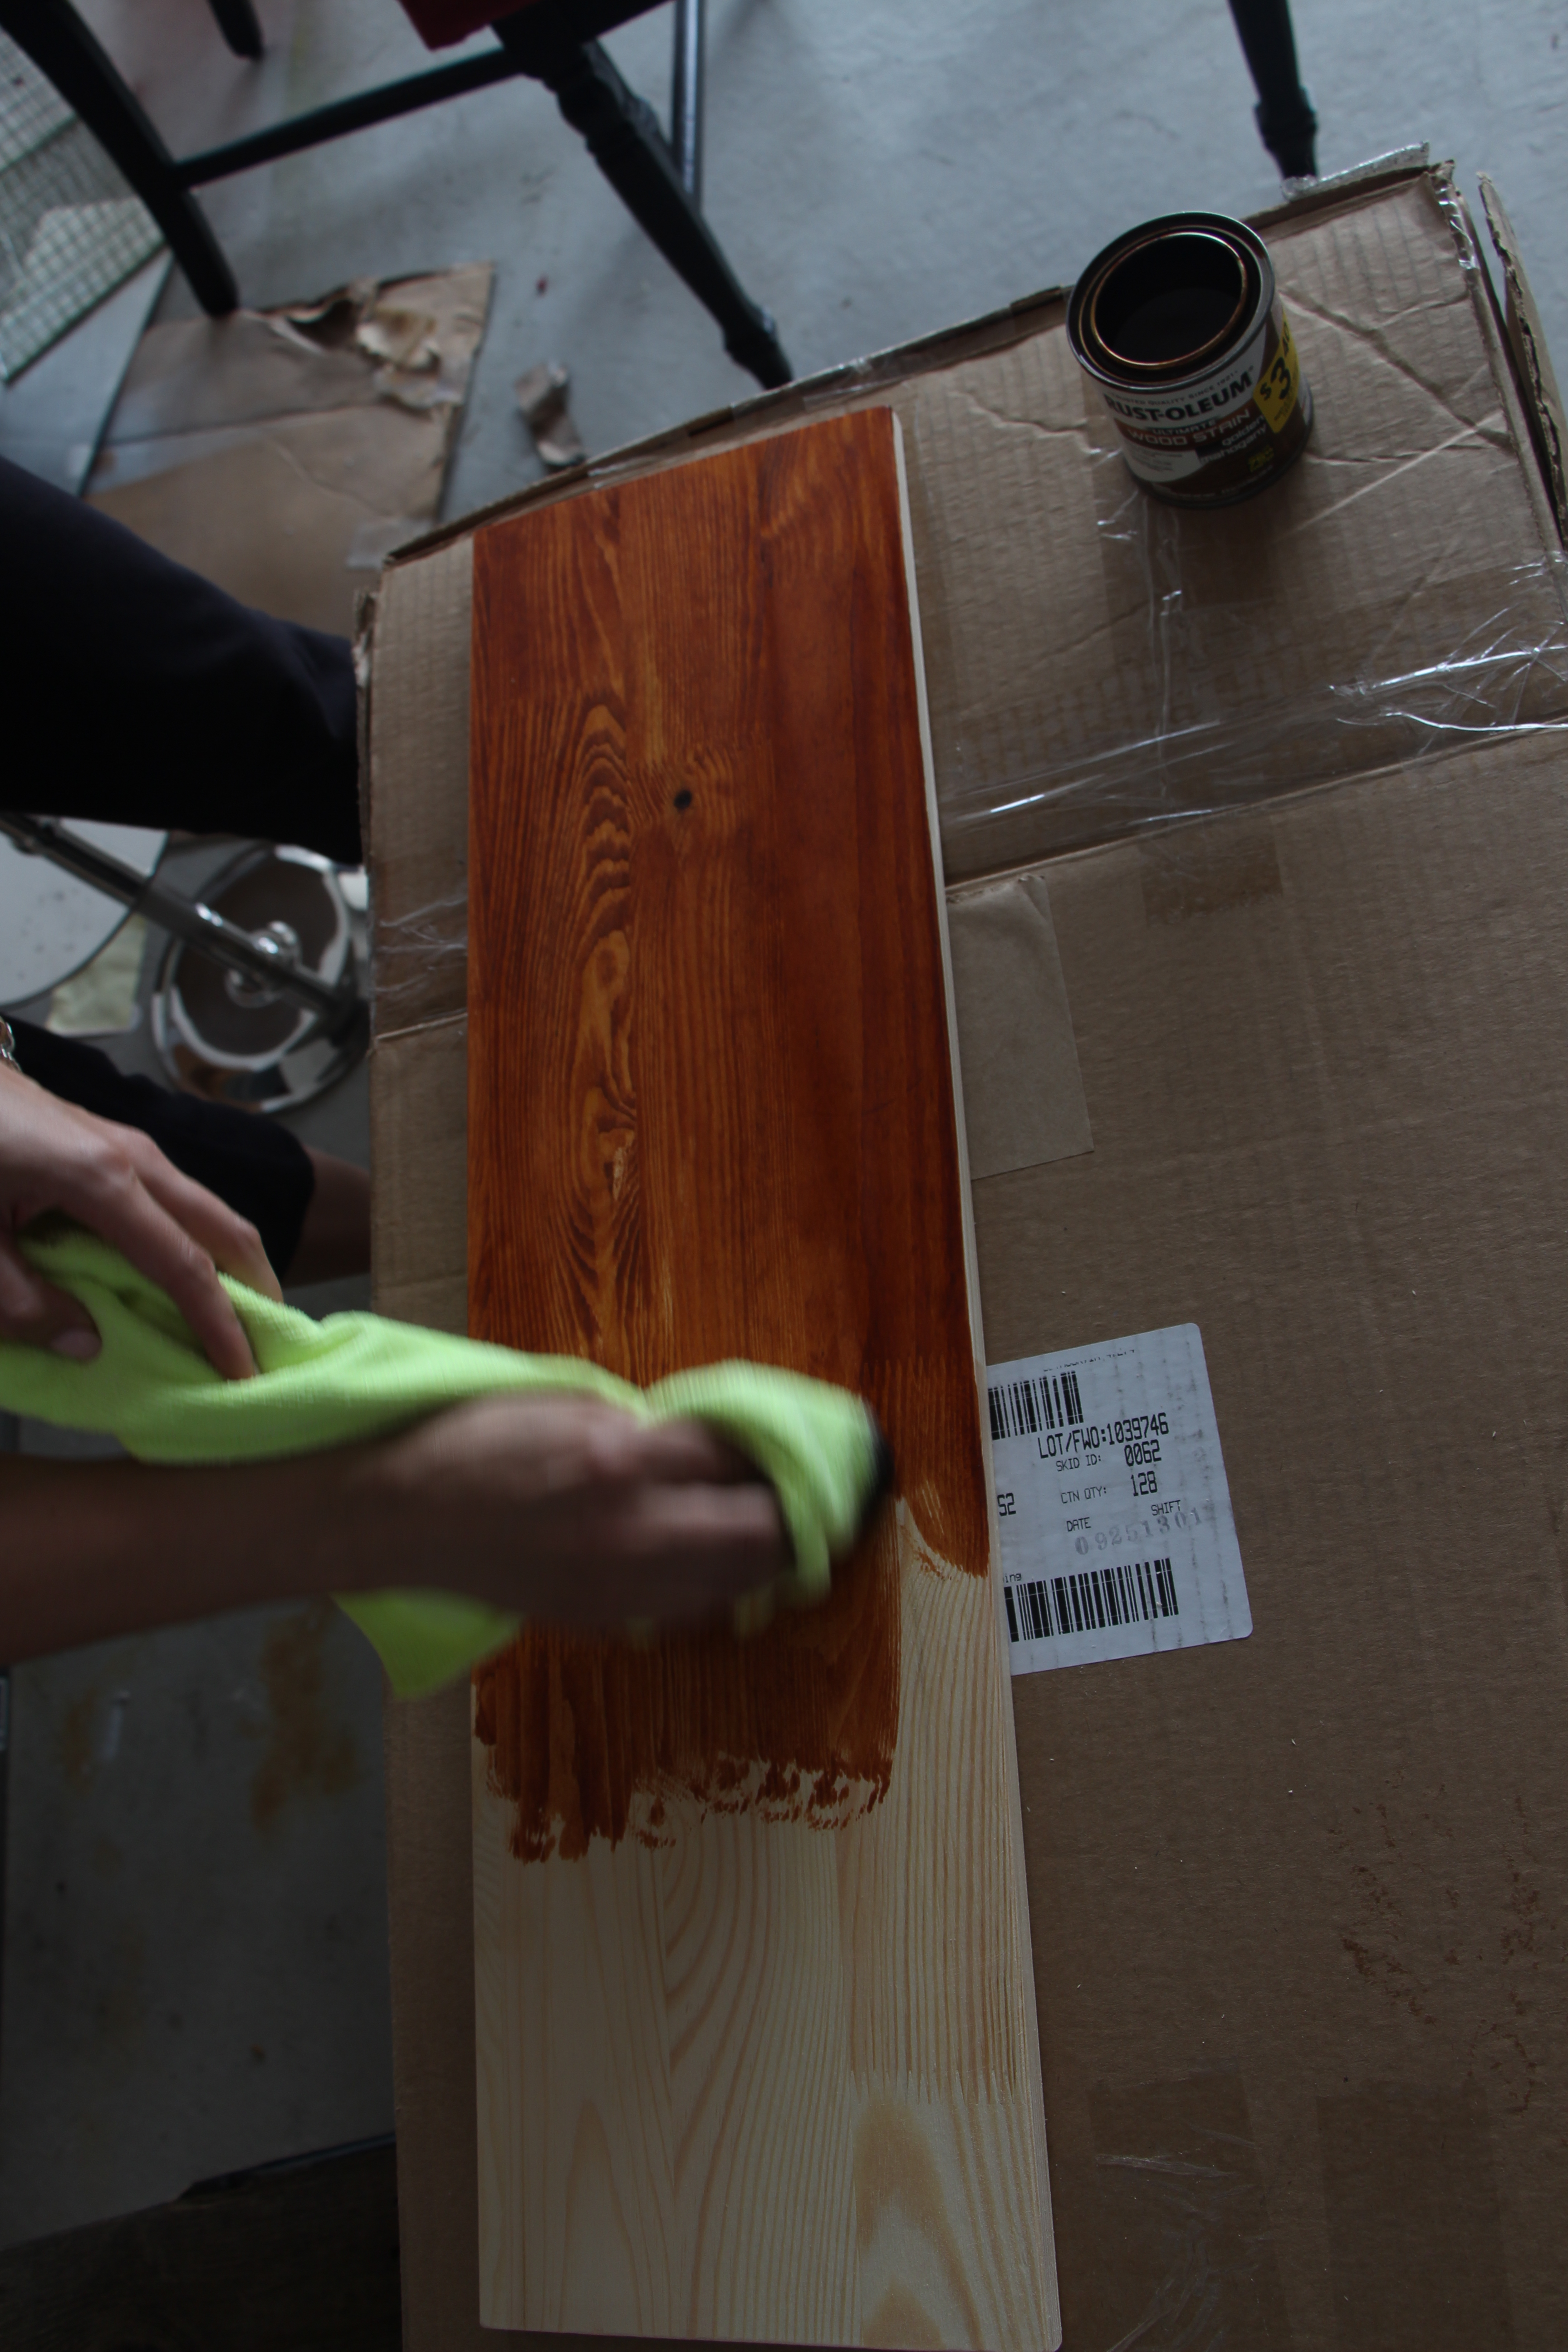
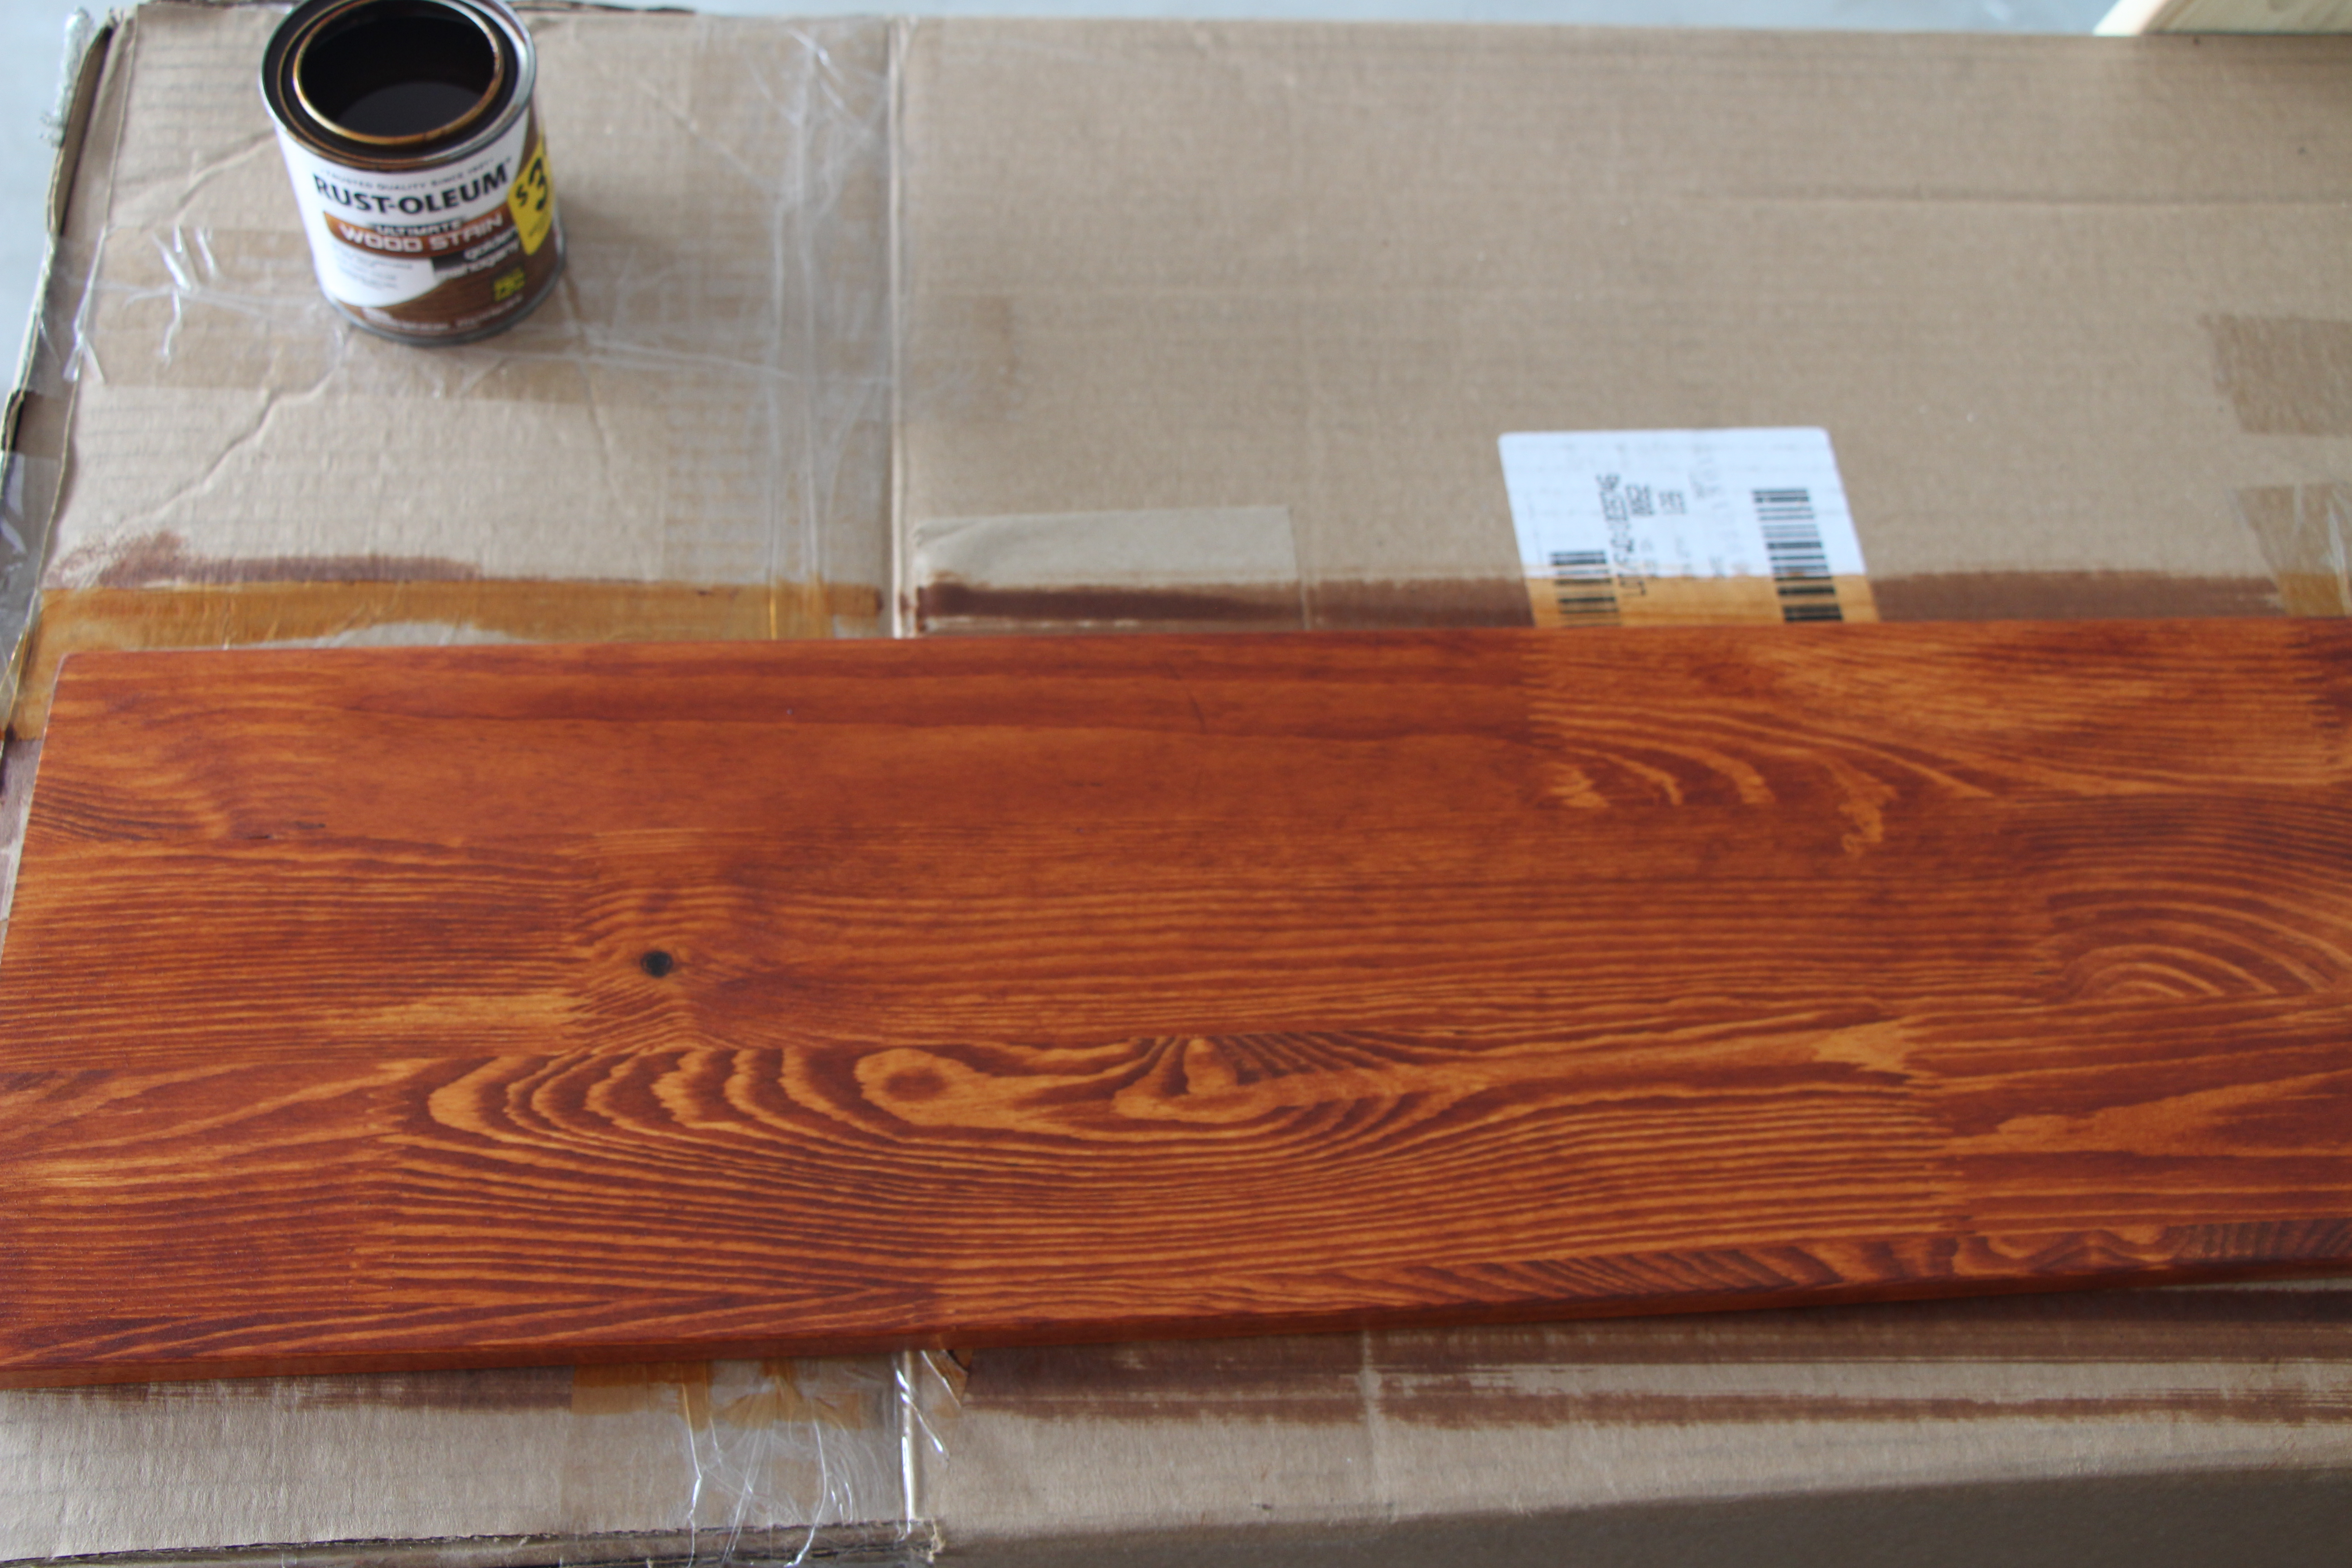
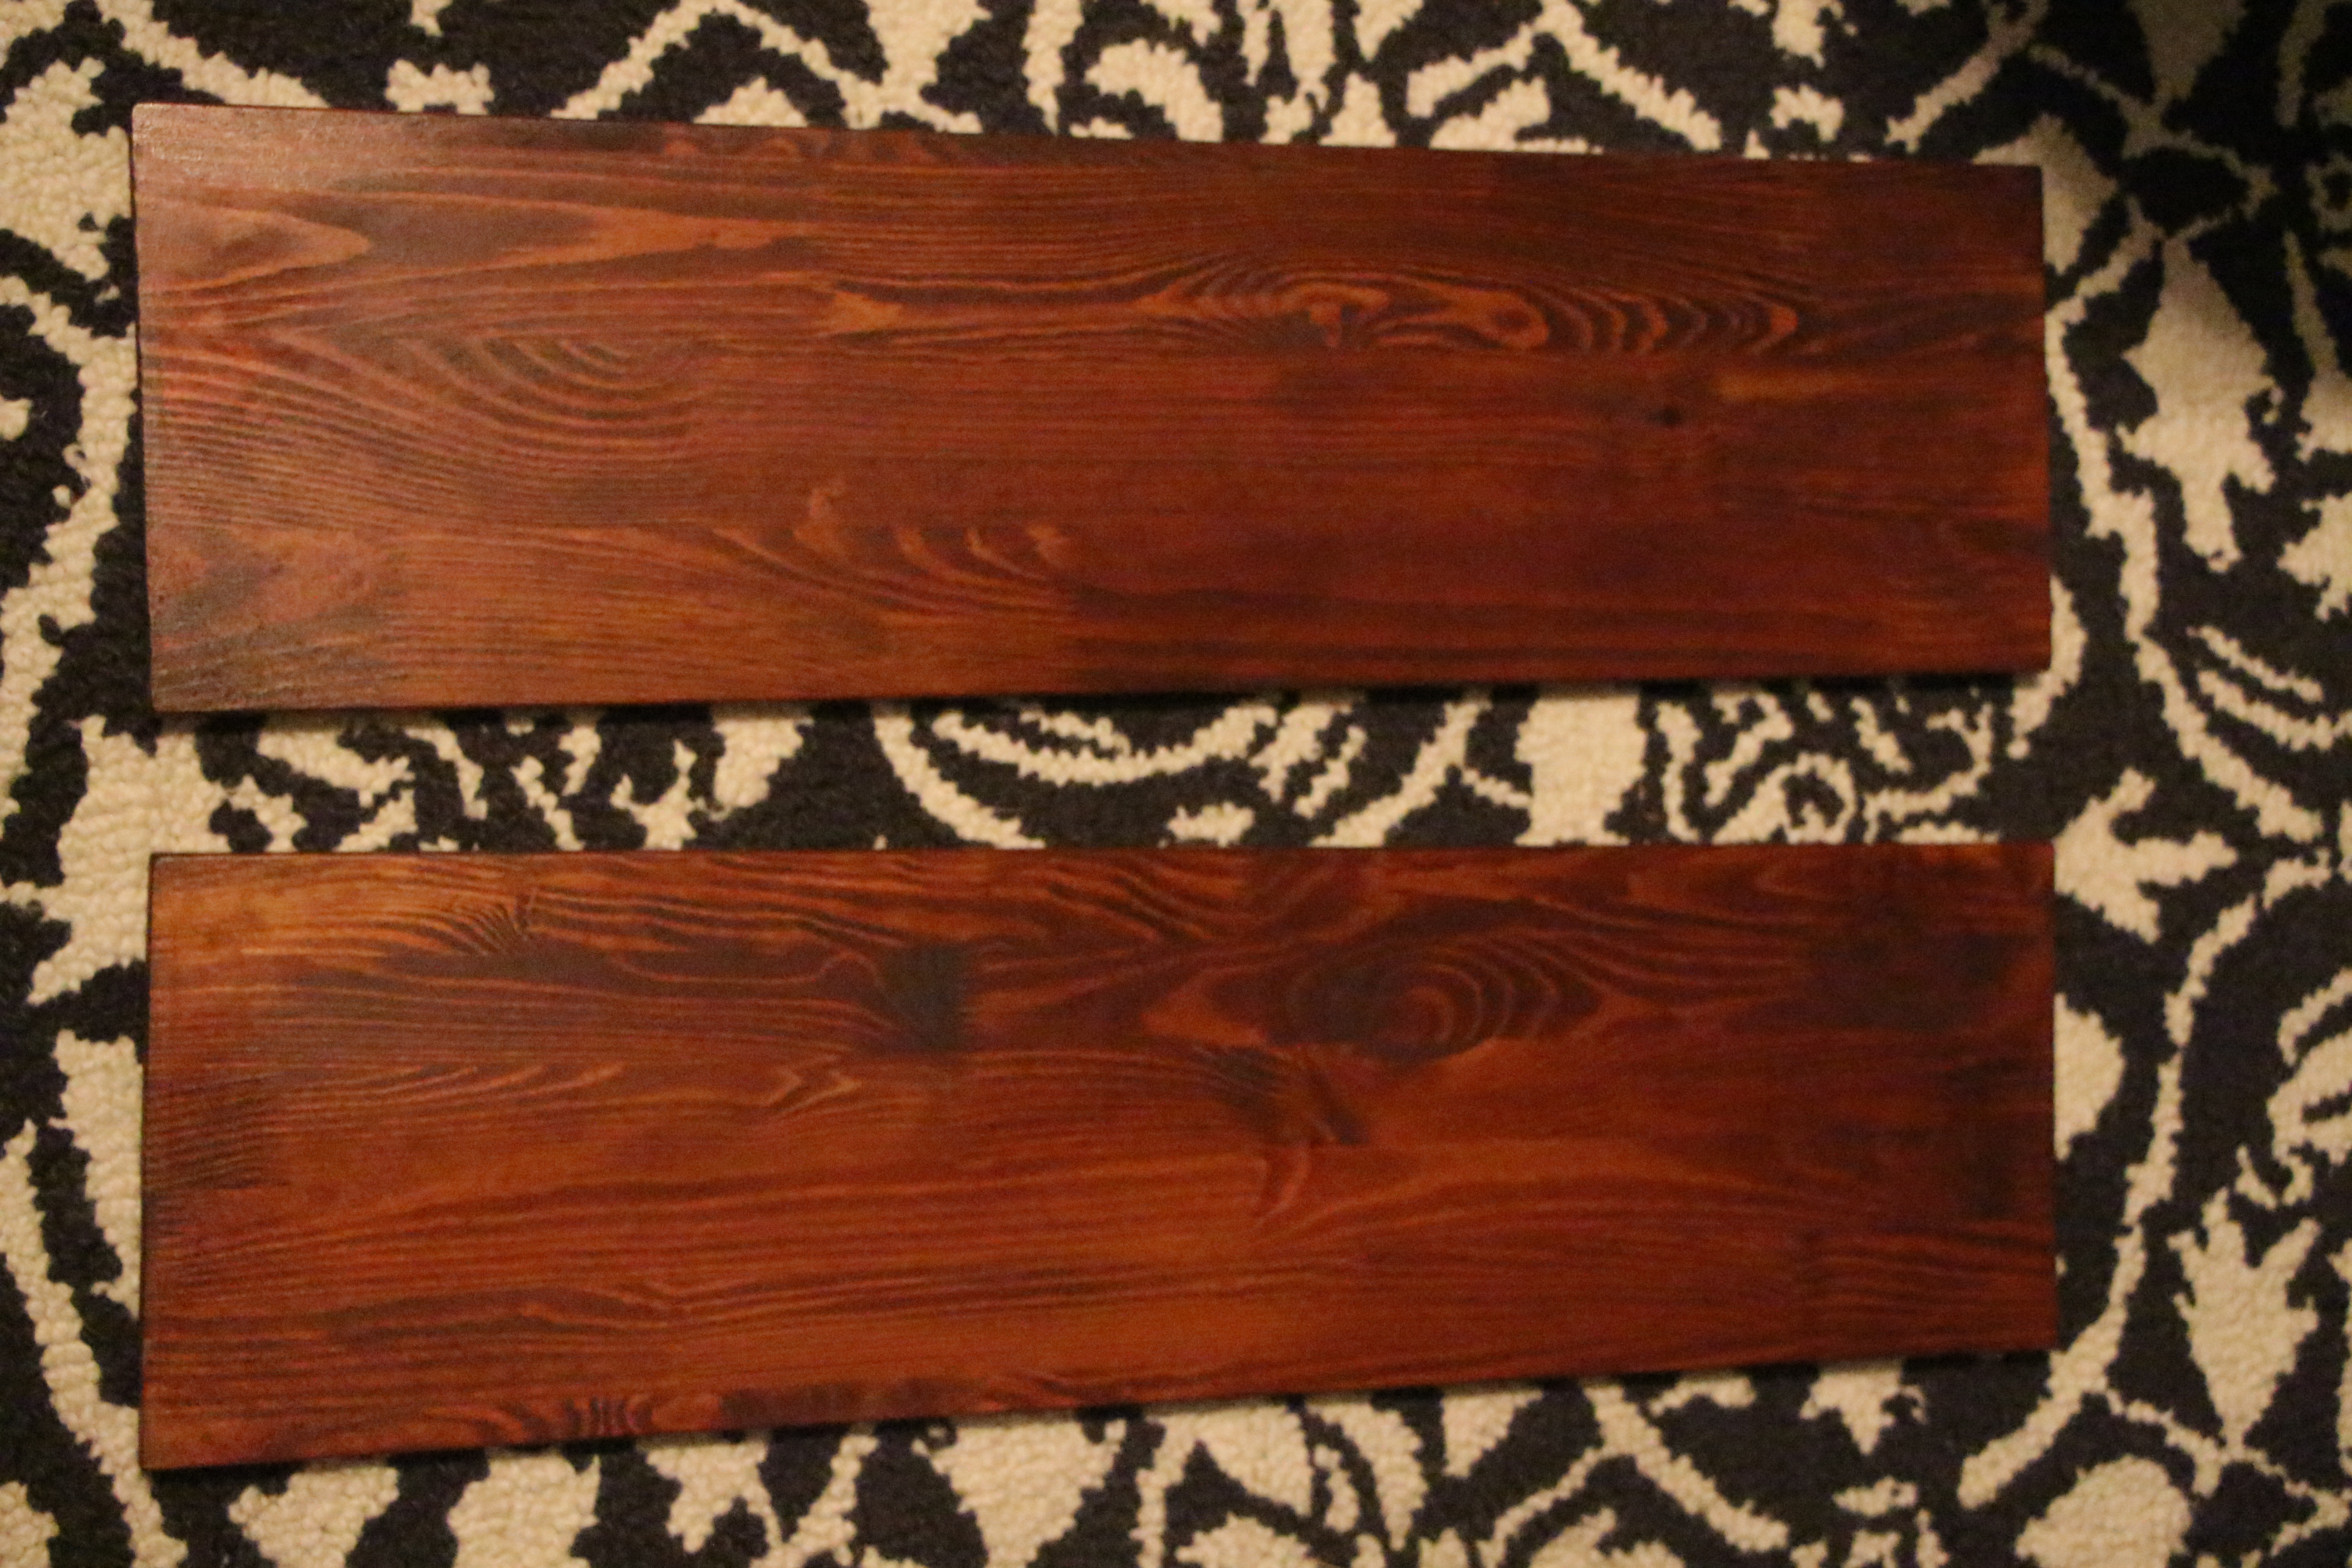
The shelf is untreated wood & can be cut to size. I had my favorite DIY helper cut them both to 27″ to fit the space on the wall.
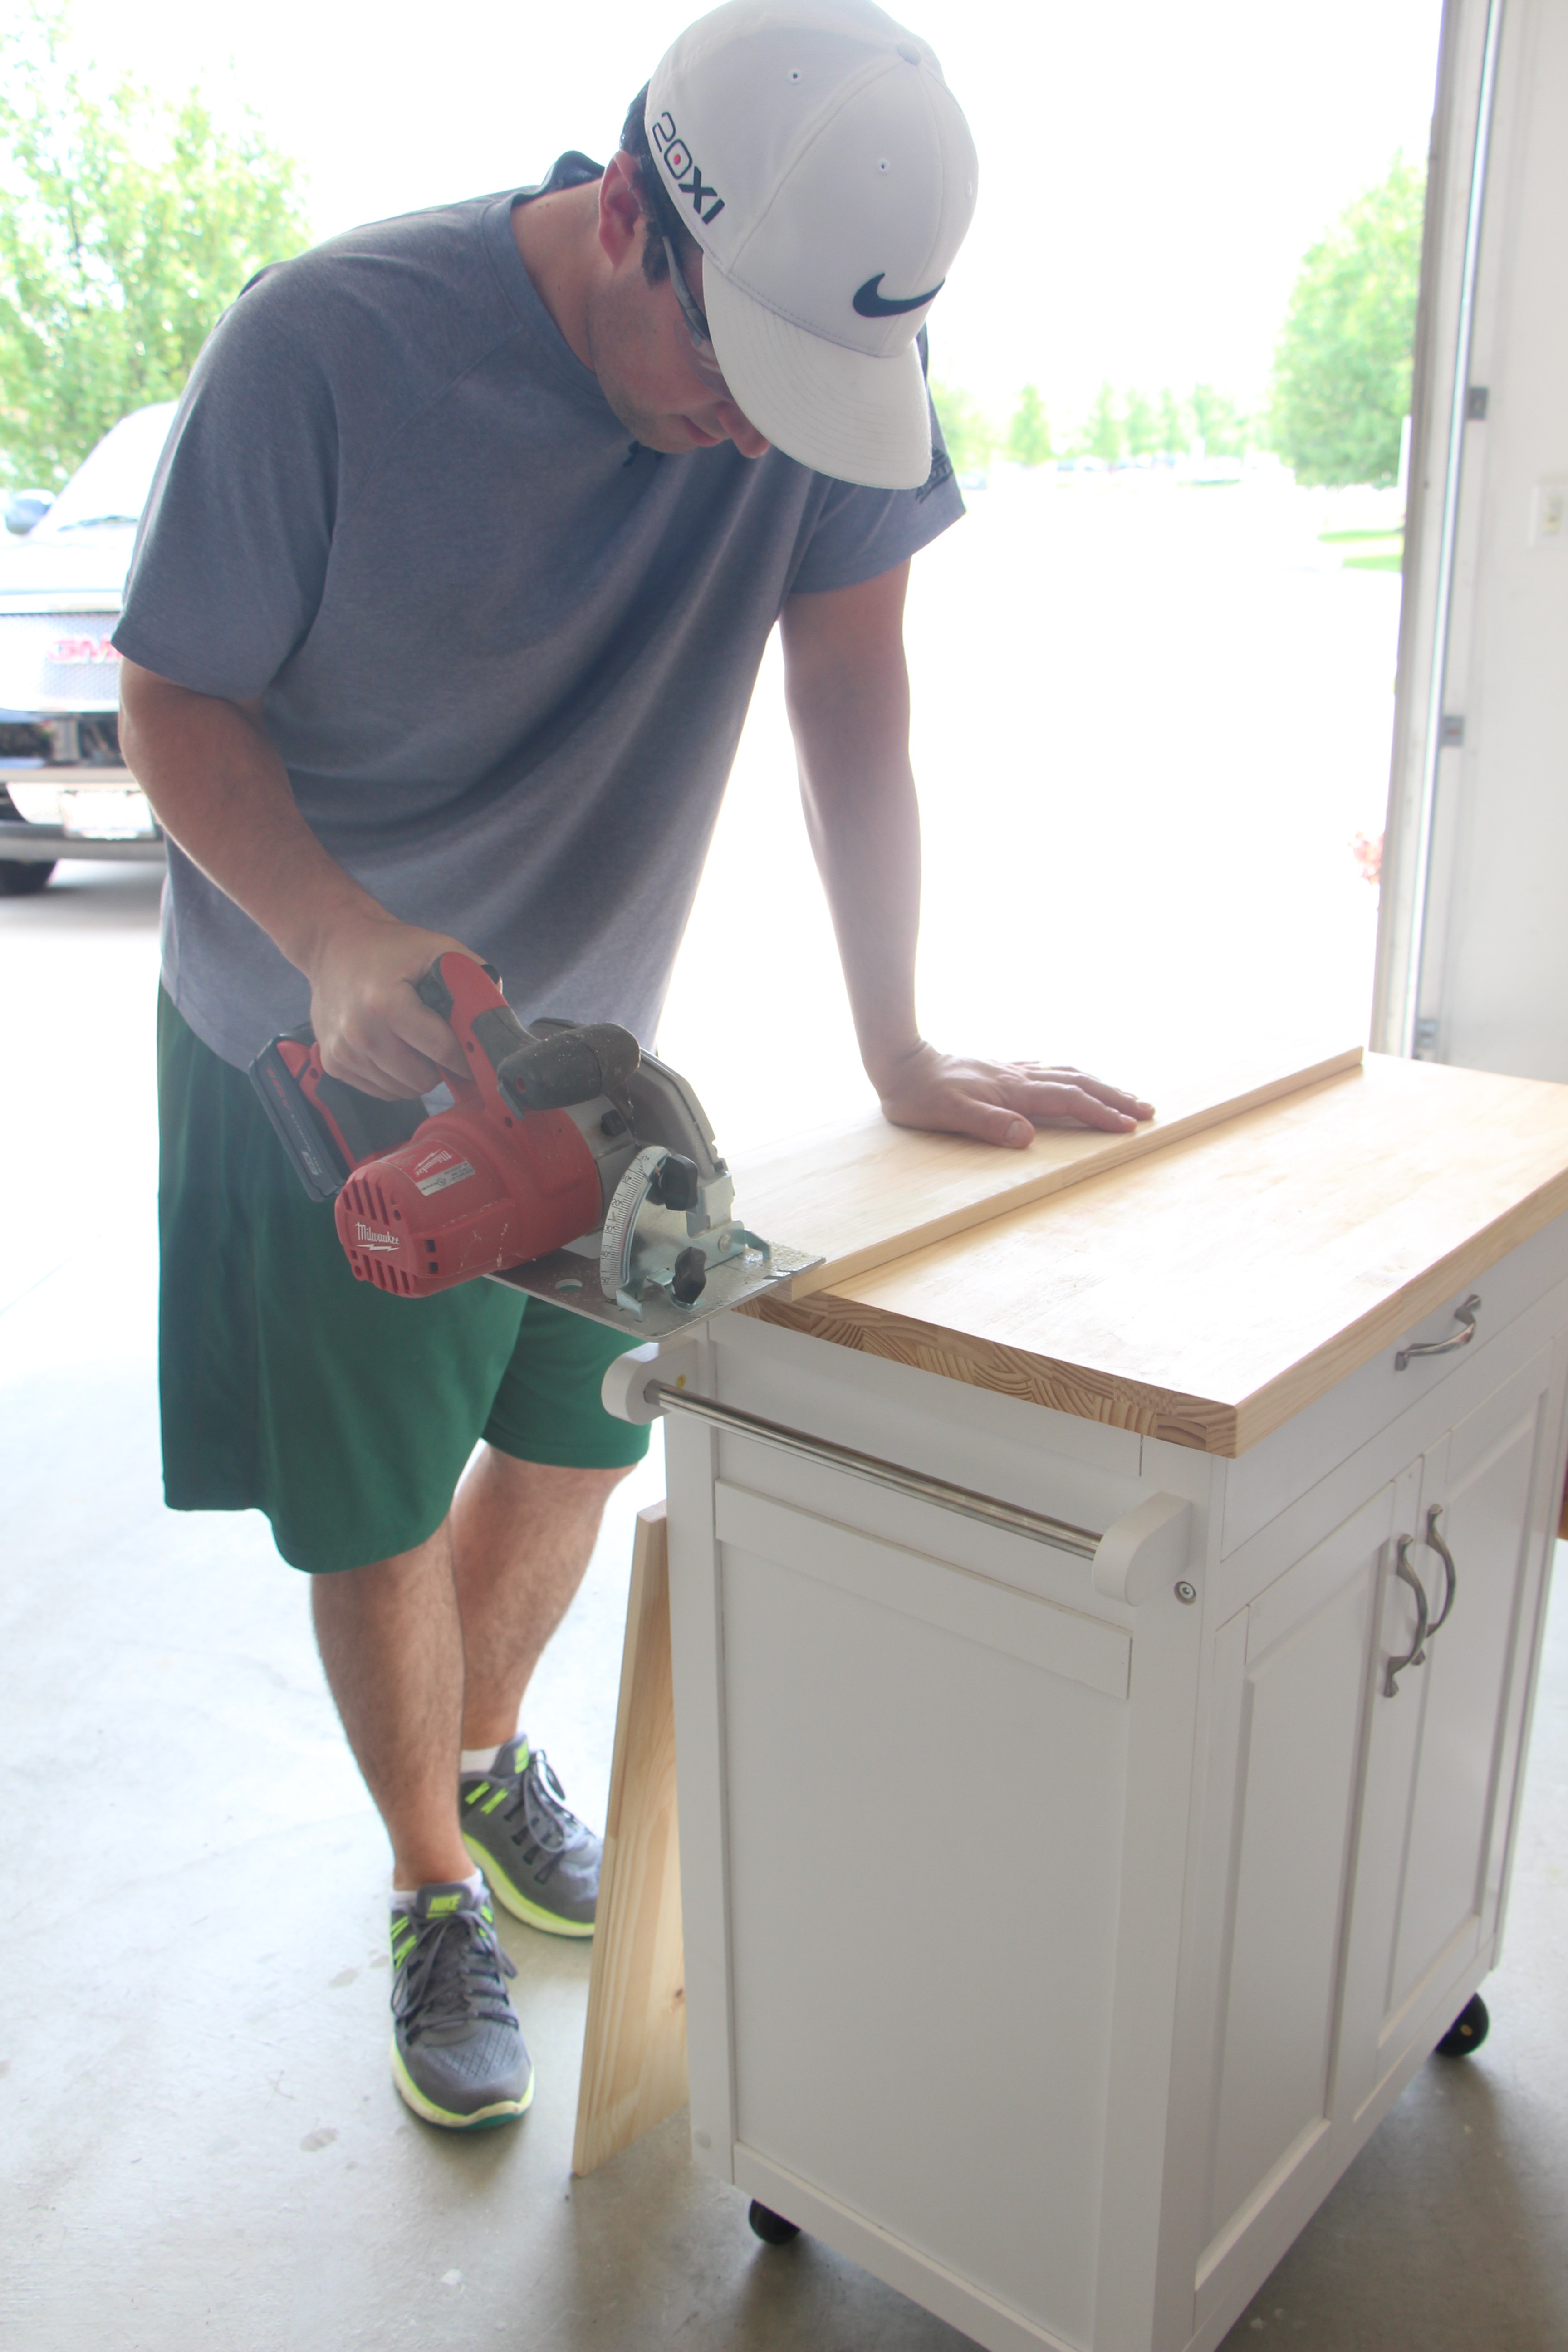
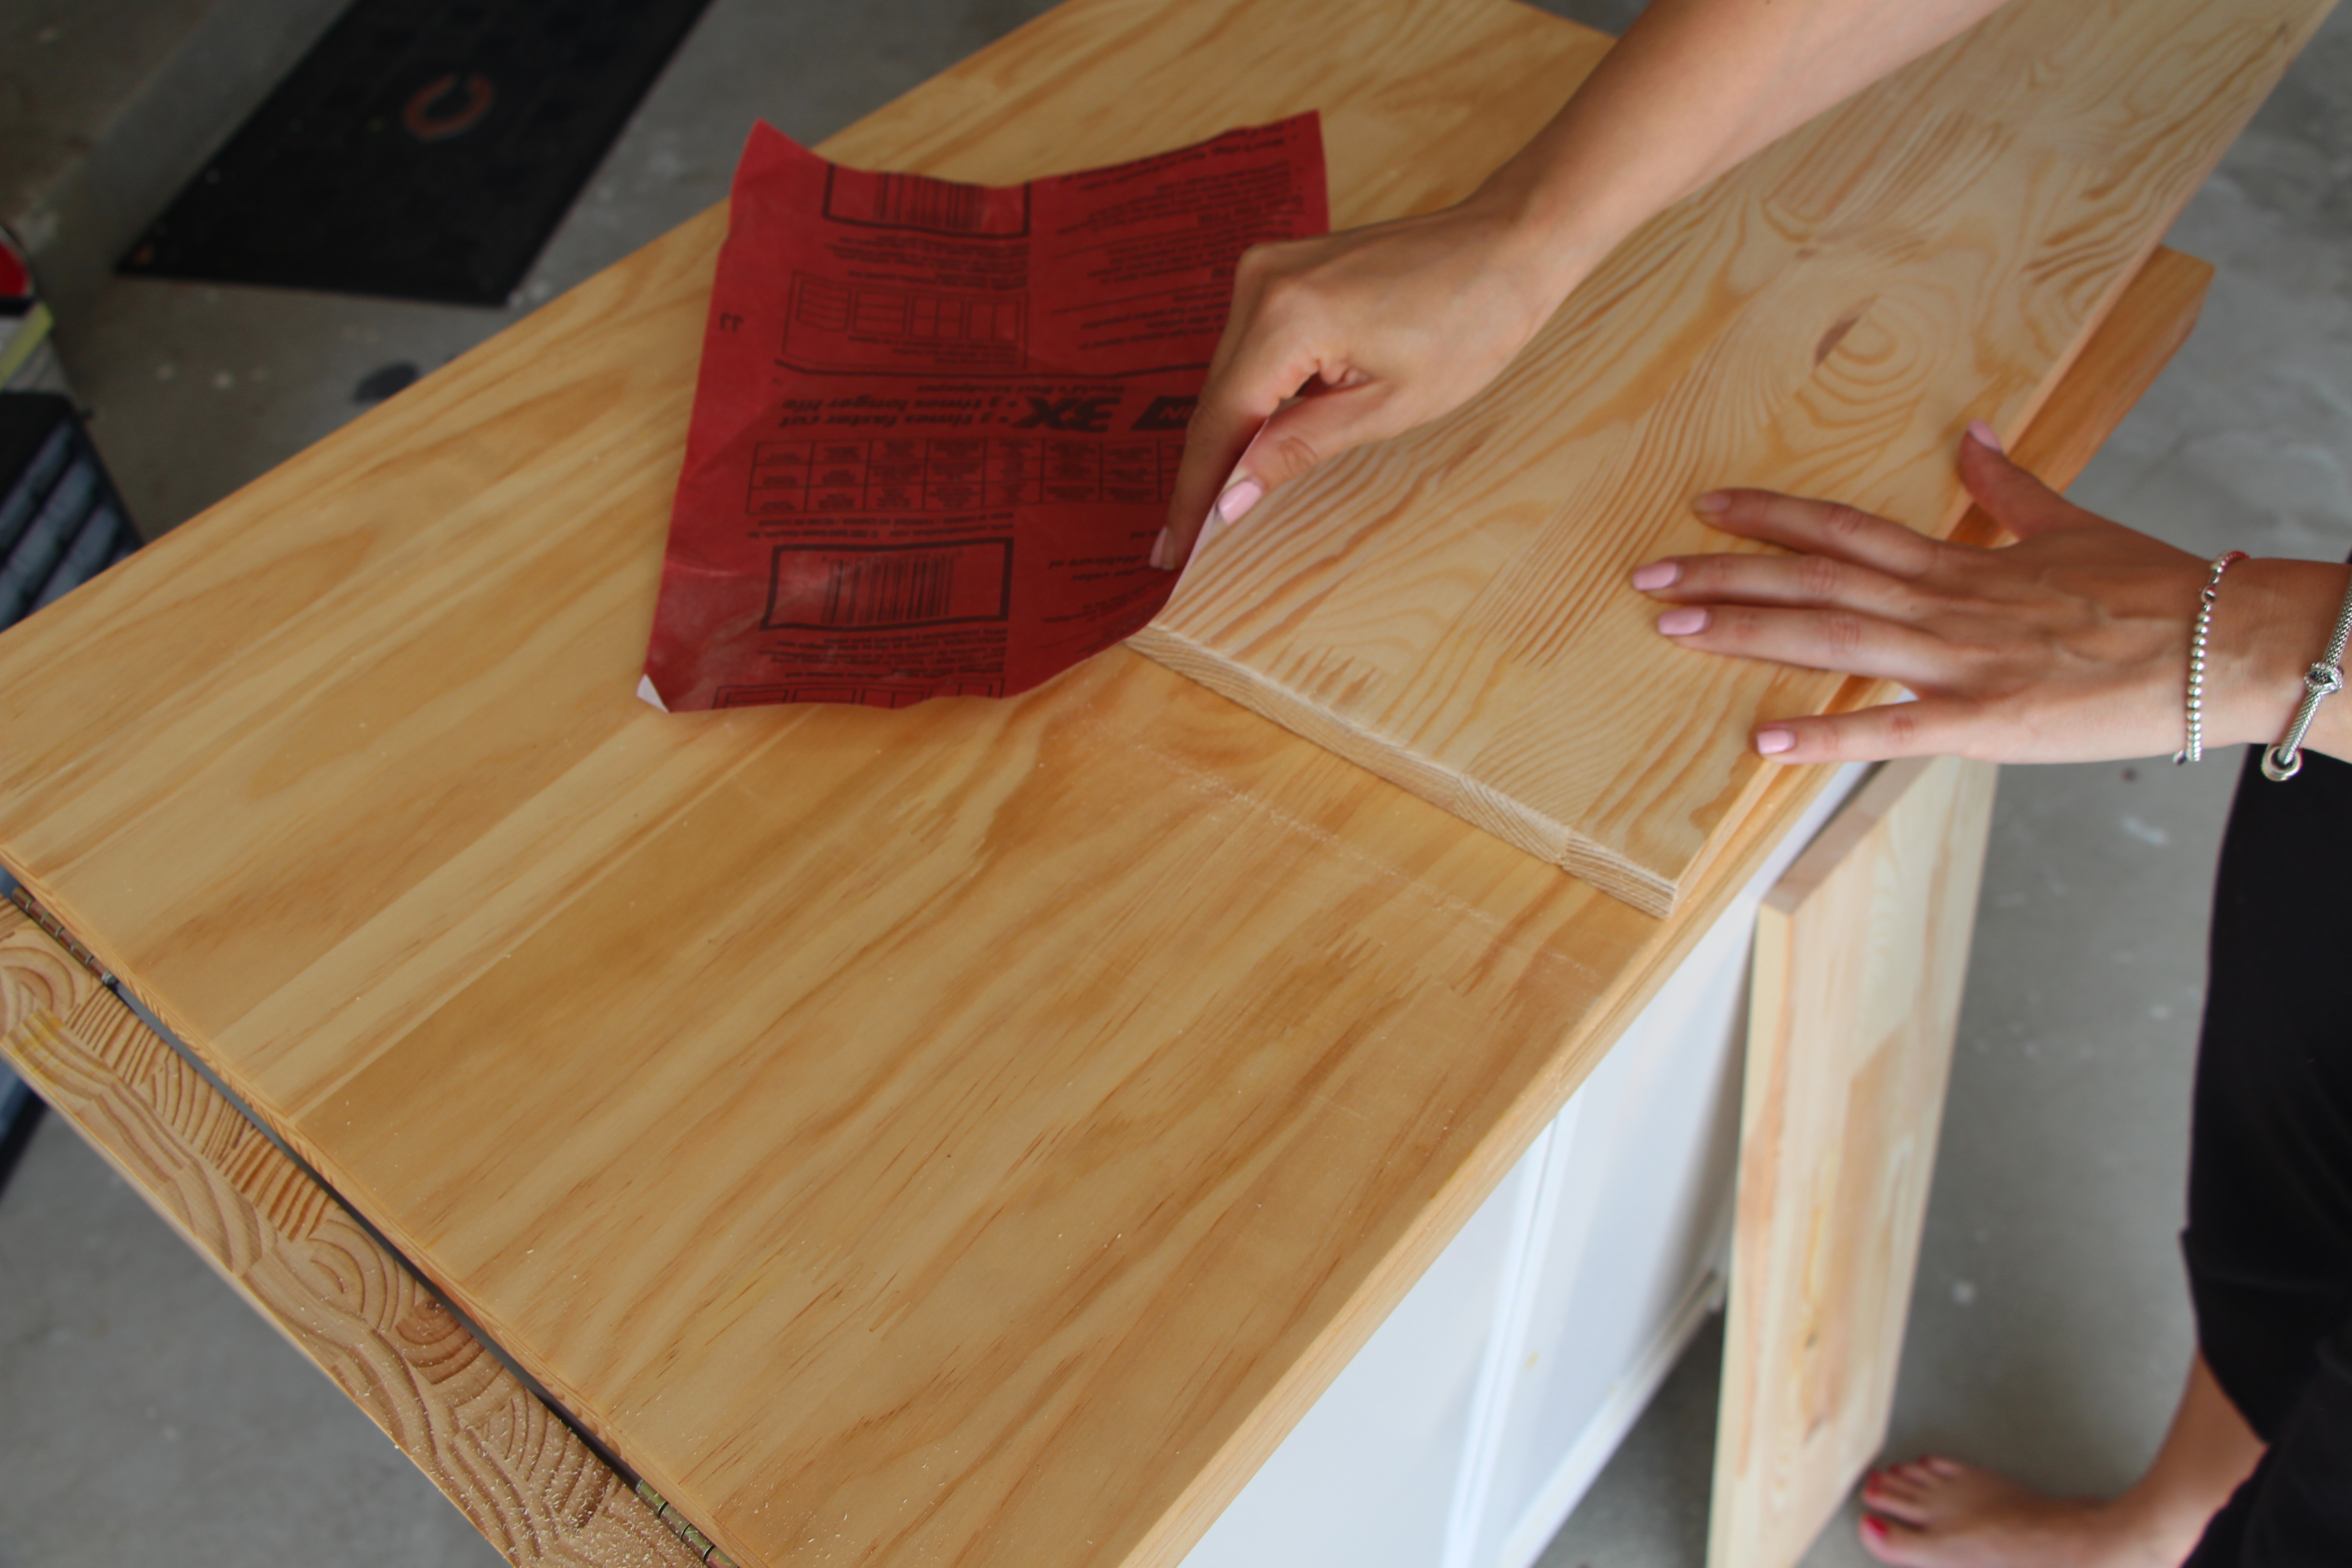
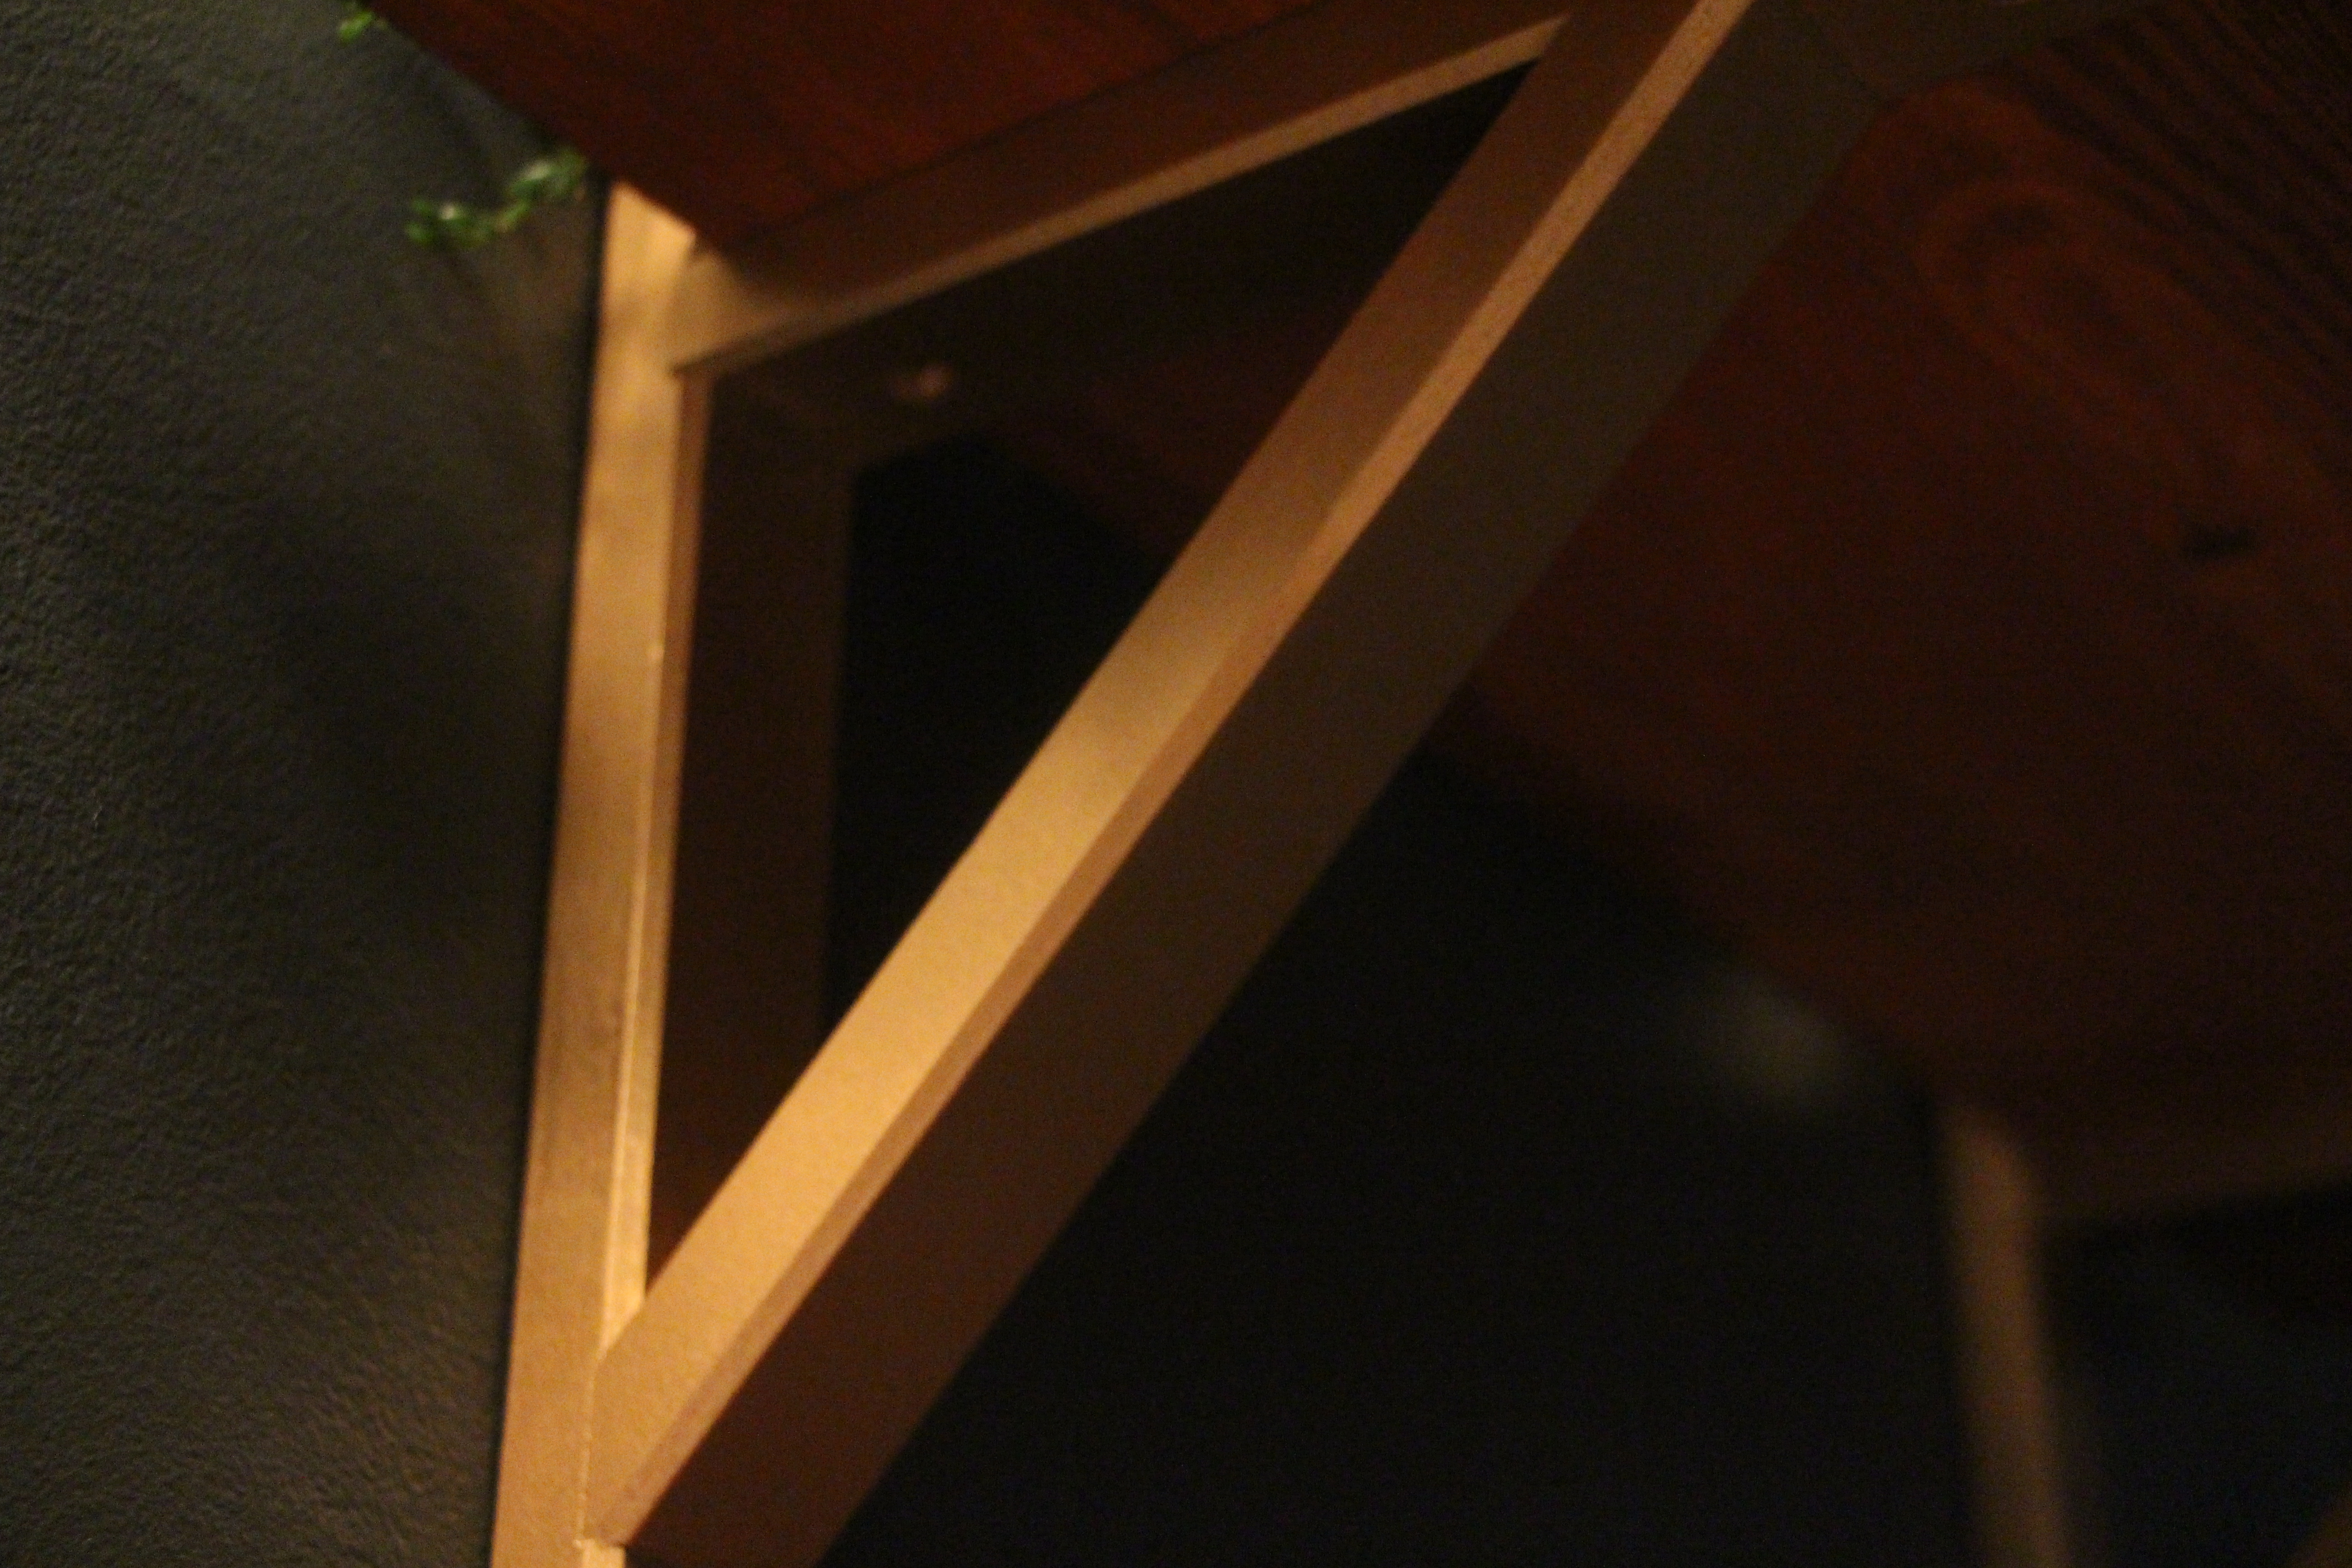
While they shelves dried overnight, I took out my gold spray paint and gave the brackets 2 nice coats of paint (letting the first coat dry for about an hour before applying the 2nd).
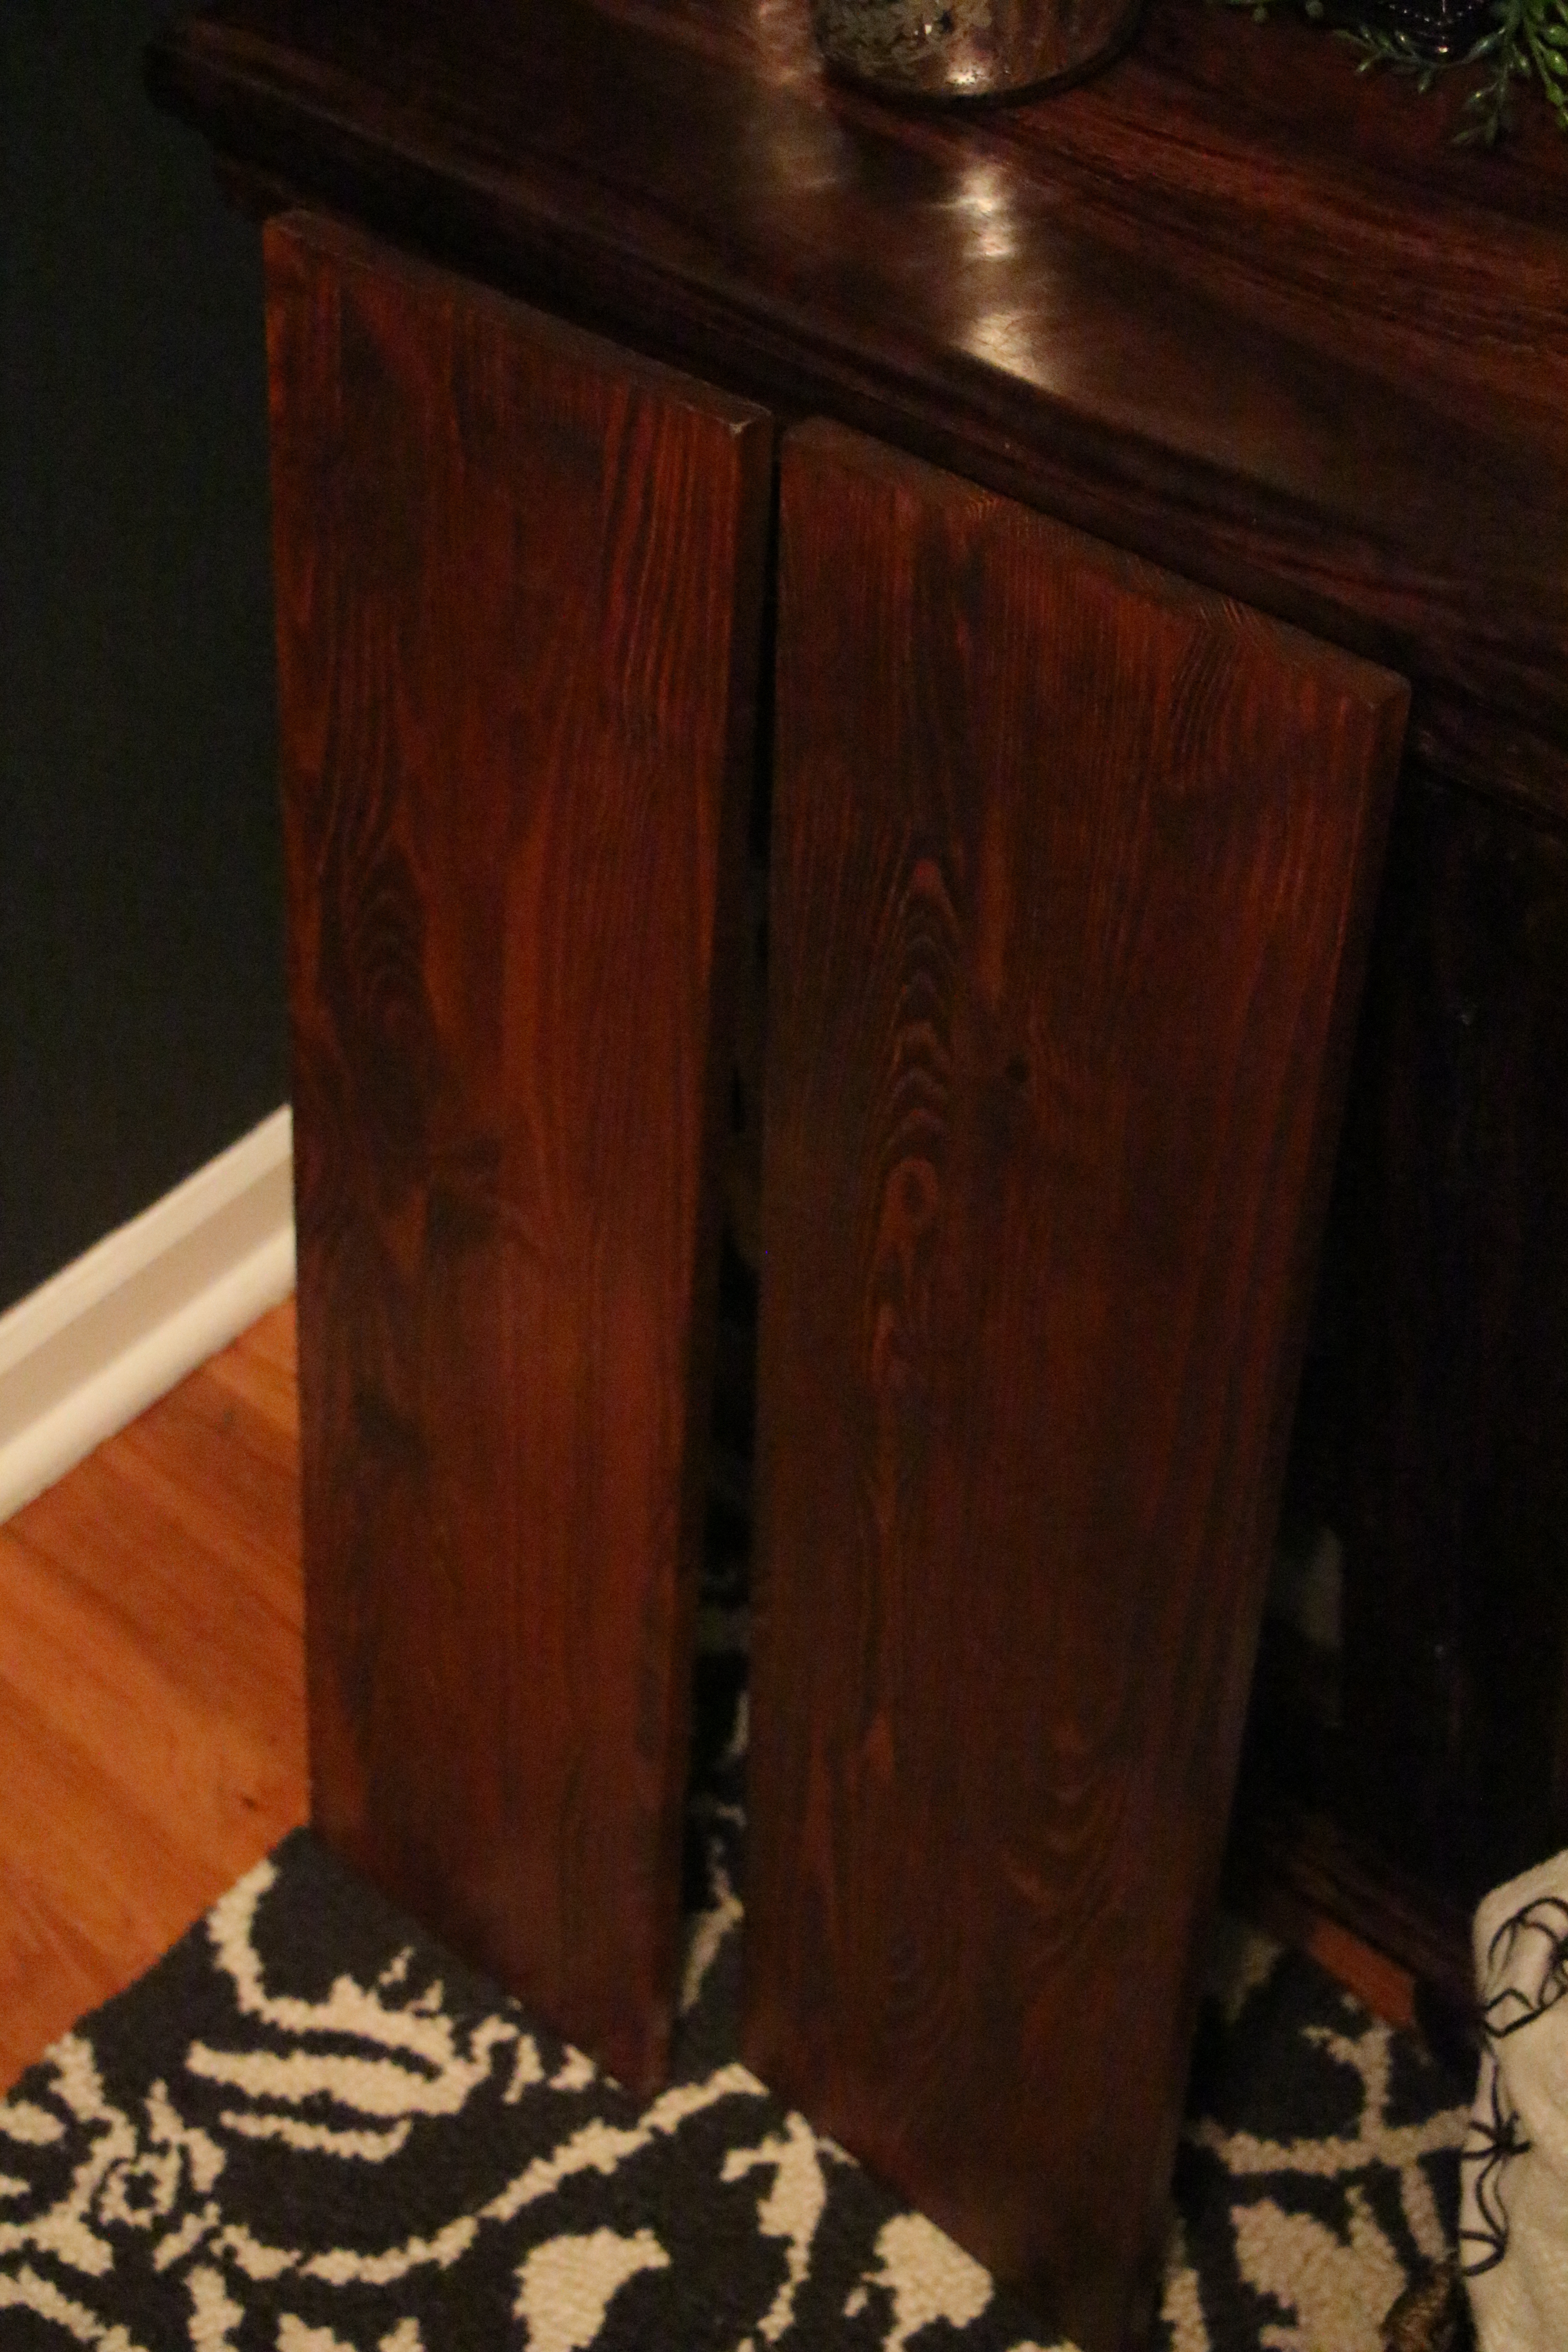
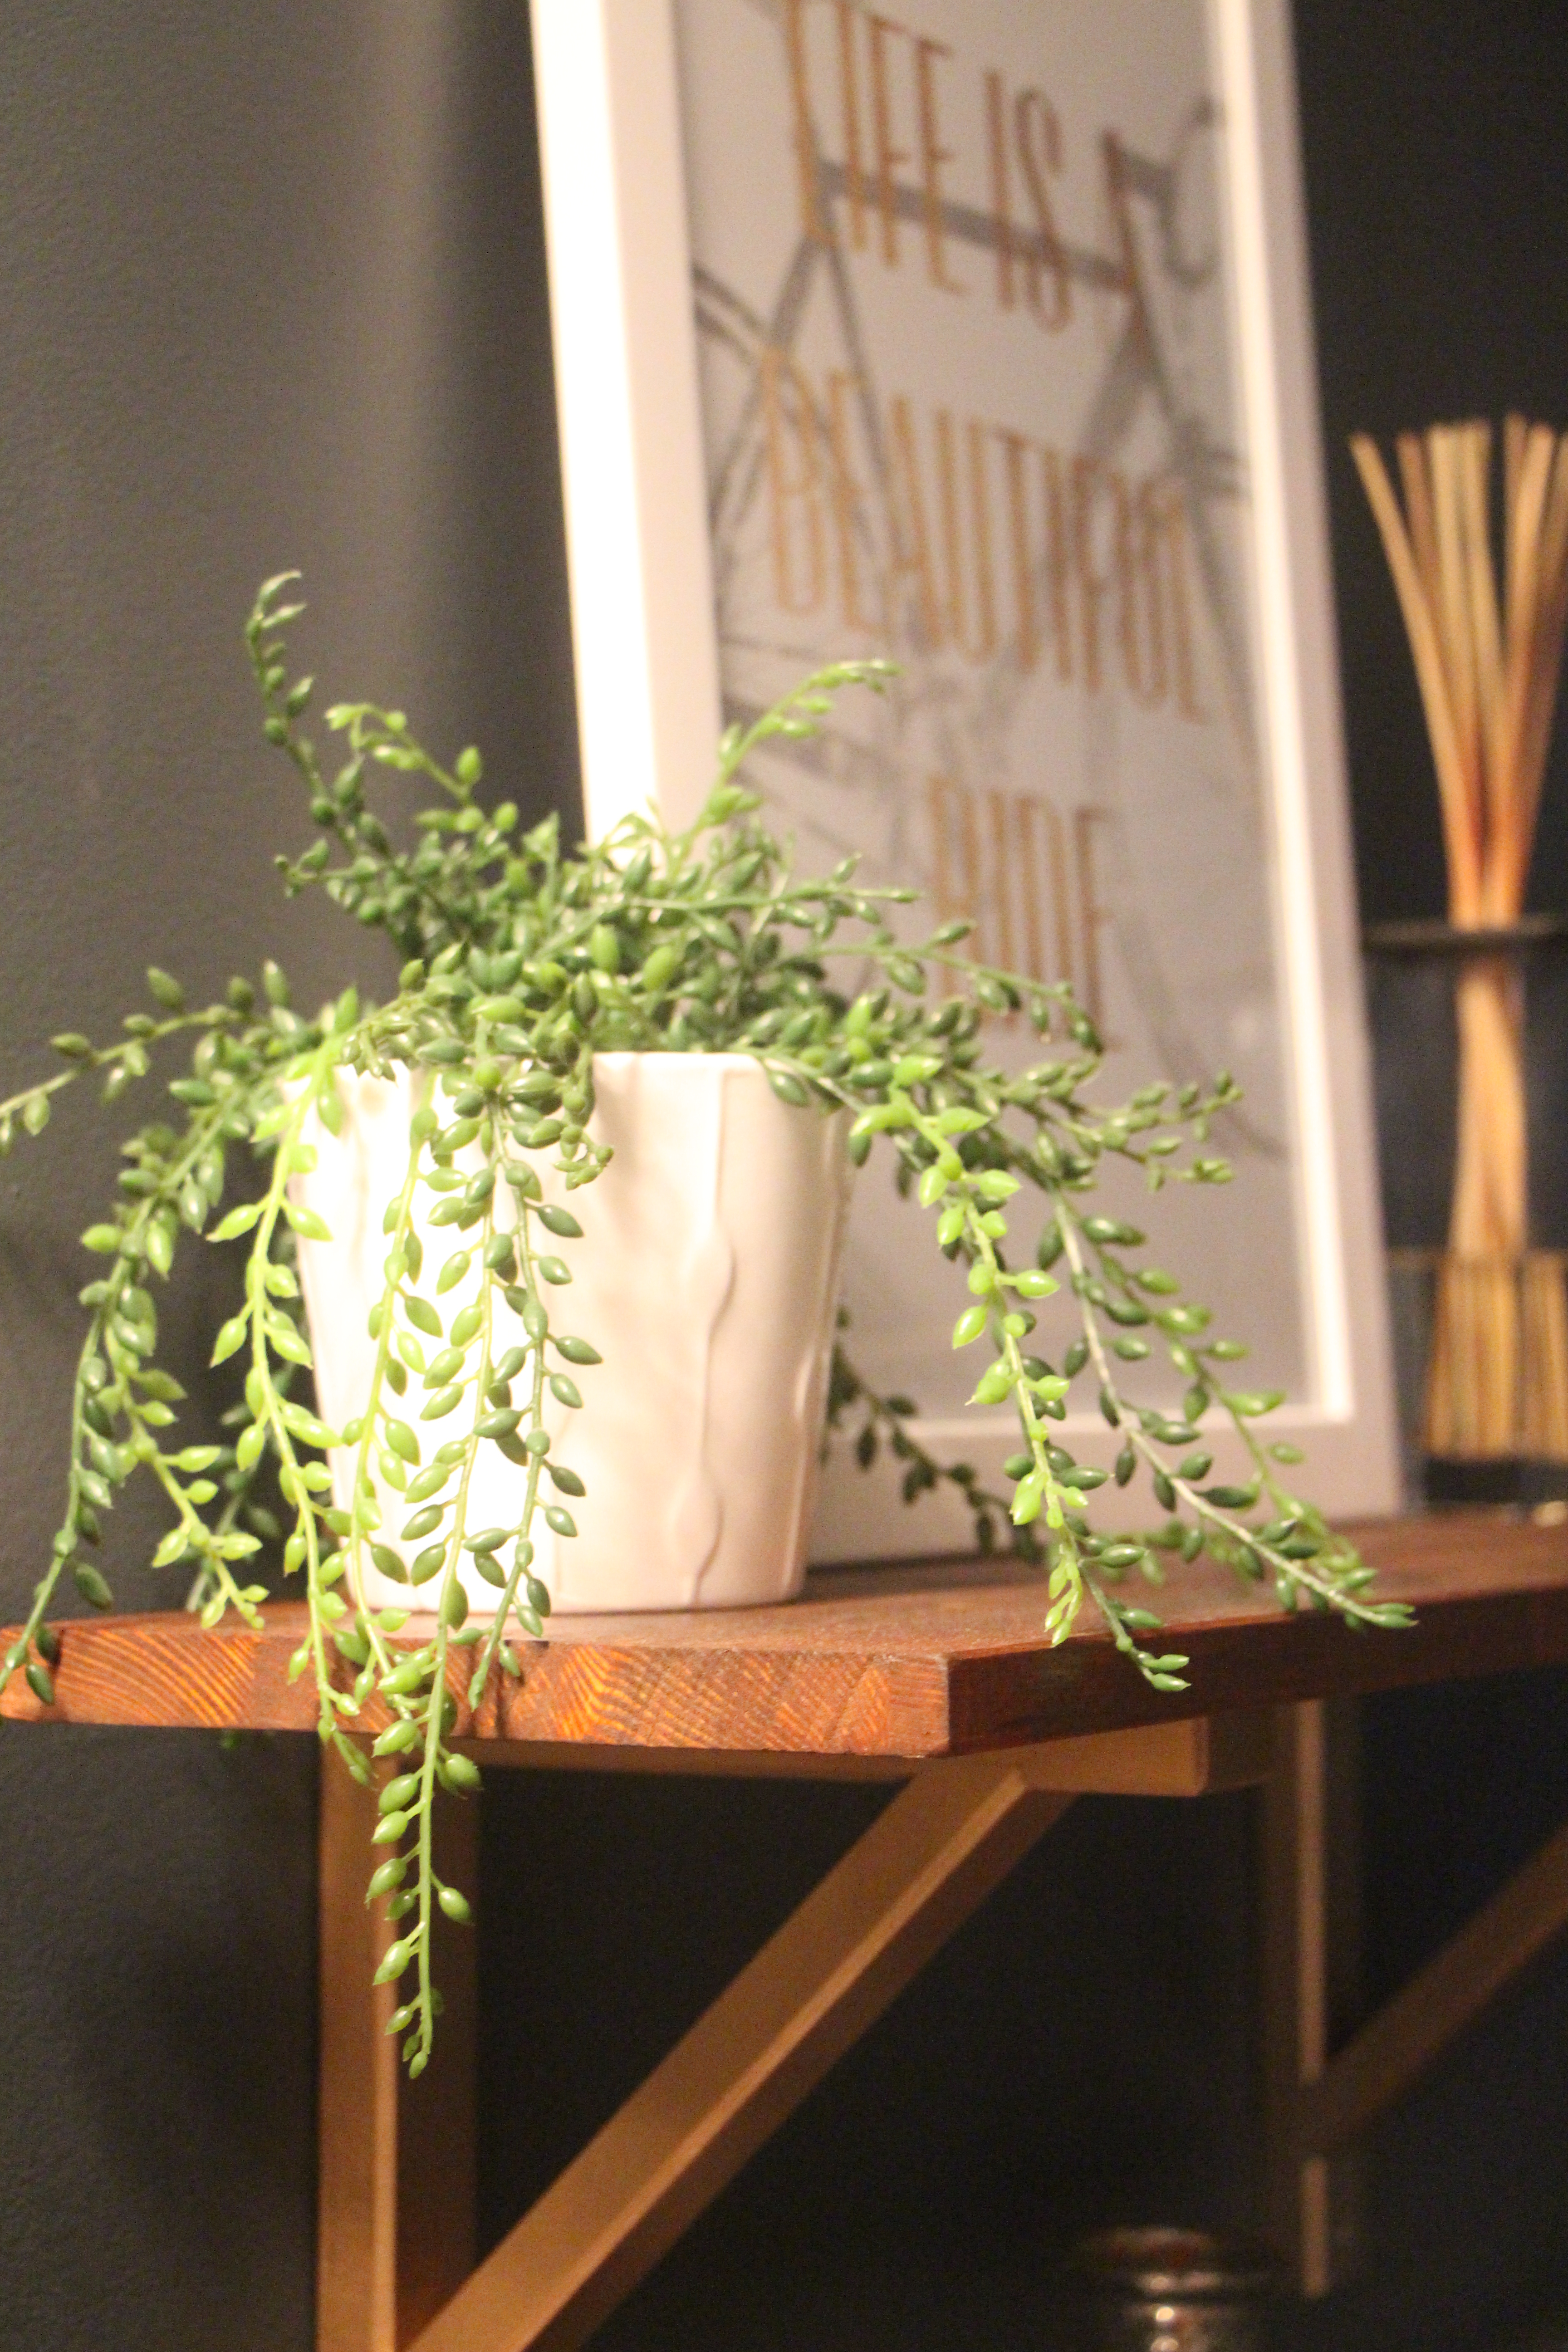
Here is how they look in the bathroom. I tried to match (sort of) the little wood piece we use for toilet paper storage.
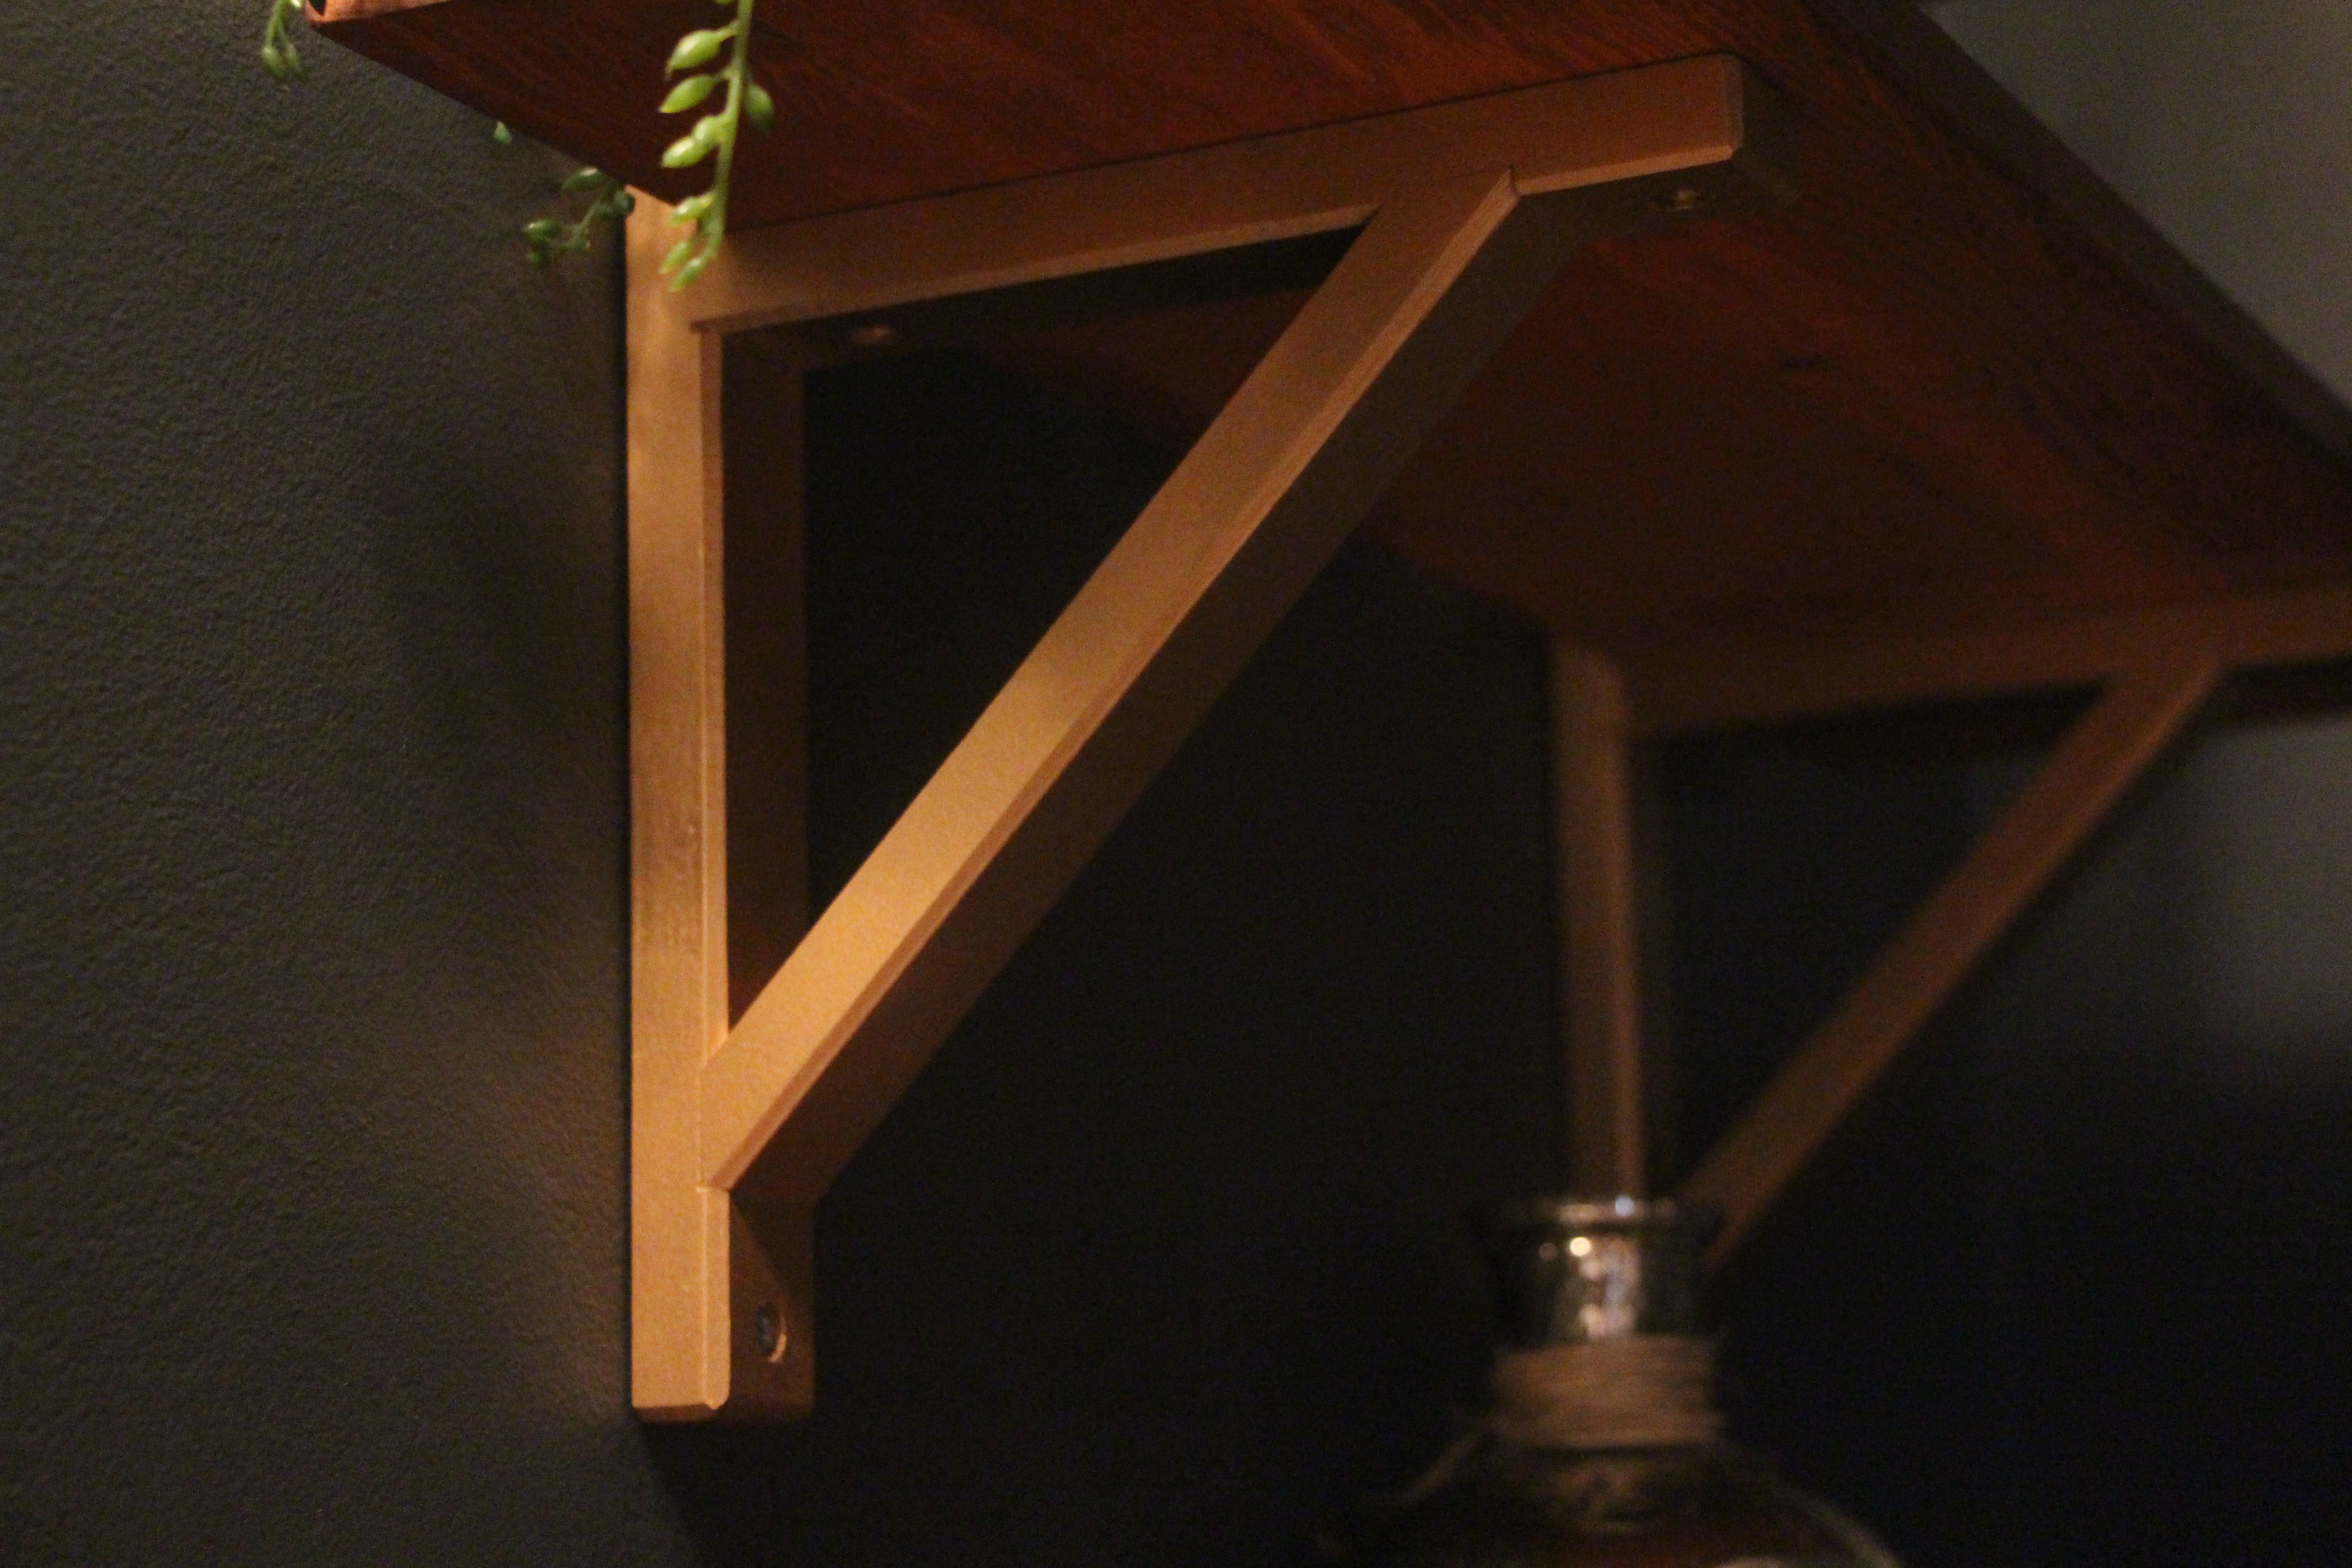
After that, it was hanging time! All we used were 2 screws in each bracket. They have predrilled holes at the top and bottom of each bracket. You could then drill under the bracket into the shelf to secure them, but we simply placed the shelf on top of the bracket so they just rest on it.
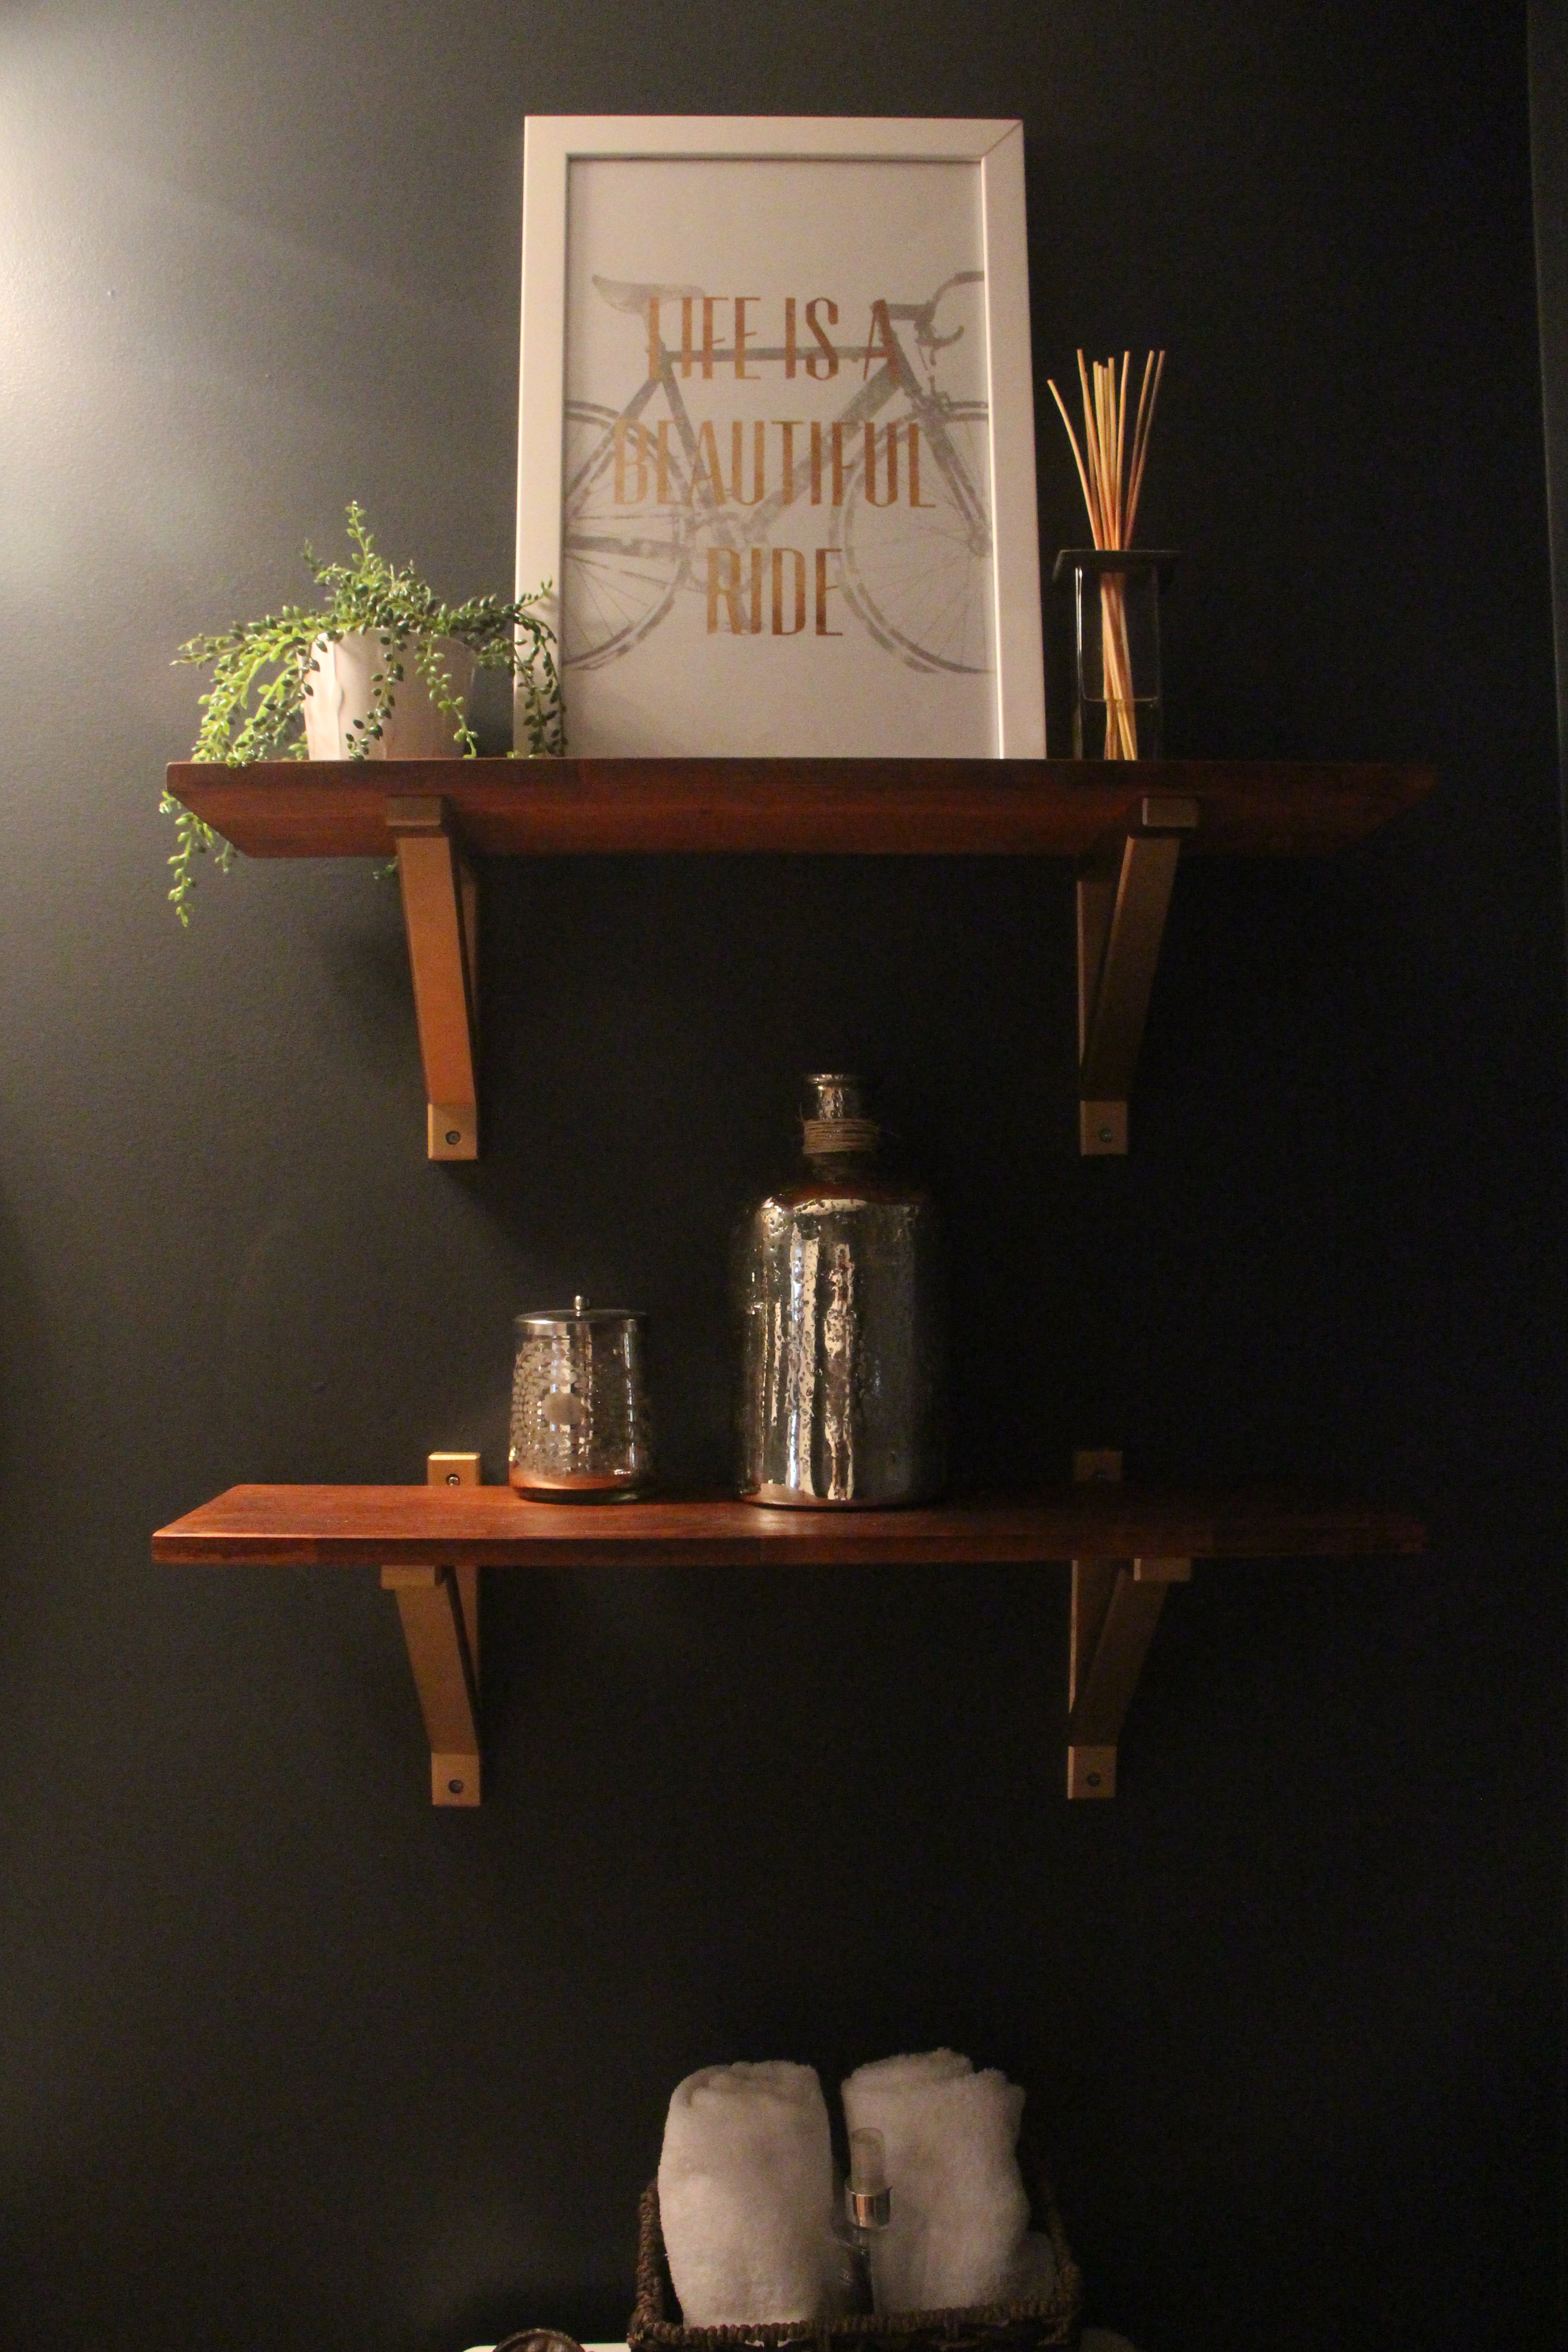
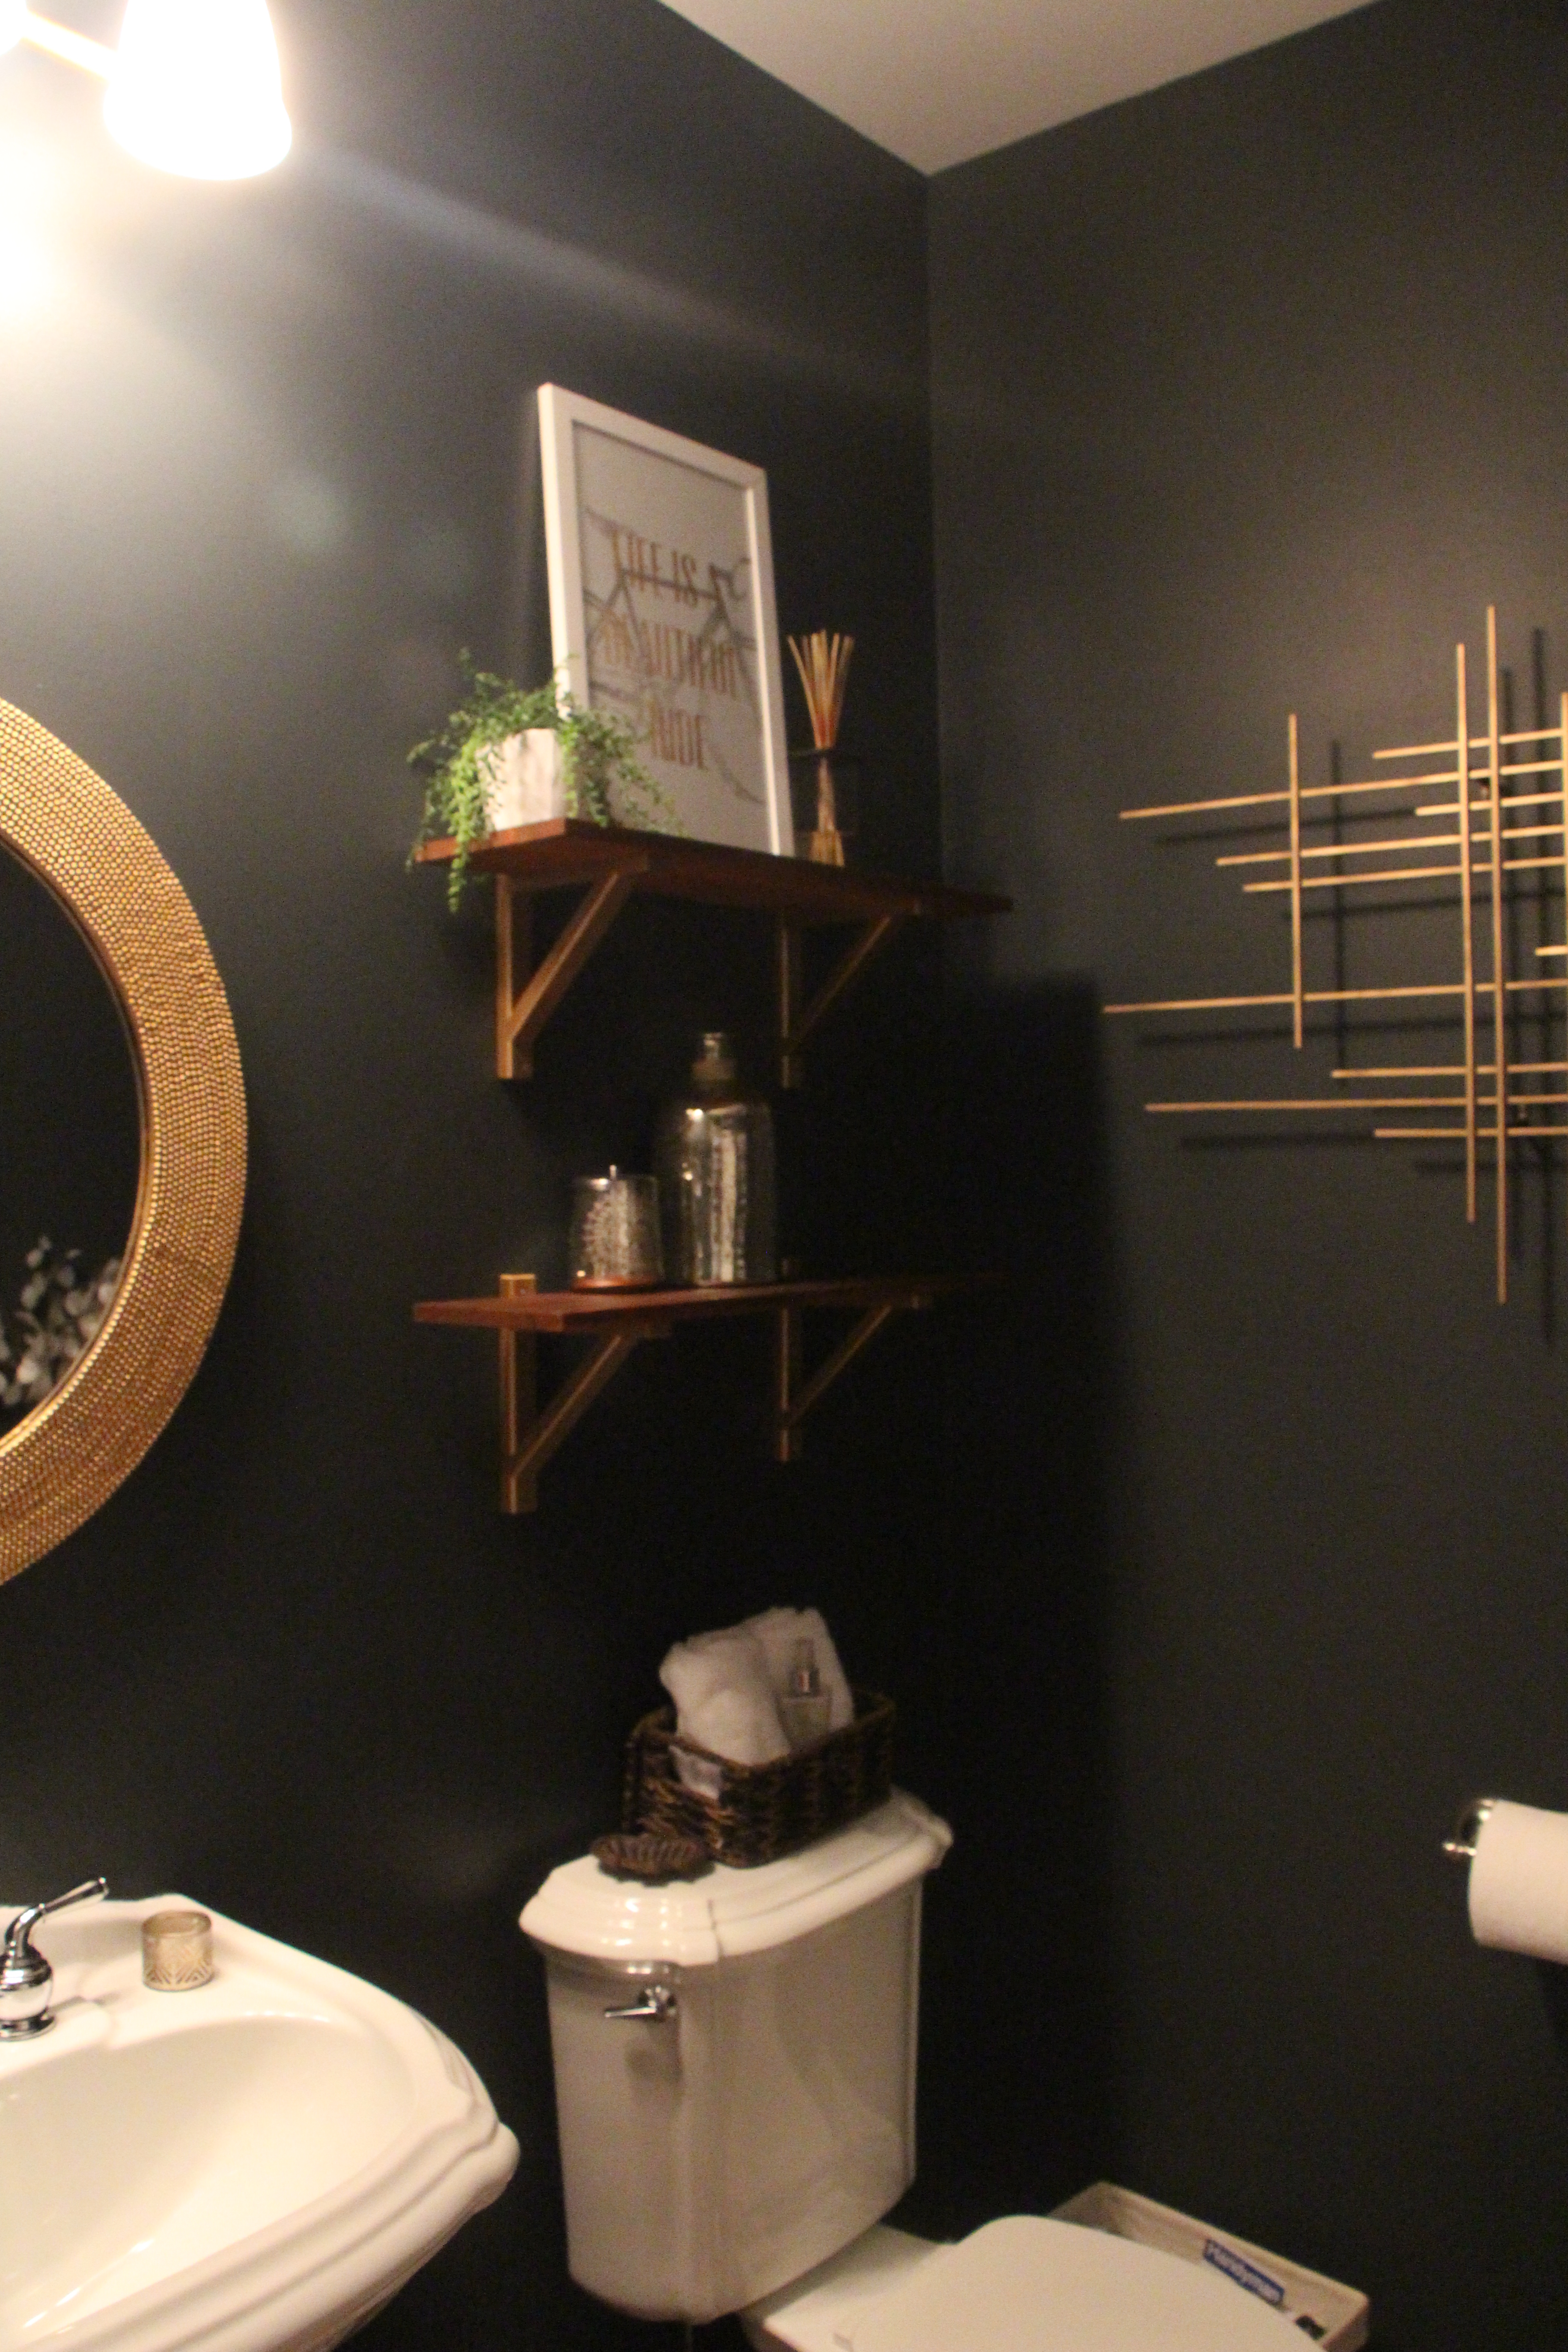
Here is how they look on the walls!
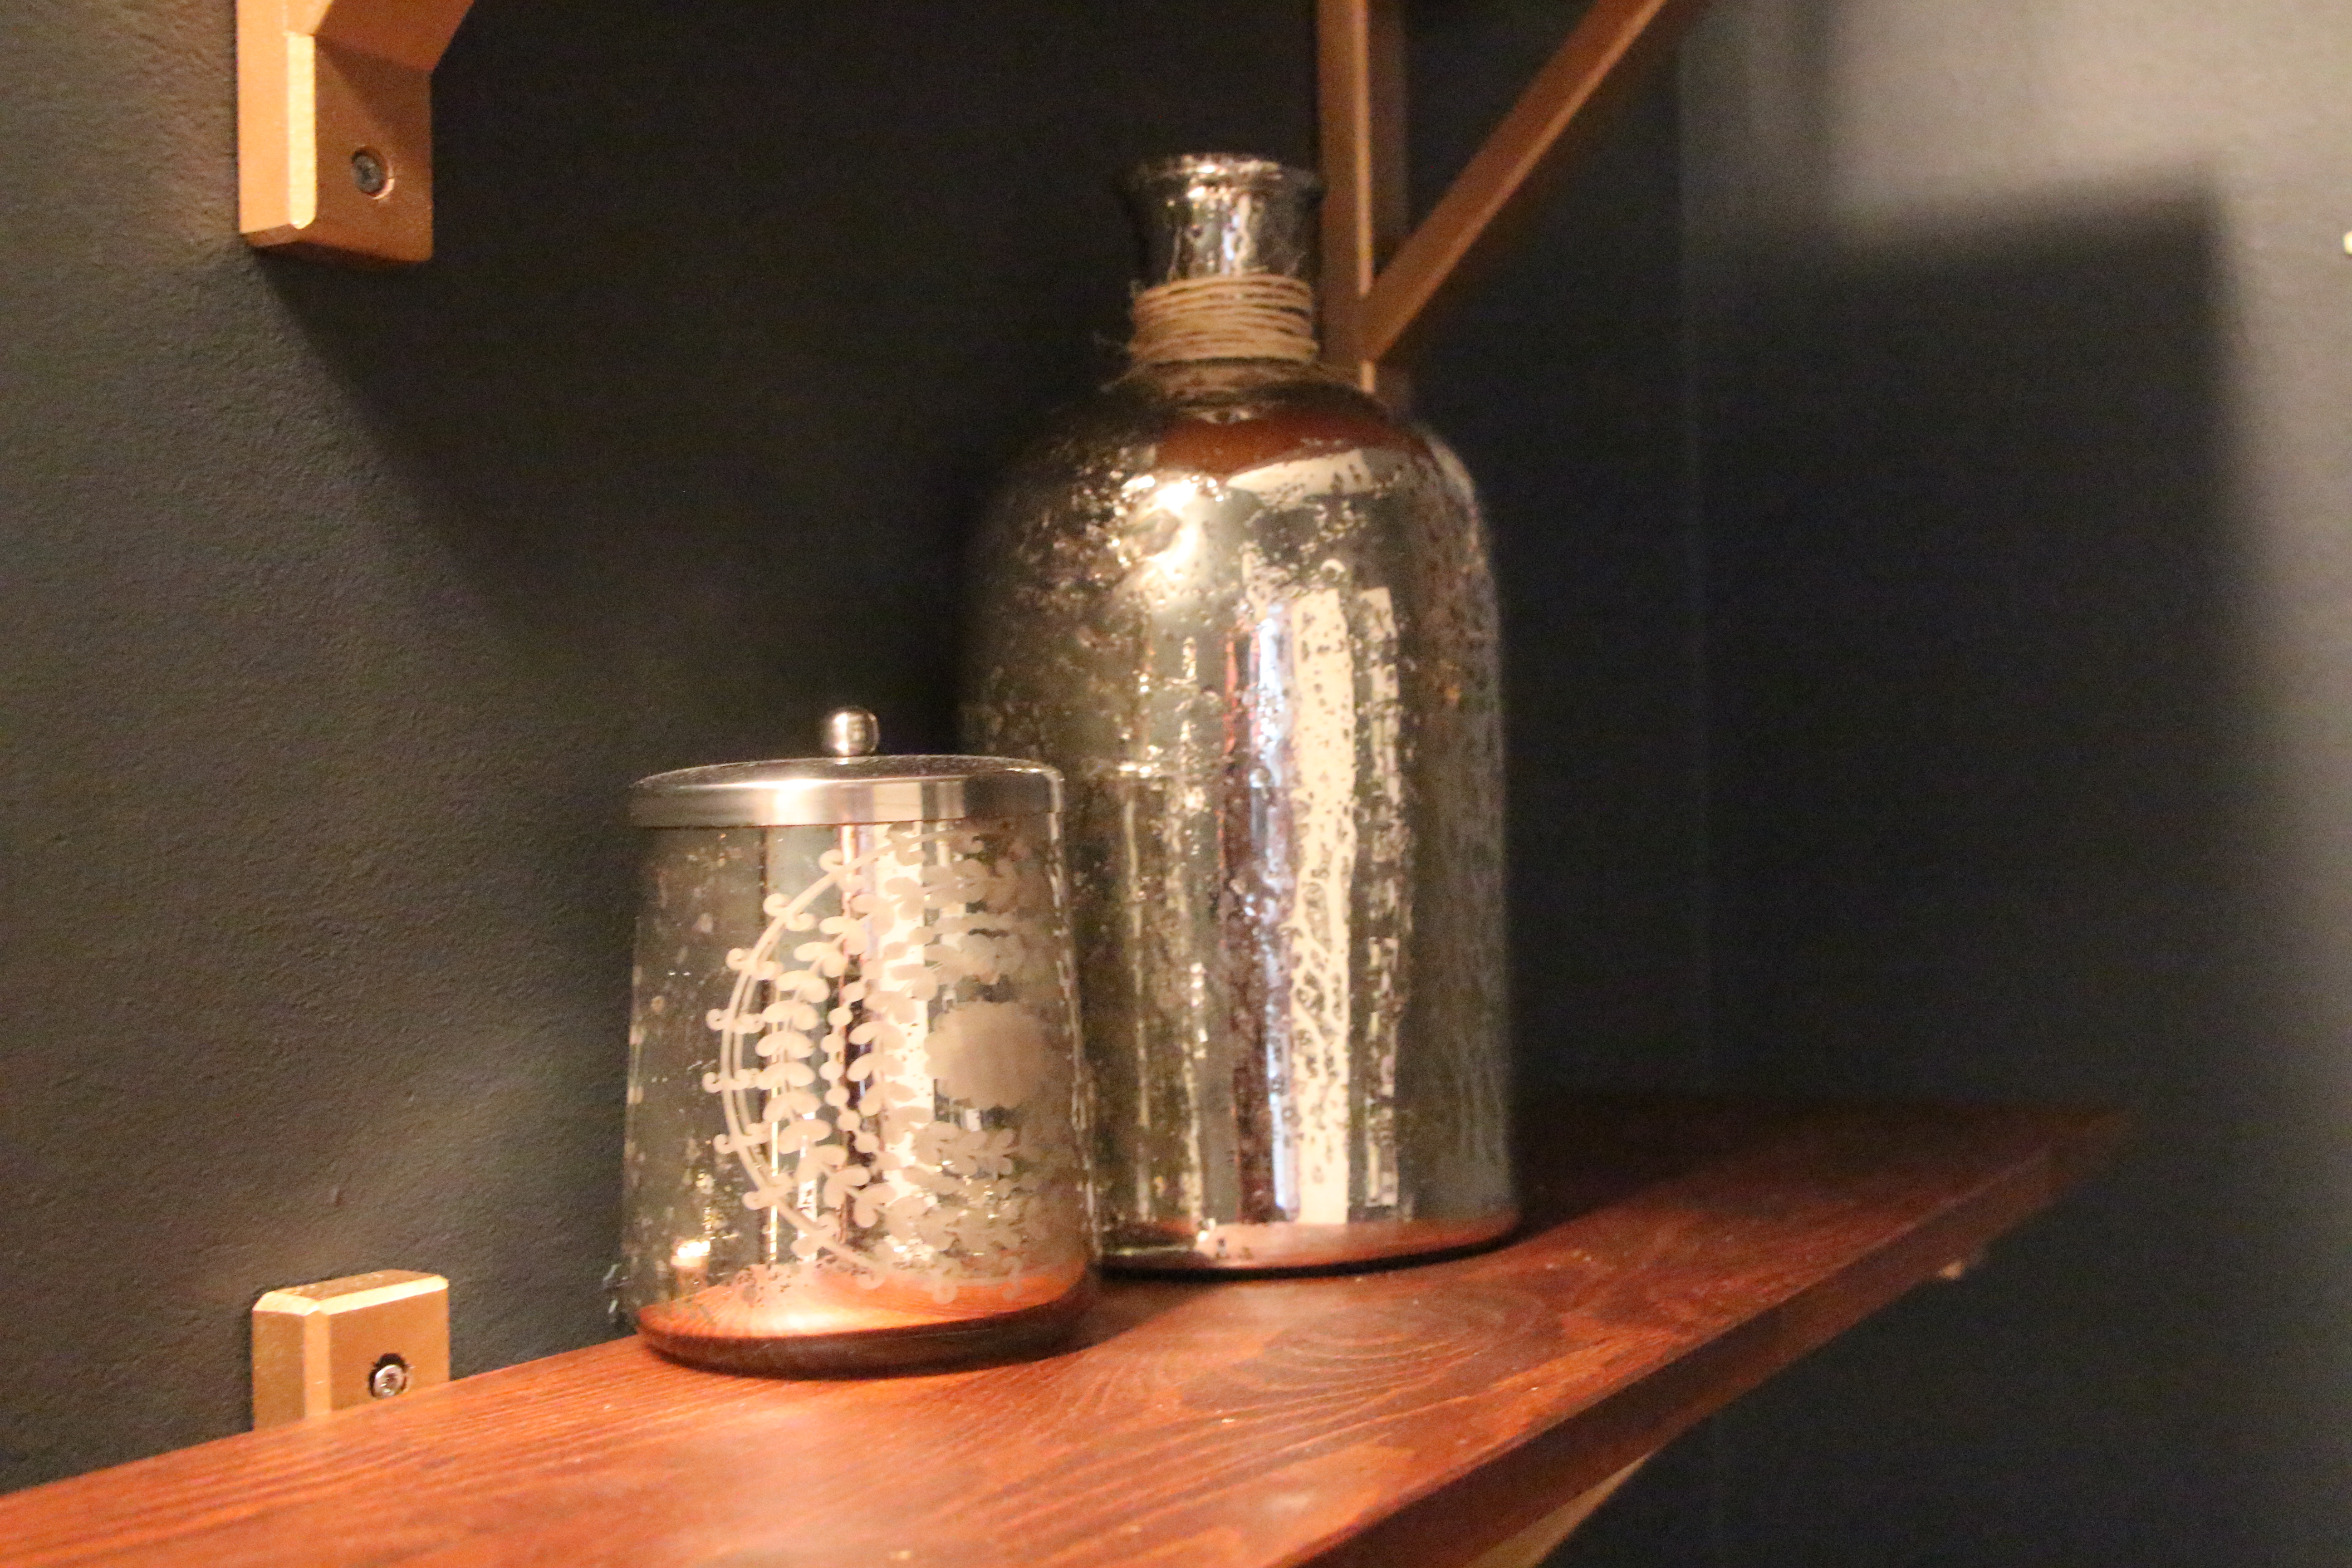
And here they are with the rest of the gold glory in the room!
There you have it. My 2nd staining project after I took on a Pallet Sign project. I think I like doing it!!
Will you be taking on any DIY projects this weekend?
See you back here next week where I’ll feature some of the photo gallery walls in our home and a plan for some playroom organization & decorating! Have a great weekend!!




2014 Highlights | This is our Bliss
January 9, 2015 at 4:01 PM[…] |1| How to: DIY Ribbon Back-tab Curtains from Bed Sheets |2| DIY Nursery Project: Pegboard Gallery Wall |3| How to: DIY Hanging {Nursery} Letters |4| DIY Nursery Mobile |5| DIY Wood shelves & Gold Brackets […]
Natasha
August 25, 2014 at 4:38 PMLove that look so much Rach! Good job 🙂
rbliefnick
August 25, 2014 at 6:38 PMThanks, Tash!! Hope you can see everything in person someday 🙂
Kelli Vellema
August 25, 2014 at 3:09 PMI just wante to say that I love reading your blog! You are so creative and budget conscious! Love love love your stuff…thanks for sharing all your DIY projects! Can’t wait for the next one!
Kelli Vellema
rbliefnick
August 25, 2014 at 6:37 PMThanks so much, Kelli! I appreciate that you take the time to read!!!
Rick morkel
August 25, 2014 at 8:05 AMAwesome job you guys!
rbliefnick
August 28, 2014 at 10:09 PMThanks, dad! 🙂