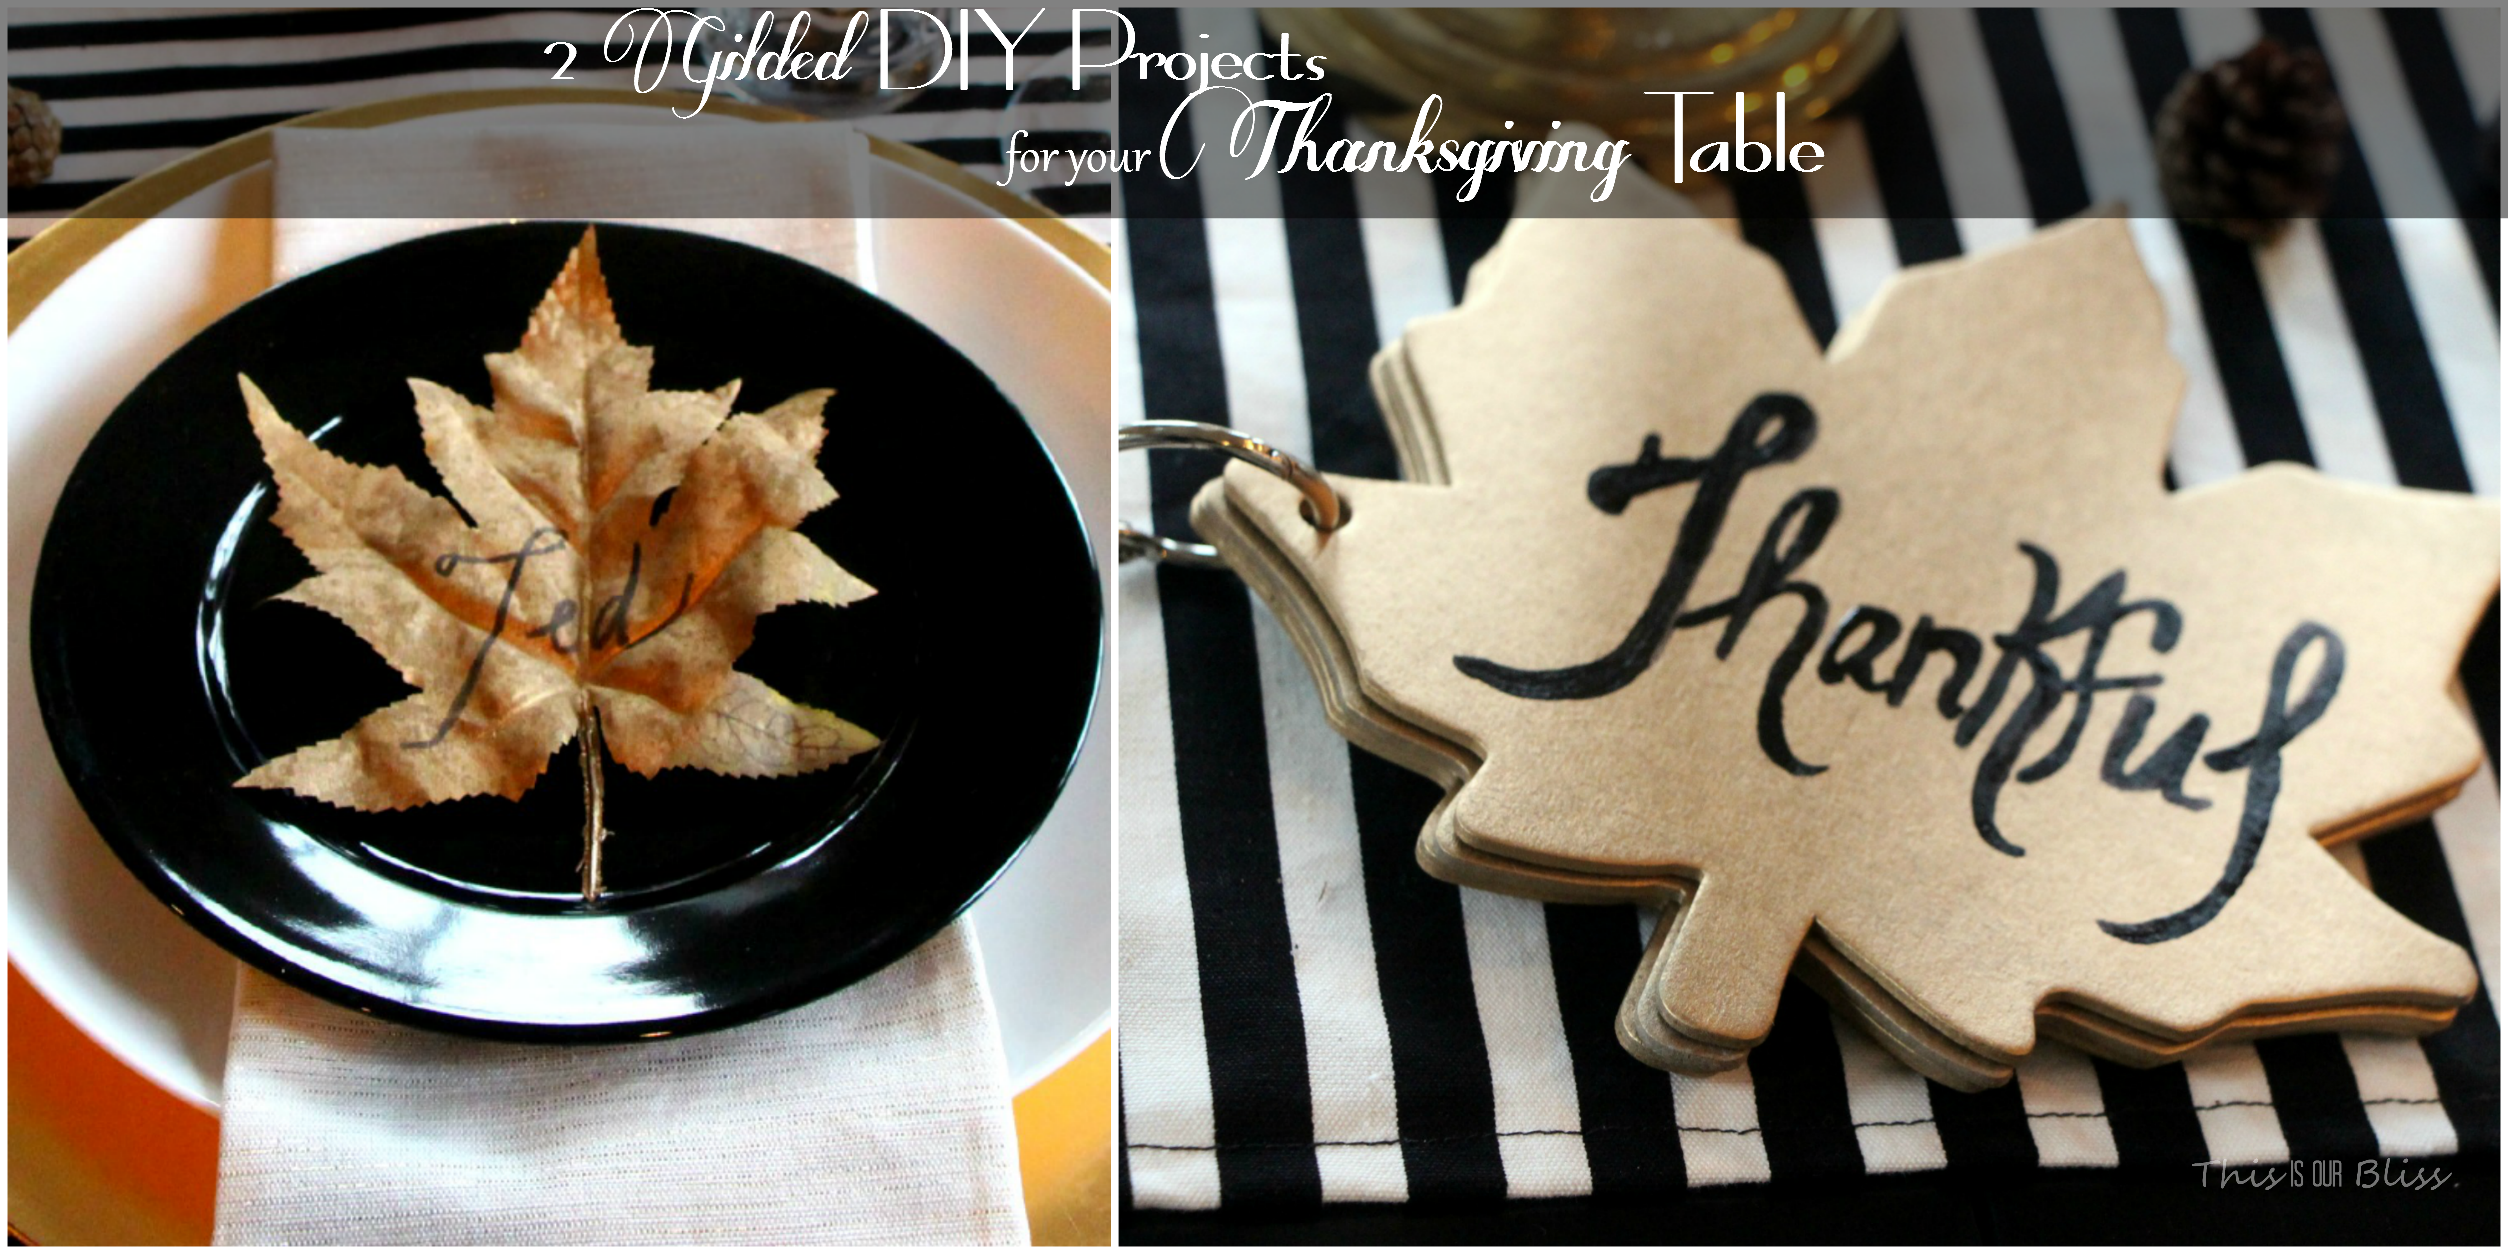
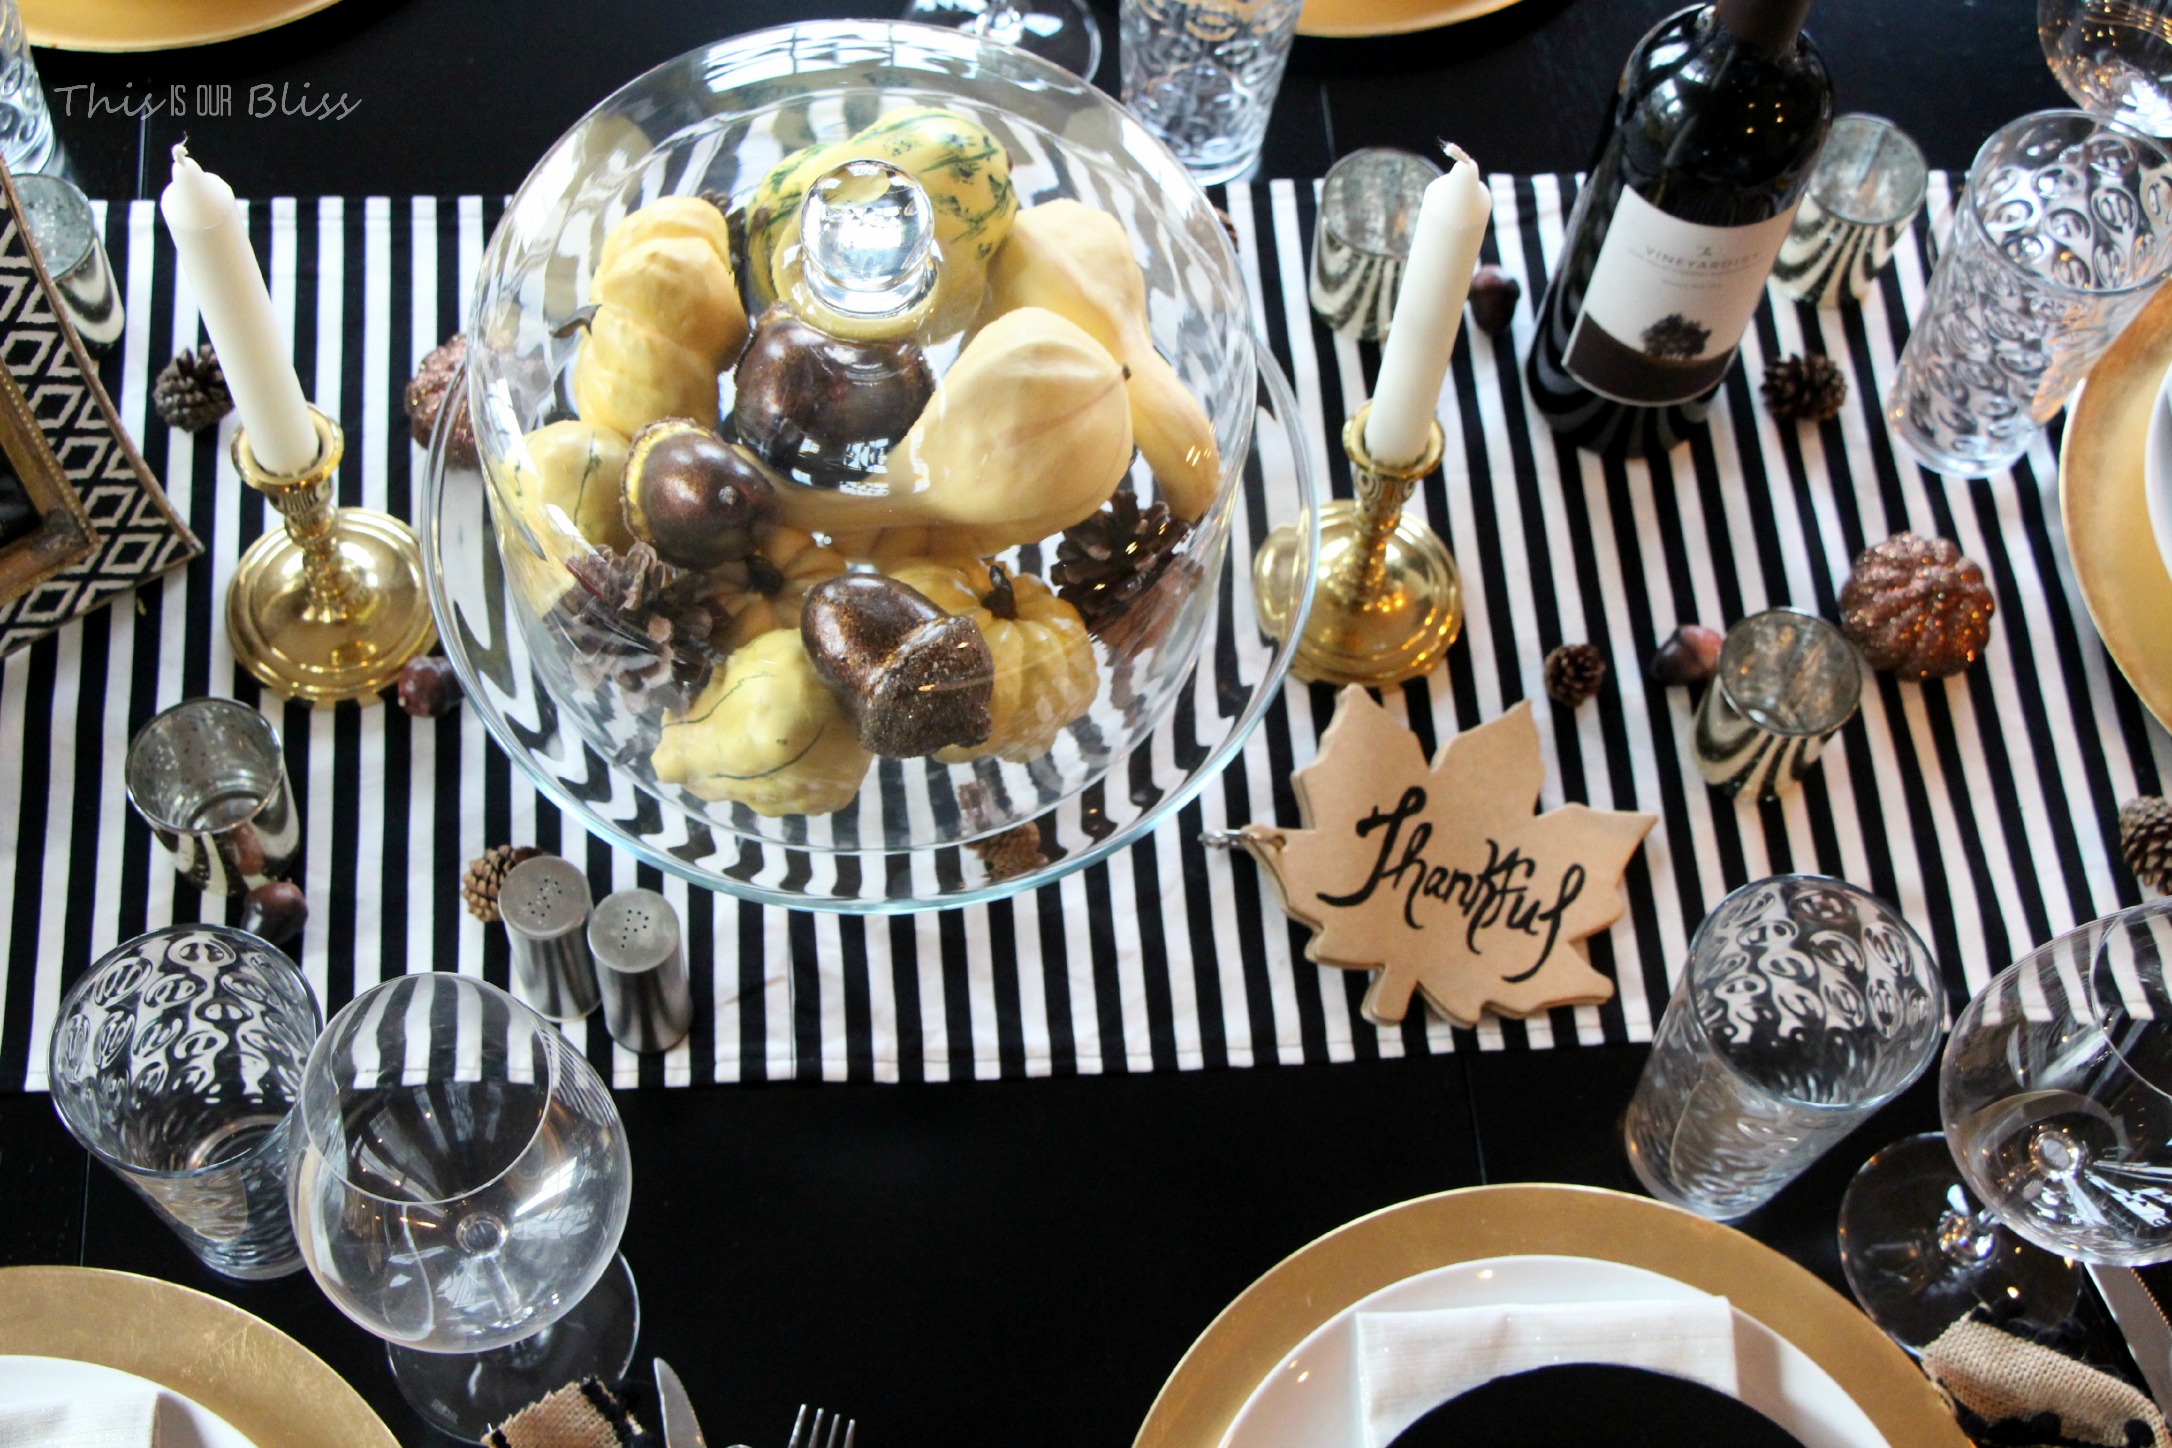
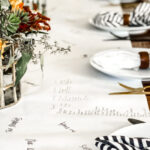
Hello out there! The week is coming to and end which means we are that much closer to Thanksgiving and of course, the countdown is on for Christmas (at least in our house 🙂 ) 32 days and counting, but who’s counting?! HA! Tomorrow we are spending the afternoon and evening at a “Friendsgiving” with friends, obviously and then only a couple days until we pack up and head to my in-laws to spend time for actual Thanksgiving. I am looking forward to getting away for a bit and hanging out with family & friends. Thanks for all of the sweet comments, emails and Instagram likes on my Thanksgiving Table. I can only imagine some of you probably think I am a little cuckoo crazy for setting up a table when I am not even hosting, but I just couldn’t resist after seeing such beautiful ideas all over Blogland and Pinterest. Since I created the table mostly using things I already had, it was a fun little afternoon activity and of course, a few quick DIY projects came out of it as well. Today, I am sharing 2 of the 3 pieces I crafted for the table to give it a personal (and gilded) touch! I will share the last one tomorrow, so please come back to see!
Project #1:
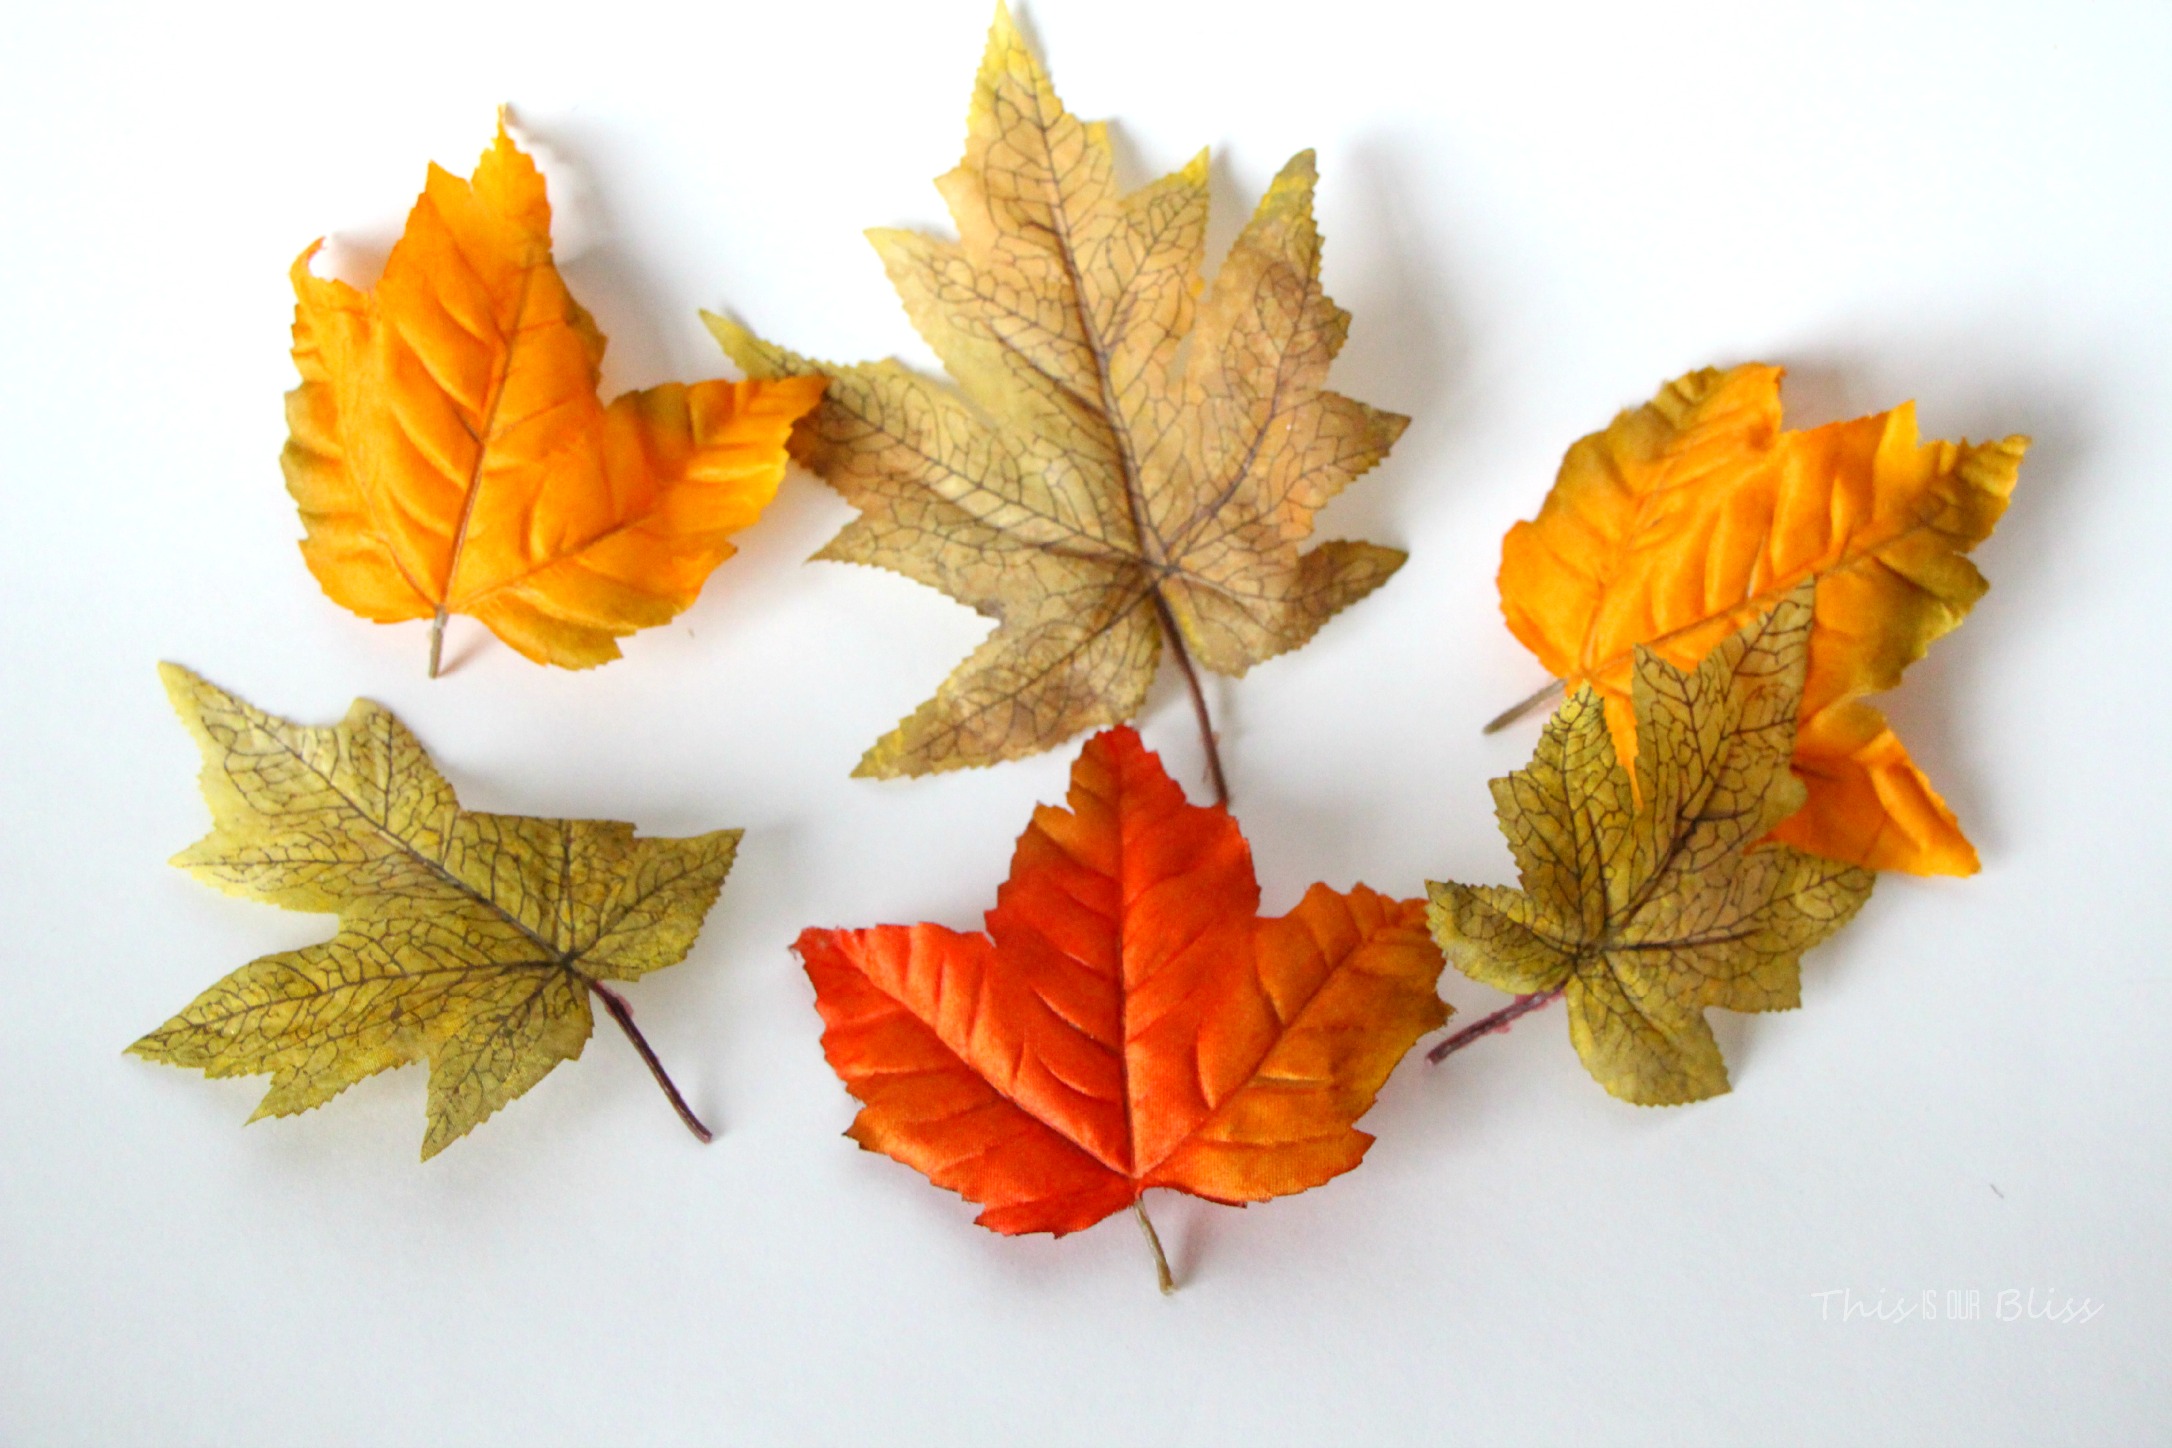
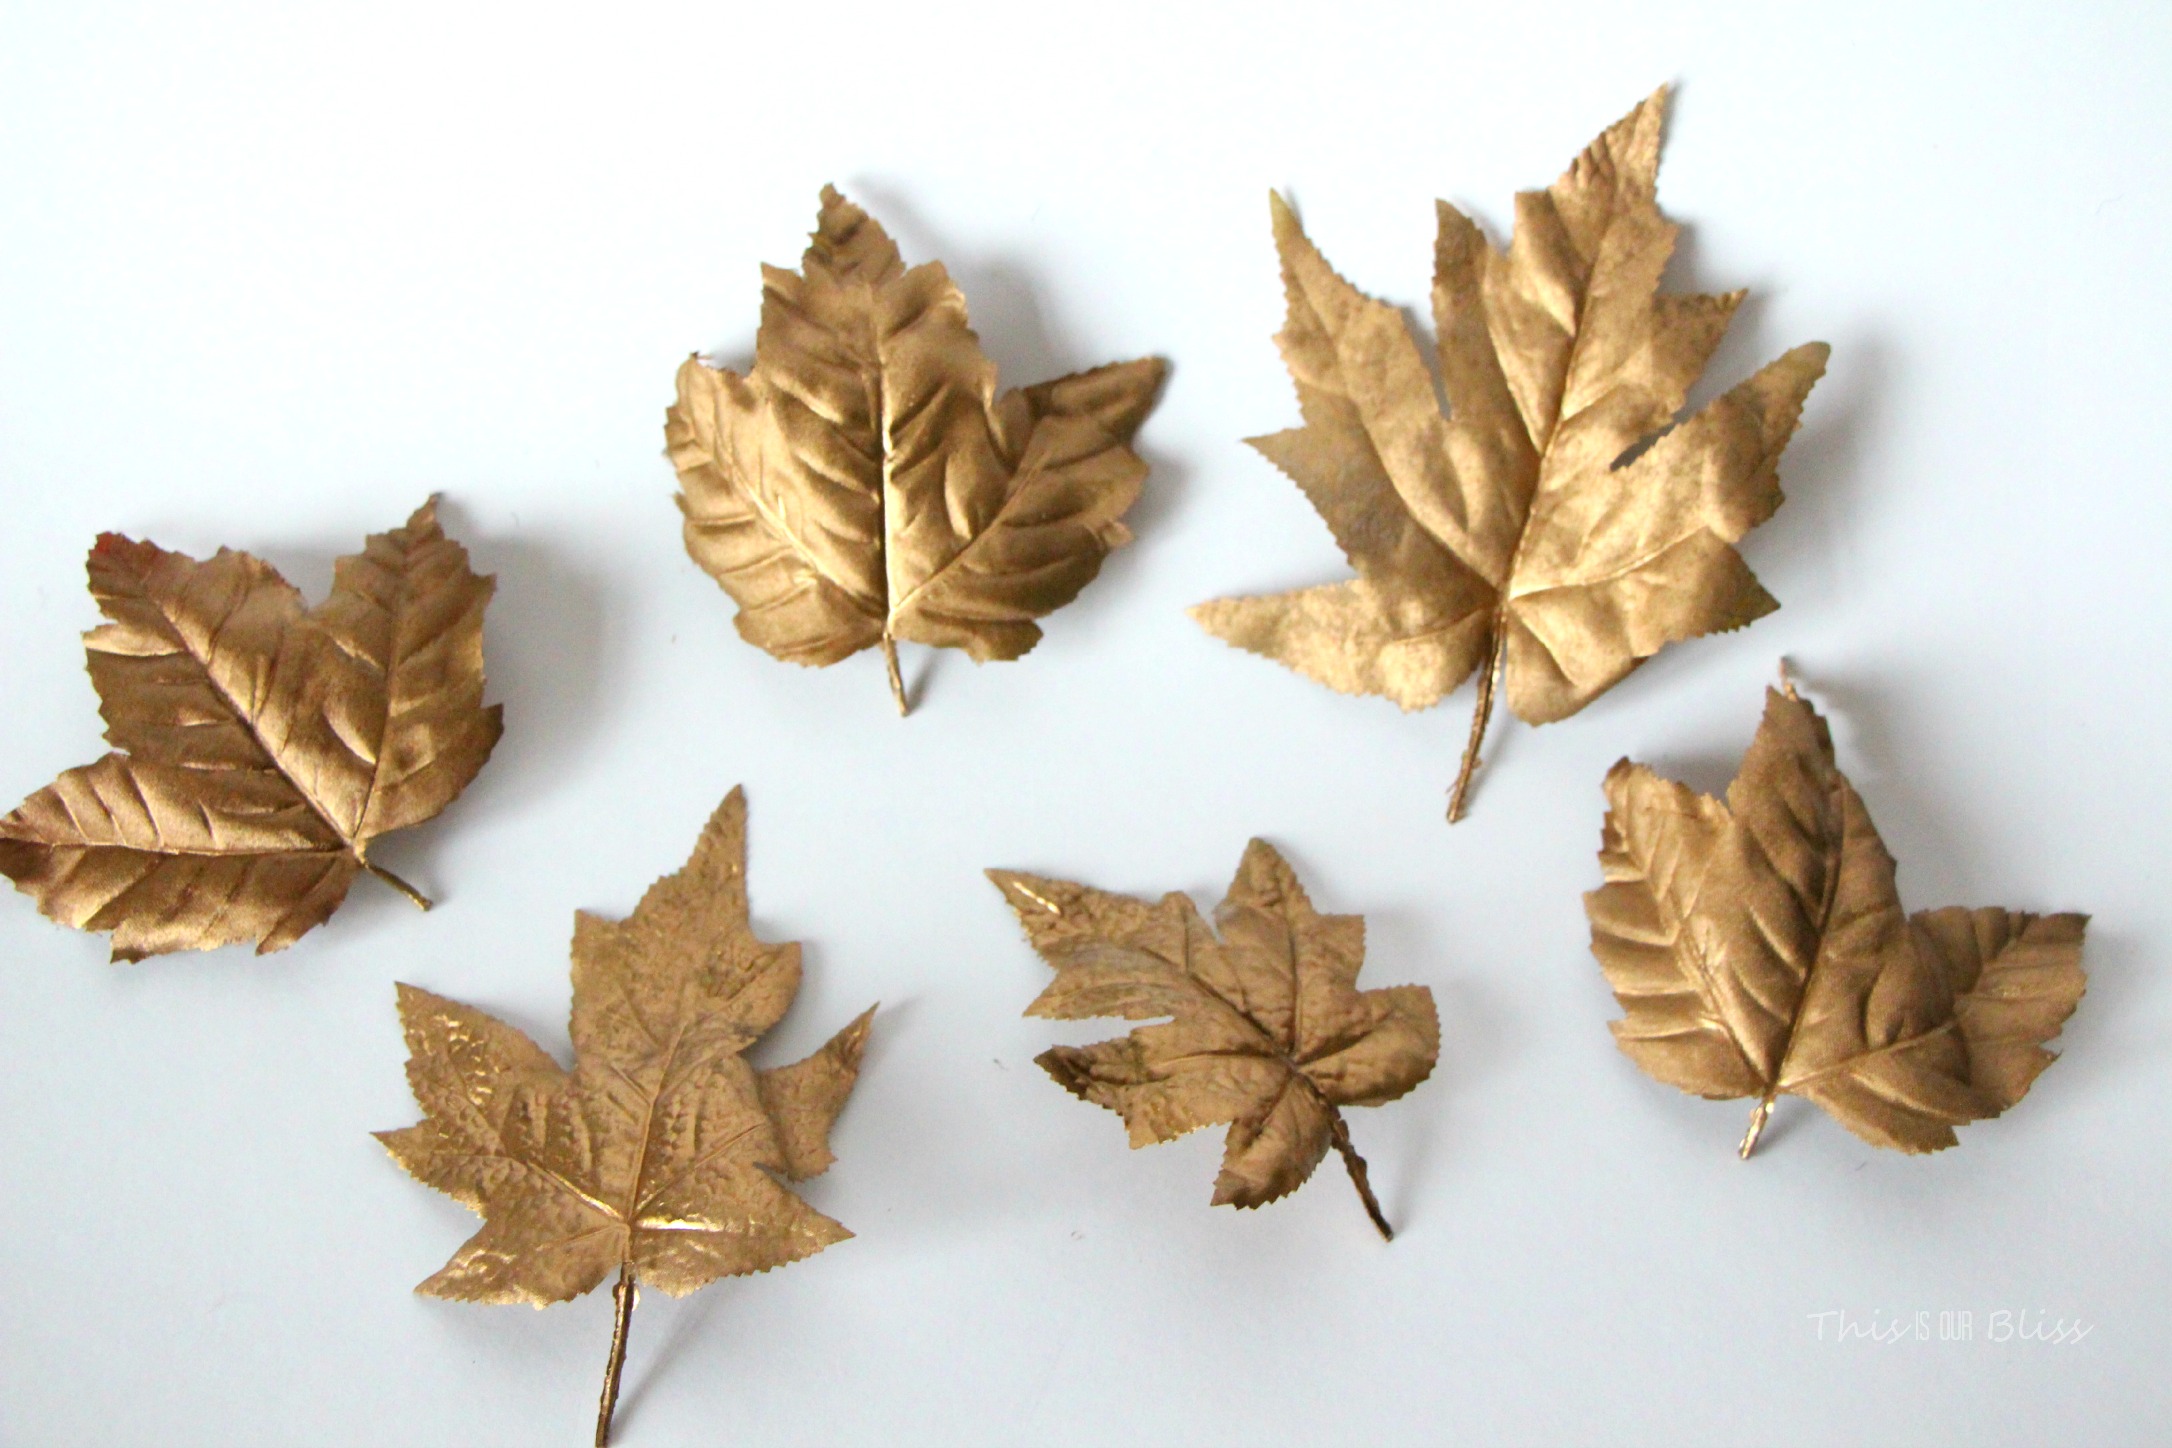
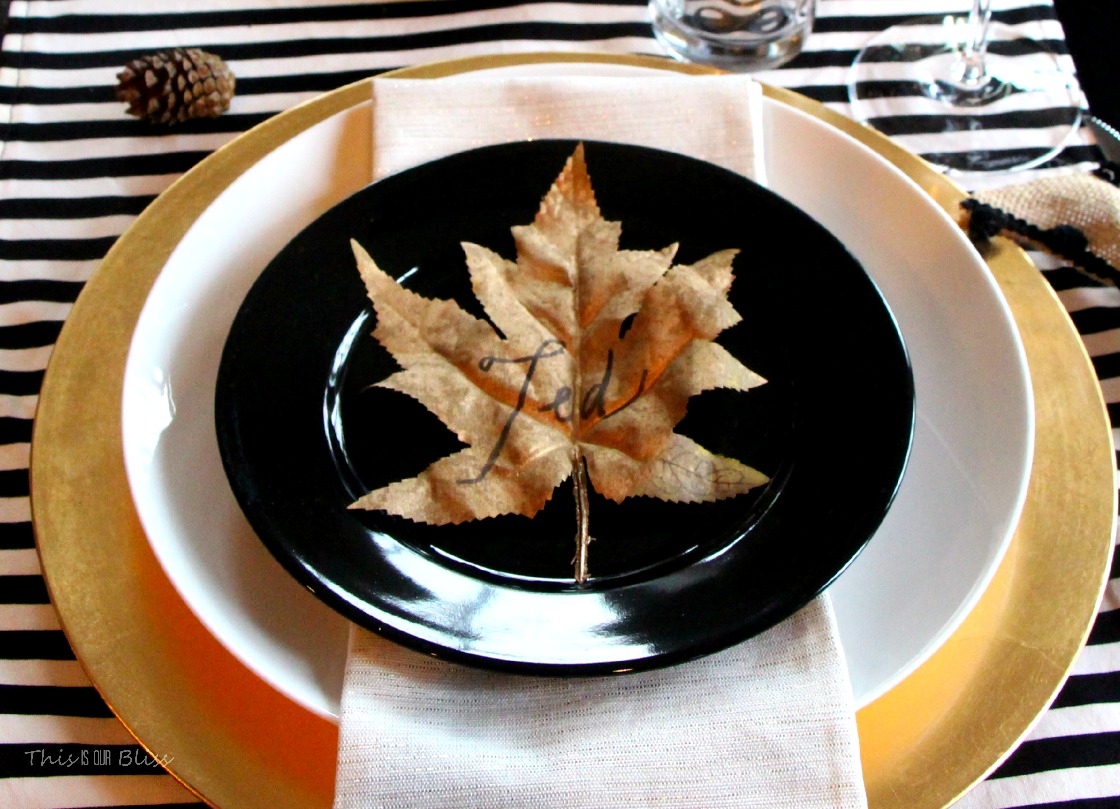
As I was sorting through my extra fall décor to place on the table and to fill the dome of my cake stand, I found some fake leaves in one of my storage bins and thought they would make great place cards. Sure, I could have left them as-is, but I can’t resist busting out the gold spray paint. It was as simple as this:
Lay out your leaves and apply a generous amount of gold spraypaint to ensure full coverage.
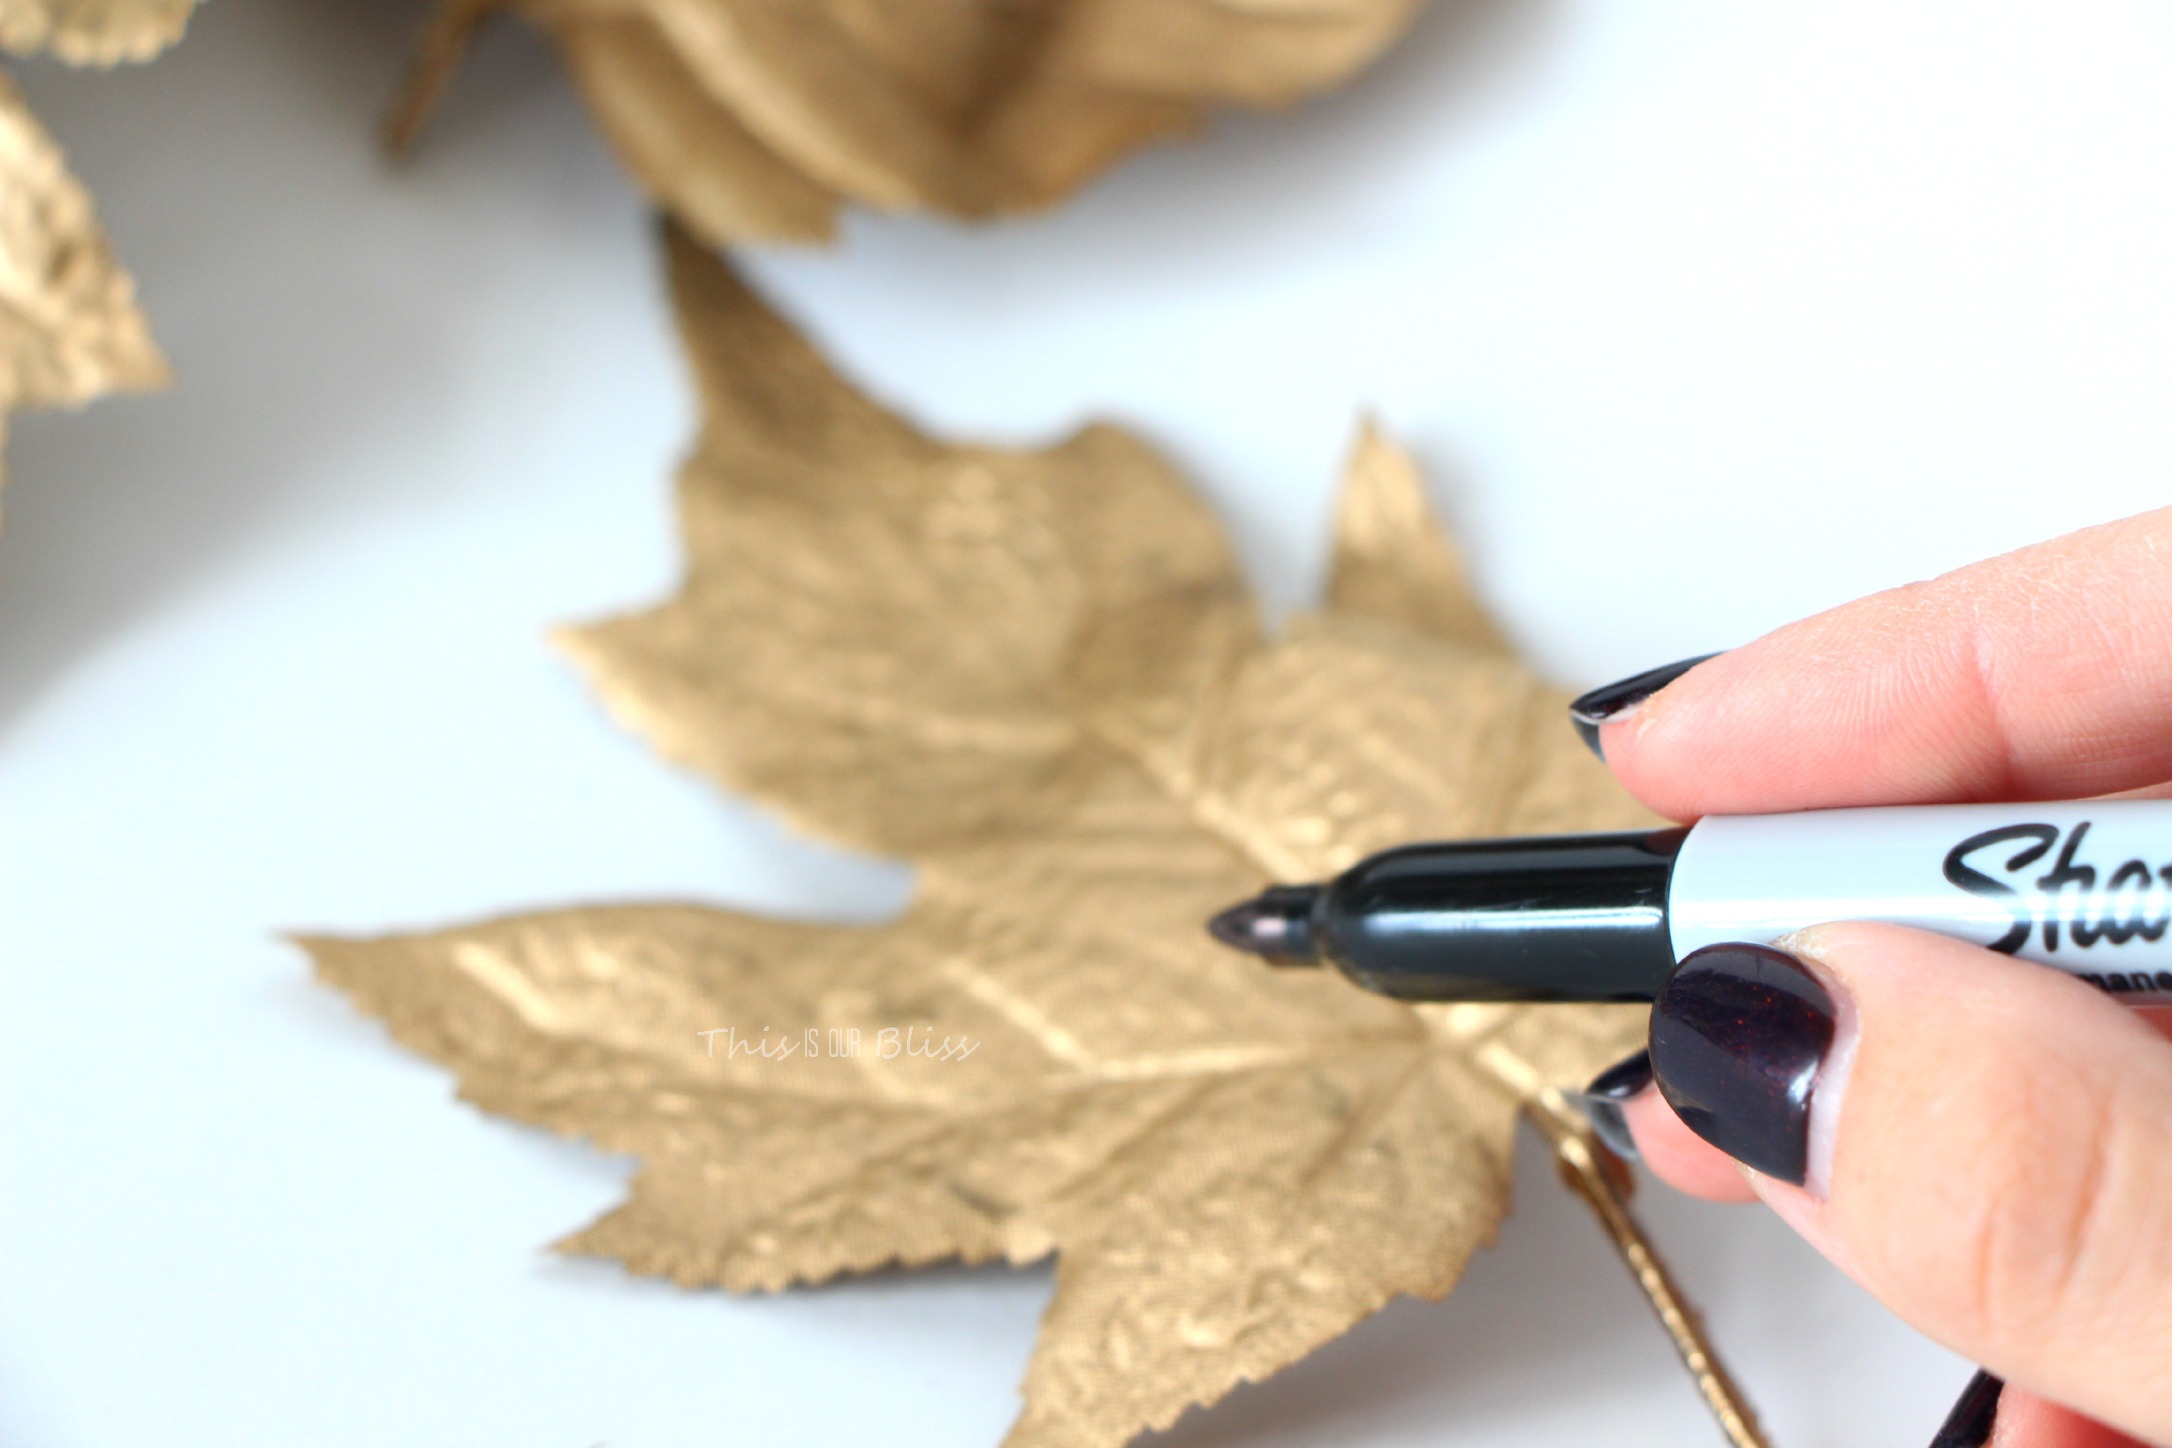
Let them dry and then write your guests name with a black sharpie.
I traced over the names a second time to try to darken the lettering, but it was still pretty faint on the leaf. If I did them again, I think I would maybe use black paint, but the sharpie totally did the job.
Project #2:
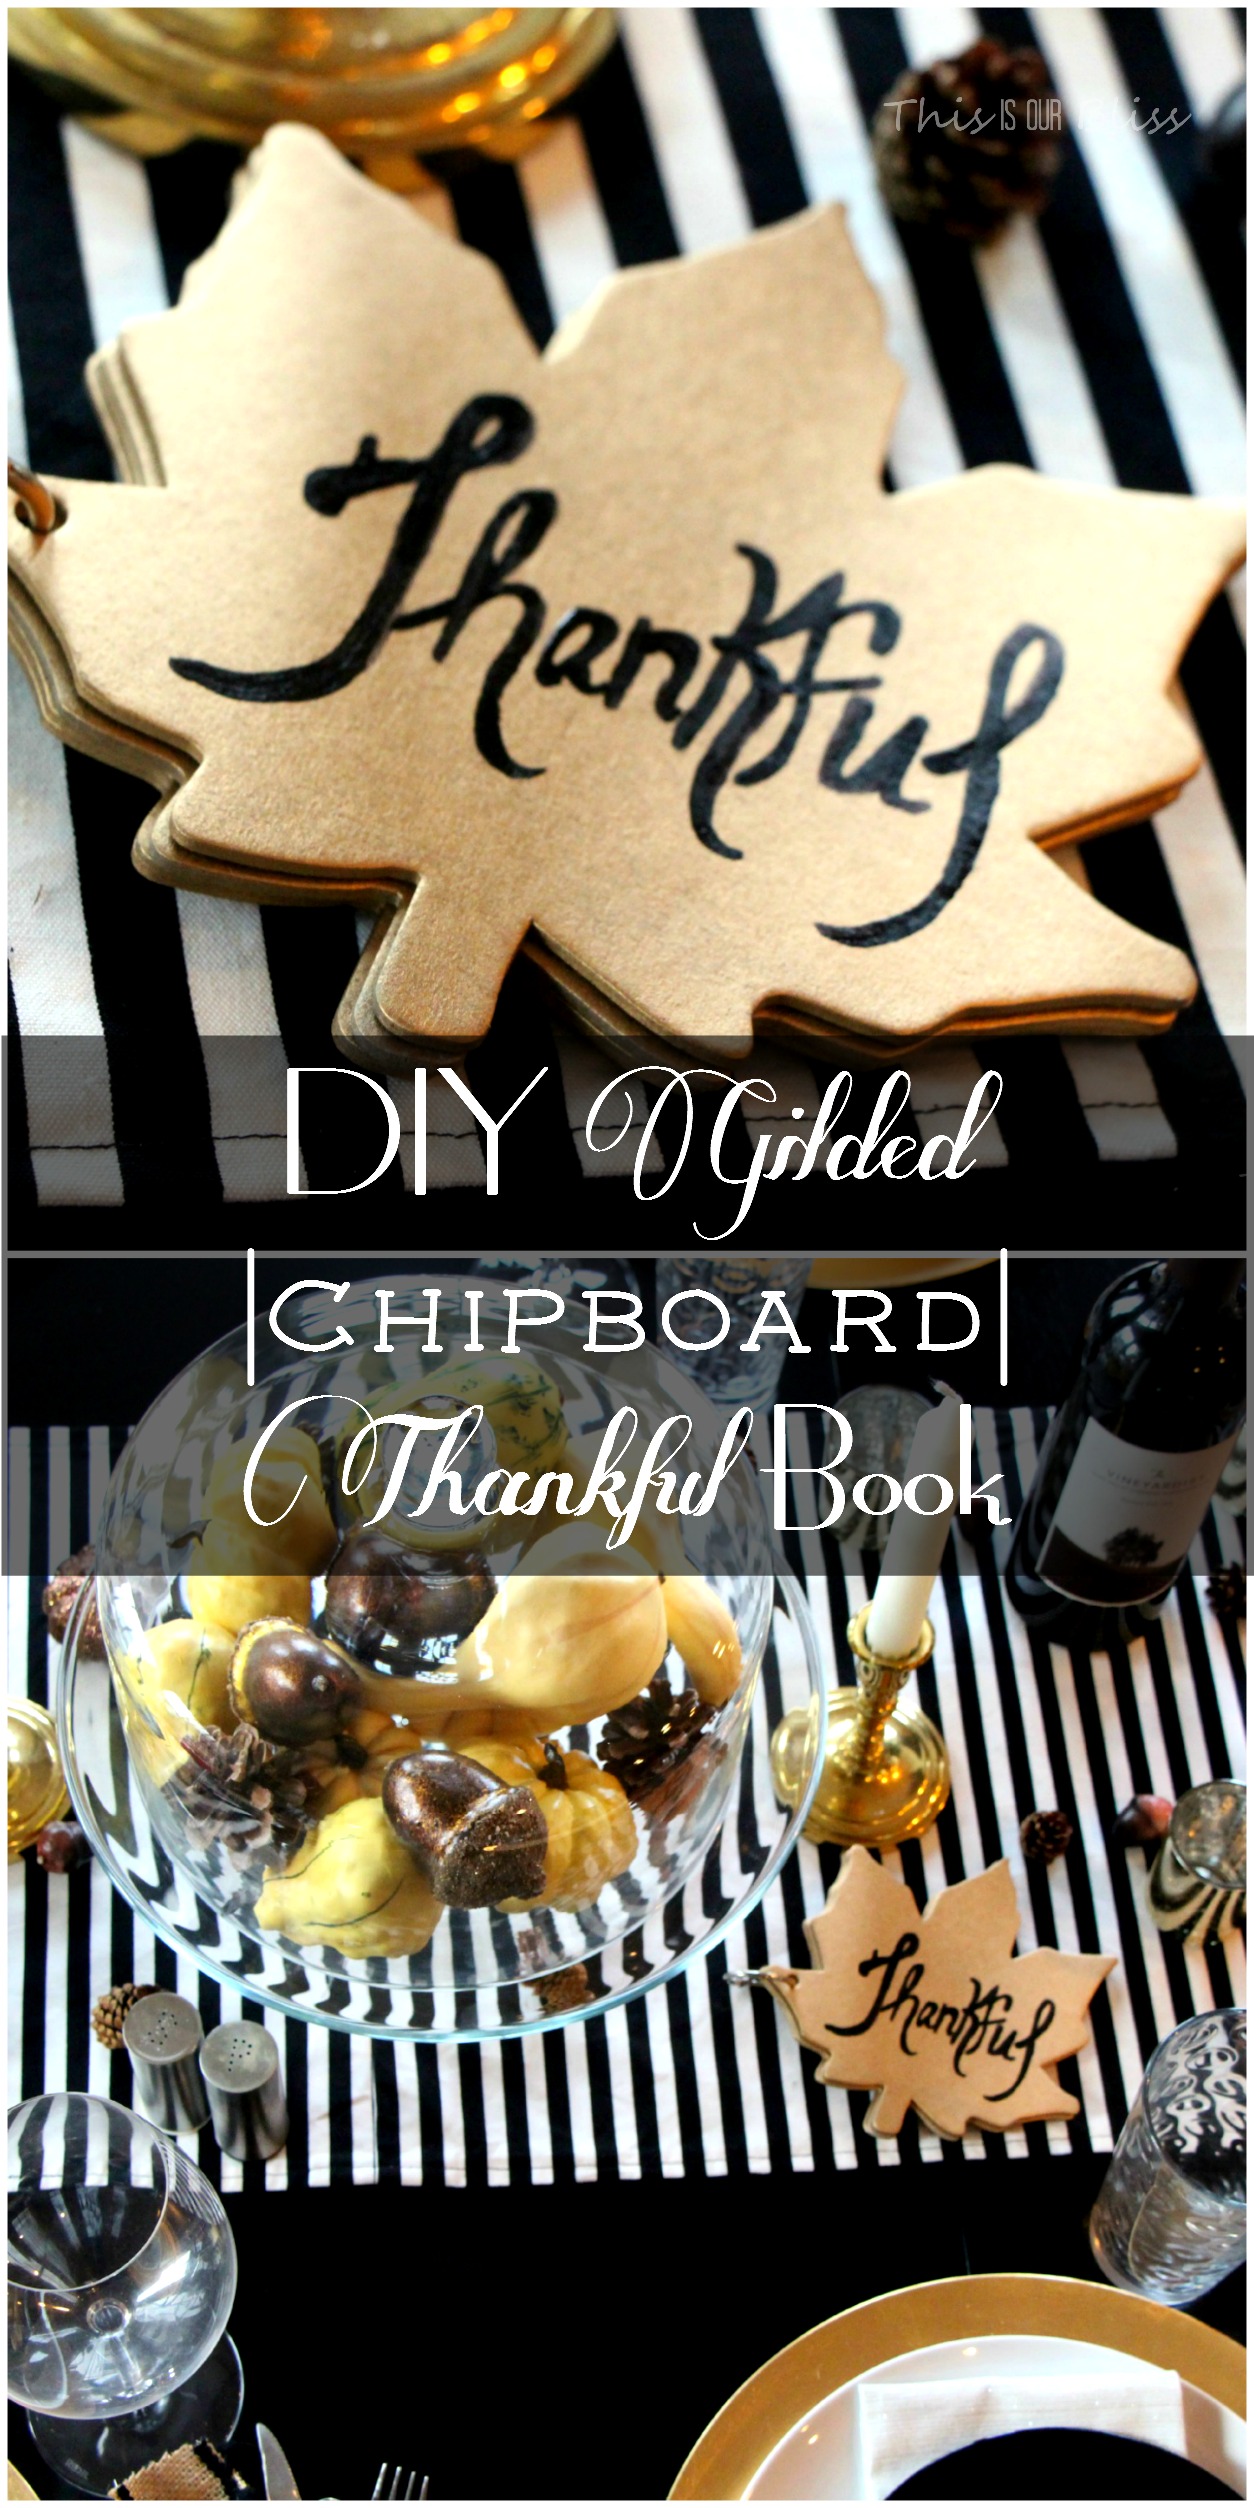
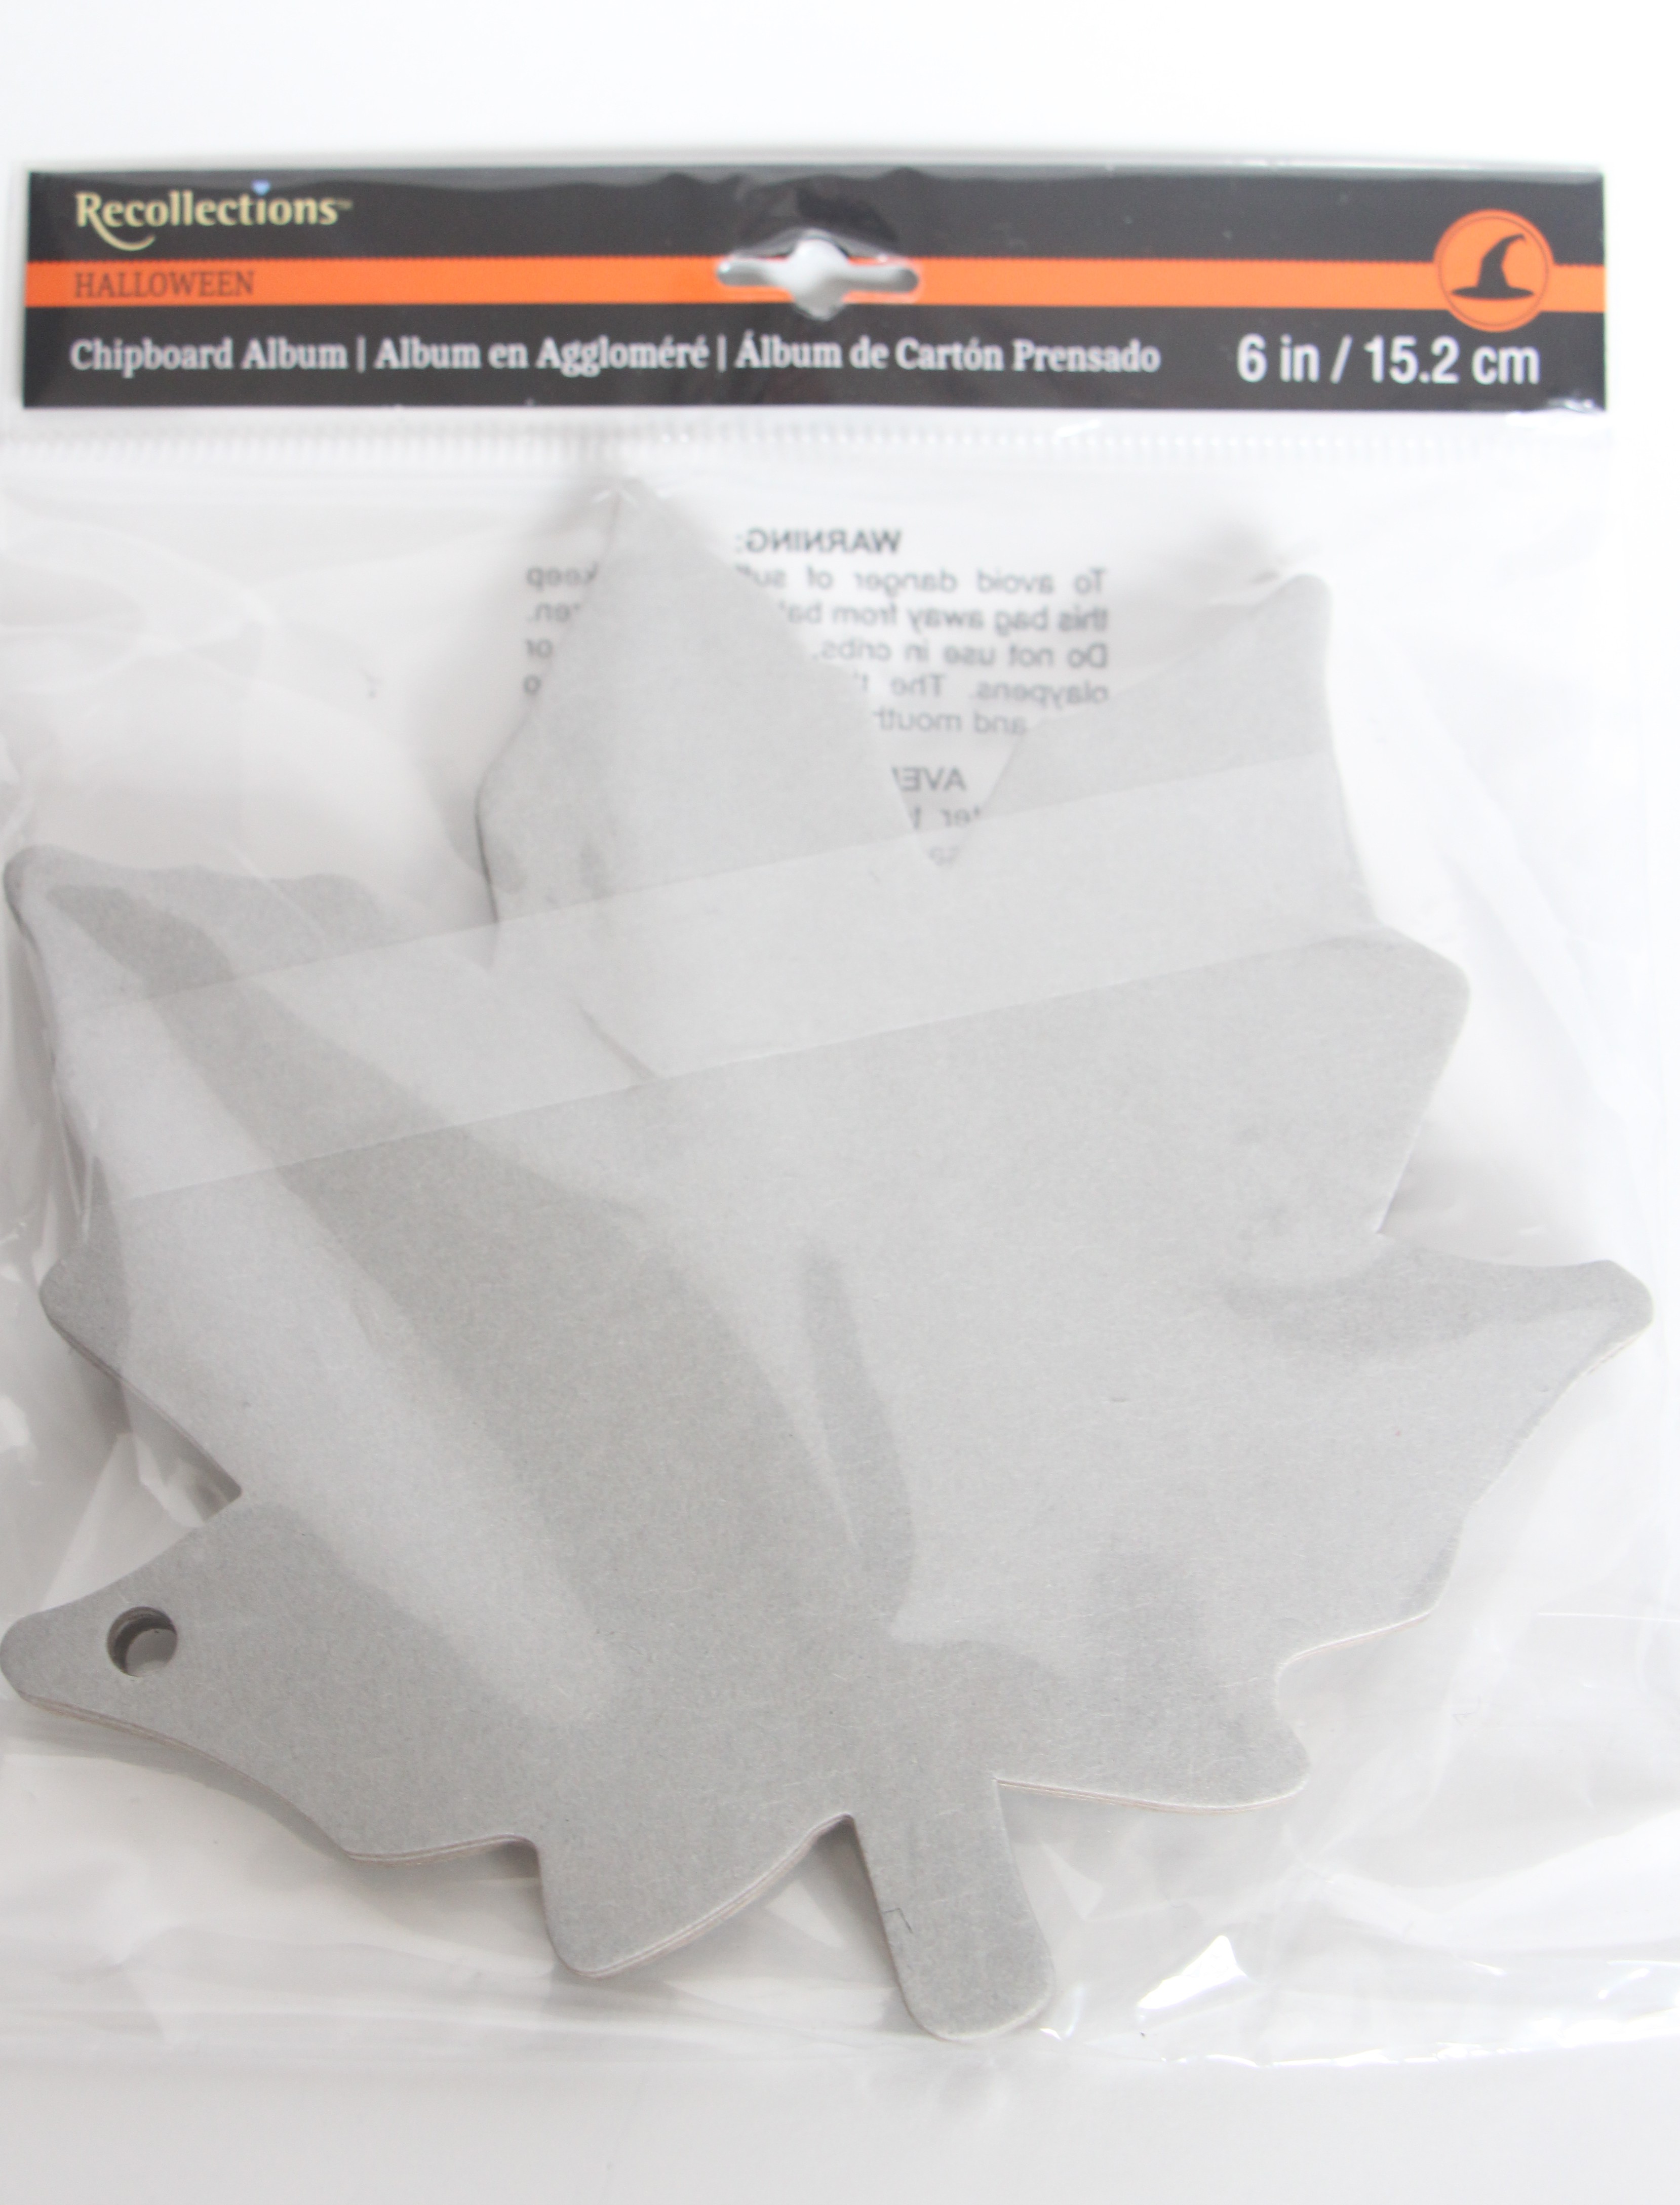
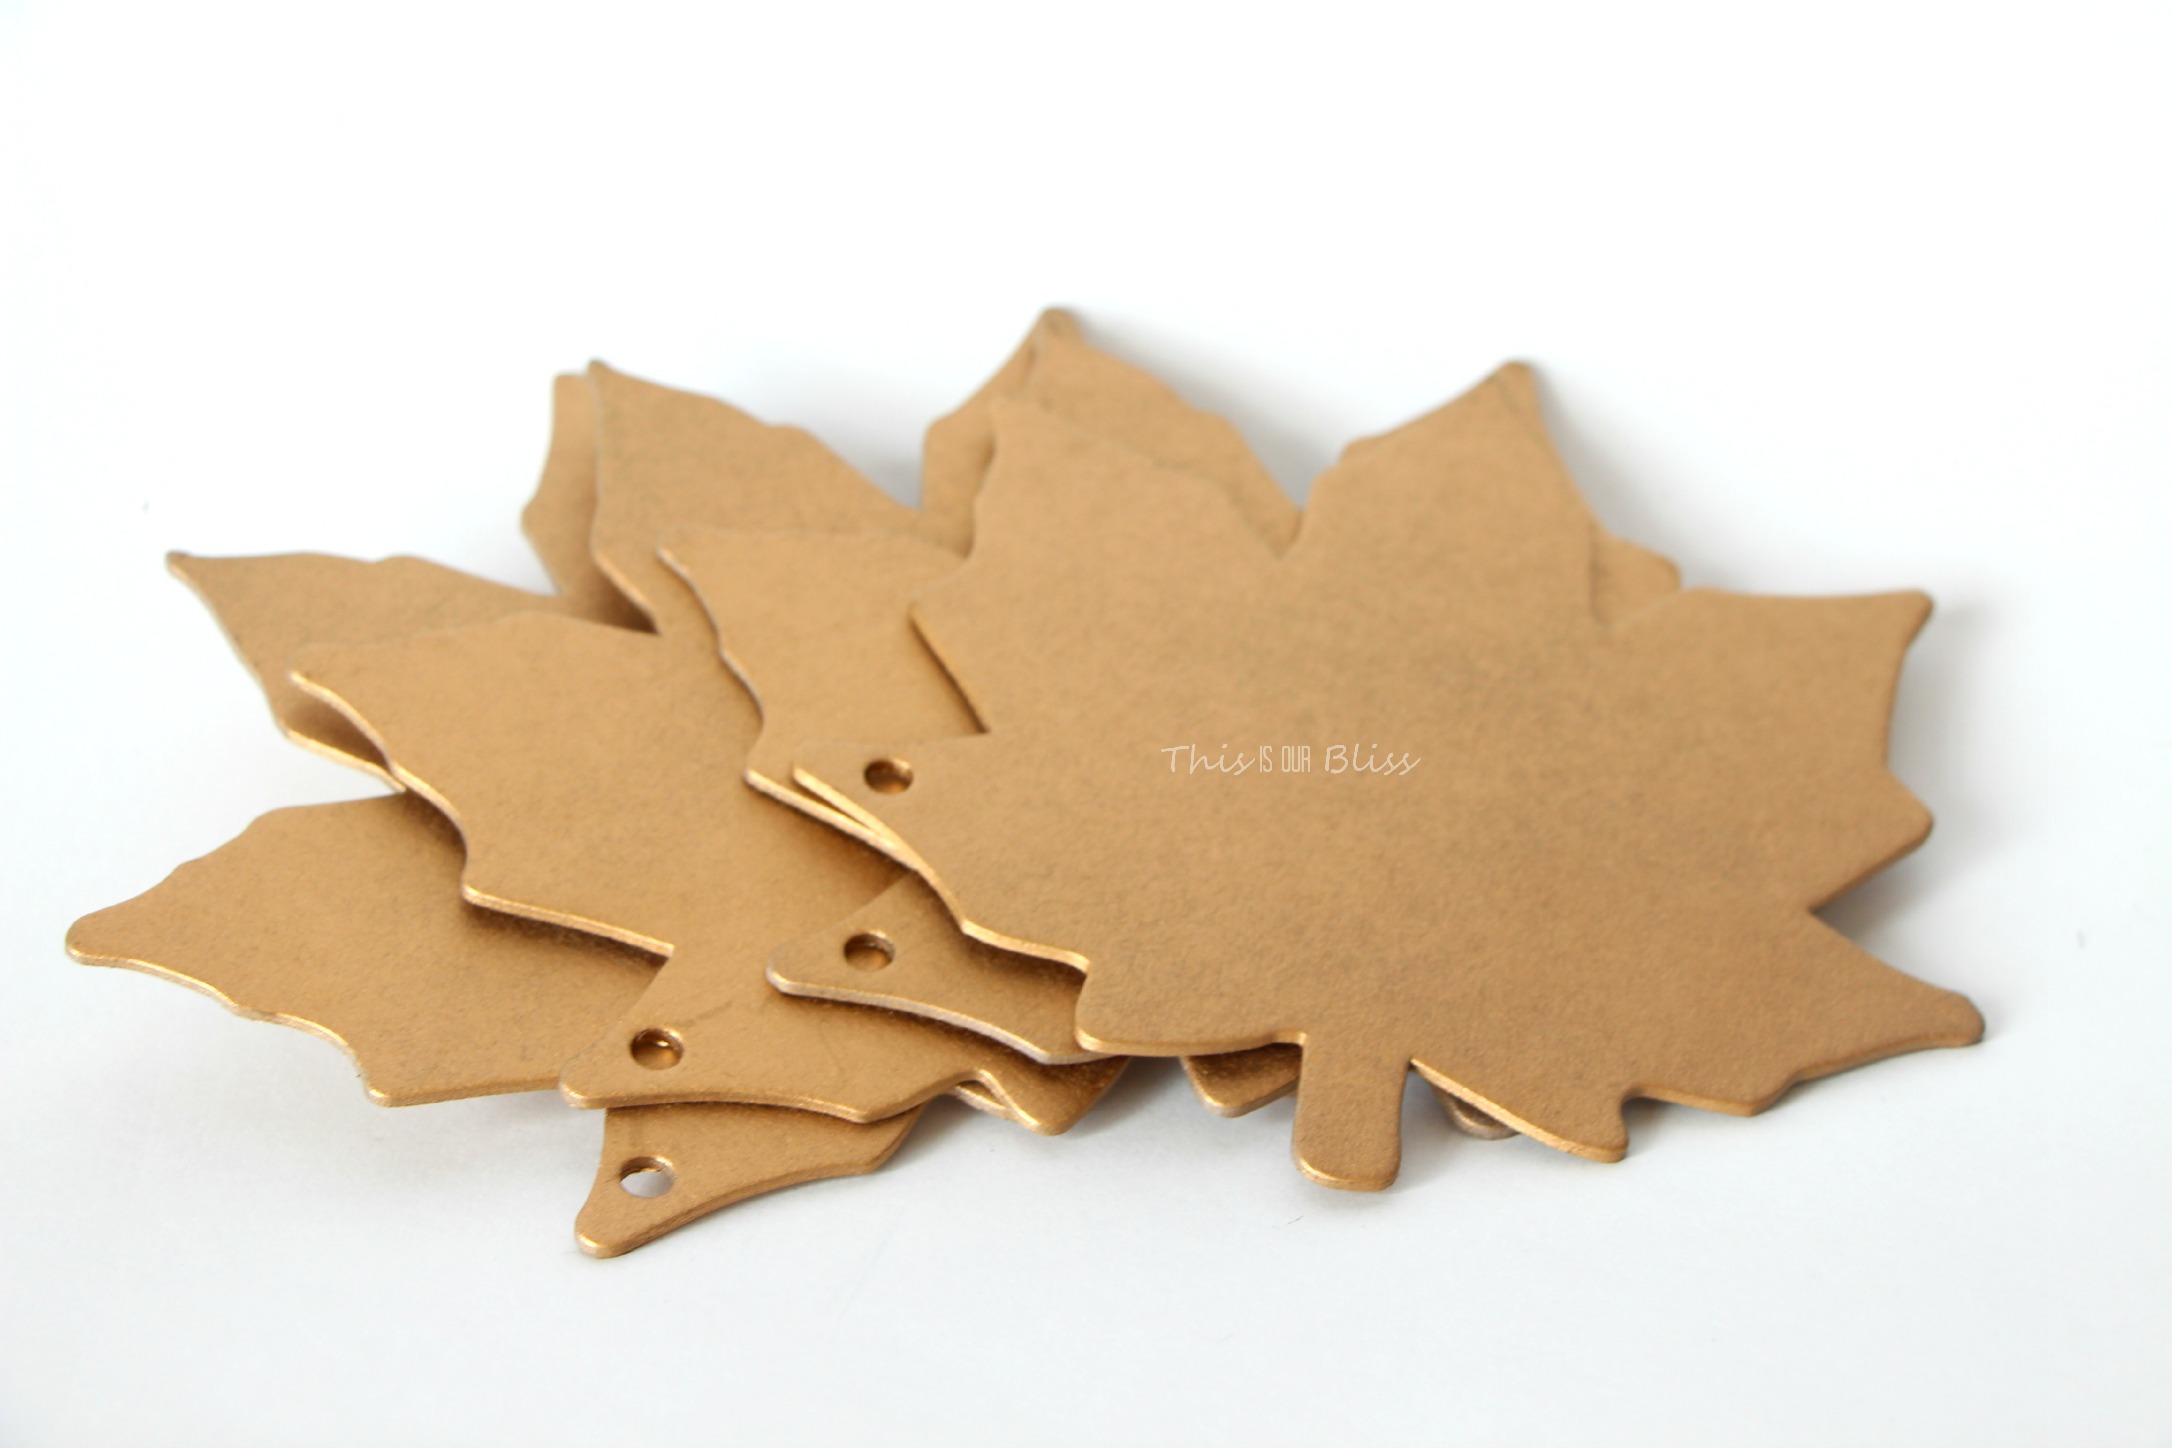
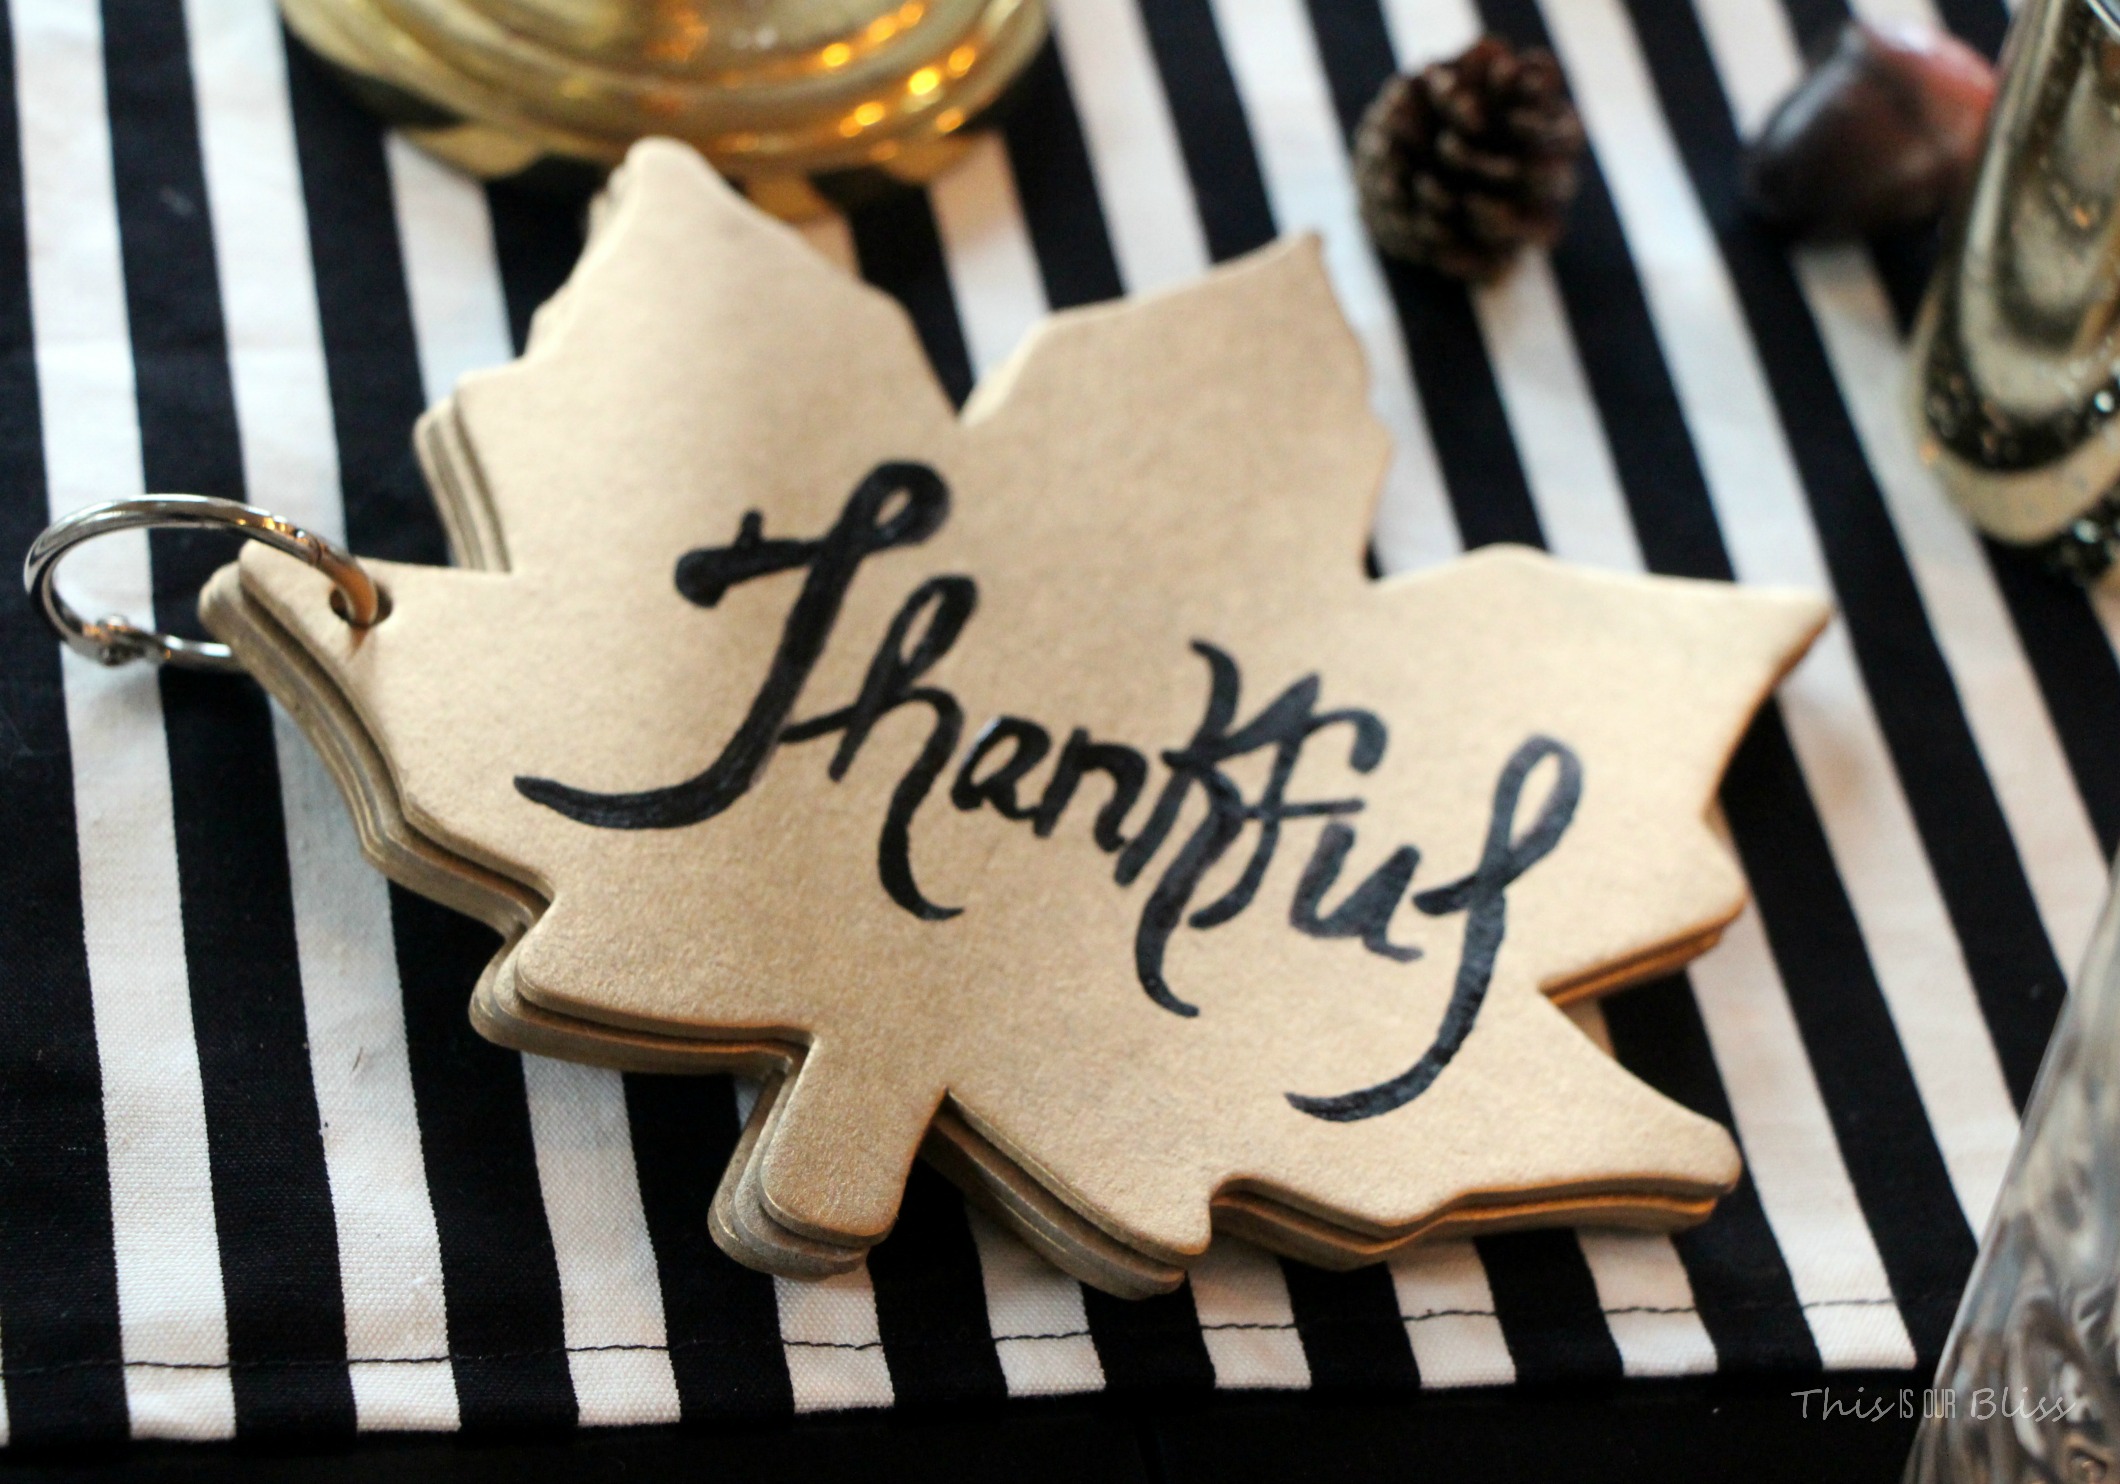
I came up with the idea to make a “We are thankful for…” book after I picked up a leaf chipboard kit for $.39 at Michaels when their Halloween décor was 80% off.
I have seen lots of Thanksgiving tables set using brown kraft paper as placemats or a tablecloth and then a black marker to write “I am thankful for:” to allow family and friends to reflect on and share their thoughts on what is special and important to them at this time of the year. It just so happened to work with my leaf theme, so decided to make it gold, too.
Same as the leaves…Lay out all of the chipboard pieces and give them a good spray.
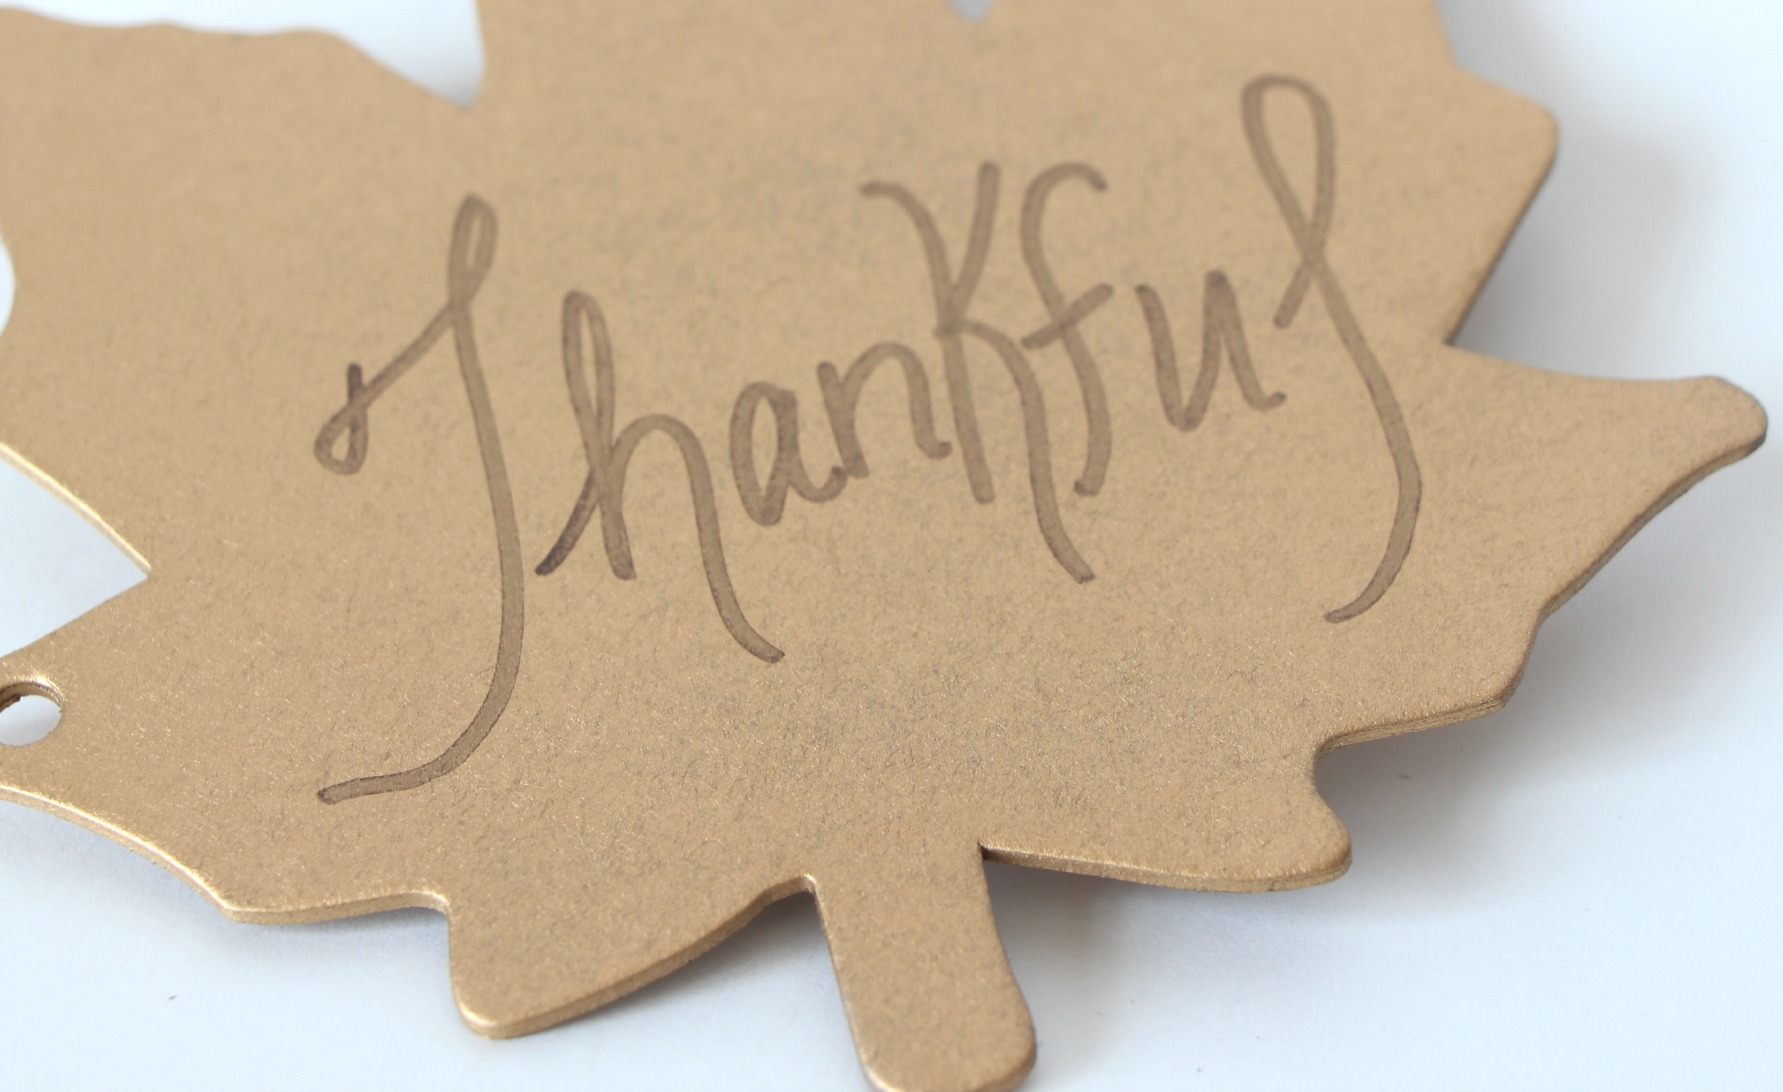
These dried extremely fast, so was able to apply the Sharpie to it right away.
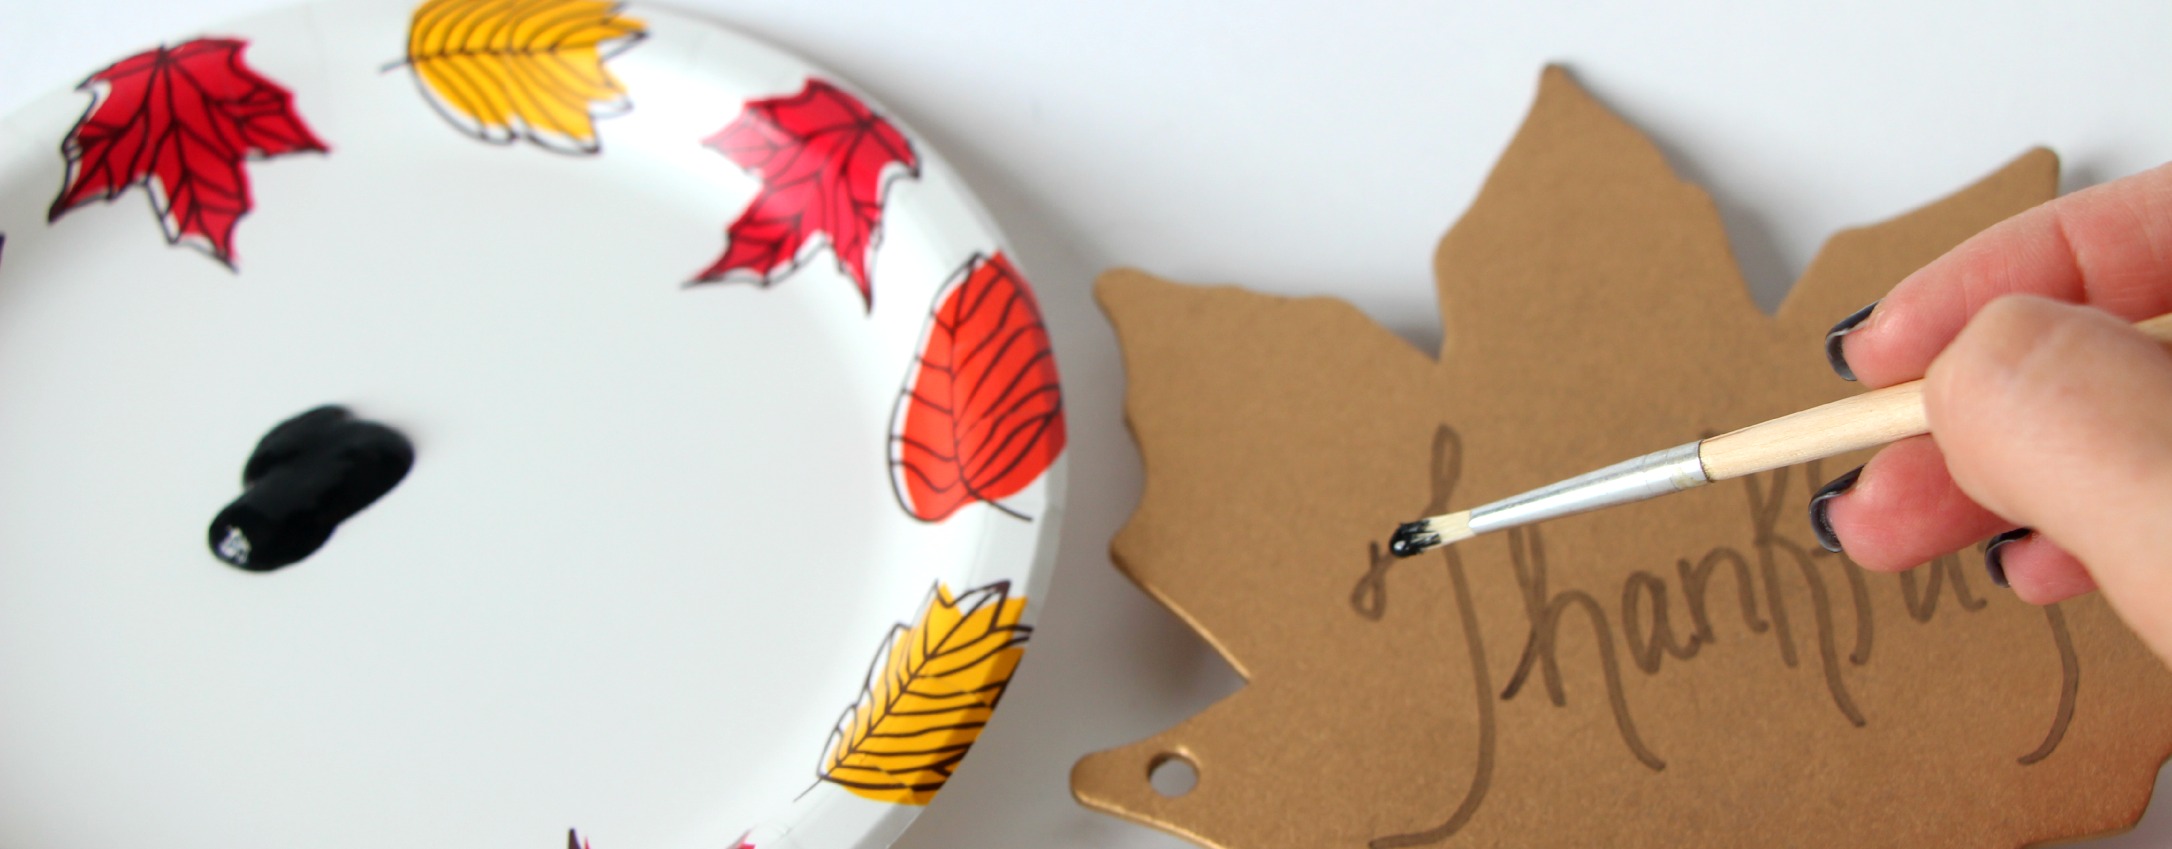
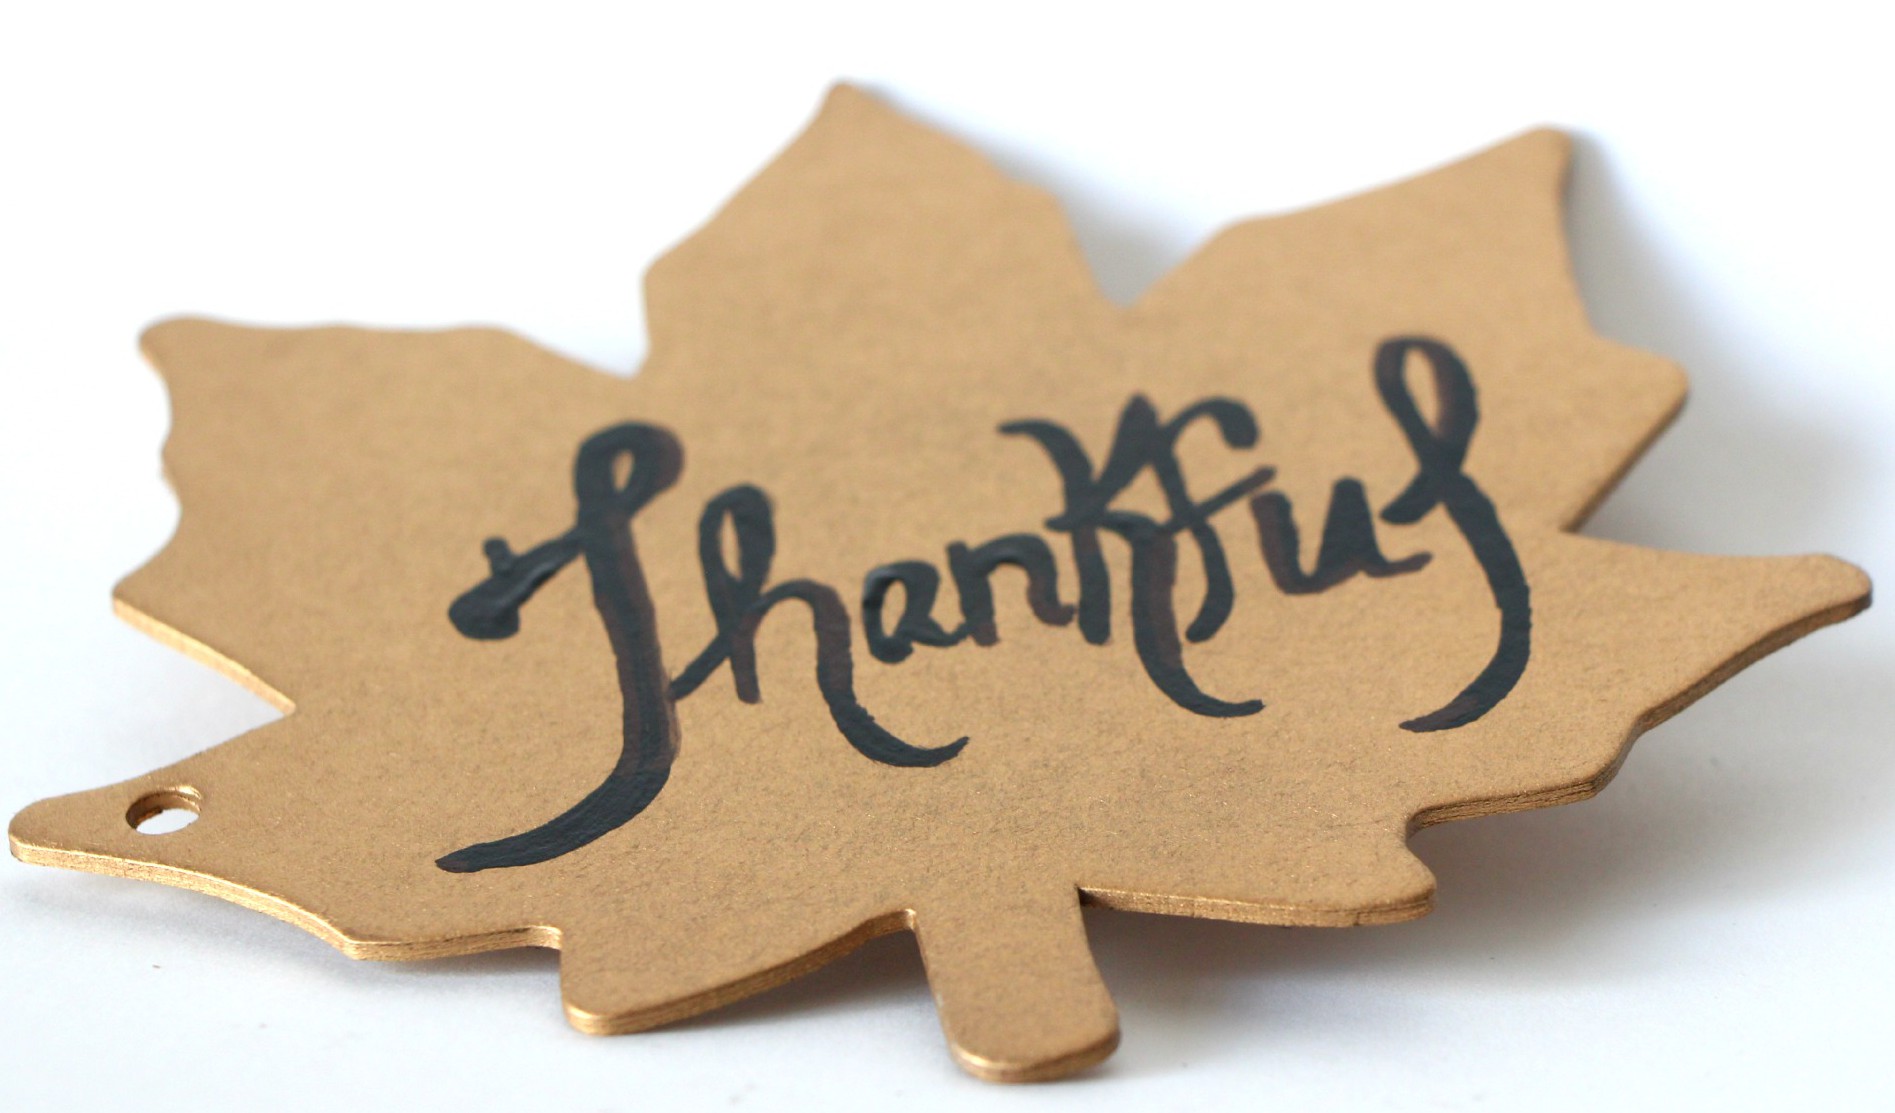
This time, I did decide to go over the marker letters with a fine point paintbrush and black craft paint because I really wanted the “Thankful” to be bold and stand out on the table.
much better!
I didn’t draw any lines in the pages to write on, but thought it would be neat to just have words randomly throughout. I may add “2014” to the back of the book after we all write what we are thankful for. Clearly, Henry & Simon will need a little help with their pages, but I think it will be cute to see what Henry actually says when we ask him haha.
Next, I stacked the pages and attached the metal ring clip it came with to hold them all together.
Set it on the table and it’s ready to go!
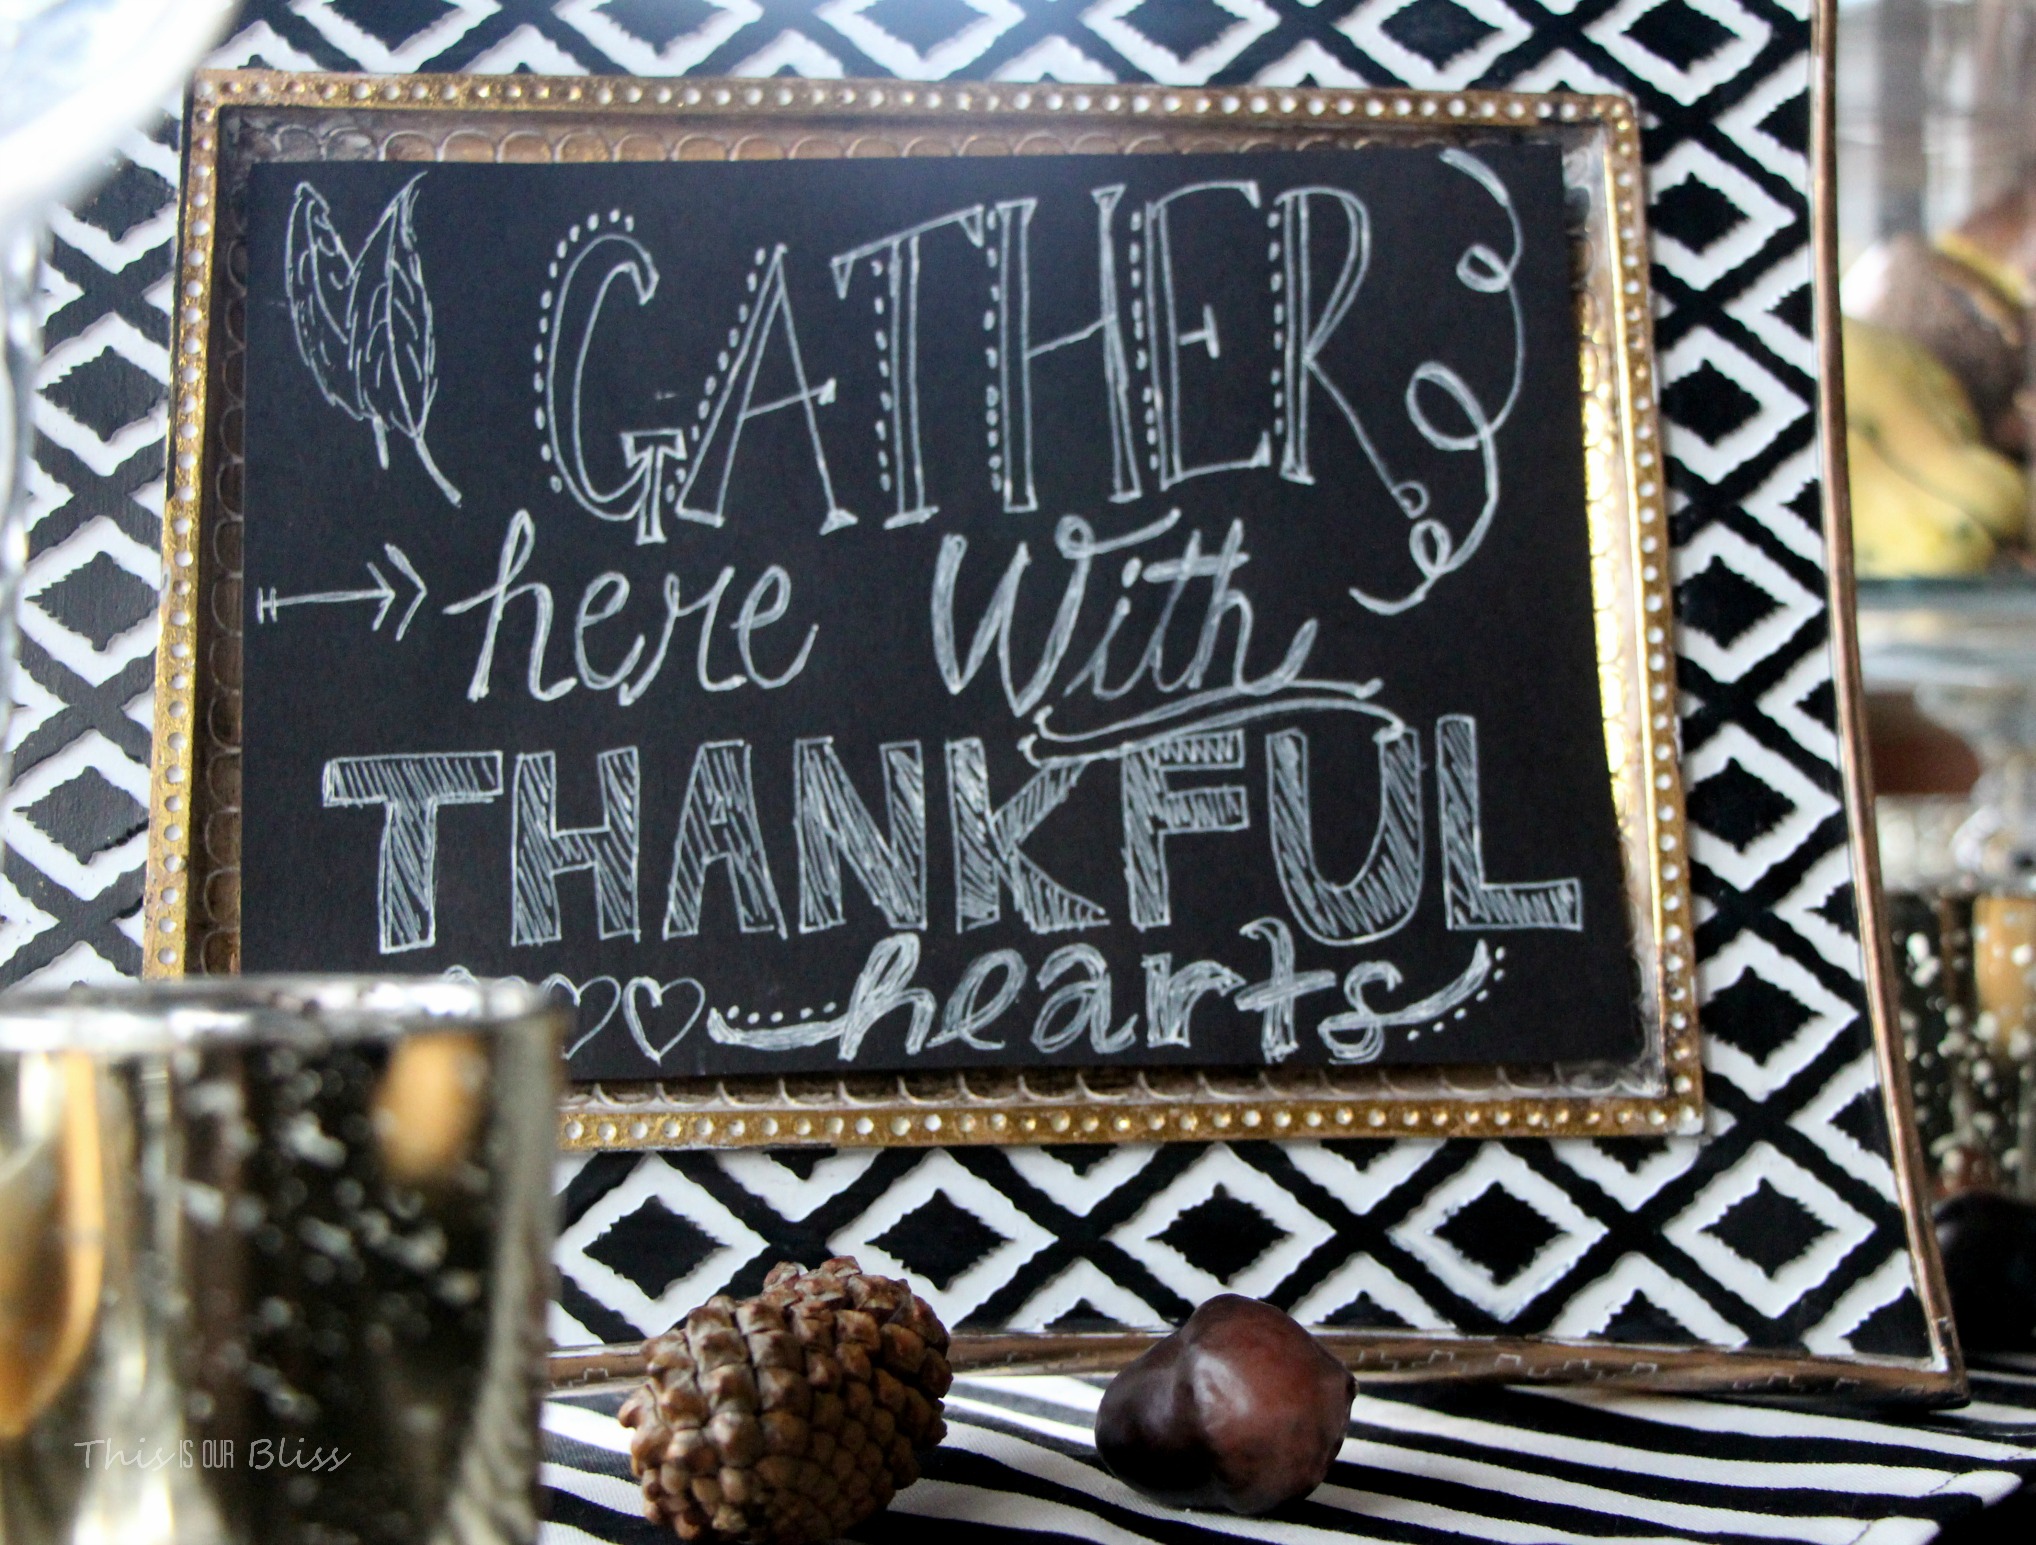
Tomorrow, I will be sharing the super easy instructions for making a less messy alternative to the ever-so-trendy chalkboard art. You can create your own with just 2 materials and neither one is chalkboard paint or chalk!
See you then and thanks for reading. Now, off to start a nice and relaxing Friday night at home – those are the best ones in my book.
What are your favorite Friday night plans? Are you celebrating an early Thanksgiving this weekend?!




Simple Saturday: How to Create Fake Chalkboard Art | This is our Bliss
November 22, 2014 at 12:07 PM[…] ← 2 Gilded DIY Projects for Your Thanksgiving Table {Place cards & a “Thankful”… […]