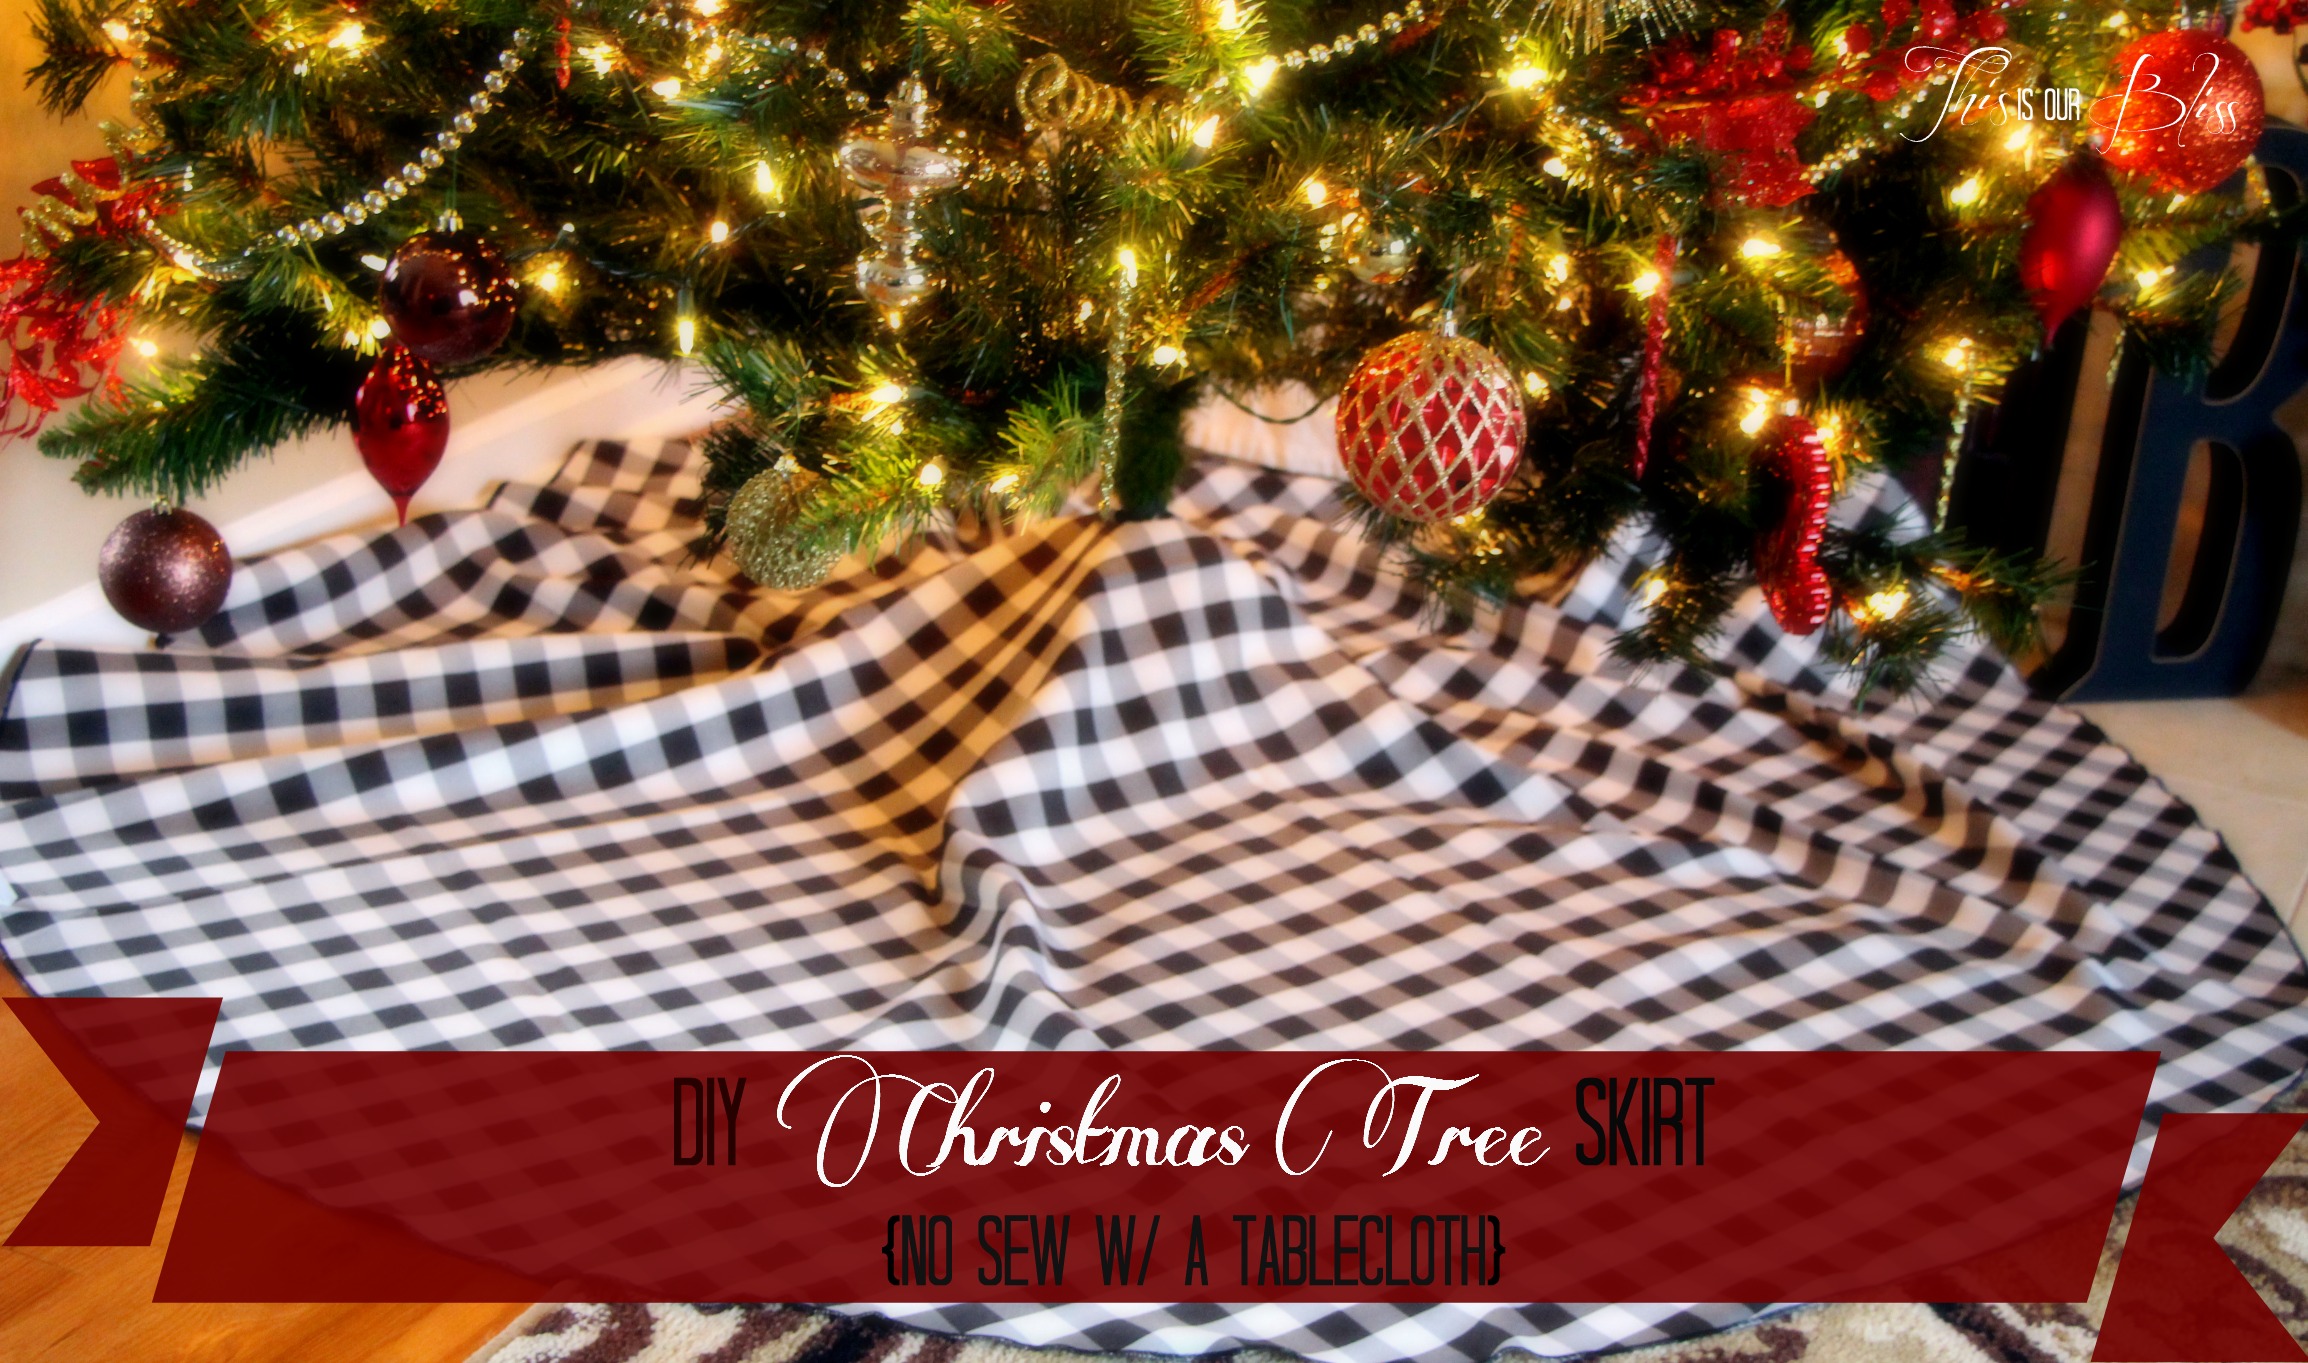
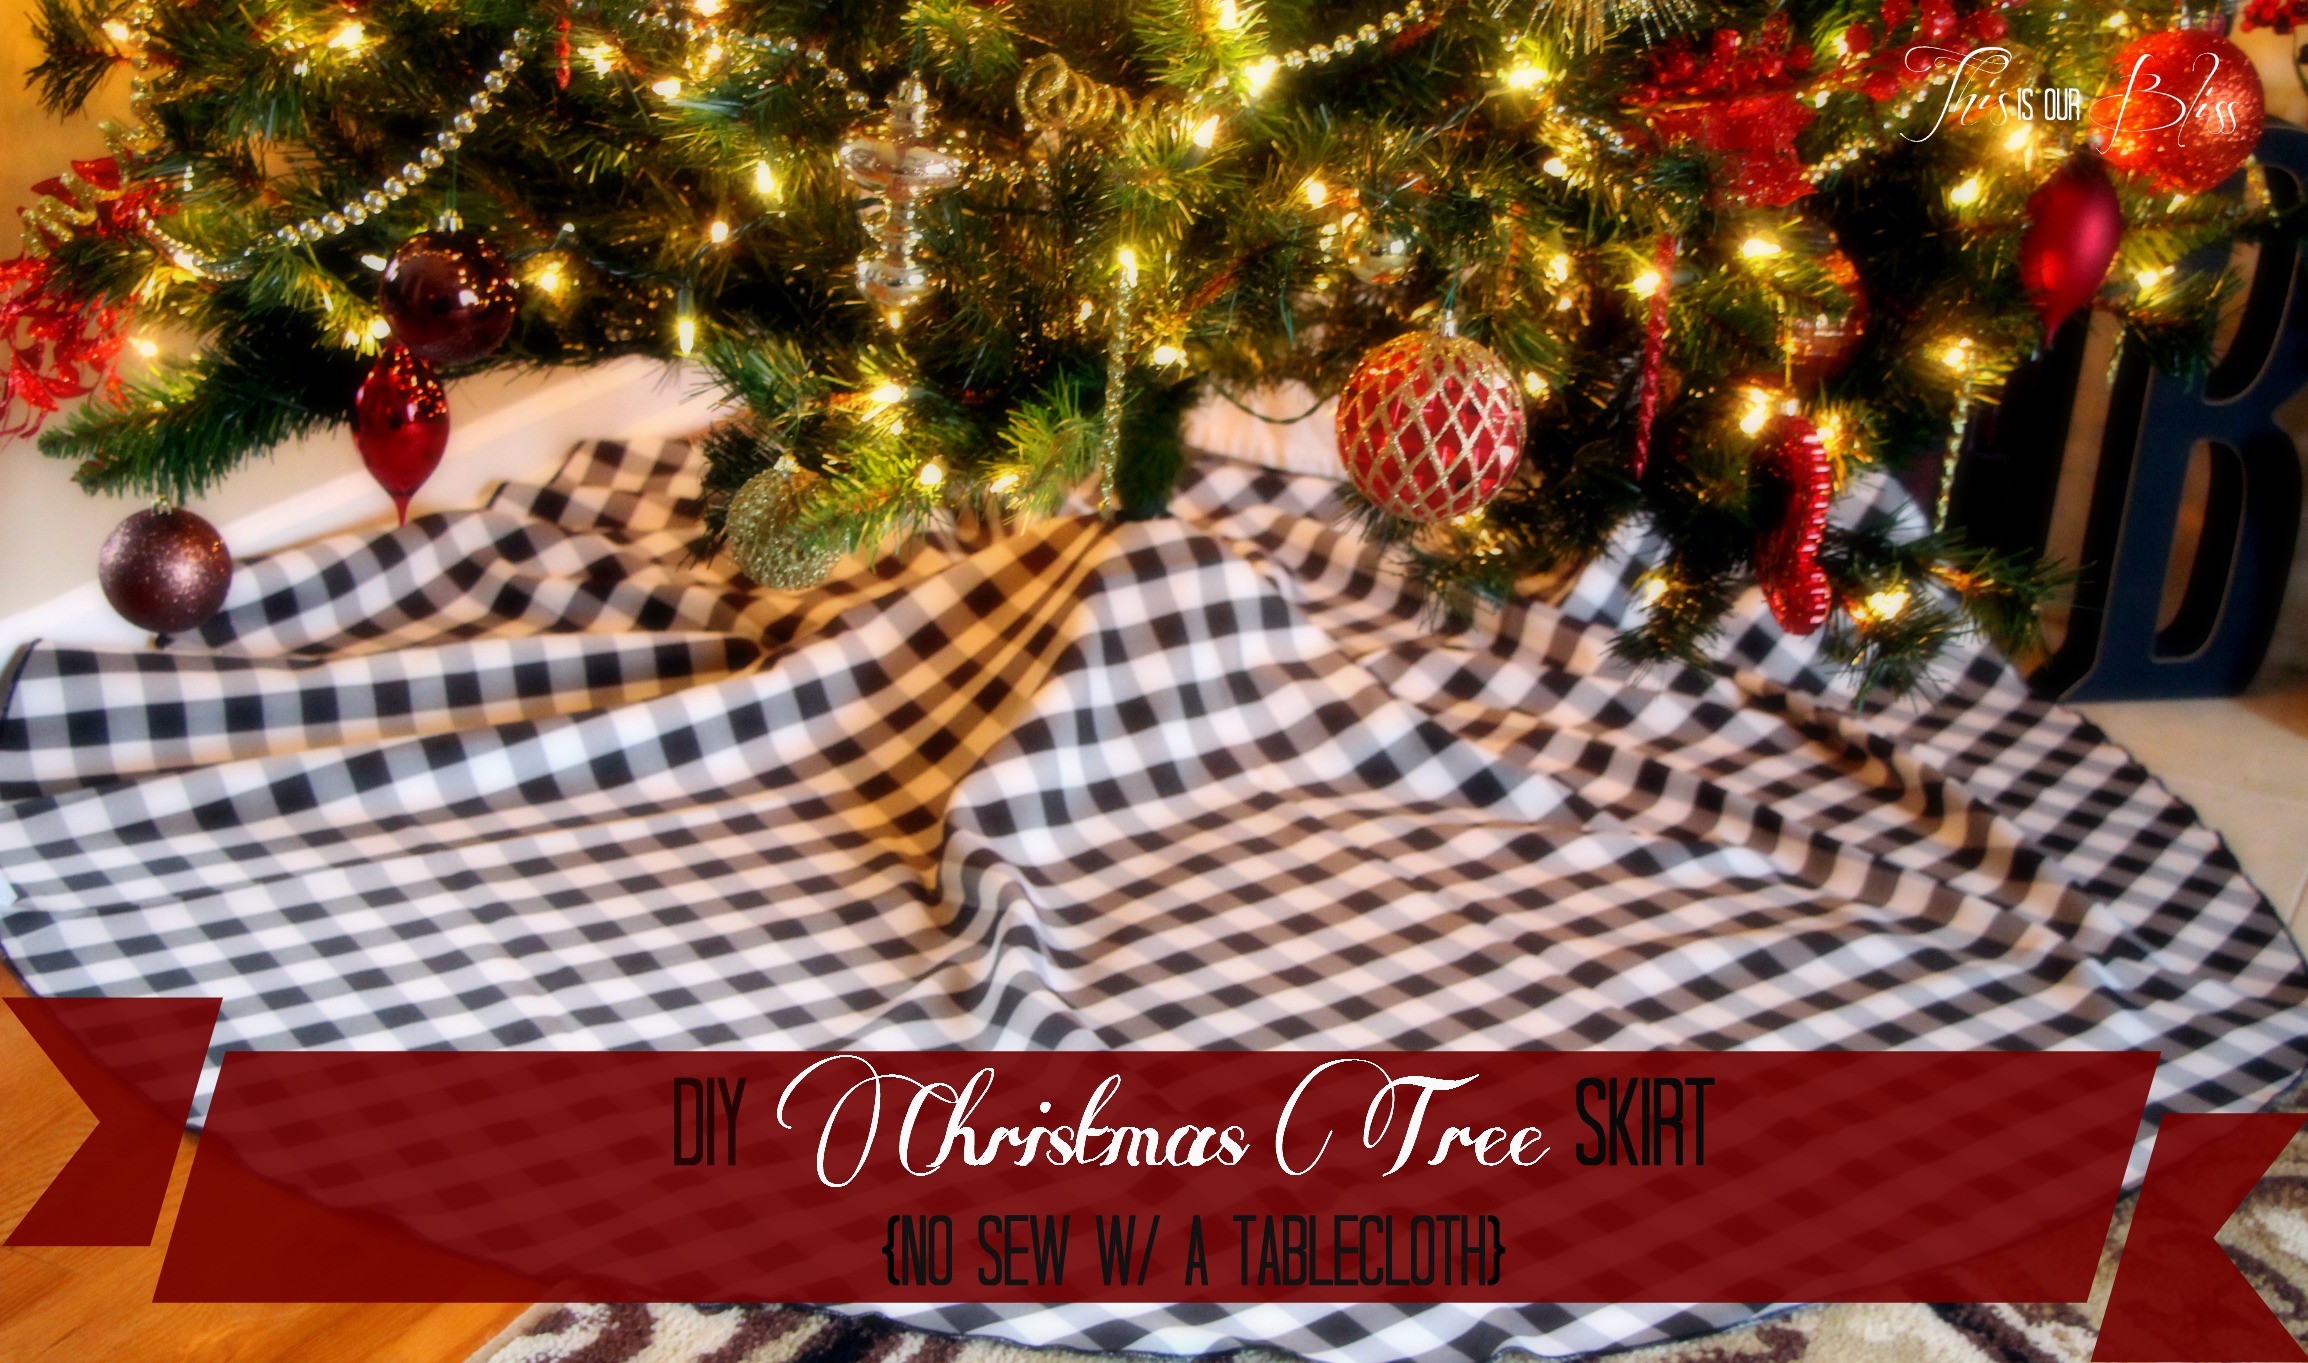
Good afternoon, all! I hope you are enjoying this crazy busy month! That almost doesn’t make sense. For me, yes, I am soaking the month of December in little by little each day. It has been a bit hectic, but my philosophy is to crank up the Christmas tunes and sip my coffee or wine (and maybe indulge in a few sweets, too…they always helps) I mentioned last week we would be traveling back to Iowa for my friend’s wedding and we did just that, this past weekend. It was a beautiful wedding and I had the best time seeing old friends and catching up! We got home last night after 4 days at home. Our traveling did put a little damper on my posting schedule, but I hope to squeeze in a few more before Christmas! Today, I am sharing a 5 minute DIY Tree skirt for the Christmas tree, that is!
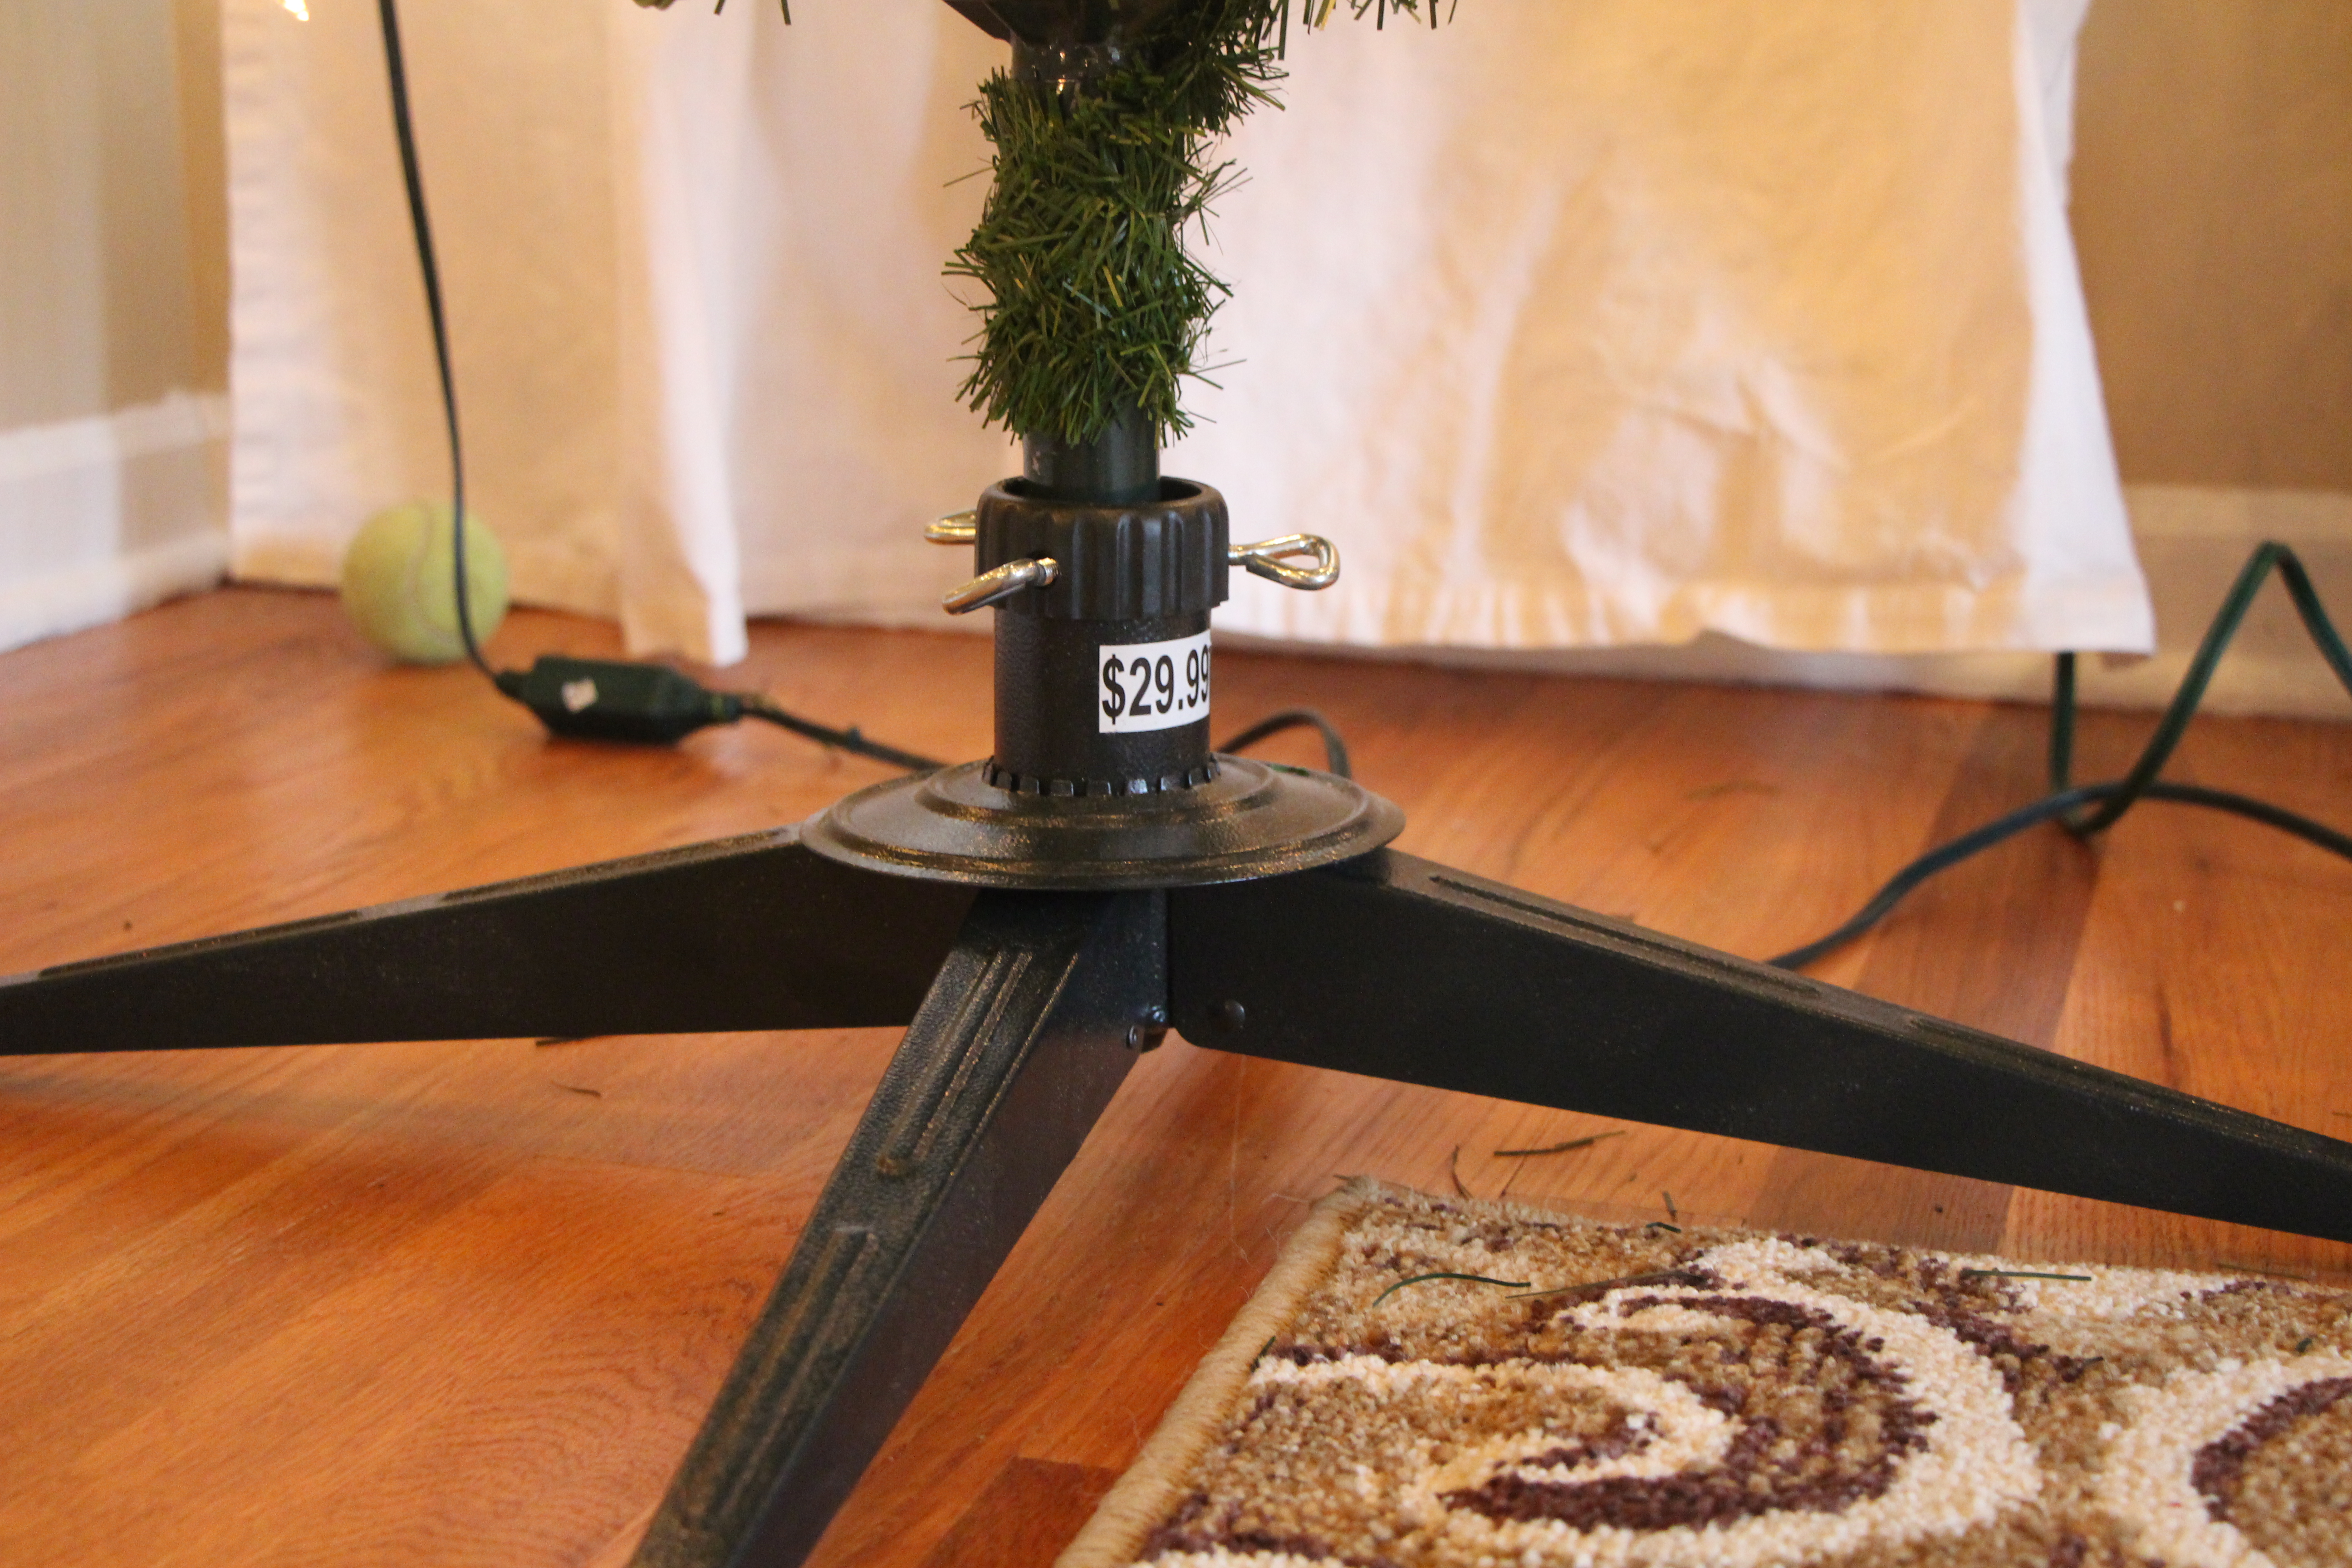
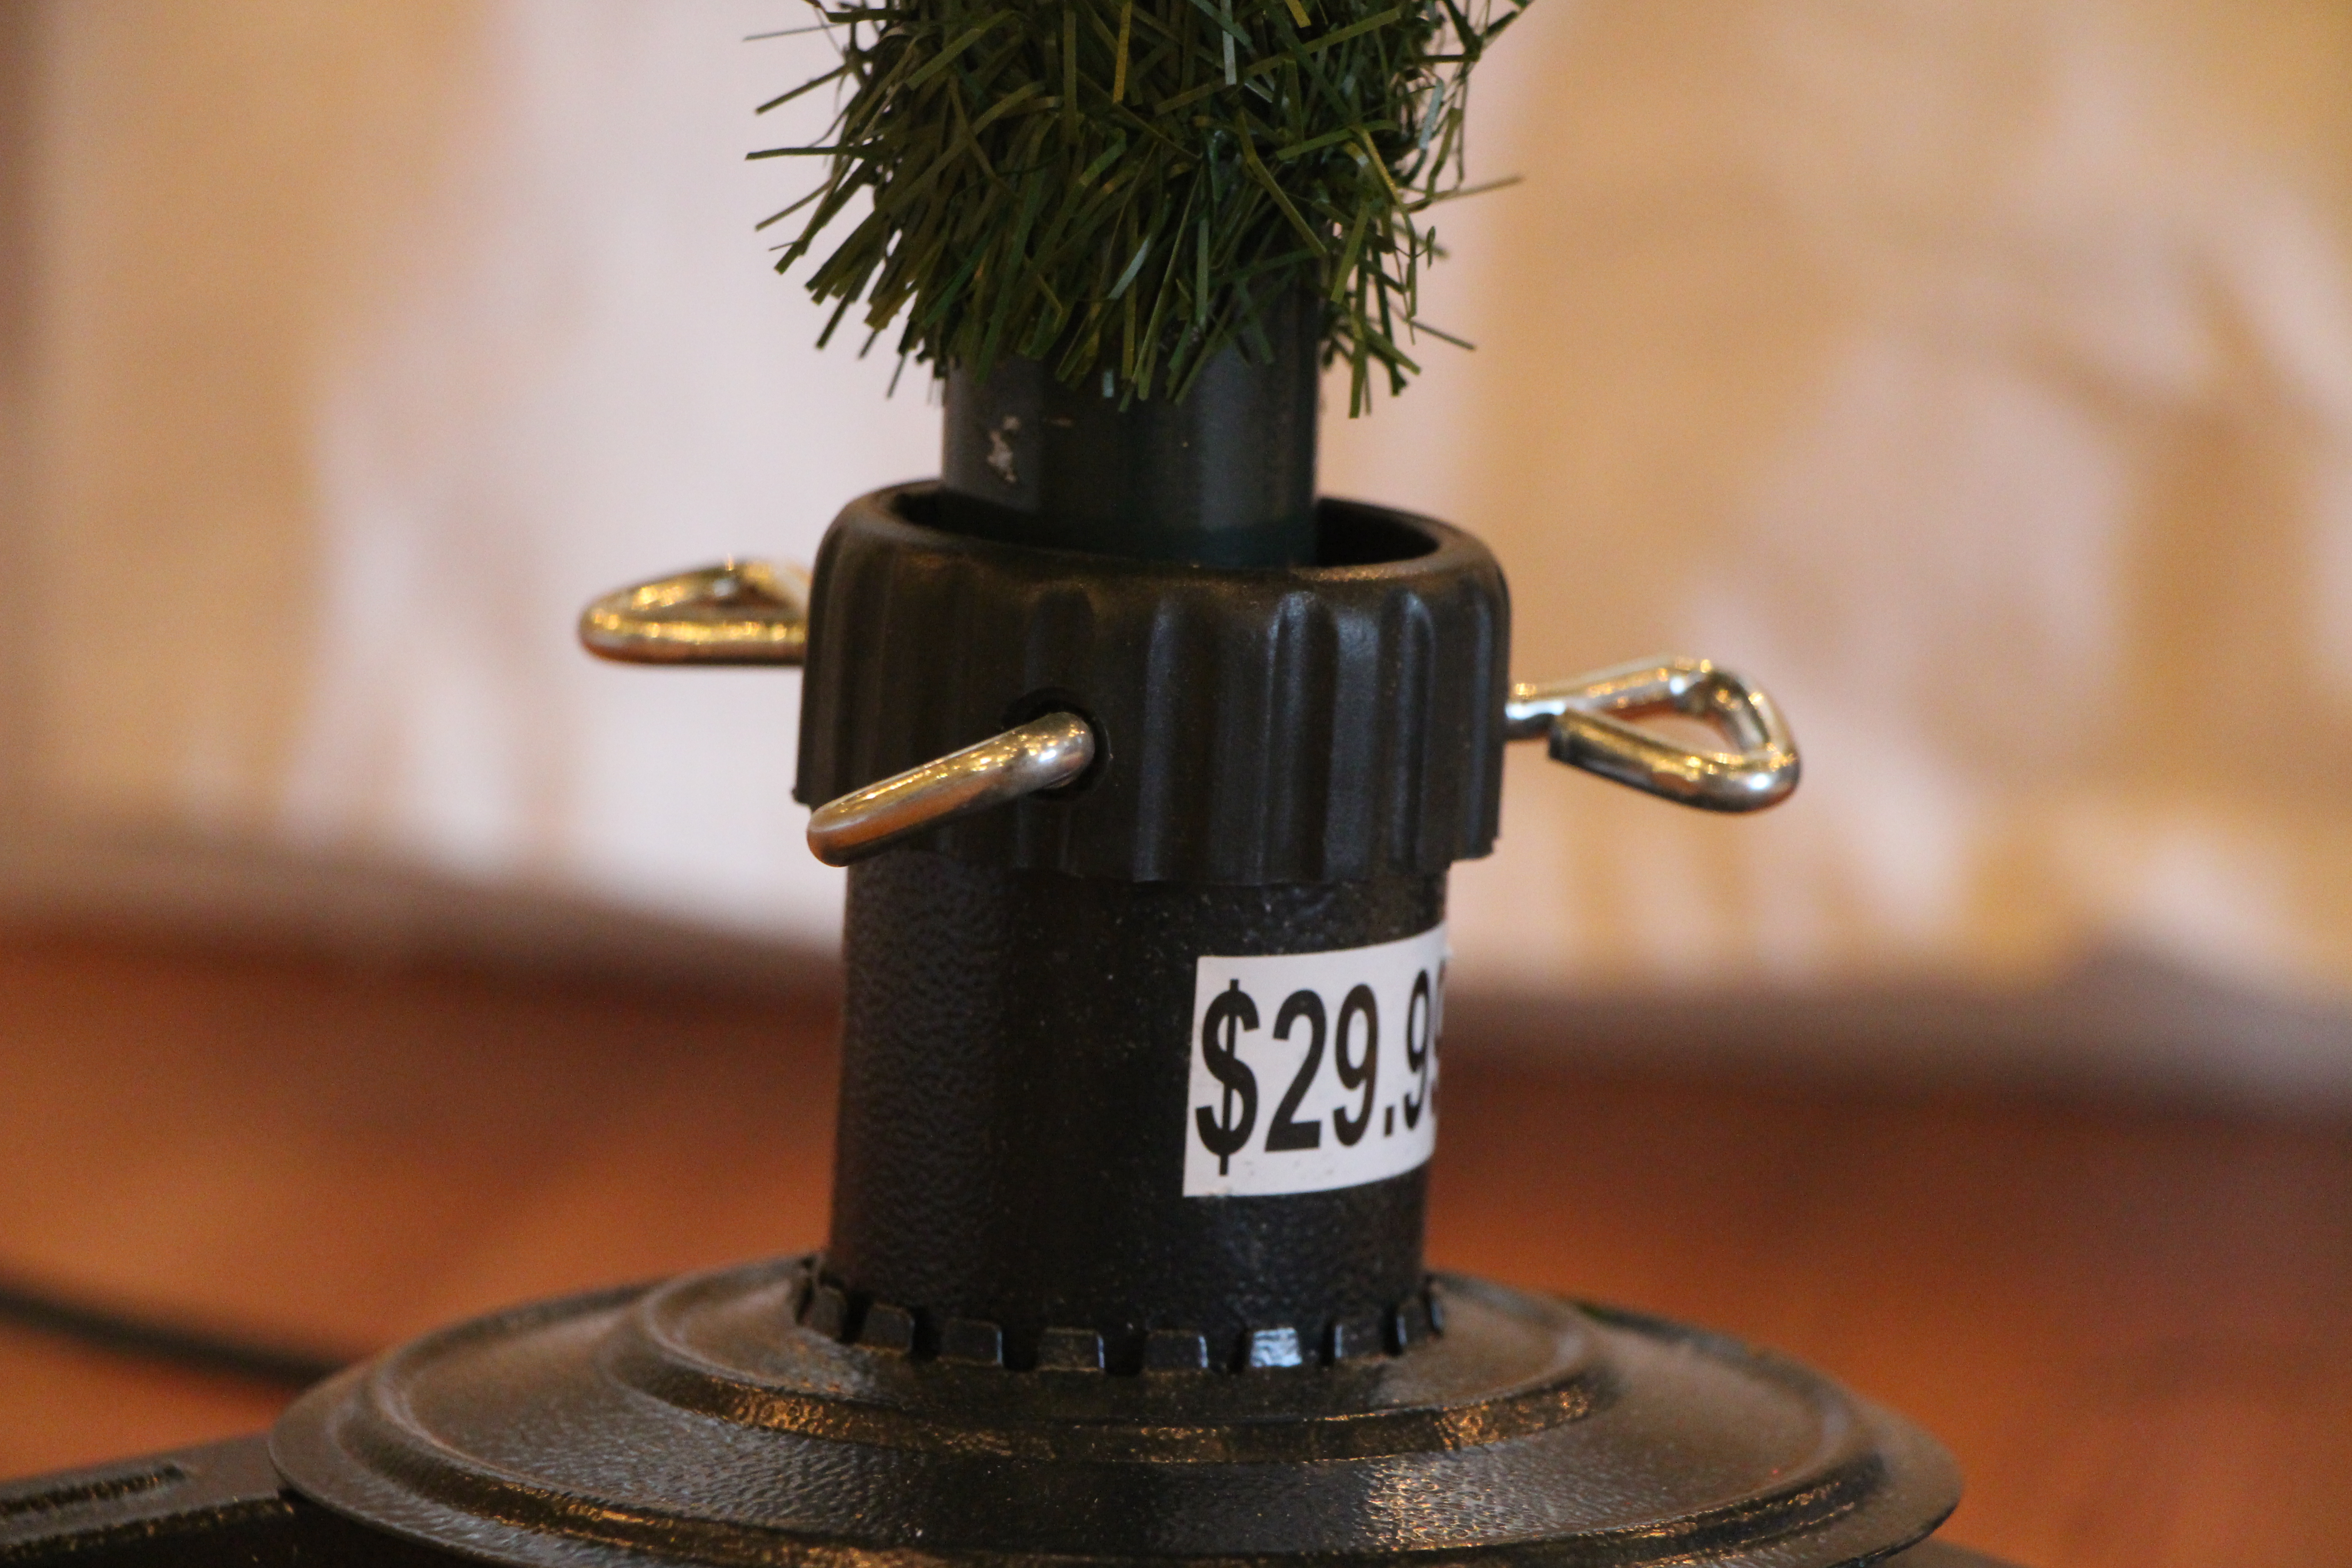
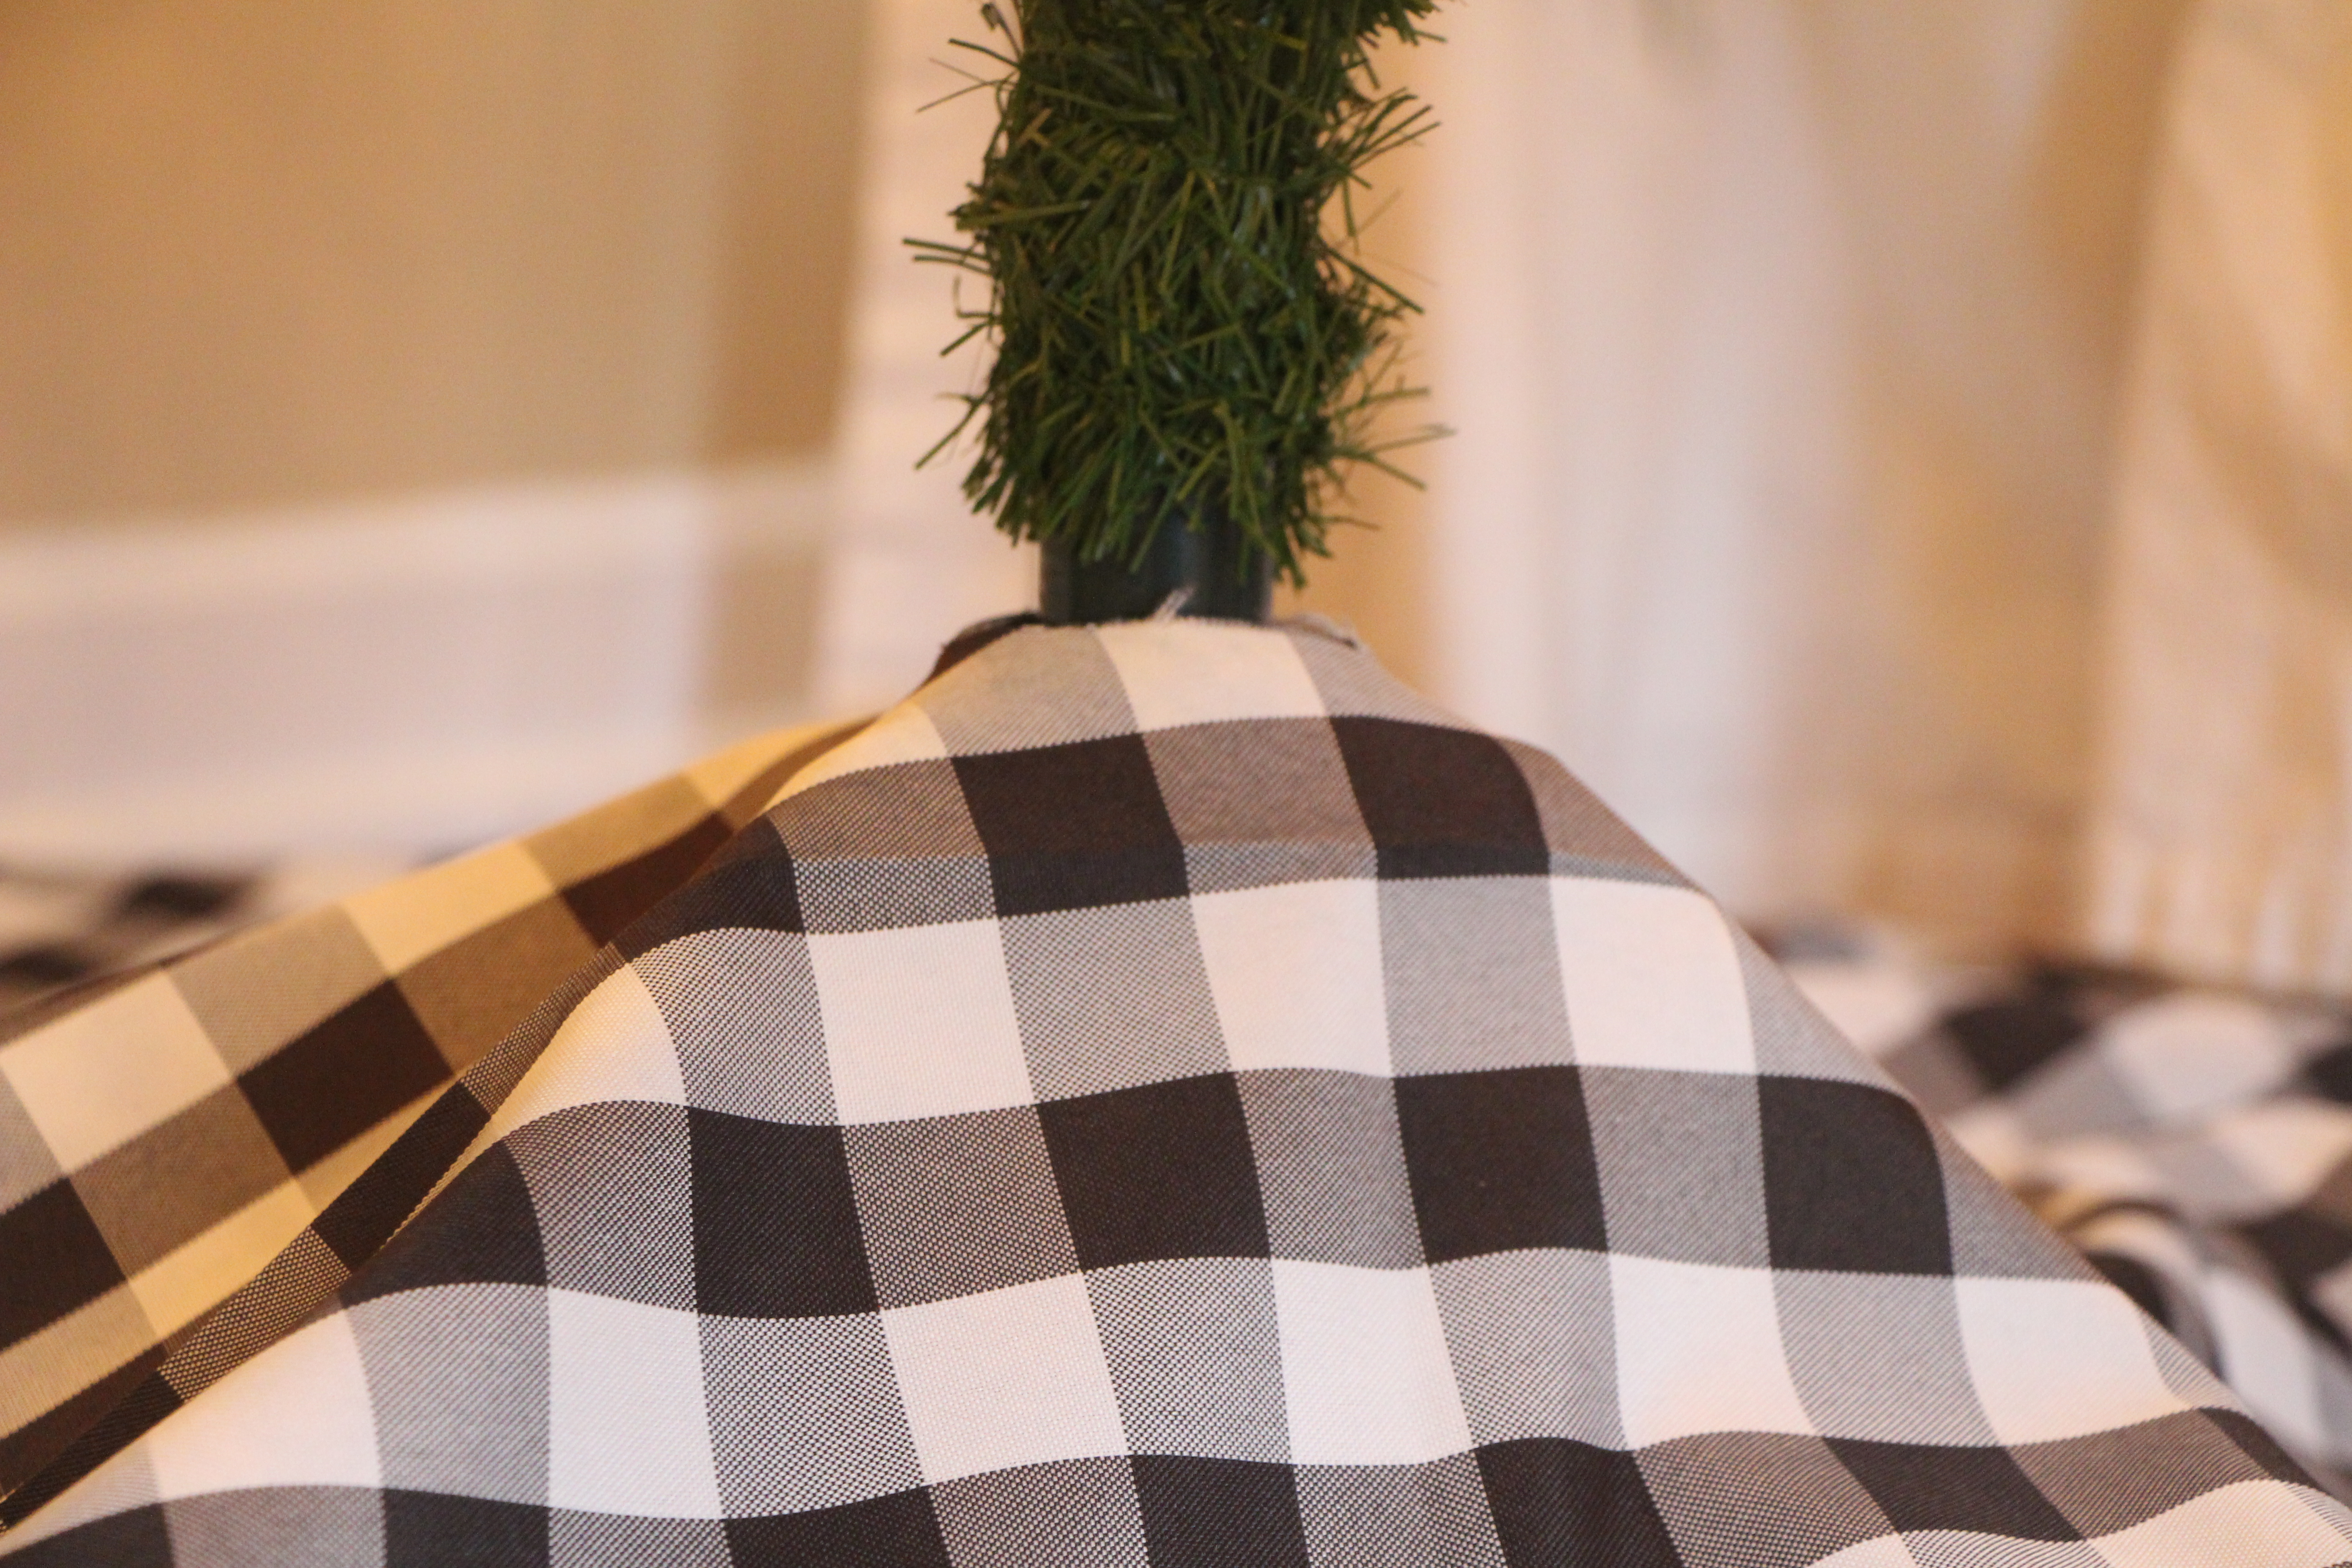
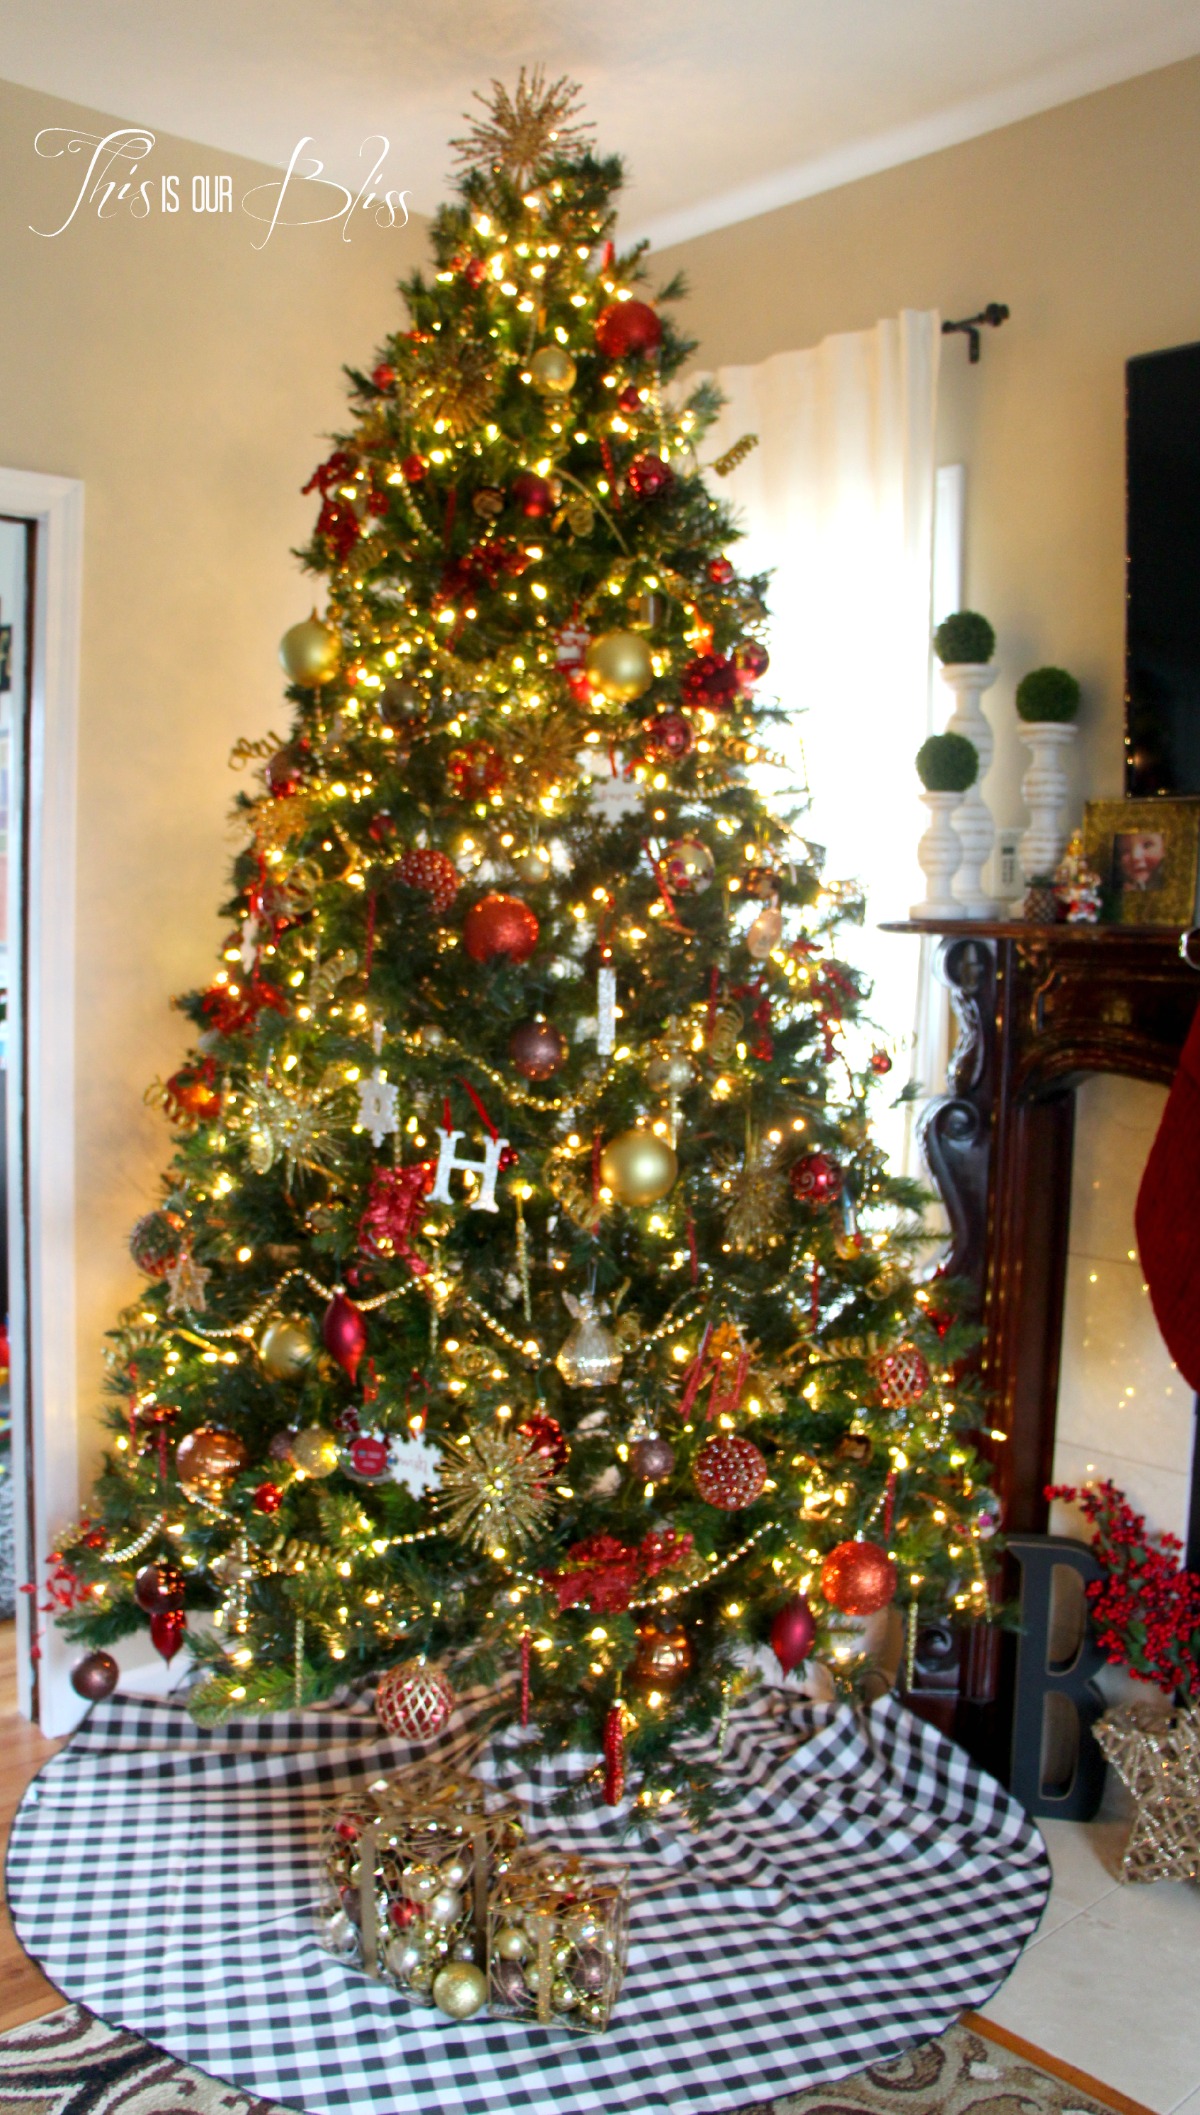
I have actually never had a tree skirt until this year. After wrapping, the gifts typically sit under the tree for a few days and then they quickly get packed up into boxes and loaded into the car since we usually travel to see family for Christmas. I decided my tree was looking a little naked underneath, so a skirt seemed like an easy solution. I also noticed we still have the price tag on our tree stand, so I wanted the skirt to sit just on top of the tightening pegs of the stand.
Don’t mind the random tennis ball behind the tree… boys 🙂
So, I gathered my (very few) materials and got started. I have been picking up (or making my own holiday) décor and gift wrapping materials in reds, golds, black and white, so when I spotted this black and white checkered tablecloth on Amazon, I knew it would be the perfect back-drop for our wrapped gifts. Keep reading for a quick tutorial. It really can’t get any easier!
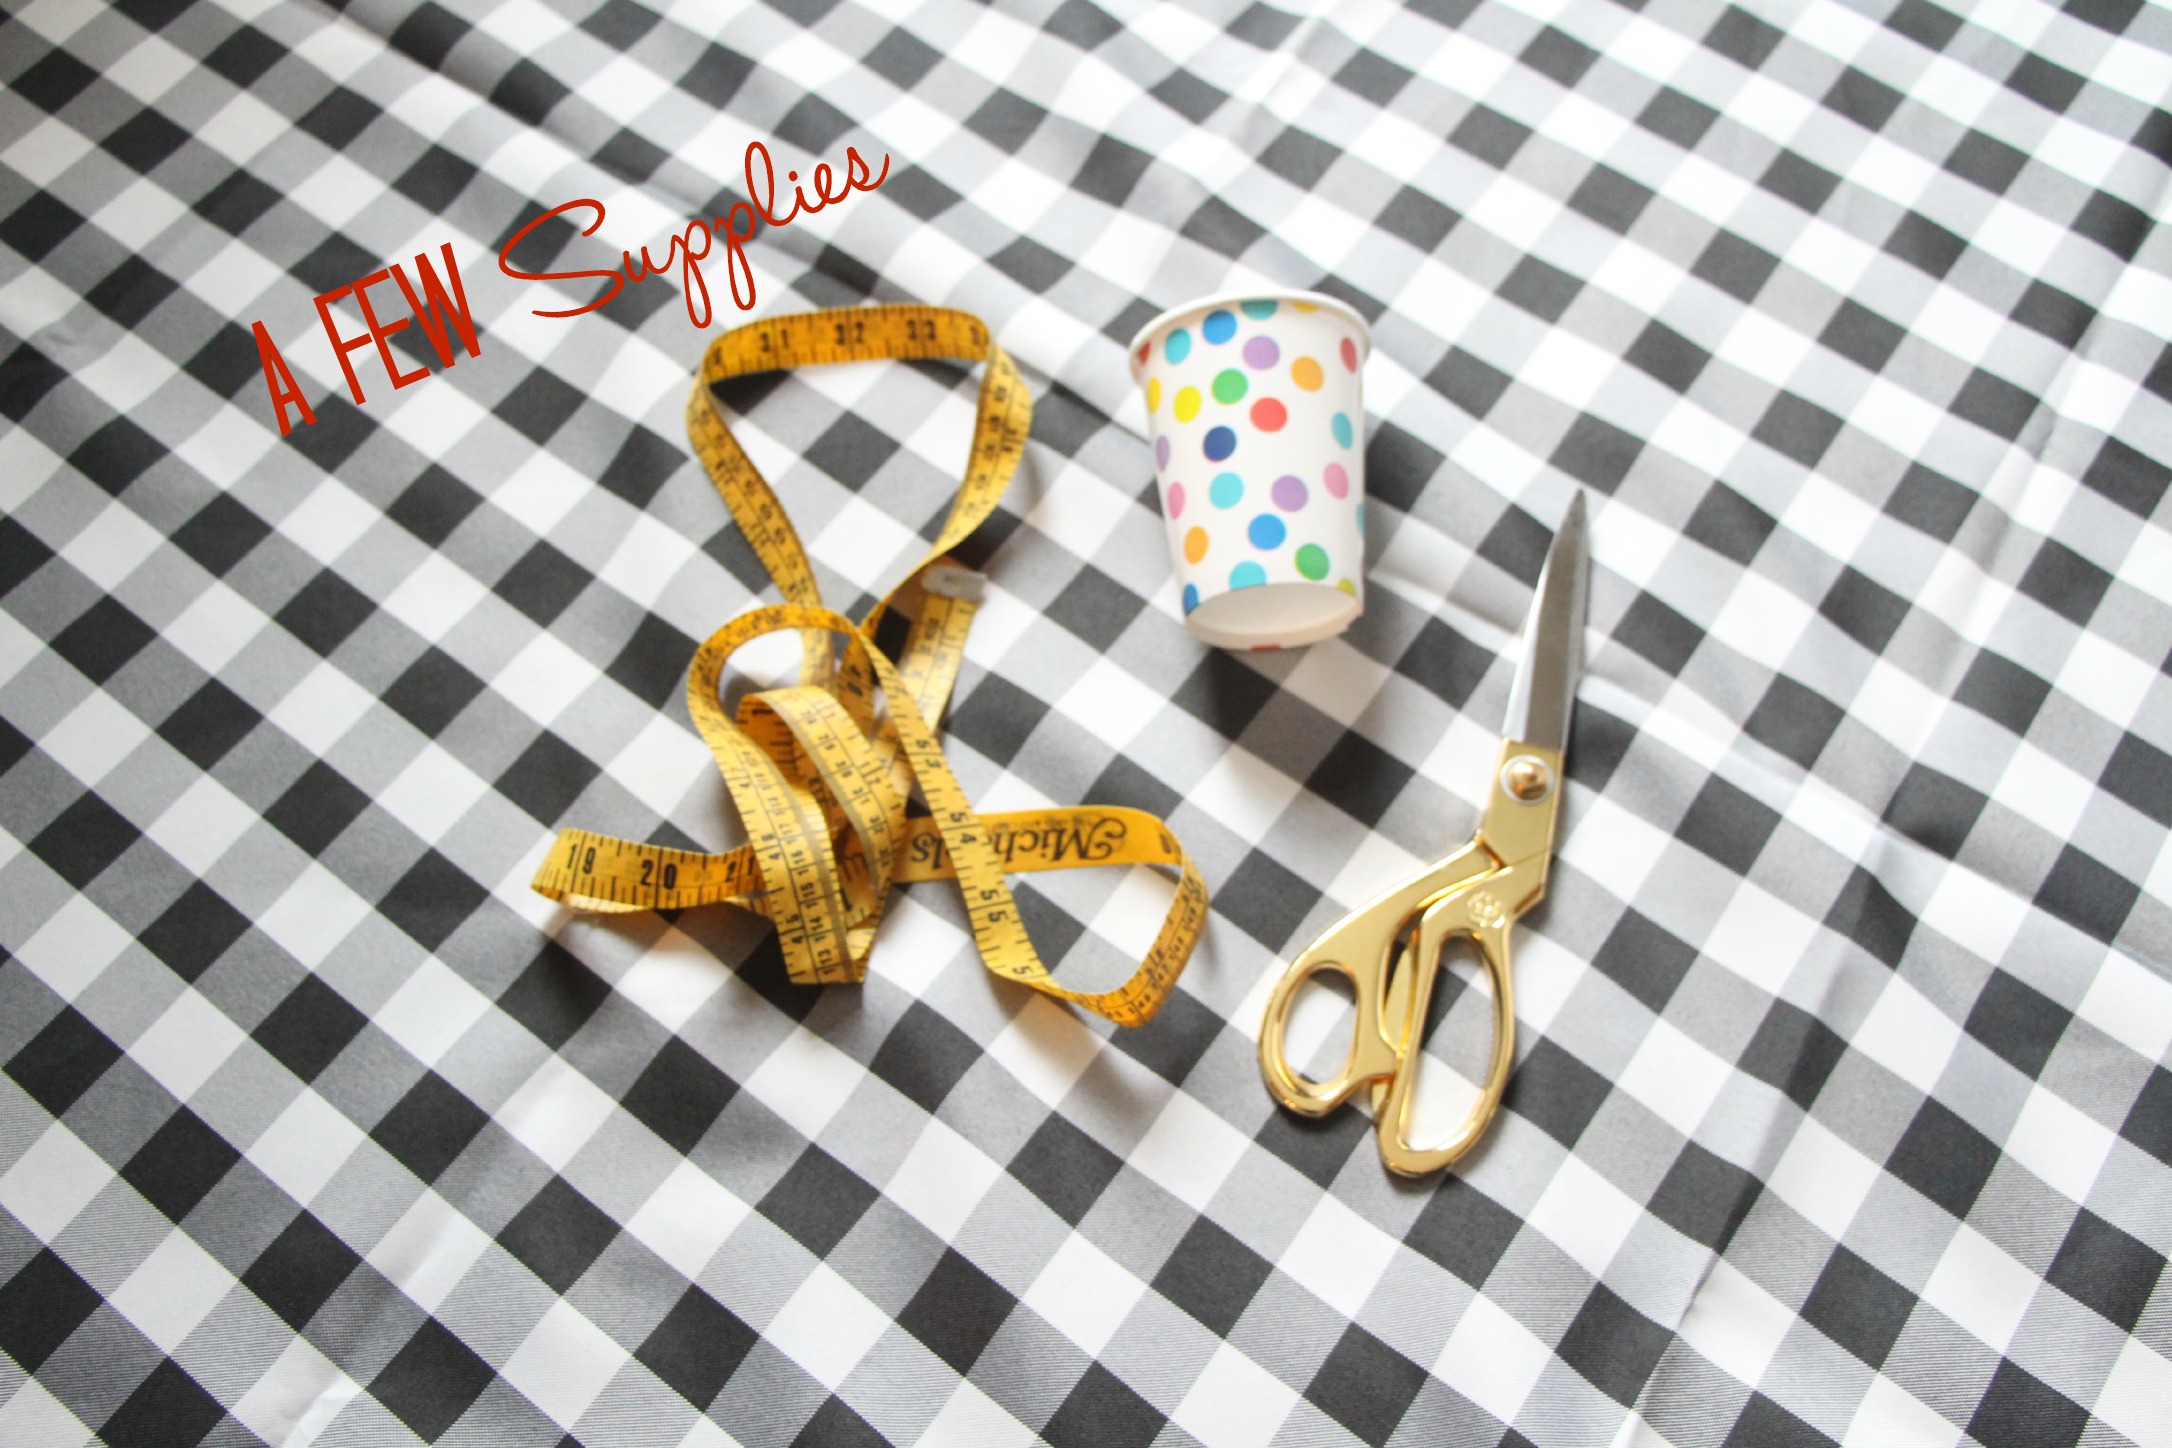
Supplies:
round tablecloth
measuring tape
scissors
sharpie
paper cup
Instructions:
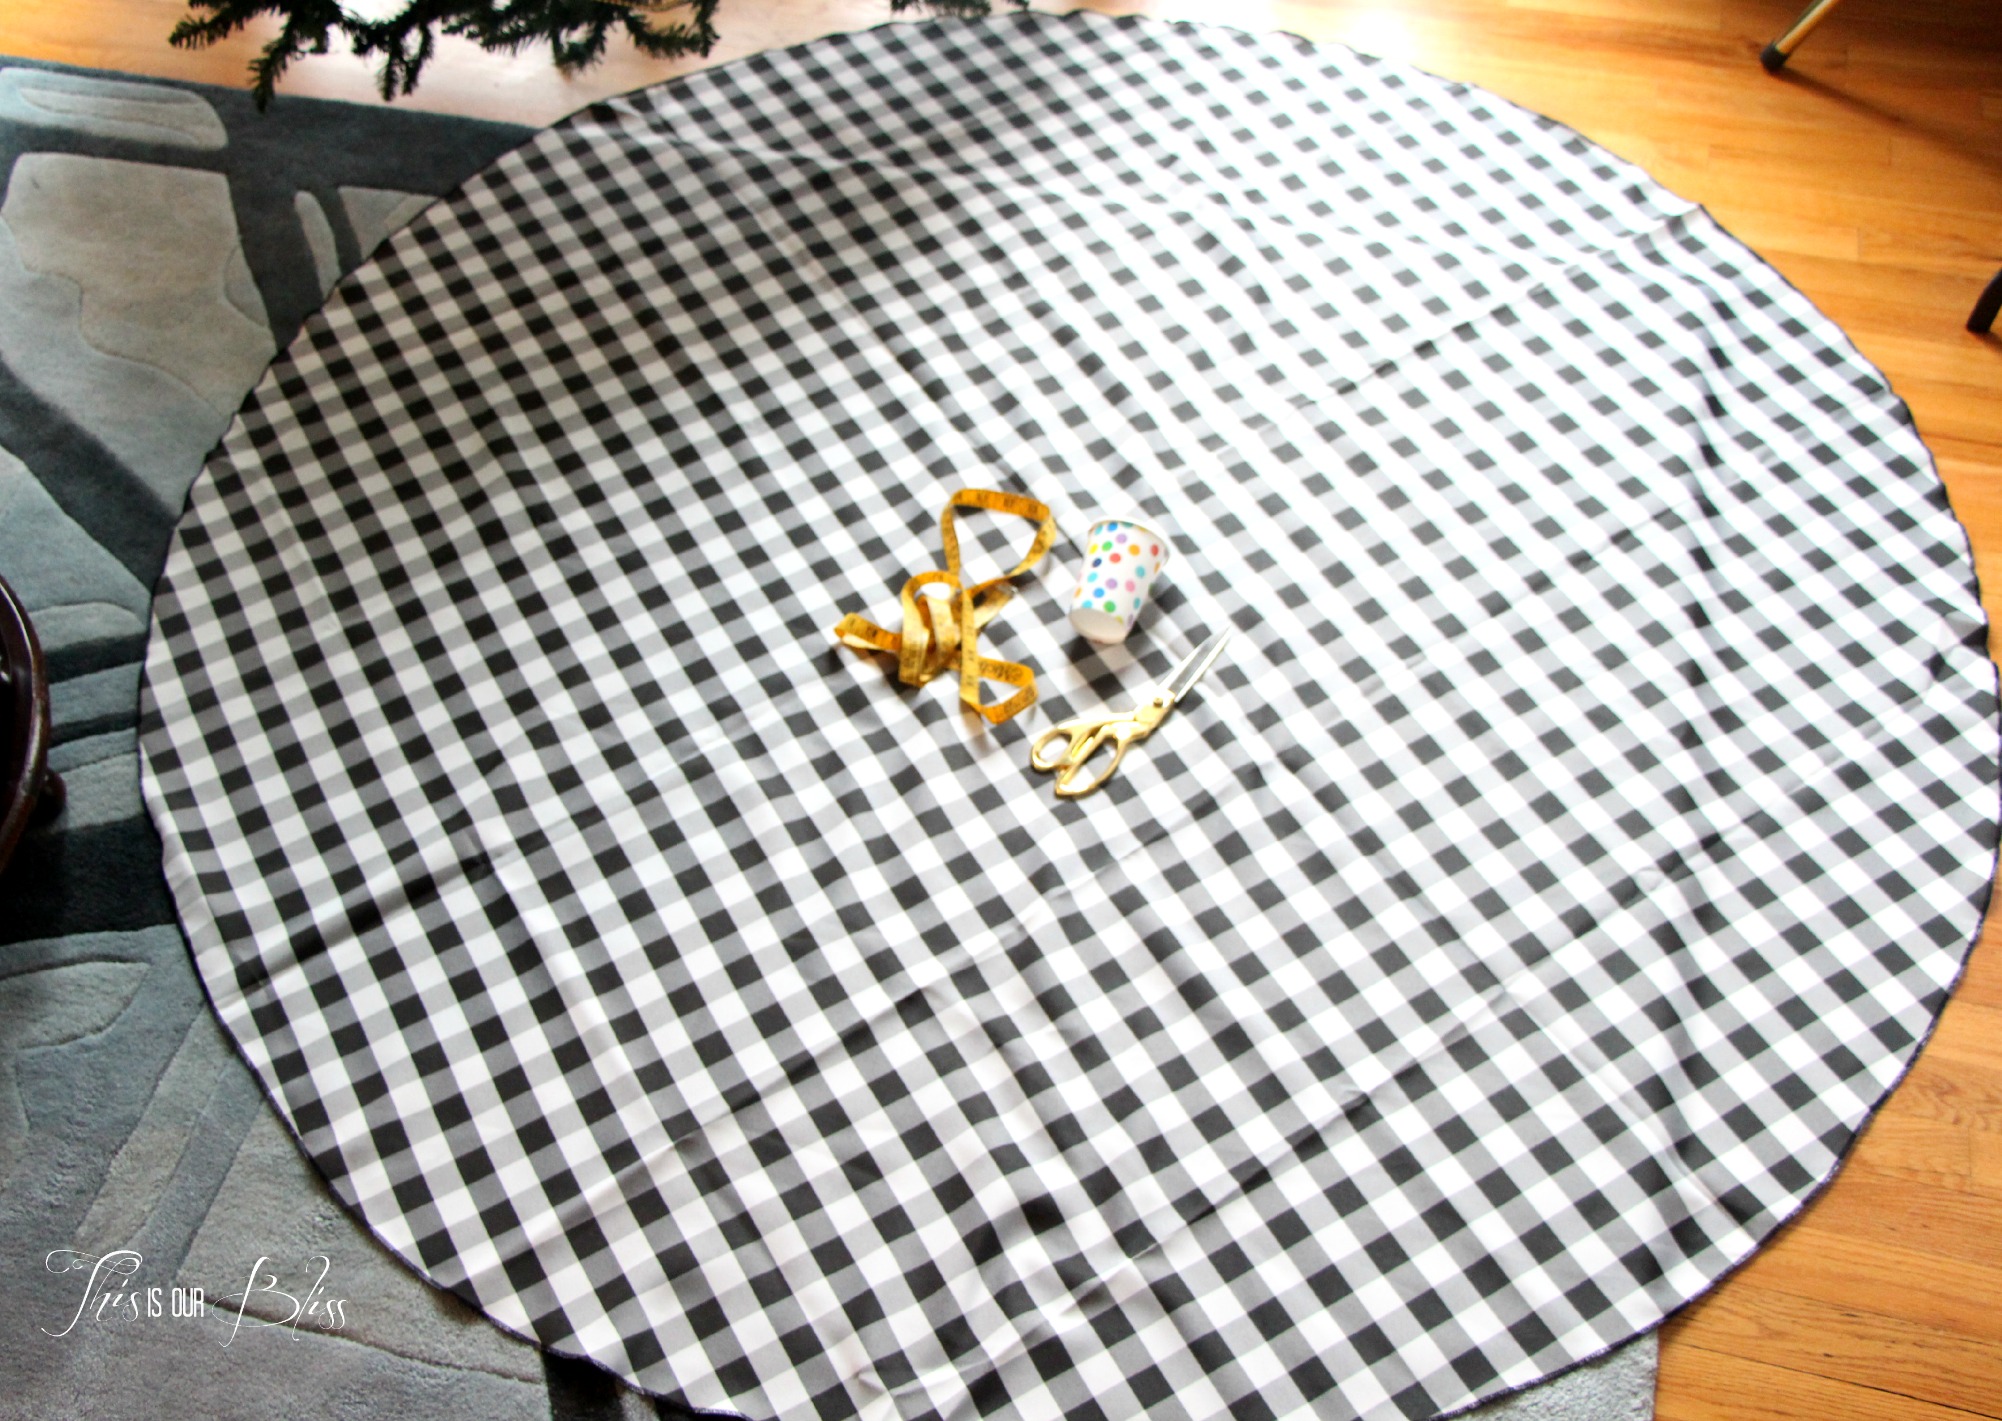
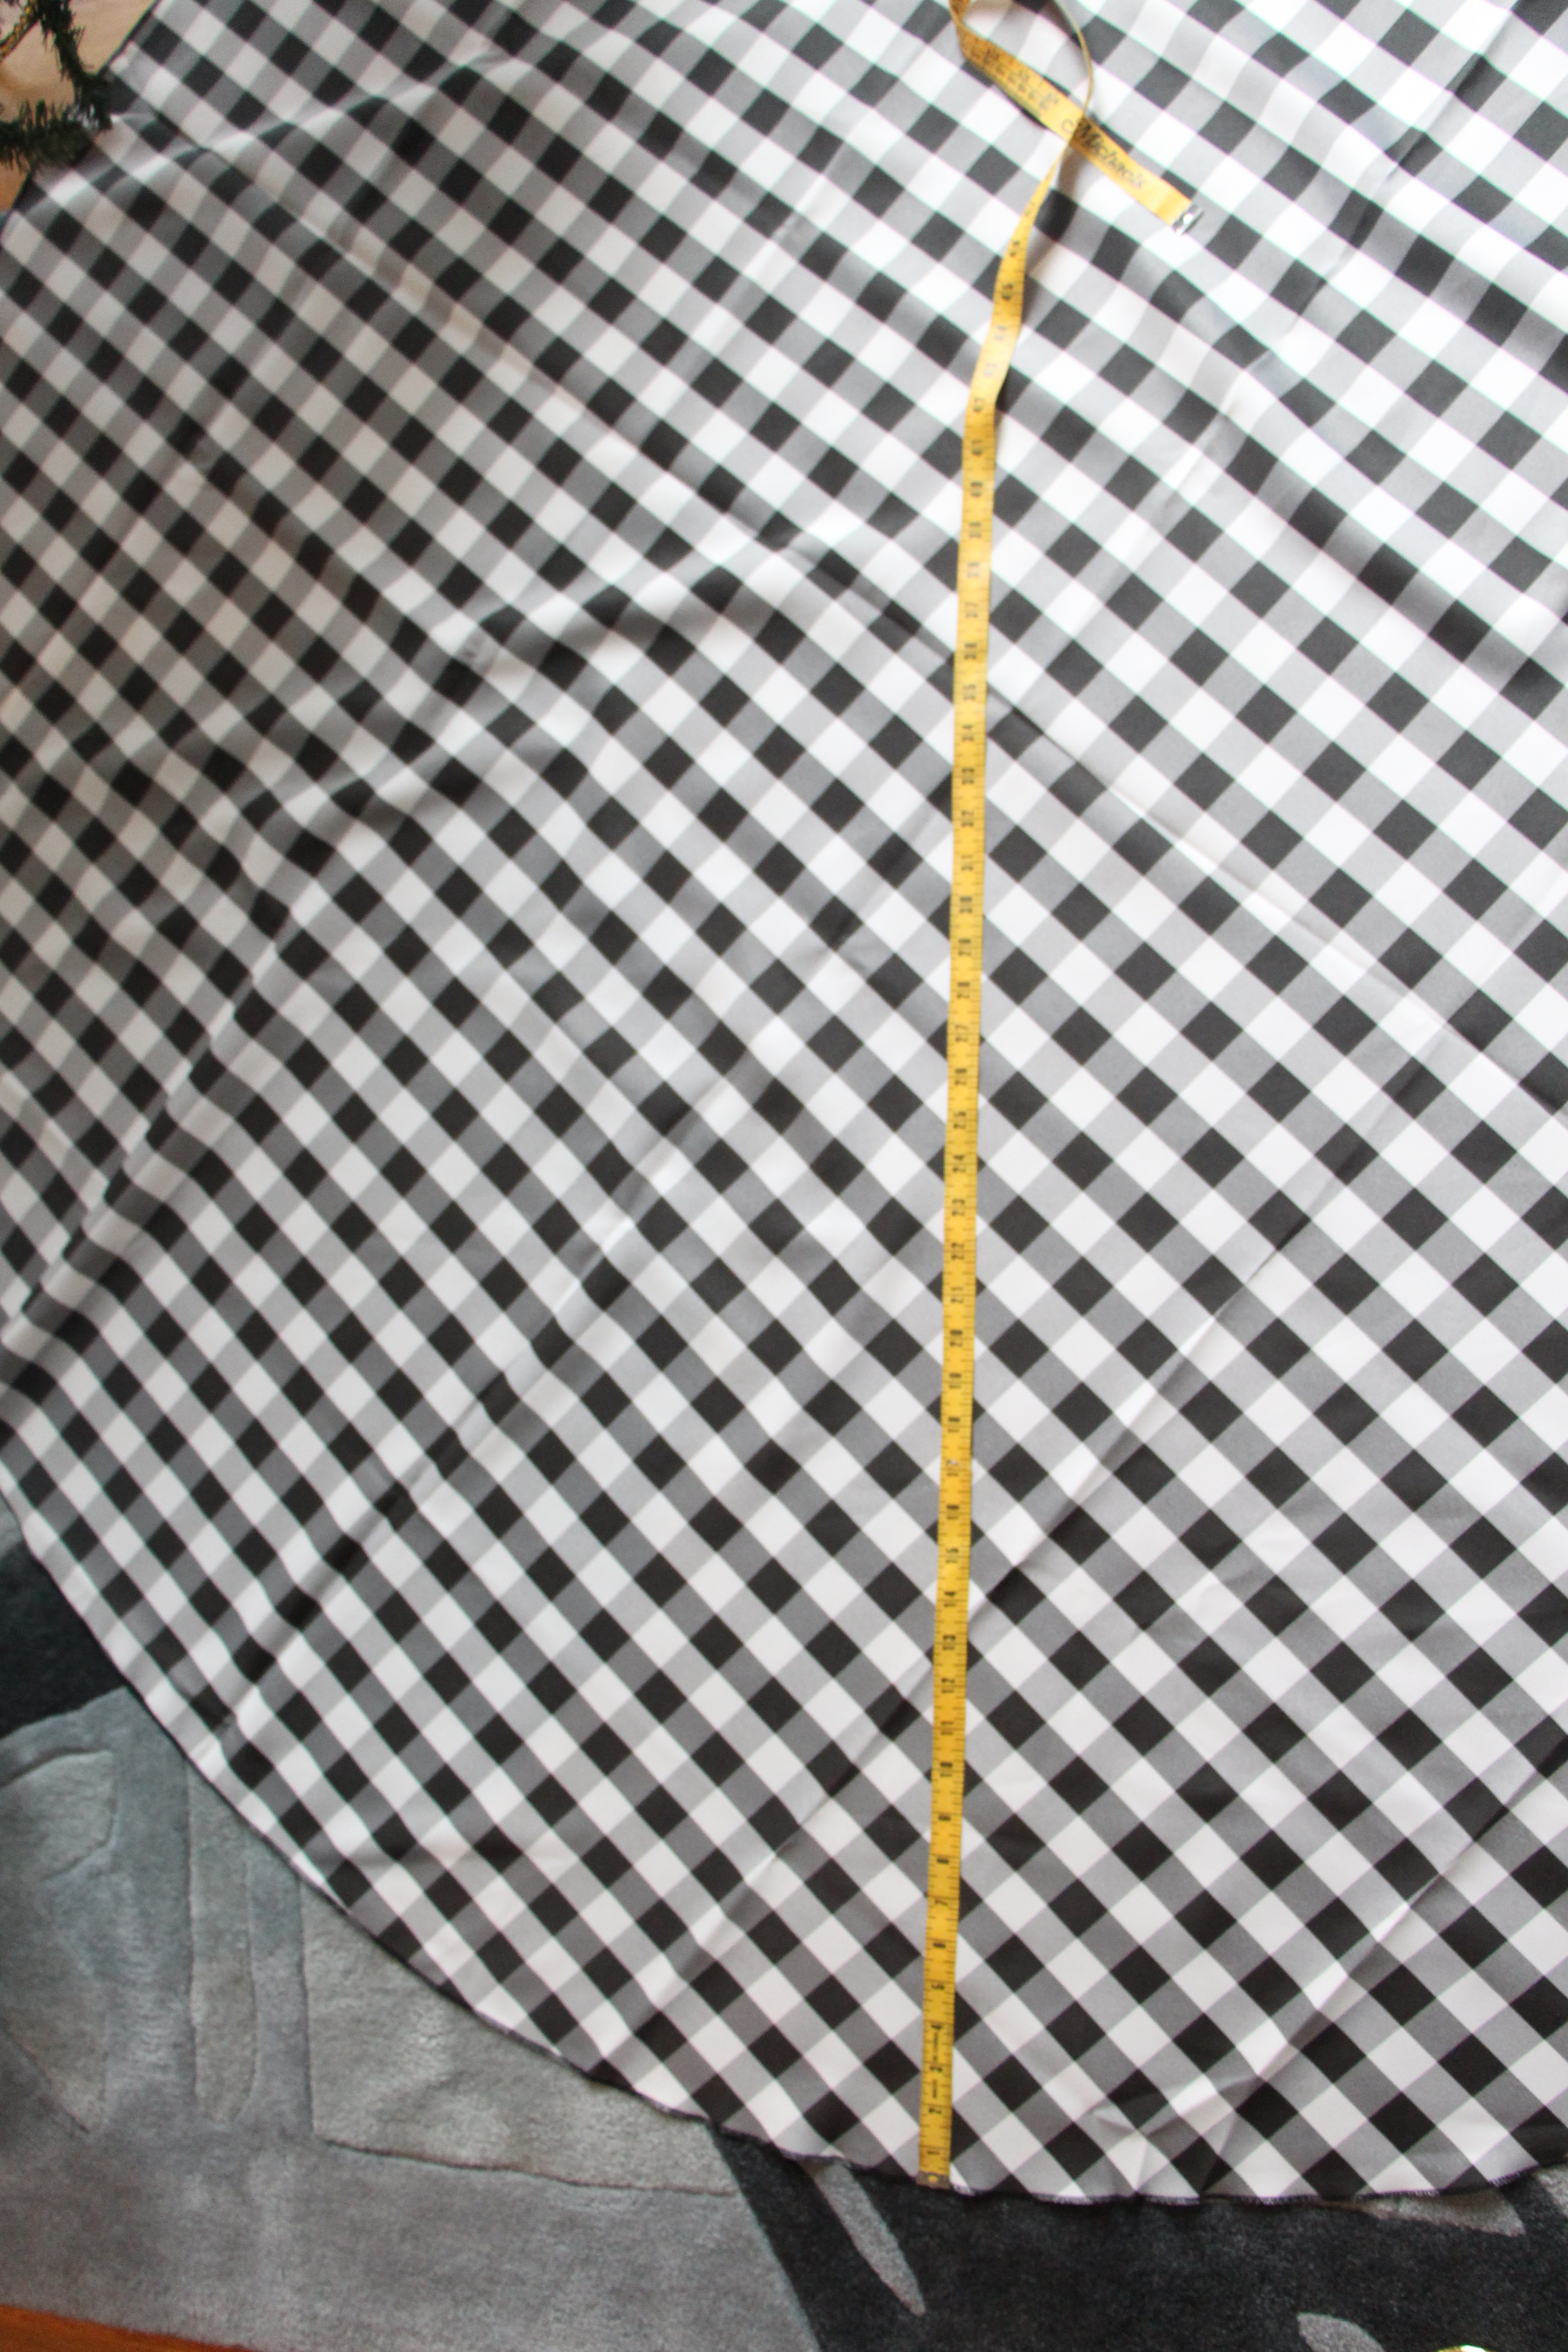
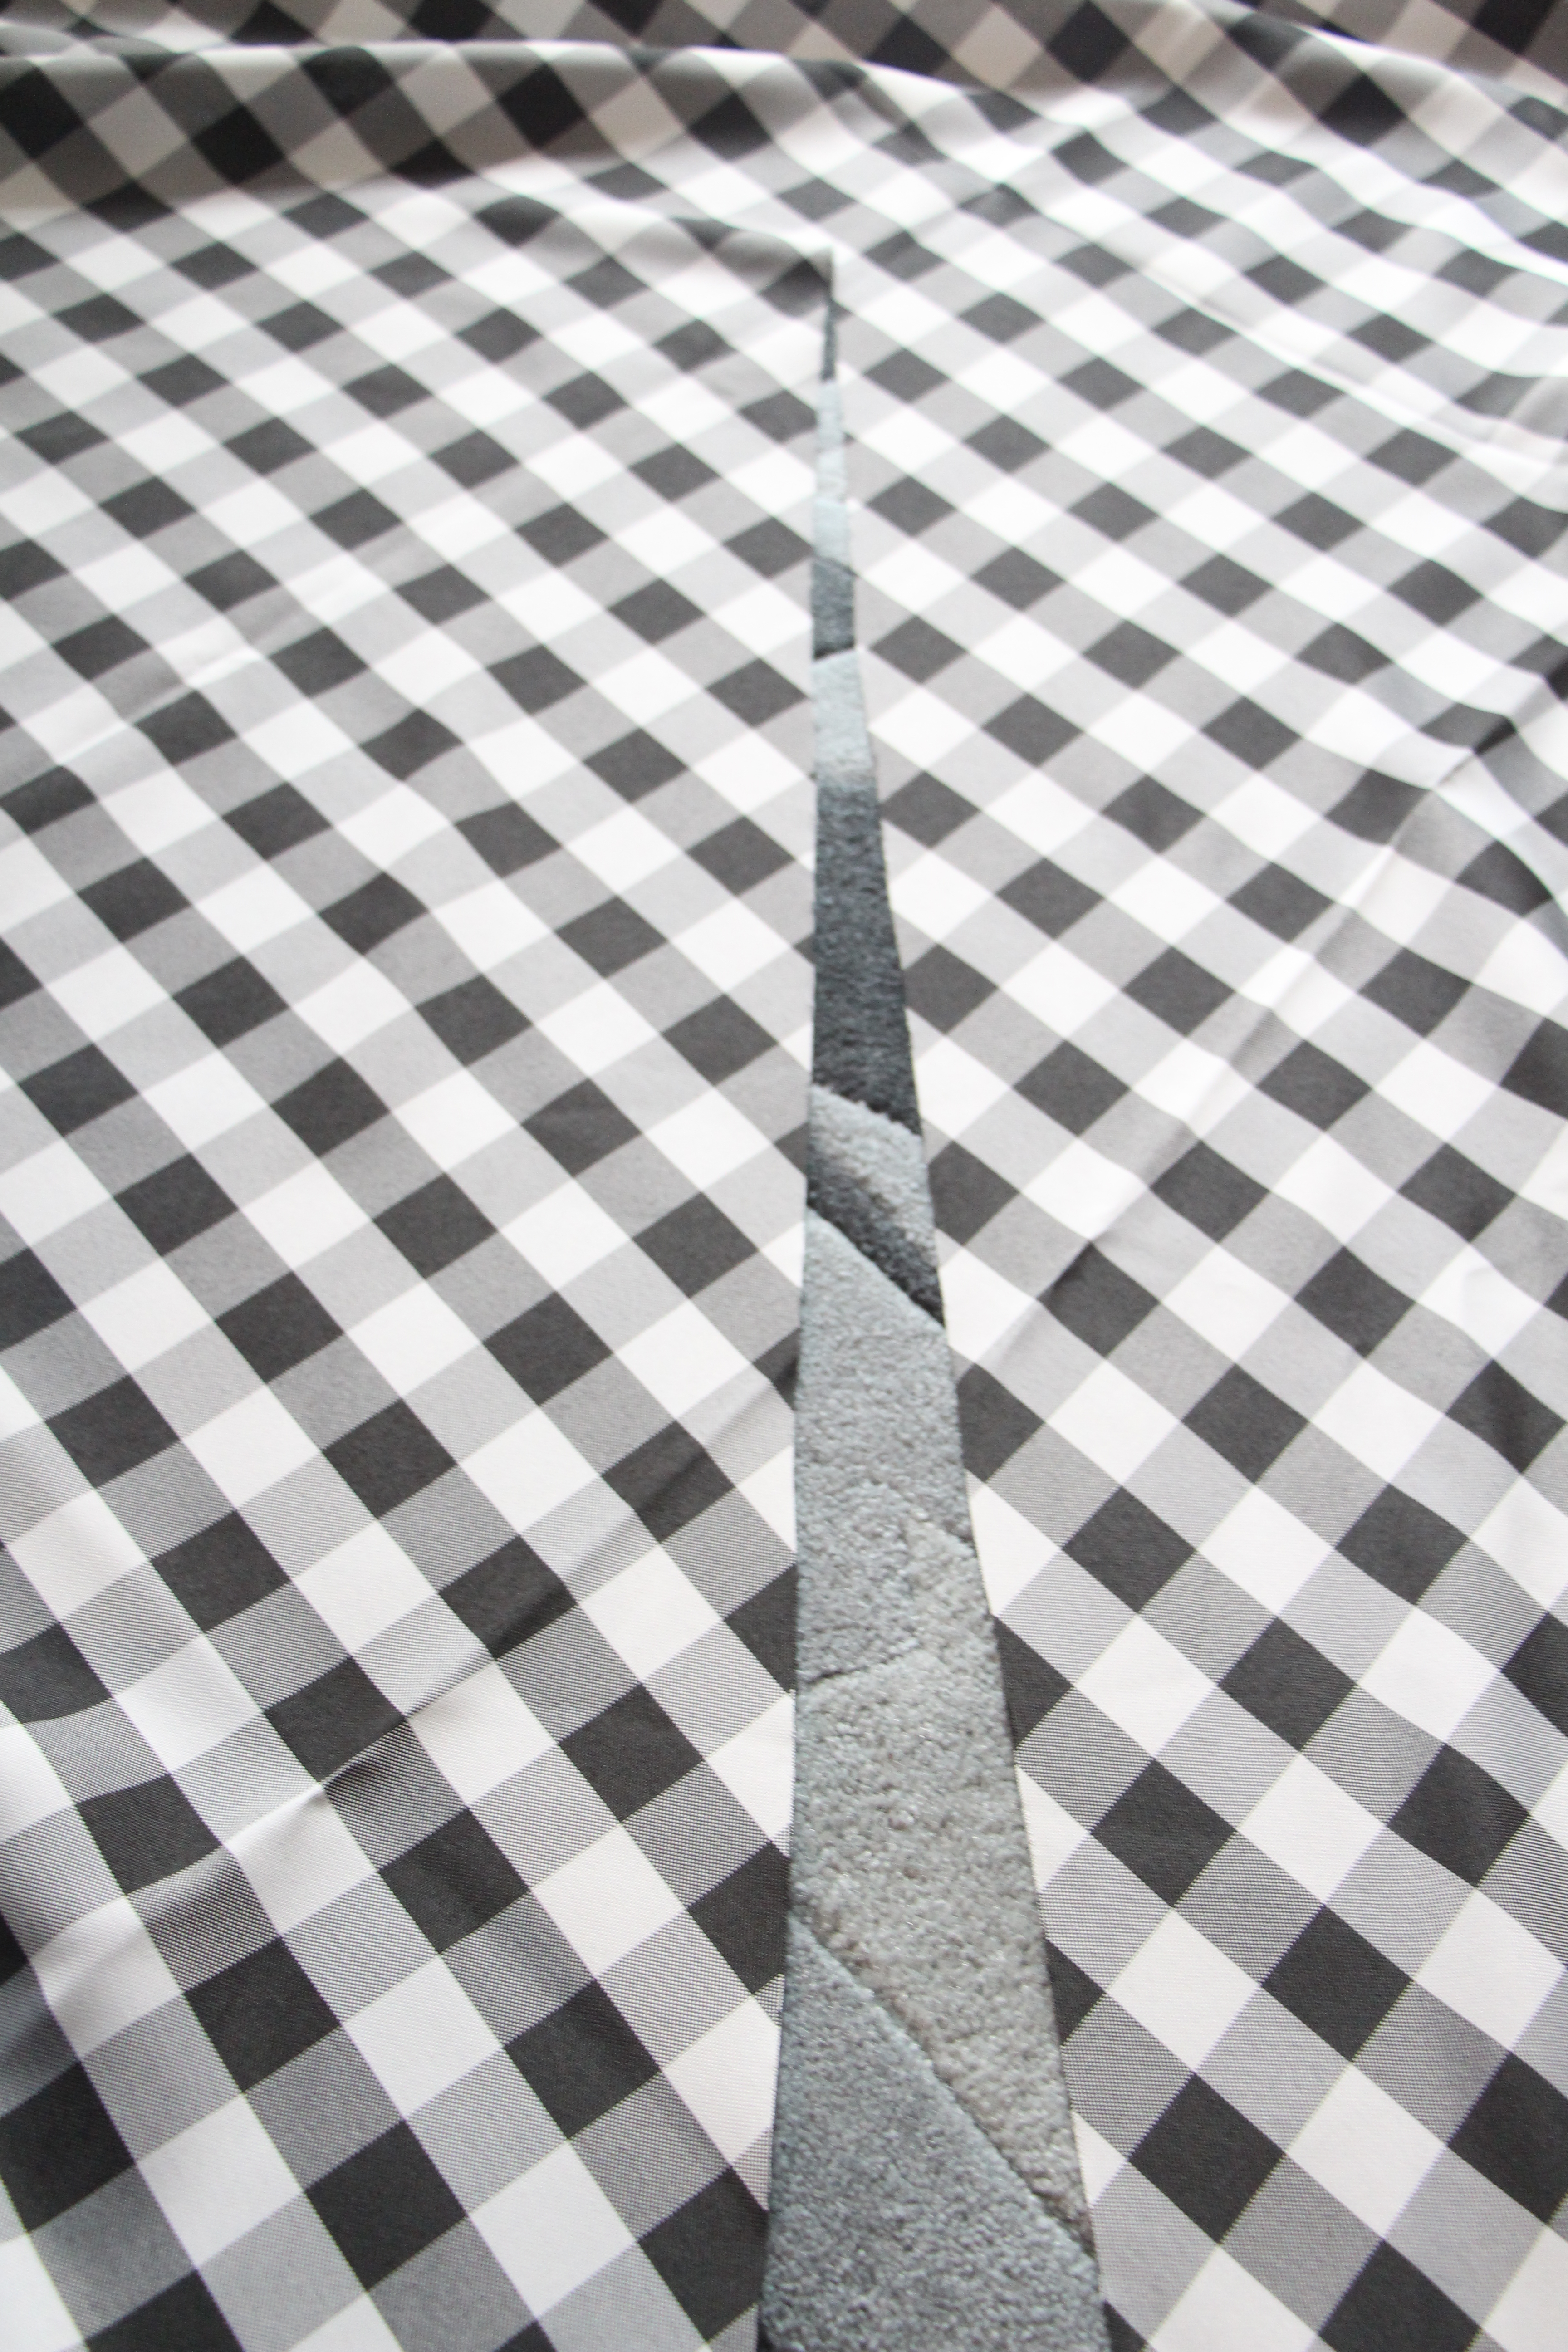
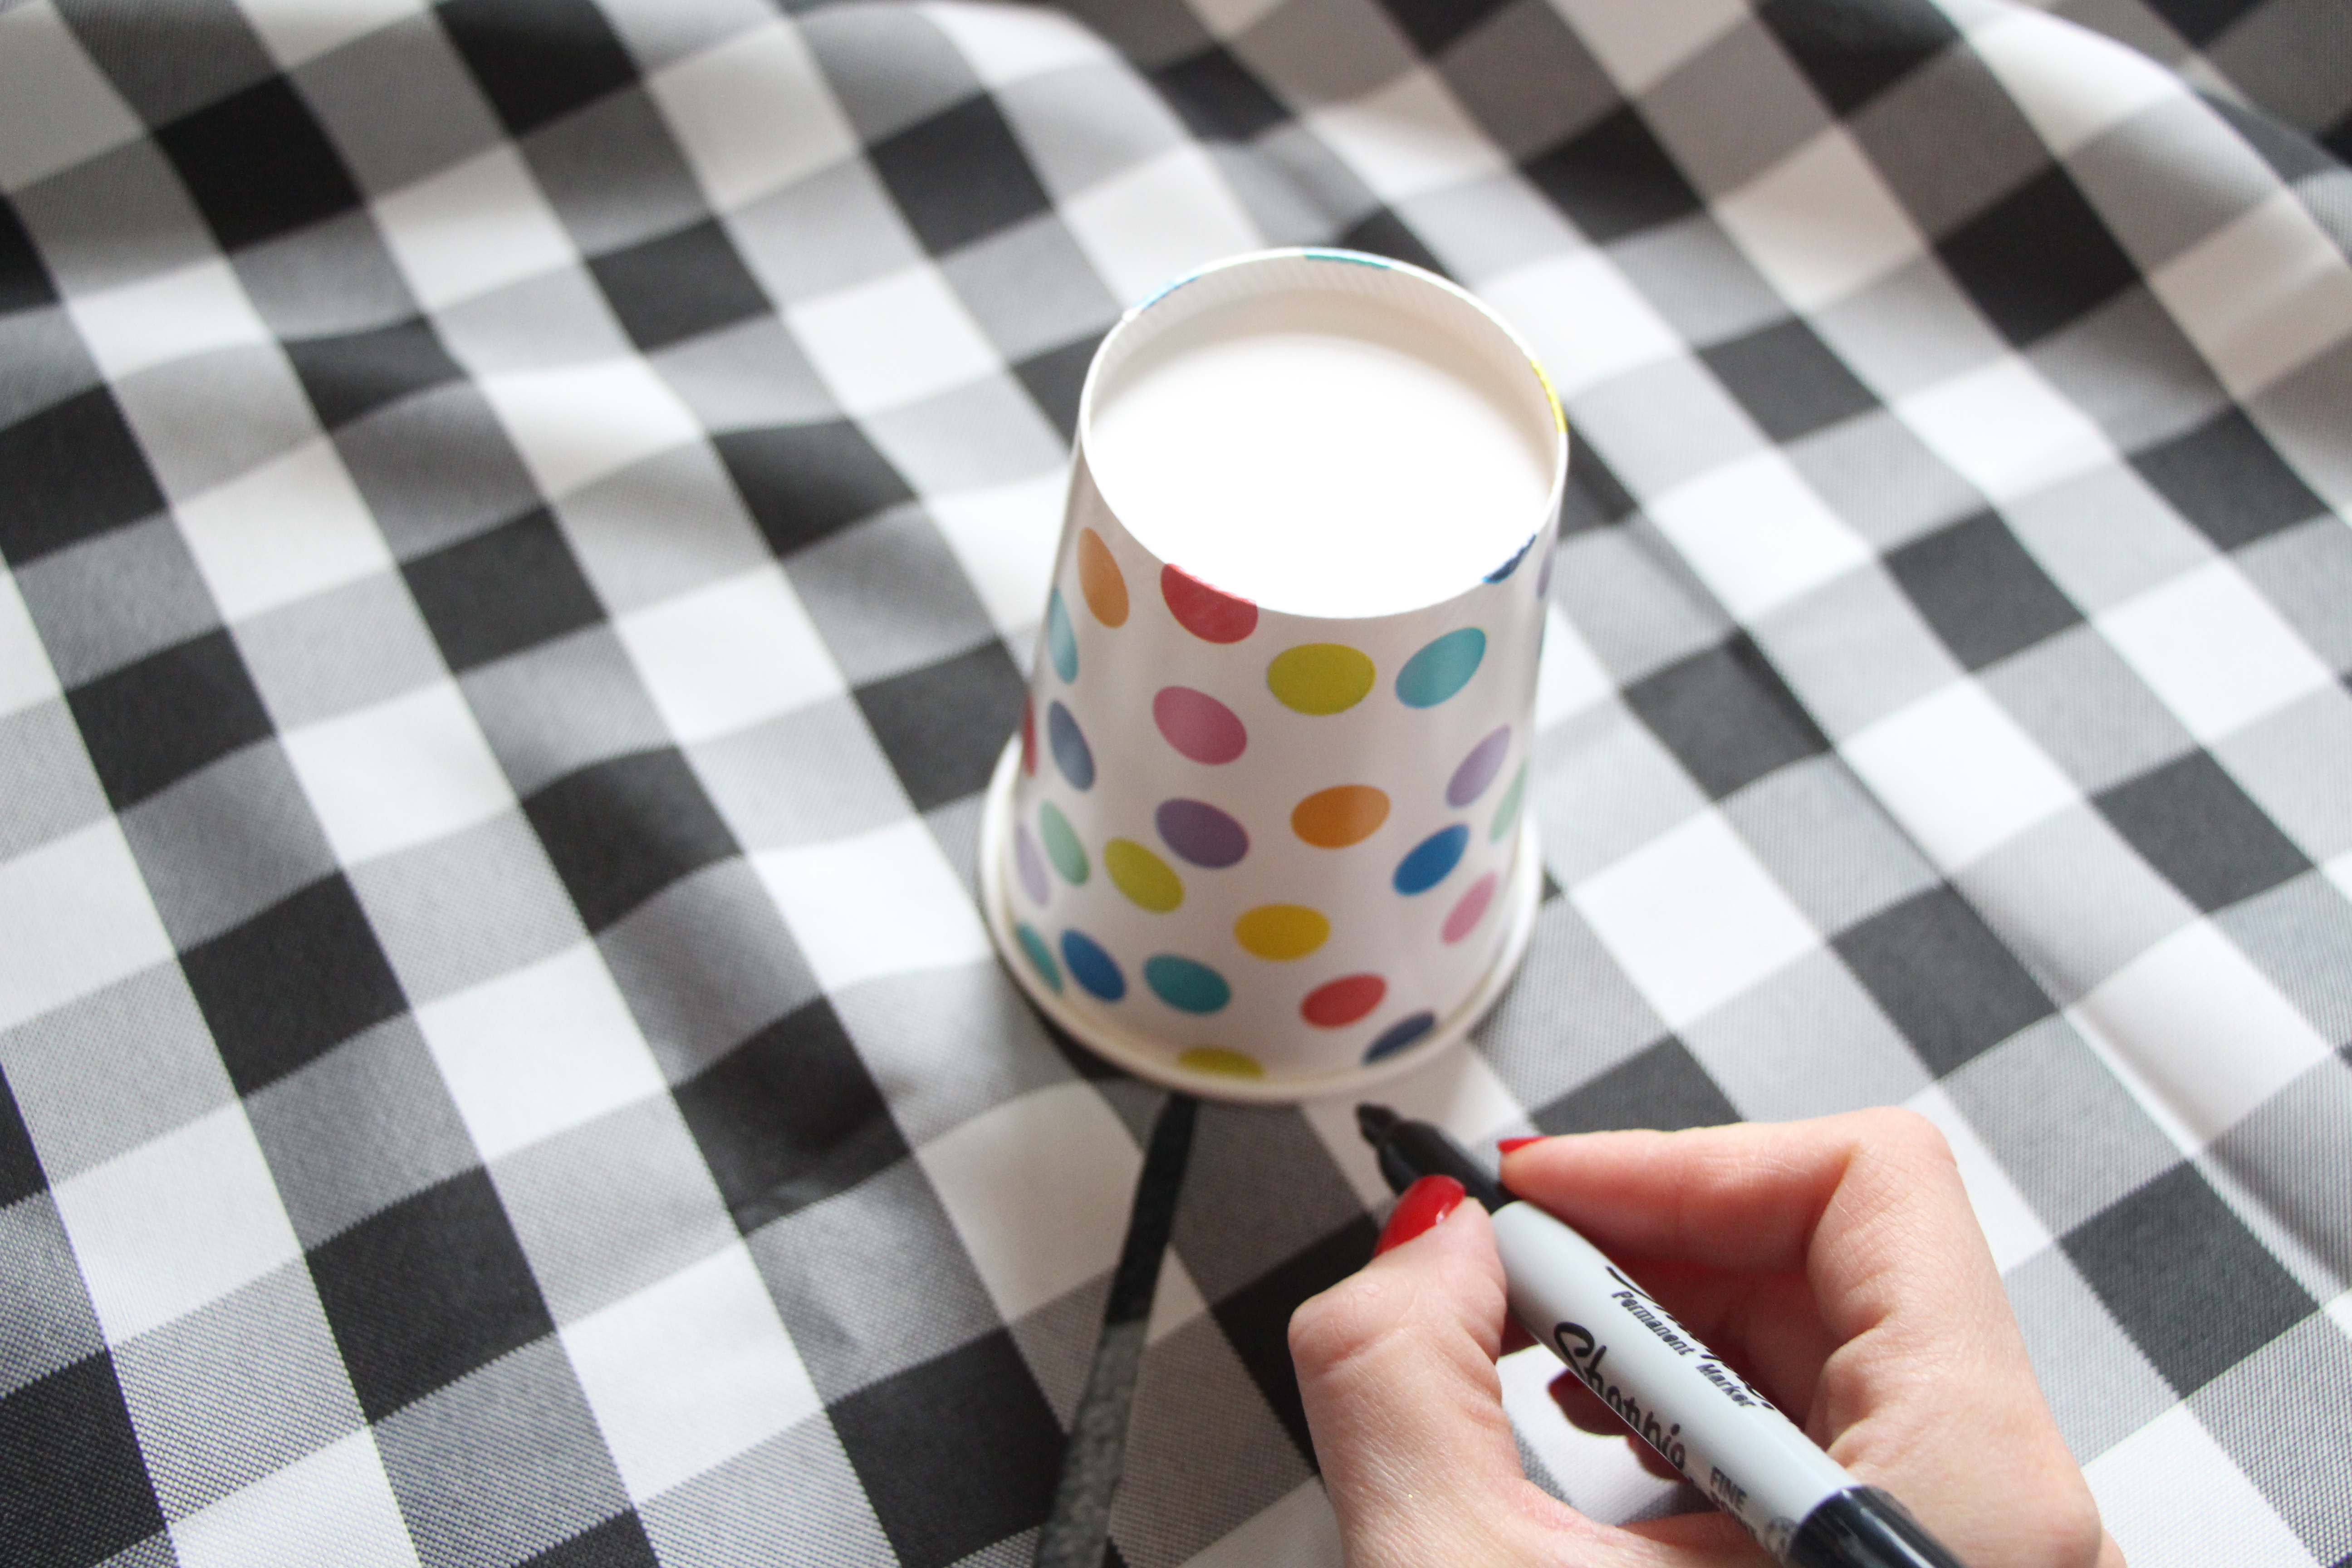
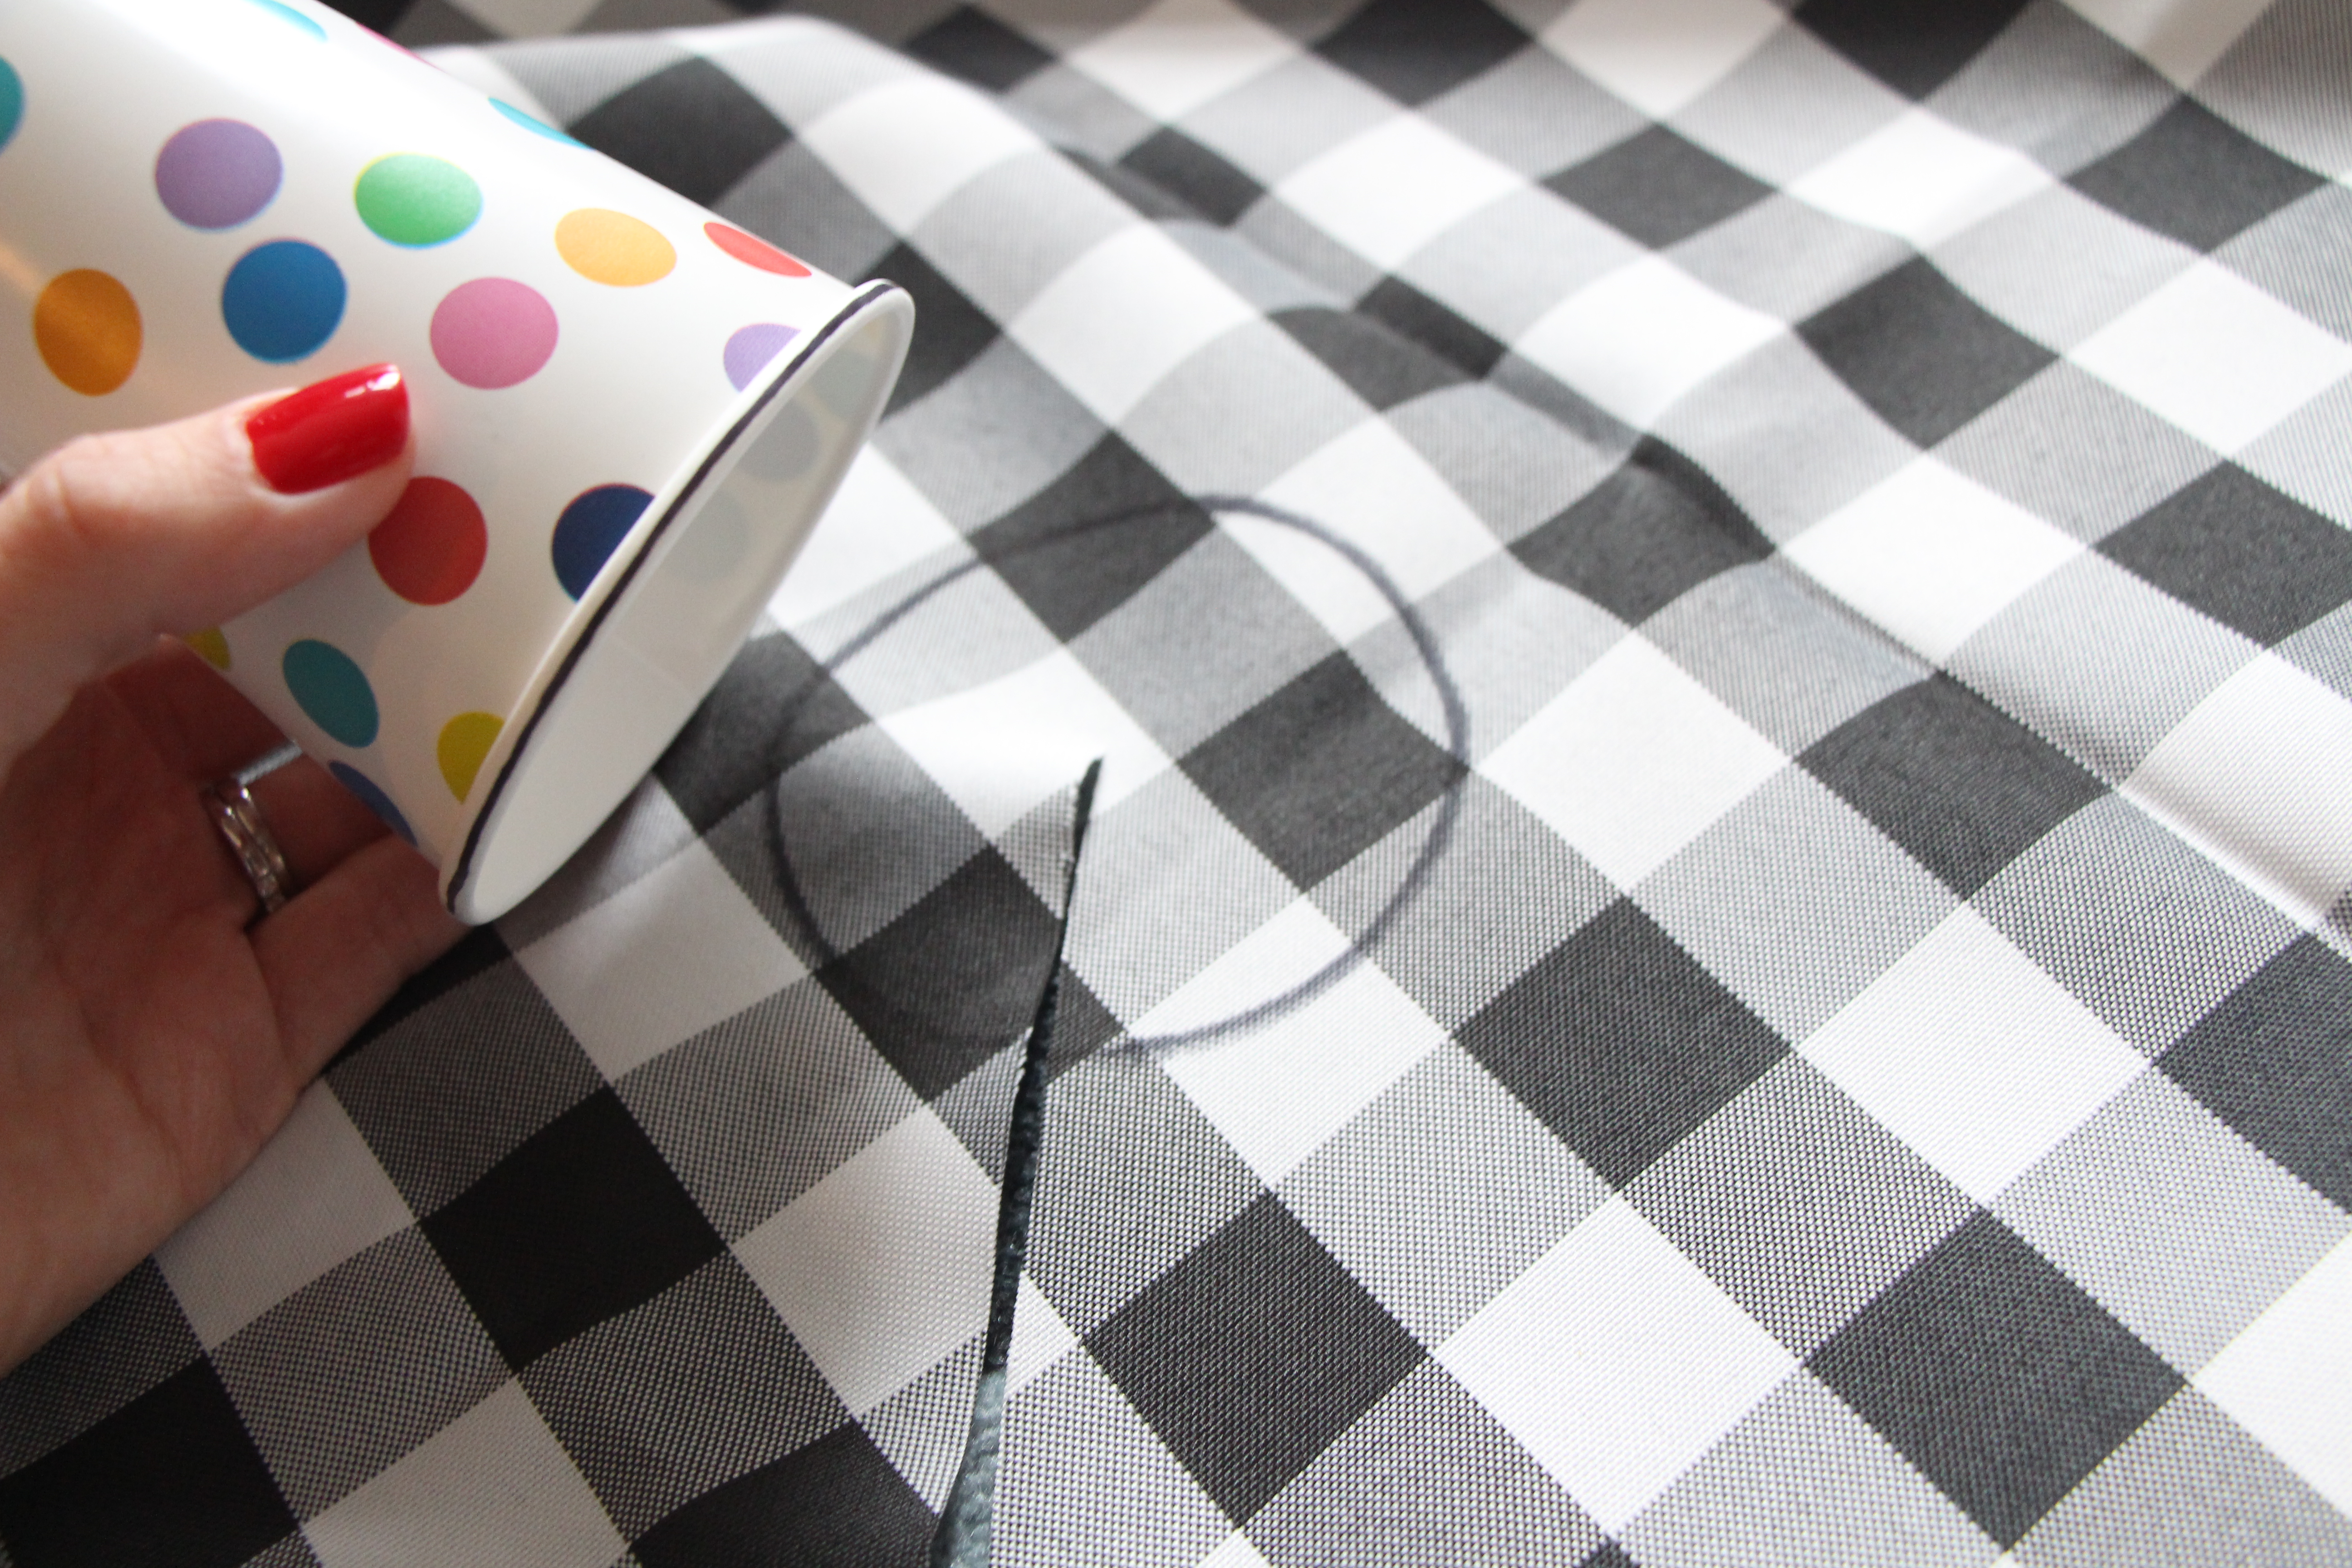
Lay tablecloth out in an open area. Measure over halfway across the diameter. My tablecloth was 70″ round, so I measured over 35″. Next, cut across the tablecloth to your half-way point. Then, I placed a paper cup in the middle of the tablecloth so that the end of my previous cut was centered under the cup.
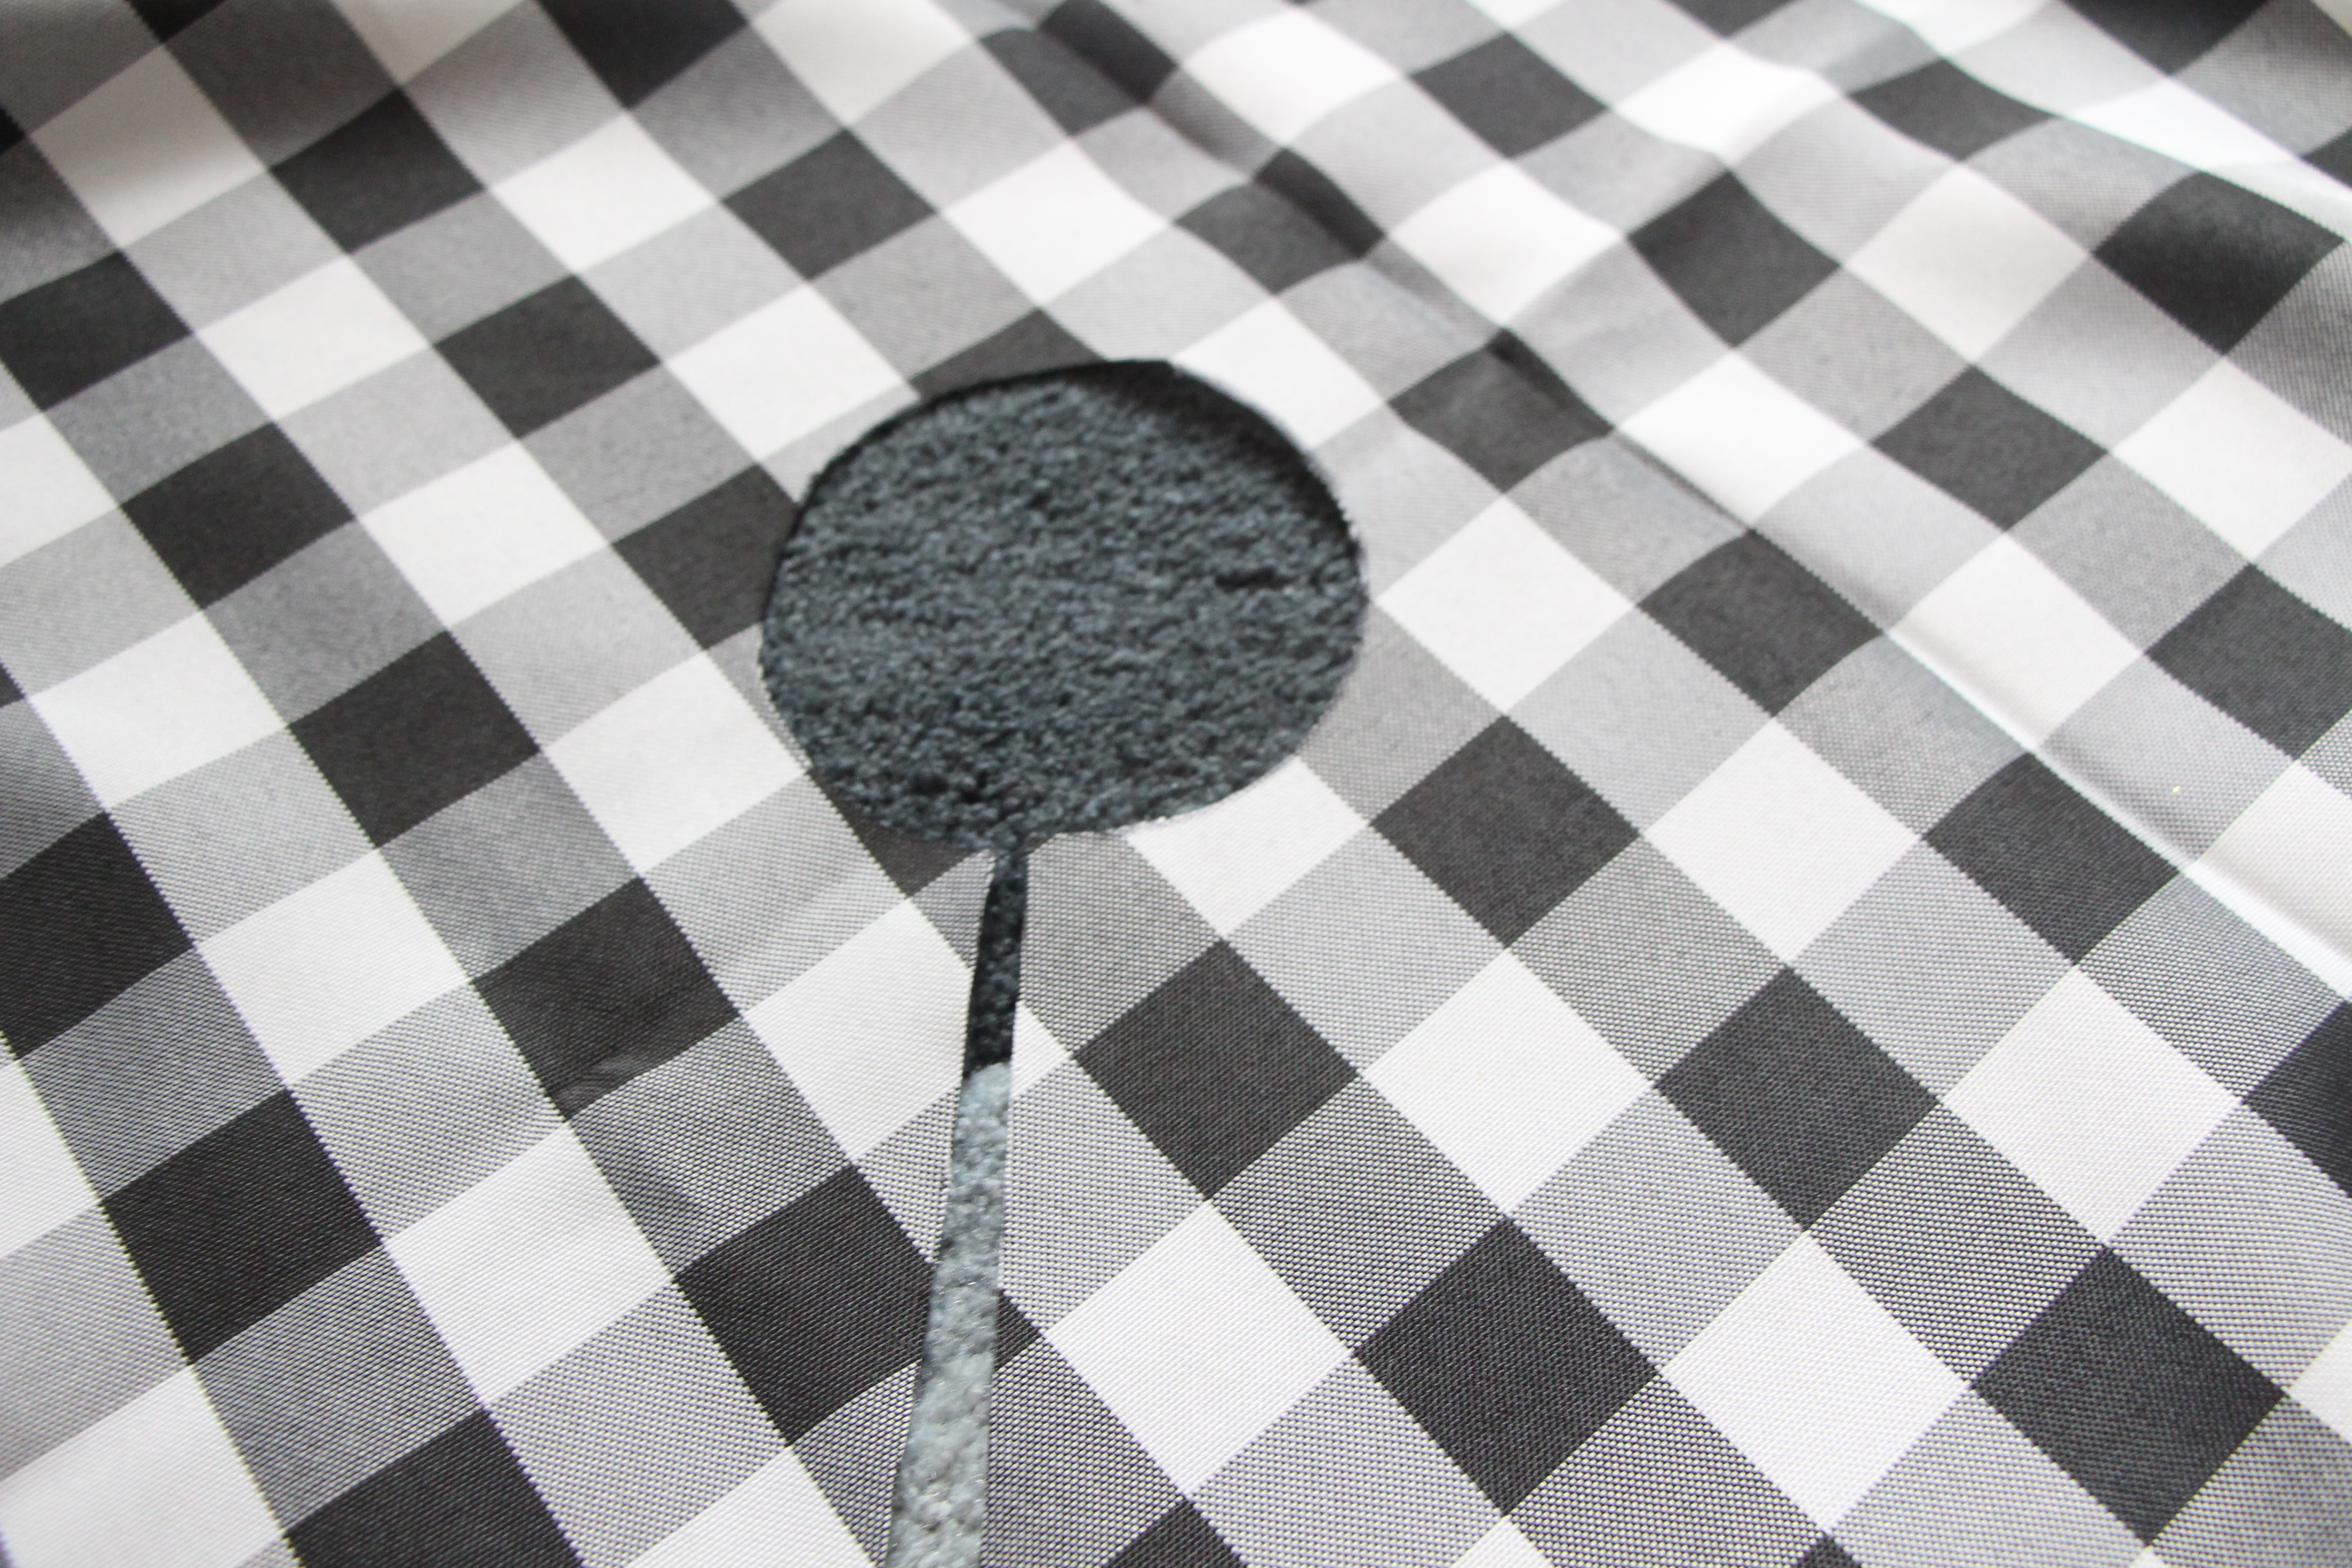
Trace around the cup with a sharpie and cut around the outside edge of your mark.
That is it! Place your DIY tree skirt under your Christmas tree and load it up with gifts!
This is about the closest thing to a pretty present I’ve got right now!
Since I have loads of wrapping to do, ours will sit empty until tomorrow (only tomorrow, I hope!).
I will be back next with a few easy ways to dress up your holiday packages. Off to wrap, I go!
Thanks for reading and goodnight 🙂









Teresa
February 5, 2015 at 10:16 AMWhere did you get the wire boxes that hold the ornaments?
Rachael @ This is our Bliss
February 6, 2015 at 9:32 PMTeresa – They are a few years old from Hobby Lobby 🙂
Wrapping Pretty Presents! | This is our Bliss
December 19, 2014 at 12:26 AM[…] ← DIY Tree Skirt […]
samanthareineke
December 17, 2014 at 7:25 PMMy kind of tree skirt DIY! My tree base sits naked still, but this might have motivated me to fix that 😊
Me, Myself and DIY
December 17, 2014 at 6:33 AMCheap, easy and lovely – great job!
Rachael @ This is our Bliss
December 17, 2014 at 7:47 AMThank you! That’s what I was aiming for 🙂