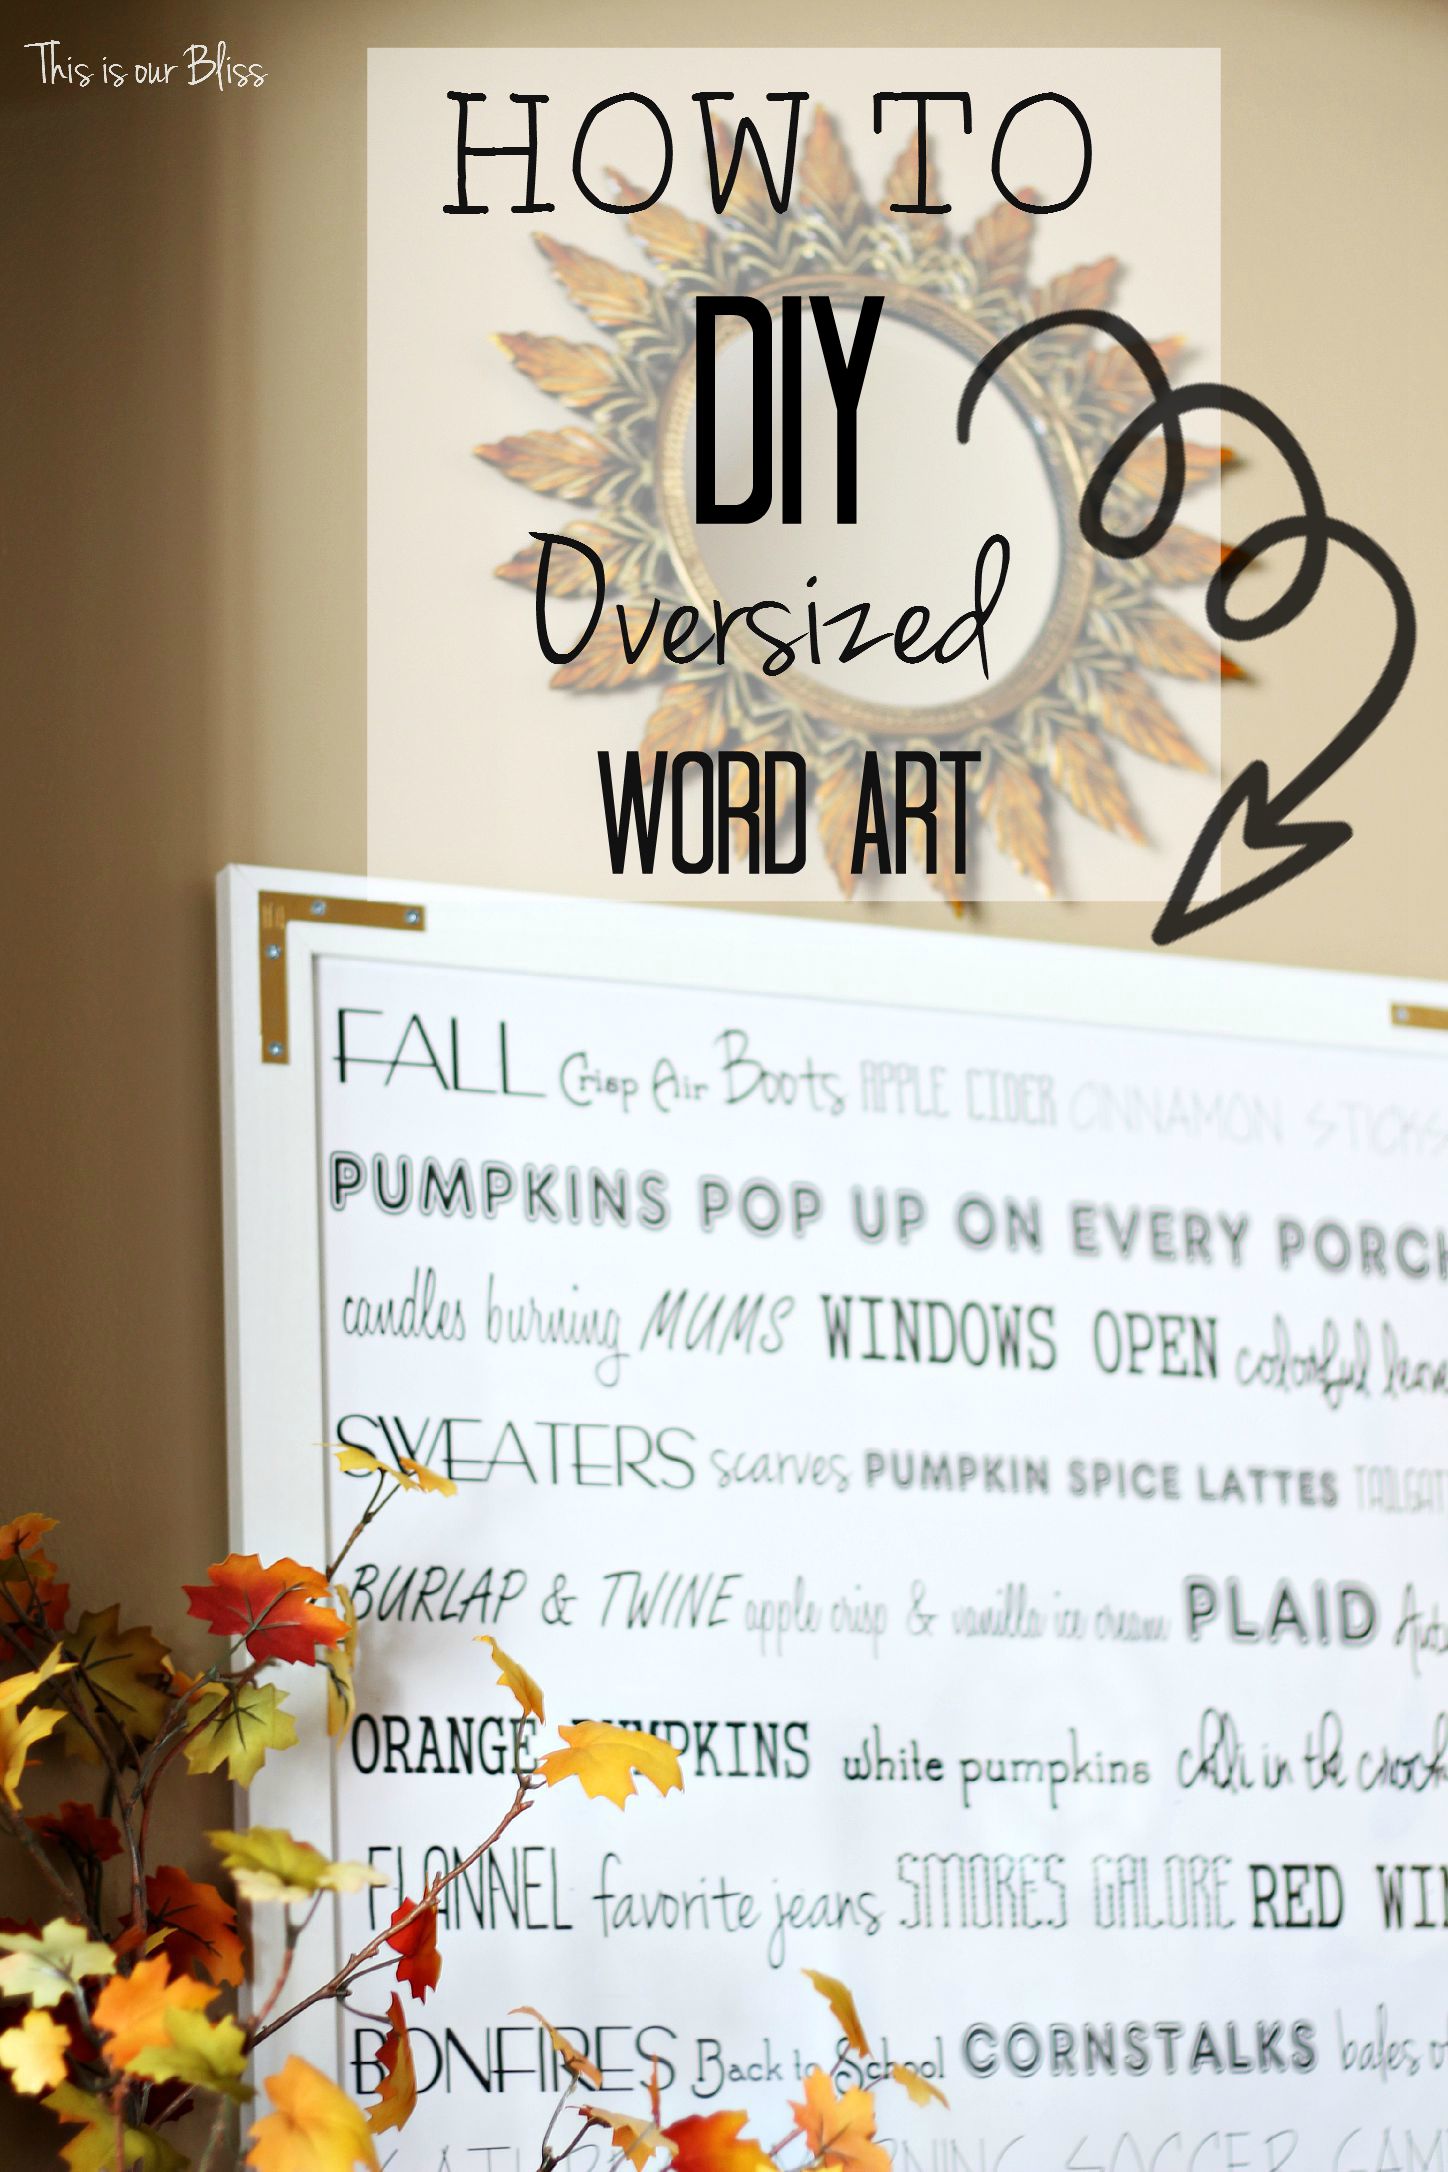
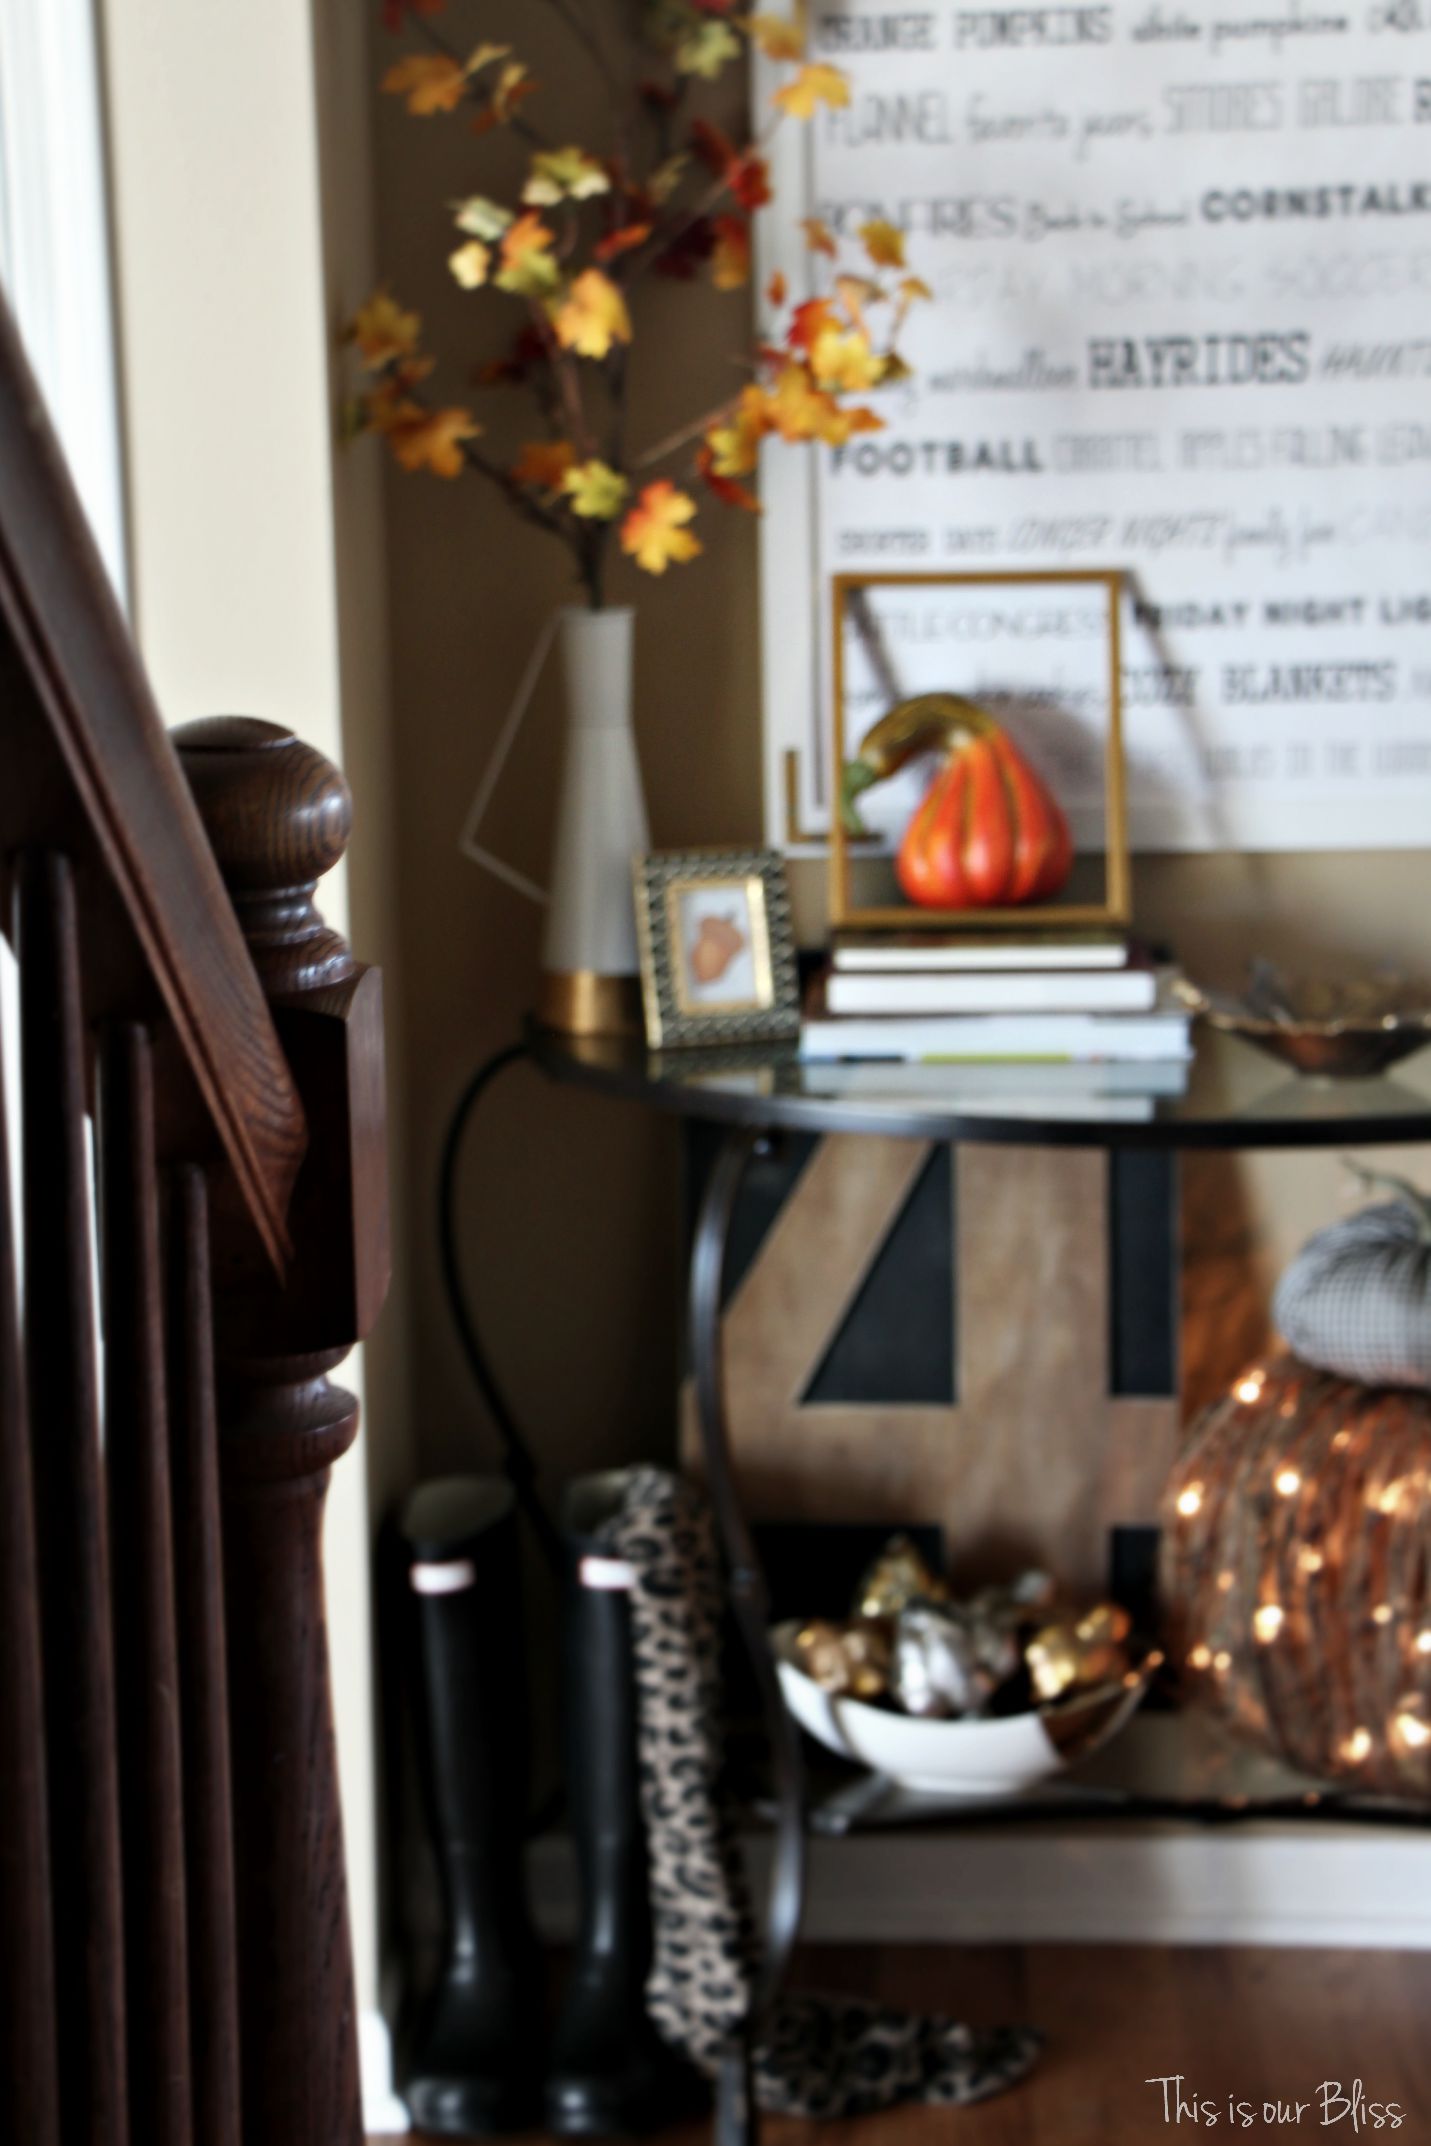
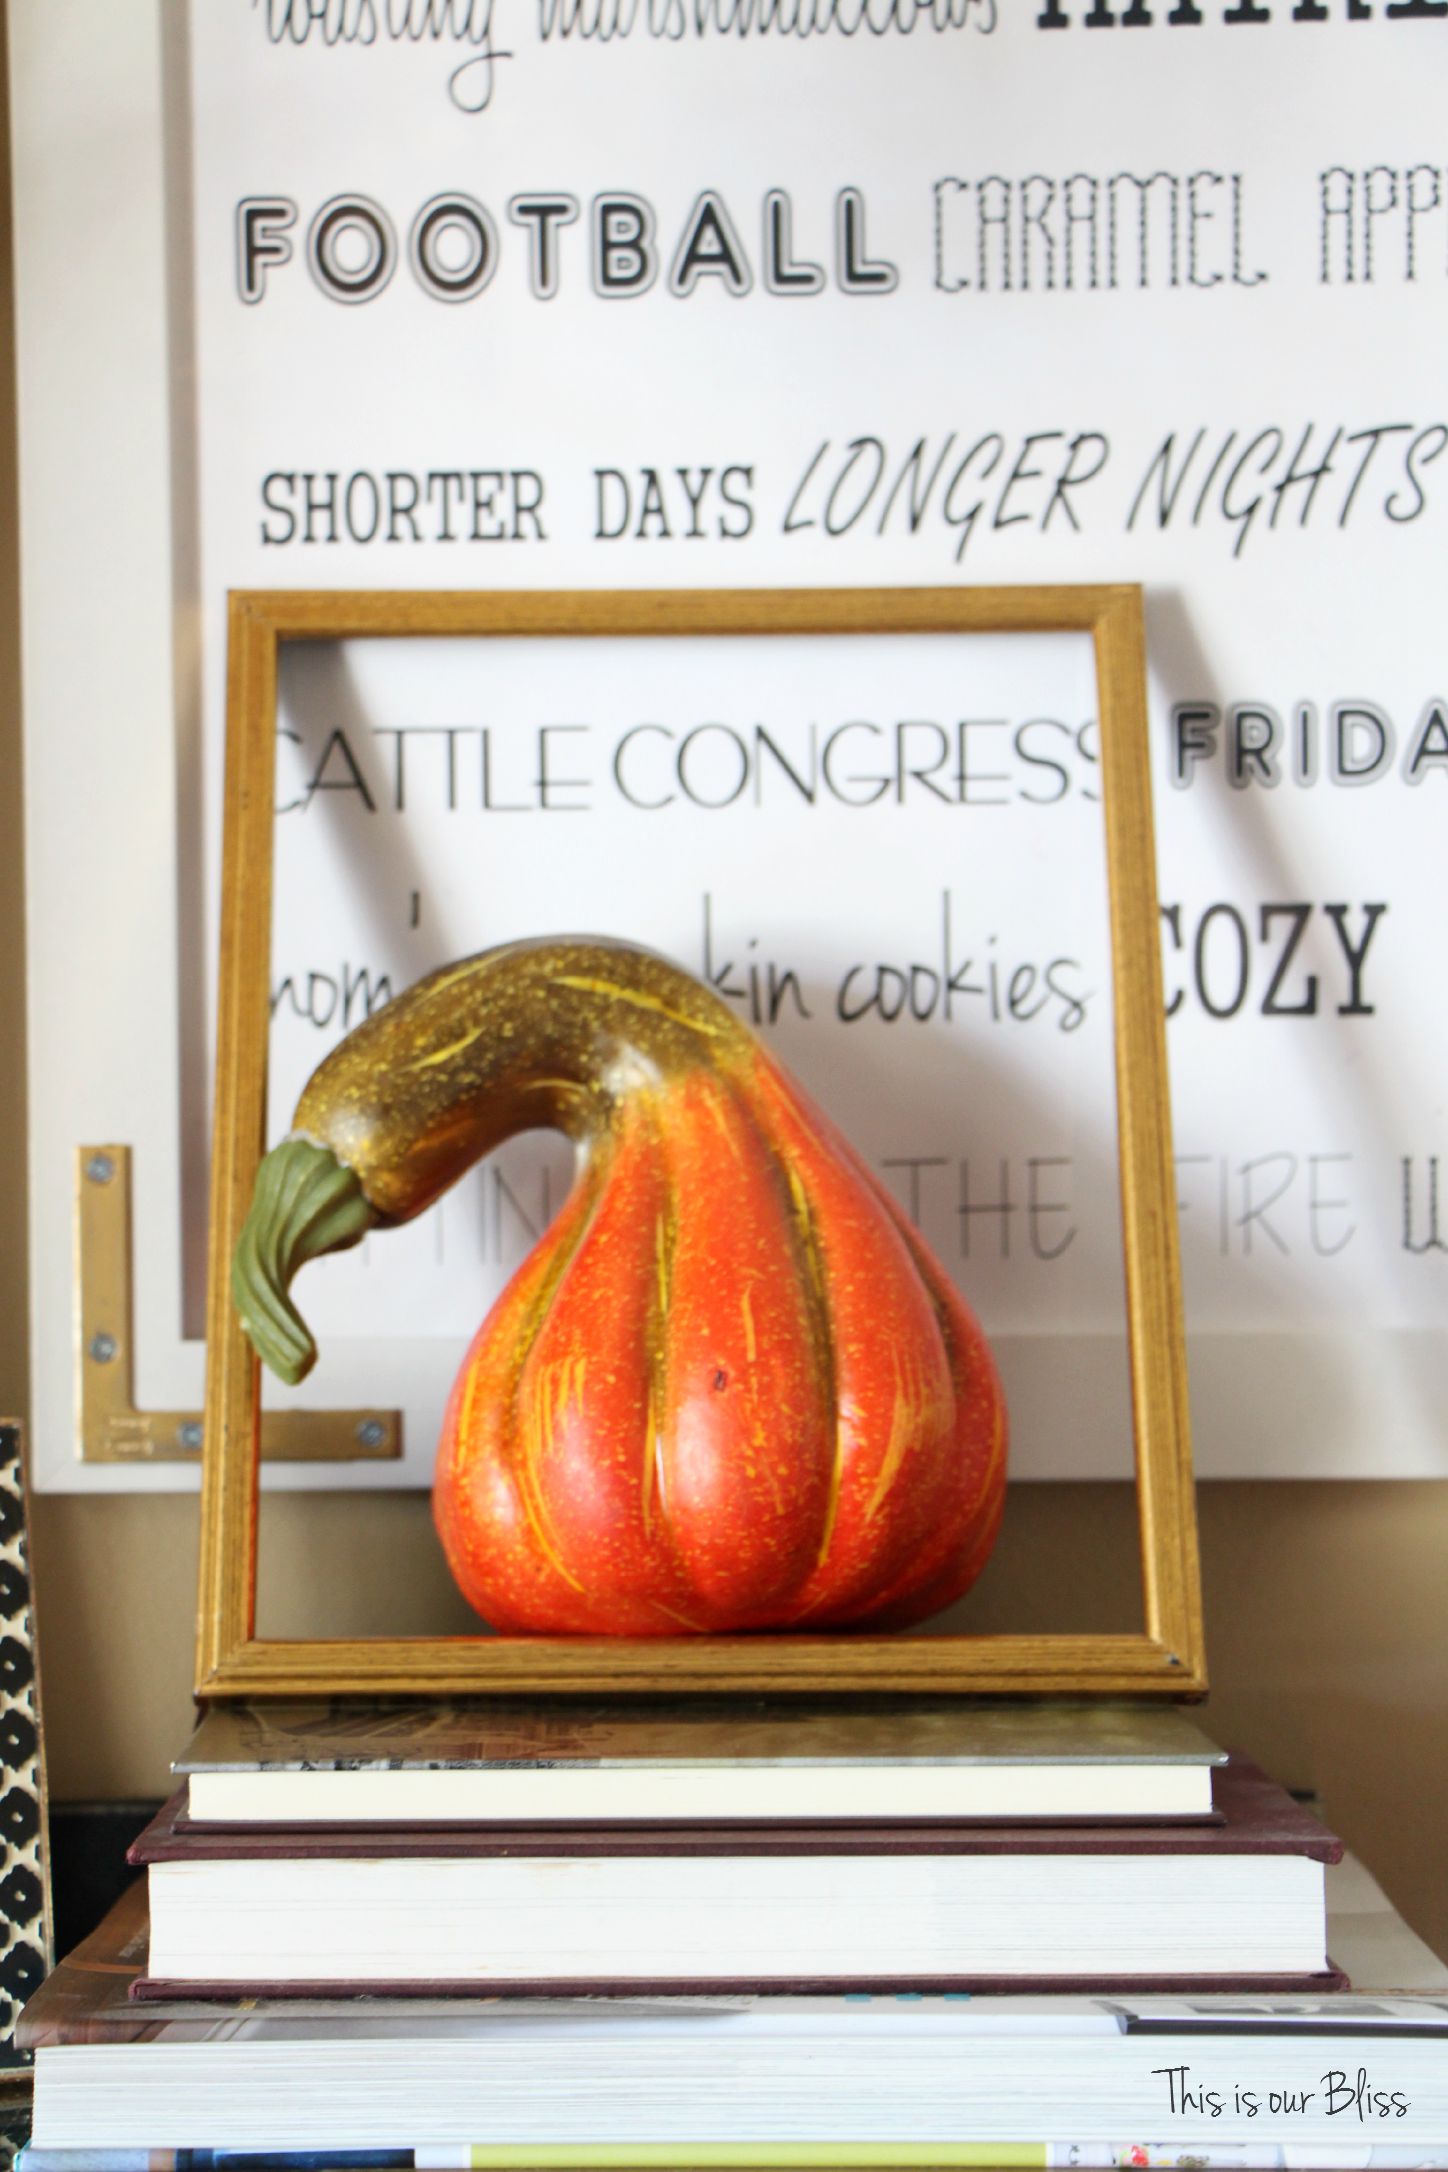
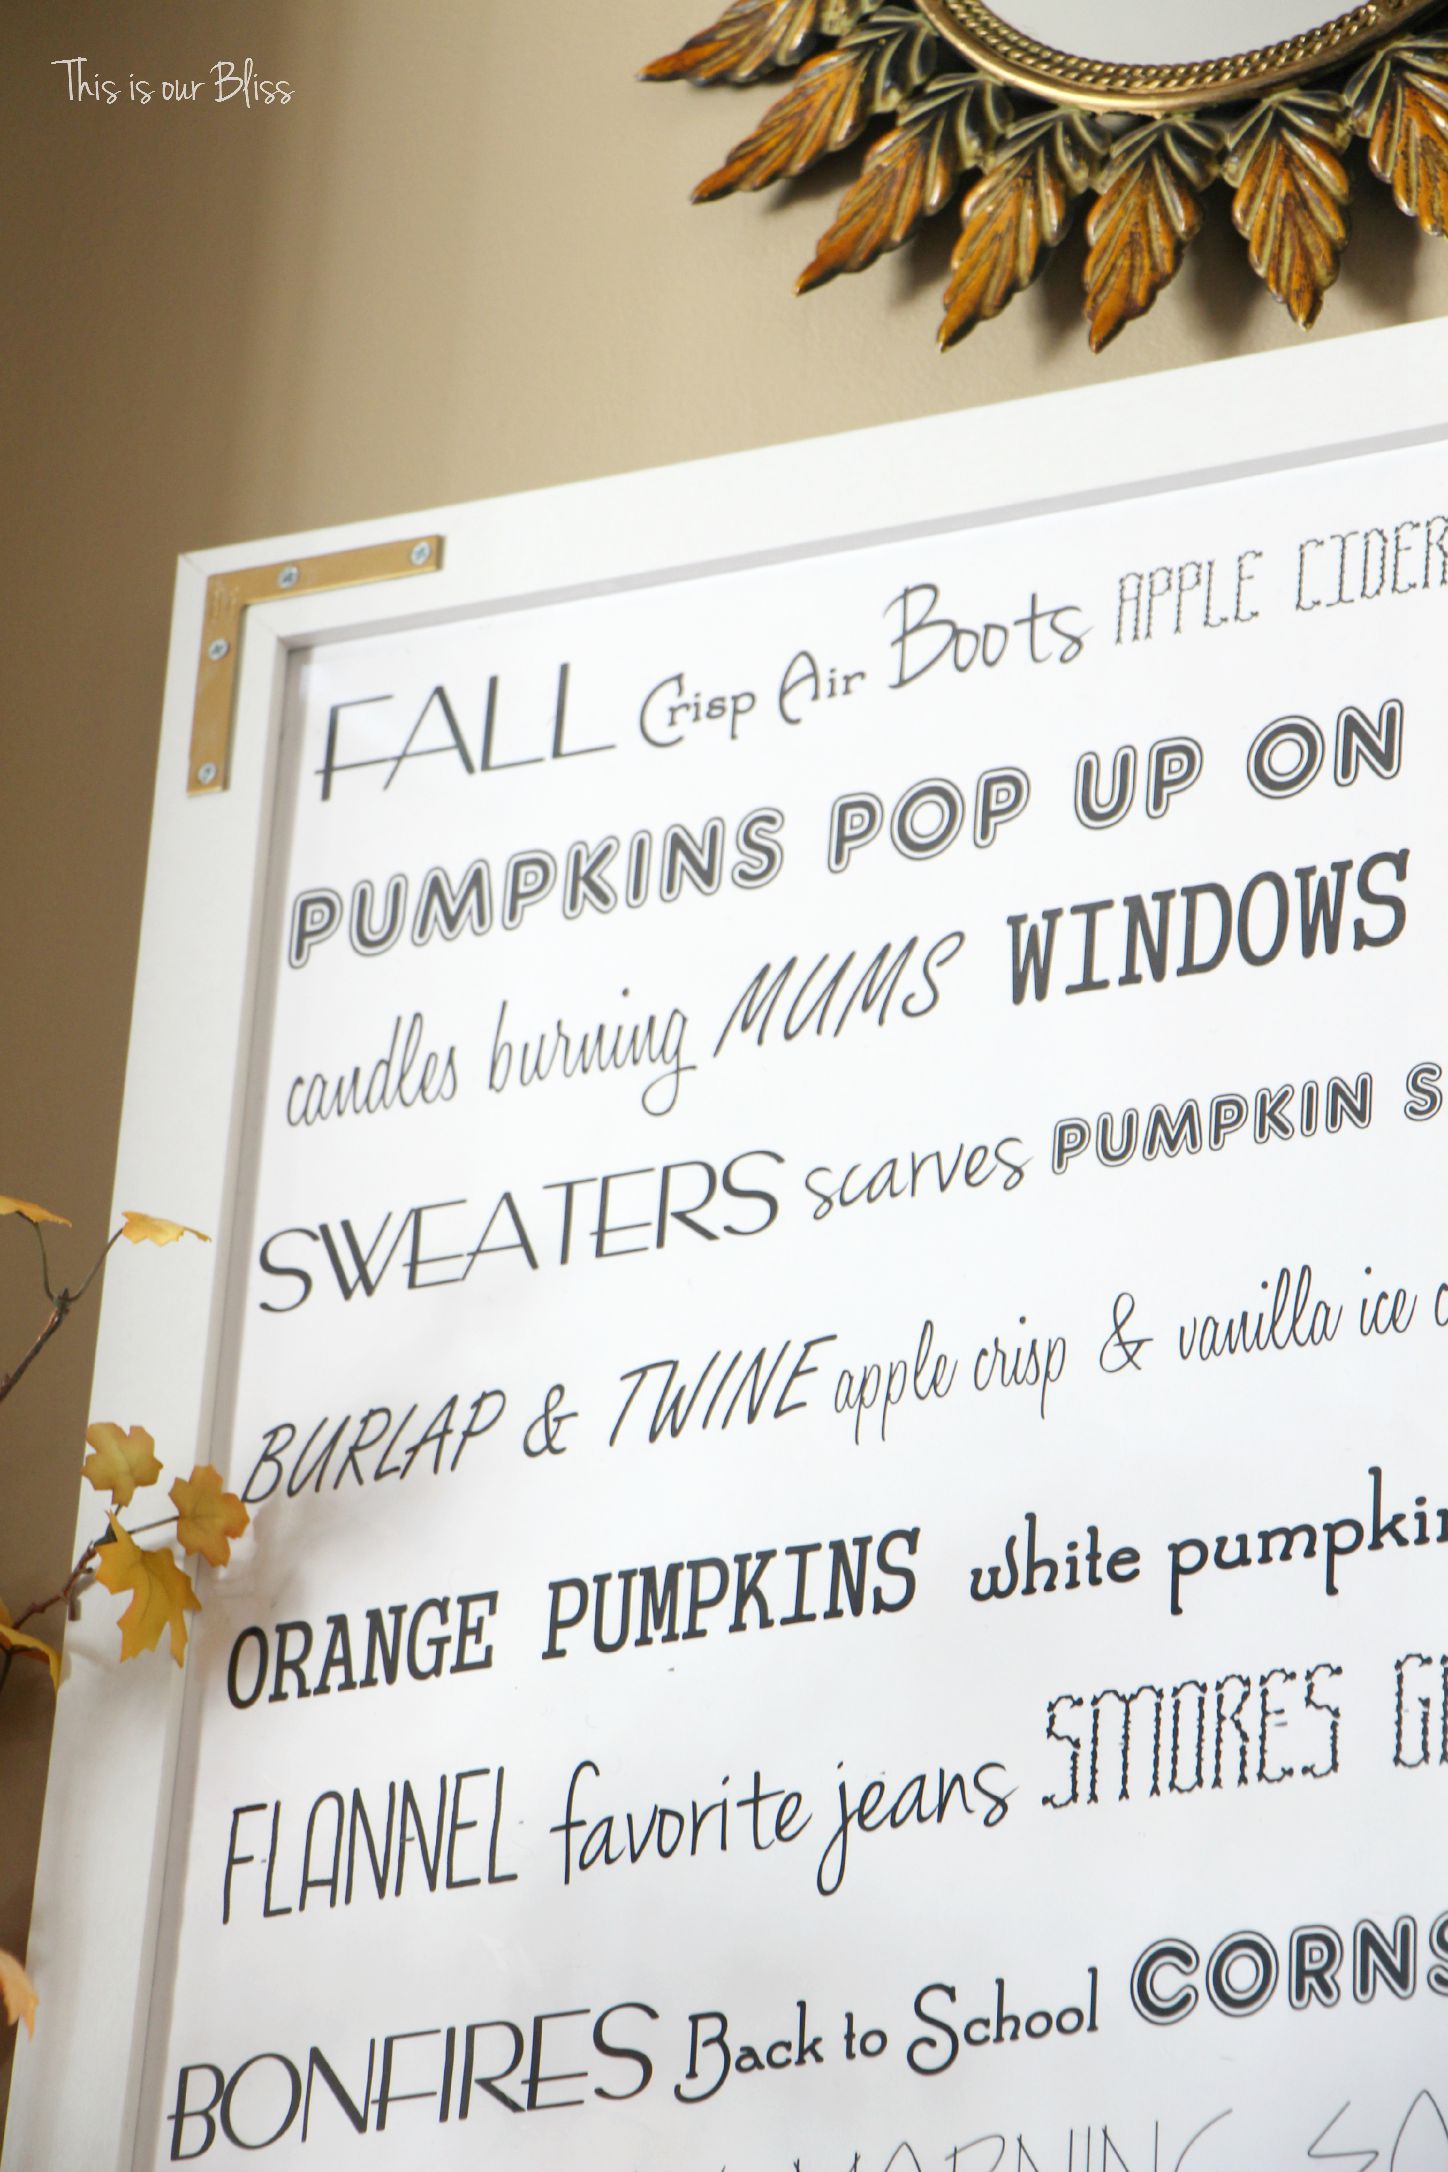
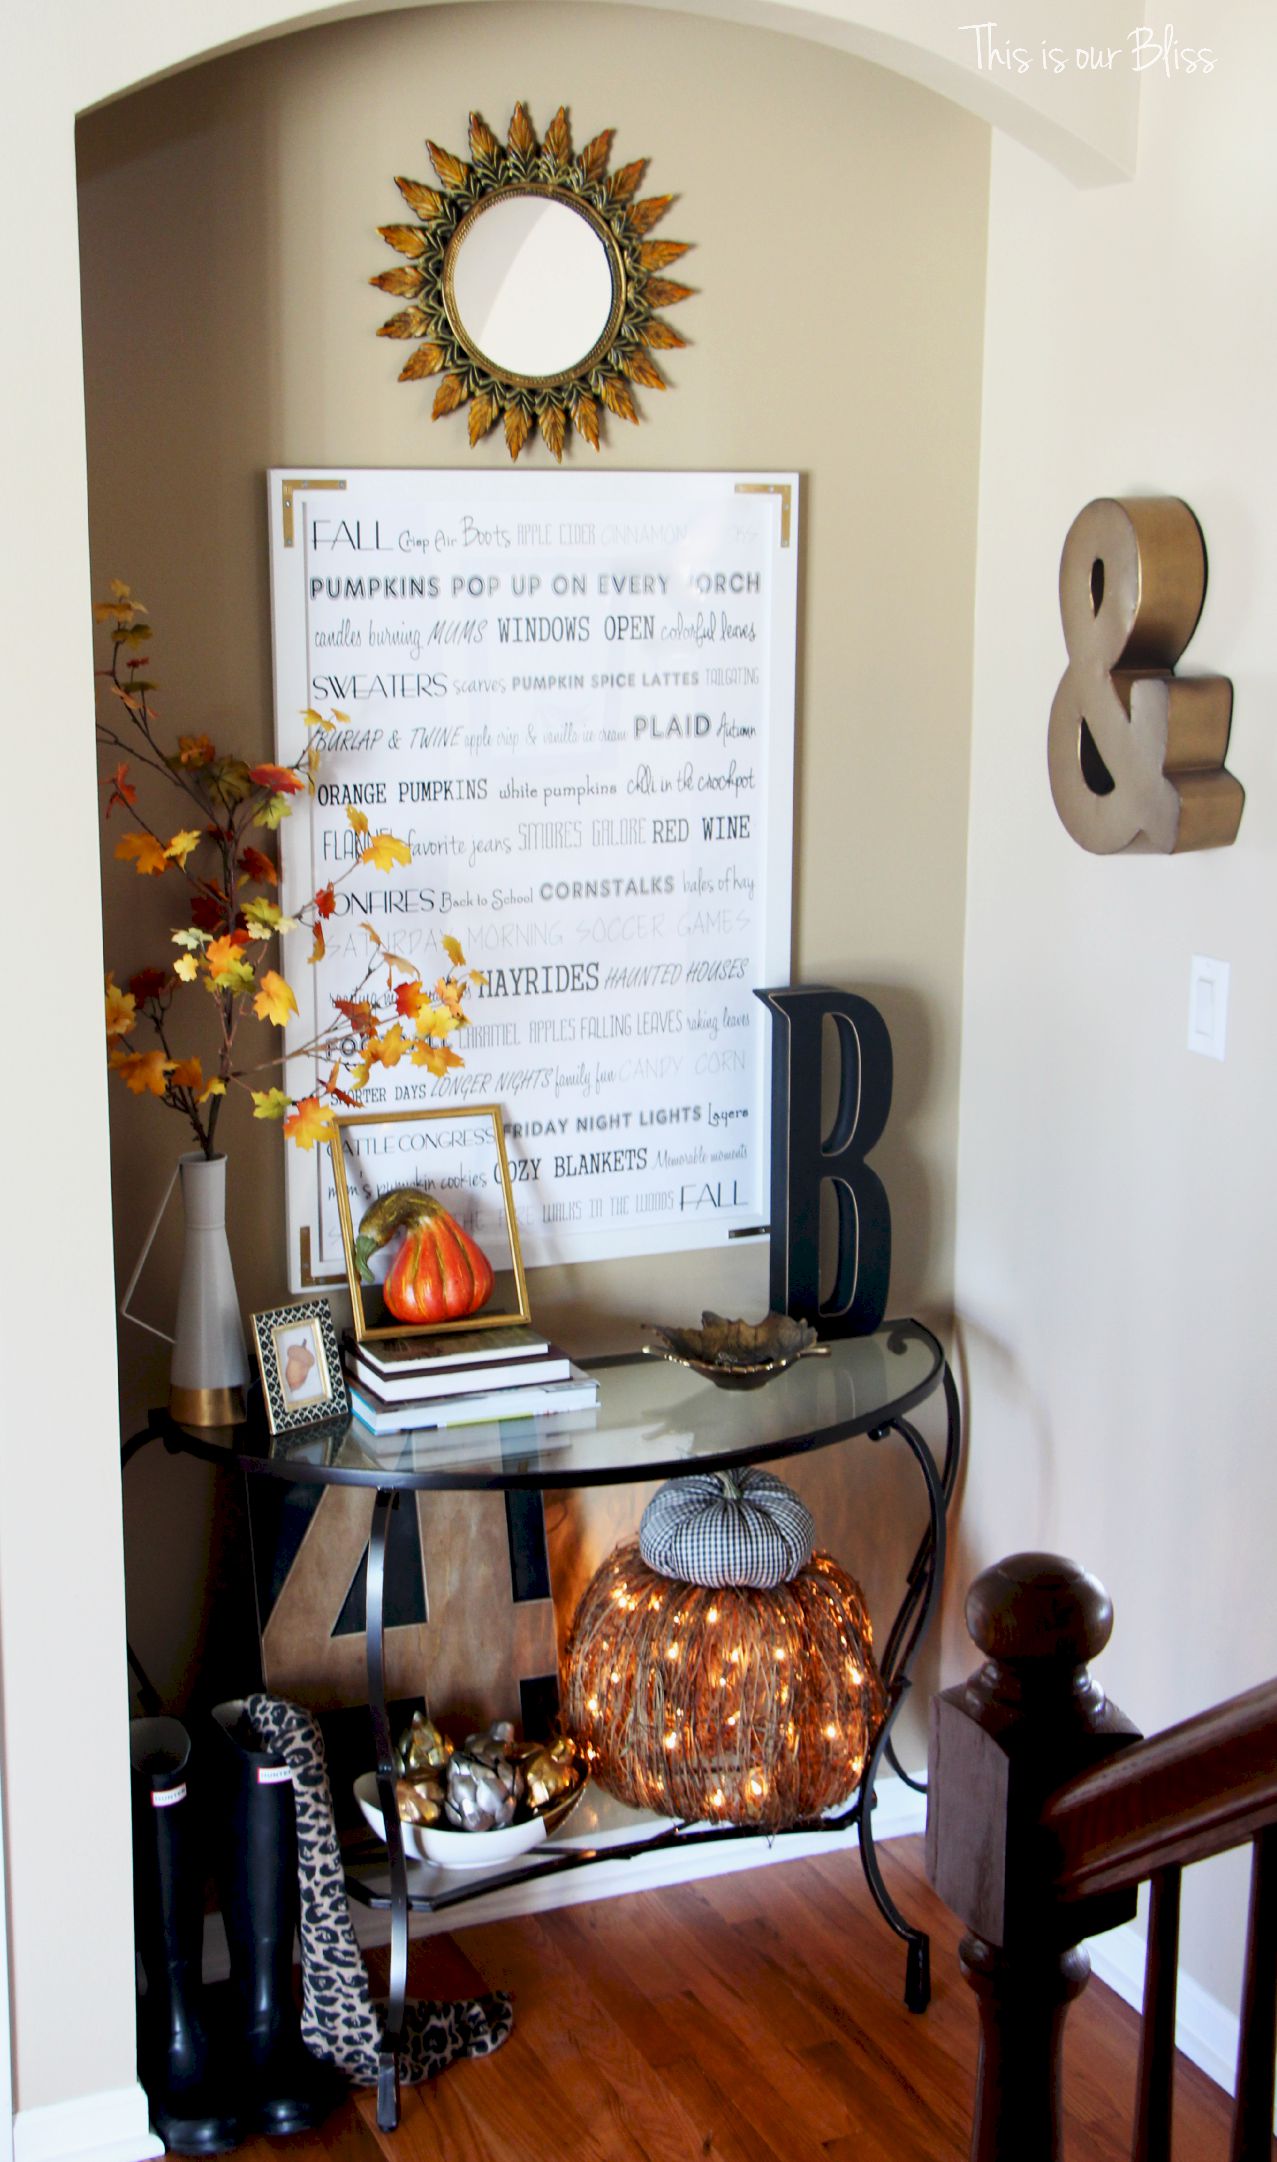
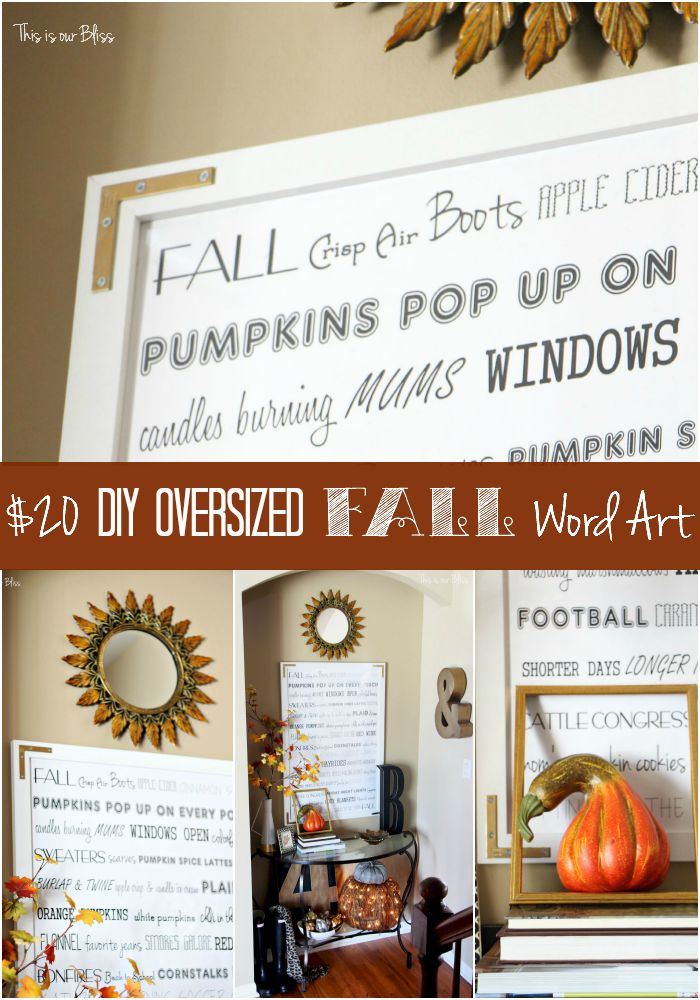
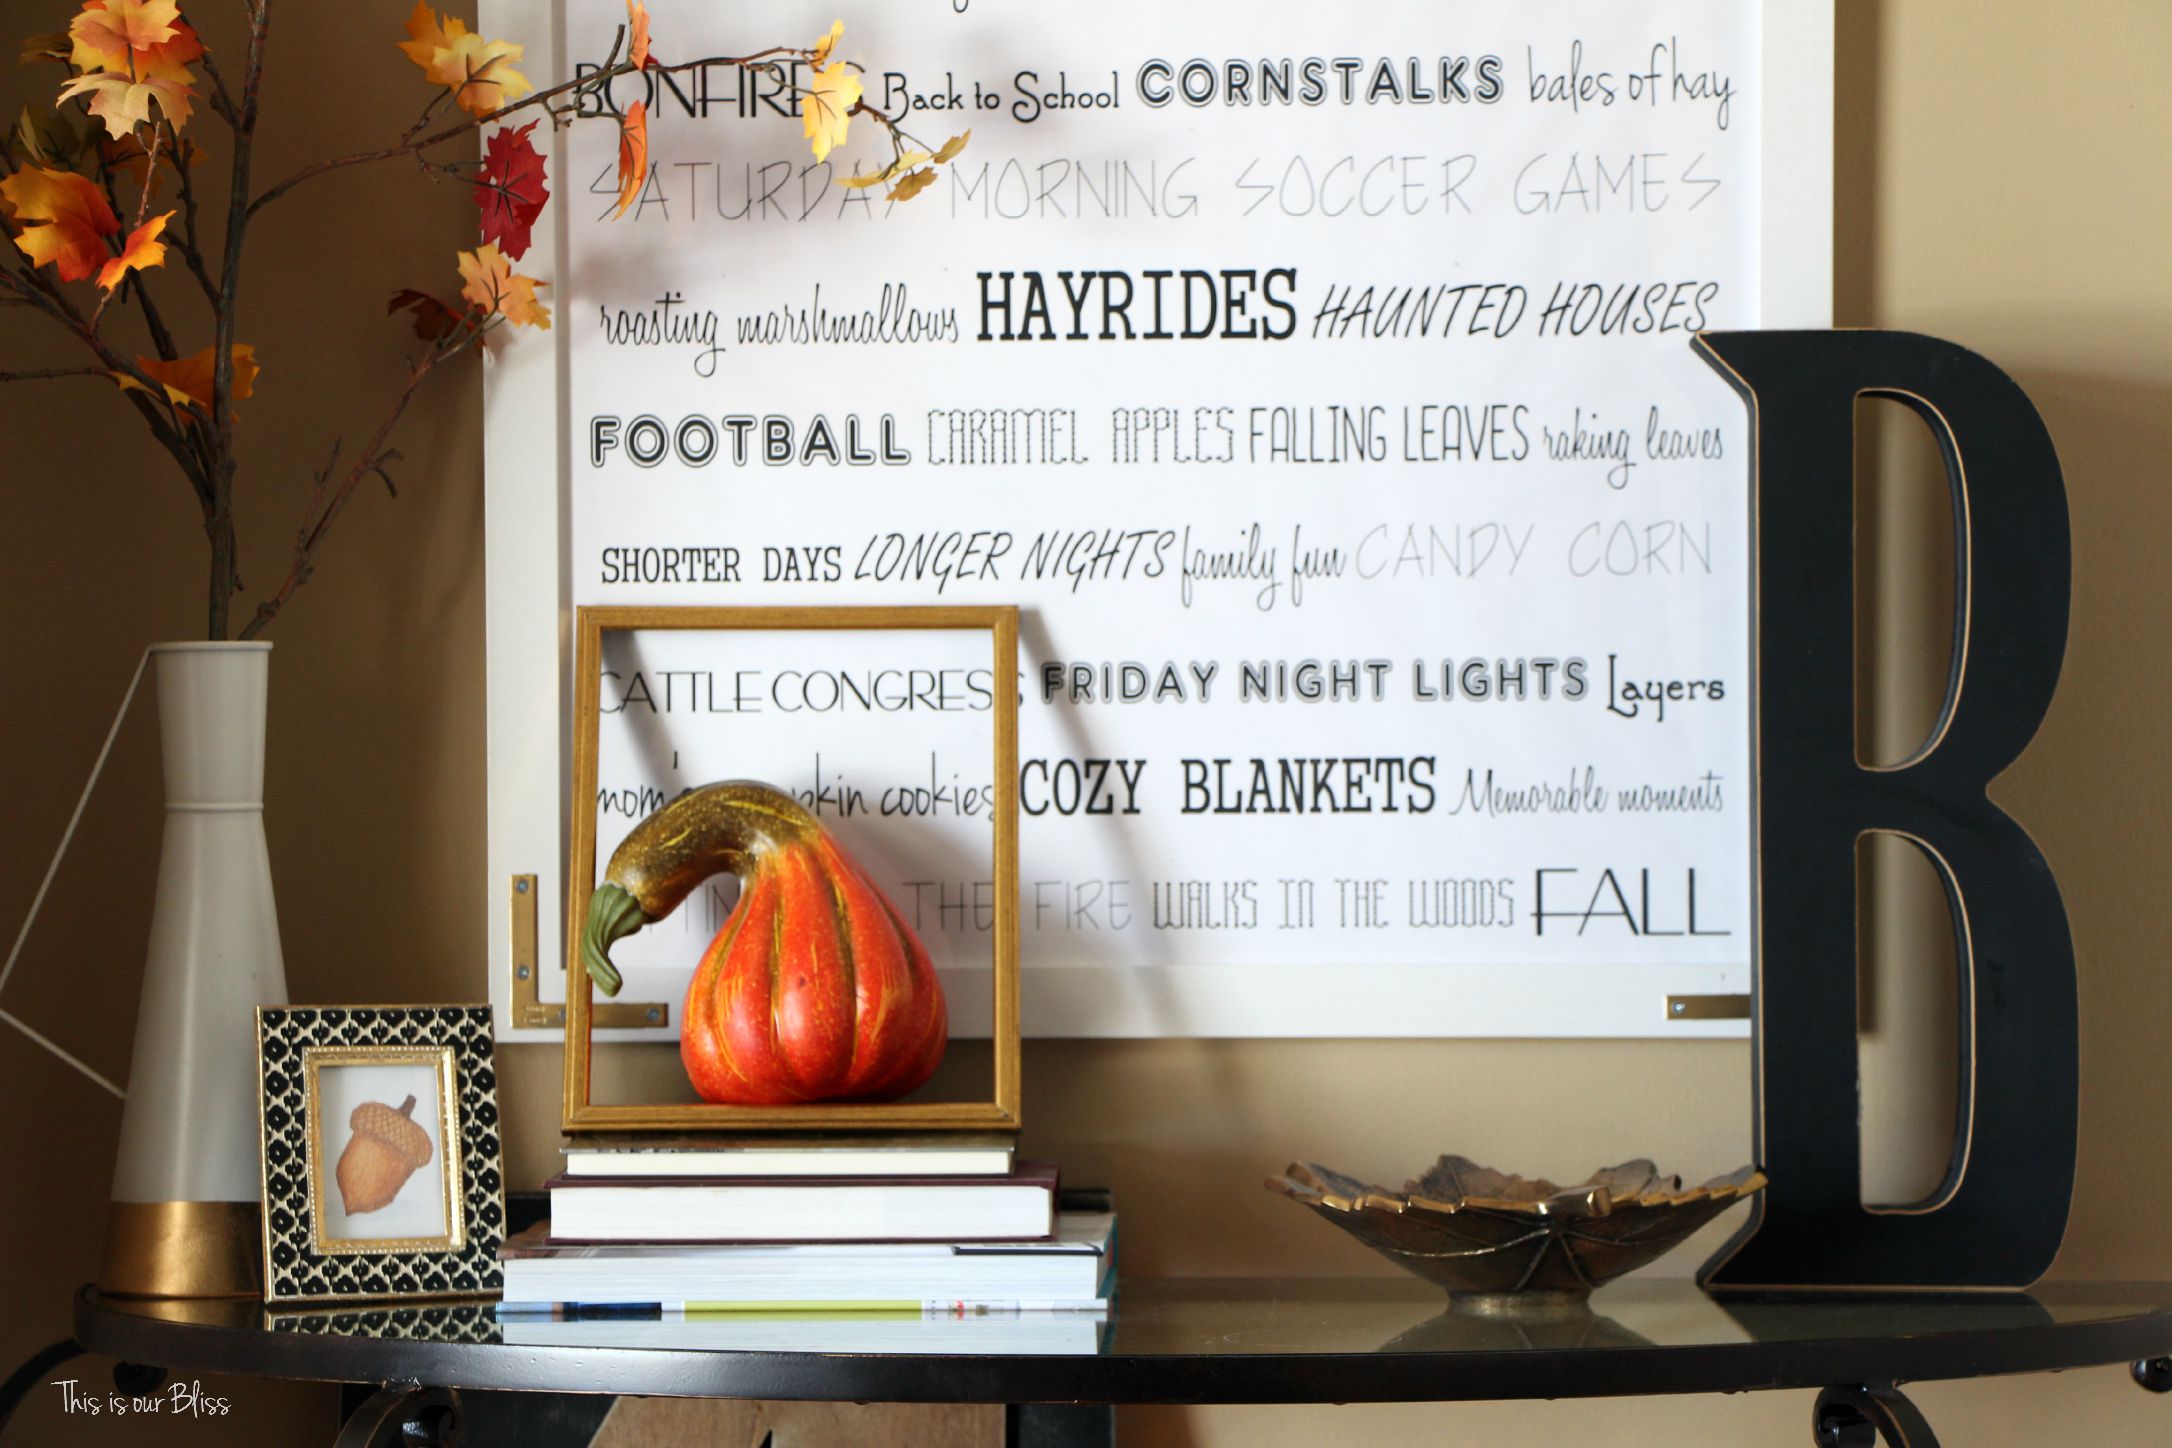
My obsession continues. My love for word art is deep. I took a shot at creating my own version of an Over-sized Fall Word Art piece to use in my Fall entryway versus buying a ridiculously expensive one. I’ve made smaller pieces before, but I wanted a BIG one this time around! A statement piece…
Do you know how much money a 24″ x 36″ framed piece of anything costs?! or a even a canvas?! Way more than I wanted to throw down. Especially since its all about fall. I mean, I would have loved to order a custom something or other for above my entryway table, but the truth is… my entryway mirror will probably end up going right back in its spot after this season is over. Unless I decide to make a new piece for each season or holiday to put in the frame! I could totally do that. #dontgetaheadofyourself
Supplies:
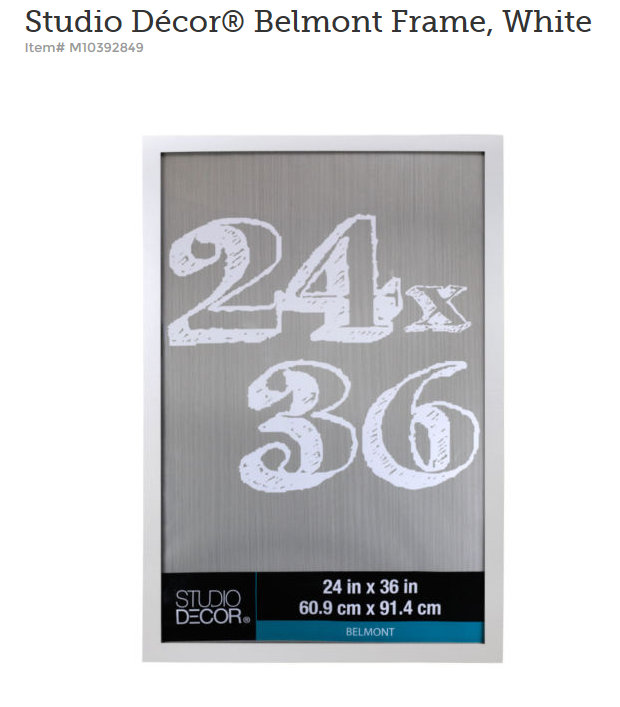
24″x36″ frame
MS Word or other document creation software
Flash Drive (to save your file & take to copy/print shop)
24″x36″ black & white print
3-Inch Flat Corner Brace (4-Pack)
Rub ‘n Buff Wax
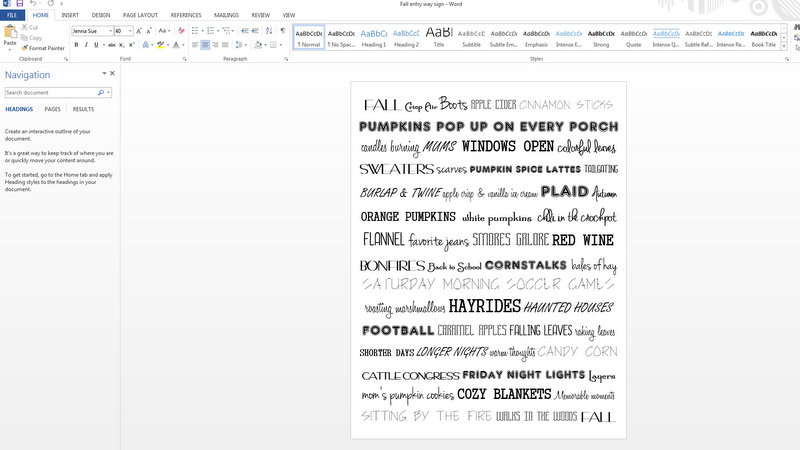
I came up with a list of fall-related words and typed them out in MS Word with one space in between each word or group of words. I then started playing around with the fonts and point size of each word or phrase until it was sized just right and I was happy with how it looked. I ended up moving some of the words onto different lines in order to make the sizing work out. I wanted to take up as much of the full line as I could without the words being too small or the phrase running over to the next line. Each font is sized differently as well. I get download my fonts from dafont.com.
[Some of the fonts I used in this piece were: Bernardo Moda, Jenna Sue, Fascii Scraggly BRK, Architect’s Hand, AR DELANEY. You can enter these into the search box on the site and then download the file to your computer. They will be automatically added to the drop down list of fonts in MS Word.]
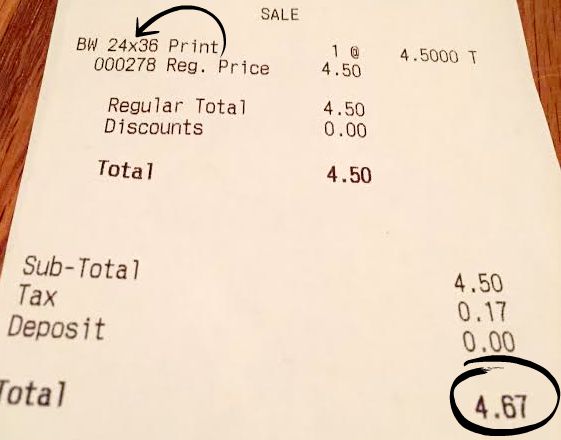
Next, I saved it as a PDF file, loaded it onto my flash drive and headed down the street to FedEx/Kinkos. I asked them to print my piece in black and white on a 24″x36″ sheet of paper. It cost me $4.67 to do it.
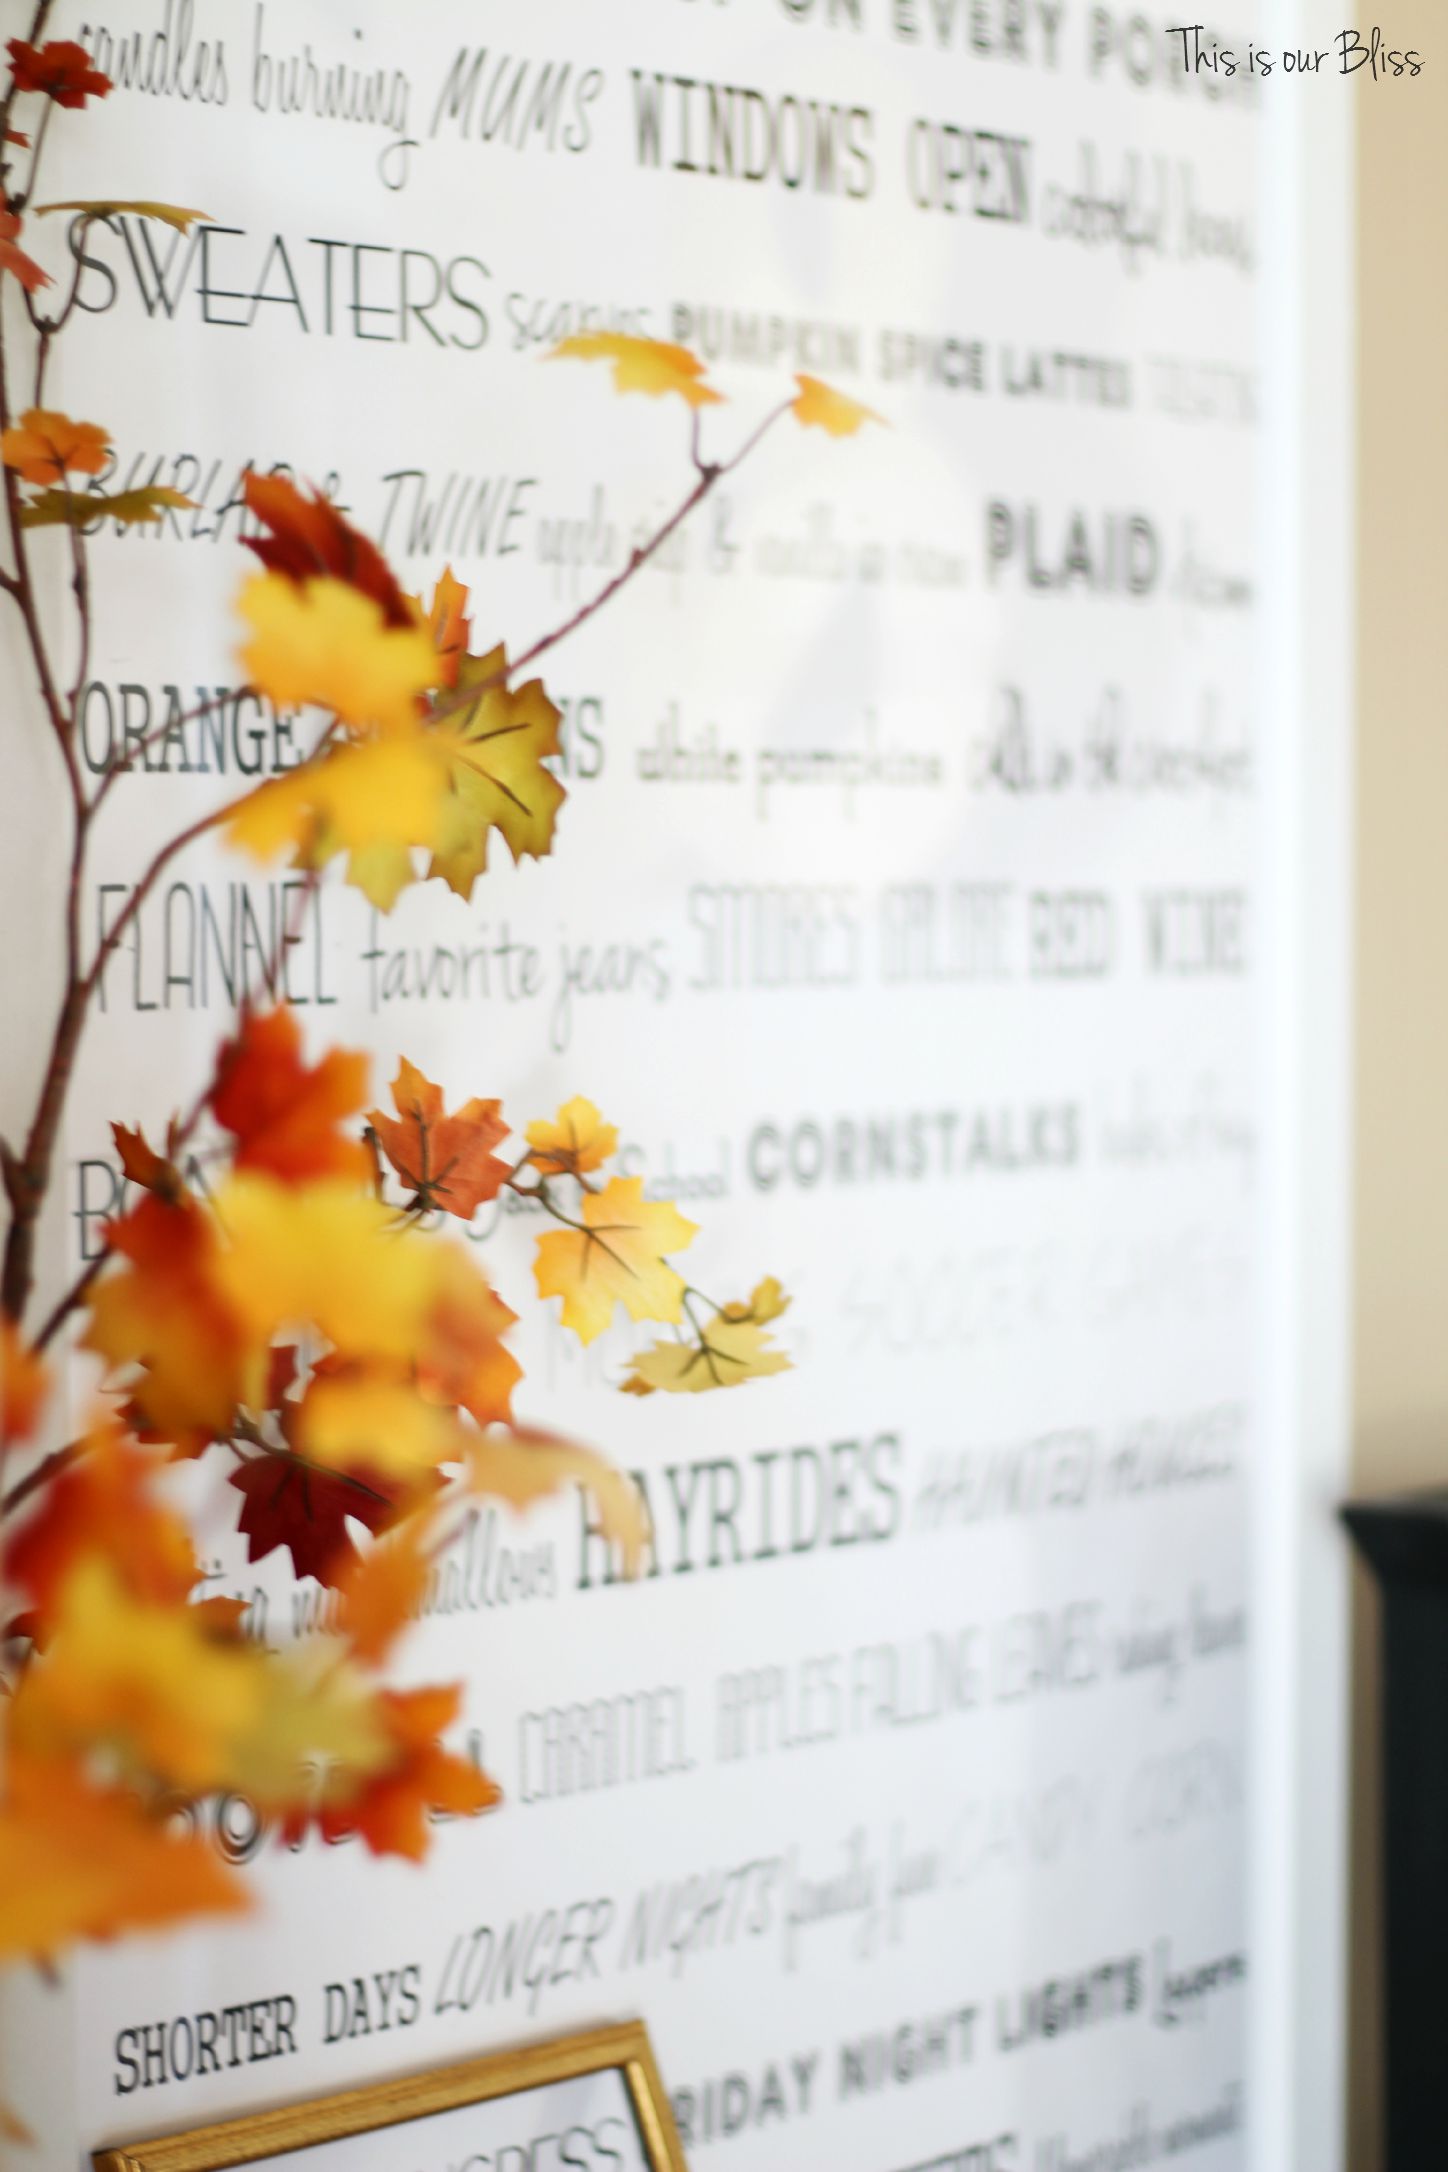
Next, after opening up the back of the frame and slipping my piece of paper inside, I realized I needed to trim about 1/4″ off the side and top so it laid flat and didn’t bubble underneath the plexiglass. Once it was smoothed out, I fastened the back on and admired my work.
It was missing something though.
I ran upstairs to check my craft & décor stash for some flat corner braces
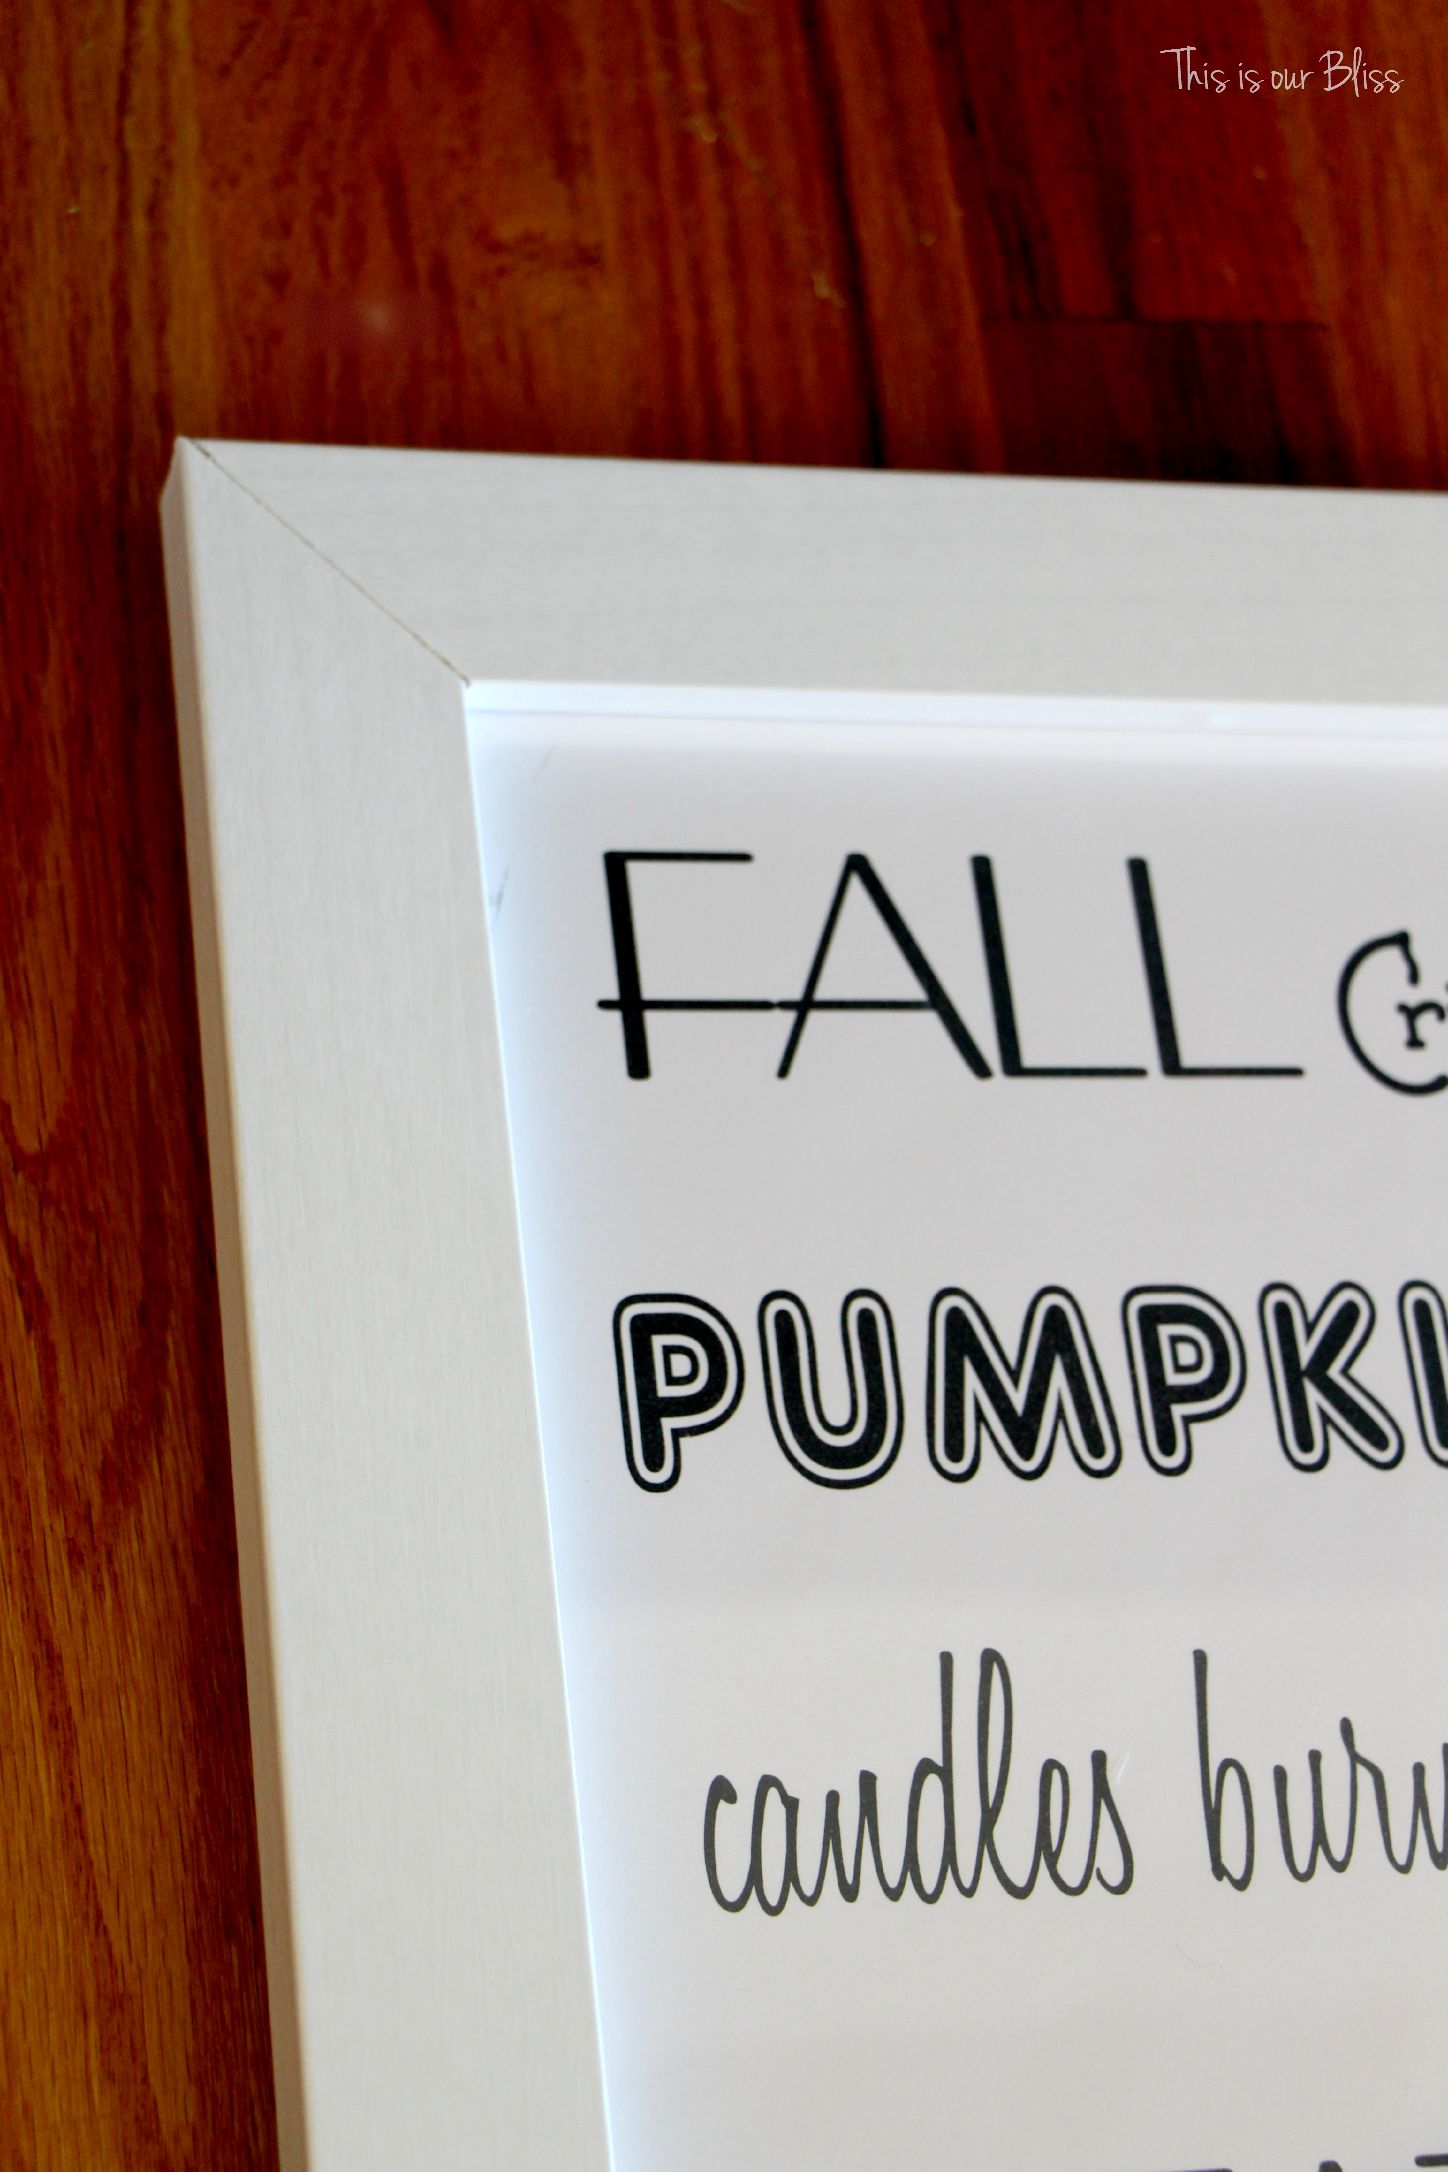
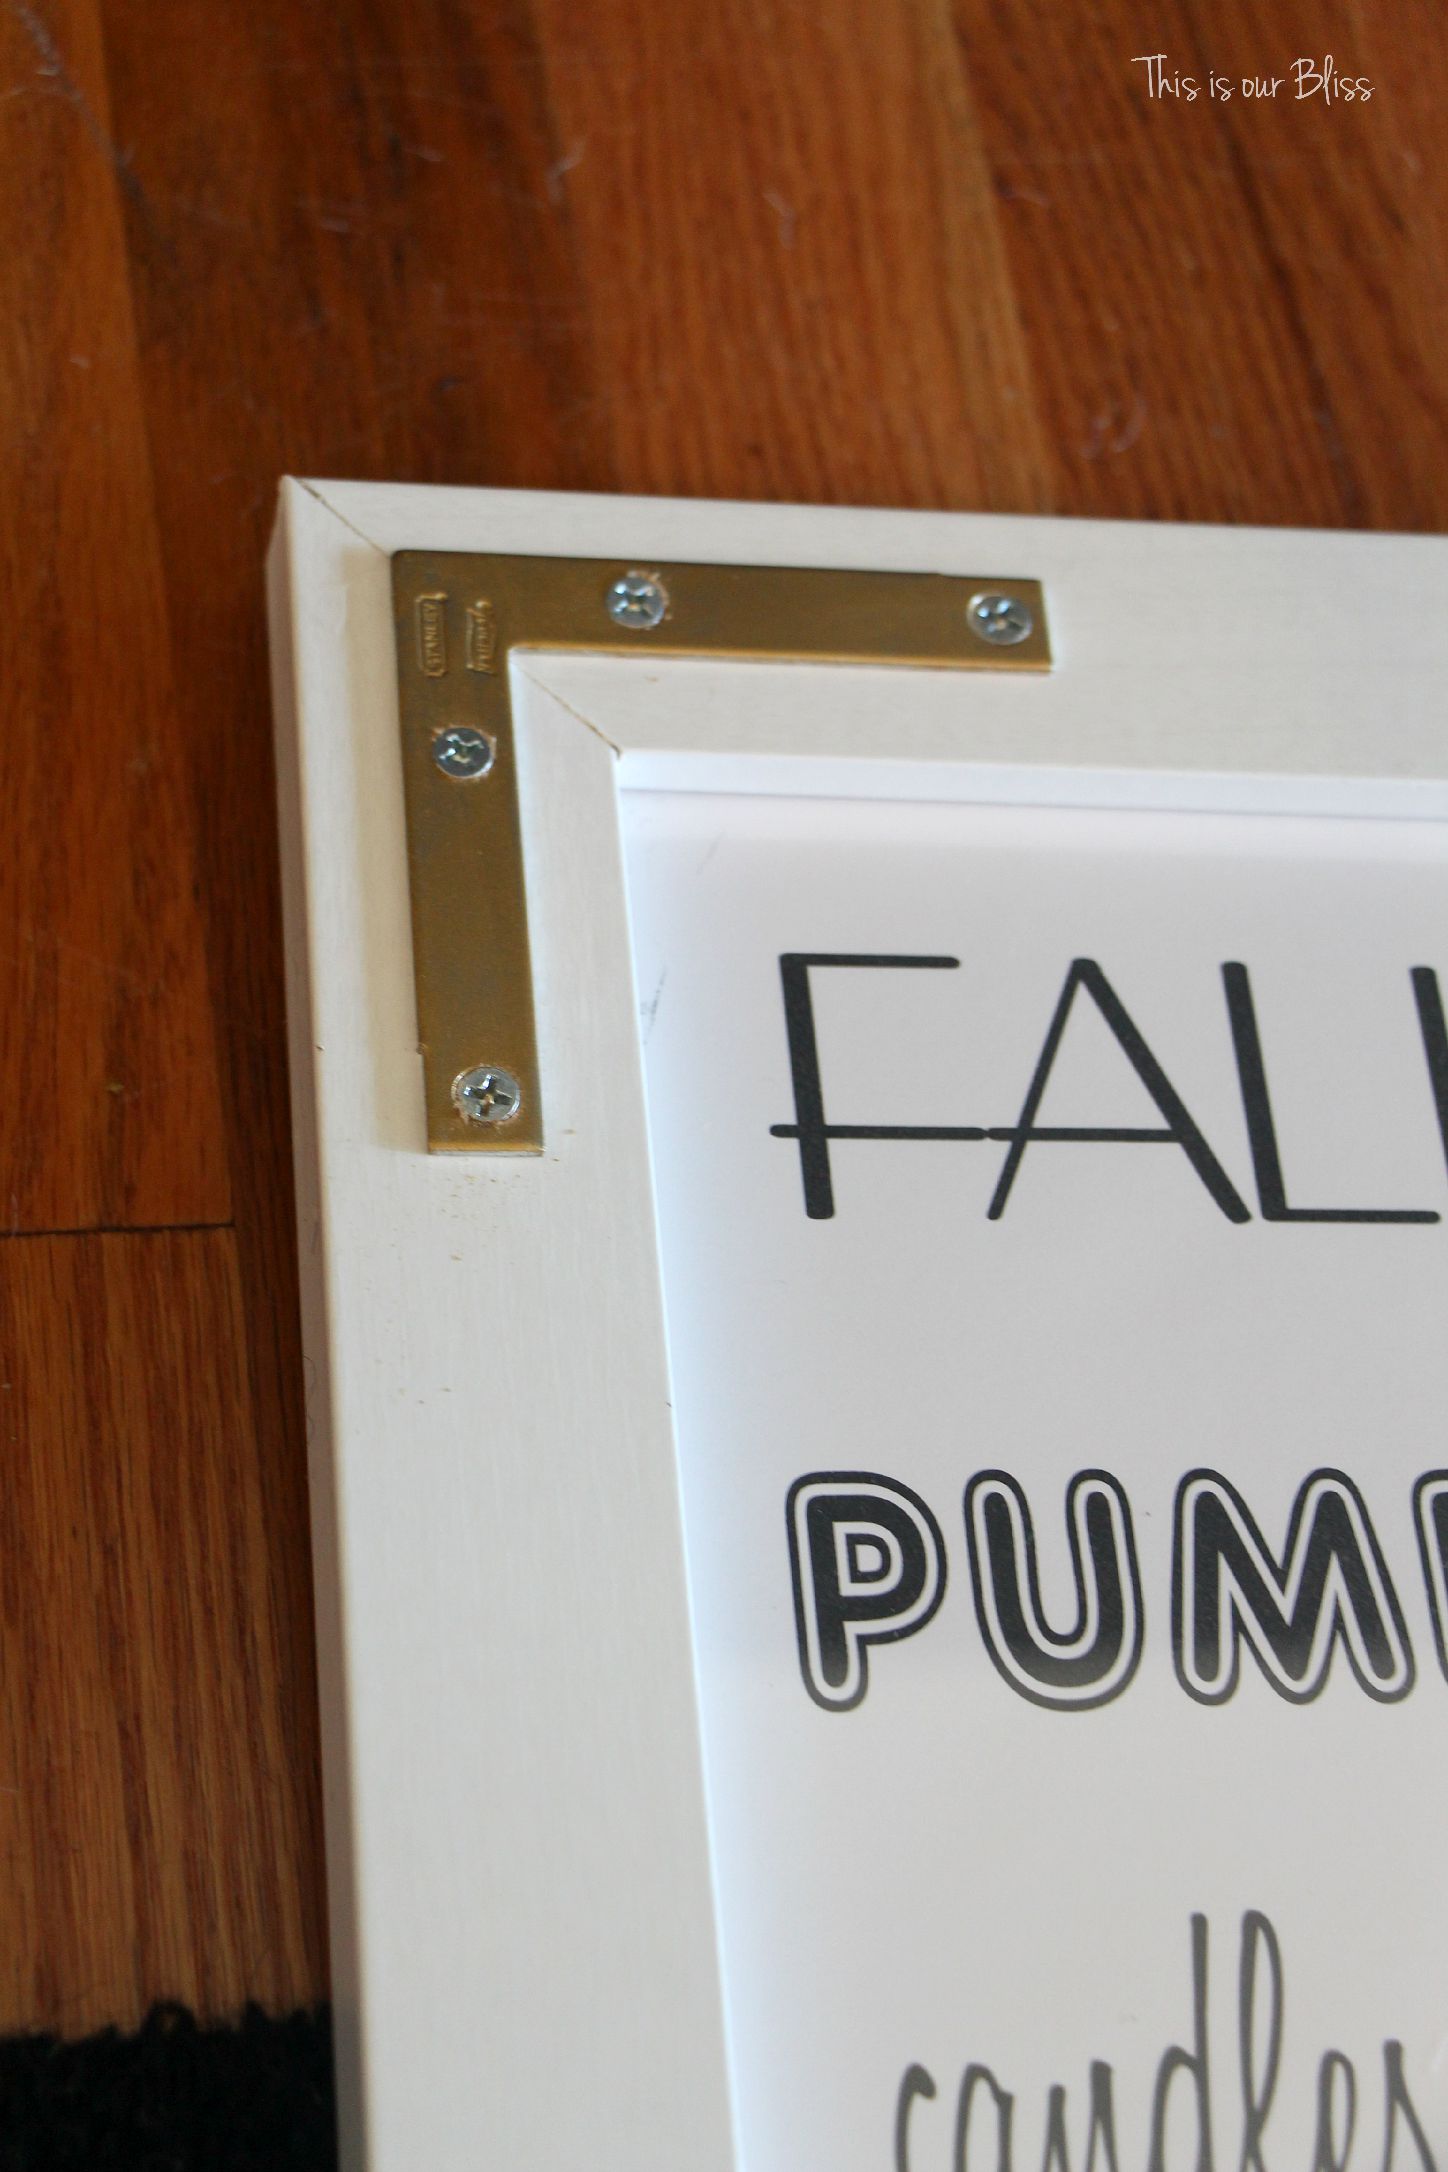
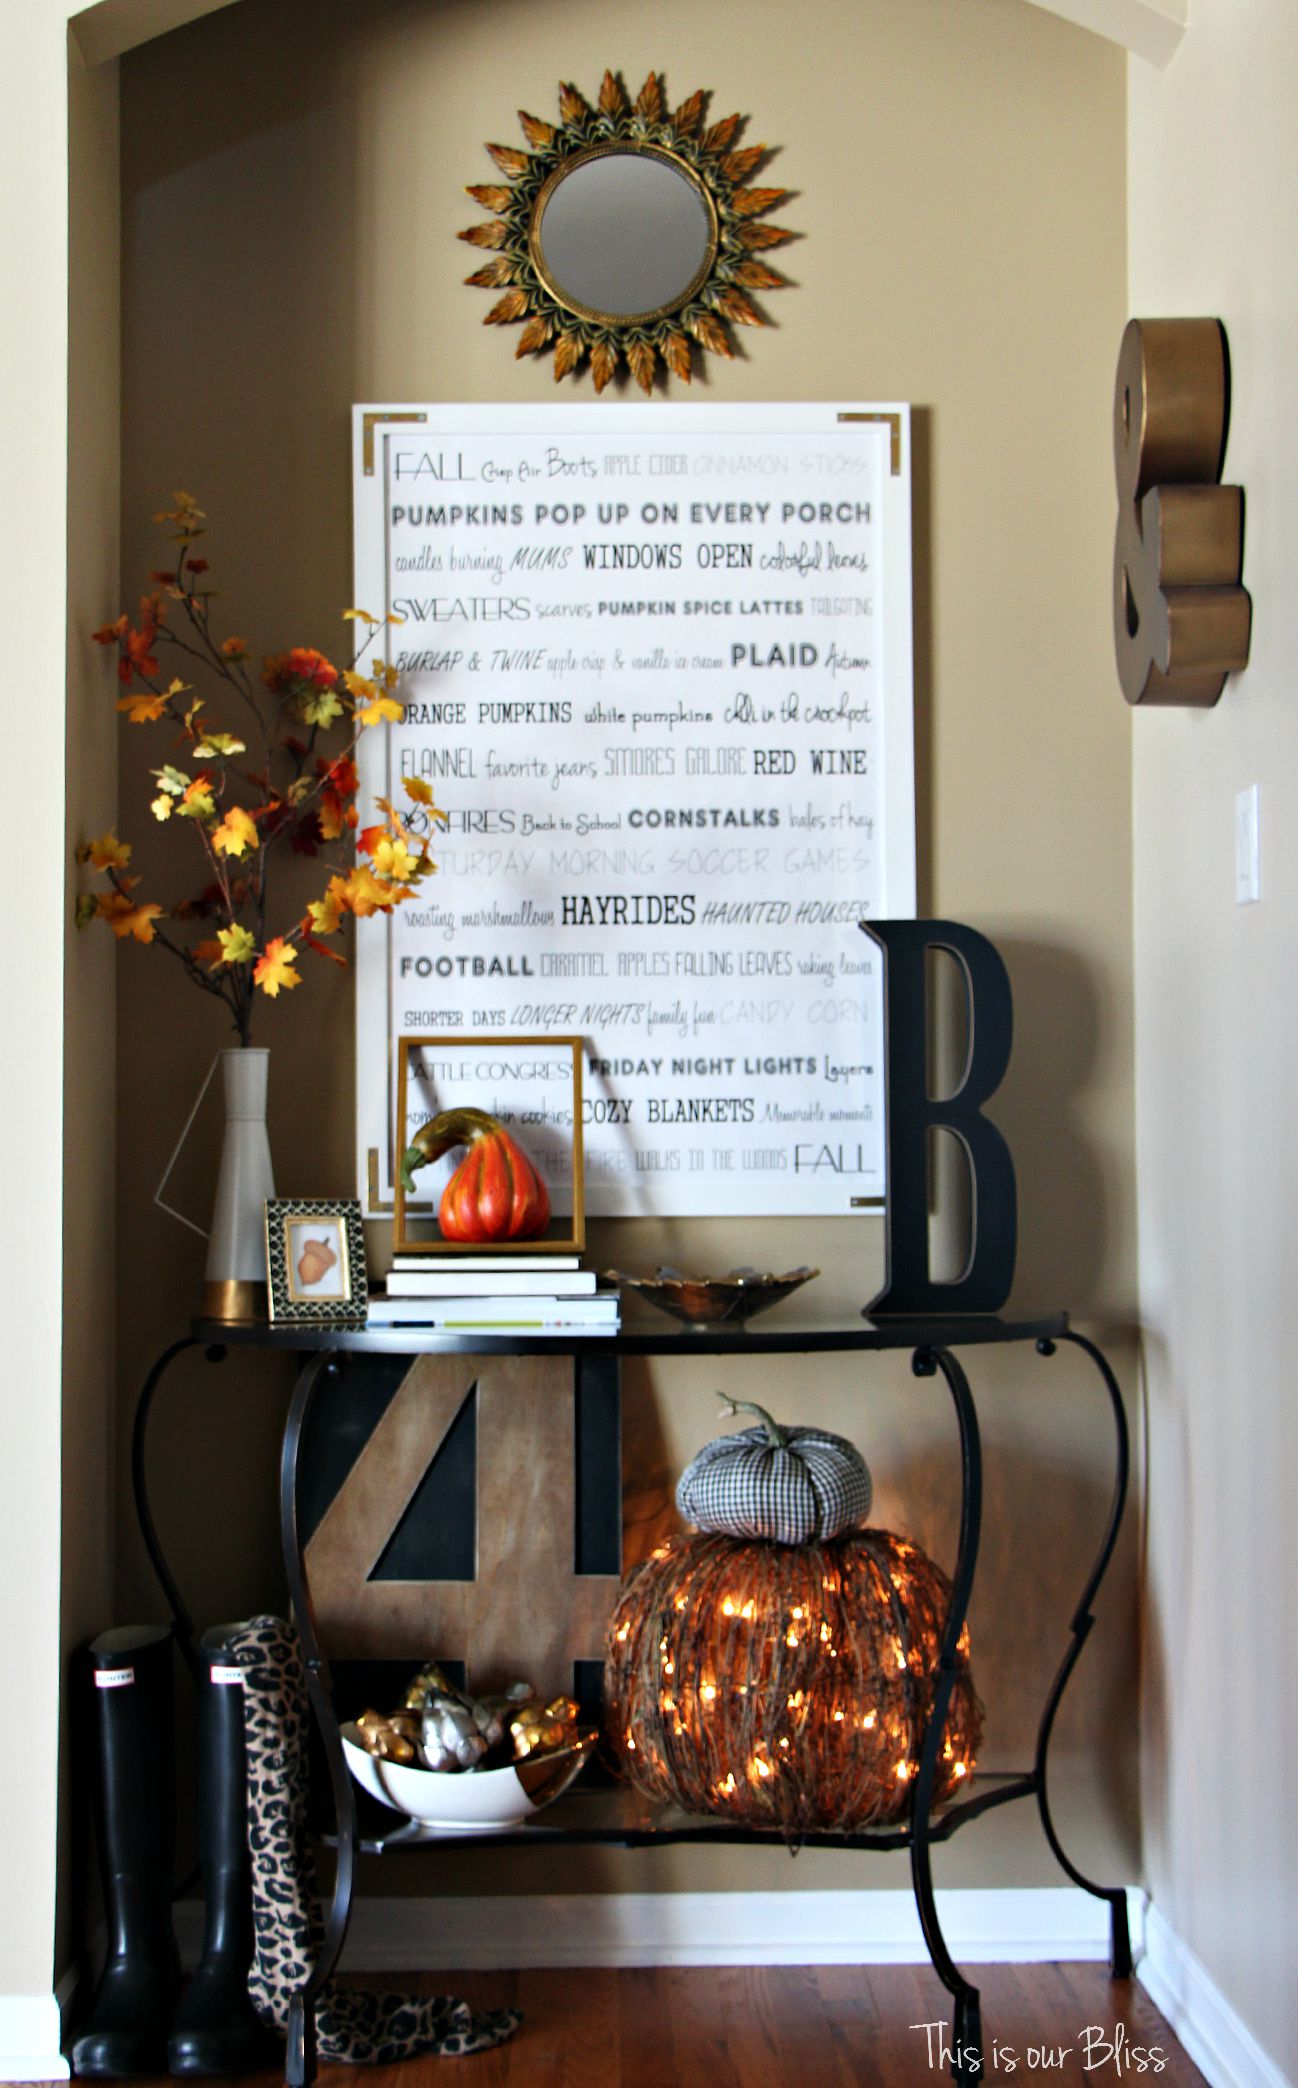
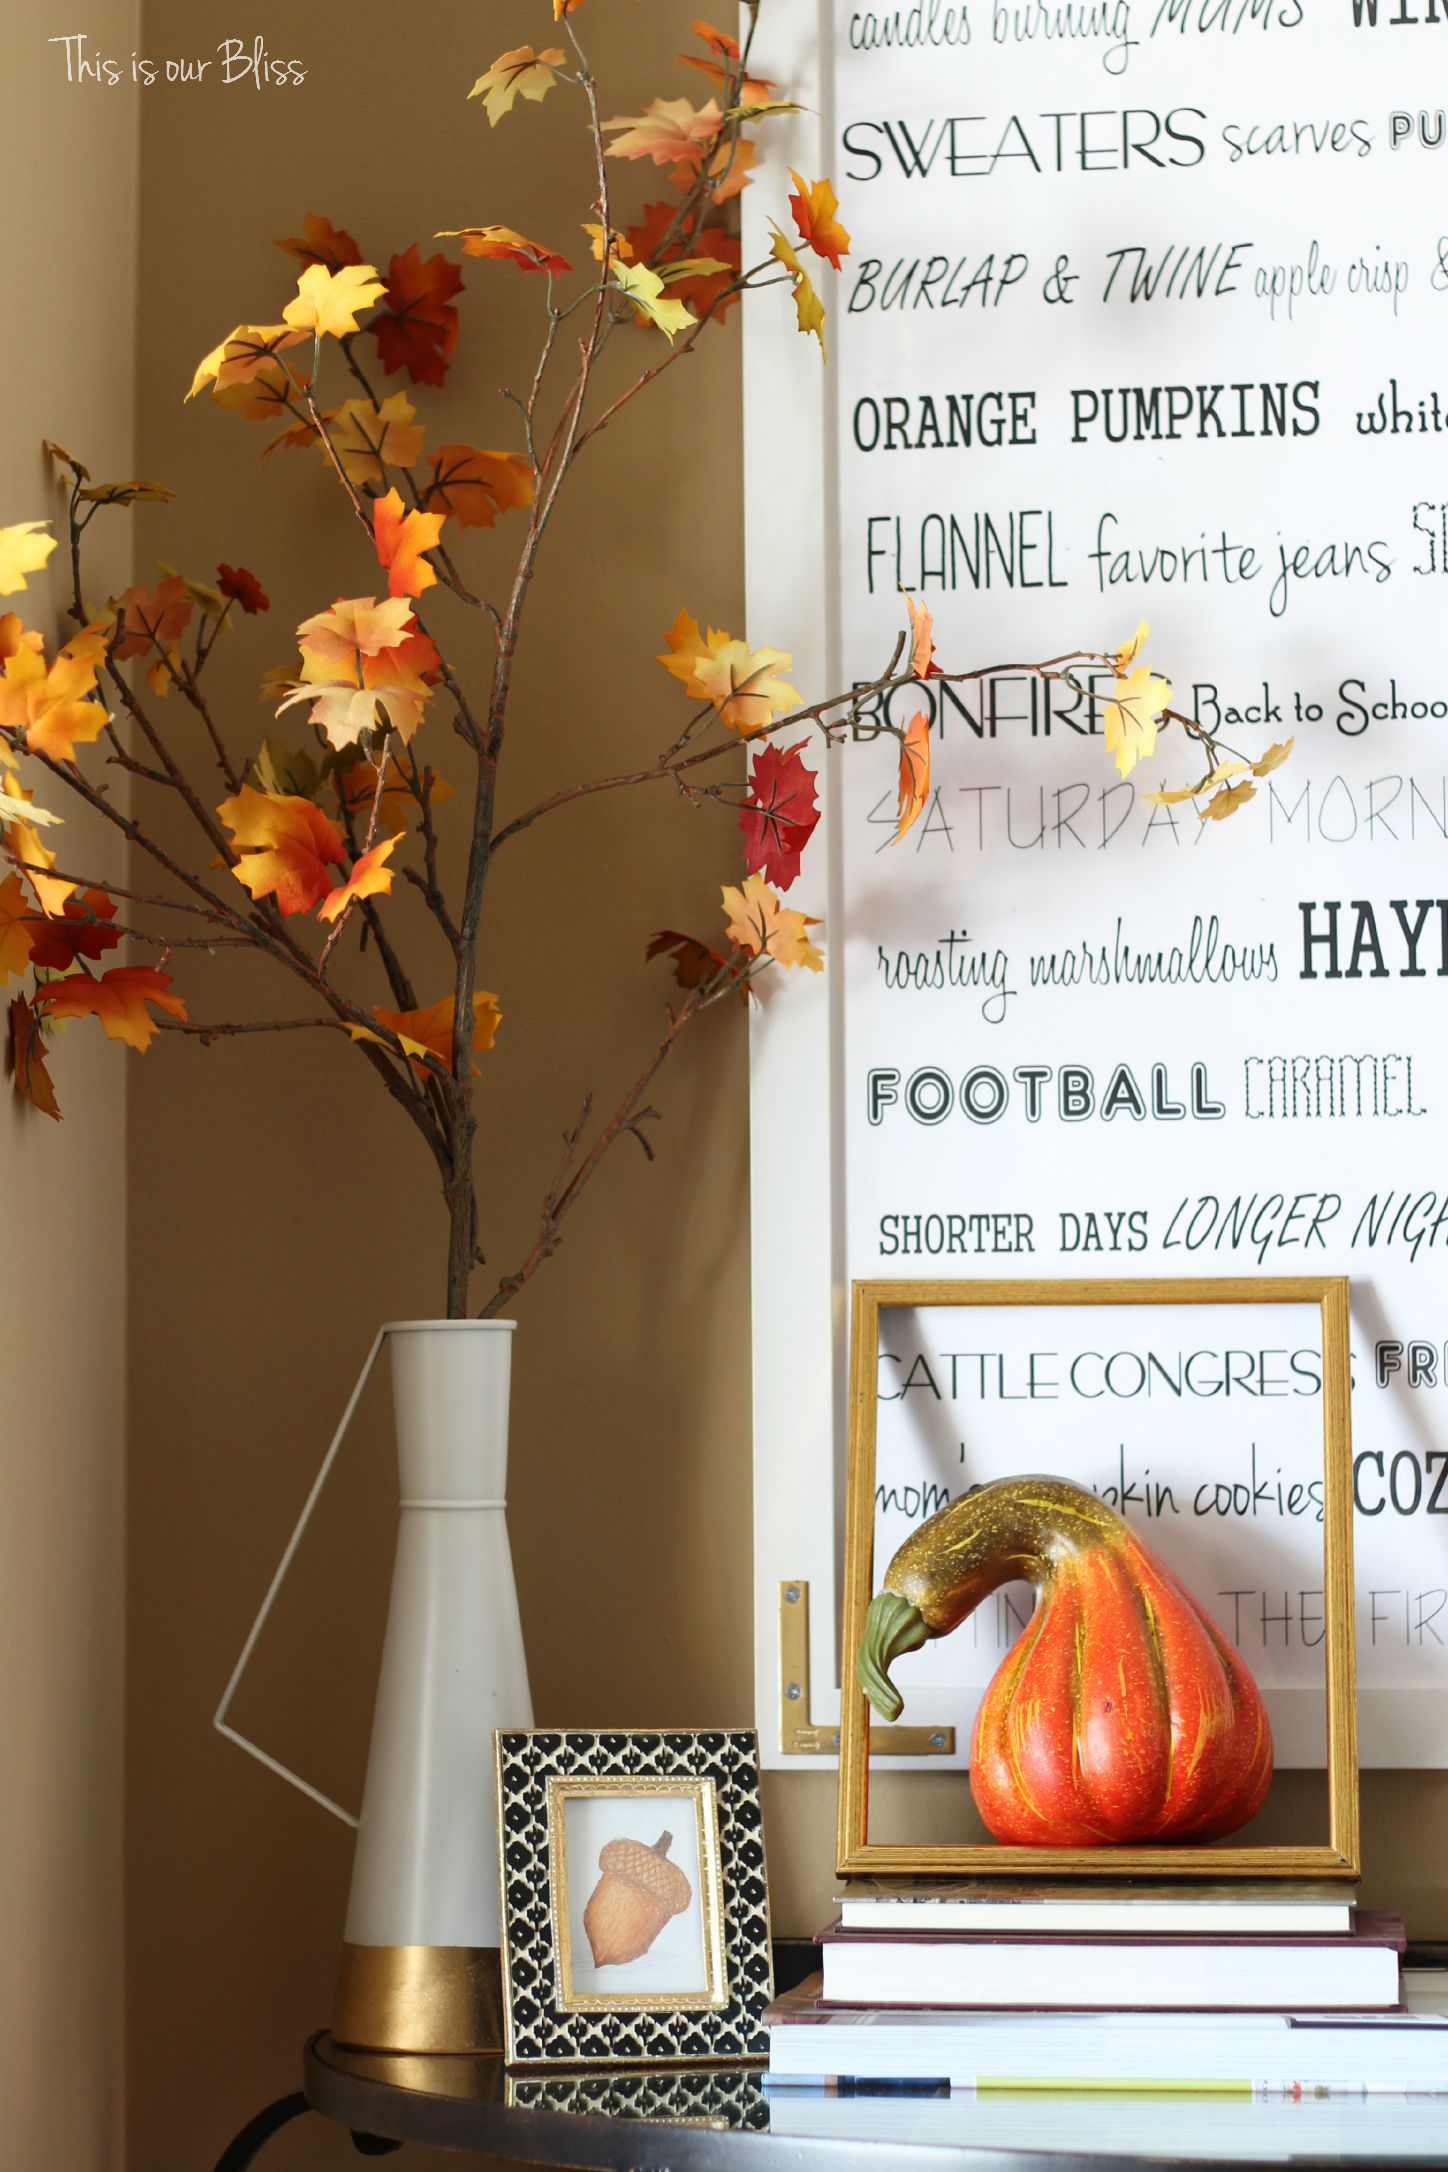
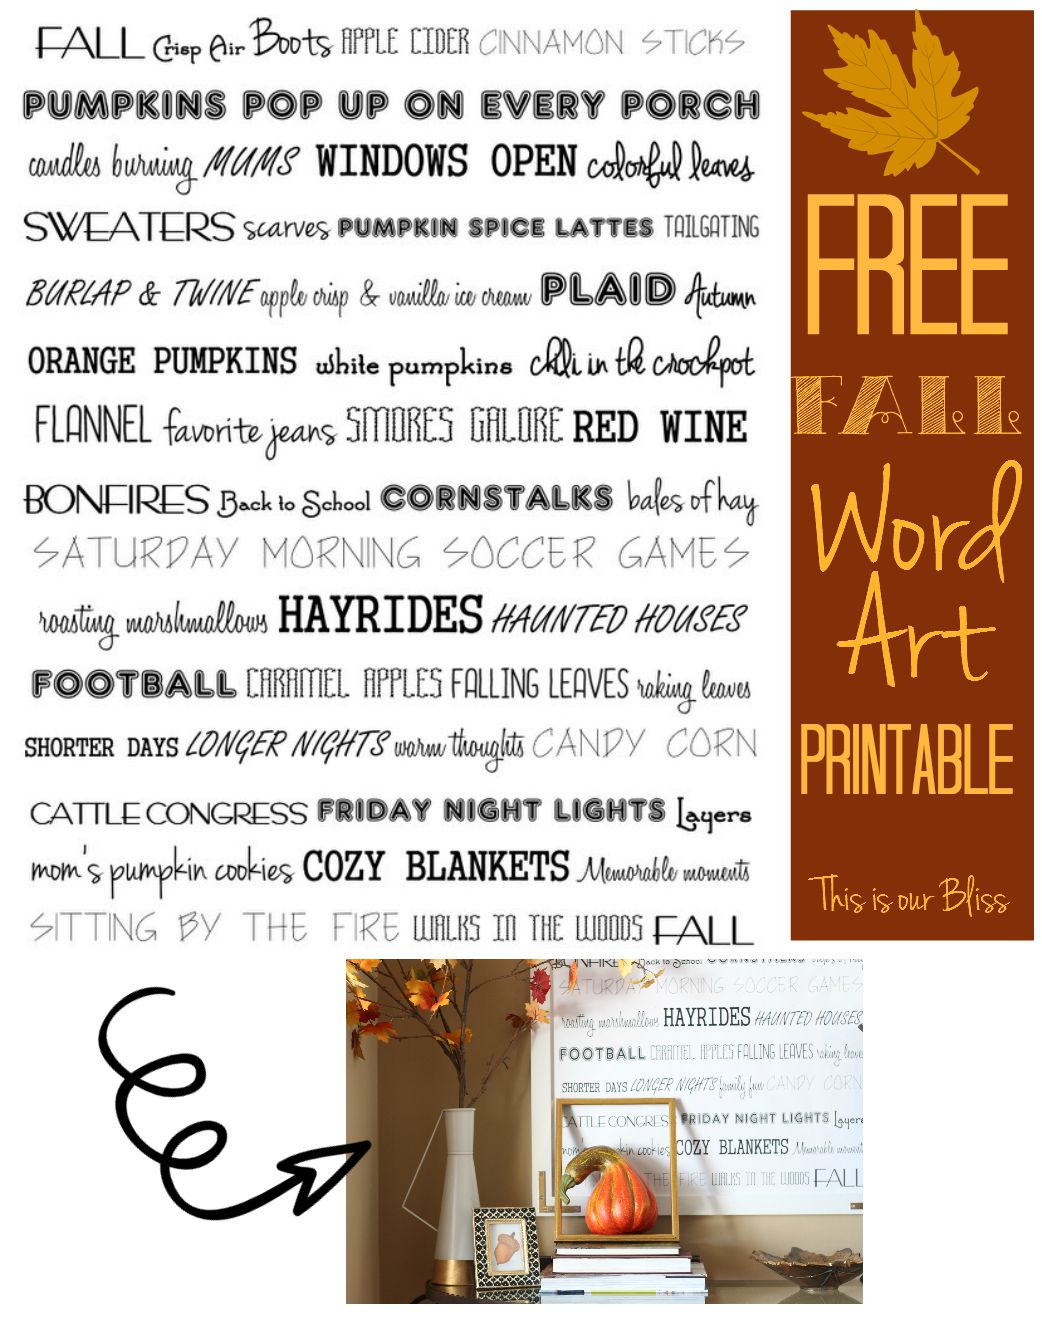
This was so unbelievable easy to make. I promise…if you can open up and type in Microsoft Word, then you can do this! If you don’t feel like making your own and like mine, get it below!:
What are your DIY secrets for creating large, oversized art? Please do share!







Inexpensive Fall Wall Decor - The Crazy Craft Lady
August 9, 2016 at 10:40 AM[…] DIY Oversized Fall Word Art […]
Top 10 DIY Autumn Projects for Your Home
January 3, 2016 at 8:14 AM[…] via thisisourbliss.com […]
TOP 10 DIY AUTUMN PROJECTS | Brainy Tips
December 5, 2015 at 10:55 PM[…] via thisisourbliss.com […]
How to add a few simple Fall touches | This is our Bliss
October 12, 2015 at 5:40 PM[…] quickly, simply & on the cheap. With the exception of my fall entryway with the addition of a large DIY Fall word art piece, I try to use what I already have! I’ll break it down and show you 2 spots in our house […]
A Fall Entryway | This is our Bliss
September 29, 2015 at 2:08 PM[…] ← How to Mix Patterns | Back to Basics Week #2 How to: DIY Oversized [Fall] Word Art → […]
A Fall Entryway | This is our Bliss
September 29, 2015 at 2:08 PM[…] ← How to Mix Patterns | Back to Basics Week #2 How to: DIY Oversized [Fall] Word Art → […]
Pat
September 27, 2015 at 9:53 PMI love this!!! You really must have spent a great deal of time choosing words, fonts, spacing, etc. Looks beautiful and the frame trim is a brilliant idea! I love word art too, however, like you, it has to be meaningful.
So happy I found your blog ~ I really, really like your style! Not sure where you’re located but you’re always welcome in Texas and your decorating assistance very much appreciated! 🙂
xo
Pat
Rachael @ This is our Bliss
September 28, 2015 at 10:34 AMThank you, Pat! Yes, I did take a little while to determine spacing, sizing, etc., but it was SOOO worth it! Too affordable to pass up 😉 I appreciate your sweet words – I’d love to make a trip to TX 😉 Heading over to check out yours now – thanks again!! ~ Rachael
Pat
September 27, 2015 at 9:53 PMI love this!!! You really must have spent a great deal of time choosing words, fonts, spacing, etc. Looks beautiful and the frame trim is a brilliant idea! I love word art too, however, like you, it has to be meaningful.
So happy I found your blog ~ I really, really like your style! Not sure where you’re located but you’re always welcome in Texas and your decorating assistance very much appreciated! 🙂
xo
Pat
Rachael @ This is our Bliss
September 28, 2015 at 10:34 AMThank you, Pat! Yes, I did take a little while to determine spacing, sizing, etc., but it was SOOO worth it! Too affordable to pass up 😉 I appreciate your sweet words – I’d love to make a trip to TX 😉 Heading over to check out yours now – thanks again!! ~ Rachael
swatkins827
September 20, 2015 at 11:37 PMGreat idea Rachael! Amazing art piece and love how you incorporated it into your entryway.
elizabeth
September 18, 2015 at 1:08 PMthis is a super great idea!! i have been wanting to buy one of those “family rules” but never see one where i like ALL the things. I might have to try this out! Also— you need to make those cookies with the boys this fall and post some pics. 😉 thanks for the tip! TGIF!
Rachael @ This is our Bliss
September 18, 2015 at 2:25 PMThank you! Oh my gosh… I know! Its so hard to find exactly what you like on something in the store. Totally do it! Great idea… pumpkin cookies coming right up! They’ll love them 🙂
TheTaleofanUglyHouse
September 18, 2015 at 11:01 AMLove this! Your little space is super cute 🙂
Rachael @ This is our Bliss
September 18, 2015 at 2:22 PMThanks, Amanda! It makes me happy when I walk by 🙂
Kristi
September 18, 2015 at 9:28 AMLOVE THIS…..AND, AM going to try for a kid’s grad party coming up…..all words describing Charlie.
Thank you for sharing Rach~
Rachael @ This is our Bliss
September 18, 2015 at 10:28 AMThanks, Kris!! The frames are still on sale, too! That would be awesome for Char 😘
georginadunks
September 18, 2015 at 7:42 AMWow so cute! I saw that in your fall entryway post and was wondering how you did this 🙂 Also that flat corner brace idea was/is brilliant!!! It really makes it pop and look sooooo good. Now…please come decorate my house 🙂 🙂
Rachael @ This is our Bliss
September 18, 2015 at 10:27 AMThanks, Georgina!! The braces really do jazz it up a bit ha! I’ll be right over 😉
debtib1
September 18, 2015 at 6:43 AMGreat post Rachel! Cute wall art! Love it!
Rachael @ This is our Bliss
September 18, 2015 at 10:01 AMthanks for your sweet note, Deb! I’m glad you like it!!
September Four
September 17, 2015 at 10:45 PMI love word art too and I can’t believe you made it! It’s so festive!
Rachael @ This is our Bliss
September 18, 2015 at 8:08 AMLike I said I’m slightly obsessed! It has to say just the right thing though… I don’t just have random words everywhere lol – Thank you!!