This post contains affiliate links, which means if you click certain links and make a purchase, a small percentage will go back to this blog to allow me to continue to bring you new ideas and published posts. You will not incur any additional costs by making a purchase through an affiliate link. It is completely free to you! Thanks for helping support This is our Bliss.
Another kid-related post today. One of these days, I will be making the shift over to some holiday goodies! I seriously can’t wait to start bedazzling the house with Christmas sparkle and spreading holiday cheer!
But first, shame on me. After I shared Simon’s Nursery reveal and several other DIY nursery projects, I failed to post about one in particular. The one that so many of you have emailed me about.
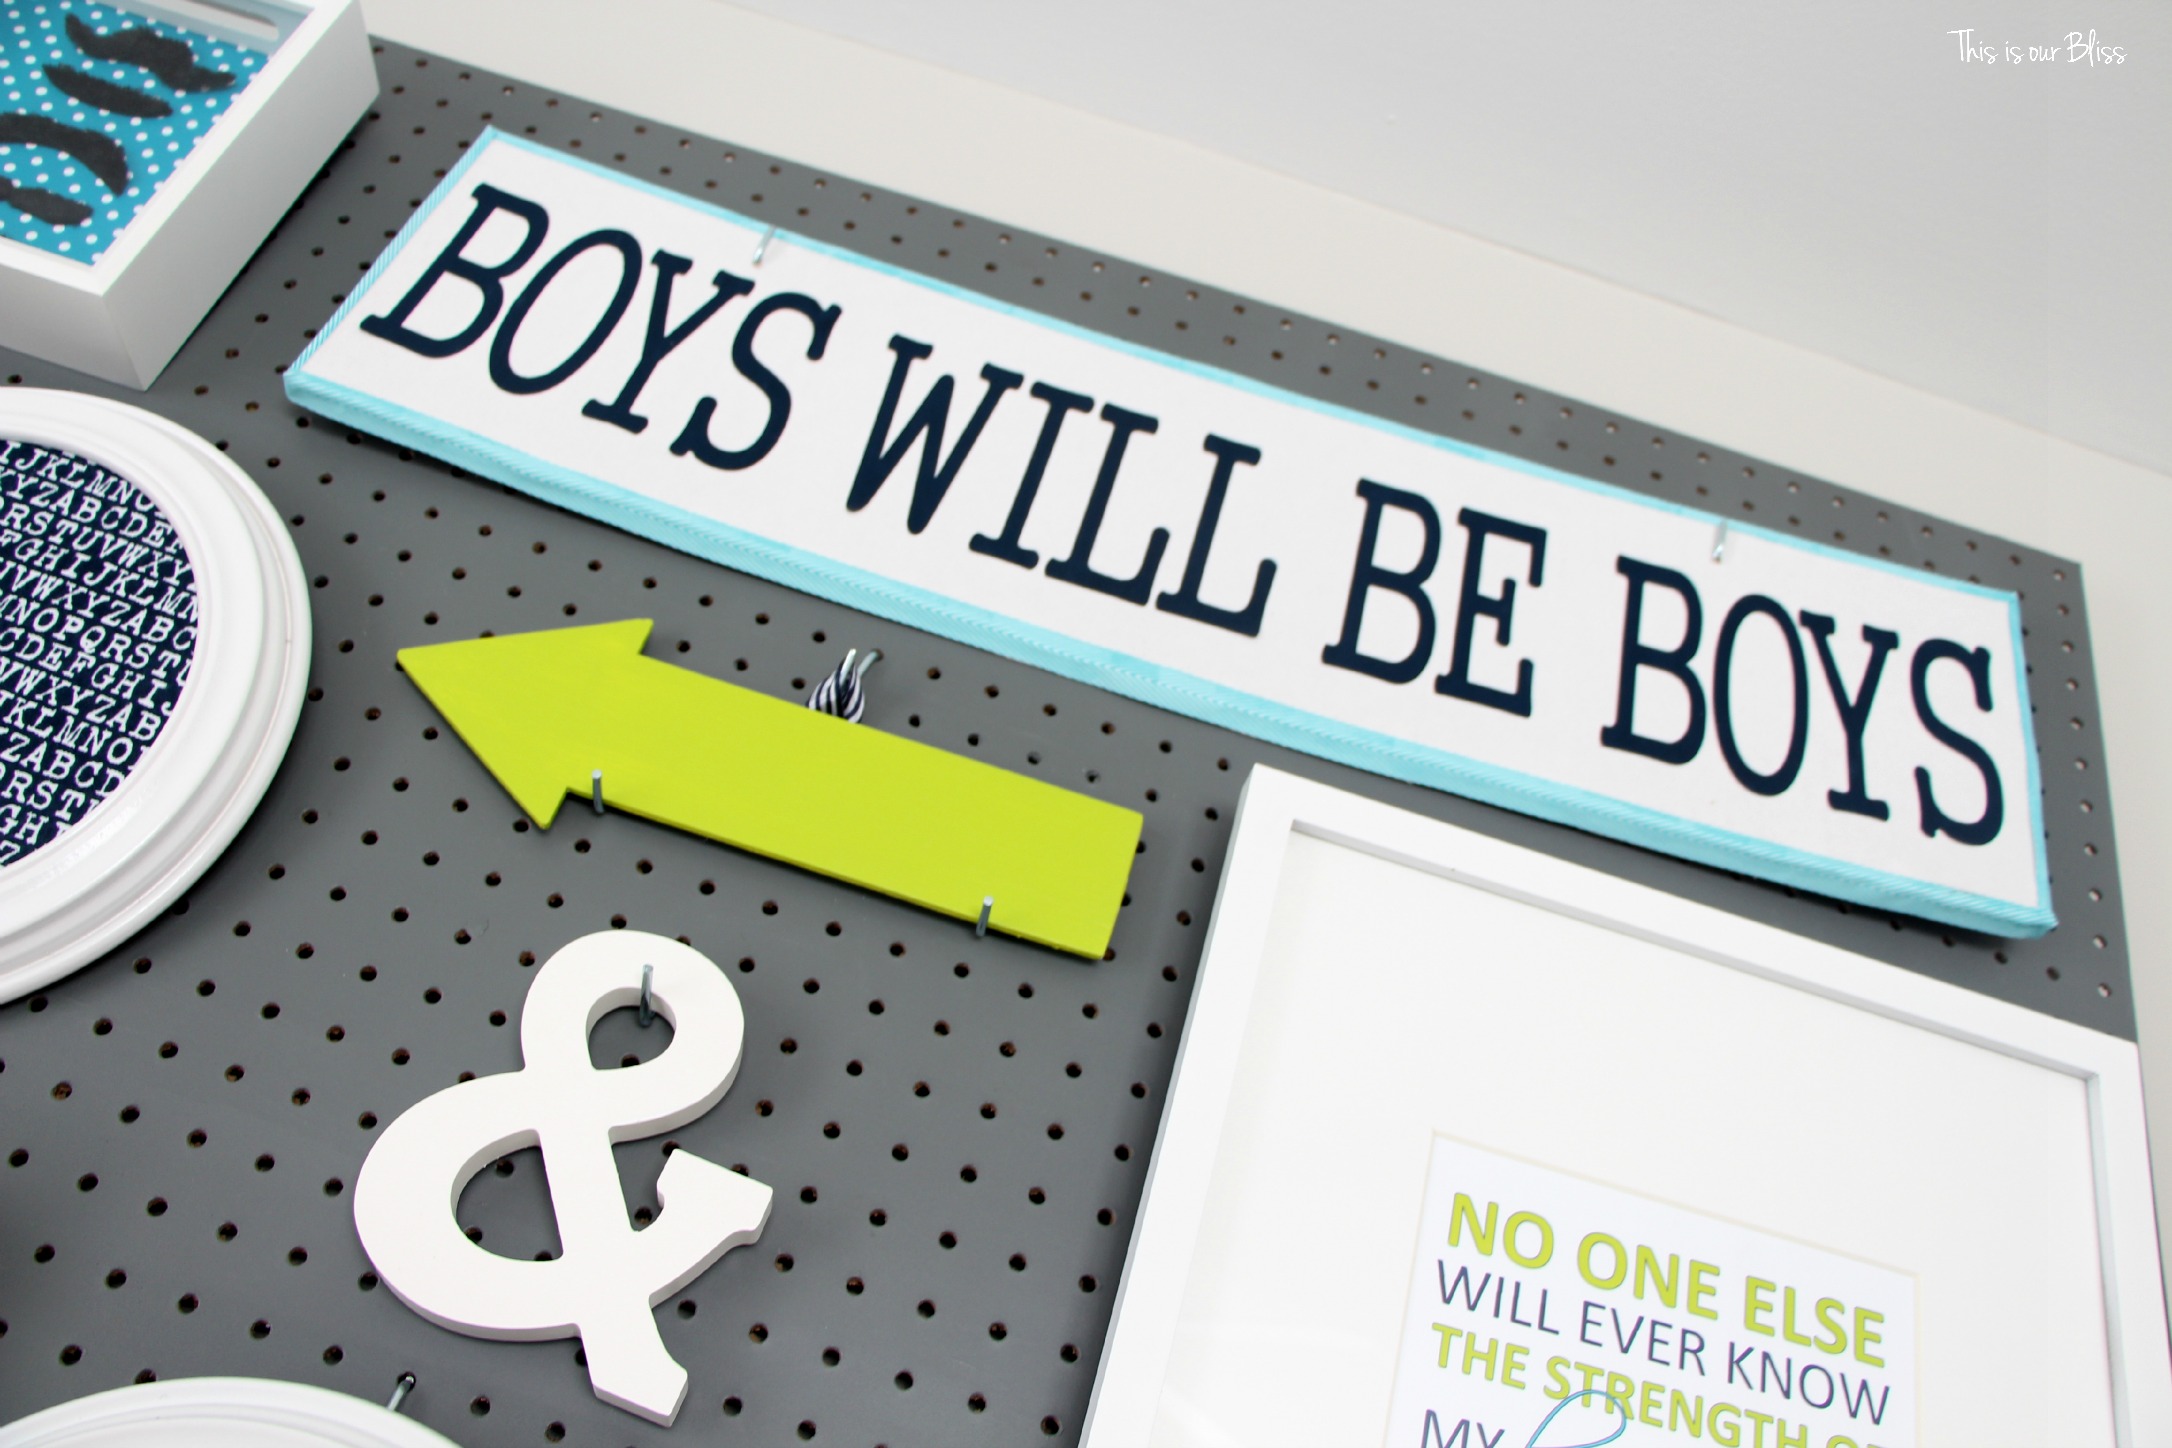
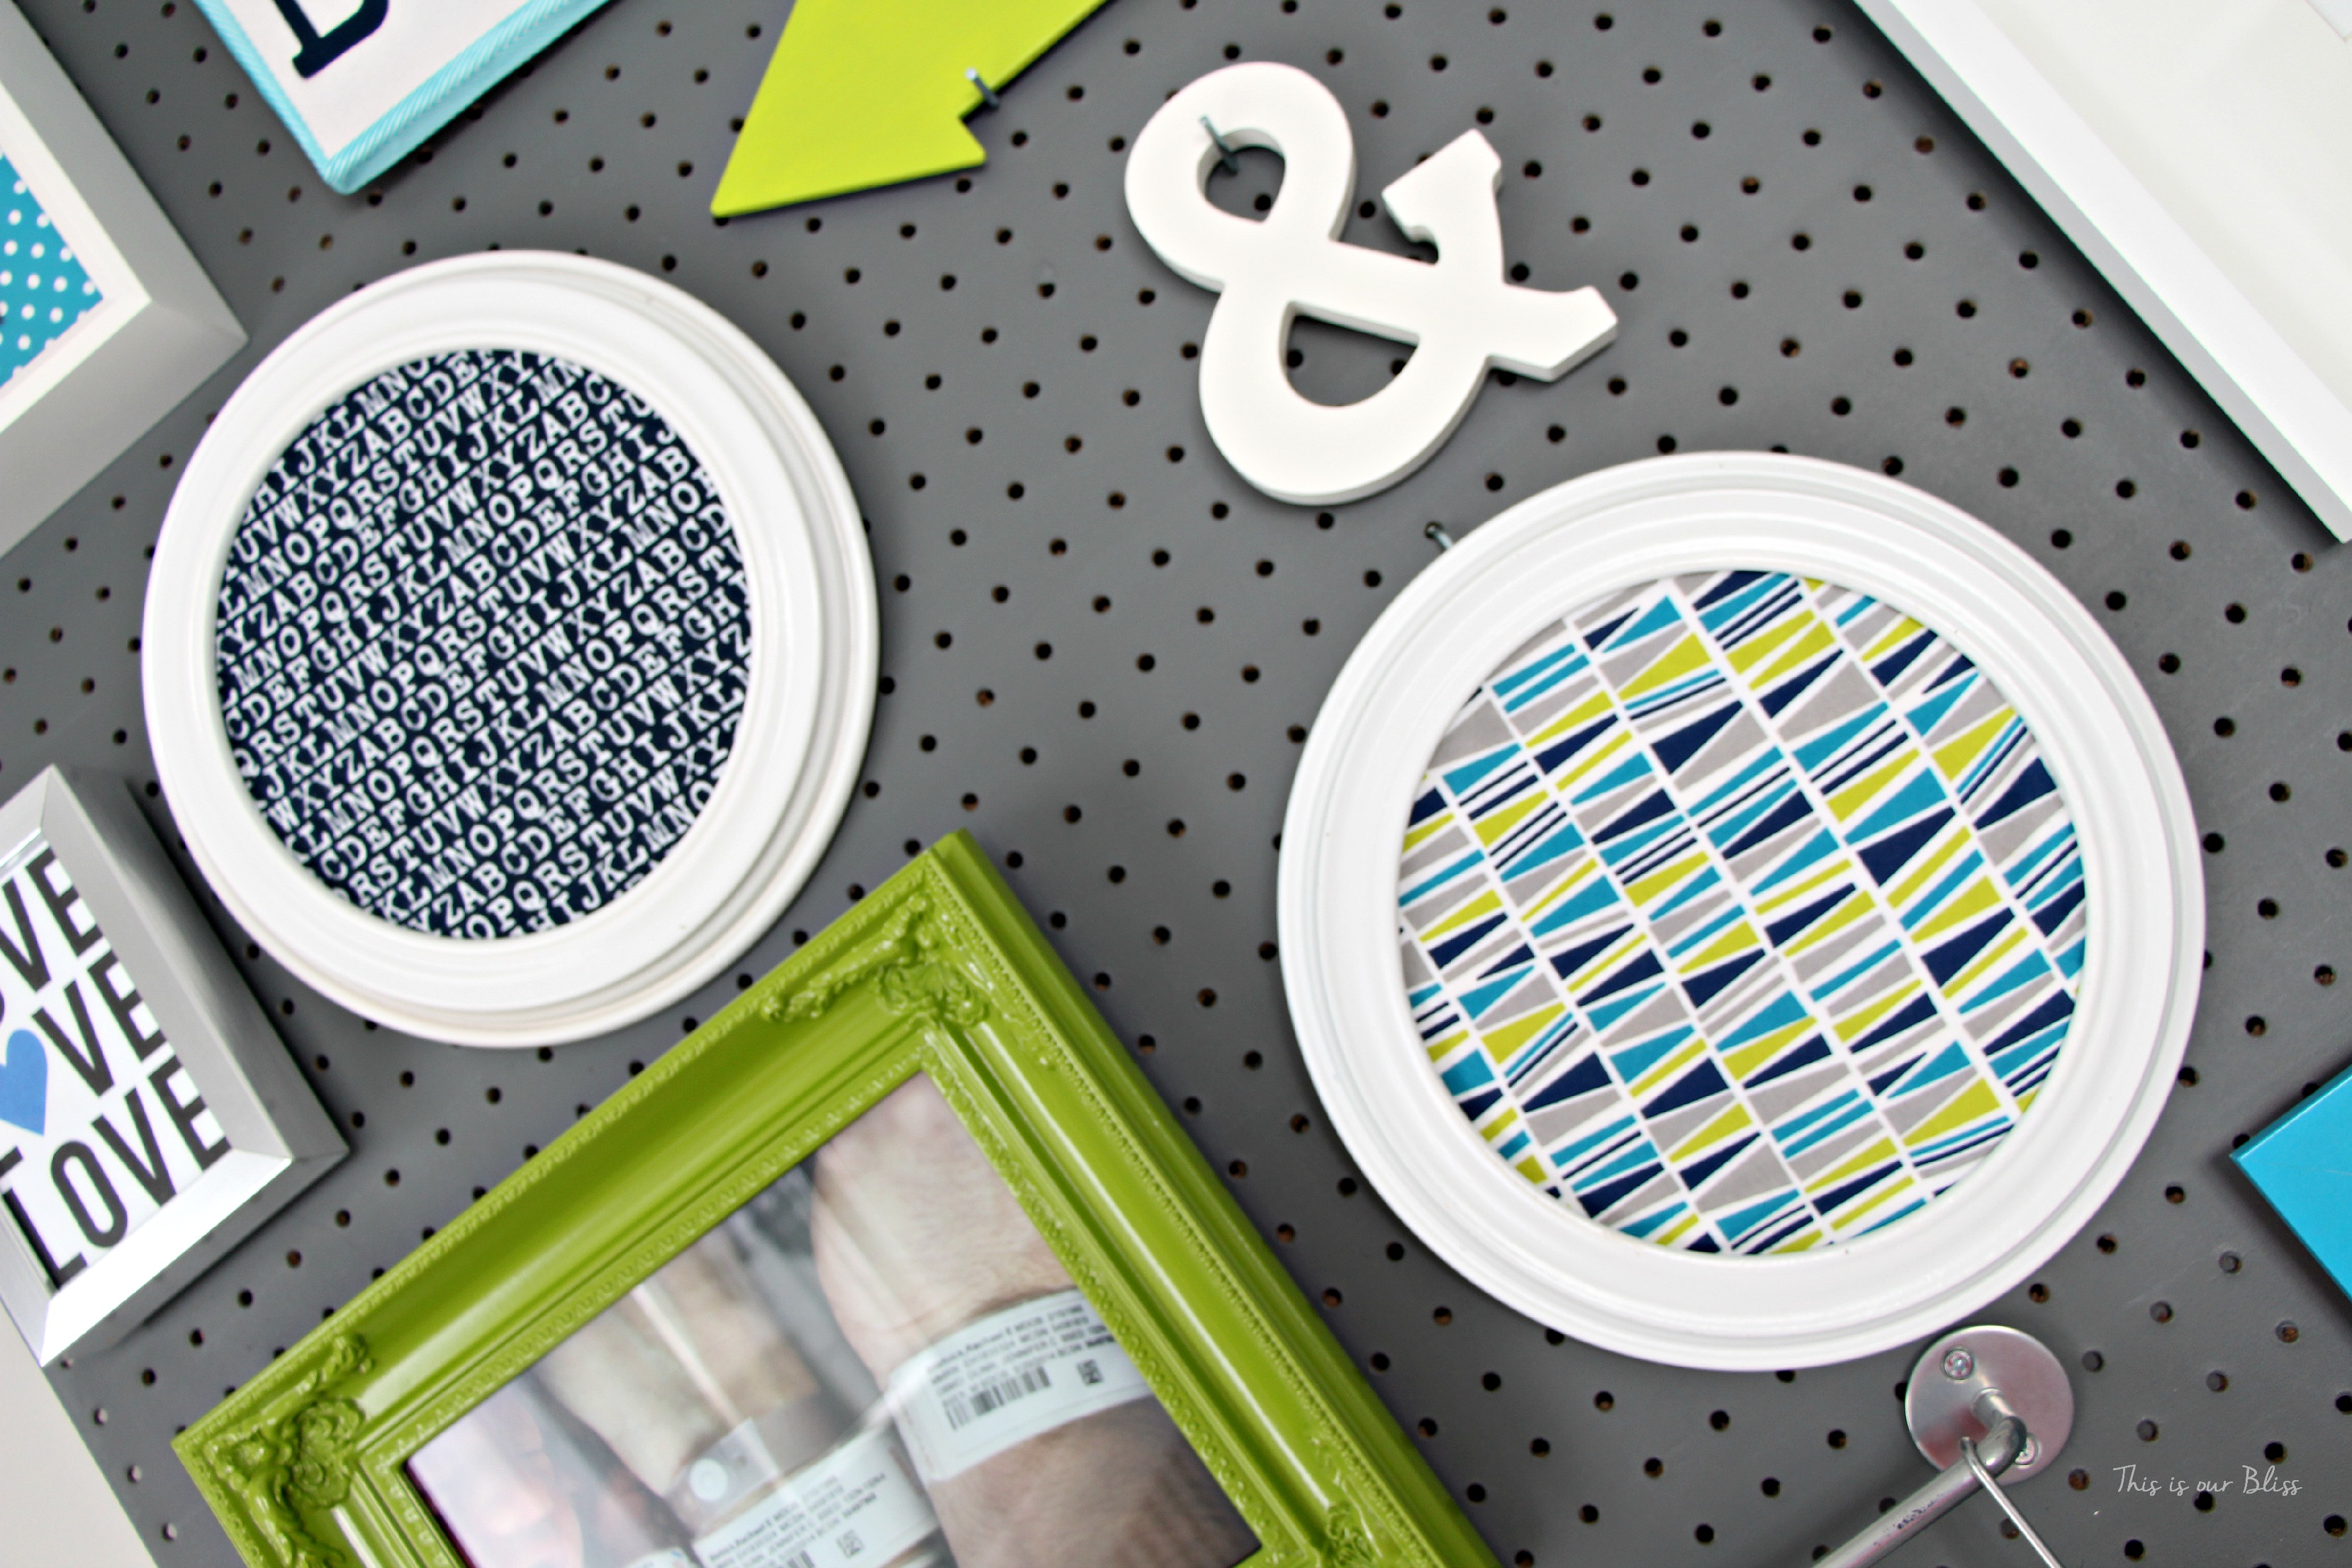
The “BOYS WILL BE BOYS” sign on his pegboard gallery wall…
I am sorry! I never got around to posting about it mainly because I never took any pictures while I was making it. #badblogger 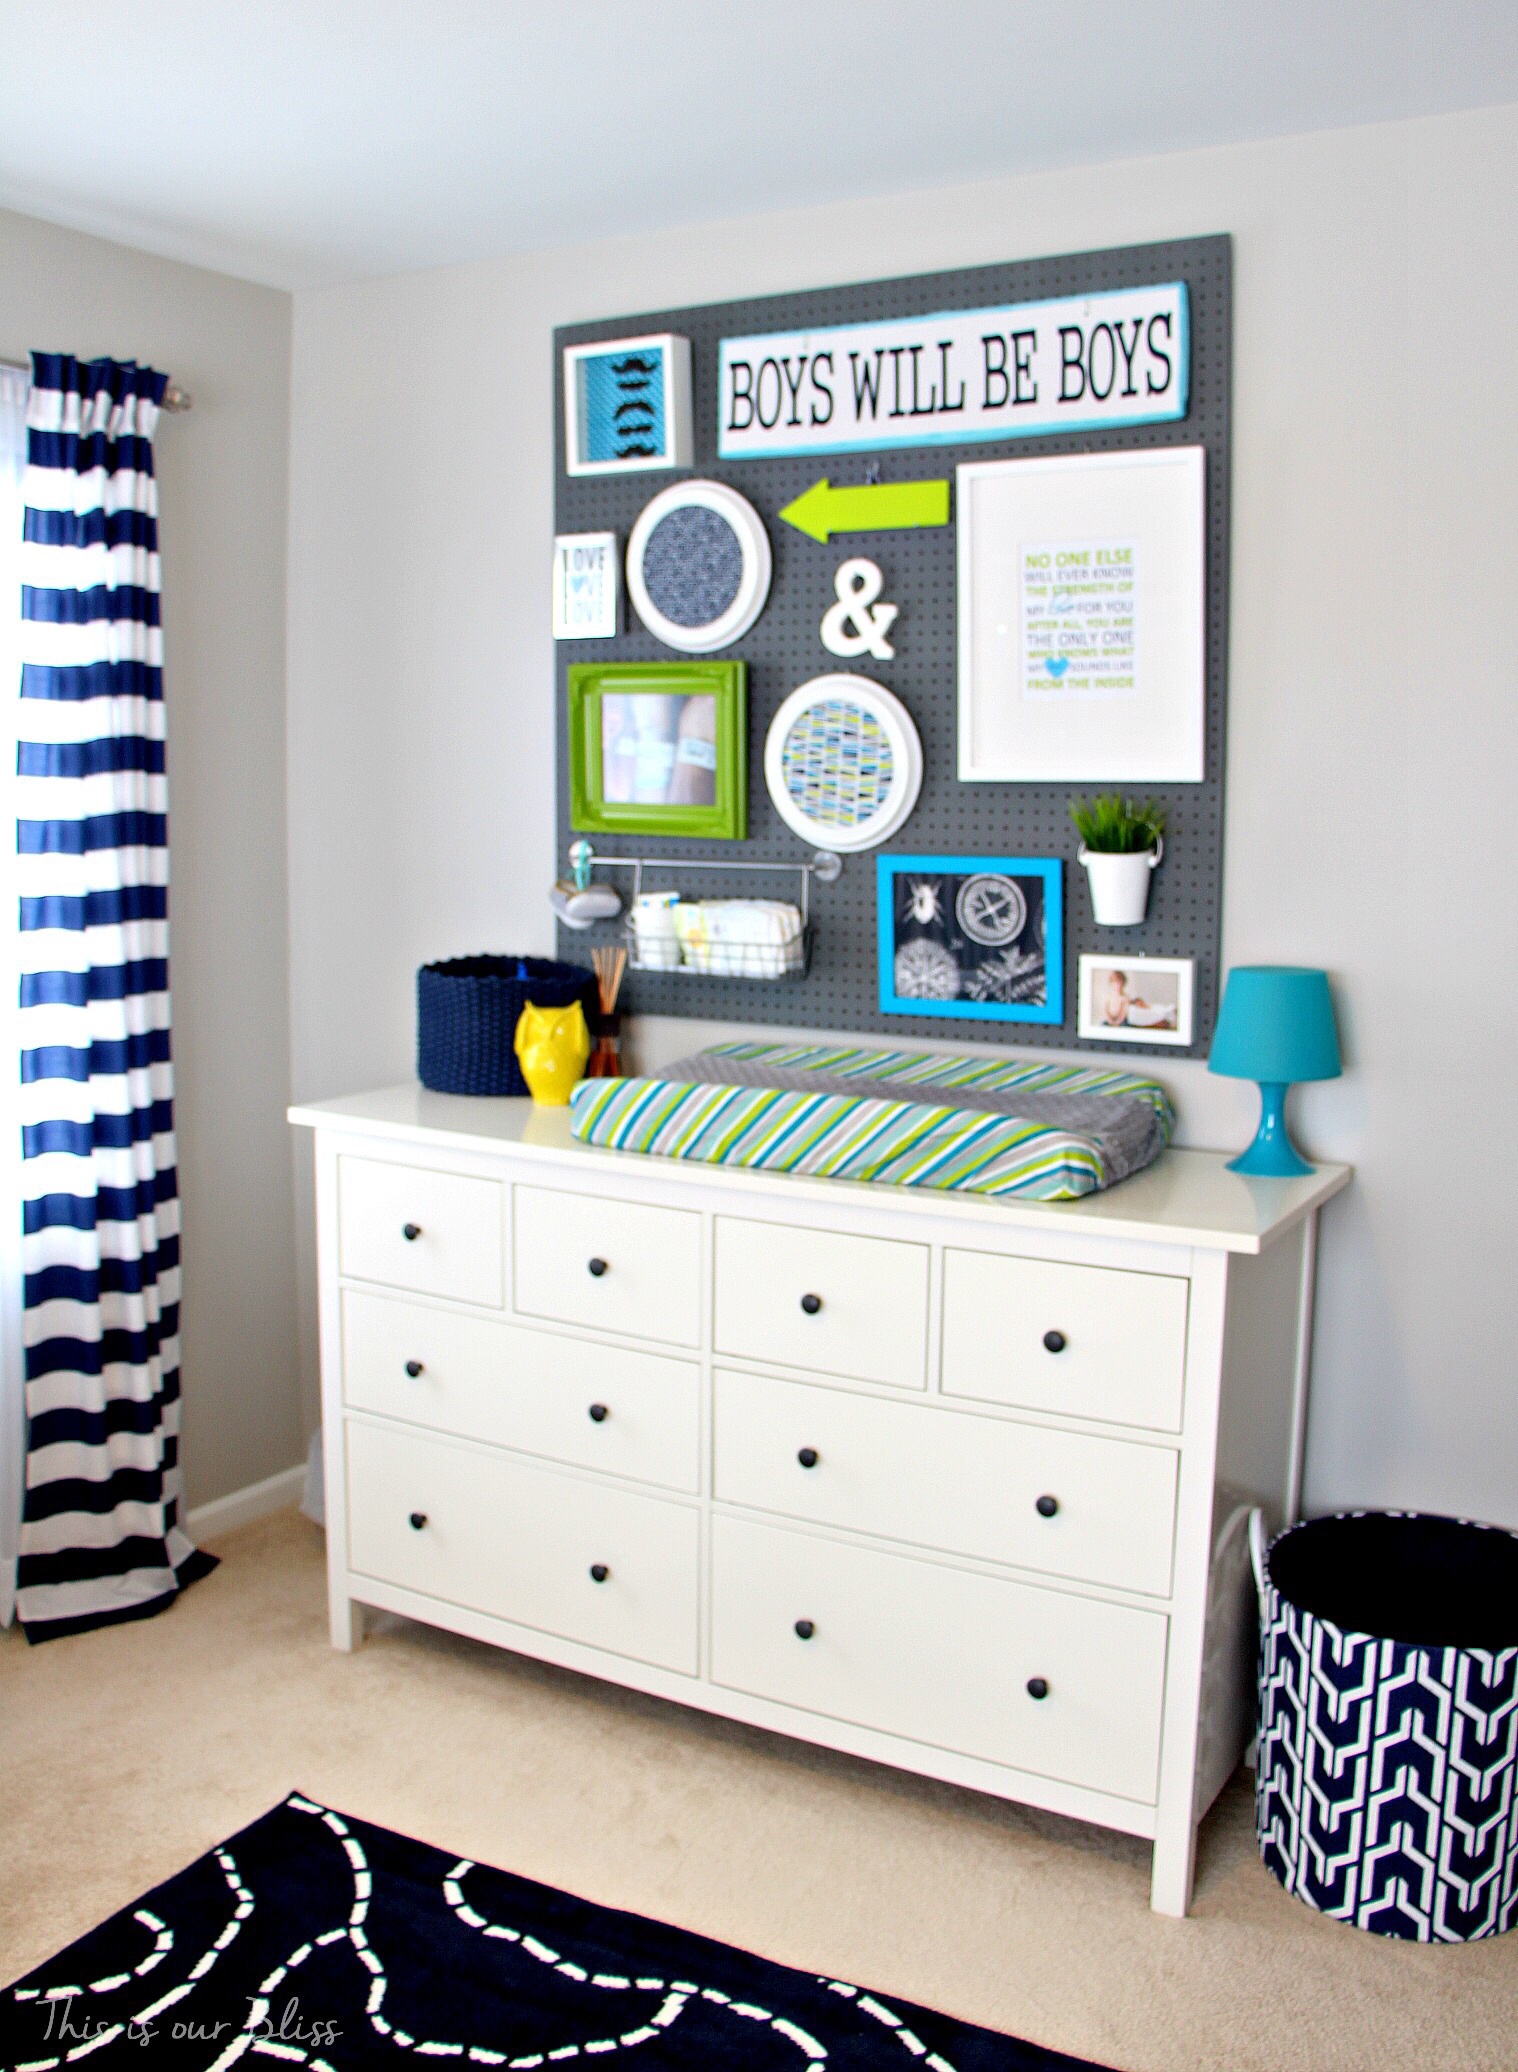


The cardboard was unique in that it sort of had a lip, which made it almost 3-D. I used my Silhouette Cameo to design “BOYS WILL BE BOYS” and once I had the sizing determined, I did a trial run with plain paper so I could check out spacing on the sign. After I had the size of the font where I wanted it, I had it cut the letters out on navy blue cardstock paper.
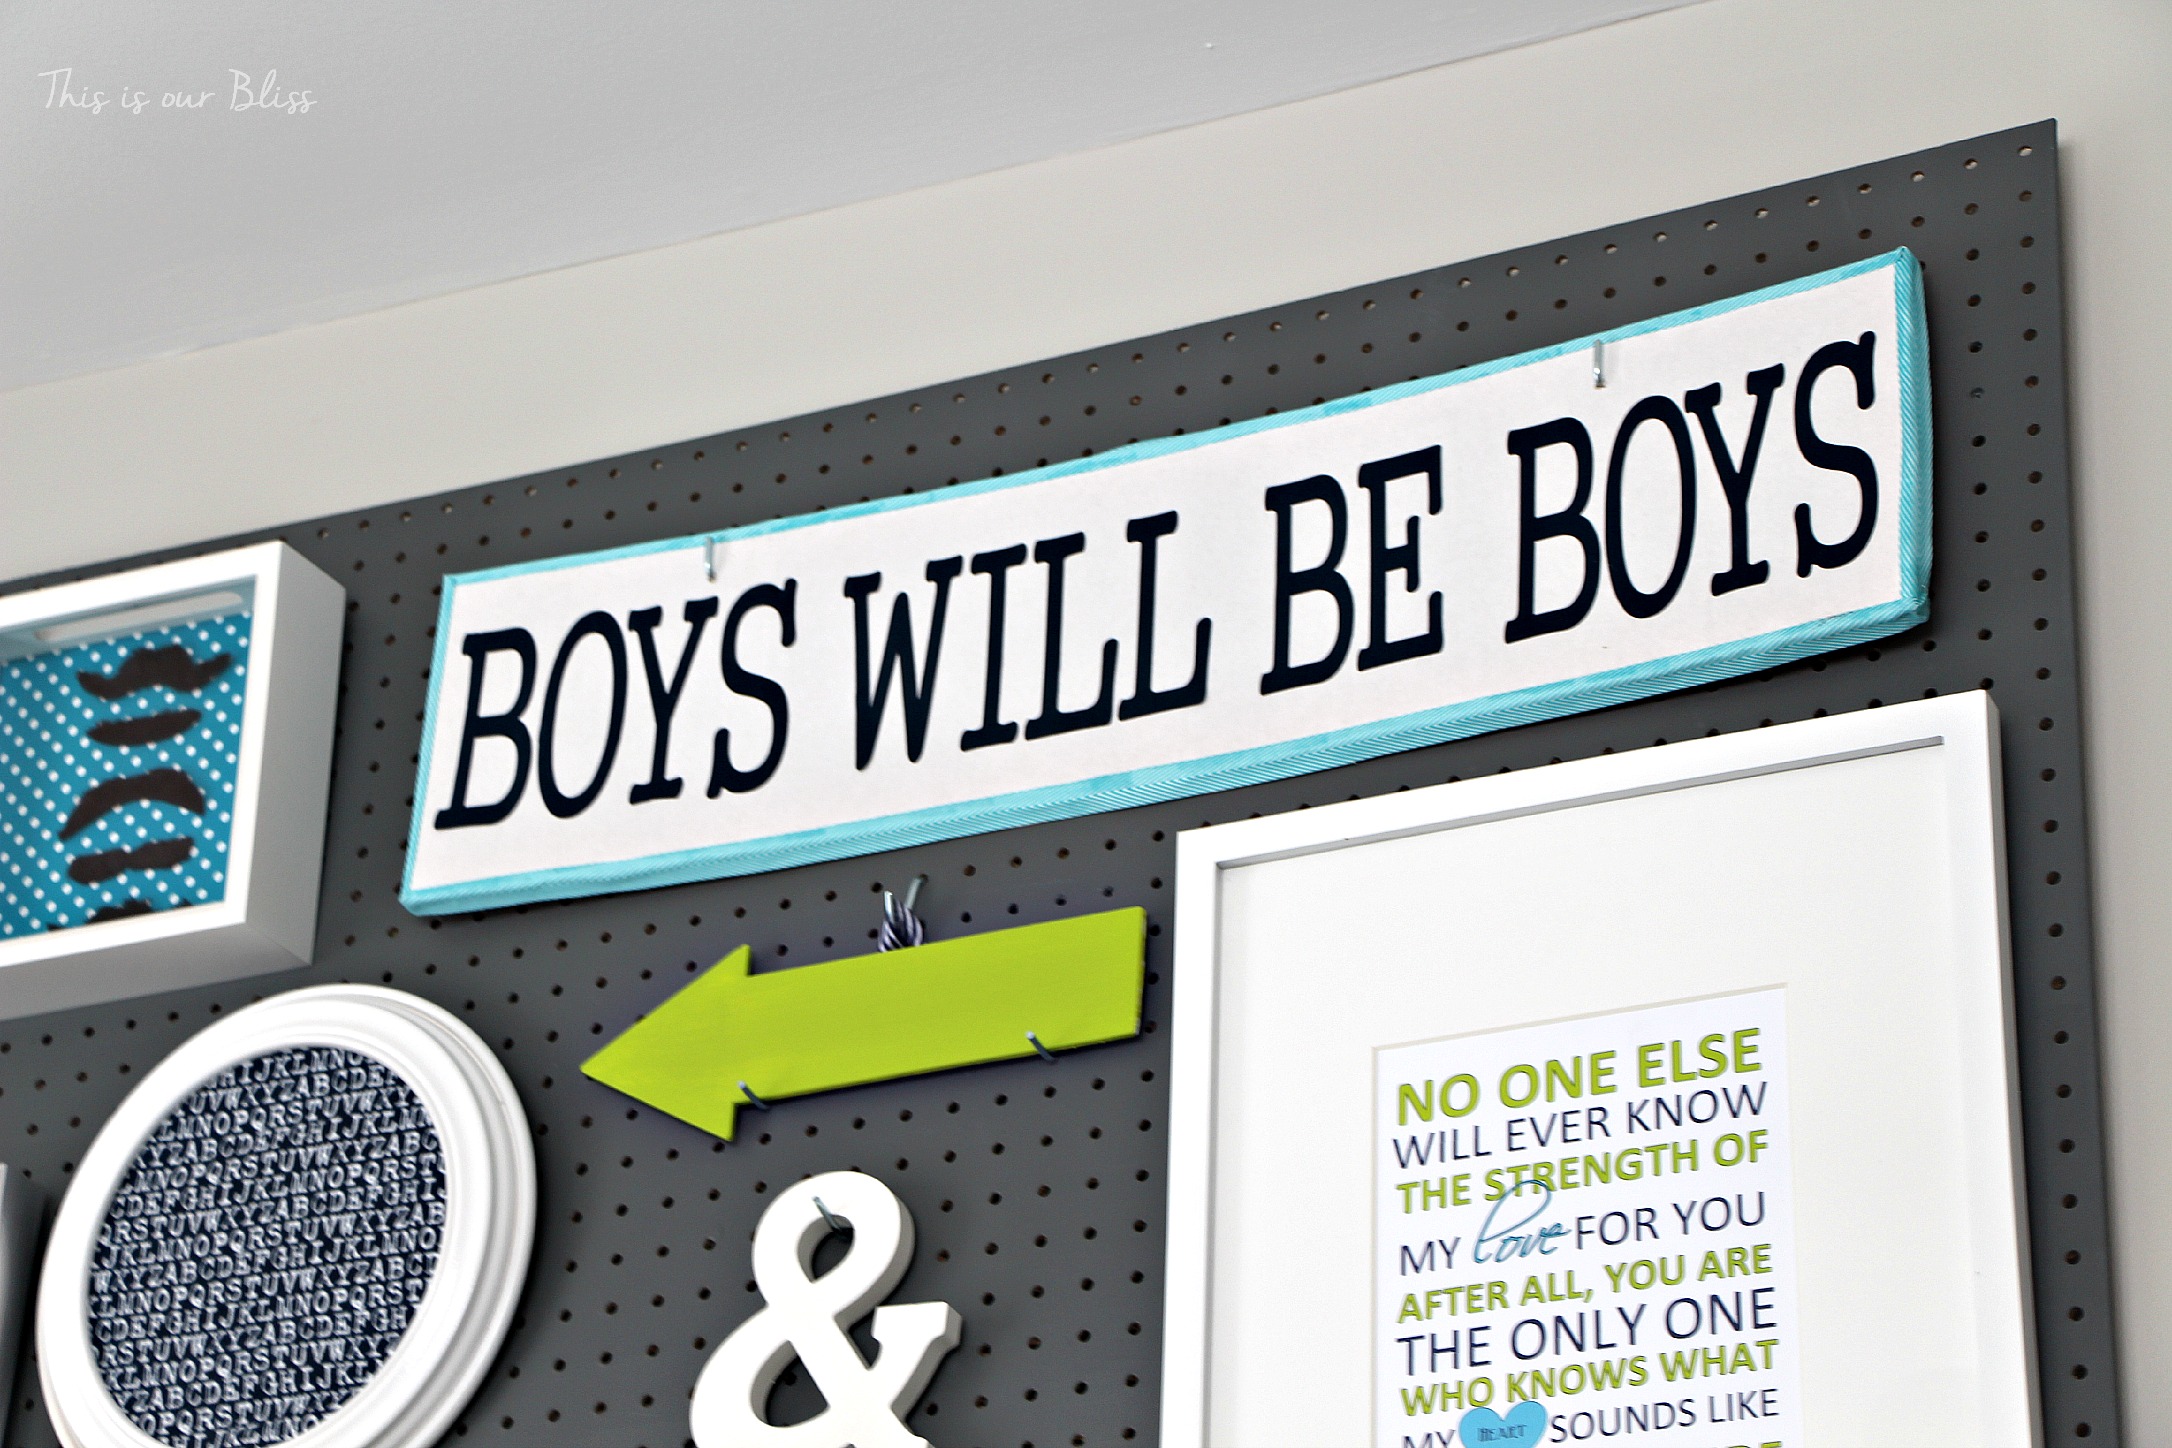
That was it! When it came time to hang it on the pegboard, I placed 2 pegboard hooks
There you have it!
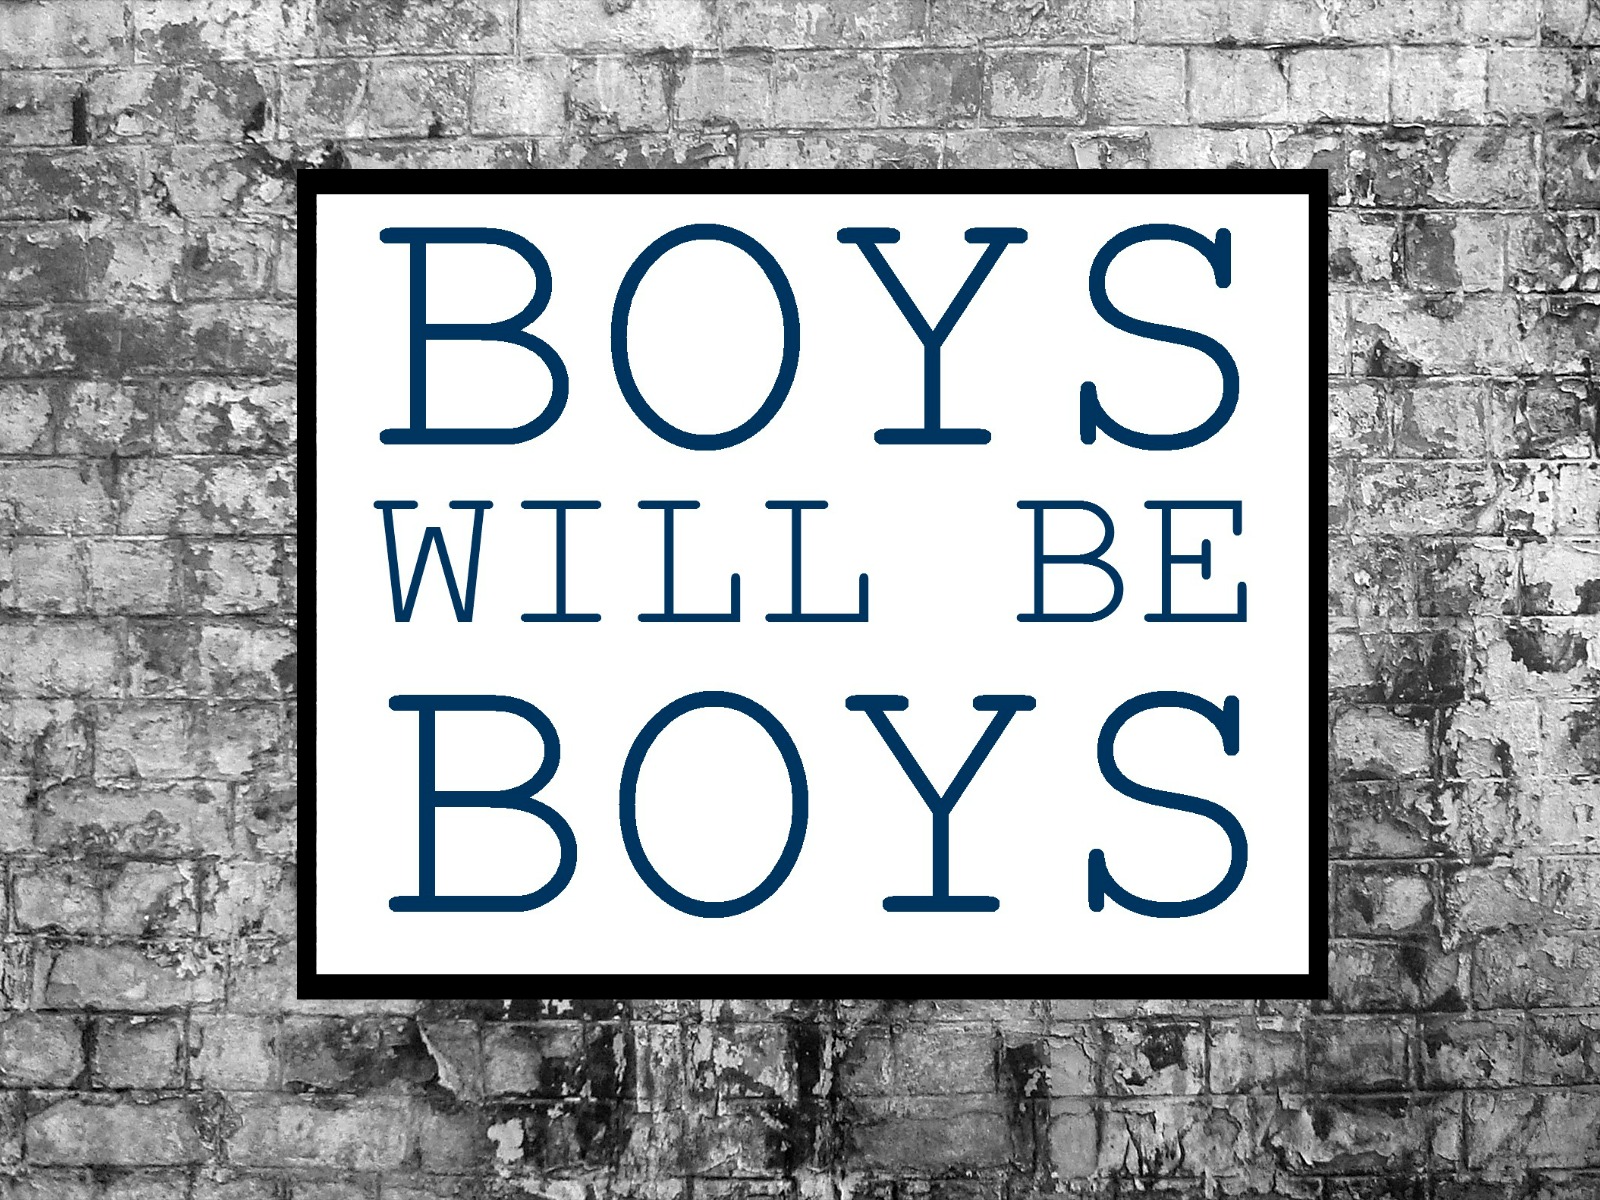
This instant download printable is formatted to be printed and cut down to an 8″x10″ or you can leave it as-is on the 8.5″x11″ paper. I recommend using cardstock paper to print and even taking the PDF file to your local copy or print shop. FedEx kinkos charges $1.50 for colored printing on white cardstock paper. Just a thought if you aren’t into this DIY idea with cardboard! Another great option would be to create a wood sign with a stencil or Silhouette Cameo or other die cutting tool, like a Cricut cutting machine
Give it a shot! You might surprise yourself. I didn’t know what I was doing before I received my Cameo
If you have any questions at all, please leave me a note in the comments section below. Thank you for stopping by today and I hope you will come right on back here tomorrow! I am sharing the details on the 3 stacked frame gallery wall in our playroom!

