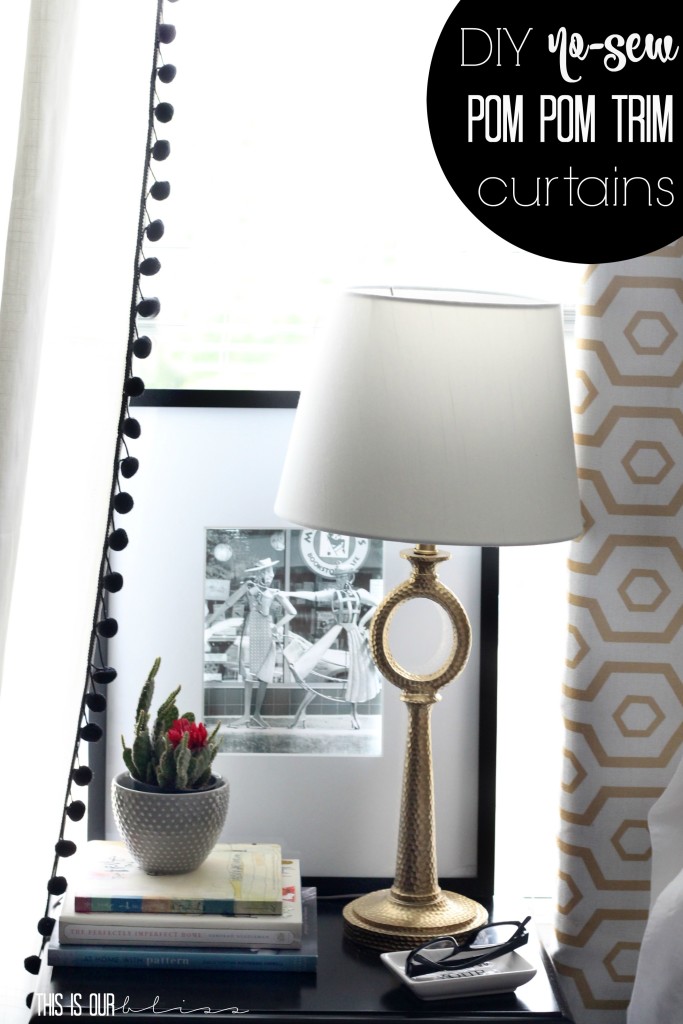
Hi there, guys! Happy Wednesday and welcome to this month’s Create & Share DIY Challenge! I am so happy to be back in action for this month’s theme – white curtains! There is nothing I love more than being able to shop my own house and bring decor pieces out of storage into a new space or bounce something from room-to-room. It’s frugal and fun and gives you the opportunity to recall why you fell in love with that piece in the first place. Today, I’m sharing a simple tutorial for DIY No-Sew Pom Pom Trim Curtains.
I’ve used these curtains in several rooms in my home before and never did one thing to zhush them up. They’re great as-is, but have always wanted to add some spice! And since our move, I have stacks of curtain panels that have yet to make their way to the rods, that have yet to make their way to the walls! This challenge got me in check real quick since I usually need a little nudge or a deadline to get things moving… anyone else?!
Well, news flash, I’m not the first one to spruce these babies up with some trim (and especially not the first to use pom pom trim) and most certainly won’t be the last, but I’ve wanted to pom something up for awhile and this seemed like an opportune time! I’m not going to blow you away with my DIY No-sew Pom-Pom Trim Curtain method, but my goal in blogging from the very beginning was to chronicle my decorating adventures, so that’s what I will continue to do.
Even if you’ve seen this curtain look before, you haven’t seen this curtain look in MY space!!
So, here we go!
POM POM TRIM CURTAIN SUPPLIES
- curtain panels
- pom pom trim [you can pick out any pom pom for curtains, but I chose a small trim in black & purchased it from Joann]
- scissors
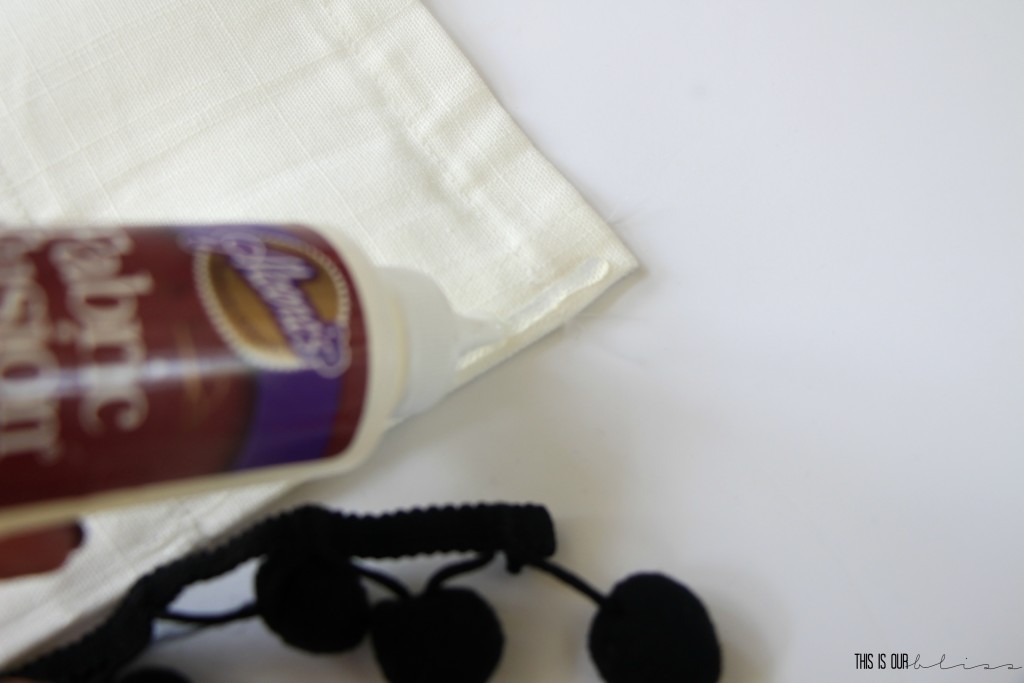
- fabric adhesive
POM POM CURTAIN DIRECTIONS
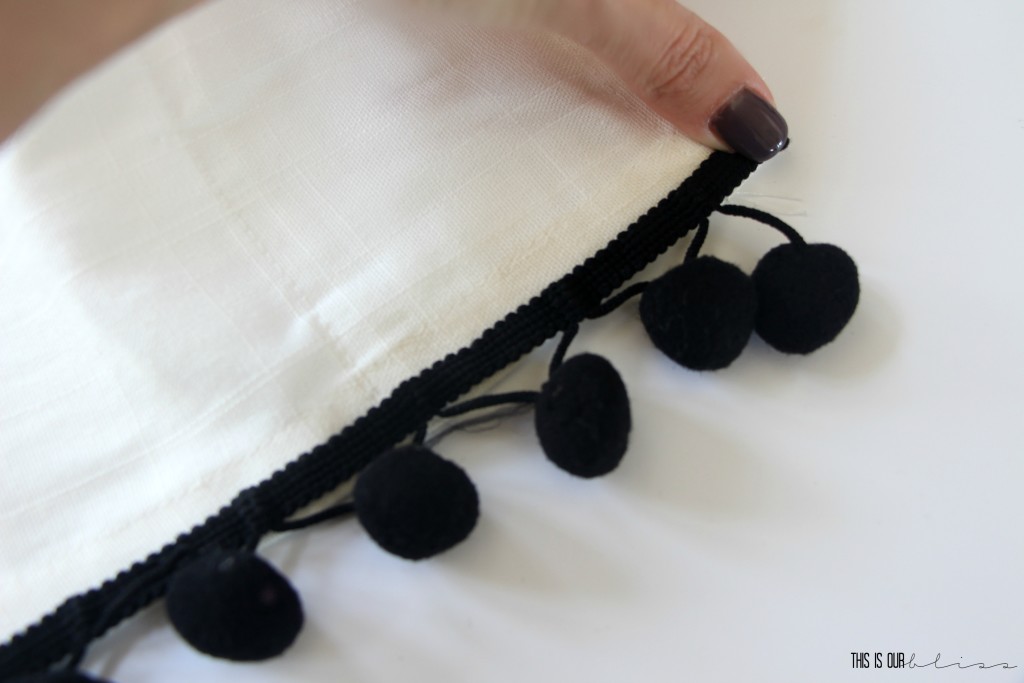
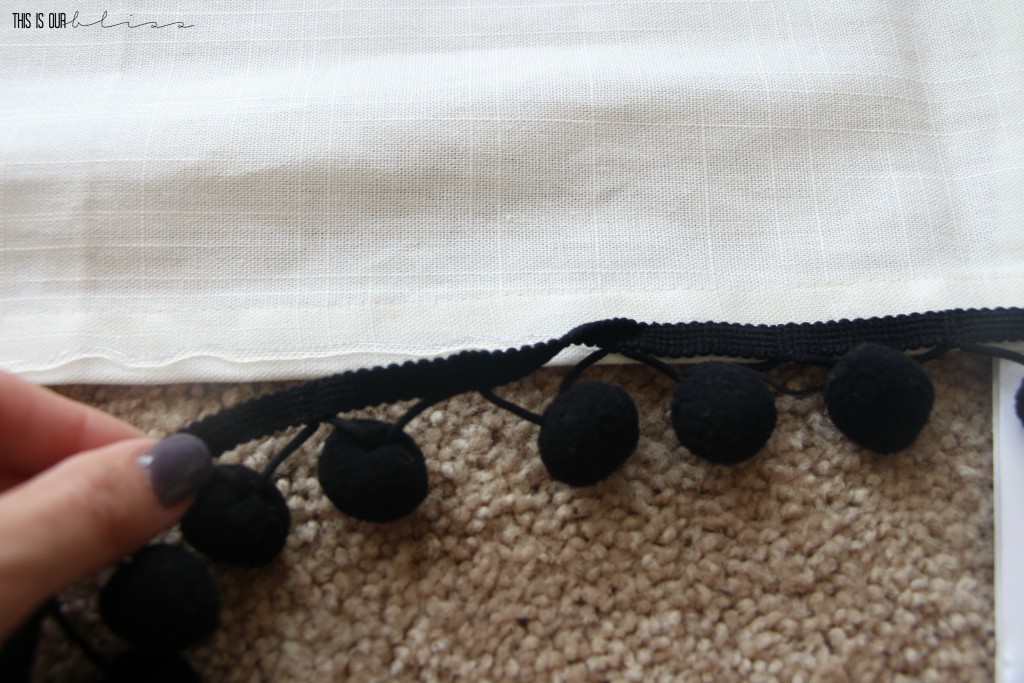
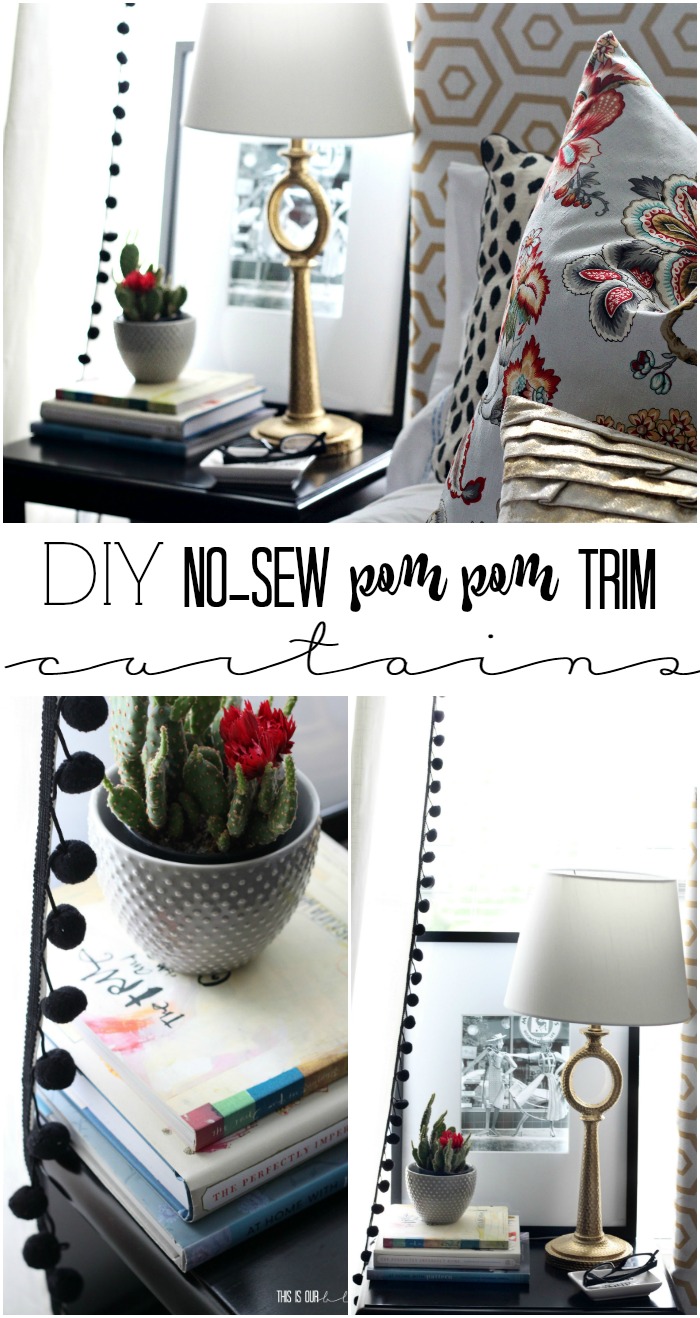
Lay curtain panel out on the floor. Line up the end of the pom trim on the top edge of the side seam of the curtain. I chose to put my trim along the inside of the curtain, so when you look at the window, the trim is on the right-side of the left panel and on the left-side of the right panel. You can see what I’m talking about when we get further down.
You want to place the trim on the front side of the panel so you can see all of the poms. If you place the trim on the back, the poms might sag down and fall behind the panel and you wouldn’t be able to see them!
With your fabric fusion, gently squeeze it out along the edge [I did about 12 inches at a time] and then place your trim on top pressing it down with your finger smoothing it out as you go. Repeat until you’ve covered the entire length of the panel.
I used a piece of foam-board underneath as a hard surface to press the trim down onto the curtain panel.
Once you reach the bottom, simply snip the pom trim so it lines up with the bottom edge of the panel, then dab a bit of fabric fusion along the cut edge to prevent it from fraying. You could also use a bit of this stuff.
Repeat this on the other panel, again checking to make sure you are doing the opposite side of the panel than the first one. One panel should have trim on the right and one panel should have trim on the left.
Let dry for 1 – 2 hours and then hang them up on your rod and admire the darling detail now adorning your windows!
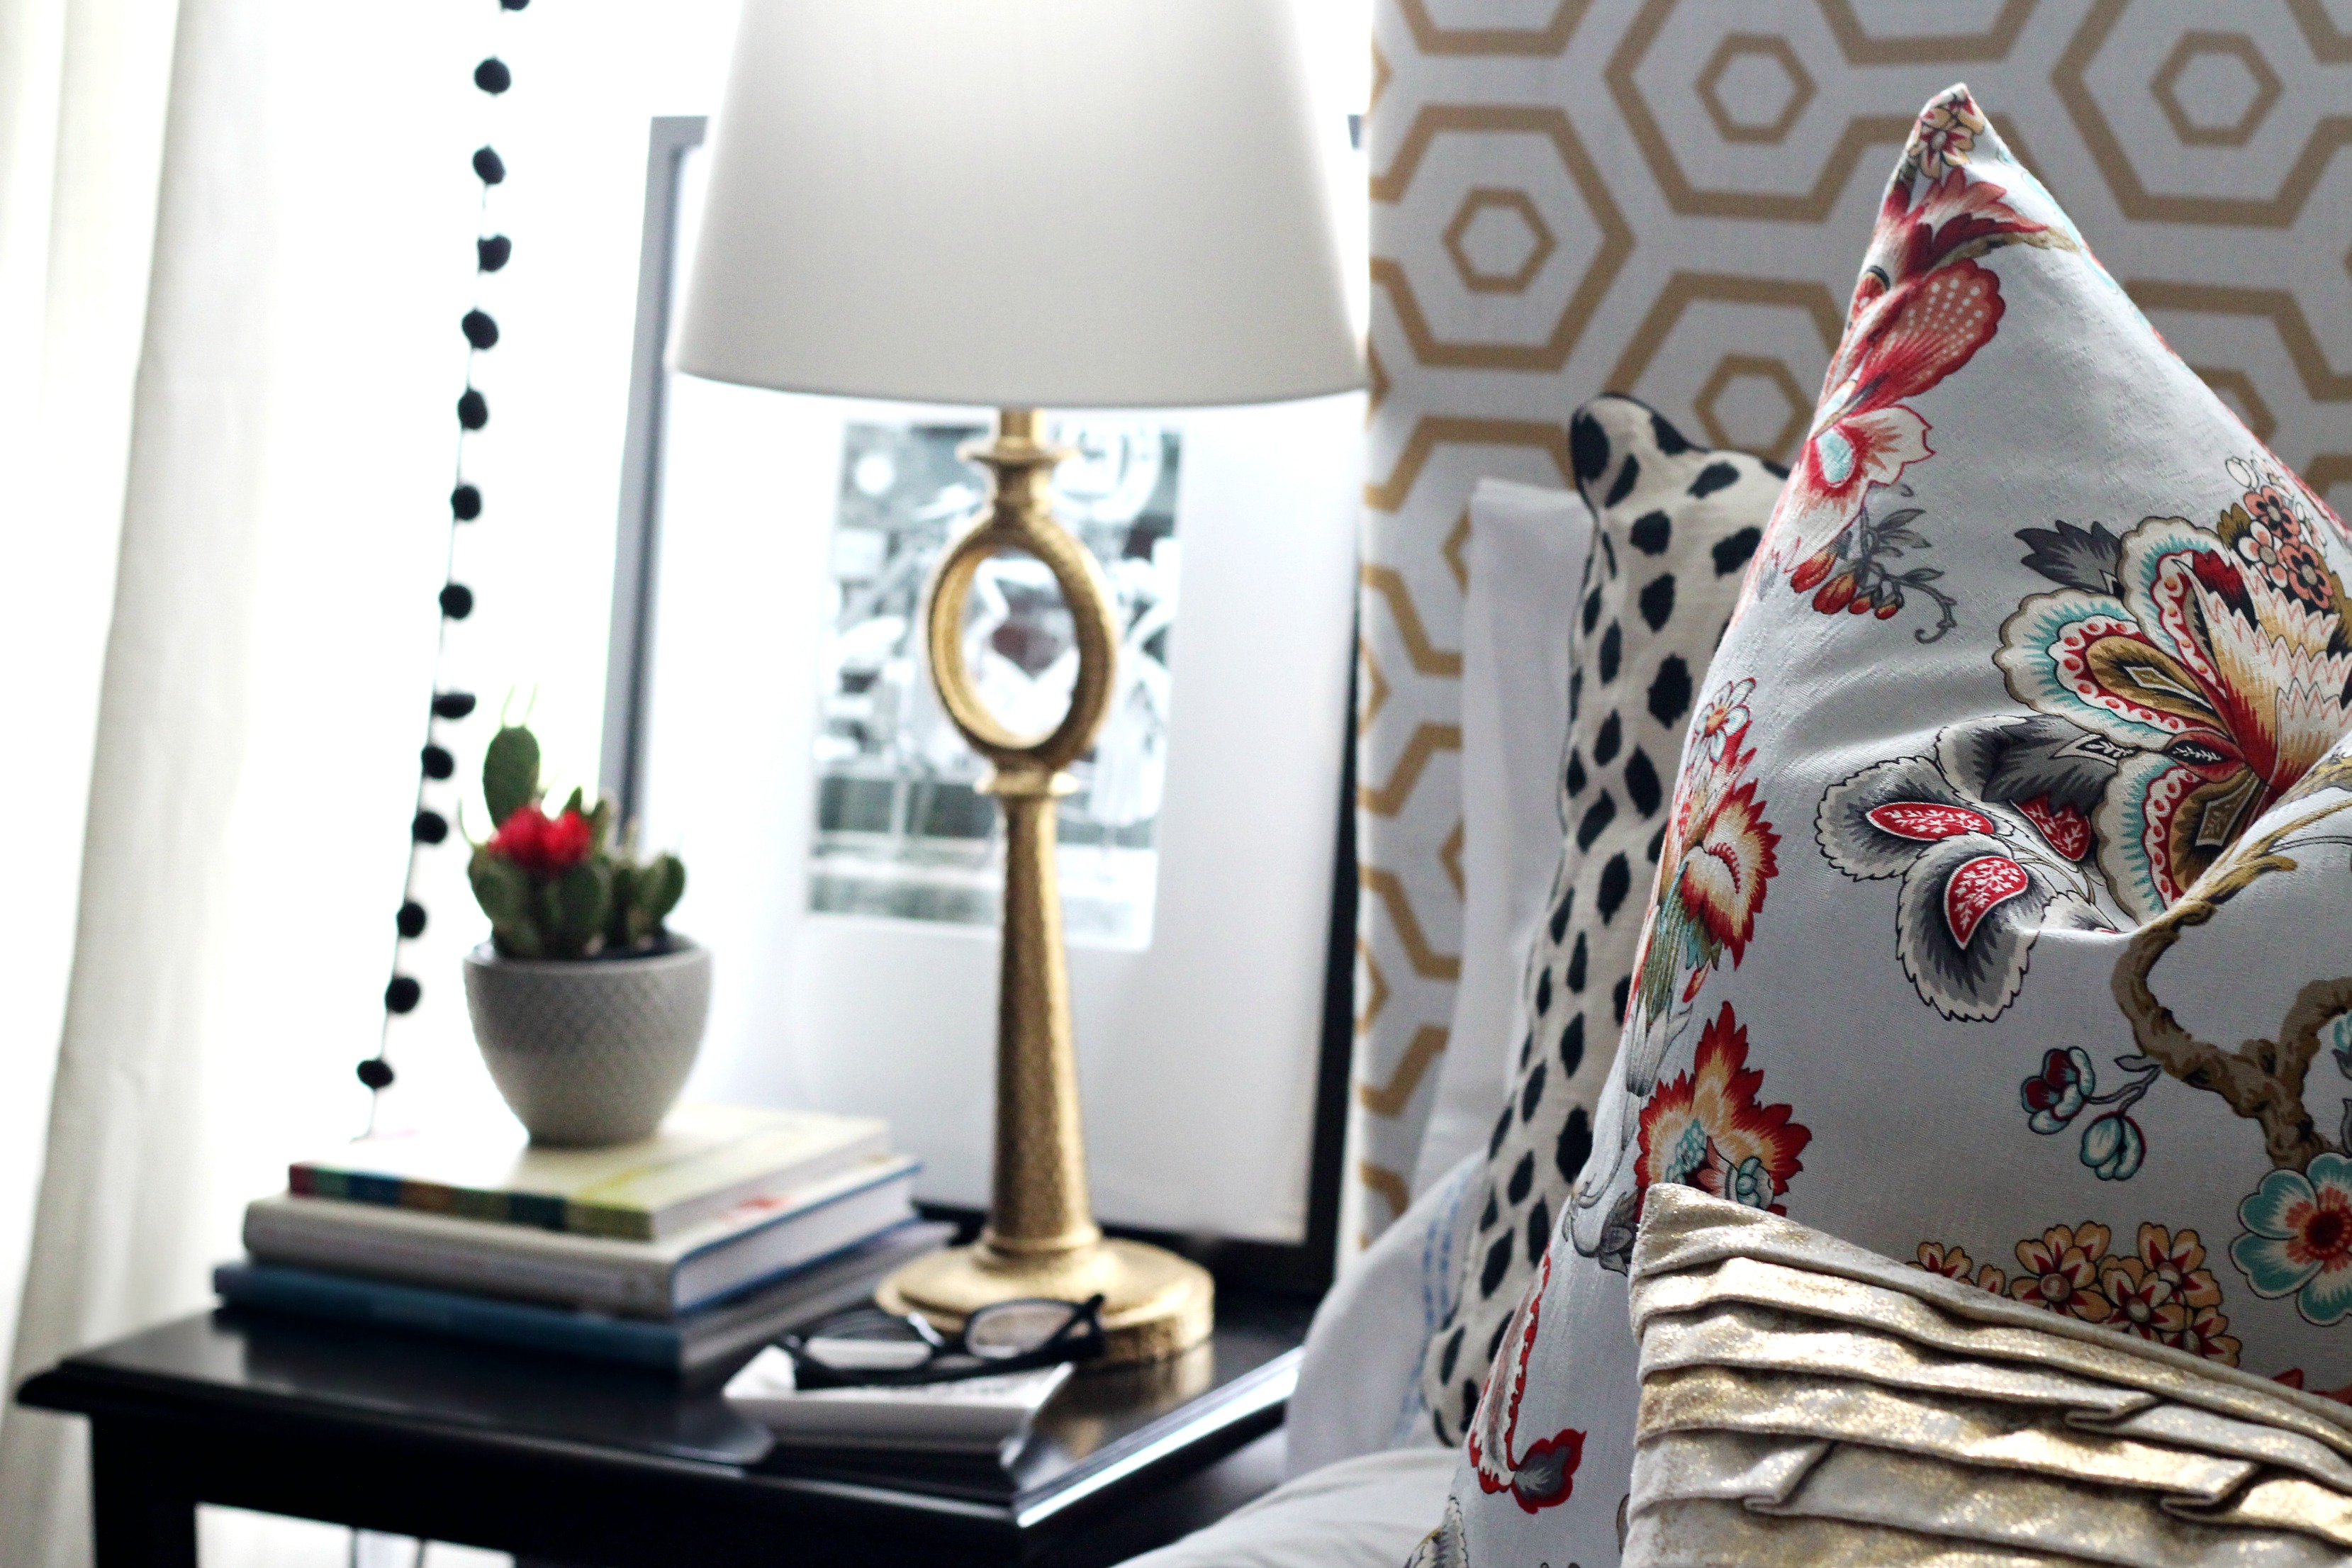
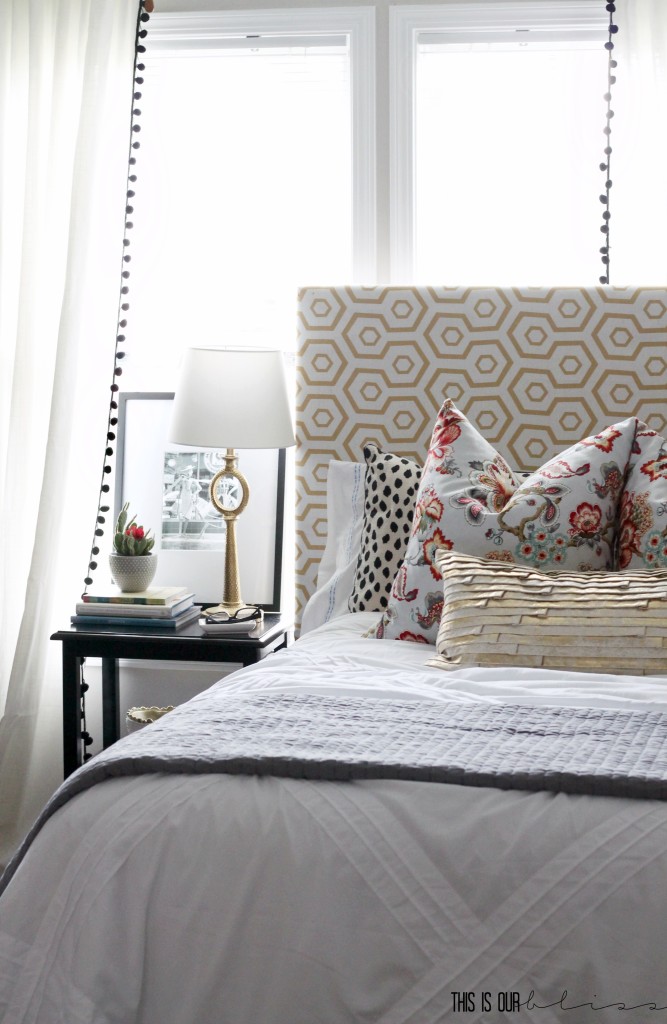
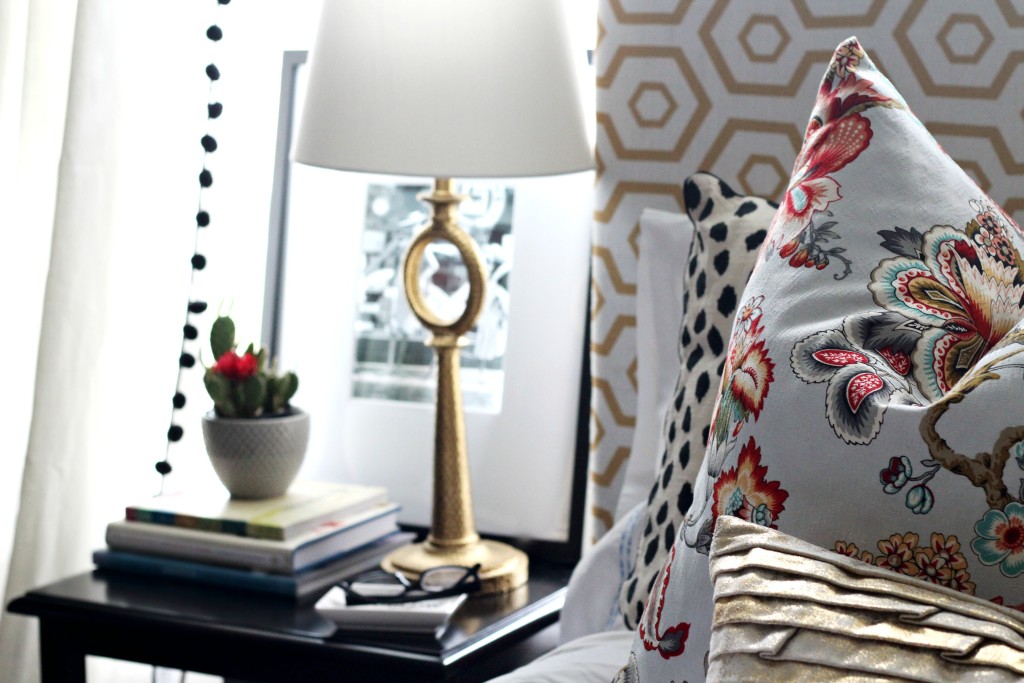
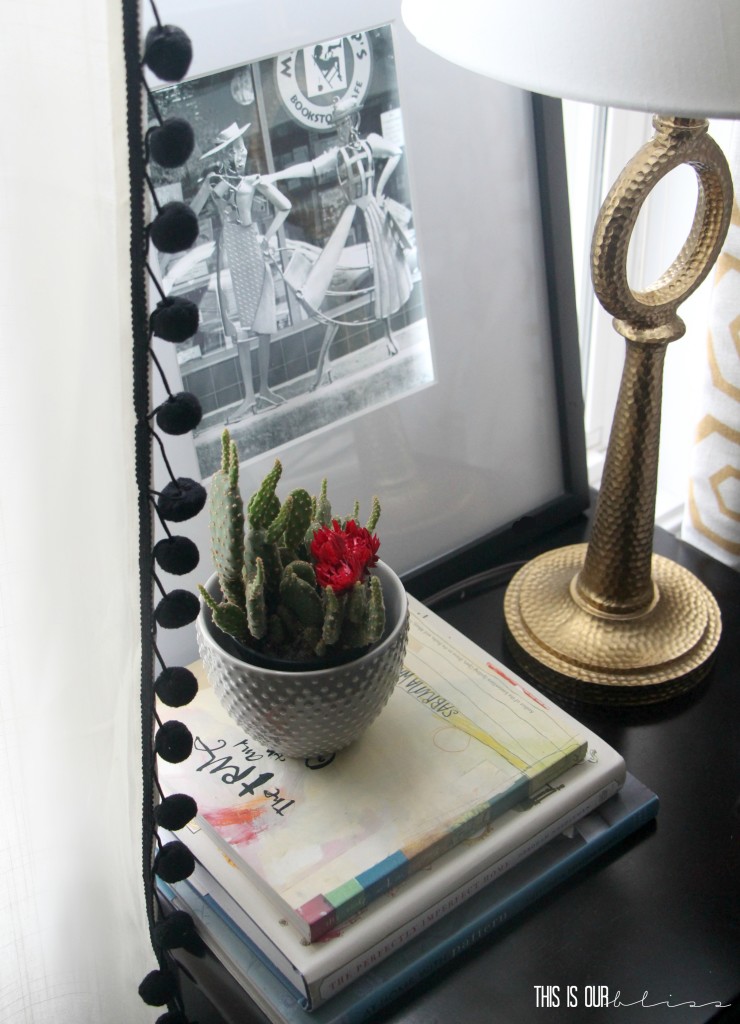
I love how the little black pom poms sort of play off the black dalmatian spots on the bed shams. A blogger friend said I might not want to do poms on the curtains in the new big boy room, even though I told her I have boys and my boys just might have to deal with pom poms for curtains!
But, since our guestroom doubles as my office, why not add a feminine touch there?! It’s my space, too!
Truth be told, I had the black pom trim on hand from back in January when I refreshed our master bedroom. I was going to DIY my own version of this little number and just never got around to it. I love that I remembered I already had some and the perfect amount!
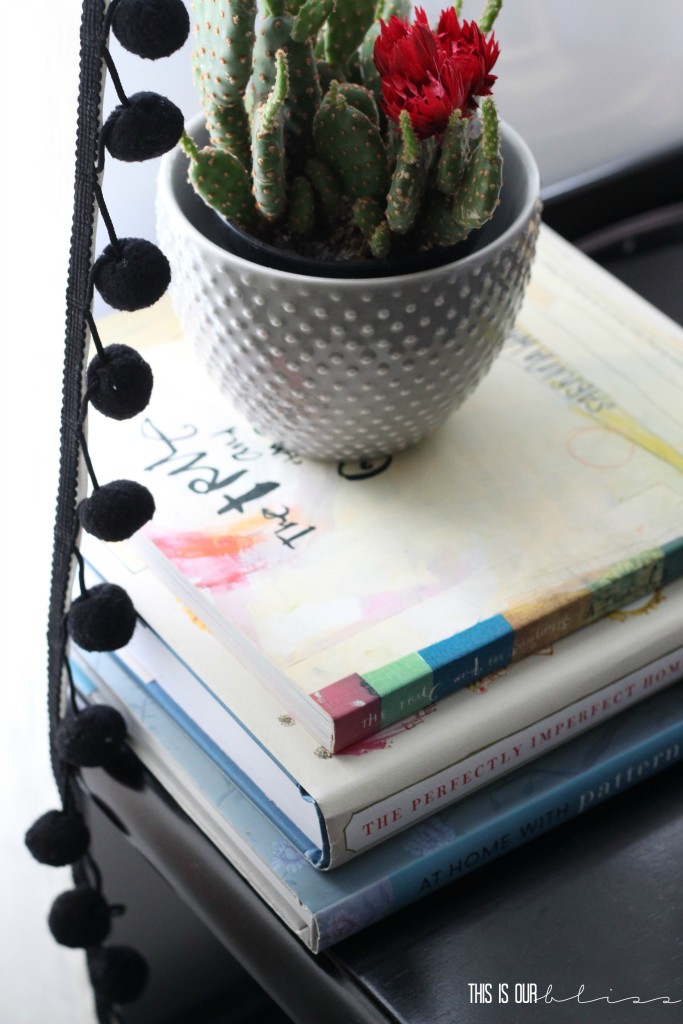
You could definitely add pom pom trim on both sides of each panel, but I’m really happy with just the inside. The detail sort of glimmers when the sun shines in.
I love them!
The guestroom was one of the first rooms I needed set-up because we had family in to help us the first weekend in our new house, but aside from setting up the bed and tossing the same pillows back on in front of my DIY upholstered headboard, the room was lacking. Let’s just say it wasn’t looking anything like this space from the old house.
With new linens and now new curtains, it’s slowly starting to come together. I’ll continue to share bits and pieces from in here as I go!
Now, for the best part of these challenges, seeing what my incredibly talented friends created with the same type of item! Head on over to the sites below for a ton more inspiration! A big thank you to Casa Watkins and Pockets of Pocketful of Posies for hosting each month!
DIY Blue Ombre Curtains – Lovely Etc.
DIY Embroidered White Curtains – Pocketful of Posies
DIY Stenciled Curtains – Refresh Living
DIY Pom-Pom Curtains – This Is Our Bliss
DIY Hand Stamped Canopy – Creatively Homespun
DIY Pom-Pom Napkins – Casa Watkins Living
To see other curtain-related posts, see my full curtain gallery here! And here for more bedroom inspo and here for Guestroom related posts!
More to come on the Big Boy Room projects and other tid bits from around the house! I hope you’ll join me back here soon!




The Creative Circle Link Party - Domestic Charm
September 8, 2016 at 8:01 AM[…] gorgeous and talented friend Rachael from This Is Our Bliss shared these fantastic pom-pom trimmed curtains. It is the perfect way to dress up plain white […]
Stephanie @ Casa Watkins Living
September 1, 2016 at 1:12 PMTotally you! Love the black and white combination and looks fantastic with your bedspread patterns.
Rachael @ This is our Bliss
October 4, 2016 at 2:28 PMThanks, Stephanie!! You know me and my b + w! 😉
Vintage4YourHome
September 1, 2016 at 12:19 AMI’ve never been a pom-pom person, but after looking at yours I see a whole new perspective..They really look great and adds a new texture to the room. Great new look – and I luvvvvv the bed
Rachael @ This is our Bliss
October 4, 2016 at 2:28 PMThanks so much! I wasn’t sure how kid-ish they might look, but am loving the added texture and pop of black so far!
cassie bustamante
August 31, 2016 at 11:07 AMthese are great, rachael! the black keeps them sophisticated even thought they’re so fun!
Rachael @ This is our Bliss
August 31, 2016 at 1:36 PMThanks, Cassie! That’s totally the look I was going for!! 😉
Sue
August 31, 2016 at 8:24 AMI love the look of the poms! It really finishes off the window and that area of the room!
Rachael @ This is our Bliss
August 31, 2016 at 9:45 AMThanks so much! Can’t wait for you to see it soon! xo