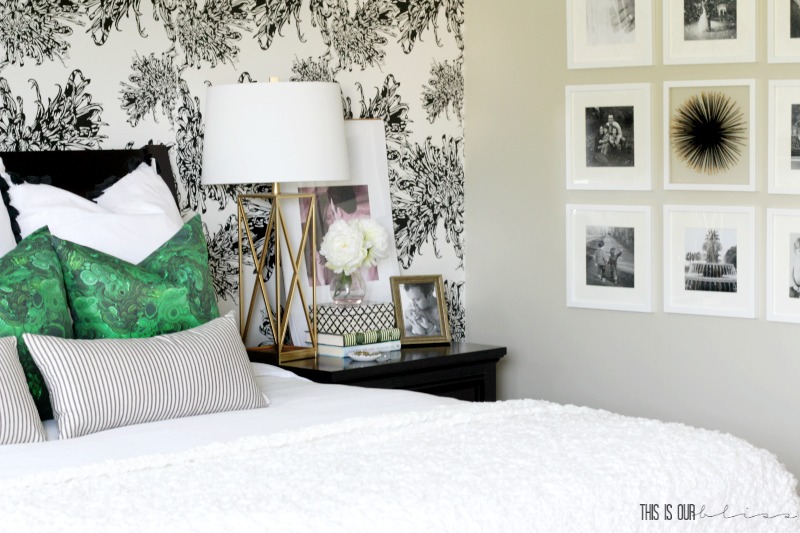
I’m sure you’ve noticed how this so-called quick & easy Master Bedroom Refresh has drug on all Summer and now into Fall! Well, I’m here to tell you that we are nearing the finish line, my friends! Over the weekend, I finally decided to tackle the gallery wall of family photos. I even ordered the frames and had the photos printed back in July, but…they sat untouched until I woke up that morning with a little fire under my feet! Today, I’m going to share my simple tips for How to Hang a Simple Gallery Wall with a Pop of Personality and a sneak peek of a few more gorgeous additions to the bed.
If you’re anything like me, the thought of hanging up an entire wall of frames can be slightly intimidating. Even after doing it umpteen times, like in our old living room, old playroom, our upstairs hallway or in various rooms like the stacked frames in the dining room or a more eclectic layout in the playroom or my all-time-favorite stairway gallery wall, I still have to muster up the energy to bust out the hammer and nails. I usually don’t do much gallery wall planning ahead of time, but since I wanted the Master Bedroom Gallery Wall to be a bit more symmetrical, actually a perfect square, I knew I needed to take the proper steps to ensure I was happy with the end result. Clean lines, even spacing and an overall appealing look. Plus, I wanted to stick with fresh white frames and a simple look so it wouldn’t compete with the wallpaper accent wall that touches it.
[*Affiliate links were used in this post.]
Let me walk you through the steps I took to create the simple gallery wall. Did you notice that little something I added to give it the “pop of personality”?!
HOW TO HANG A GALLERY WALL
First, I measured the wall – width and height, so I could determine the size of frames I would use. IKEA is my go-to place for purchasing frames, but I landed on these white frames from Target because the 12″ x 12″ size was perfect for the wall and I loved that the opening was 8″ x 8″. Since I wanted a square frame, my favorite RIBBA frames options were a 9″ x 9″ or 19 3/4″ x 19 3/4″, so the Target ones were the best fit! And grabbing them 10% off during one of their Home Sales was key!
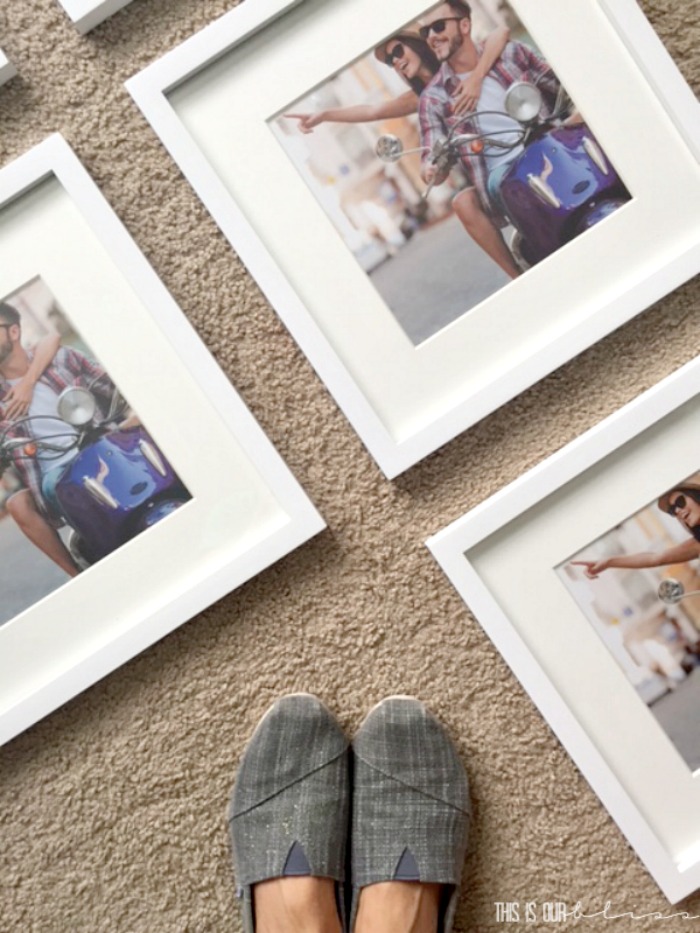
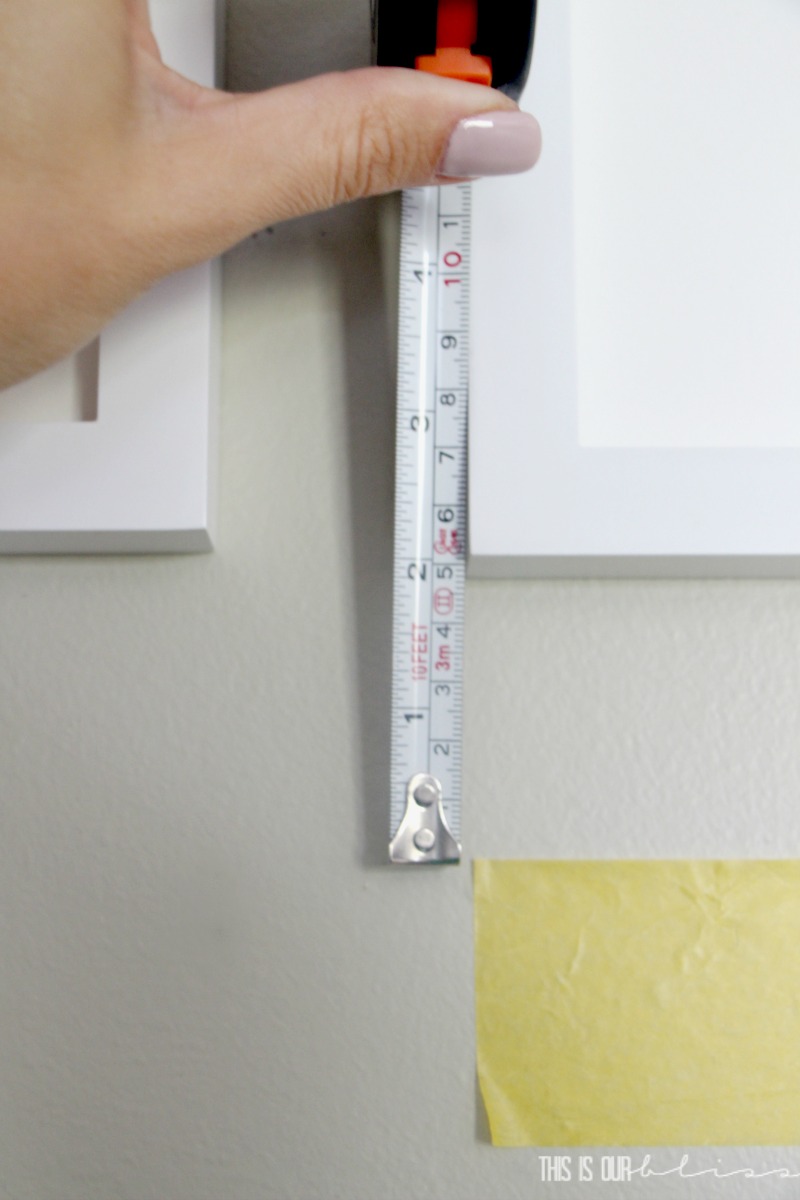
Fast forward a couple of months…I opened the box of frames and laid out my design on the floor. I had the wall measurements from before, so after playing around with the spacing, I decided that 2″ between each frame – top and bottom and on the sides was how I wanted it to look. The frames ended up being 13″ from edge-to-edge, so the full “square” would measure 43″ x 43″ including the spaces in between each one.
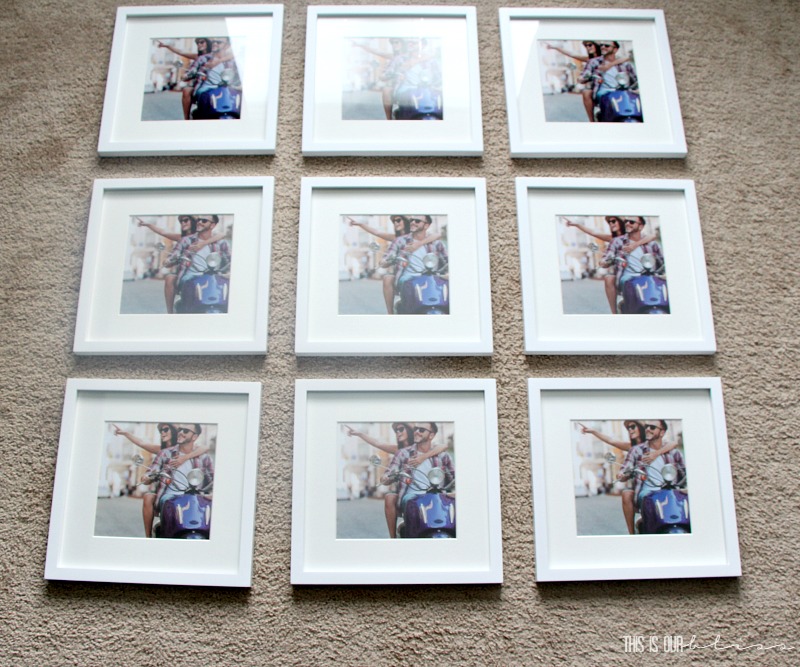
And no this is not T and me!
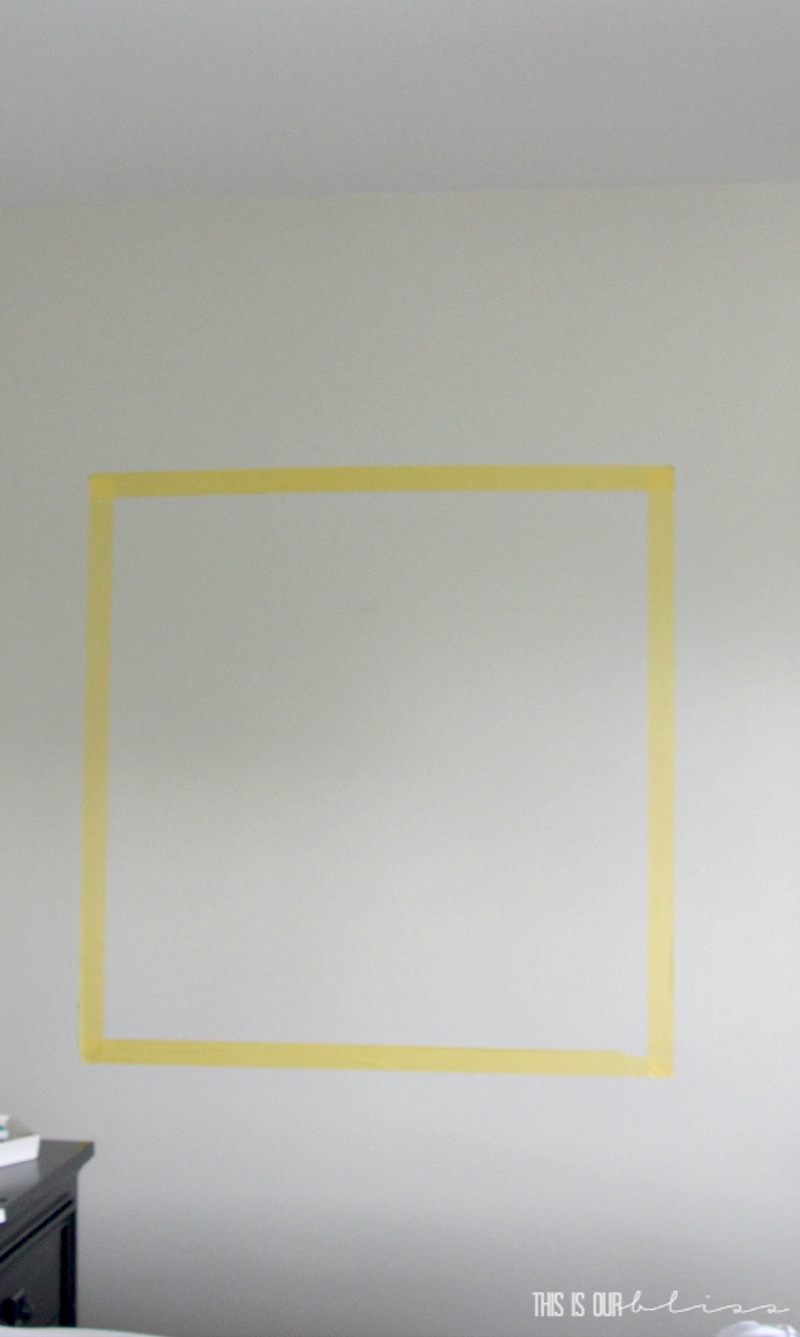
To make it easy, I cut 4 pieces of Frog Tape at 43″ each and placed them on the wall so the “square was centered… equal amount of blank space on each side, but I placed the bottom piece of tape 33″ from the floor and the top piece 21” down from the ceiling.
Unfortunately, these frames have two sawtooth hangers on the back instead of one in the center. Having two makes hanging it a bit more time consuming since you have to line up two nails and make sure they are level versus just hammering a nail in the center.
Please, Target, don’t do this again!!
Next, I went back to my frames, cut a piece of tape and placed it on the back stretching from the left edge to the right edge.
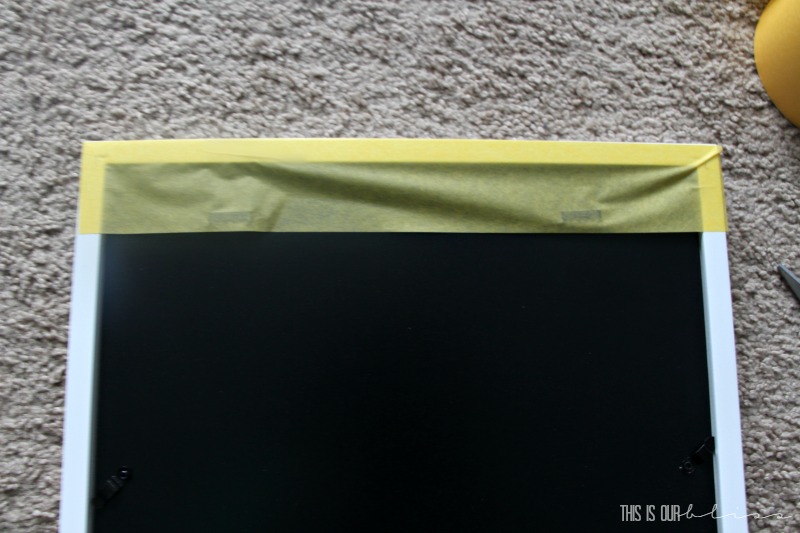
I poked a small hole in the center of each of sawtooth hanger where the nail would go.
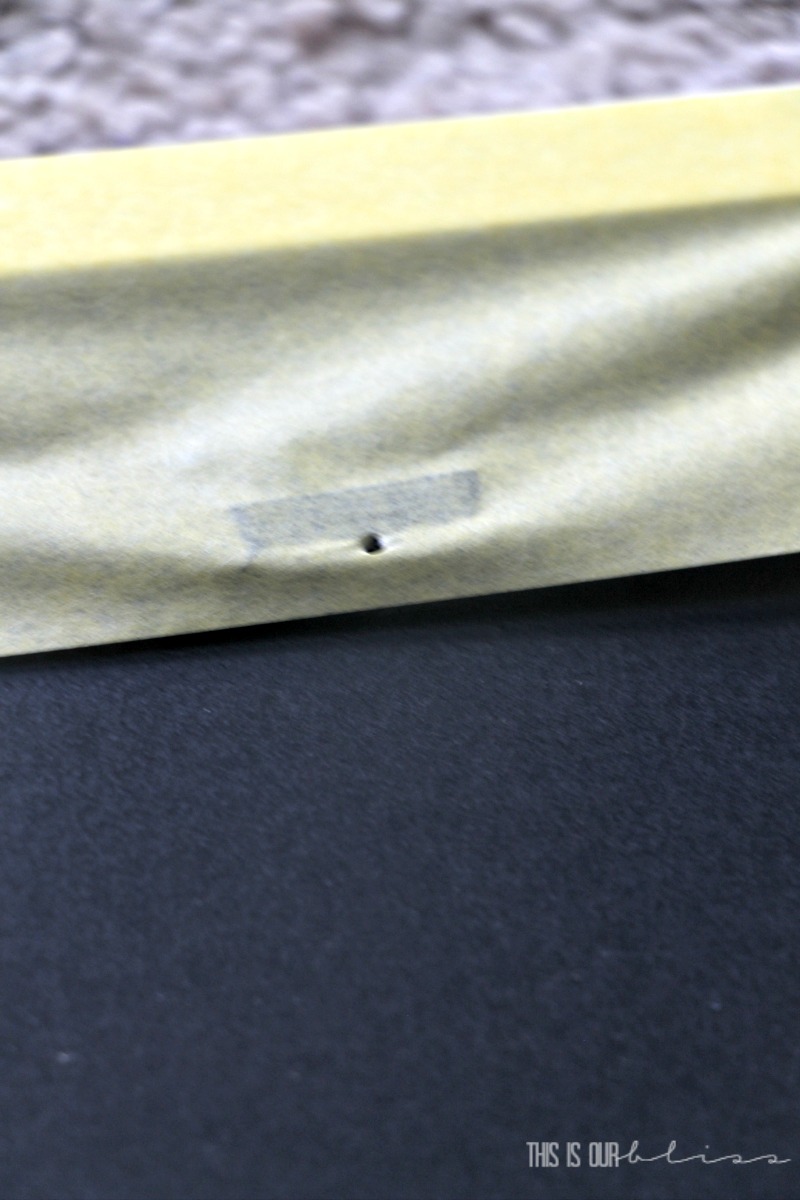
Since my piece of tape was wide enough to cover the top of the frame down to the sawtooth hanger, I peeled it off the back and placed it on the far top left of my “square”, made sure it was level and then nailed in the two nails, one in each of my pre-made holes. I peeled off my template and then hung the frame. From there, I took the template over to the top right side of the square, lined it up, made sure it was level and hammered in the nails. For the top center one, I measured 2″ from the left frame and 2″ from the right frame and stuck my template down and added the nails. The top row was done!
After working my way down each row in the same order as I did the top row, the wall was complete!
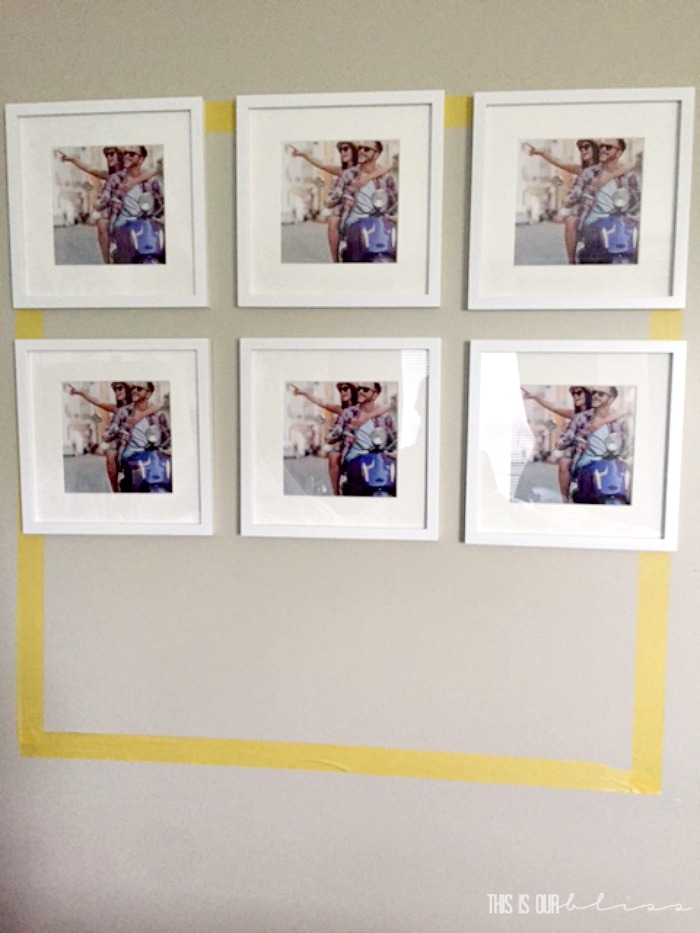
SOMETHING WAS MISSING…NOW WHAT?
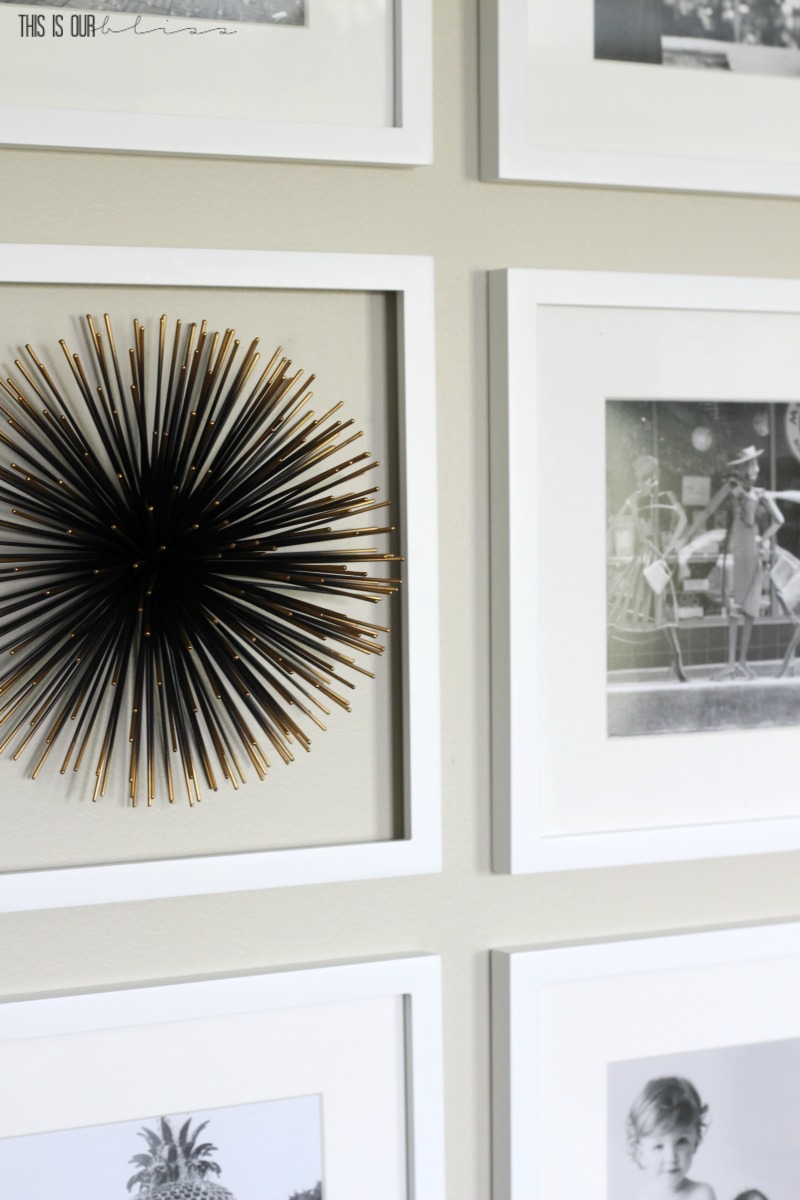
The wall looked great and I loved it, but it seemed to be missing something. I shared a quick snapshot on my Instagram stories and the more I looked at the photo, I knew something wasn’t quite right. I studied the wall and determined it needed a little spice! Suddenly, I remembered picking up this gold wall urchin awhile back and hadn’t found a home for it yet, so I quickly pulled it out of the box, held it up to see and yes!! I removed the glass and mat from the frame, re-positioned the nails [oops!] and hung the 10″ urchin right in the middle! I added 8 of the 8″ x 8″ black and white photos around the perimeter to complete the gallery wall. Costco is my favorite place to have photos developed. The quality is excellent, the pries are great and they have quite a variety of sizes to choose from.
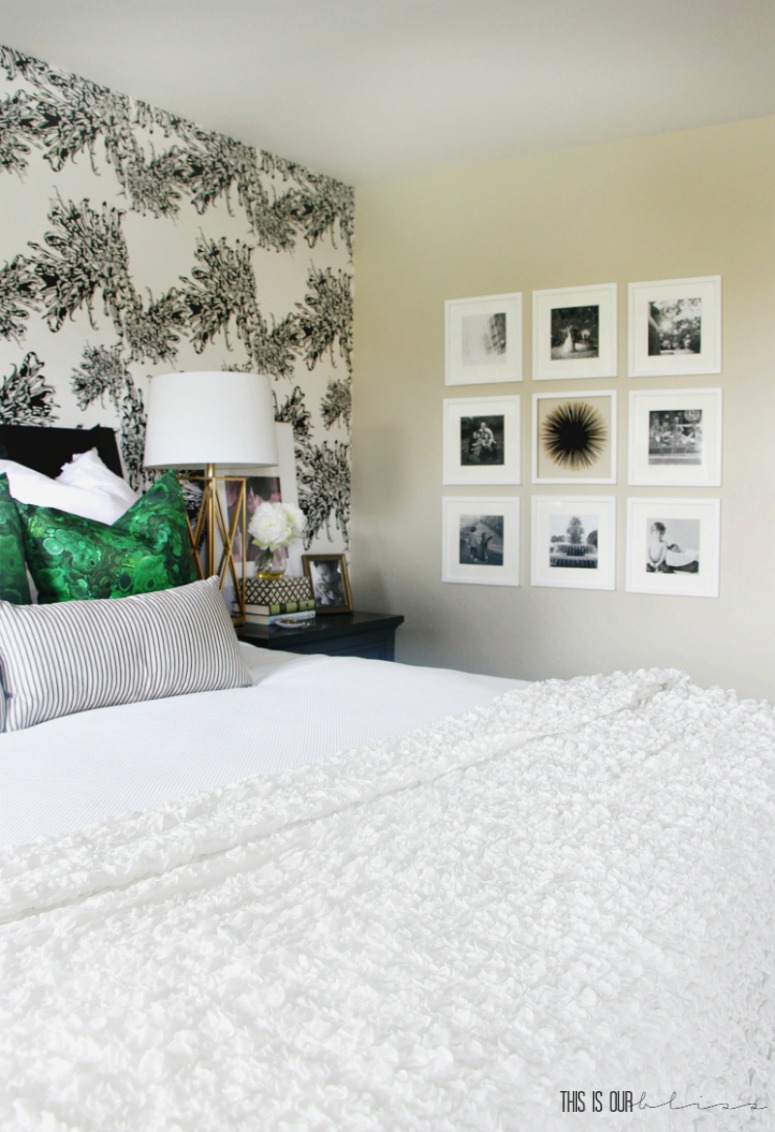
It was still the same “square” that I was aiming for, but now it has a pop of personality! I love how it adds a 3D element to the wall!
And my little helper who no longer likes to nap while Mommy works was sure full of personality, too!


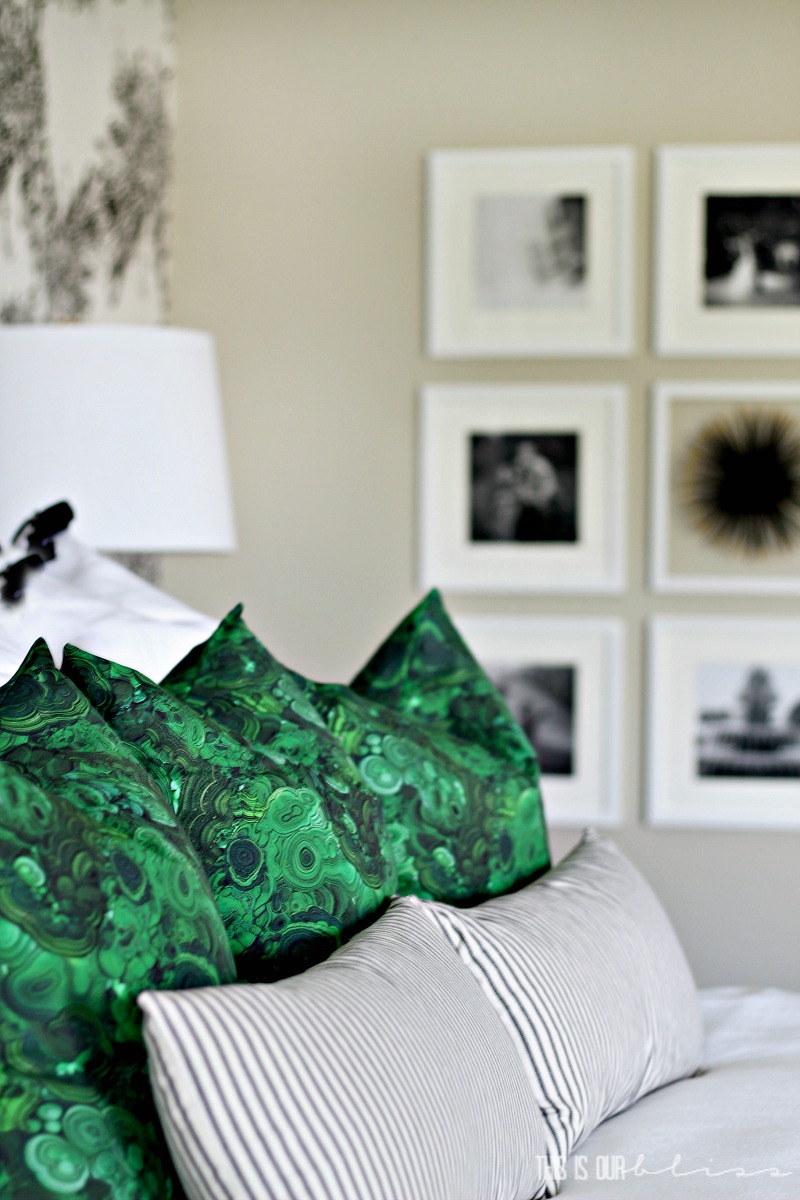
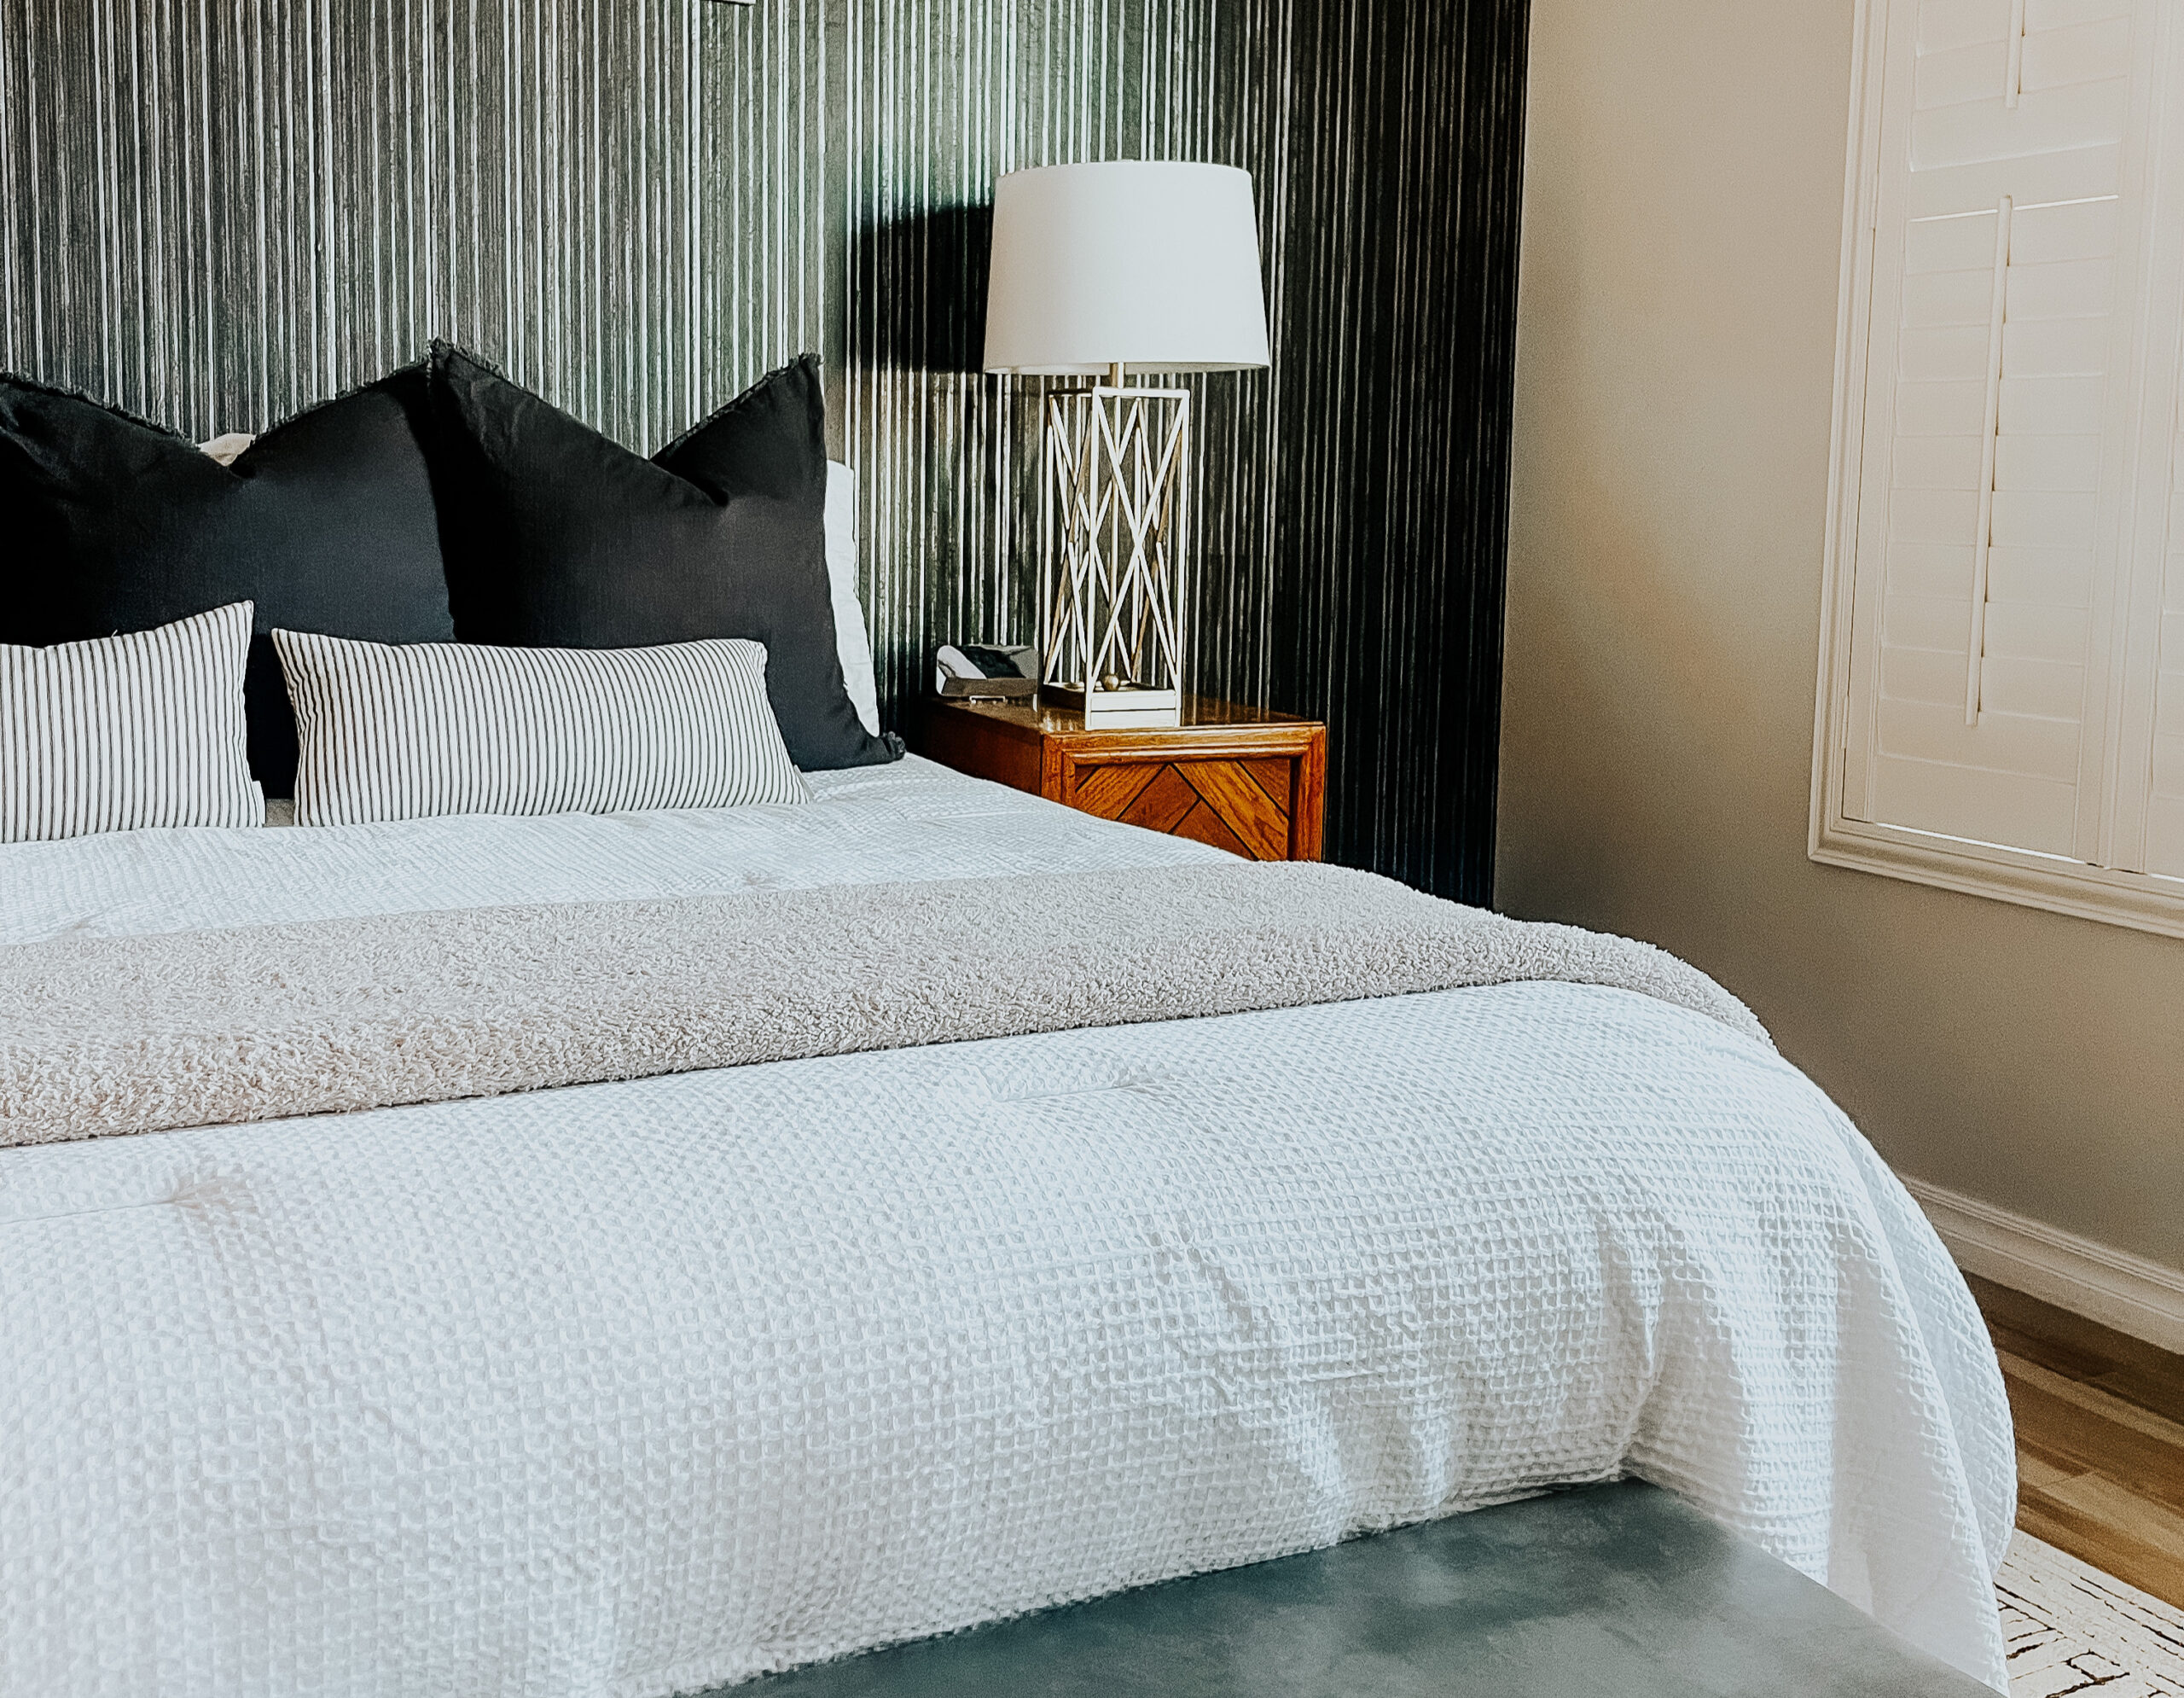
Now that you’ve seen these pillows, I can oooh and ahhhh about them for a minute before the reveal! I mean how good are these green malachite pillows?! So fabulous, right?! I actually get excited to make my bed each morning because I can’t wait to place them back on the bed!
Shop a few of the room’s elements below:
So what did you think? Will my tips for How to Hang a Simple Gallery Wall help you out the next time you want to tackle one yourself?
Don’t forget to pin for later!
Not to worry…the rest of the room will be ready to share very, very soon. I know I’ve said that before, but I really mean it this time! 😉
Don’t forget I’ll be back tomorrow for a Week 2 update of the $100 Room Challenge. You can check out Week #1’s before photos & inspiration board here!
Have the best day!







ted
September 12, 2017 at 11:10 AMLooks amazing!
Rachael @ This is our Bliss
September 13, 2017 at 8:40 AMThanks, dear! 😉