Hey hey! Now that Halloween is behind us, we can head into the holidays full steam ahead, right?! Well, not quite yet! While I’d love to start sprinkling Christmas cheer everywhere, in hopes to be completely ready in early December so I can enjoy the month with my family, I do have a couple more Fall projects to share. Thanksgiving is only a couple short weeks away and my home needs some sprucing now that all of the orange and black is gone! I have been loving rich pink and berry tones lately [remember my Pretty in Pink Powder Room and the Burnt Orange and Berry Fall Table?], so decided my “November colors” are going to be navy and burgundy [and most likely lots of gold!] Of course that burgundy will ease right on in to RED in the coming weeks! Today, I’m sharing a tutorial for my DIY Autumn Leaf and Berry Wreath made with supplies from Dollar Tree!
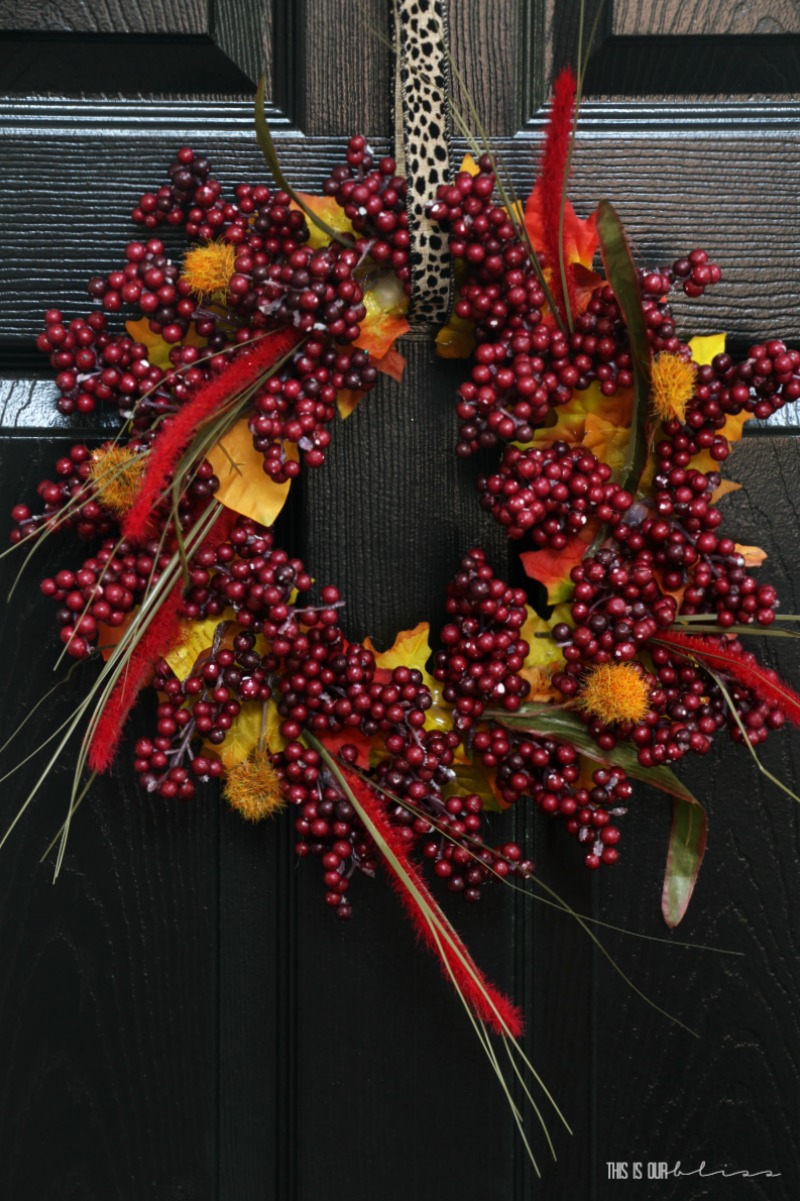
She’s quite the cutie, if I do say so myself!
Here is what I did to make her…
SUPPLIES
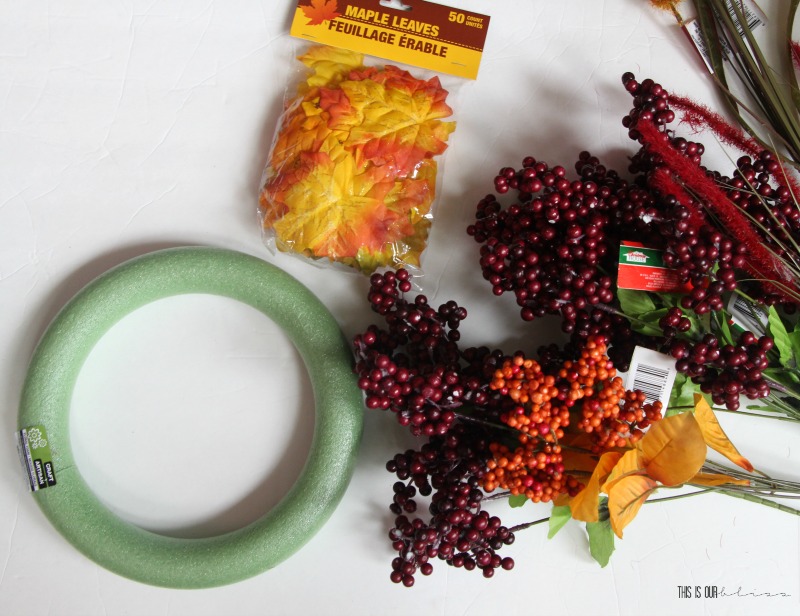
[*Affiliate links are used in this post.]
Package of faux leaves
10″ foam floral ring
Berry picks [5 burgundy + 1 orange]
Red & orange flower picks [1 of each]
[All of the above was purchased from Dollar Tree]
Wire cutters
Hot glue gun + hot glue sticks
Ribbon to hang
HOW TO MAKE A DIY AUTUMN LEAF AND BERRY WREATH
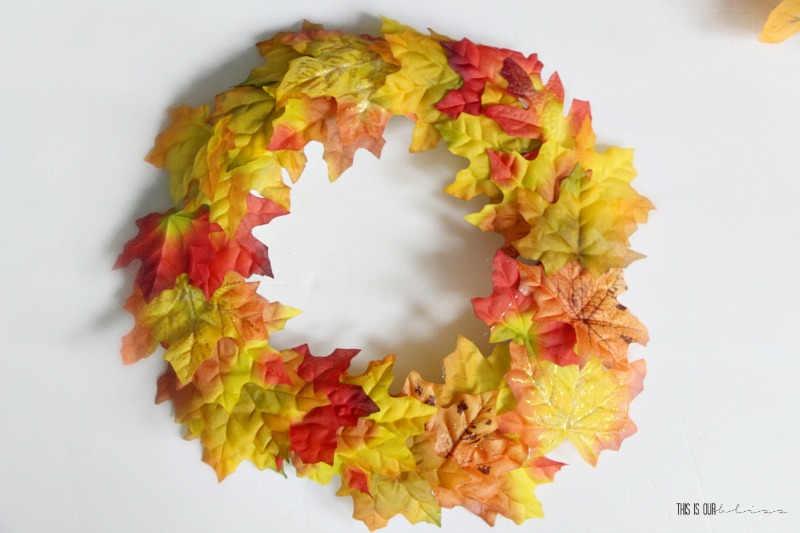
First, I pulled my leaves out of the package and spread them out while my glue gun heated up. Then, after applying a penny-sized dab of hot glue on the wreath form, I added a leaf one-by-one and overlapping them as I went. There were about 2 leaves across the width of the wreath and I overlapped the leaf before it by about an inch or so.
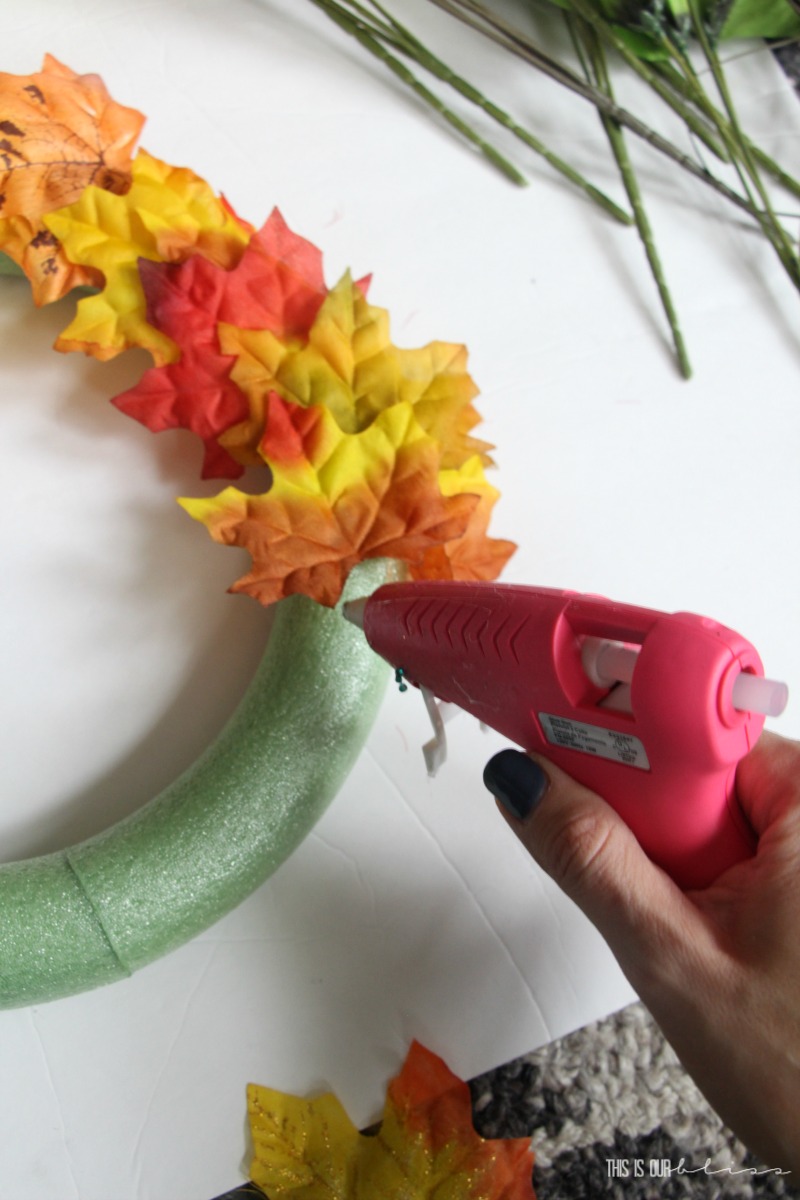
You sort of add the hot glue and fill the leaves in like a puzzle, working your way around the entire styrofoam wreath form.
Next, I took my wire cutters and snipped the berries off of the stems, leaving about 2 inches of stem below the berry cluster. I took my glue gun and applied a generous amount, placed the berry stem on the glue and then added more hot glue on top of the stem securing it to the wreath. I did this with the rest of the berries, filling them in on top of the leaves all the way around the circle.
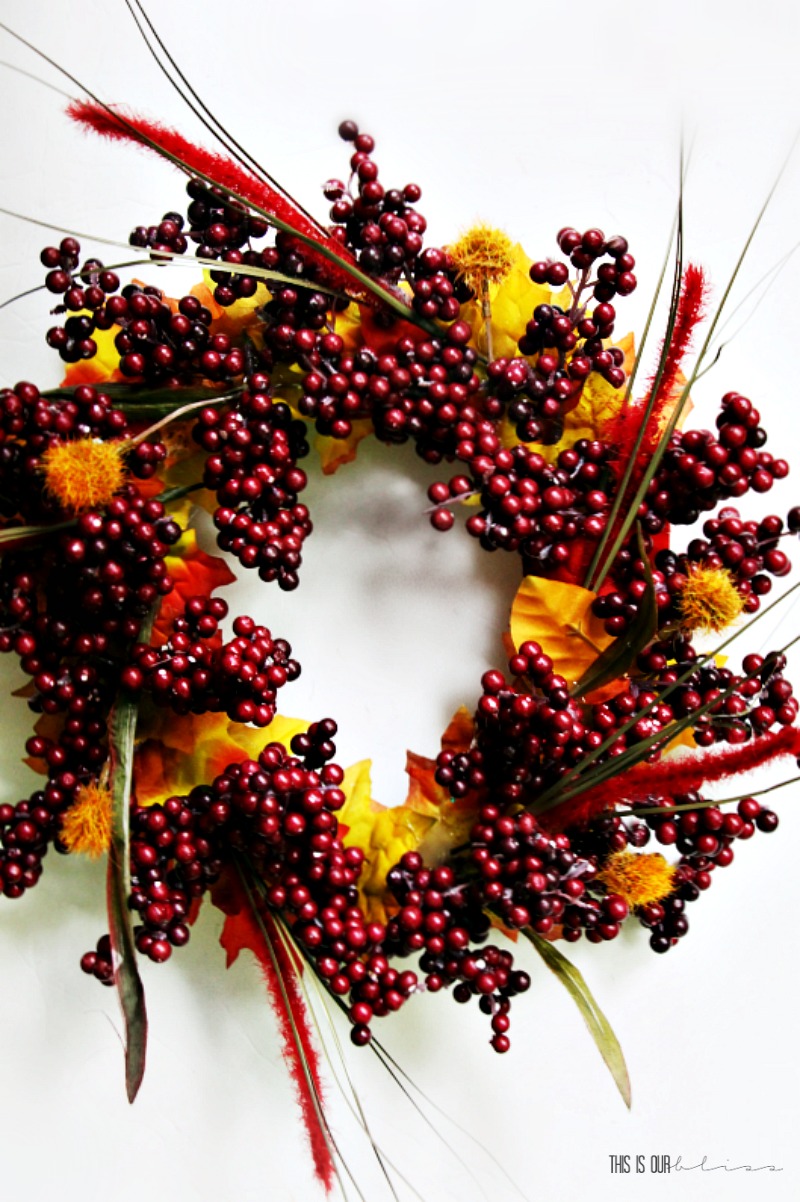
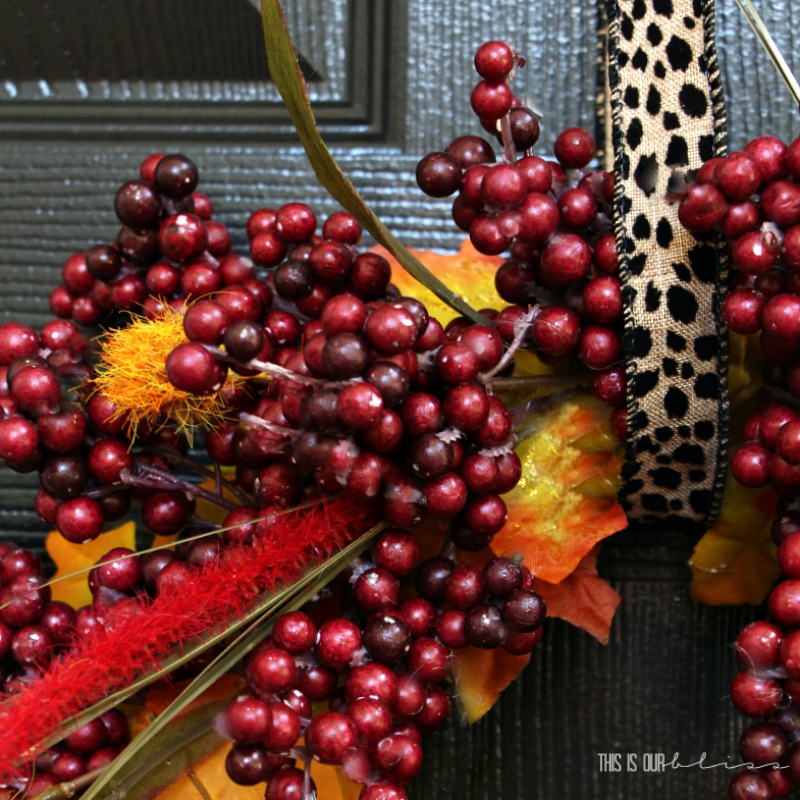
The next part was a little bit more random! I took the 5 whispy red flowers, snipped them off with the wire cutters and left a couple of leaves attached. Then I simply spaced them out evenly and secured them underneath the berry clusters with more hot glue.
Lastly, I added the little round orange flowers in between the long red ones, securing the stems with hot glue again.
All that was left was to grab some fun ribbon [and leopard is always fun in my book!] and hang it up!
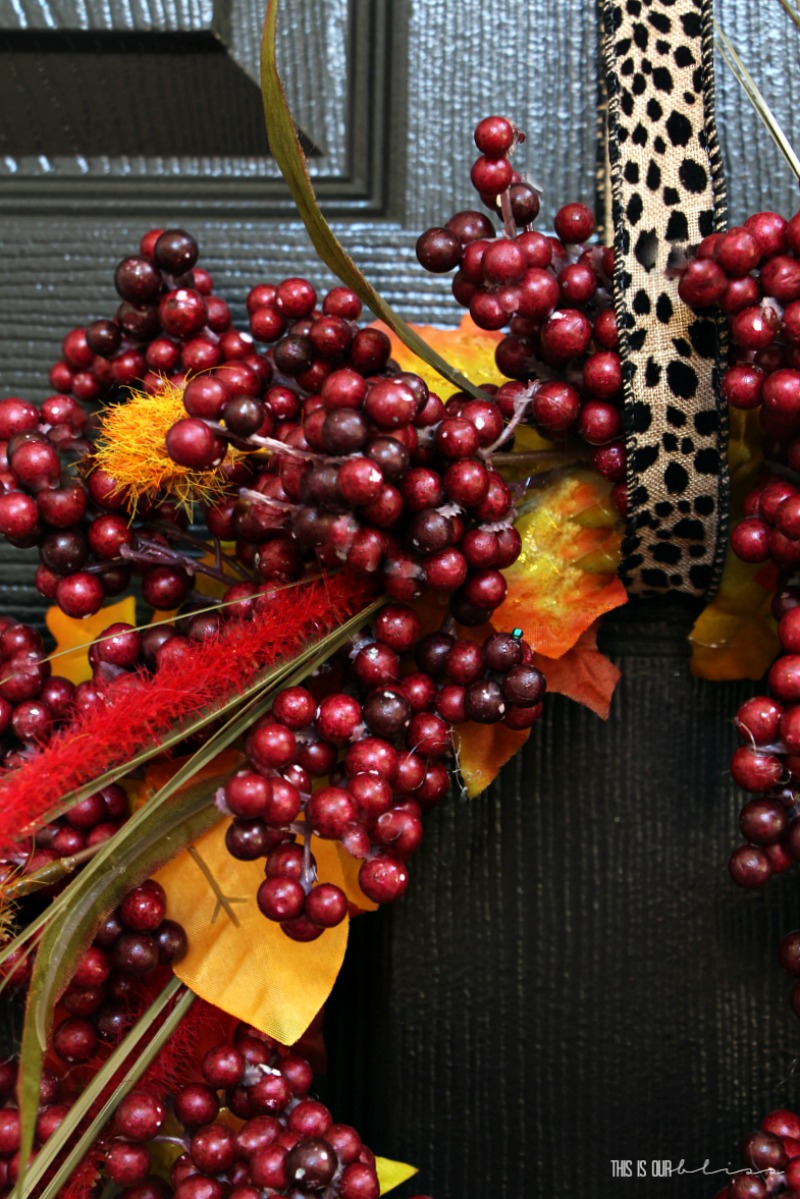
The wreath is on the smaller size so it won’t go on my front door, but I can see it making an appearance on my upcoming Thanksgiving table around the centerpiece or something! I whipped up this Autumn Leaf and Berry Wreath in less than 15 minutes, so the thought of making a couple more to use along the table runner has crossed my mind a time or two! I don’t know…what do you think? Cute?!
I have found myself in the aisles of Dollar Tree far more often than I care to admit! But when it’s 5 minutes from home and filled with endless amounts of holiday crafting supplies, I just can’t help myself! And if you love dollar store DIY ideas as much as I do, then make sure you check out a series I host every last Thursday of the month, called “My Dollar Store DIY“.
You can get caught up on all of my latest dollar store projects below!:
Now that the temps have officially dipped down into the thirties, I see all the more reason to stay inside, sip coffee and continue getting my holiday craft on!!
What about you?!
See you back here soon!
























A Navy Blue & Burgundy Thanksgiving Table | This is our Bliss
November 14, 2017 at 12:09 PM[…] but not least, I attached my recent DIY Autumn Leaf & Berry Wreath to the back of the hostess chair to add even more burgundy to the […]
T
November 9, 2017 at 8:33 AMHoney, the new site looks awes-YUM! Hope the readers love it too!
Rachael @ This is our Bliss
November 9, 2017 at 8:35 PMThank you! I hope so too 😉