Where did you go, January?! We are in the home stretch – finally! Although this challenge is only a month long, it sure has felt like months! Probably because all the work is happening in the hub of our home. If you are just popping in for the first time, then welcome! Today is Week 5 of the New Year, New Room Refresh Challenge hosted by Casa Watkins Living. Today was slated to be our big Kitchen Reveal, but nearly all 10 of the participants have been struck [repeatedly] with bad luck.
Snow storms causing shipping delays, shortage of inventory, shipping addresses getting criss-crossed, sick kids [hello, flue season], among many other issues, we collectively agreed to share another update this week and push the reveal out another week. So instead, today I’m sharing more progress pics and a super easy DIY No-Sew Window Valence I made for the kitchen window above the sink. So hang tight for just one more week before it all comes together…well, almost all. My lights are still back-ordered until the end of next month so you’ll get to see everything else next week!
Alright. We’ve covered some ground this month…we’ve talked… before photos & the mood board, all the white kitchen inspo I’ve been pulling from, how I chose my own cabinet color and last week, I shared a slew of gorgeous pendant lighting.
Now, let’s quickly go back visually…and then before I get to the DIY, I’ll show you a few pics I snapped yesterday of the current state of our kitchen.
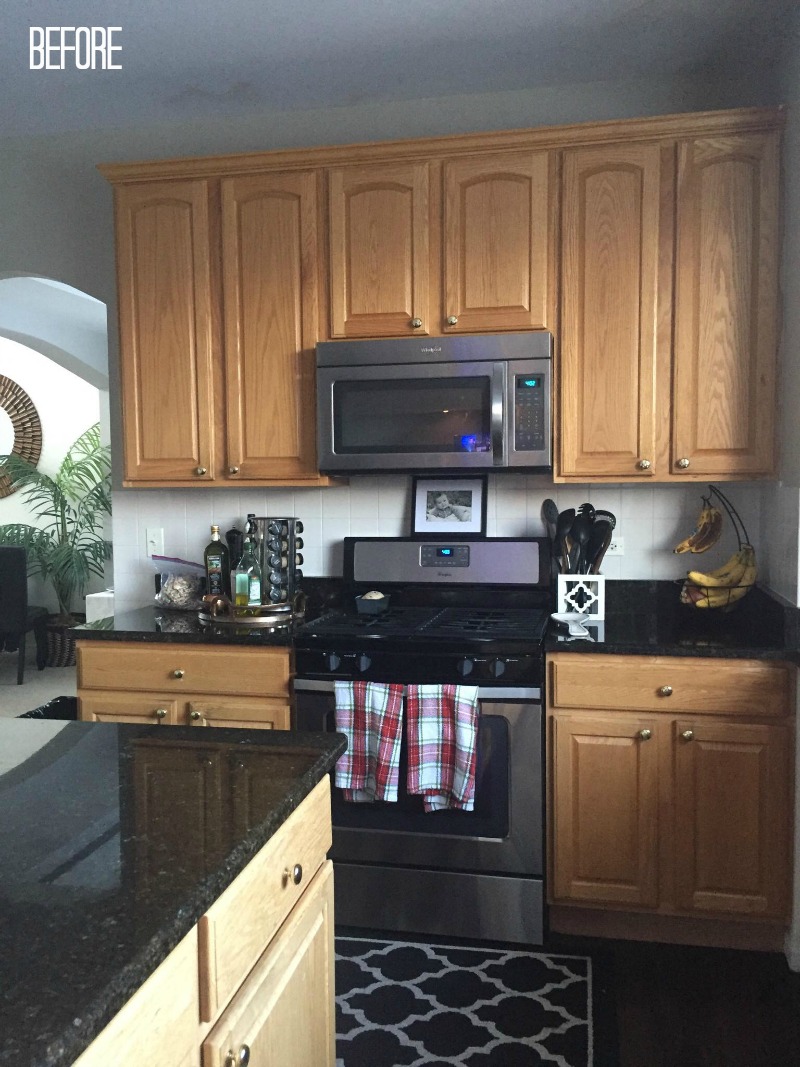
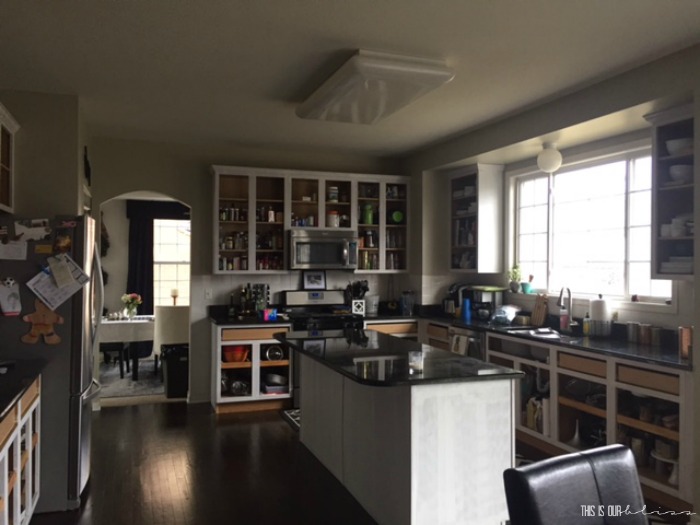
BEFORE
WEEK 2/3 PROGRESS – PRIMER

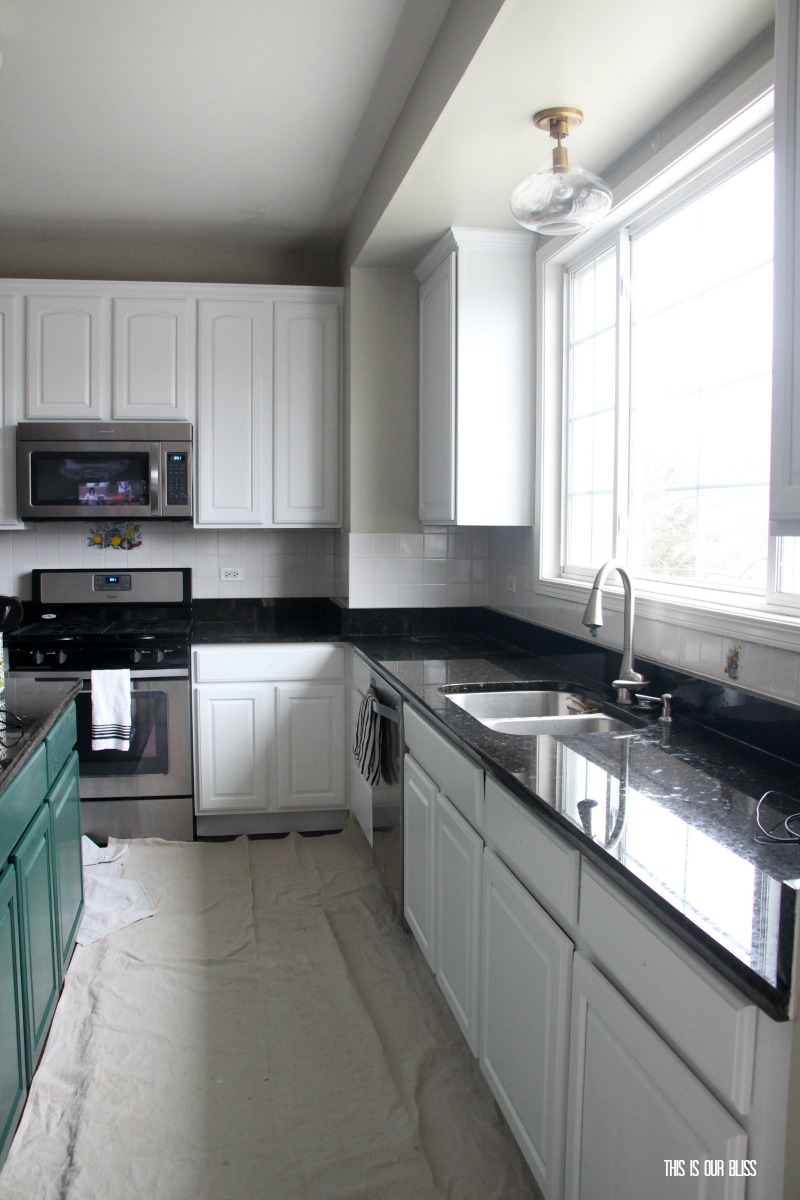
WEEK 4 PROGRESS – WE HAVE PAINT!! AND ONE LIGHT!
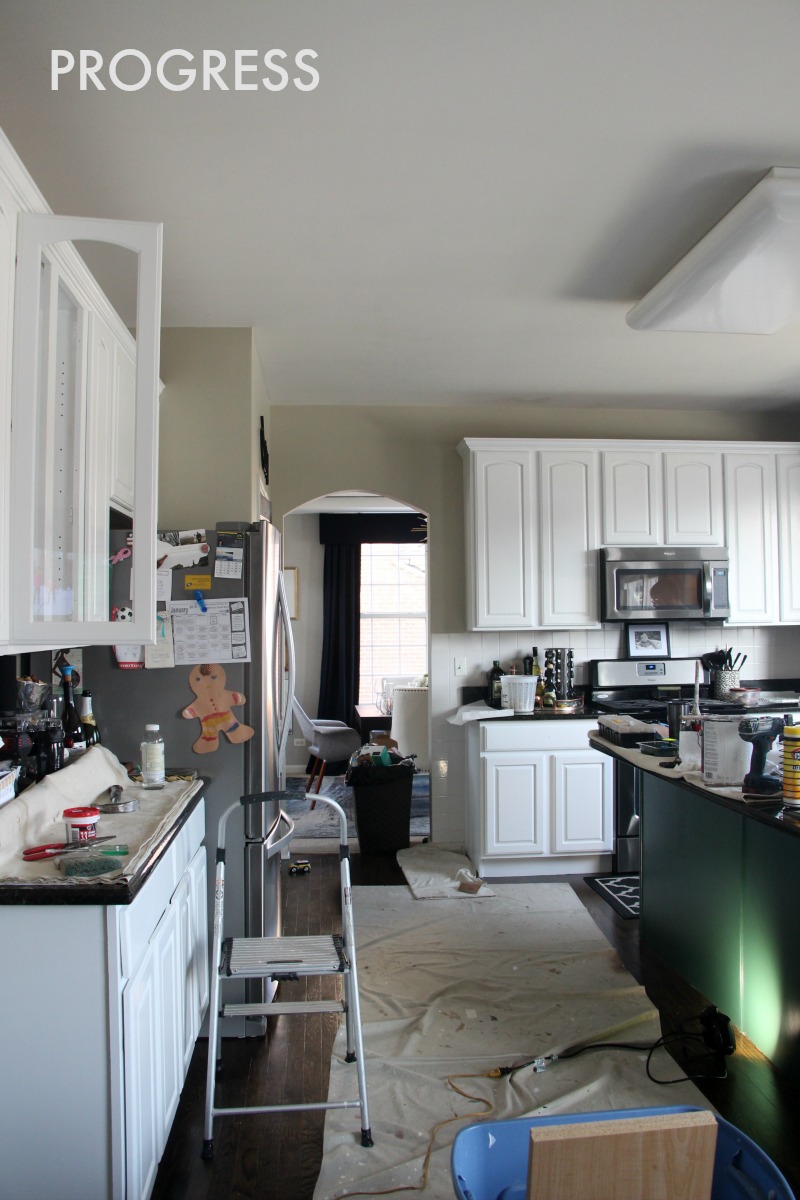
I wasn’t going to show you the green until the reveal, but I just couldn’t hold it in any longer. I am in LOVE!!!
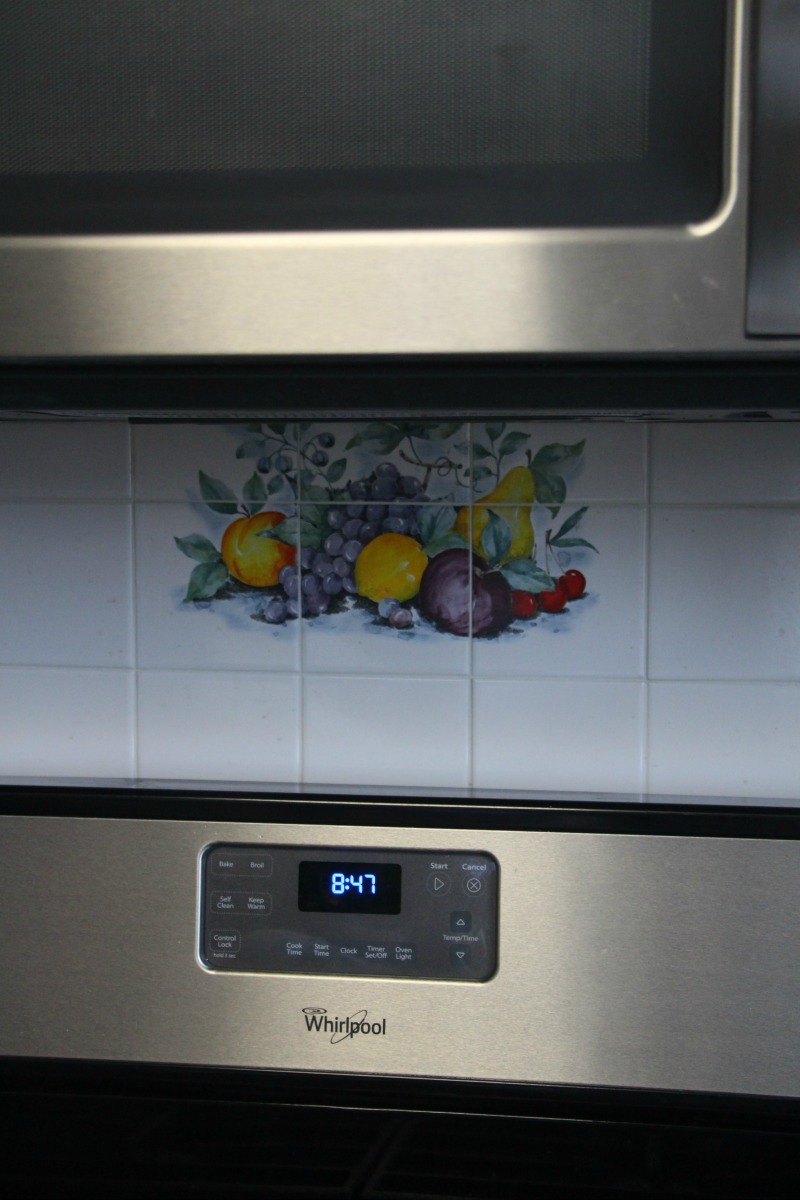
WEEK 5 PROGRESS – BYE-BYE, BACKSPLASH
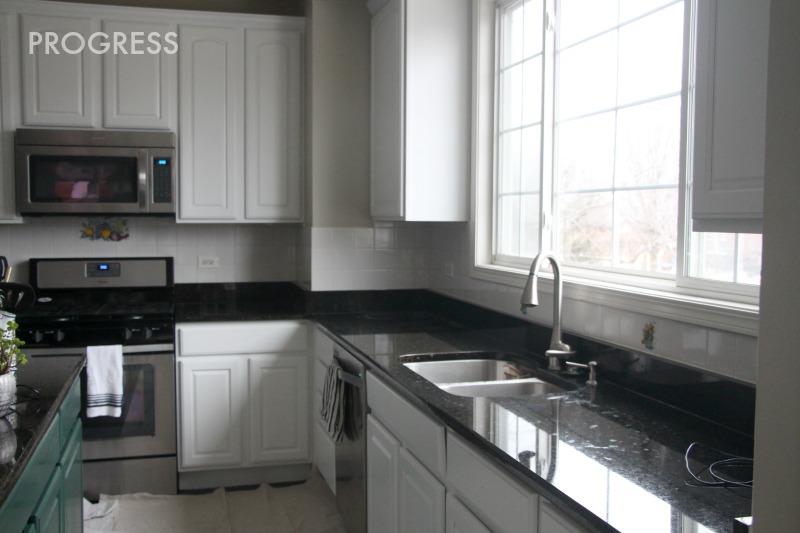
Yes. I am finally saying goodbye to THIS backsplash!! I’m not sure if I even showed you guys these lovely tiles sprinkled throughout the backsplash in our kitchen.
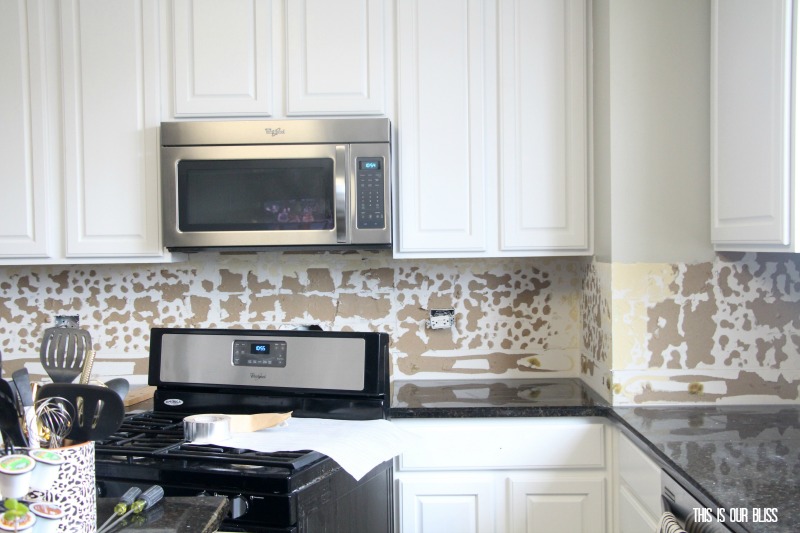
CURRENT STATE
Our contractor started yesterday on the backsplash, so the tentative schedule is as follows:
Monday – remove back / wall portion of countertop, remove old back-splash, replace / repair drywall
Tuesday – make tile cuts, start gluing tile
Wednesday – continue putting up new back splash tile
Thursday – apply grout
As for the rest of the progress, here’s where we’re at…
THE CHECKLIST
determine cabinet color / determine island paint colorpaint kitchen cabinetspick out back-splashremove backsplash/ install new- replace light fixtures
- remove fluorescent / install pendants over island – lights are back-ordered until the end of February
- remove breakfast table fixture / install new chandelier – lights are back-ordered until the end of February
swap out the flush-mount fixture over the sink
- add new cabinet hardware – happening this week
- put down new rug(s) – waiting for them to arrive
determine wall art– more coming on this!- style and decorate – currently shopping for accesories
- paint the ceiling?
- extend the cabinets to the ceiling??
- Miscellaneous projects:
DIY No-sew Window Valence- _____________________________
- _____________________________
Now on to the main pat of this post – the DIY project!
DIY NO-SEW WINDOW VALENCE
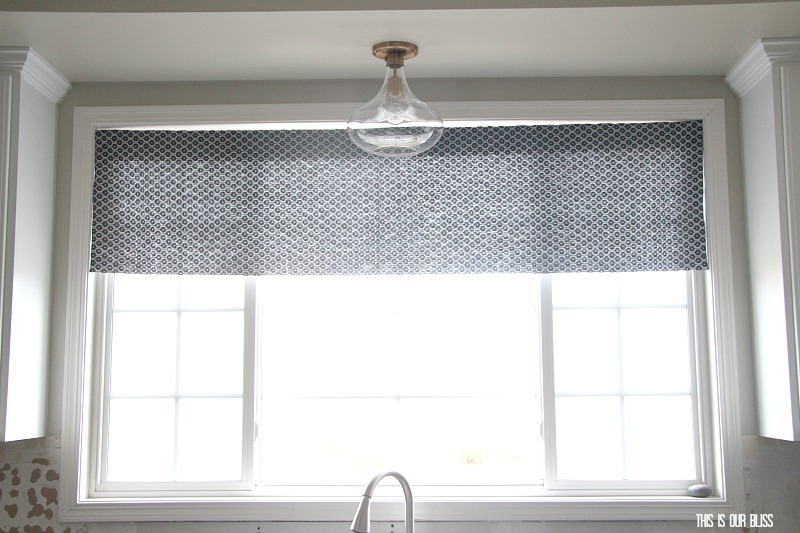
For as much as I love pattern, I knew I was going to need more than just a rug in this space to bring some in! And since I don’t have a place for any throw pillows, well… I decided I wanted to pick out some fabric and make a simple DIY no-sew window valence for the kitchen window. When I say simple, I mean I barely need to call this a tutorial.
Here is what I did!
SUPPLIES
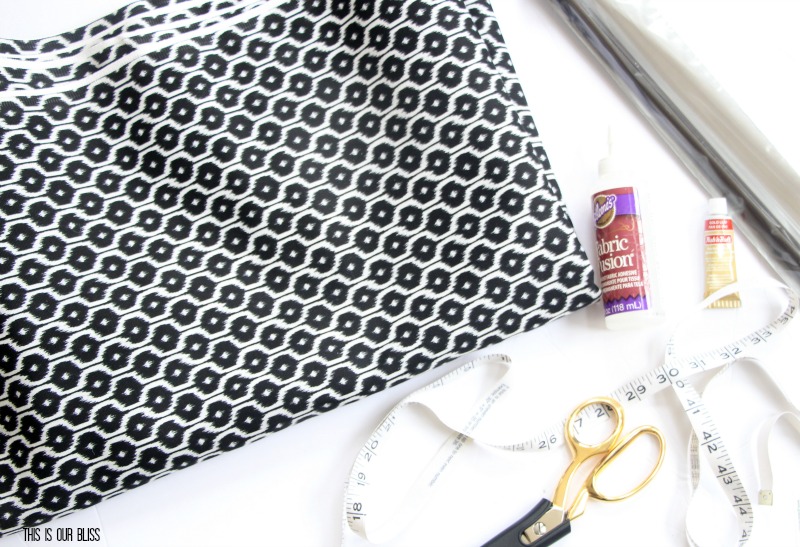
- fabric [I used Decorator’s Fabric from Joann]
- scissors
- Fabric Fusion or Hot Glue Gun
- Measuring Tape
- Tension rod
INSTRUCTIONS
I simply measured the width of my window and determined I would need approximately 77.5 inches of fabric. The material I picked out was 45″ width so I had 4 yards cut just to have plenty extra.
What I did next was cut my fabric to the 77.5″ and laid it out. Since I wanted just under 20″ for the length of my valence, I simply folded the fabric in half so it was about 22.5″ in length and 77.5″ across. This would make a thicker window treatment and and now allow as much light through. The fabric was pretty thick as it was, but I thought I would double it up since I had enough.
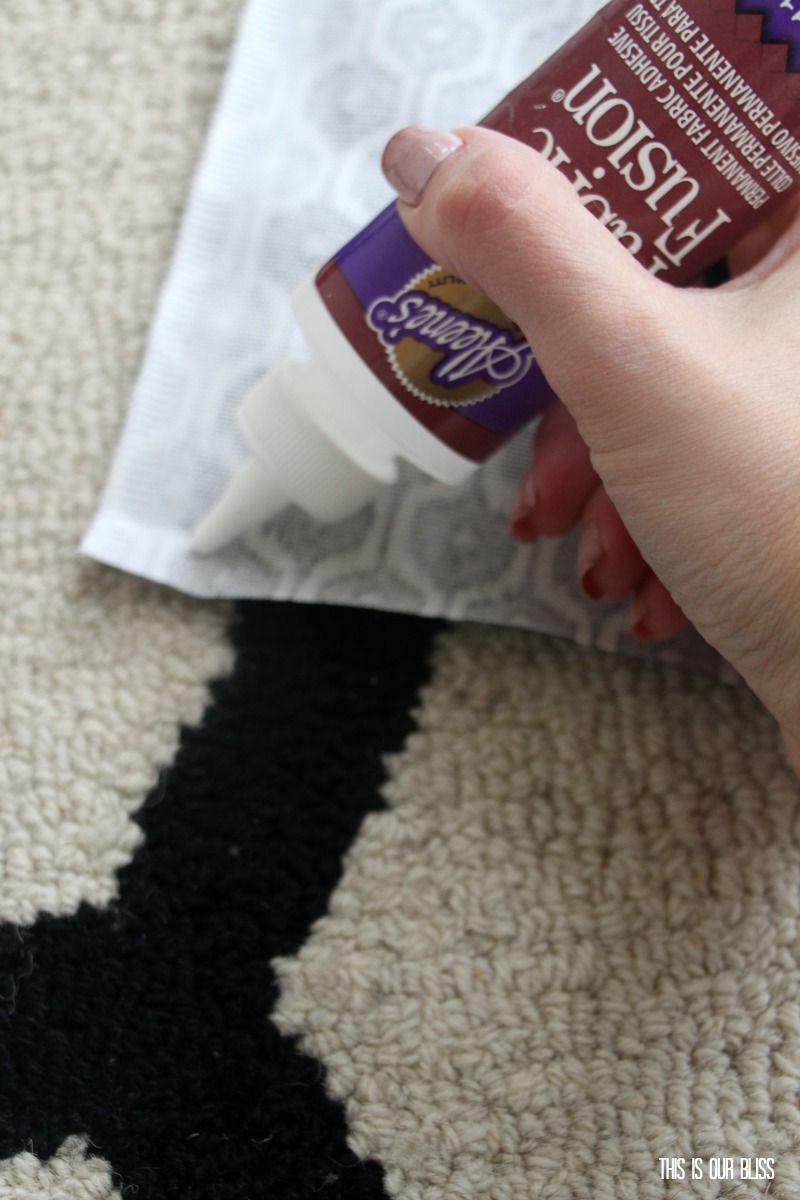
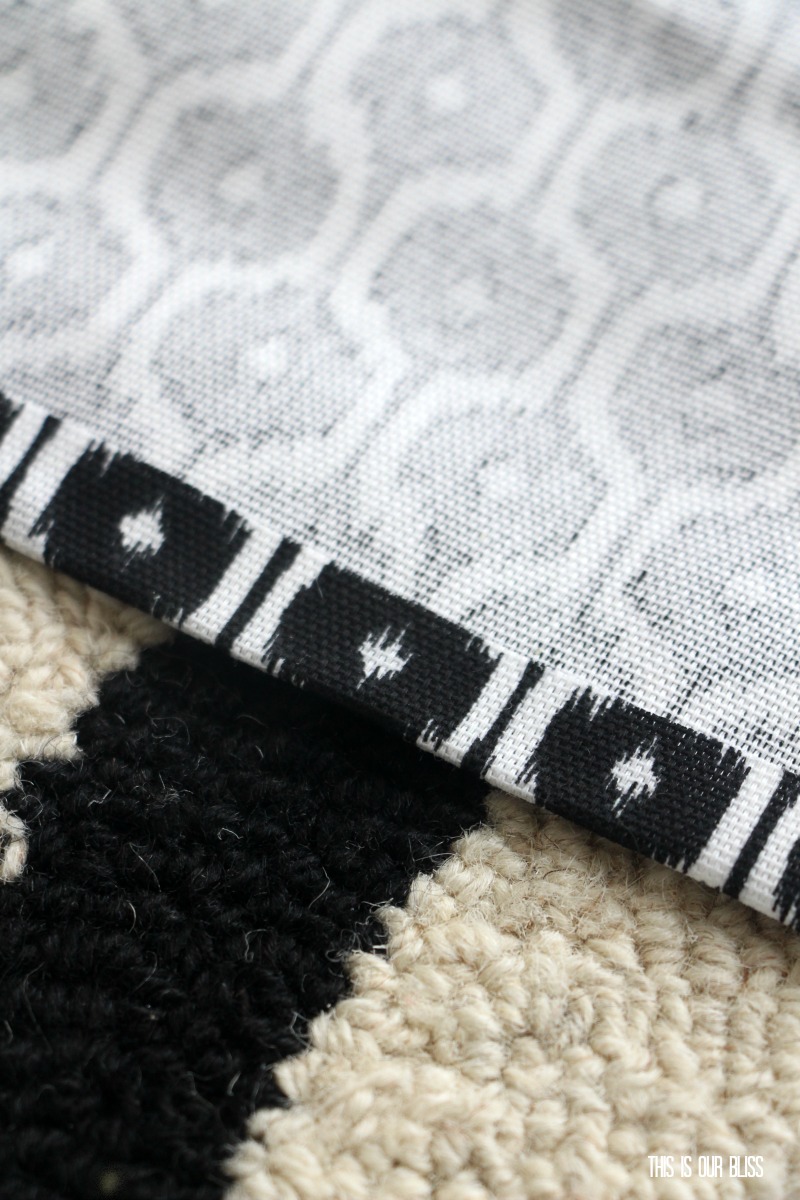
Next, I would be making my “seams”. To do this, I started with the sides and simply folded over 1/2″ and added fabric fusion underneath my fold and then smoothed it down as I worked my way from the top to the bottom. Wouldn’t ya know, I actually ran out of fabric fusion mid-project, so I ended up using my hot glue gun for about 75% of the seams. It dries much faster and highly recommend this method from the start!
Repeat on the other side.
Since I folded the entire fabric in half, I didn’t need to make a seam at the bottom edge because the fold was acting as the bottom hem.
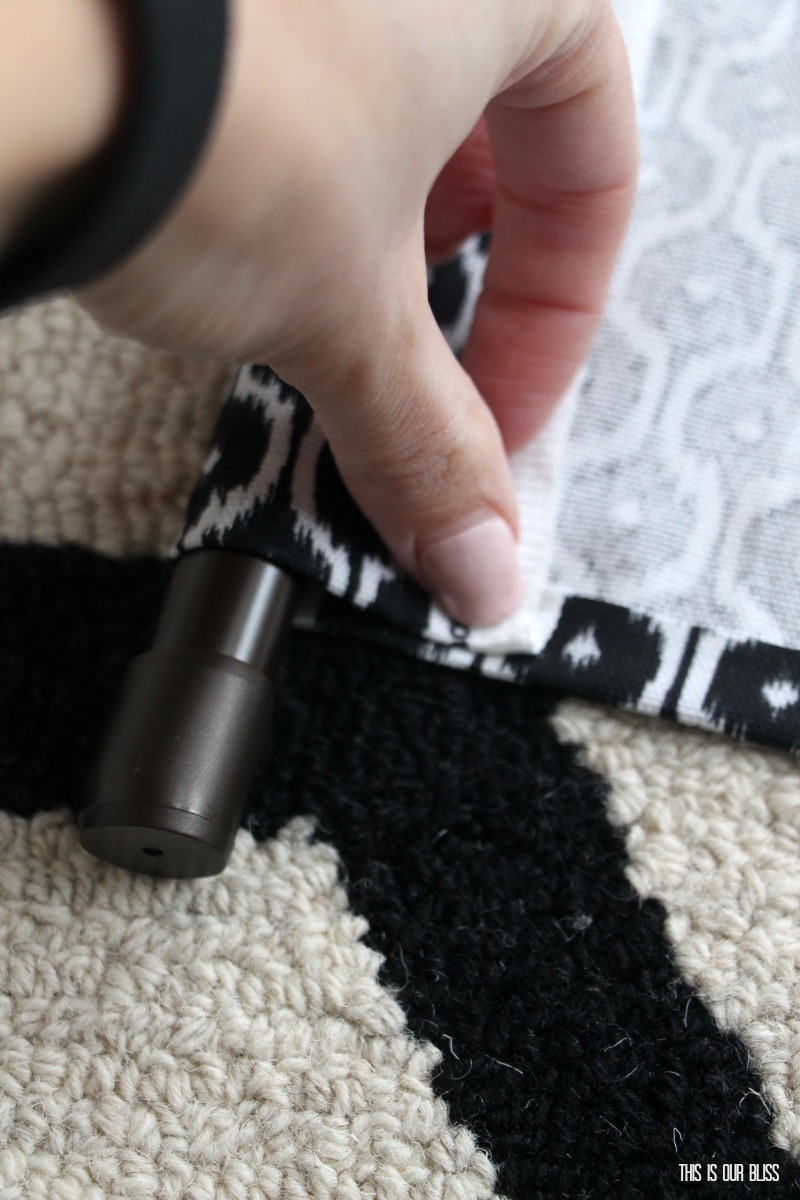
For the top, I laid the fabric right-side down, placed my tension rod near the top and folded over the fabric to see just how large of an opening I needed. The tension rod is only a .5″ rod, but since I wanted the total length of the valence to be approximately 18″, I needed to fold over about 5″ at the top and glue it down.
Once it was all dry, I added a tiny bit of gold Rub’n’Buff to the ends of the tension rod. The ends would most likely be covered with fabric since I cut the fabric to cover the full width of the window, but in case the ends popped out, I preferred to see gold peaking out instead of brown. 🙂
After the rub’n’buff was dry [only takes a couple minutes], I slid the rod through the top pocket of the window valence and put it up.
It fit perfectly and adds just the right about of texture and pattern to the space. Plus you know I needed to sneak my black and white in here somehow!
Truthfully, I ran out of daylight after finishing the project, so I don’t have the best shot of the valence hung, but promise to add one in this post soon! I’ll also put it in my Instagram stories, so take a peek!
That’s all for me today, guys! Thanks for hanging out here today! Before you go, be sure to pop down and check out what the other talented ladies have to share today. You’ll find a load of beautiful updates and DIY’s below!
Casa Watkins Living // A Designer At Home // Seeking Lavender Lane // Domicile 37 // Iris Nacole // Pocketful Of Posies // Monica Wants It // Up To Date Interiors // This Is Our Bliss // Vintage Romance Style
Be sure to link up your own room refreshes below! Need an extra week like some of us? We will have this link up next week too! Stay tuned for more room reveals next week!
Please remember to ONLY link up posts related to the New Year, New Room Refresh Challenge below.
Lamps Plus | Wallpaper Boulevard | Rugs USA | Velvet Finishes | Smith Honig | Liberty Hardware
Stay caught up with all the posts in this year’s New Year, New Room Refresh Challenge below:
Week #1 | The Before + Kitchen Mood Board
Week #2 | 9 Fresh & Inspiring White Kitchens
Week #3 | Progress Update + How I Chose my Kitchen Cabinet Paint Color
Week #4 | 11 Gorgeous Kitchen Pendant Lighting Options
Week #5 | Kitchen Progress Update + DIY No-Sew Window Valence
Week #6 | Bright, White & Bold Kitchen Revamp Reveal Part 1






Kathryn Baugher
February 6, 2018 at 4:55 PMLove the fabric choice for your valence and I’m all about no sew!
Kitchen Revamp Week 1: The Before + Mood Board | This is our Bliss
February 6, 2018 at 1:08 PM[…] + How I Chose my Kitchen Cabinet Paint Color Week #4 | 11 Gorgeous Kitchen Pendant Lighting Options Week #5 | Kitchen Progress Update + DIY No-Sew Window Valence Week #6 | Bright, White & Bold Kitchen Revamp Reveal Part […]
Bright, White and Bold Kitchen Revamp Reveal Part 1 | This is our Bliss
February 6, 2018 at 8:52 AM[…] took place in just a month’s time! In case you missed week 1, week 2, week 3, week 4 or week 5, let’s quickly look and see where we started and then finally, how we ended […]
Jessica
February 1, 2018 at 8:46 AMI have always wanted to try and make a window valance and you make it look so easy. Loving the white and black and I can’t wait to see it all decked out!
Rachael @ This is our Bliss
February 6, 2018 at 8:56 AMThank you! It really was super simple!! Might make another one for our laundry room window 🙂
9 Fresh & Inspiring White Kitchens | This is our Bliss
January 31, 2018 at 3:40 PM[…] Week #1 | The Before + Kitchen Mood Board Week #2 | 9 Fresh & Inspiring White Kitchens Week #3 | Progress Update + How I Chose my Kitchen Cabinet Paint Color Week #4 | 11 Gorgeous Kitchen Pendant Lighting Options Week #5 | Kitchen Progress Update + DIY No-Sew Window Valence […]
How I Chose My Kitchen Cabinet Paint Color | This is our Bliss
January 31, 2018 at 3:38 PM[…] Week #1 | The Before + Kitchen Mood Board Week #2 | 9 Fresh & Inspiring White Kitchens Week #3 | Progress Update + How I Chose my Kitchen Cabinet Paint Color Week #4 | 11 Gorgeous Kitchen Pendant Lighting Options Week #5 | Kitchen Progress Update + DIY No-Sew Window Valence […]
11 Gorgeous Kitchen Pendant Lighting Options | This is our Bliss
January 31, 2018 at 3:37 PM[…] Week #1 | The Before + Kitchen Mood Board Week #2 | 9 Fresh & Inspiring White Kitchens Week #3 | Progress Update + How I Chose my Kitchen Cabinet Paint Color Week #4 | 11 Gorgeous Kitchen Pendant Lighting Options Week #5 | Kitchen Progress Update + DIY No-Sew Window Valence […]
Linda Richardson
January 30, 2018 at 6:17 PMLooks gorgeous girl!
Rachael @ This is our Bliss
January 31, 2018 at 3:43 PMThank you, Linda! I’m loving it more and more each day the further along we get!
honeynhydrangea
January 30, 2018 at 5:30 PMIt is looking fabulous! Wow, what a job. But sooo worth it!
Rachael @ This is our Bliss
January 31, 2018 at 3:43 PMThank you so much!! It’s been hectic, but totally tolerable. I can only imagine how crazy a total gut-job reno is!
Ted
January 30, 2018 at 10:28 AMHoney, great job! Big undertaking and the final result is going to be amazing. Look forward to seeing what’s next.
Rachael @ This is our Bliss
January 31, 2018 at 3:42 PMThanks, love!! xo
Rebecca | R&R at home
January 30, 2018 at 8:22 AMWow! I cannot wait to see this reveal! I am especially excited to see that gorgeous green Island! Such an amazing transformation already!