I have never been more ready for Spring than in this last week! The flu hit our house [well, mainly me] and I was sick in bed for nearly four days all while my parents, in-laws and sister were here visiting last weekend for my birthday!! I’ll spare you the details, but let’s just say, “Buh-bye, Winter and icky illnesses!! We. want. Spring!” Today I am sharing How to Make a Burlap and Floral Spring Wreath for February’s edition of the My Dollar Store DIY series!
Our theme was general decor, but thought it was the perfect opportunity to make a cute Spring Wreath.
And yep, you already know! The wreath was made from supplies found at Dollar Tree!
It took all of 10 minutes and is as cute as can be!
Last Fall, I made an DIY Autumn Leaf & Berry Wreath, so decided to try my hand at a different version using the same foam wreath form as the base!
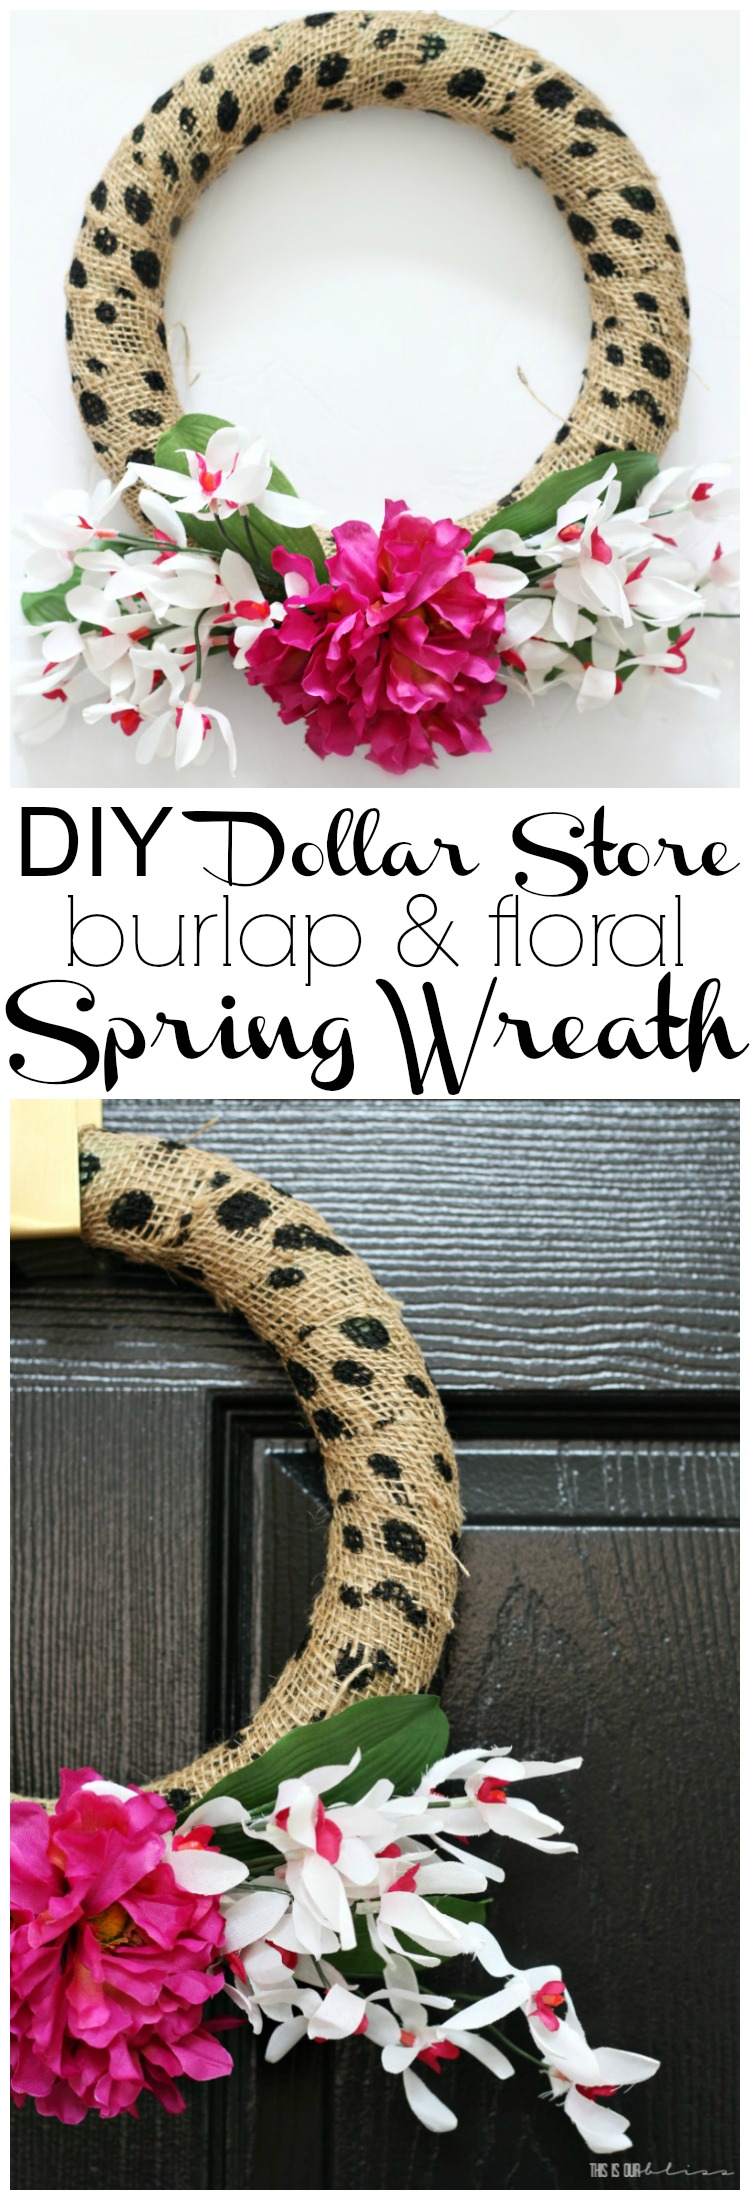
HOW TO MAKE A BURLAP AND FLORAL SPRING WREATH
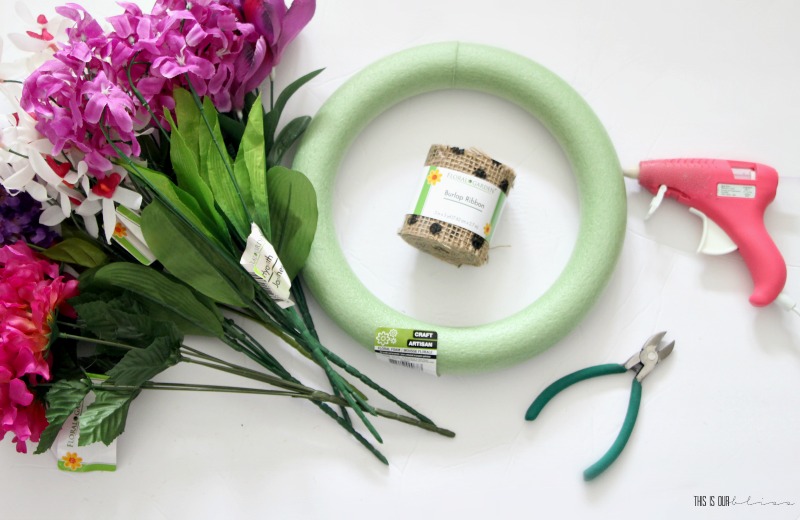
DIY WREATH SUPPLIES:
[*Affiliate links are used below.]
- 10″ foam wreath ring
- faux flowers [2-3 bunches]
- burlap ribbon [my Dollar Tree had this cute polka-dot burlap]
- hot glue gun
- wire cutters
DIY WREATH DIRECTIONS:
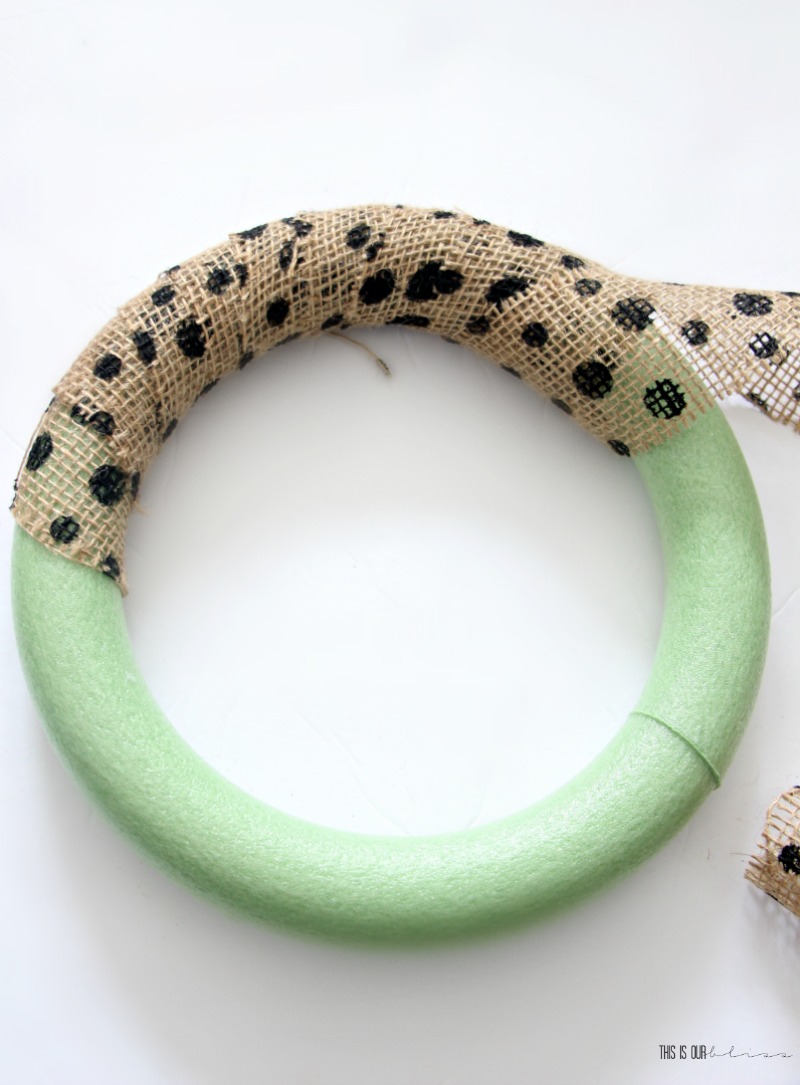
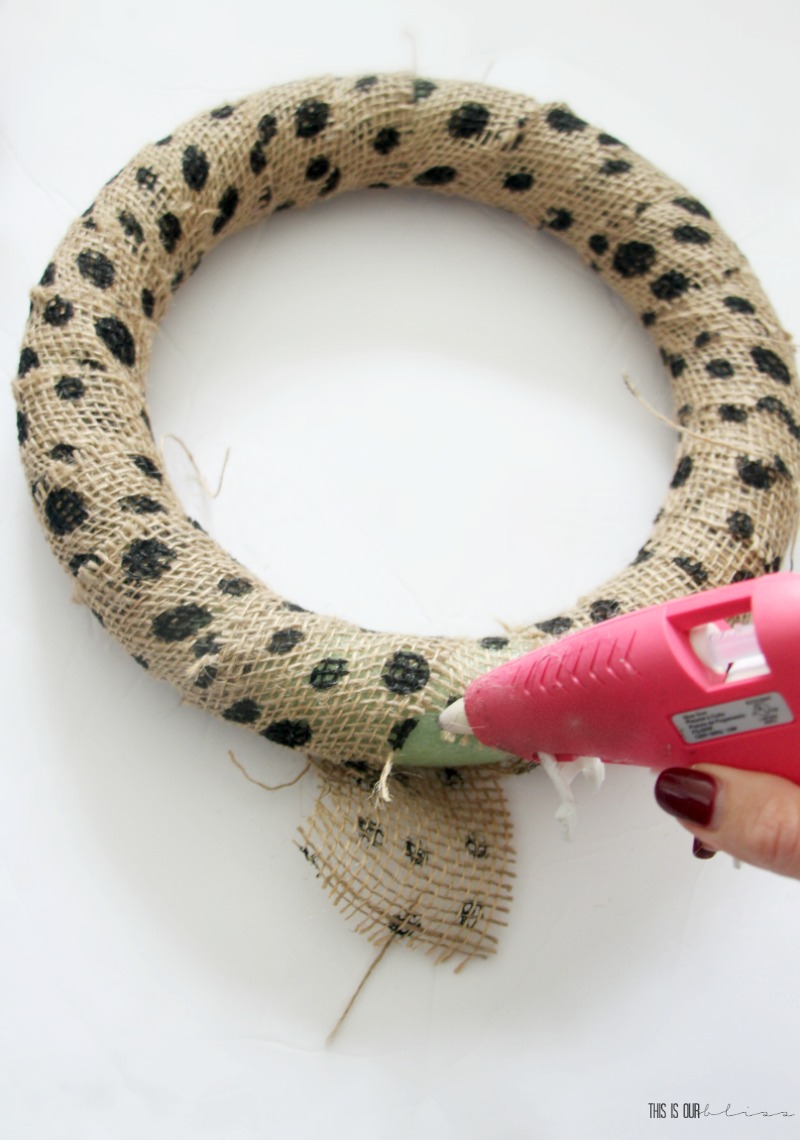
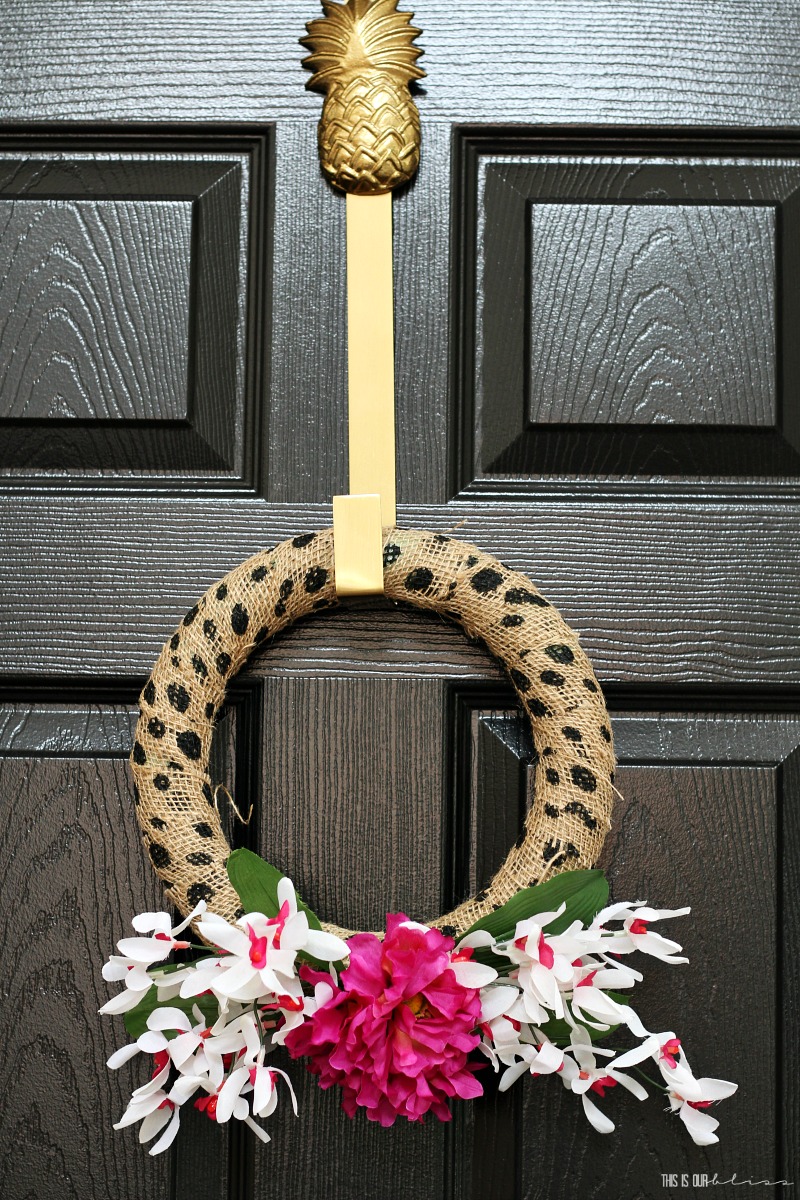
First, I simply started by securing the end of the burlap to the wreath with a dab of hot glue and then wrapped the burlap around the form overlapping the section before by about 50%.
This was to get good coverage and basically hide the green foam from peeking through the holes in the burlap.
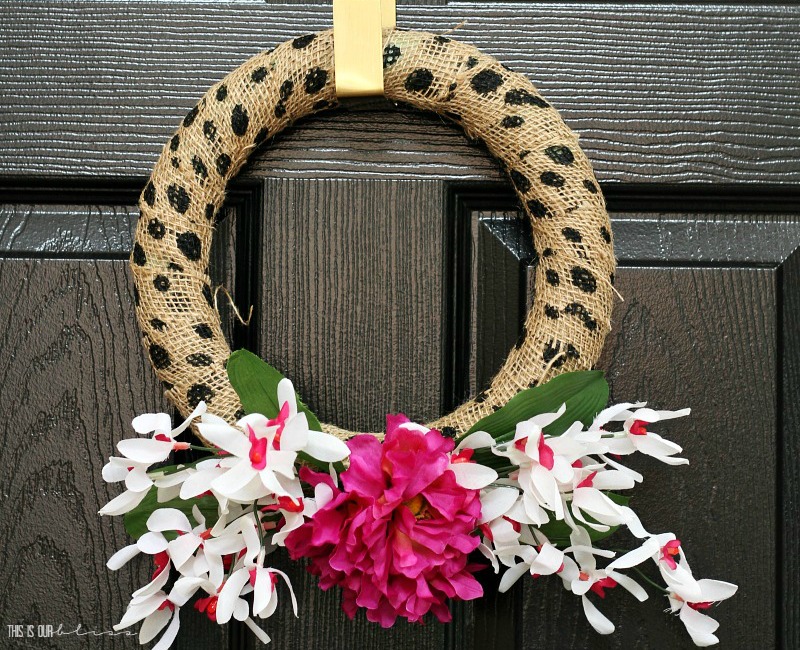
Even though the burlap had the polka-dots on it, I didn’t worry about trying to match up any dots or patterns. It sort of resembles a leopard print!
The burlap roll was 3″ x 3 yards and it fit perfectly around the distance of the form, so I secured the edge with my hot glue once I was done wrapping it around.
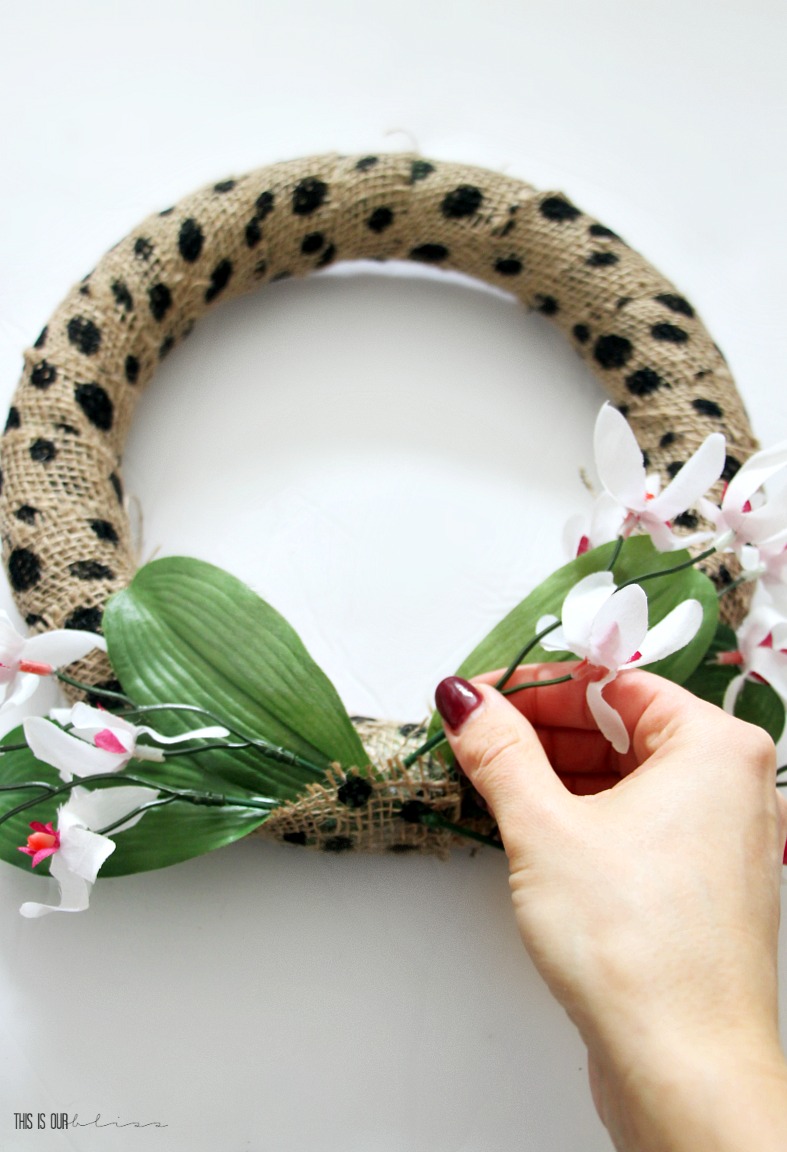
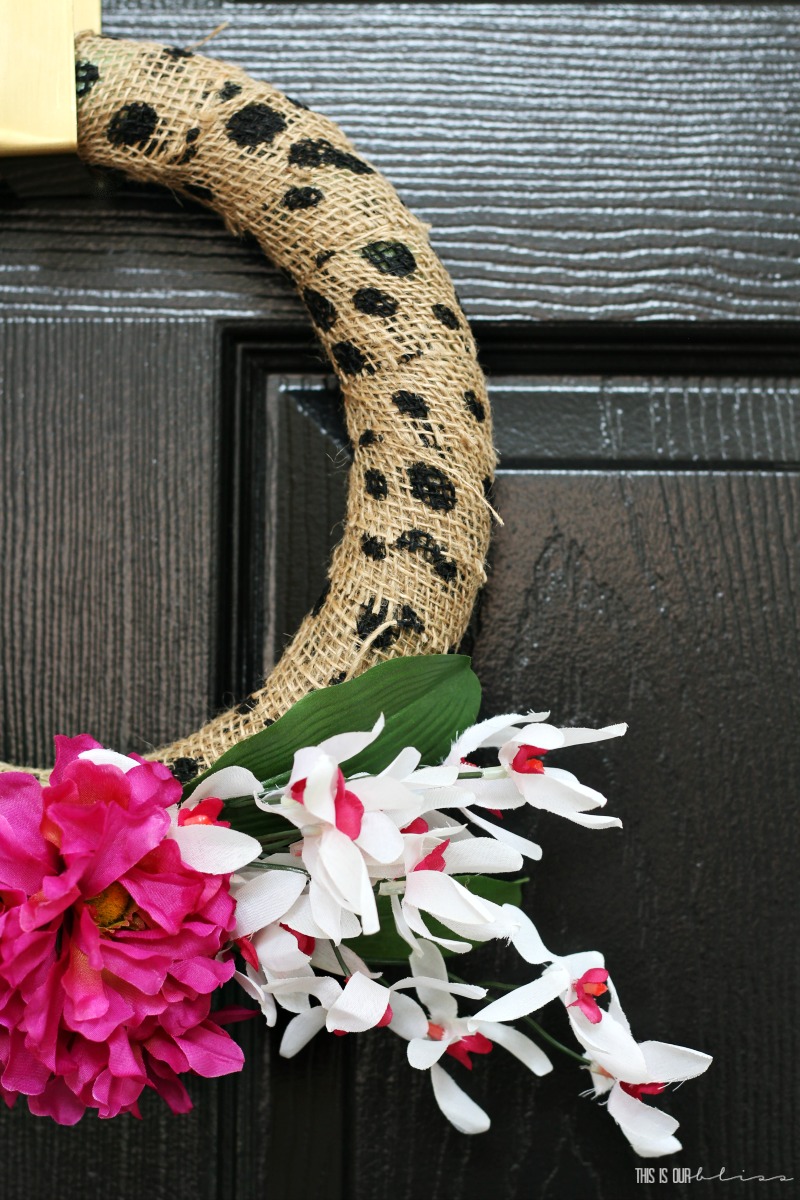
Next, I clipped about 10 – 12 individual flowers off the 2 bunches with my wire cutters at various lengths. I left a leaf on about half of them. Then, I slid them under the edge of the burlap alternating sides.
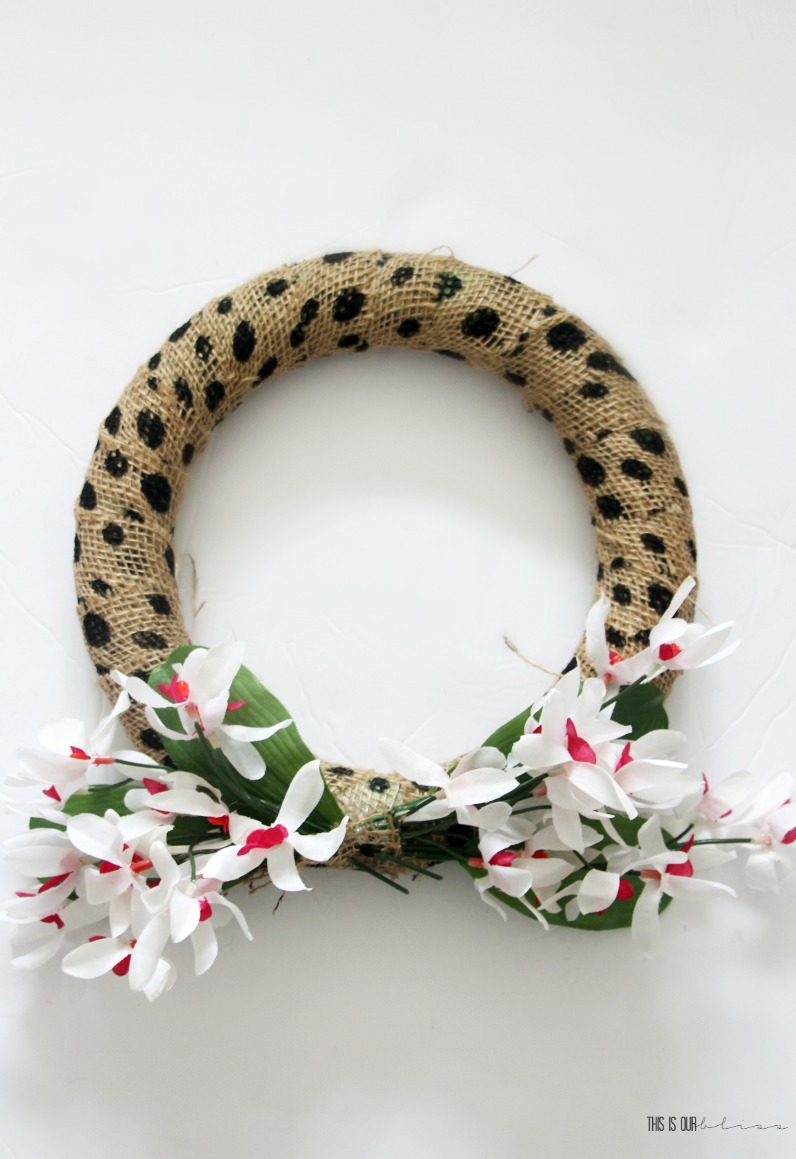
This created varying lengths of floral stems coming from the left and right.
It looked like this…
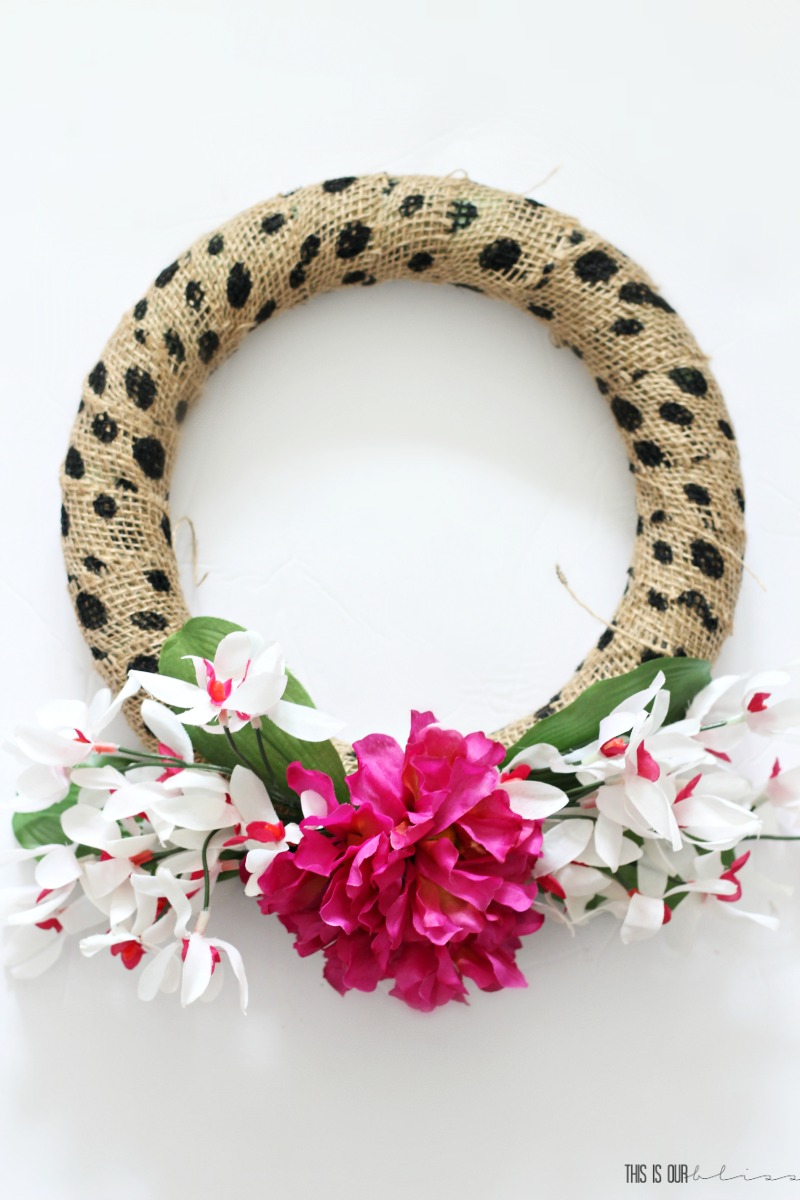
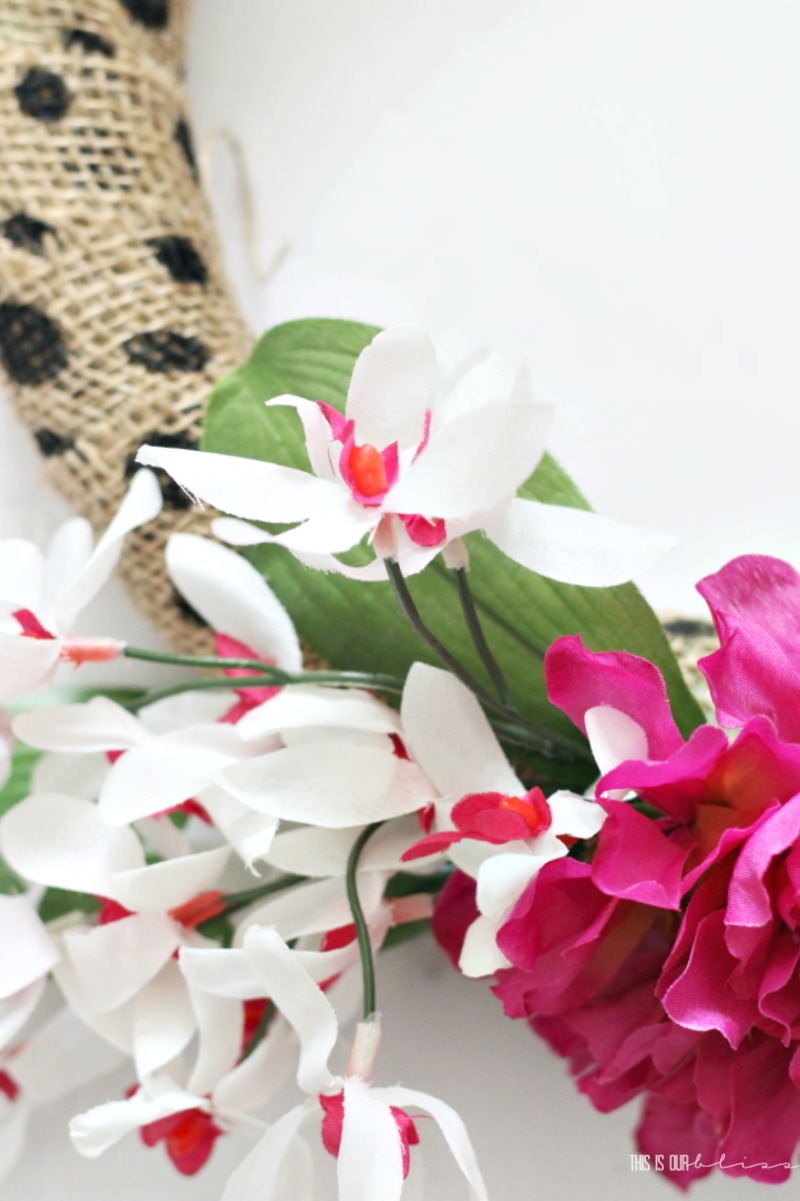
Since I had picked up a variety of flowers in pinks, purples and magenta, I decided to snip 3 large flowers off just under where the petals were connected to the stem. From there, I hot glued them to the center of the wreath, one by one.
In doing this, I was able to add another flower element and also cover up the area where all of the stems were intersecting under the burlap.
It’s not exactly the prettiest sight to see on the front of the wreath!
Boom. That’s it! 10 minute,
$5 DIY Burlap & Floral Spring Wreath!
So simple, right?
Overall, it’s such a small wreath, so it can be hung just about anywhere!
You can see the wreath I made in the Fall attached to the back of one of our dining chairs in my Fall Tablescape post. I just inserted a couple of push-pins into the upholstery to secure the ribbon and keep it from moving.
*Bonus tip:
You can pick-up faux flowers at Dollar Tree, Michaels or Hobby Lobby and mix them in with your fresh flowers to make a beautiful [& affordable!] arrangement.
I wrote a tutorial for how to make a fresh and faux floral arrangement here.
You can also see an example of a faux and fresh flower mix I arranged for the centerpiece on my island in my recent Kitchen Revamp Reveal! Did you catch it? Our drab and dreary late 90’s oak kitchen transformed into a Bright, White & Bold space we all now LOVE!
What about you? Are you a front door Spring wreath kind of person? Do you keep a wreath on your door year-round?!
Don’t forget to pin for later!
Now, head on down to see the other five projects the girls came up with this month! We’ve got everything from a vase, to a corkboard, a tablet holder, to Kid’s art and Spring art! Super cute ideas anyone can do! The best part? Most only cost a couple of dollars!!
I hope you have a great rest of your week and weekend! I’ll be back next week with a few updates on where we’re at with some projects I introduced in our 2018 Master Project Punch List!
You can see the rest of my posts in the My Dollar Store DIY series here:


 Easter Egg Topiary Place Cards
  DIY Faux Succulent-filled Gold Wire Orb
  DIY Simple, Sweet Sayings Gift Tags
  DIY Mini Pom Pom Napkin Rings
  4th of July Confetti Star Wine Glass
  DIY Maple Leaf Charger Plate
  Floating Spooky Spiderwebs
  5 Minute Holiday Hostess Gift
  DIY Christmas Bell Napkin Ring
  DIY Dollar Store Drawer Organizer
  DIY Burlap and Floral Spring Wreath
  DIY Mason Jar Mug in a Mitt Hostess Gift
  Dollar Store Pom Pom Beach Hat Band
  DIY Blue & White Striped Patriotic Planter Pot
  DIY Patriotic Striped Scarf Wreath
  DIY Copper Acorn Vase
  DIY Buffalo Check Scarf
  DIY Marbled Christmas Ornaments






Rebekah Purnel
March 10, 2018 at 4:44 PMHow sweet! I have fallen in love with it!!! I’m an avid DIYer and always try to be busy with some new projects! Was searching for a unique idea. Yours made me stop and crazy to do it asap! In a hurry to start. Wish me a good luck Rachael..! 🙂
Jessica :: The Organized Mama
February 24, 2018 at 9:20 PMI absouletly love this wreath!! So clever!!
State Fingerprint Art
February 23, 2018 at 2:48 PM[…] This is our Bliss […]
sevanderkooy
February 22, 2018 at 8:12 PMThis is a beautiful wreath, I really like the polka dots. Glad you are feeling a bit better, I agree Spring can’t come soon enough!
Kim Jones
February 22, 2018 at 6:27 PMHi Rachel, great job on the Spring wreath! I love all circles!!! Also, love the burlap print!
Vee Muller
February 22, 2018 at 10:36 AMAdorable wreath and l have that ribbon, from, you guessed it, my Dollar Tree! Lots of great craft iyems!
Heather
February 22, 2018 at 9:28 AMLove that ribbon! It turned out great!
Rachael @ This is our Bliss
February 22, 2018 at 10:05 AMThank you!! I didn’t know how much I was going to love the ribbon until it was done!! Def has an animal print vibe that is so fresh & fun 🙂