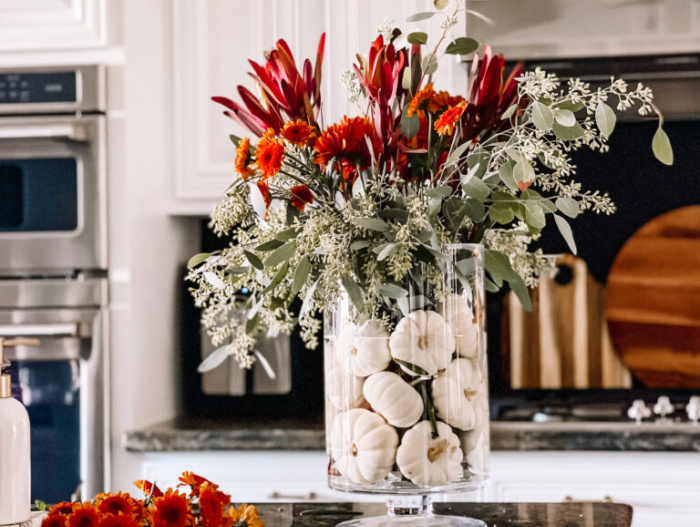
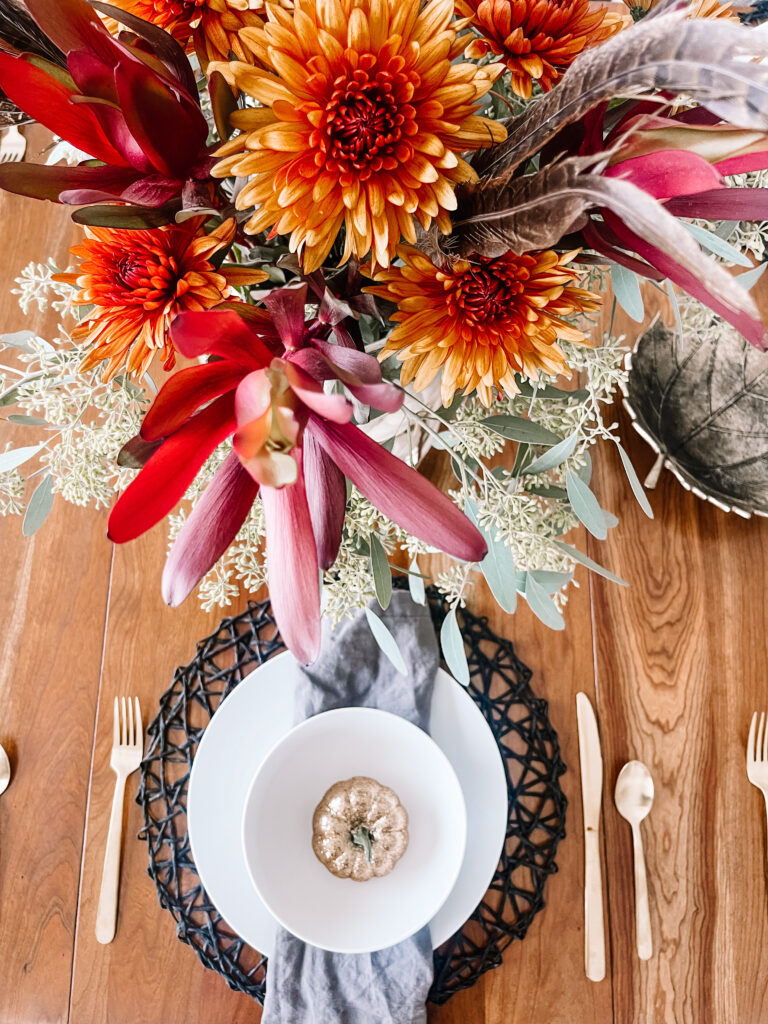
Hi friends! Today I’m breaking down the mini pumpkin-filled floral arrangement you saw on the table in the Dining Room in my Fall Home Tour. It was a big hit so let me show you how I did it. Read on for How to Create a Simple & Elegant Fall Centerpiece.
For more Fall inspo go here and be sure to stop by my full Tablescape Gallery to see more centerpieces, entertaining ideas and holiday inspiration!
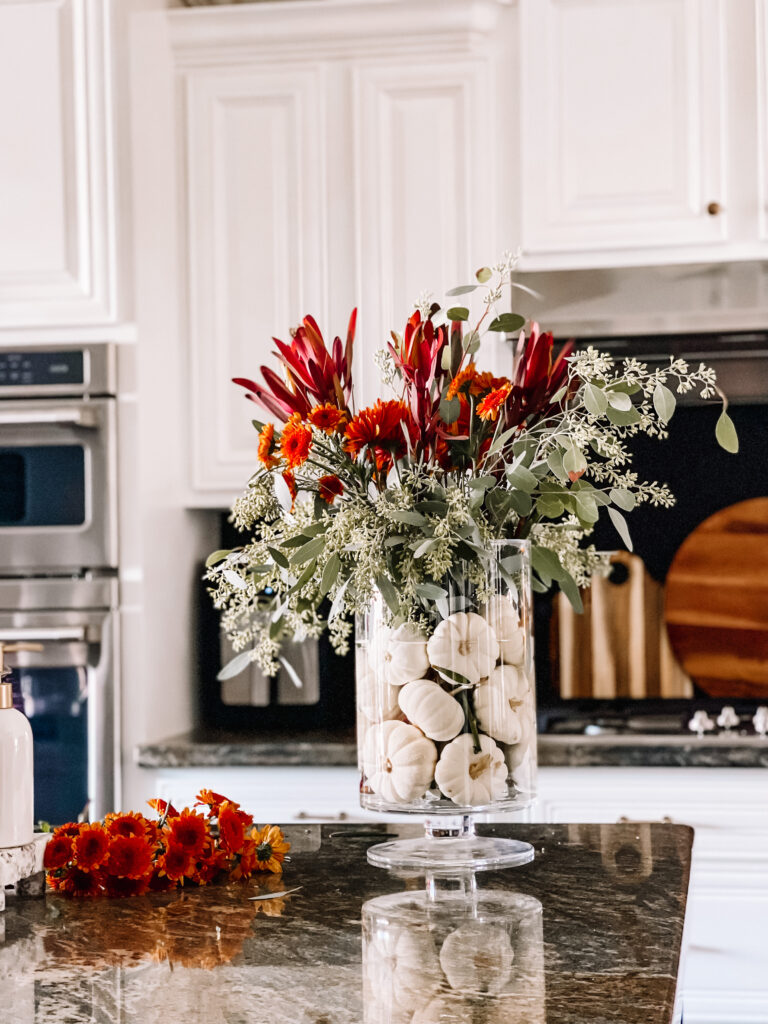
I first shared this Fall centerpiece in my Fall Tour earlier this season. I got so many questions and compliments, I thought I should give this gorgeous arrangement the spotlight in its own post! I’m going to explain how I created it, step-by-step in case you’d like to make one too.
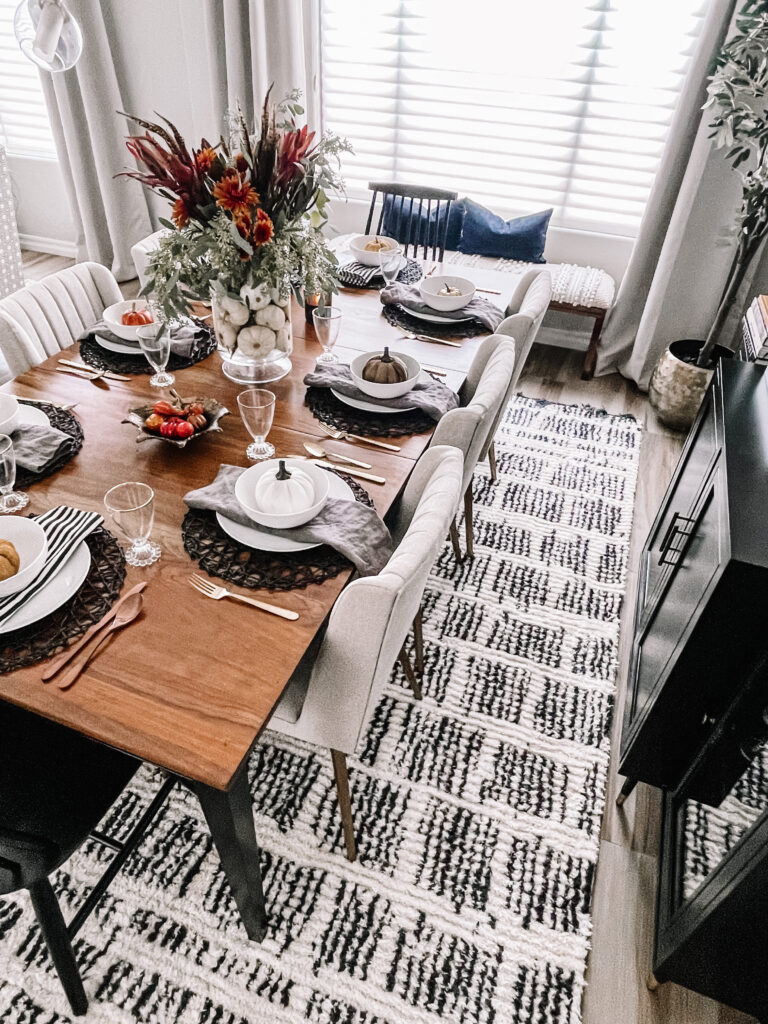
It would be so beautiful on your Thanksgiving table!
HOW TO CREATE A SIMPLE & ELEGANT FALL CENTERPIECE
It might look complicated to put together, but I assure you its not! You can totally do this!
Trader Joe’s is my favorite place to buy fresh flowers. They have the best variety and prices! I feel that the quality is amazing, too. I didn’t realize how lucky I was to have a trader Joe’s right outside of my neighborhood when we lived in Illinois. In Arizona, it takes a little bit more planning to make the 15-17 minute trip, so its such a treat to go!

When I had the idea for this arrangement, I cleared my morning so I could go browse the flower section at TJ’s. They had $.79 mini white pumpkins there too, so I didn’t need to make a separate trip to another grocery store.
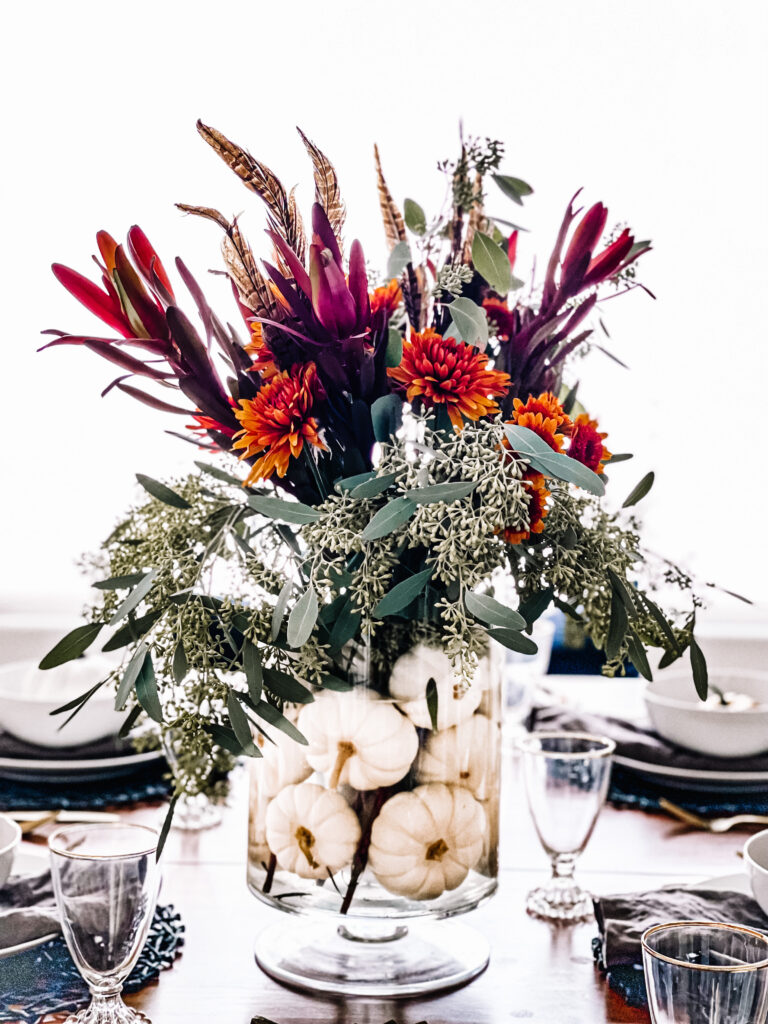

Once I got home it all came together really quickly!
Here is what you need and what to do…
MATERIALS FOR THIS SIMPLE & ELEGANT FALL CENTERPIECE WITH PUMPKINS
- large glass vase [mine is from Crate & Barrel here]
- mini pumpkins [I used 17 to fill mine]
- seeded Eucalyptus
- large mums [orange & red]
- red & green filler stems [I’ll find out the exact name soon!]
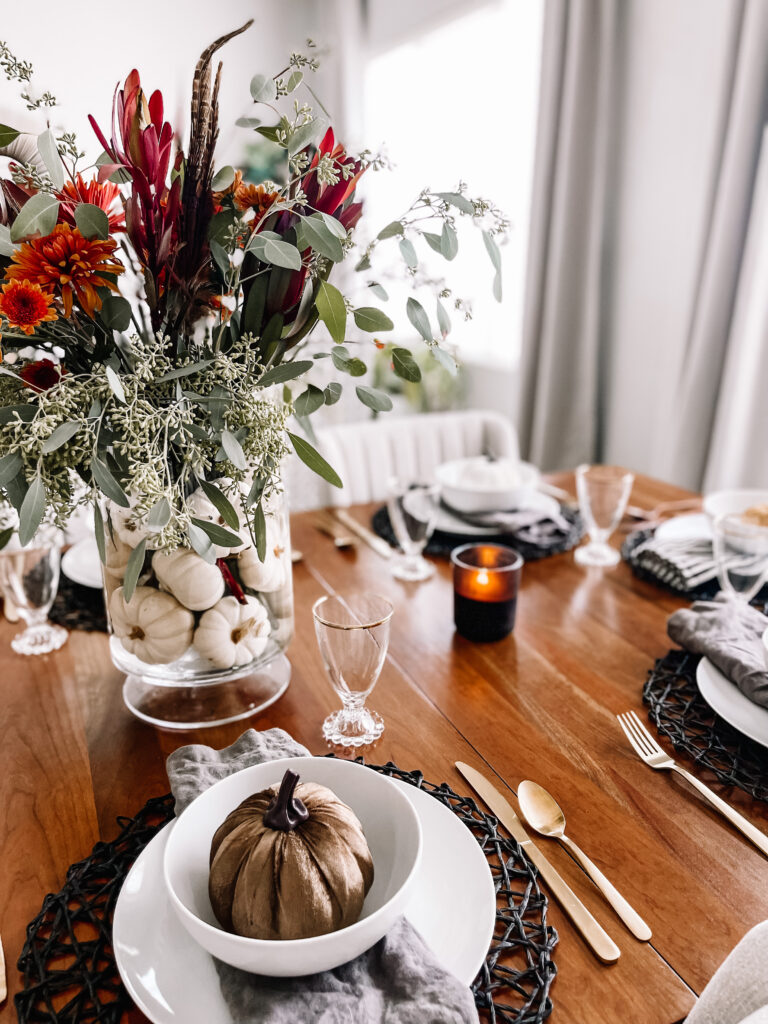
- faux feathers
DIRECTIONS FOR THIS SIMPLE & ELEGANT FALL CENTERPIECE WITH PUMPKINS
1 // Start adding pumpkins to the vase. Line around the perimeter with the stem facing outward. Once you have the perimeter complete, add one to the center to keep the outer ones in place.
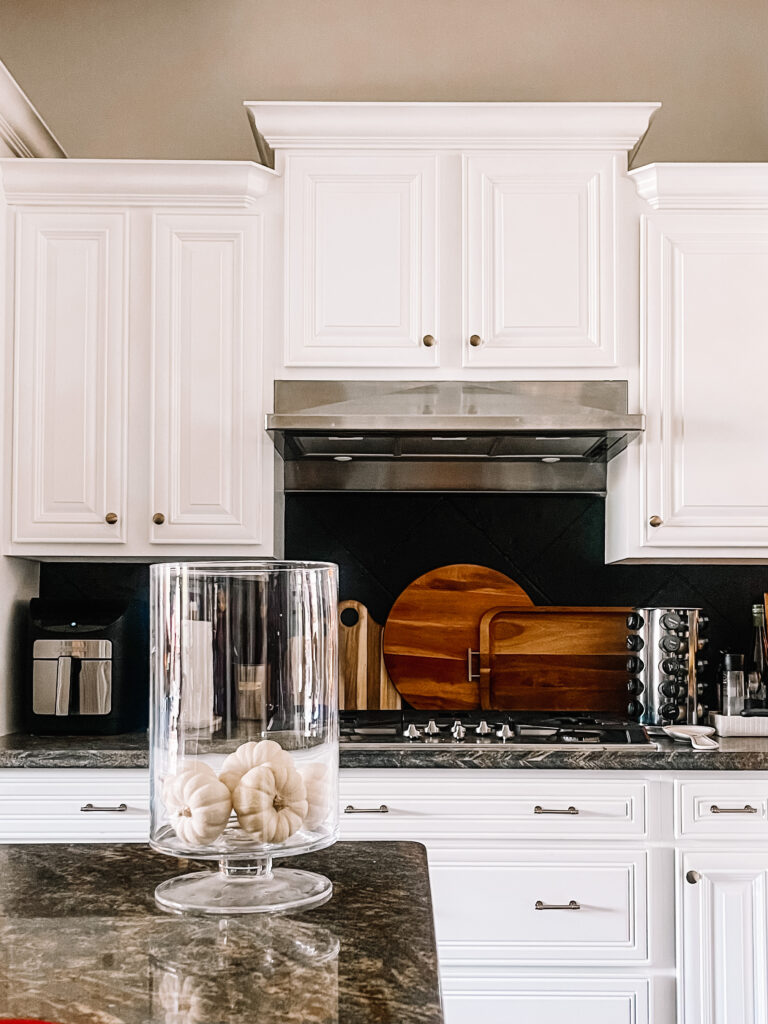

2 // Work your way around and up the vase until its full.
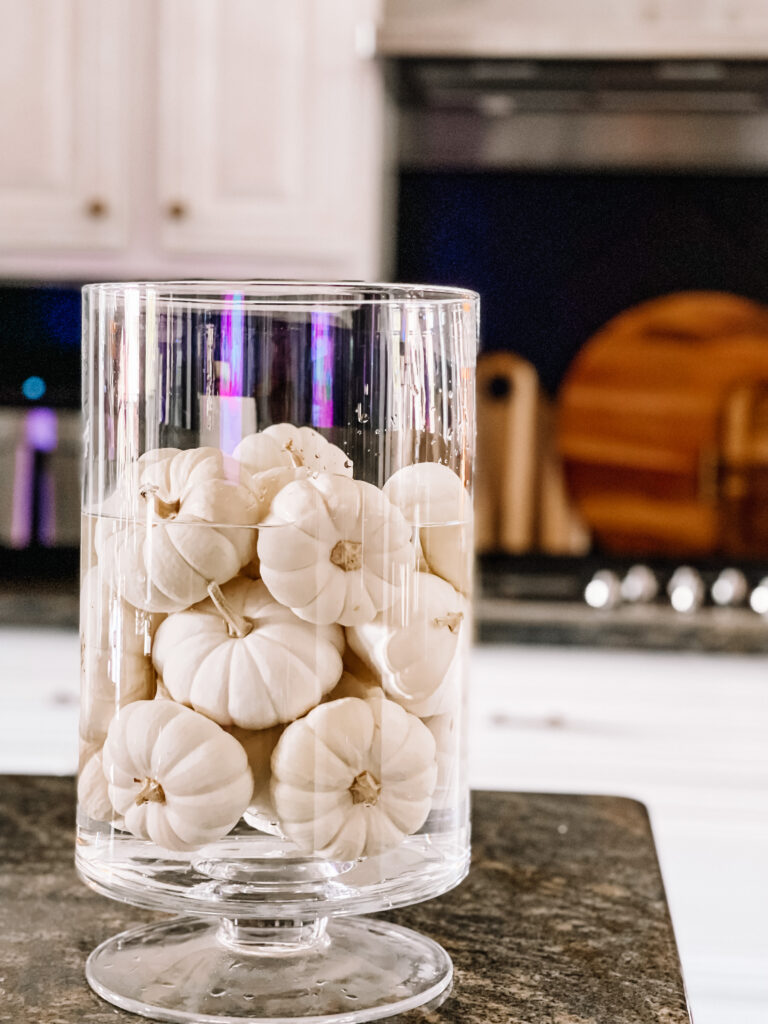

3 // Add water to the vase.
4 // Then add the red & green filler stems to the center of the vase. I think I used around 5.
5 // Next, add the seeded eucalyptus so they drape over the outer edge of the vase.
6 // After that, fill the open holes with the large mum stems.
7 // Lastly, add a few feathers to the center for a unique twist to your floral arrangement.
And that’s it!
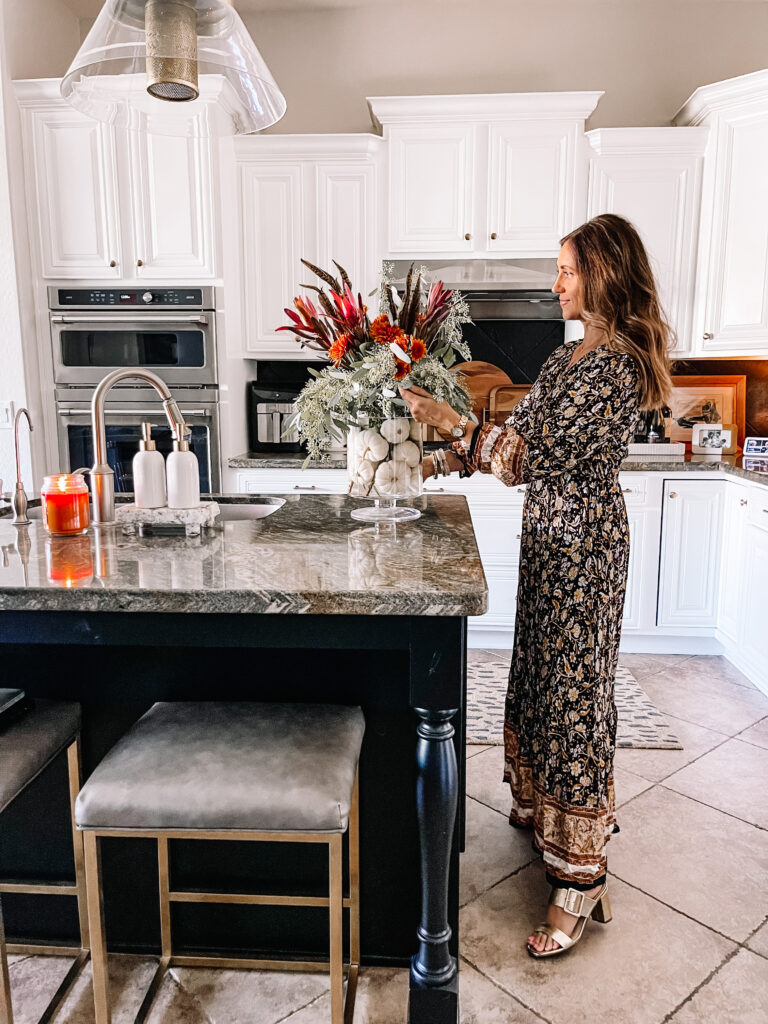

Carry your arrangement over to the center of your Dining Room table or leave it on the island for a dose of warm Fall colors in your kitchen!
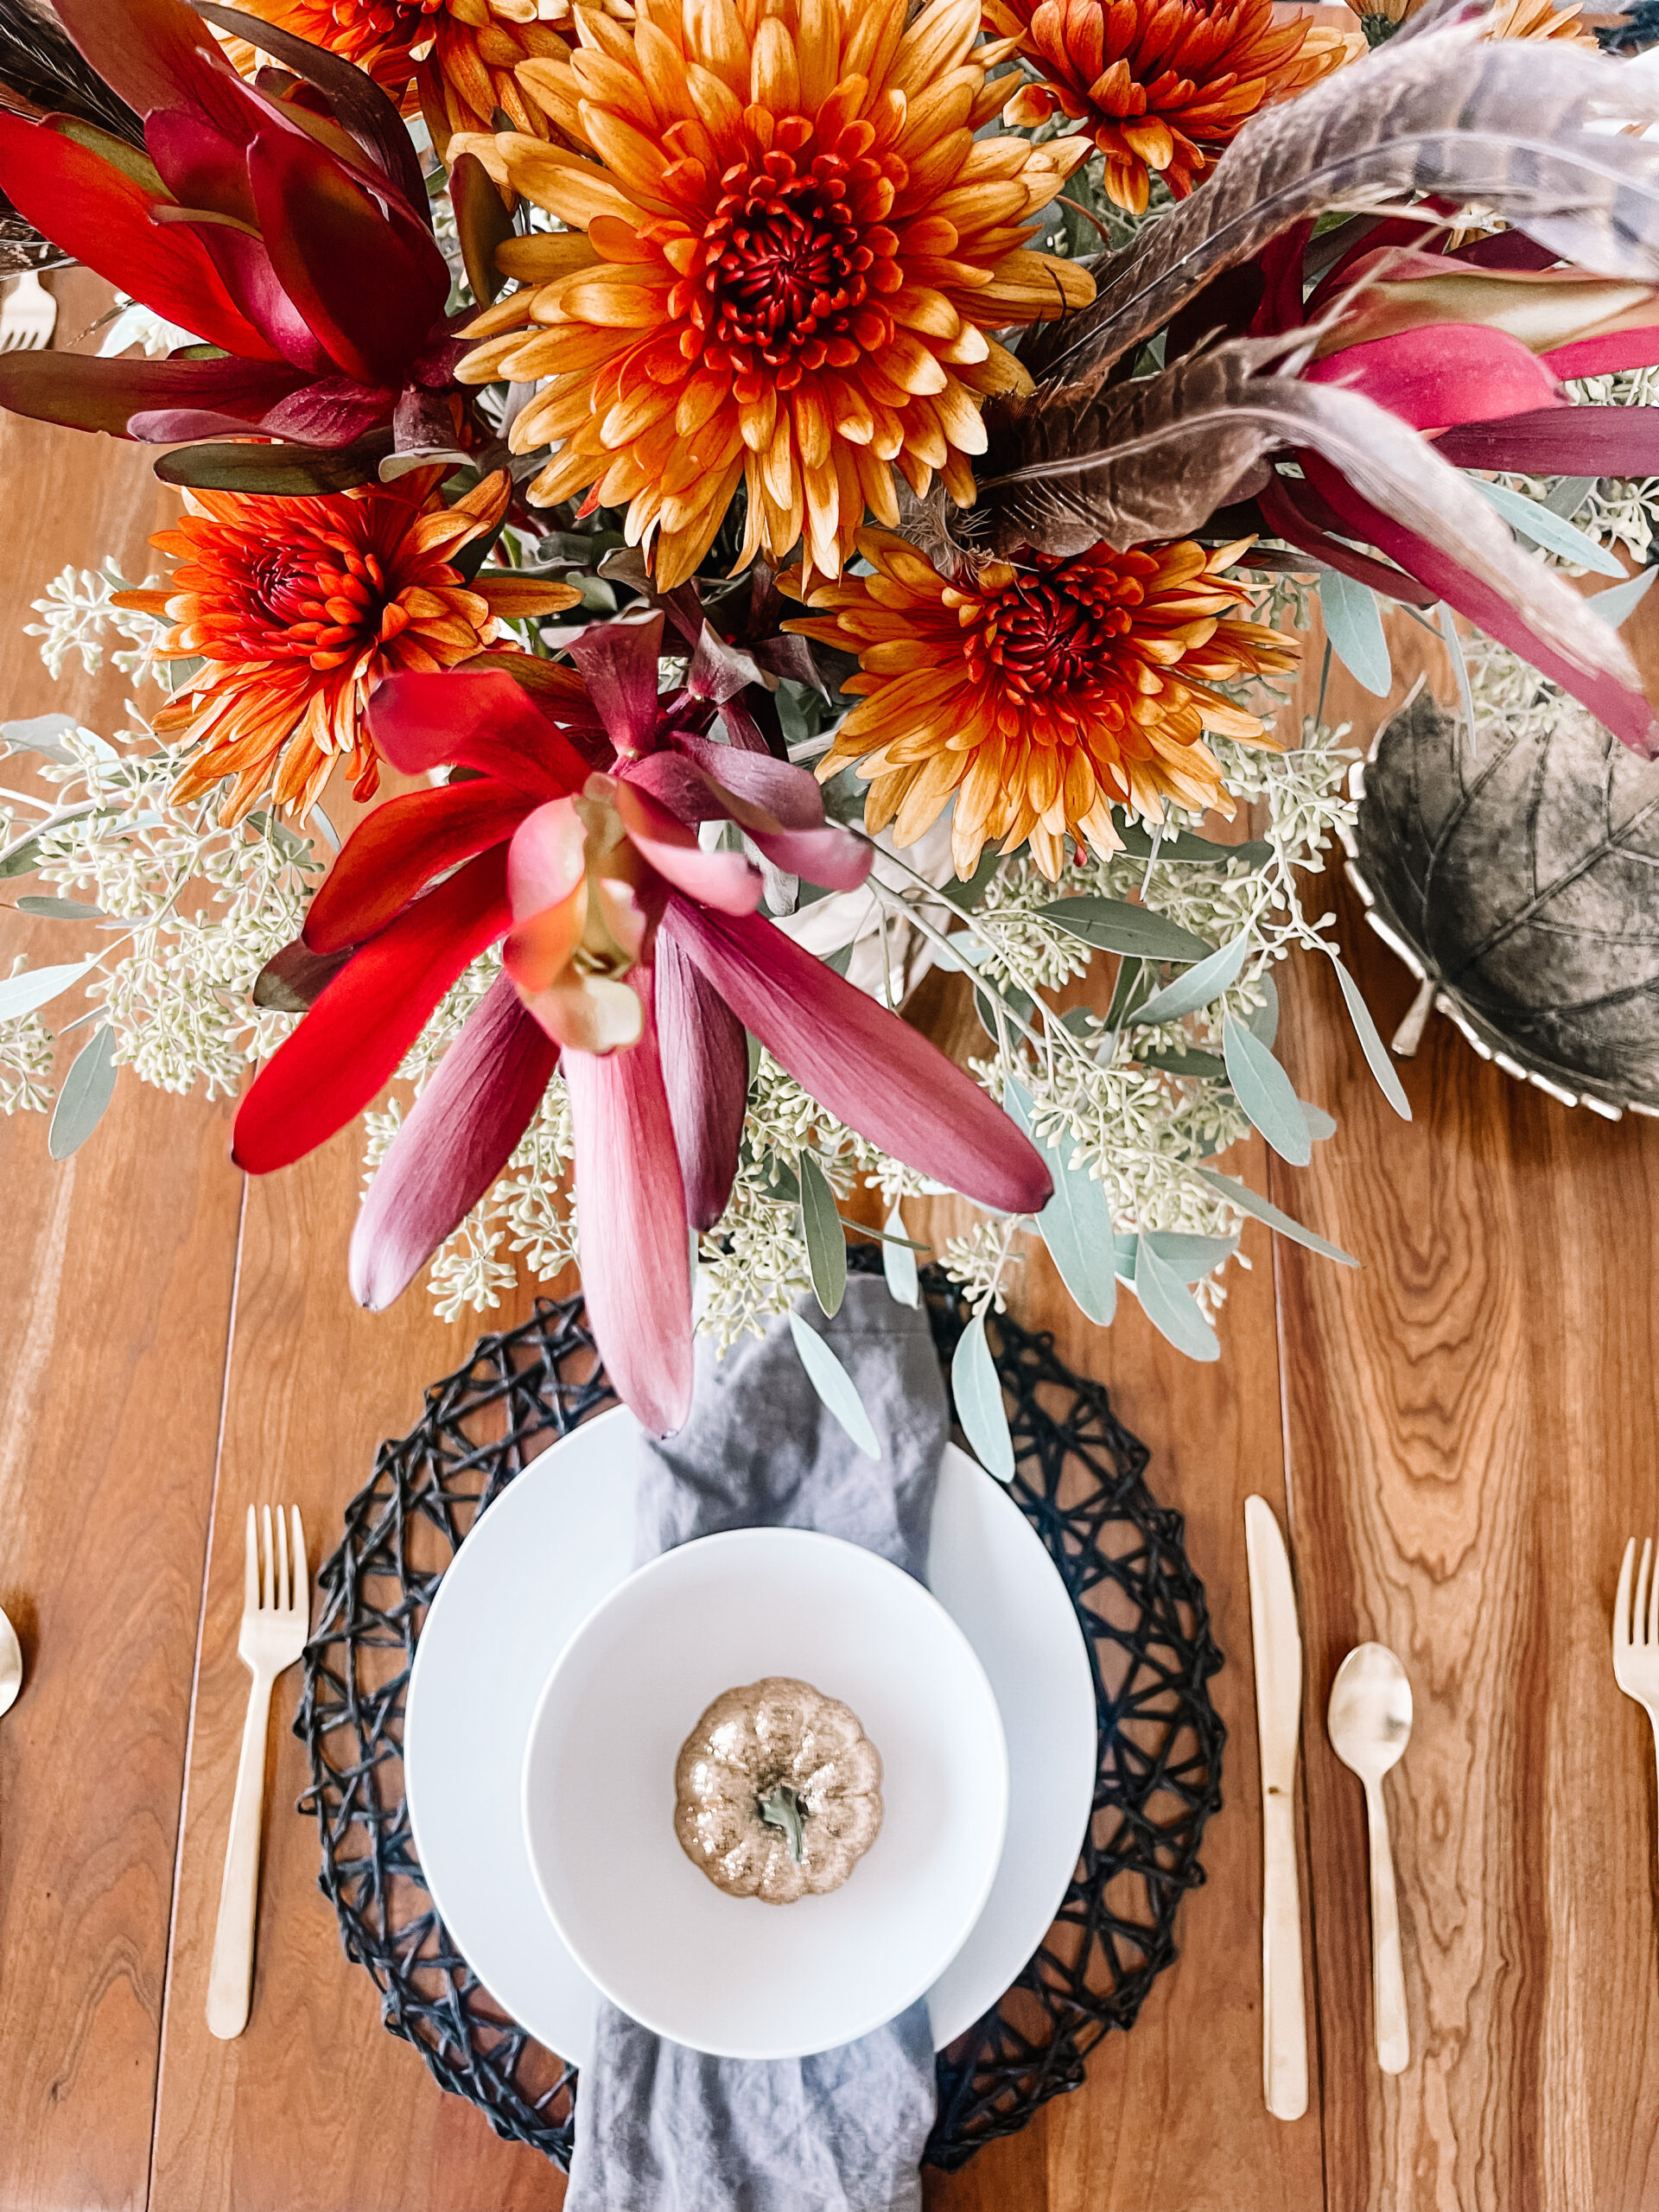

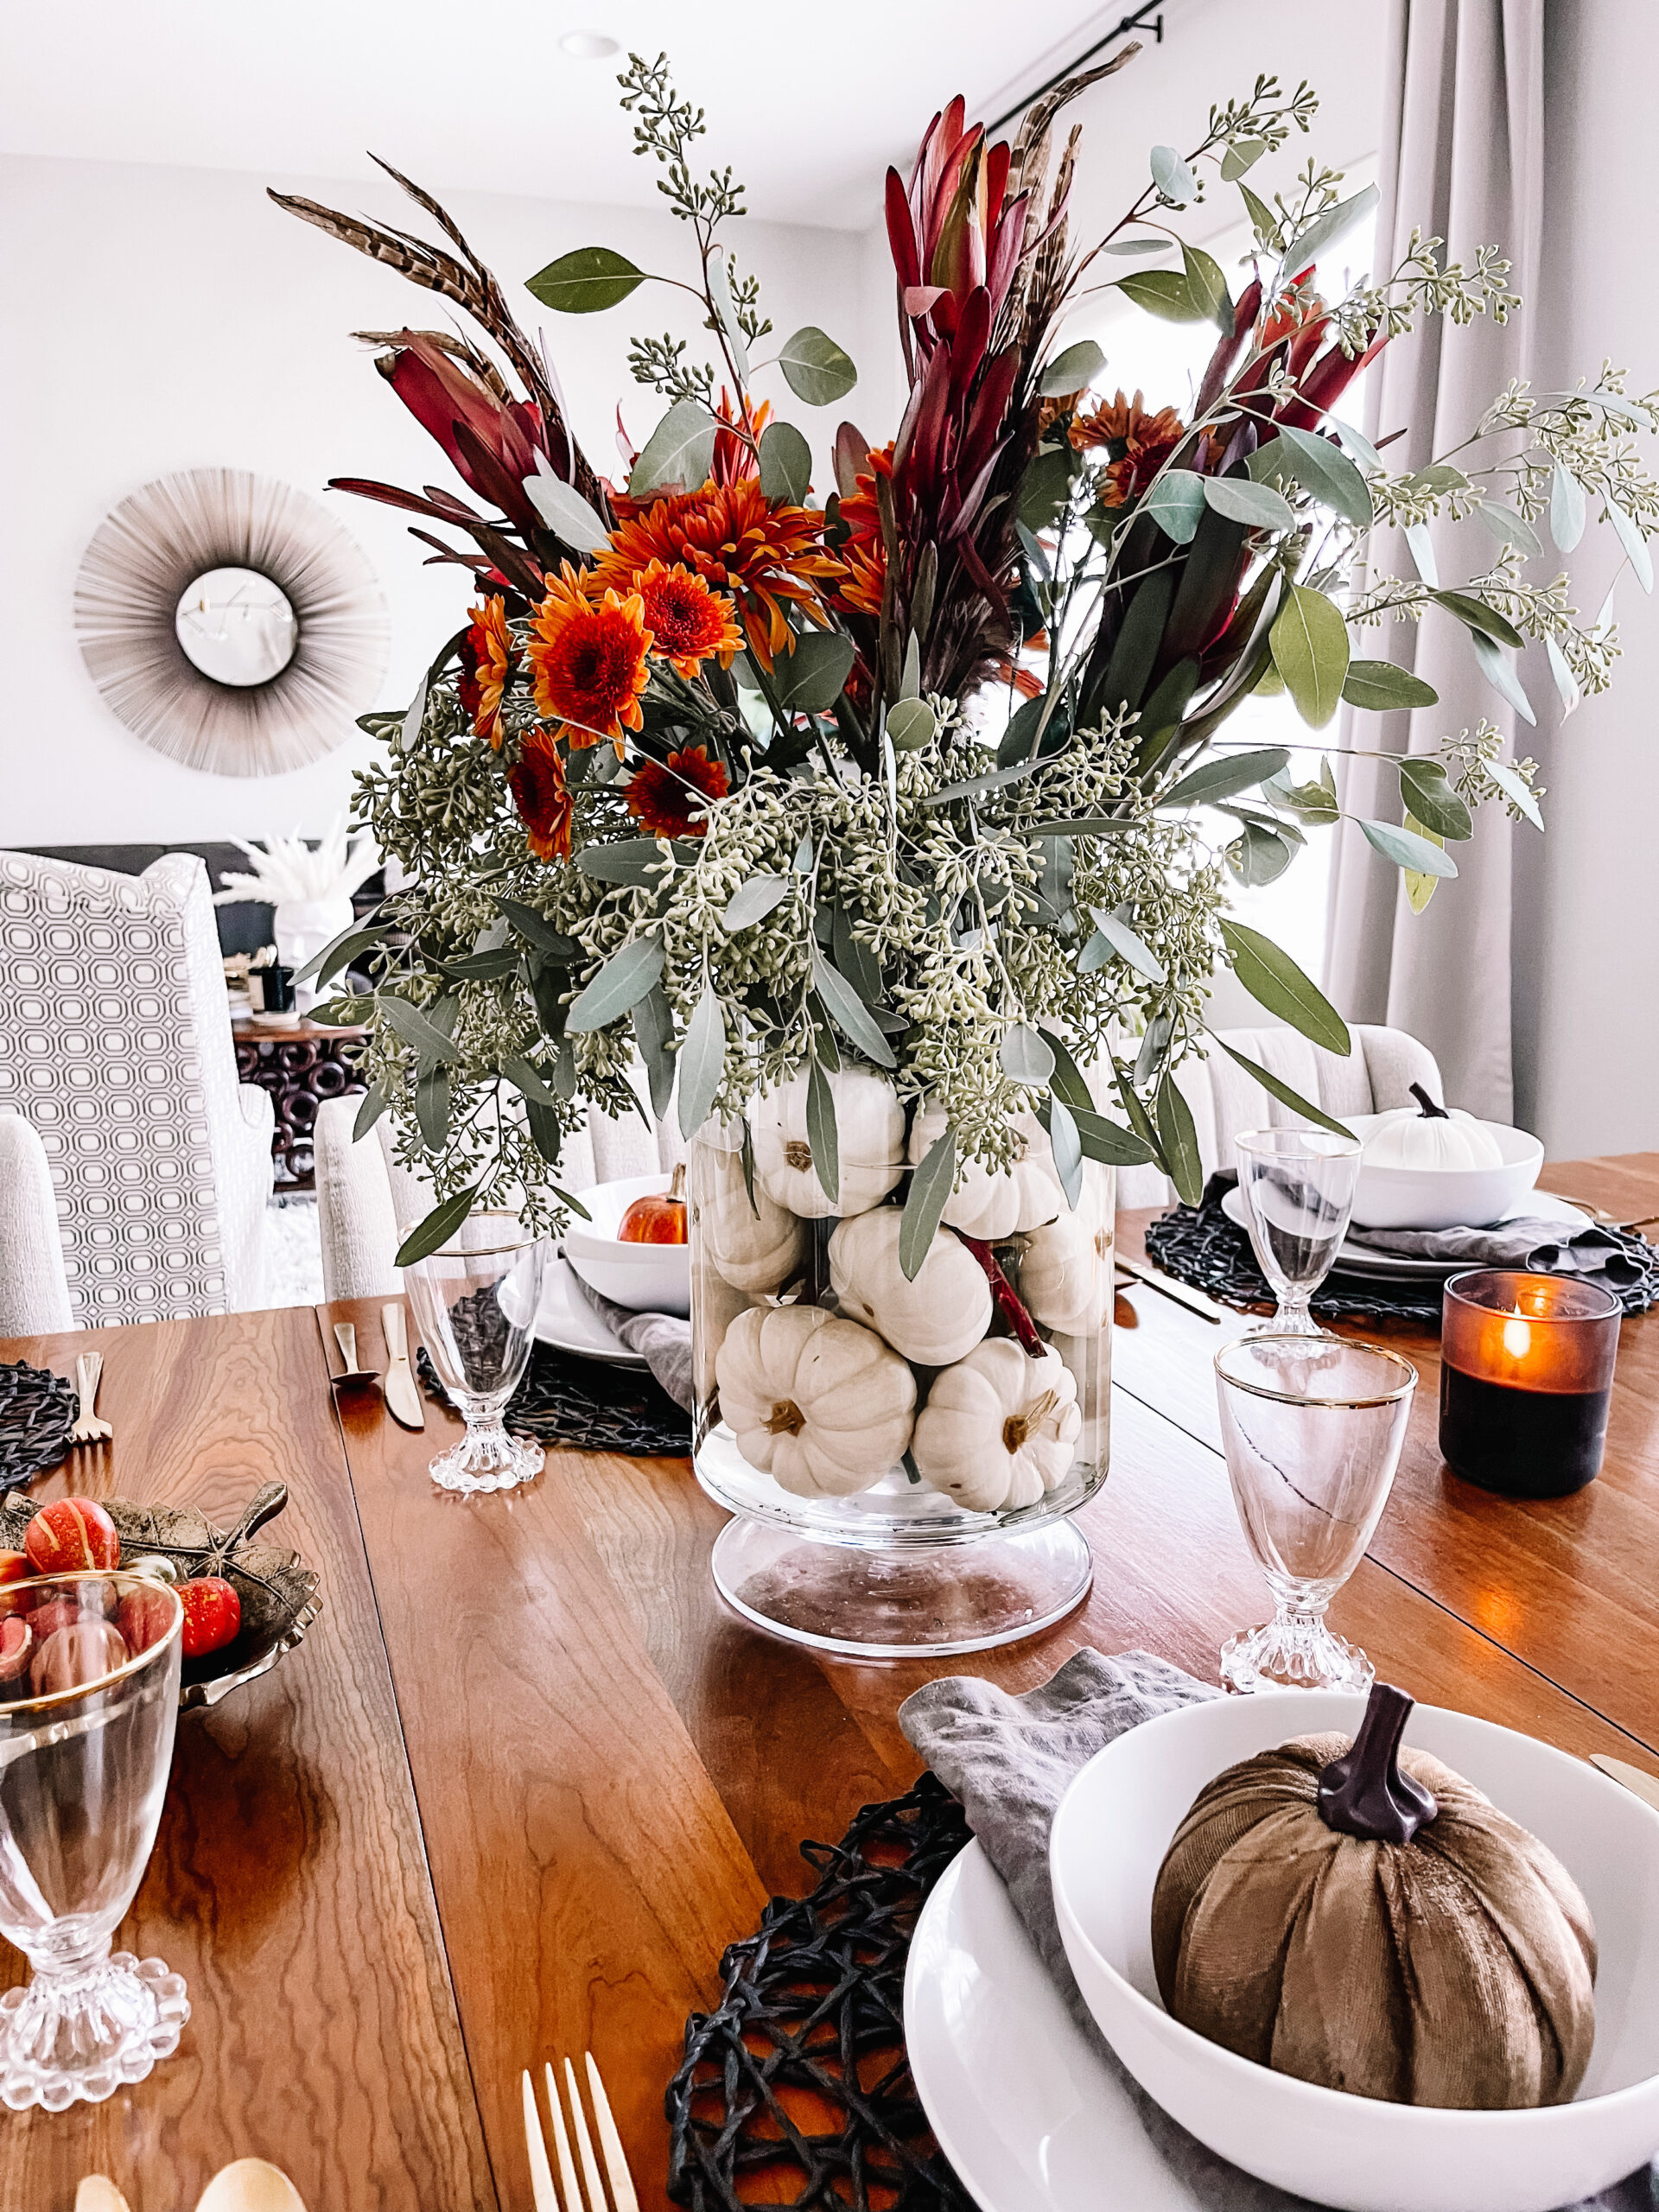

You can see the rest of the photos from this tablesape with sources included in this post here!
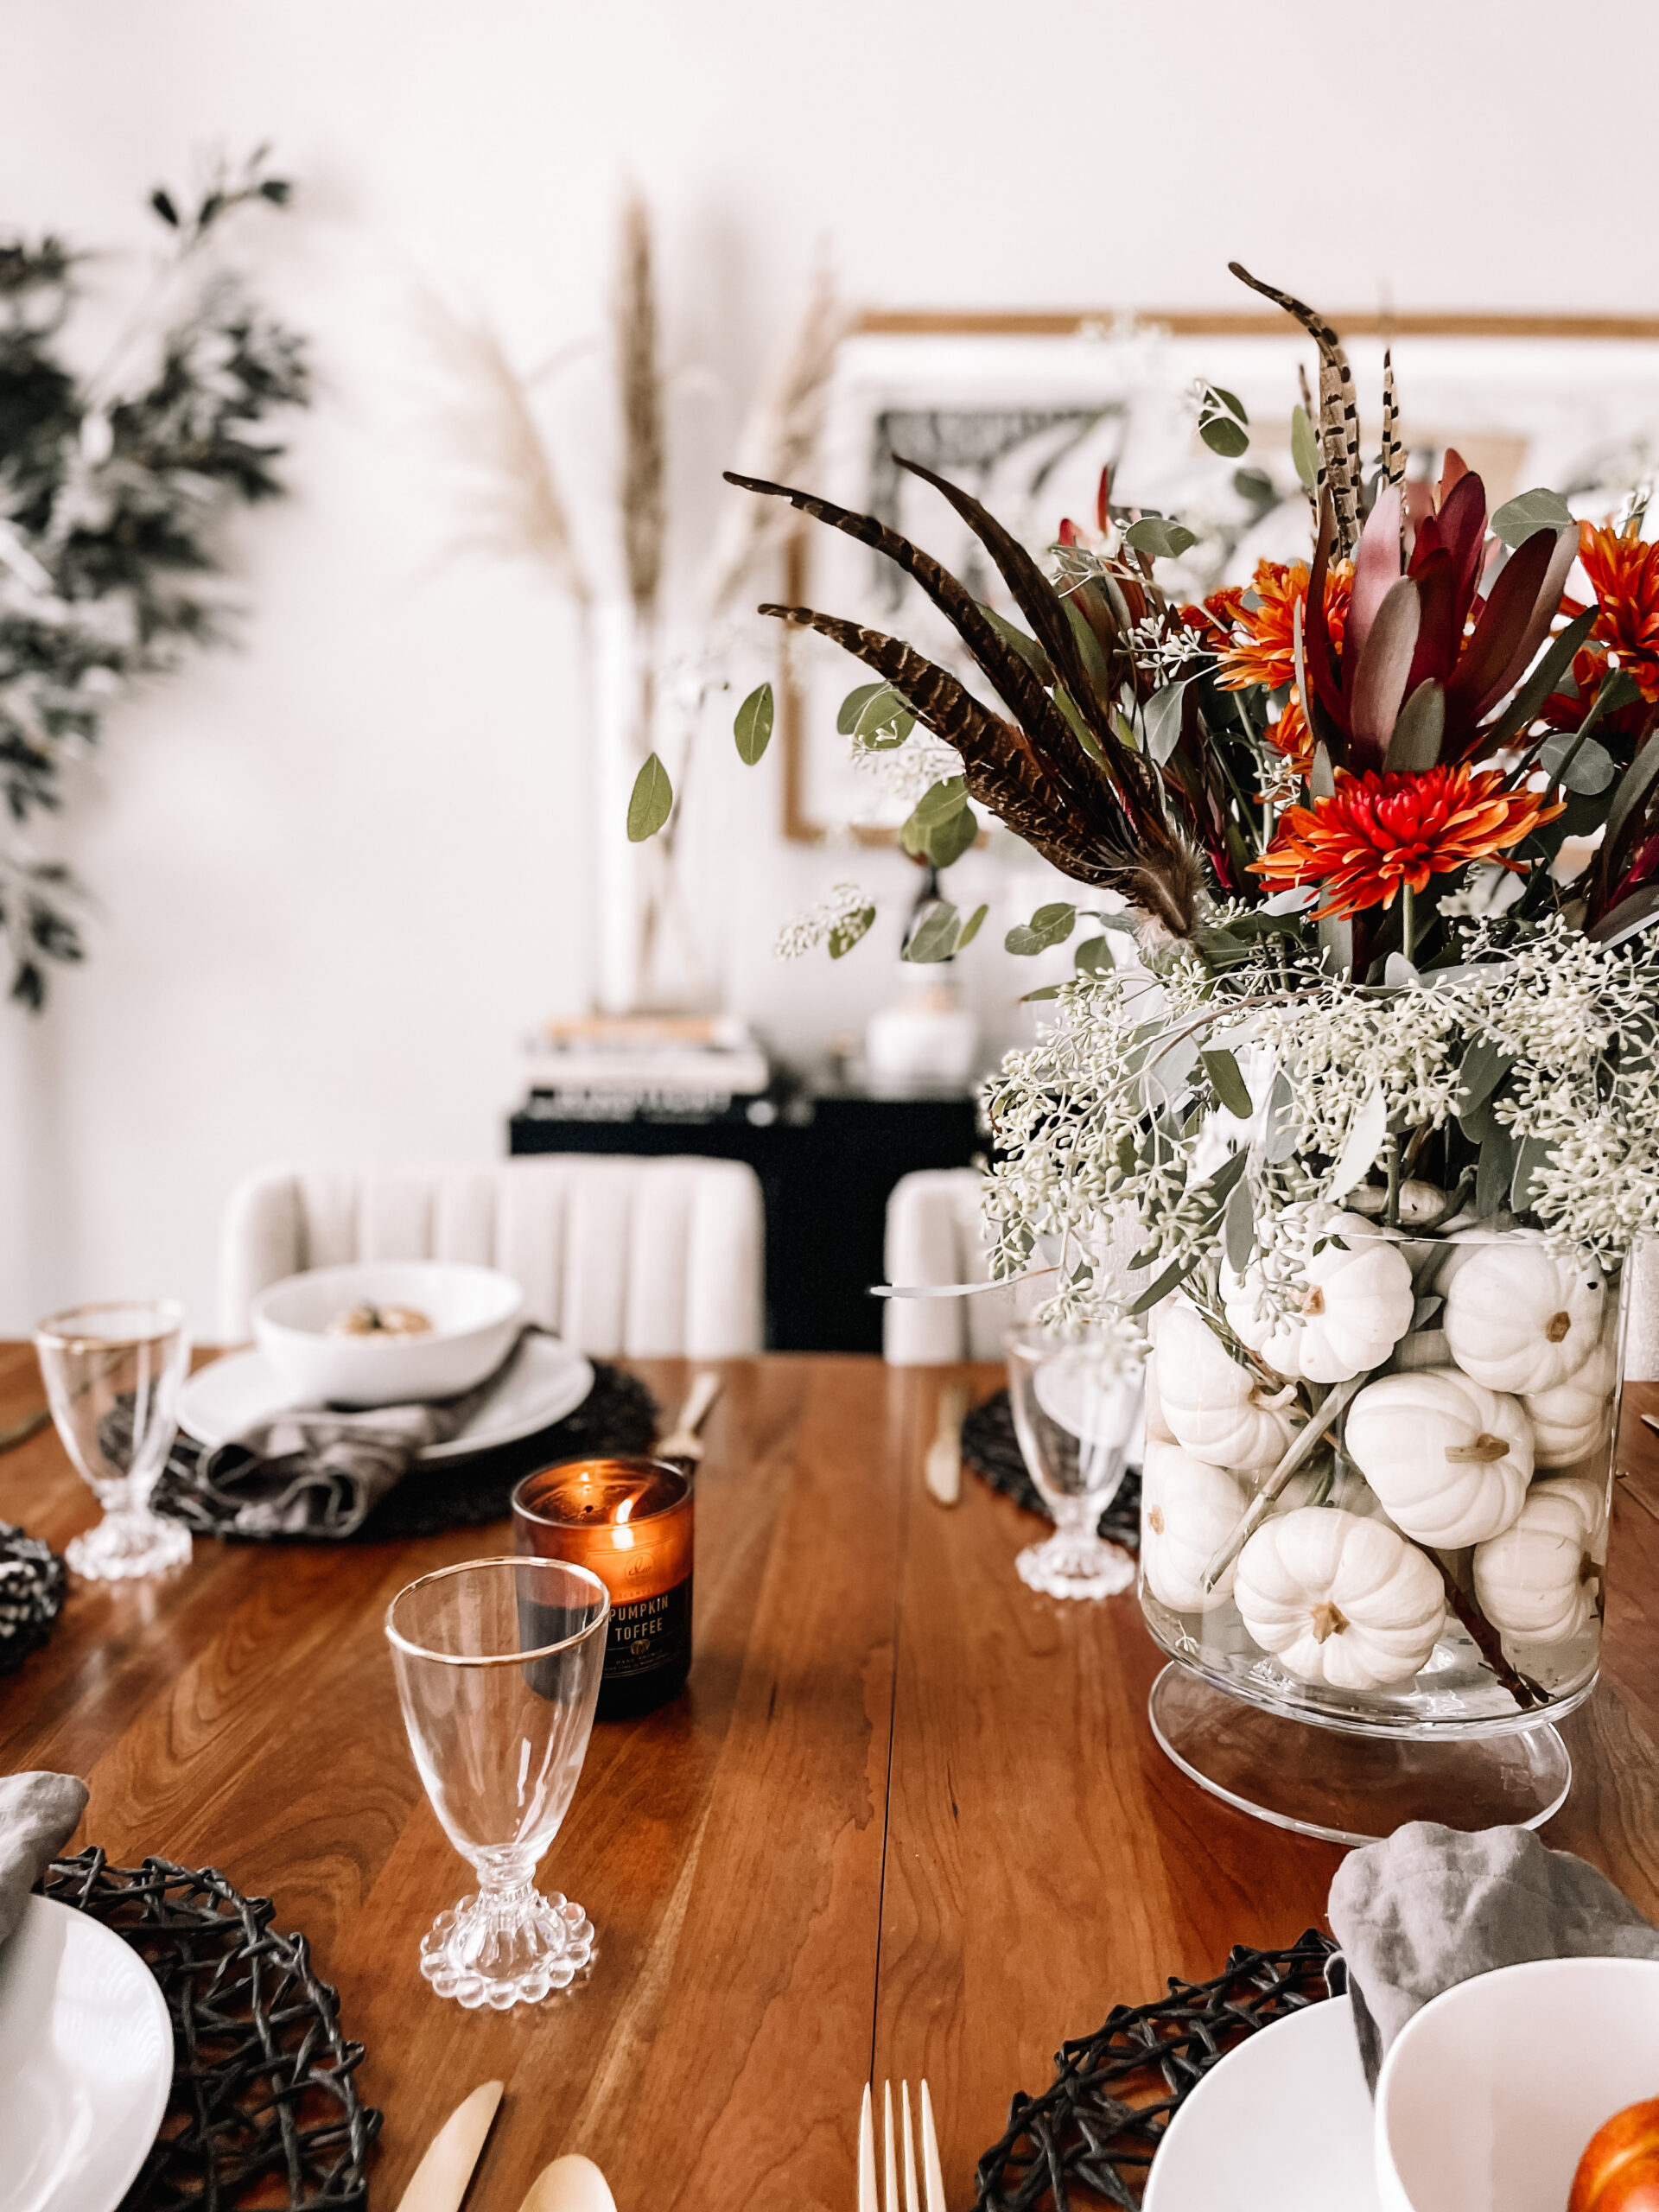

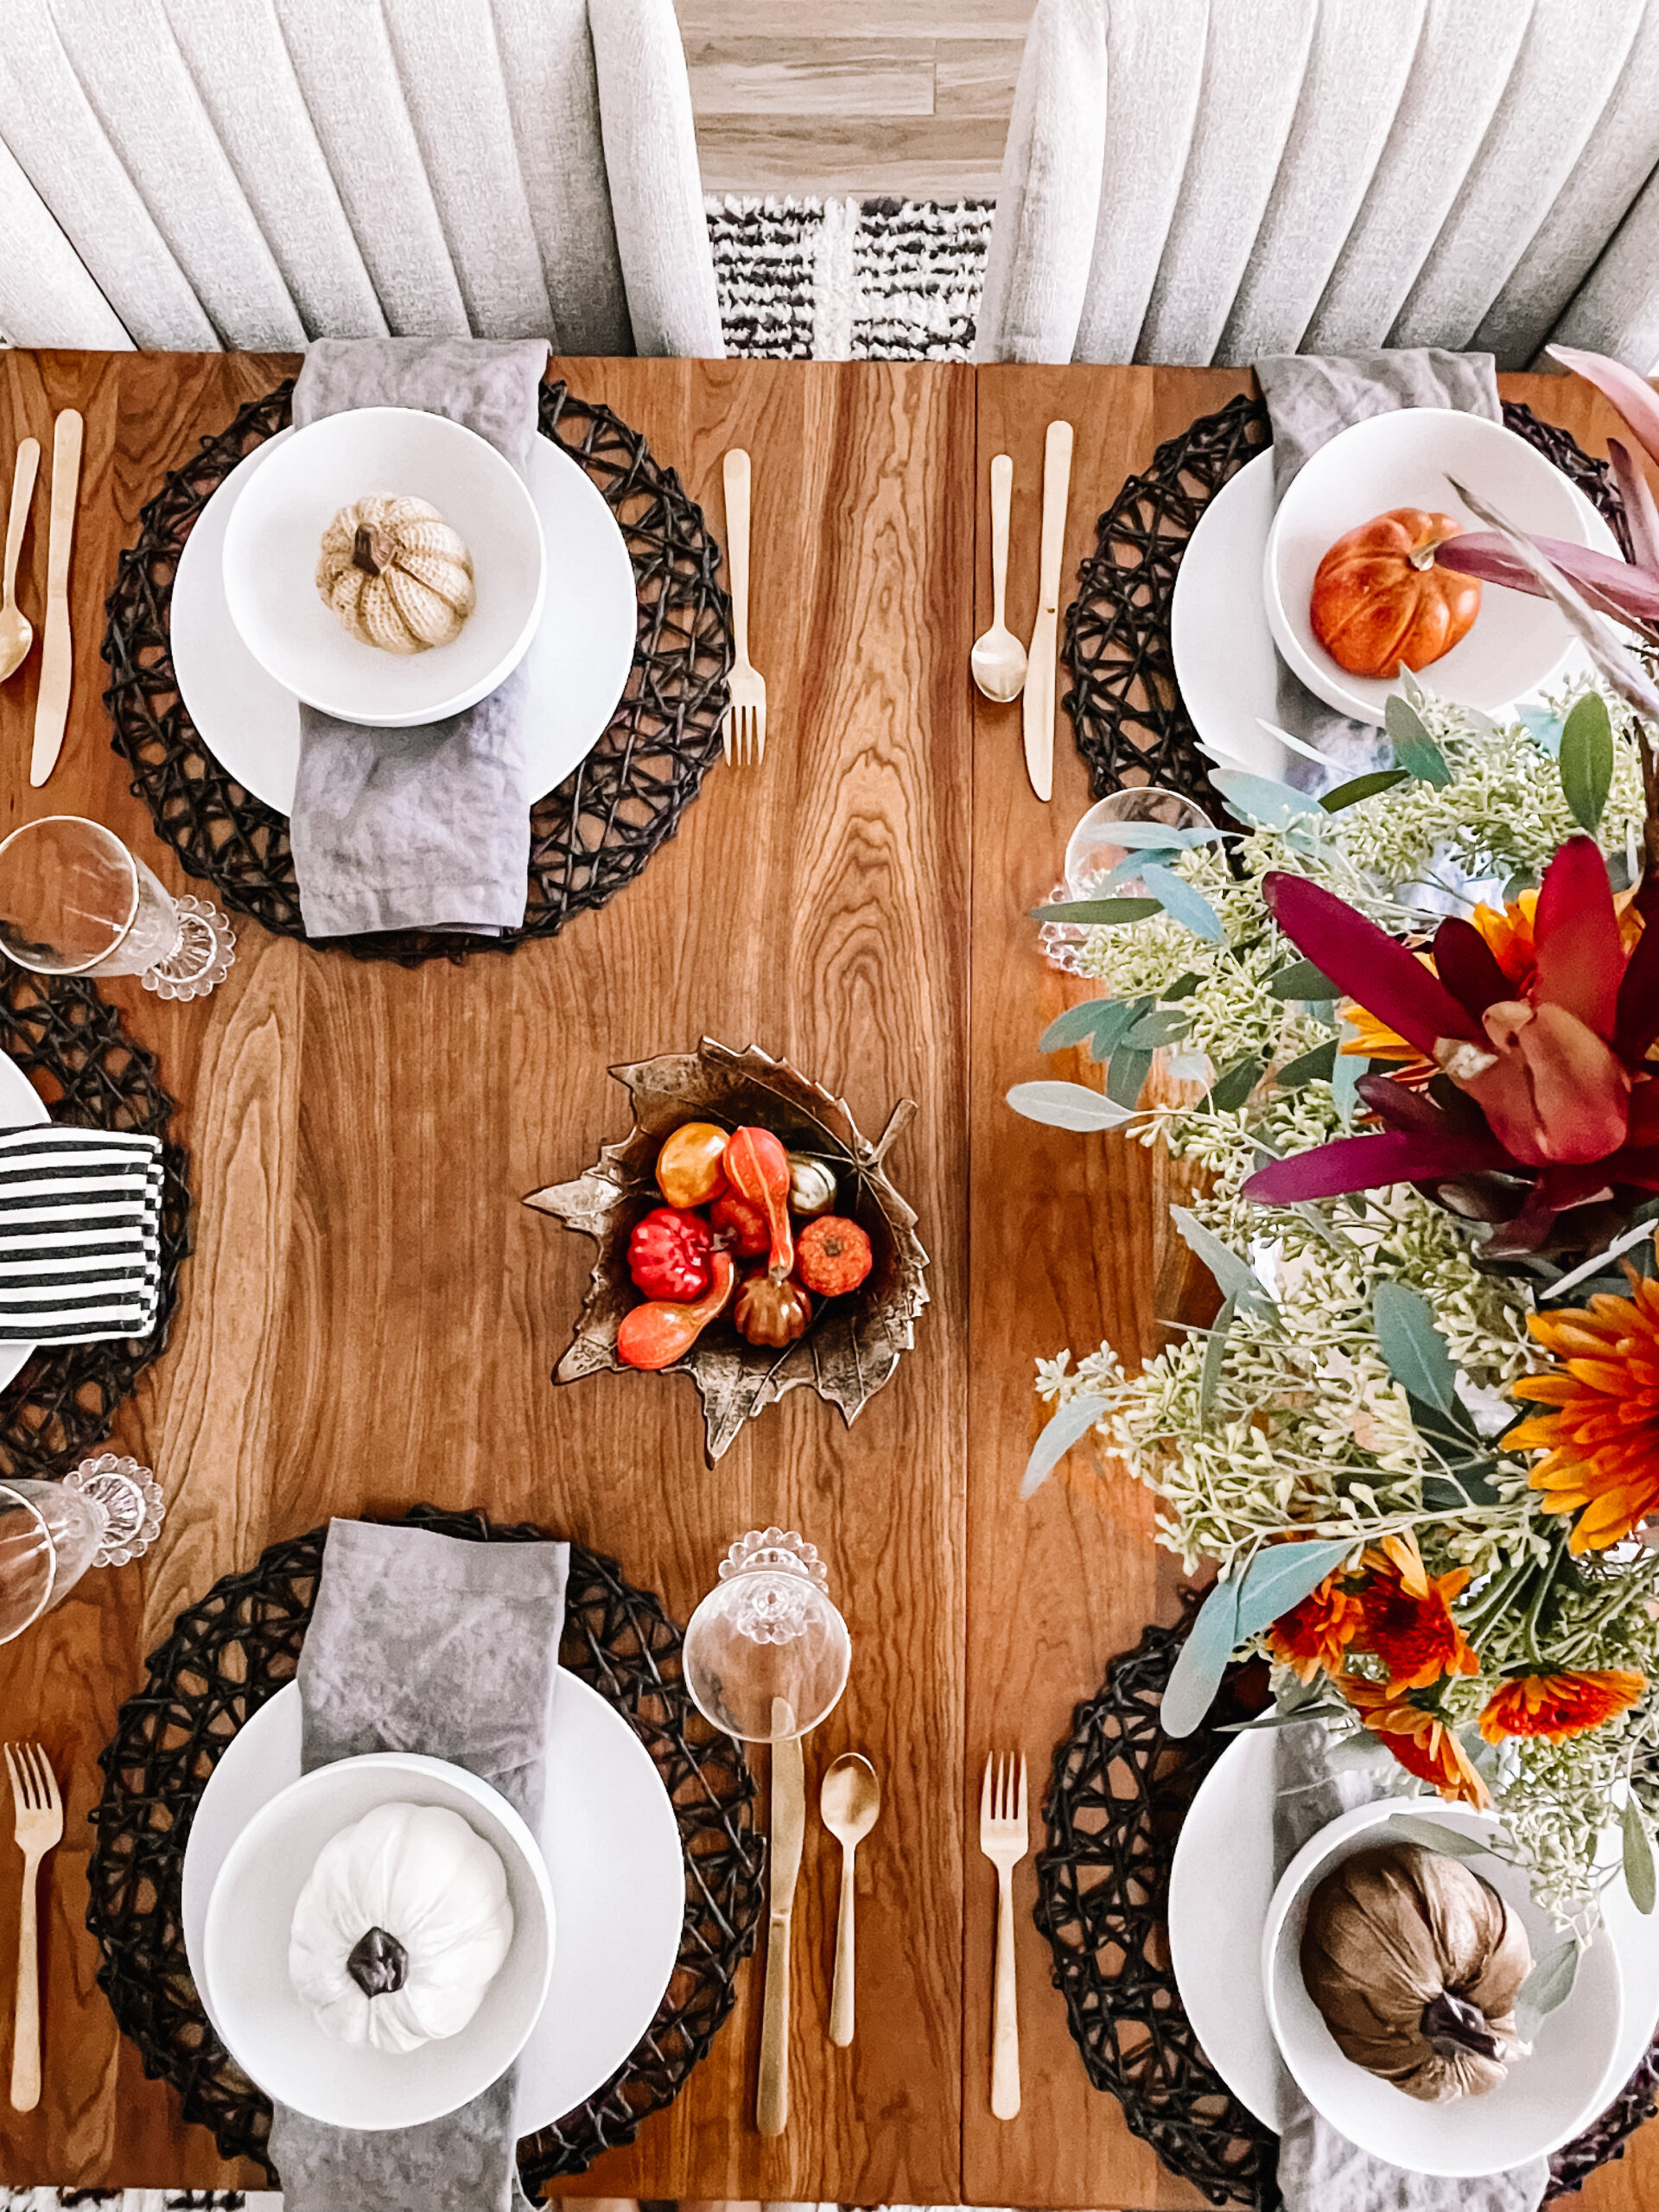

Like fresh flowers, the pumpkins won’t last forever. They will inevitably start to decompose in the water. I would say if your vase is large enough, you could add a thin cylinder vase in the middle with the pumpkins surrounding it.
I would also think you could try faux pumpkins. I’m just afraid they might float to the top once the water goes in!
If you’re looking to make one of these pumpkin-filled fall centerpieces for your Thanksgiving table, do it on Wednesday. Don’t be overly prepared and try to get it ready the week before!
Either way, this will be a beautiful option for your Fall table.

For more Fall inspo go here and be sure to stop by my full Tablescape Gallery to see more centerpieces, entertaining ideas and holiday inspiration!

