The Easiest Holiday DIY // How to Make Dehydrated Orange Slices for Gifts & Decor
Posted on December 4, 2025
I always see these beautiful bottles and packages embellished with dried orange slices, so I decided this was the year I was going to give it a try! It turned out to be the best weekend activity and the kids can help! It doubled as a fun project and holiday prep. Here is today’s post, The Easiest Holiday DIY // How to Make Dehydrated Orange Slices for Gifts & Decor.
These pretty dried oranges can be used for everything: embellishing gifts, adding to simmer pots, decorating the tree, making garlands, jazzing up a holiday cocktail, or giving a simple handmade touch to teacher gifts.
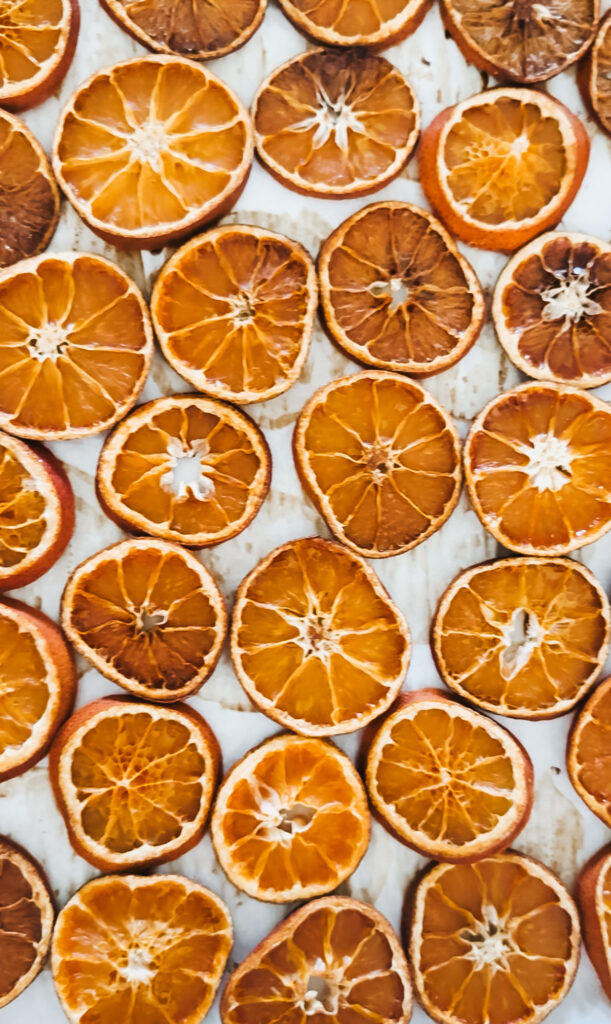
They really are SO easy to make and so pretty when they are done!
It’s such a sweet, low-stress way to kick off the season together, and now we’ll have a whole batch ready to use from Thanksgiving through New Year’s. Let’s make some!
How to Make Dehydrated Orange Slices FOR GIFTS & DECOR
What You’ll Need
4–6 oranges [I used a whole bag of mandarin oranges – they’re the perfect small size!]
Sharp knife
Paper towels
Baking sheets
Parchment paper or cooling racks
Optional: cinnamon sticks, rosemary, or cloves for extra scent
Step-by-Step Instructions
ONE // Preheat Your Oven
Set your oven to 200°F (or the lowest setting). Low and slow is the key to that perfectly dried citrus.
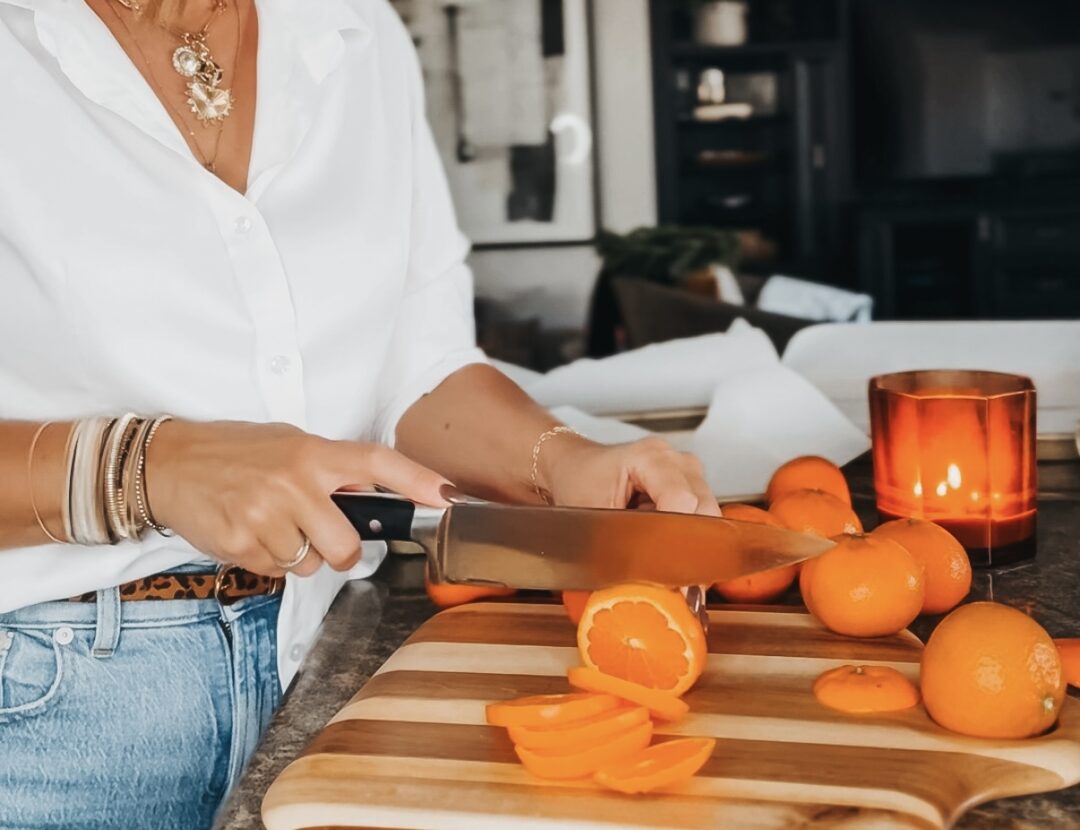
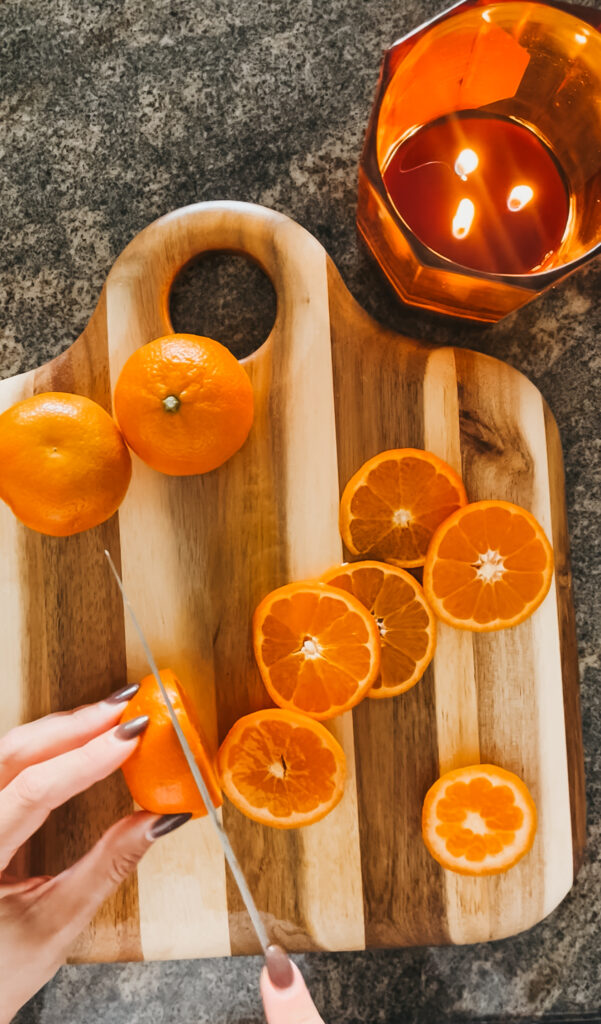
TWO // Slice the Oranges
Slice each orange into ⅛–¼ inch rounds.
Kid-friendly tip: Let the kids line up the slices or count them—just keep grown-up hands on the knife.
THREE // Blot Excess Juice
Lay the orange slices on a paper towel and gently blot the tops. This helps them dry faster and prevents too much browning.
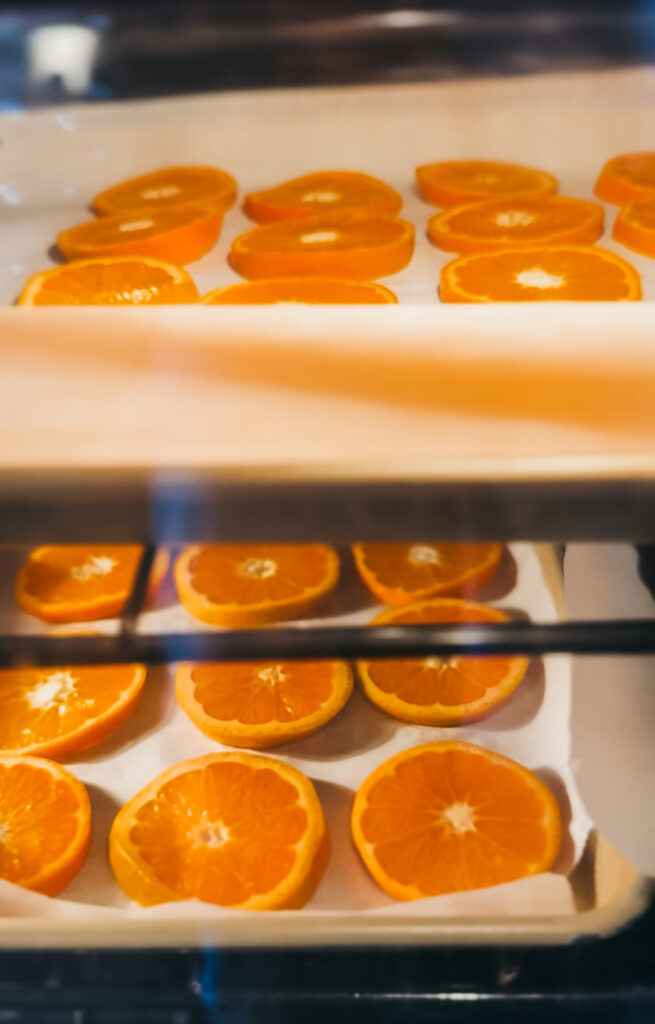
FOUR // Arrange on Baking Sheets
Line your baking sheets with parchment paper or place a cooling rack on top (this helps air circulate). Arrange the slices in a single layer—no overlapping.
FIVE // Bake for 3–4 Hours
Bake the oranges for 3–4 hours, flipping them halfway through. Be sure to check on them throughout the baking process as every oven is different! They’re done when they feel dry to the touch but still slightly pliable.
Mom tip: This is the perfect time for a cozy movie, board game, or letting the kids peek in the oven to “check their project.”
SIX // Cool Completely
Let the orange slices cool on the counter. They’ll firm up a bit as they rest.
SEVEN // Store or Use Right Away
Store in an airtight container or zip-top bag for weeks!


![The Easiest [and Cutest] football Snack Mix for Game Day w/ a chicago bears touch - This is our Bliss #footballsnackmix #chicagobears](https://thisisourbliss.com/wp-content/uploads/2026/01/savingPNG-150x150.jpg "The Easiest [and Cutest] Football Snack Mix for Game Day w/ a Chicago Bears Touch")


