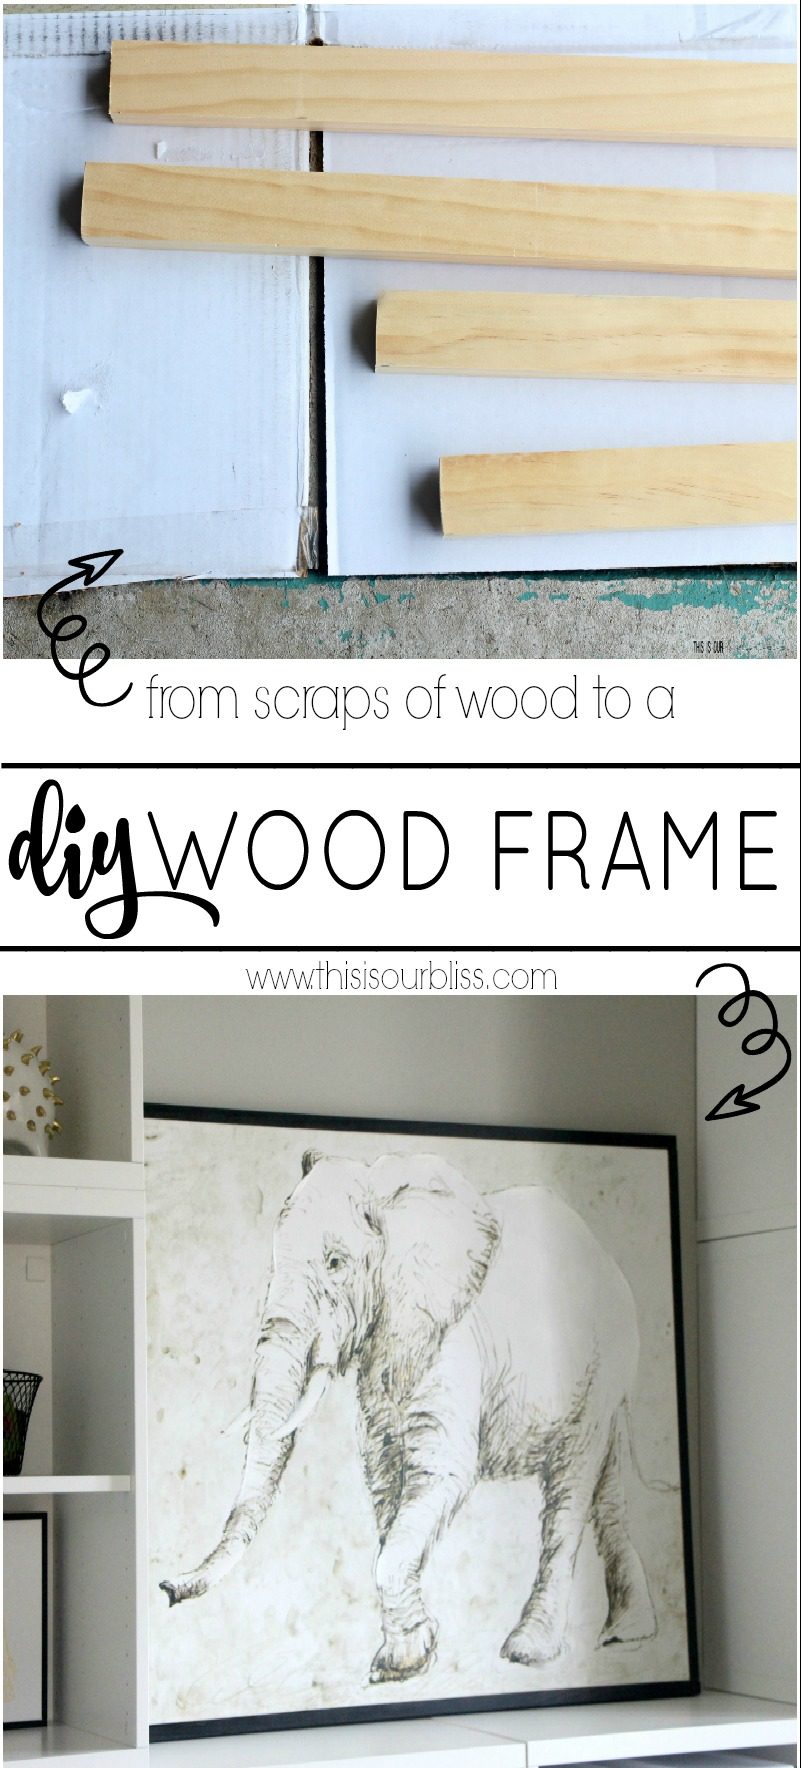
The playroom has sort of stayed under cover over the last couple of weeks. Would you agree?! I haven’t posted much on social media and I only shared a couple shots of the 90% assembled wall unit last week with a teeny tiny sneak peek of the new rug, light and couch. I know. You want more, right?!! I promise you’ll get to see it ALL next week when I reveal the space! For week 3, the rest of the New Year, New Room Refresh Challenge participants and I decided to share a DIY decor tutorial of some sort. I’m going to share how I saved some big bucks by creating a DIY Wood Frame for an old canvas piece that we’ve had hanging in the playroom.
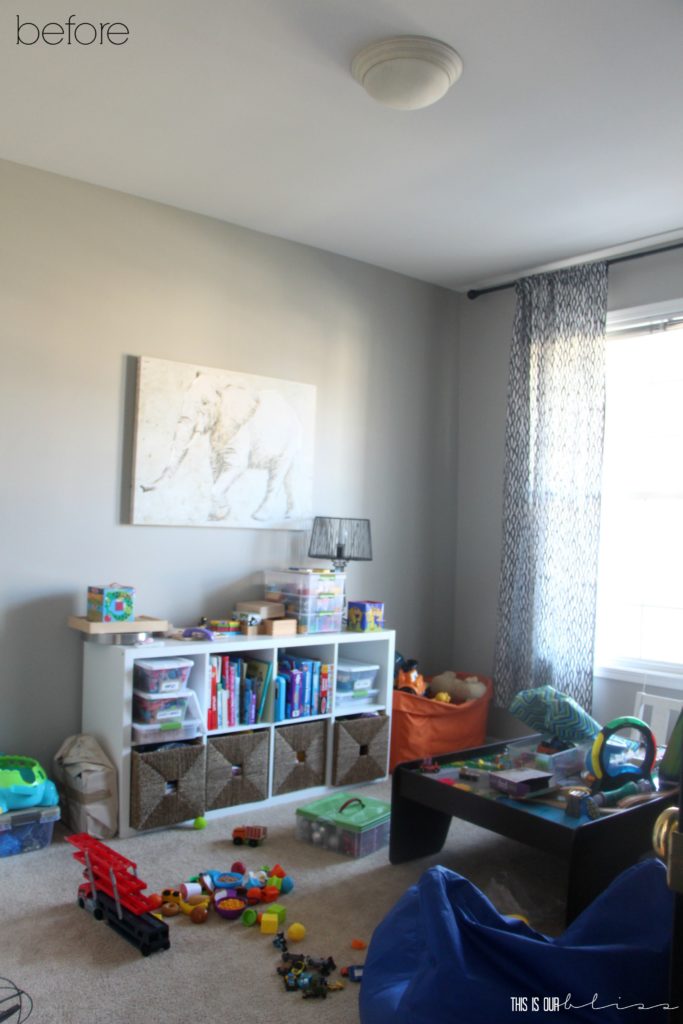
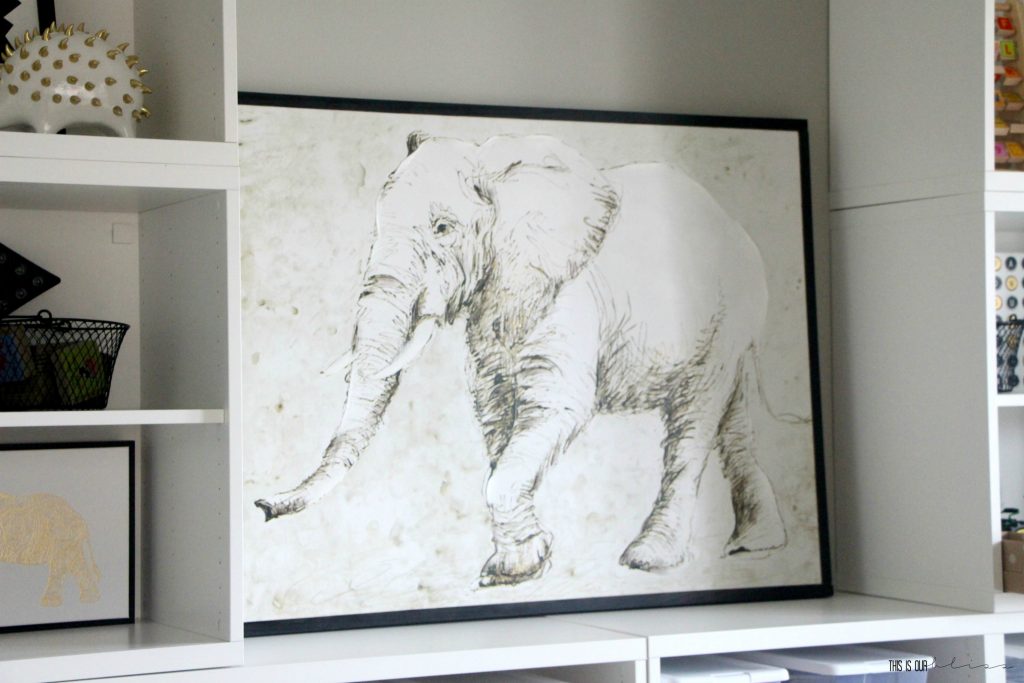
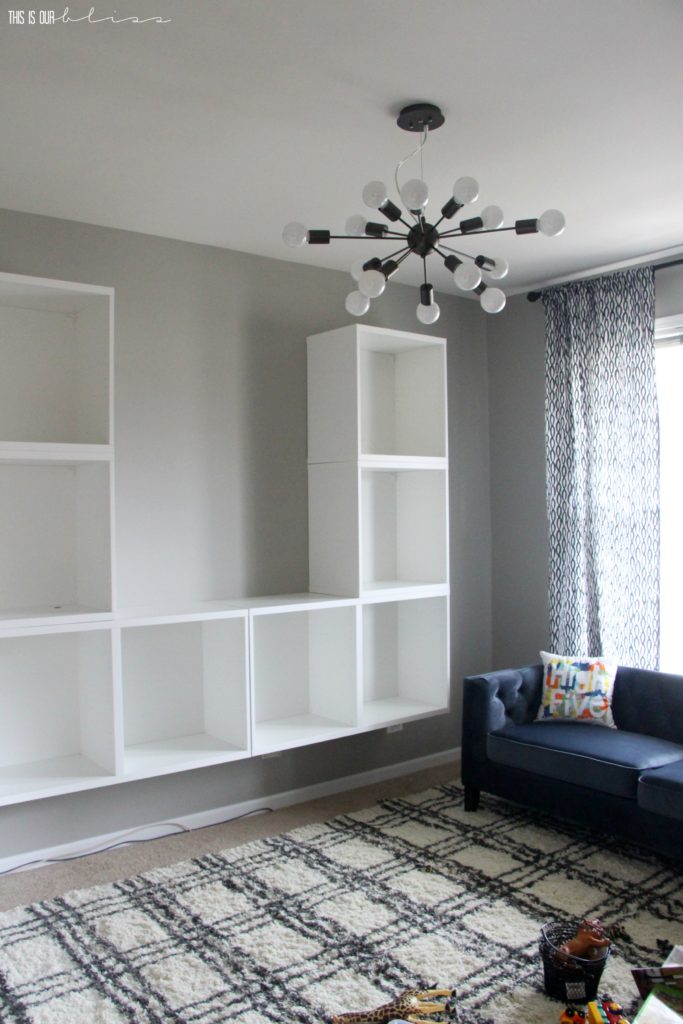
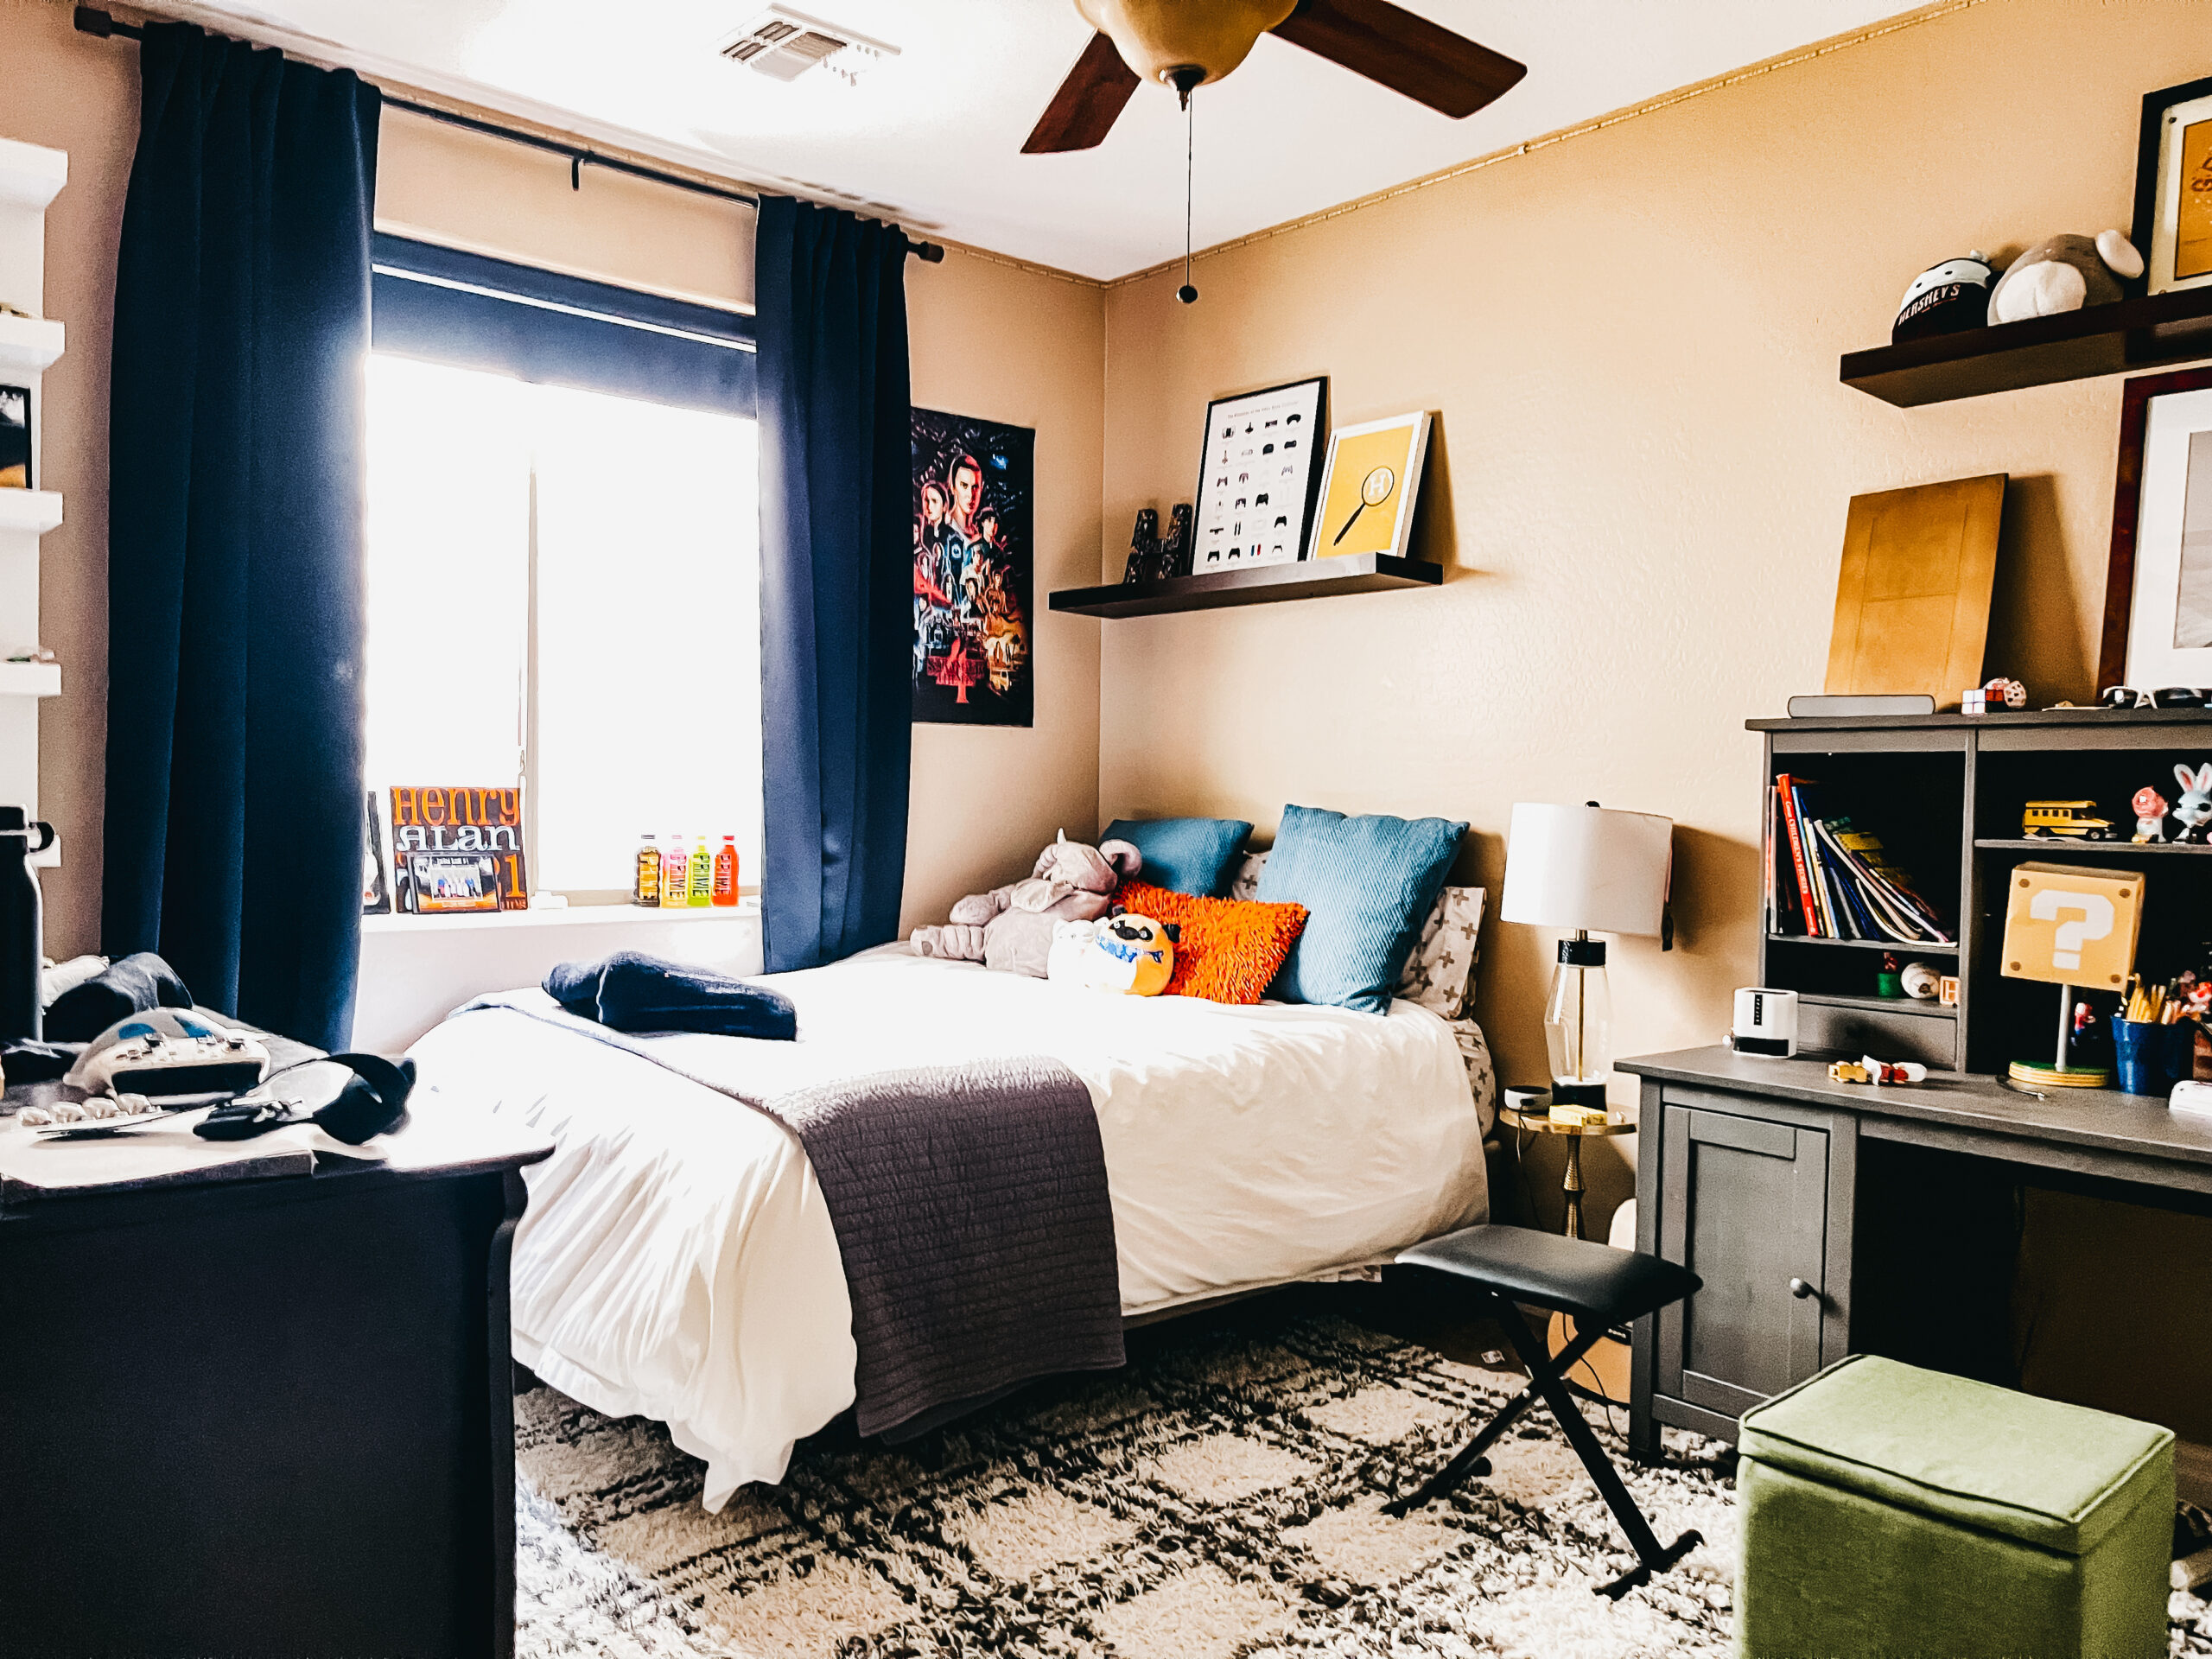
Remember this elephant canvas from the playroom before pics?
I know it’s hard to focus on the canvas with all the mess and mayhem going on around it! But you remember, right?!
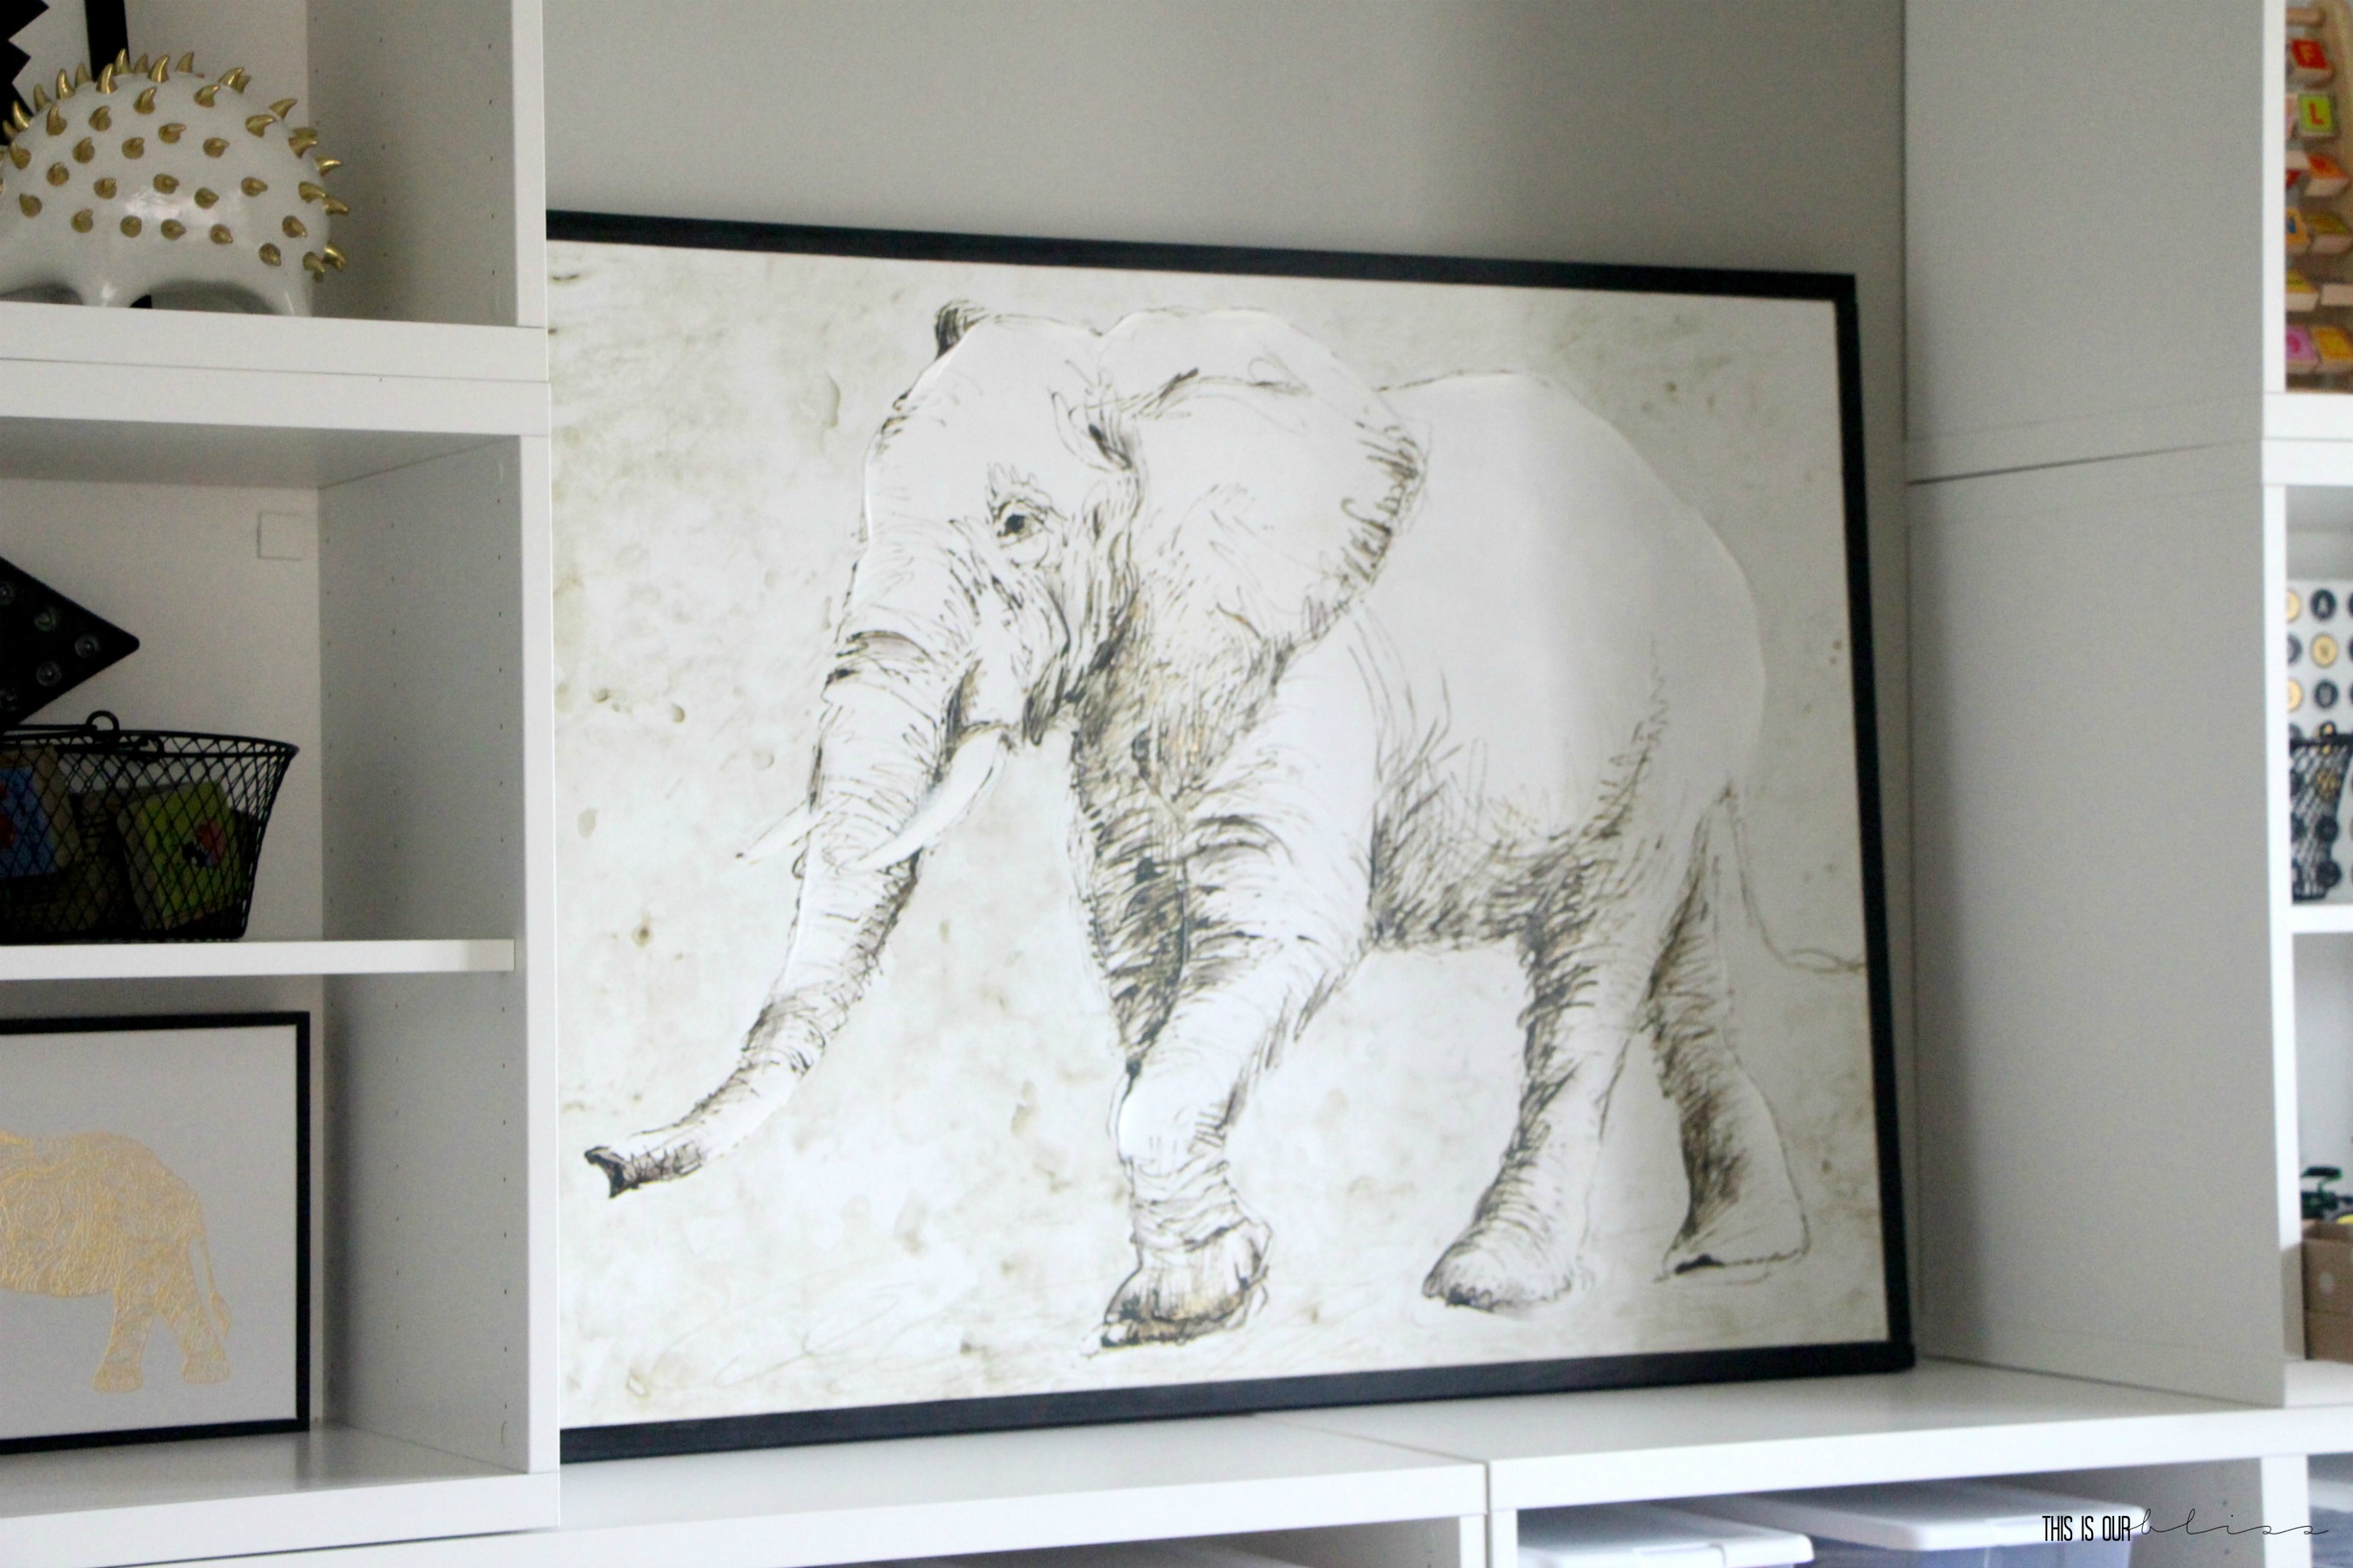
Well, I really wanted to get a new piece of art, but it wasn’t because I didn’t like the elephant anymore. It’s because I wanted a framed piece of art on the wall….a bold black frame that would add a dramatic pop against the light gray walls and help break up all of the white shelving. Buuut I didn’t want to splurge on that framed something new. The expenses associated with a room makeover and even a refresh add up very quickly, even with the generous help from sponsors. So, I decided to put T to work again, and we came up with a DIY frame solution that actually cost us $0. And that NEVER happens!
Although I’m not sharing any genius build-plans with you and probably never will since our DIY skills are not at that level ha, but I will share with you what we did and call it a super simple tutorial!
SUPPLIES
[*Affiliate links were used below.]
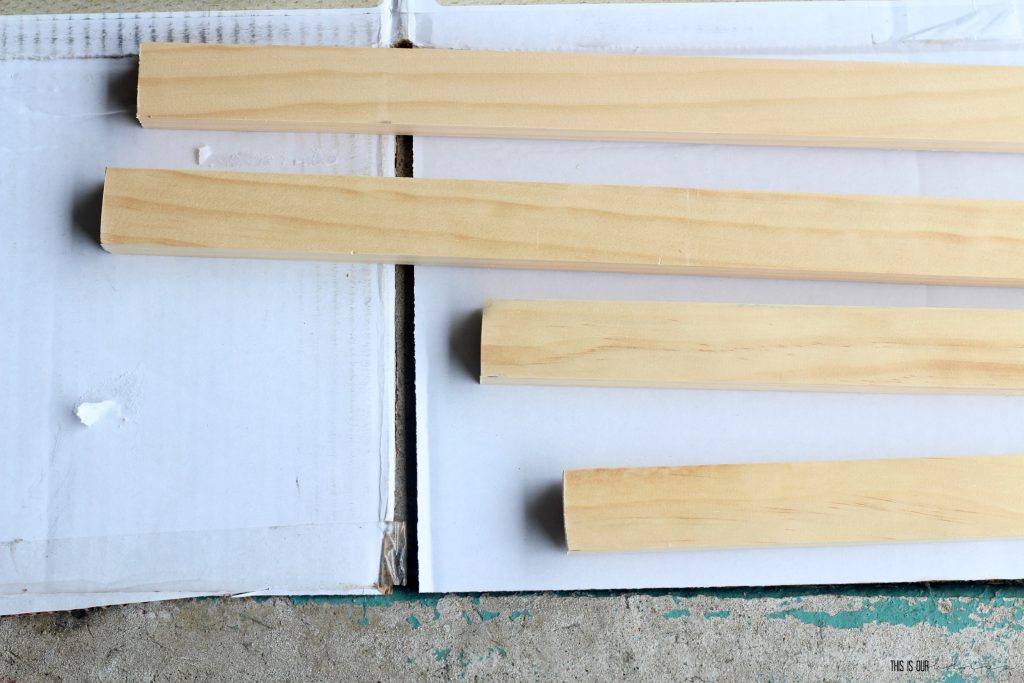
scrap wood [we happened to find some 1″ x 2″‘s in the basement that the previous homeowners left behind]
circular saw
black semi gloss pray paint
drill + screws
trigger clamp
WHAT WE DID
The canvas measures 24″ x 36″, so we cut 4 pieces of wood. Using a circular saw, 2 pieces were cut at 24″ in length and the other 2 were cut at 38″. We came up with the 38″ by adding 2″ to the measurement of the top and bottom of the canvas in order to account for the added inch that the side pieces of the frame would add to the total width of the piece.
After the pieces were cut, we lightly sanded the cut edges and then laid them out to be painted.
I gave them 3 coats of black semi-gloss spray paint and waited about an hour in between each coat.
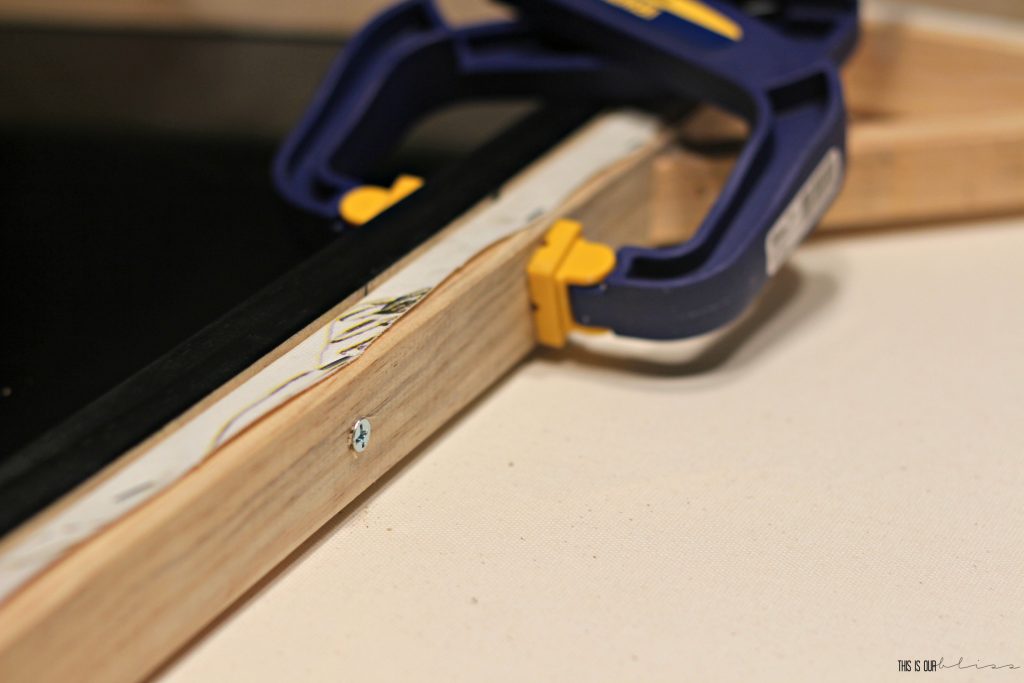
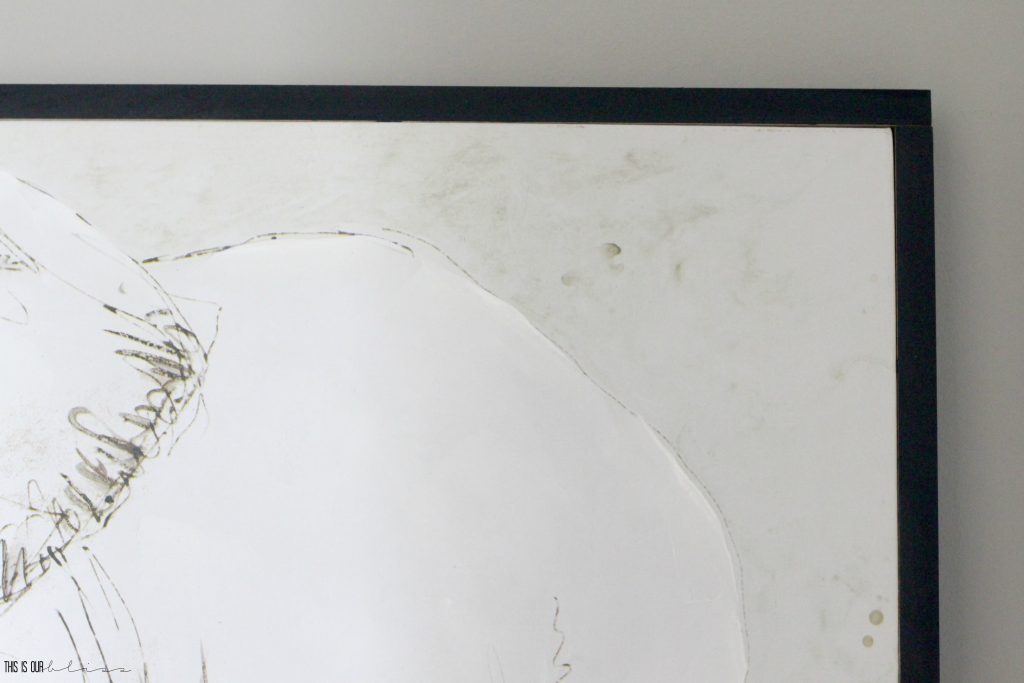
After they were dry, we brought them inside to attach to the canvas. We simply laid the canvas face-down, placed one of the freshly painted wooden side pieces next to the canvas, clamped them together and then drilled 3 screws into the wood from the inside of the canvas out.
We repeated this step on the opposite side as well.
Lastly, we attached the top and bottom pieces just like we did the side ones.
Boom. New frame!
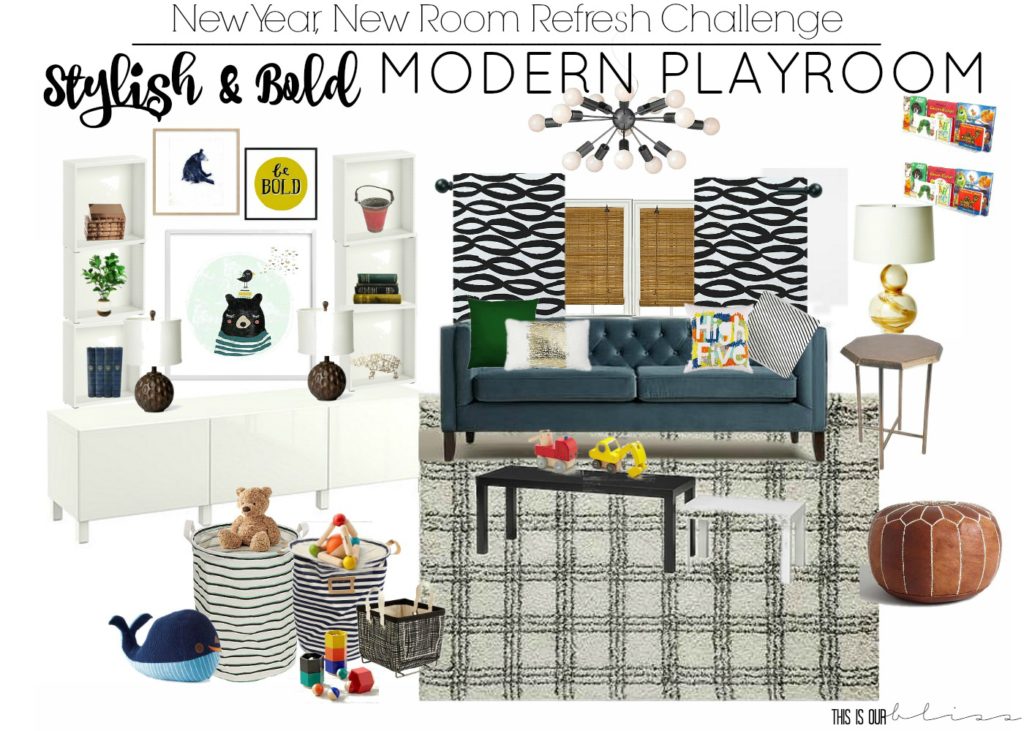
Right now we have it leaning on the wall in the playroom, but by next week it will be hung up on the wall with a couple of art pieces placed above it. At least I think I’m going to add more to that wall. I really like how it looks in the design board, so we’ll see.
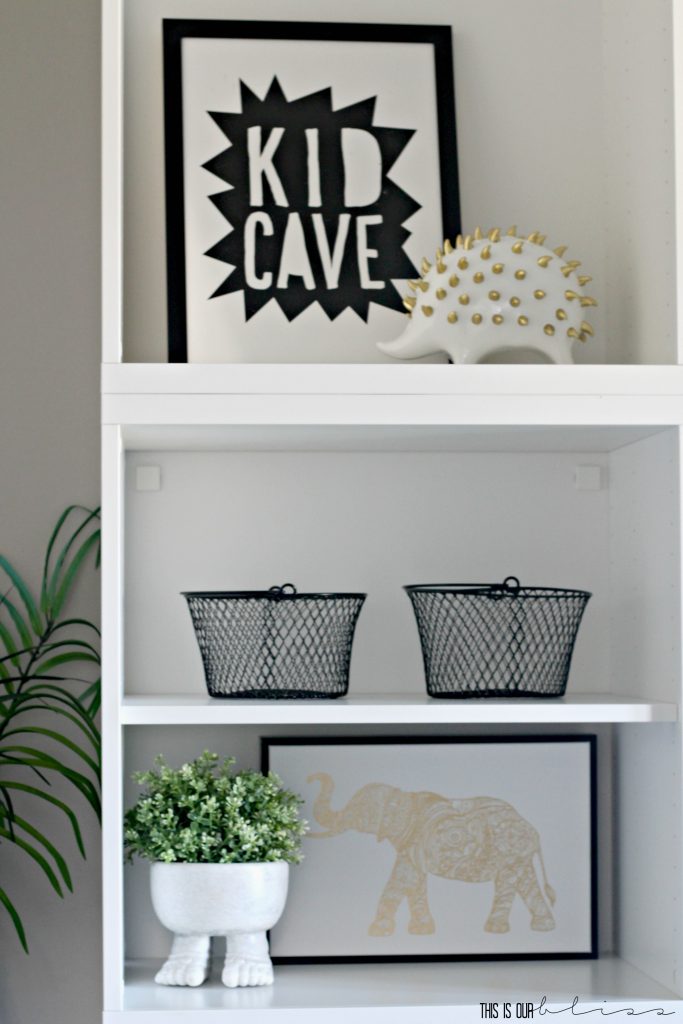
Over the last few days, I’ve been rounding up accessories from throughout the house to work on styling the shelves. The top of the unit will be all open shelving while the bottom is going to be enclosed behind doors. The IKEA trip to pick up the door hinges still hasn’t happened yet, but I’m hoping to get there tomorrow while the boys are at school.
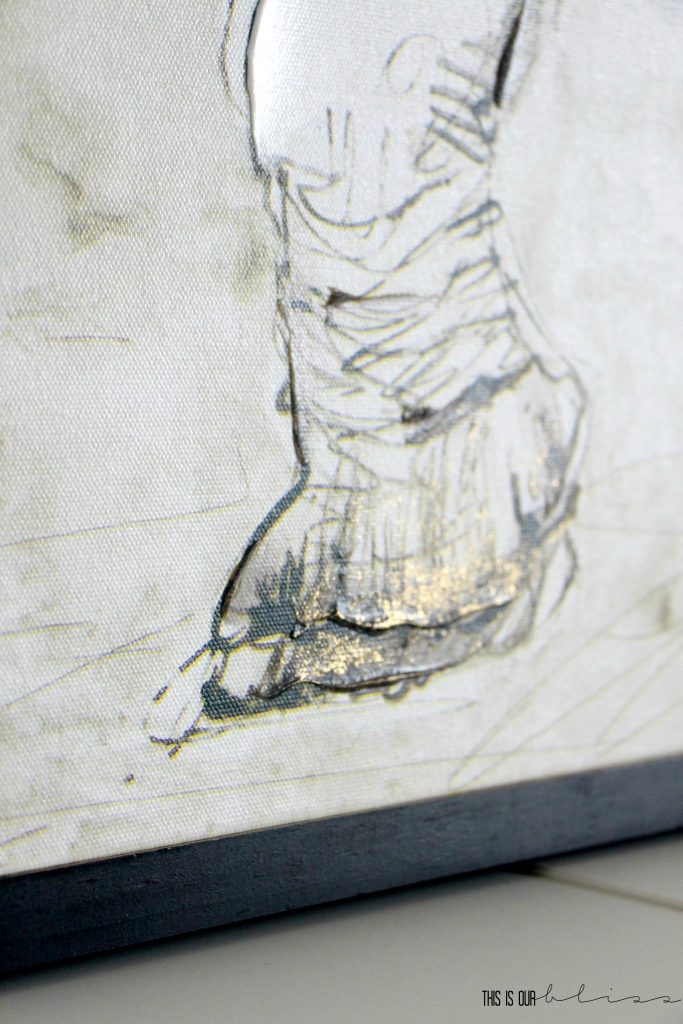
Isn’t the glimmer of gold so great?!
For now, I’ll leave with you a sneak peek of some of the shelves I’ve been working on…A “shelfie“, if you will!
So with that, I’m off to go check out what everyone else was working on this week! Be sure to stop by and see for yourself! Thanks again to Stephanie of Casa Watkins for being such a lovely host!
Casa Watkins Living // A Designer At Home // Bigger Than The Three Of Us // Domicile 37 // Fresh Crush // Iris Nacole // Monica Wants It // Pocketful of Posies // Seeking Lavender Lane // Sharon Joyce Interiors // This Is Our Bliss // Up To Date Interiors // Vintage Romance Style
Thank you to the wonderfully generous sponsors who provided product to us to use in our room refreshes!
[*Affiliate links were used below.]
World Market | Lamps Plus | Wallpaper Boulevard | Velvet Finishes | RugsUSA | Walls Need Love
Don’t forget to pin for later!
If you missed the previous weeks’ updates for the New Year New Room Refresh Challenge, get caught up below!
Week 1: Playroom Design & Before Pics
I’ll be back again again this week with some more DIY delight for you!







Corinna - ADesignerAtHome
February 1, 2017 at 4:59 PMI don’t know how I missed that this was the same elephant art piece! You’re a genius!
jessica
January 30, 2017 at 10:11 PMI freaking love this idea. It looks so much better with the frame!!!!
Rachael @ This is our Bliss
February 1, 2017 at 3:20 PMThank you! I agree—SUCH a quick and easy upgrade!!
Kathryn Baugher
January 30, 2017 at 12:32 AMWhat a difference the frame makes! It looks perfect.
Rachael @ This is our Bliss
January 30, 2017 at 5:33 PMThanks, Kathy! I couldn’t believe how much of a difference it made! It TOTALLY beats buying framed canvases, I’ll tell you that much! 😉
ashley@biggerthanthethreeofus
January 25, 2017 at 2:57 PMCan you come over and do my playroom since yours is looking so fab?! Ha. Love what I’m seeing!
Rachael @ This is our Bliss
January 30, 2017 at 5:32 PMThanks, Ashley! haha! You don’t need my help…your playroom is going to be awesome!! Seriously can’t wait to see it!
Sharon Joyce Interiors
January 25, 2017 at 1:42 PMThe frame looks great! It totally sets off the print and I love how the DIY is so simple. I could totally handle something like that, which opens up lots of possibilities for buying unframed canvases. Looking forward to seeing next week!
Rachael @ This is our Bliss
January 30, 2017 at 5:31 PMThank you, Sharon! The project really was super simple…I gave the orders, he made the cuts and then I painted! Very, very doable DIY. I have faith in your ability to tackle it on any of your canvases! 😉
monica20039
January 25, 2017 at 1:38 PMThis looks so modern and perfect for a playroom! It looks like an expensive store bought piece- I may have to do this with some of my canvas prints.
Rachael @ This is our Bliss
January 30, 2017 at 5:29 PMThanks, Monica! It was the easiest little DIY and I’m doing the same thing…how many other canvases can I frame around here?! lol
Cat @ Pocketful of Posies
January 24, 2017 at 9:00 PMI love the new frame Rachel! It made such a big difference plus it is an awesome DIY project!!
Rachael @ This is our Bliss
January 30, 2017 at 5:29 PMThanks, Cat! It was super easy and I love how that tiny tweak made such a big impact on the wall!!
Jen @ Fresh Crush
January 24, 2017 at 7:39 PMI love your new frame! Genius!
Rachael @ This is our Bliss
January 30, 2017 at 5:28 PMThanks, Jen! It really does make a big difference in the space!!
Stephanie @ Casa Watkins Living
January 24, 2017 at 9:31 AMYes!!!! So much better. Now I’m going to have to add frames to all my canvas art! It’s a great tutorial.
Rachael @ This is our Bliss
January 30, 2017 at 5:27 PMThanks, Steph! I know…I’m actually going around the house looking at all the canvases and contemplating how many of them I want to frame ha!