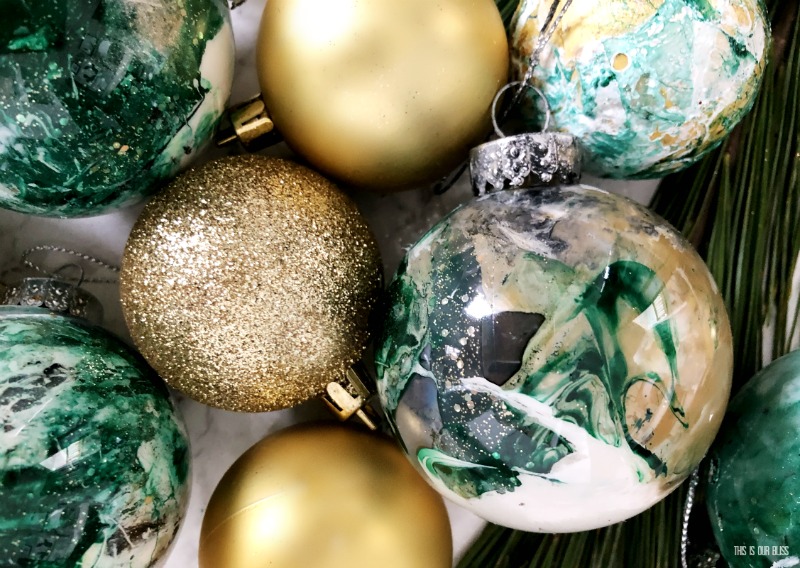
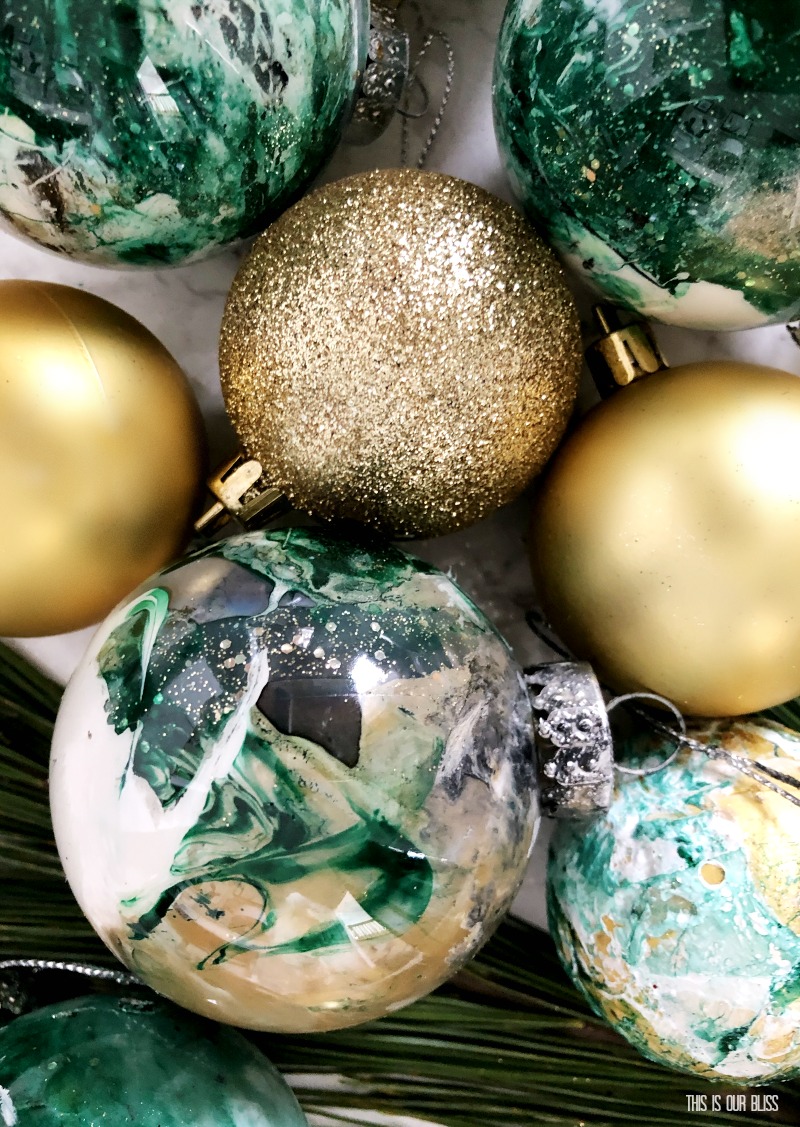
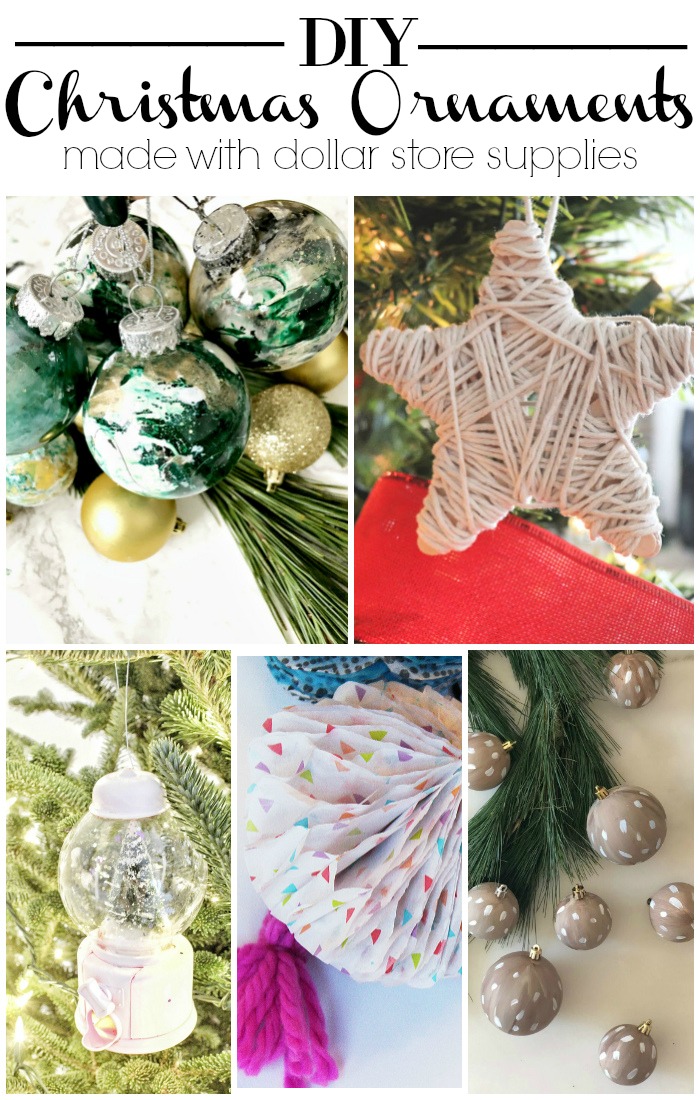
Green island, green stockings and some new ornaments to match! I’ve been on a green kick lately and if you saw our Christmas Family Room or Christmas Kitchen then you saw how our green island stole the show and our new stockings coordinate quite well. Why not DIY some new ornaments to keep the color scheme cohesive?! Today, I’m here with another post in our My Dollar Store DIY series and this month we are crafting up some Christmas ornaments and sharing them with you now! Read on to see my DIY Dollar Store Marbled Ornaments [with green, gold, black and white]!
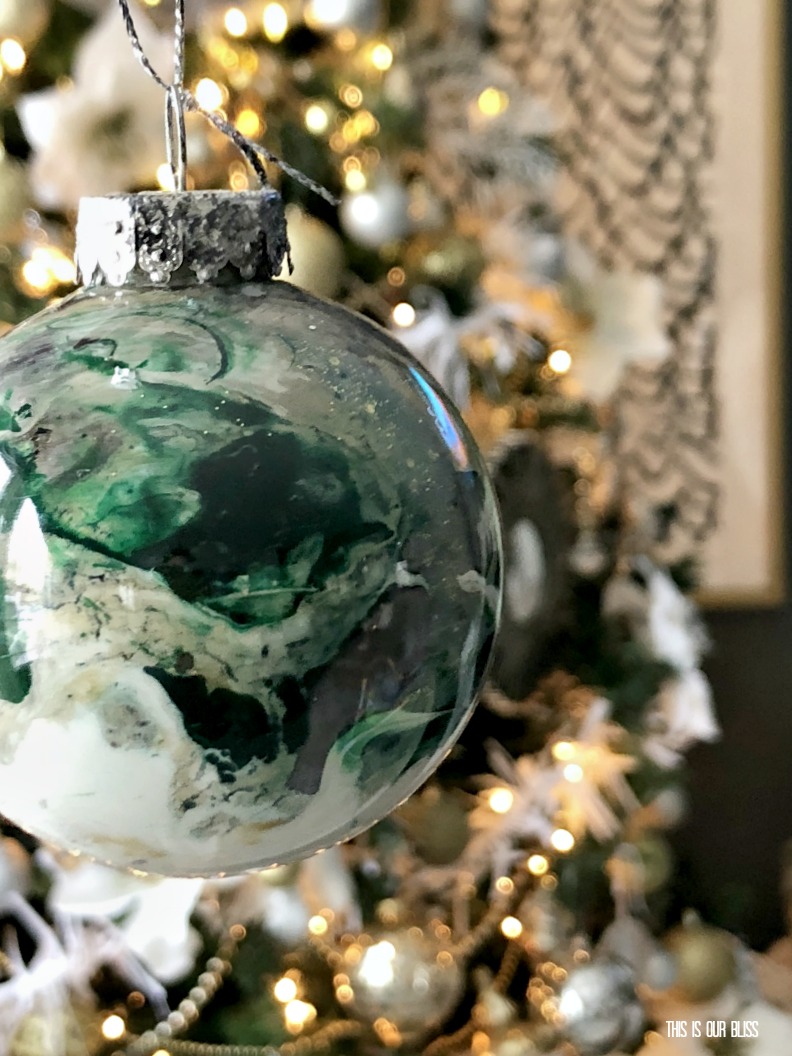
I know I’m late to the game to make marbled ornaments, but I’ve always wanted to do them. When I spotted a dark green nail polish at my Dollar Tree, I decided to grab a white, gold and gold glitter while I was at it. I thought it would be so pretty with our new green stockings and hanging on our our neutral and metallic tree!
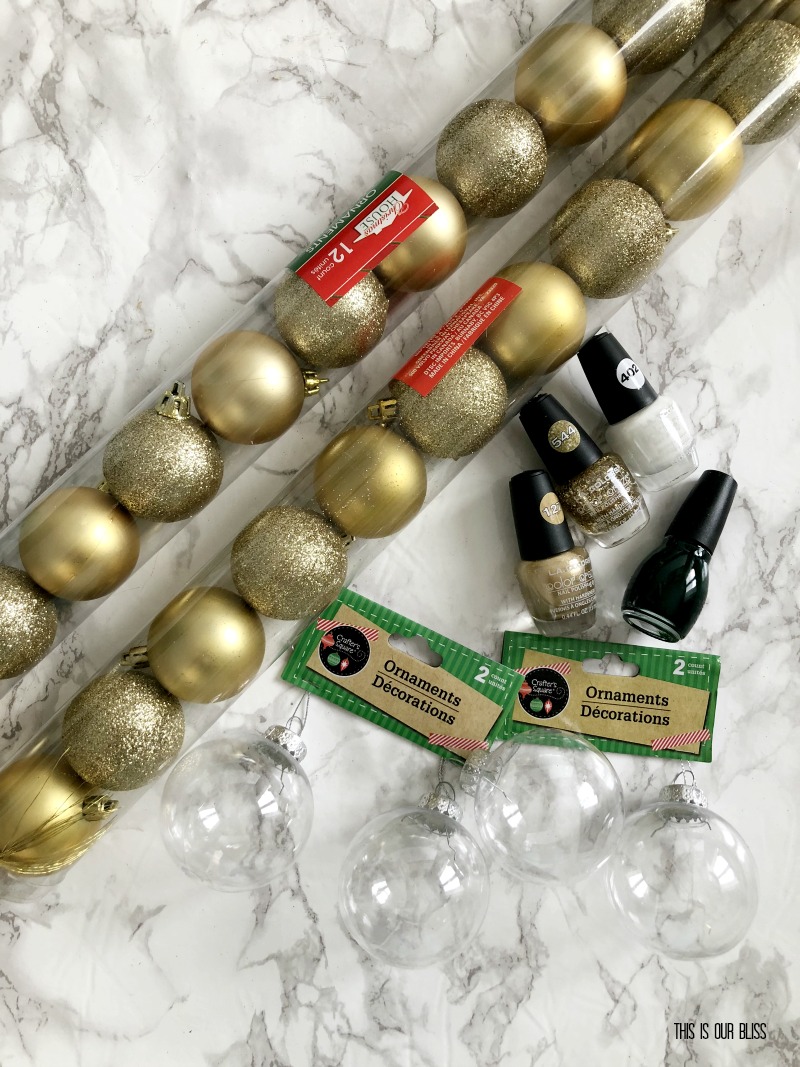
SUPPLIES
bowl of water
wooden skewers or craft sticks
nail polish [I used dark green, white, metallic gold and gold glitter + added some black craft paint to a couple]
clear plastic fillable ornaments [I also made a few with the small gold ones you see below]
gloves [I didn’t use them, but wish I would have] my hands and nails were a wreck after ha!
[*all supplies were purchased at Dollar Tree]
DIRECTIONS
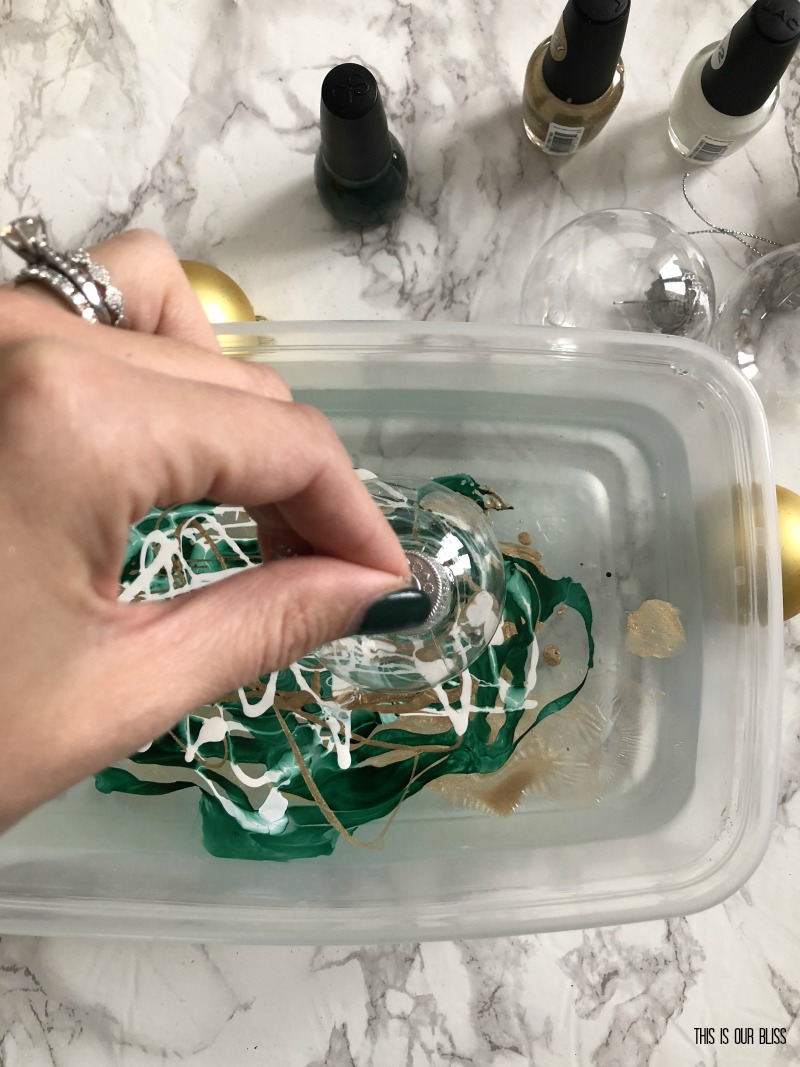
I actually used two different methods. The first one was marbling the outside by dipping the ornament in a bowl of water, pouring drops of nail polish into the water and then swirling the colors around with a wooden skewer. Then quickly submerging the ornament and swirling it around until it was fully coated and the pulling it up out of the water.
This method seemed to work best the faster you added the colors and dunked the ornament before the polish started to get too sticky and make big globs.
It was a bit messy and then I had to find a safe place for the ornaments to dry, so just set them in a foil pan.
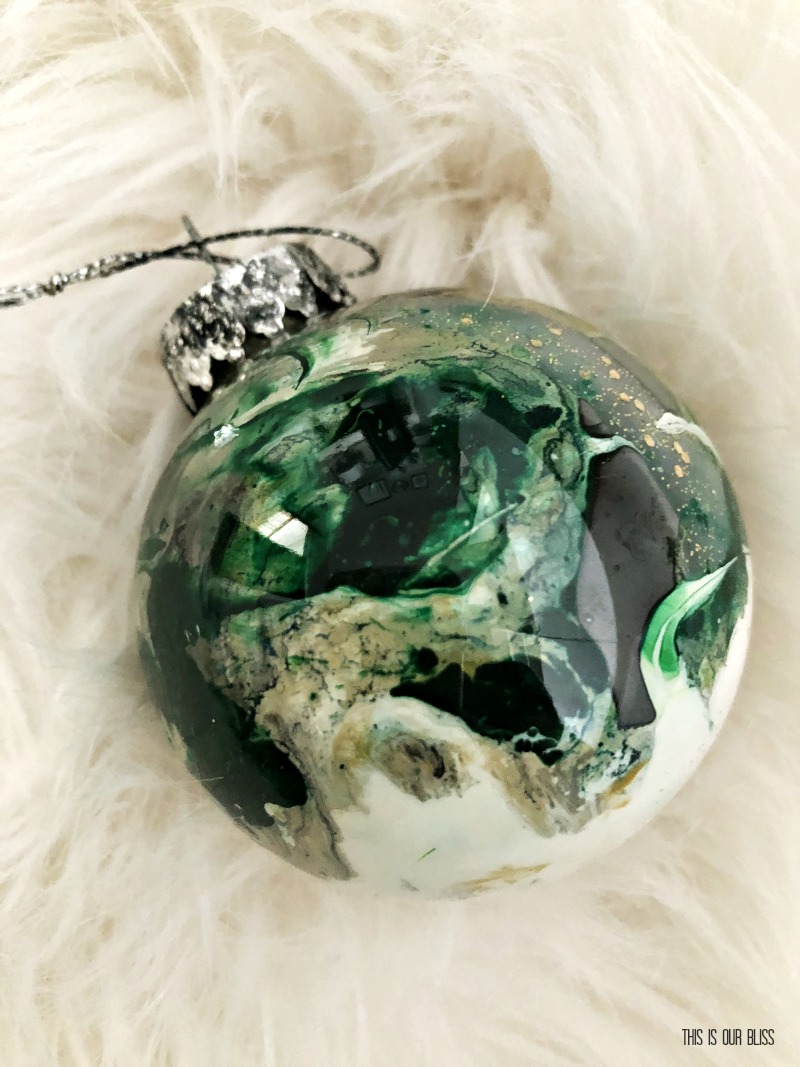
The second method [my favorite I think] was pouring drips of polish inside the ornament after removing the hook and cap. I alternated colors and then put the stick in and swirled it around in the polish that settled at the bottom and made a “marble” pattern. The gently tilted and rolled the ornament around to move the polish all throughout the inside.
The second method was much less messy because everything wet was contained inside. After you put the metal hook and cap back on, let them dry for several hours.
I only made 5 large ones and 3 small ones, so I think with more practice I could really get into a groove with them!
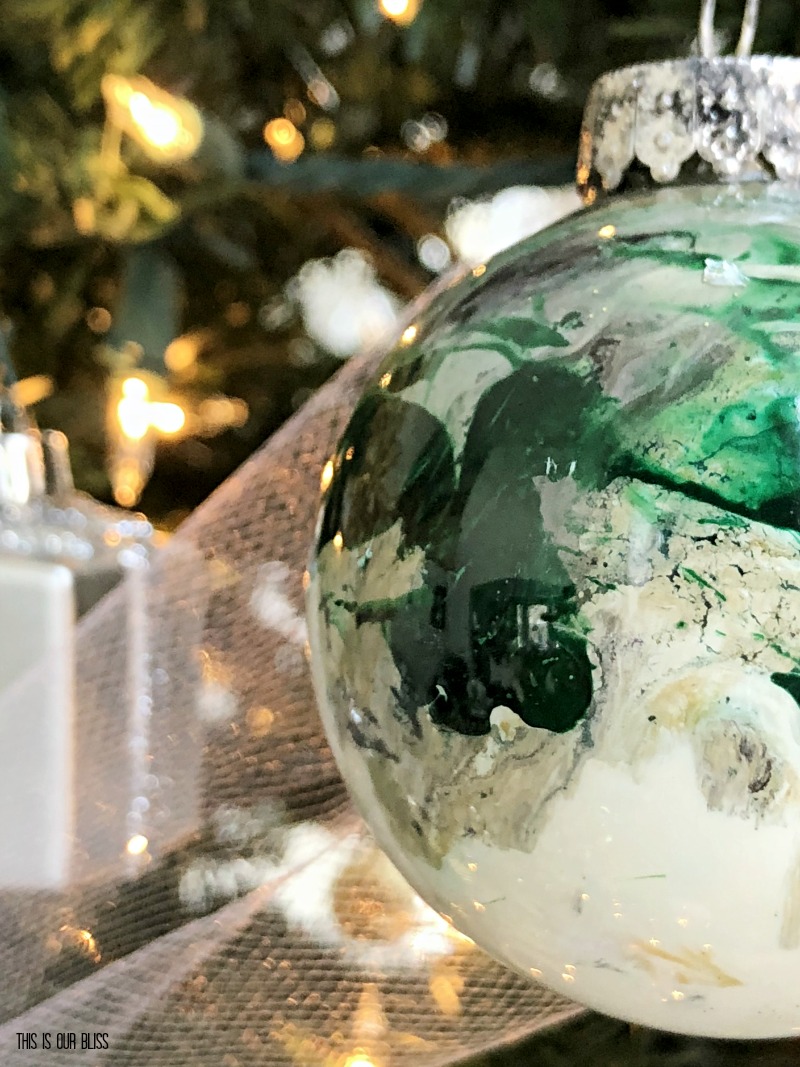
The patterns are all different and unique so no two look the same. The one thing I realized that was happening with the dark green and white, was that when it mixed, it turned into a teal color. I’m not sure how to prevent that, but it is something to note! Plus always adding more and more gold and glitter at the end never seemed to hurt 🙂
What do you think? Have you marbled anything before?!
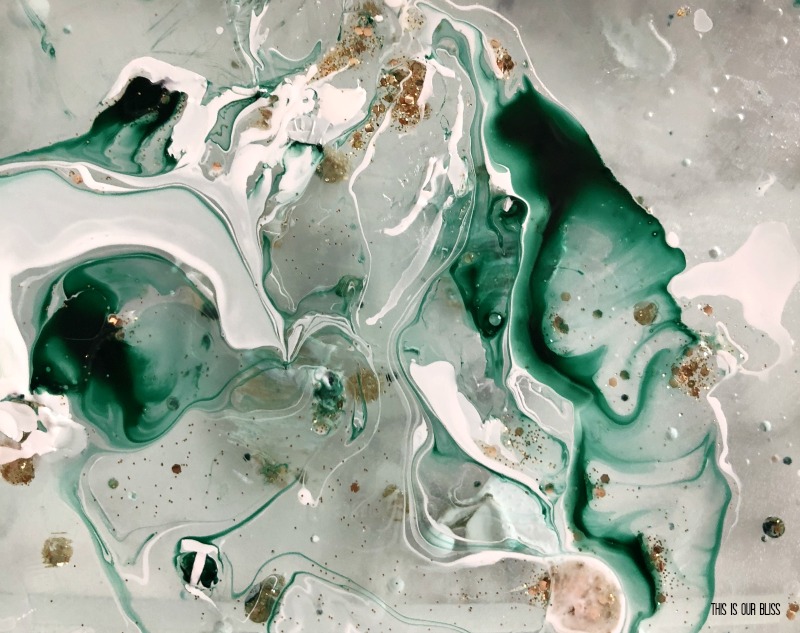
It was so fun to experiment with the two methods! I’m thinking of all the cute things I could marble next. I mean… look at how pretty my water looked after swirling the stick around in it.
It looks like art, doesn’t it!??
I think these DIY Dollar Store marbled ornaments would make beautiful handmade gifts for someone. You could also let the kids pick out the colors and help them marble some of their own!!
Now before you all go running out to get marbling supplies, be sure to swing by my friends and check out their adorable Christmas ornaments today! They are sure to inspire some DIY’ing!!
This is our Bliss | Creative Ramblings | Repurpose and Upcycle | Knock It Off Kim | Southern State of Mind
Have a wonderful weekend, friends!!






Fresh & Festive Christmas Dining Room Tour | This is our Bliss
December 19, 2018 at 9:45 AM[…] order to add a bit more green, I mixed in some of my DIY marble ornaments on the table, […]
How to Set-up A Simple Hot Cocoa Bar | This is our Bliss
December 7, 2018 at 2:09 PM[…] DIY Marbled Ornaments [with Dollar Store supplies] […]
Sarah
December 4, 2018 at 8:11 PMThese ornaments are stunning, I love both methods you used. The green works so well with the gold white and black!
Easy Dollar Tree Ornament from a Gum Ball Machine
December 3, 2018 at 3:54 PM[…] This is our Bliss | The Heathered Nest | Creative Ramblings | Repurpose and Upcycle | Knock It Off Kim | Southern State of Mind […]
Dollar Store Twine Ornament - Creative Ramblings
November 30, 2018 at 10:16 AM[…] This is our Bliss | Creative Ramblings | Repurpose and Upcycle | Knock It Off Kim | Southern State of Mind […]
Lindsey Manning
November 30, 2018 at 8:57 AMWow I had no idea how beautiful marbeled ornaments could be! What a great DIY.