I have a new trick and I’m obsessed!
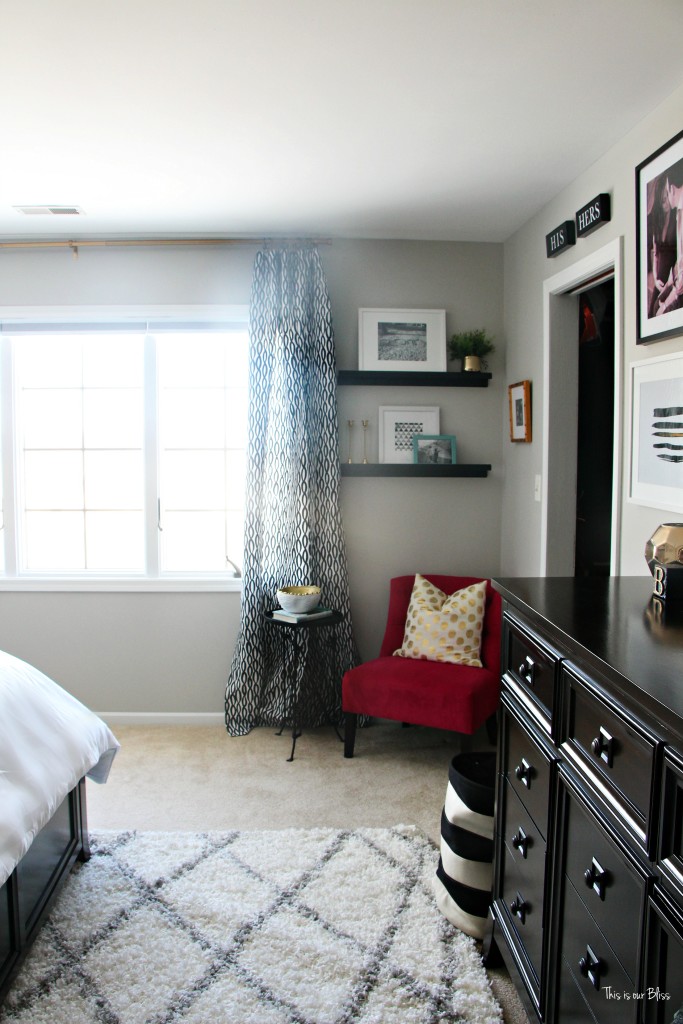
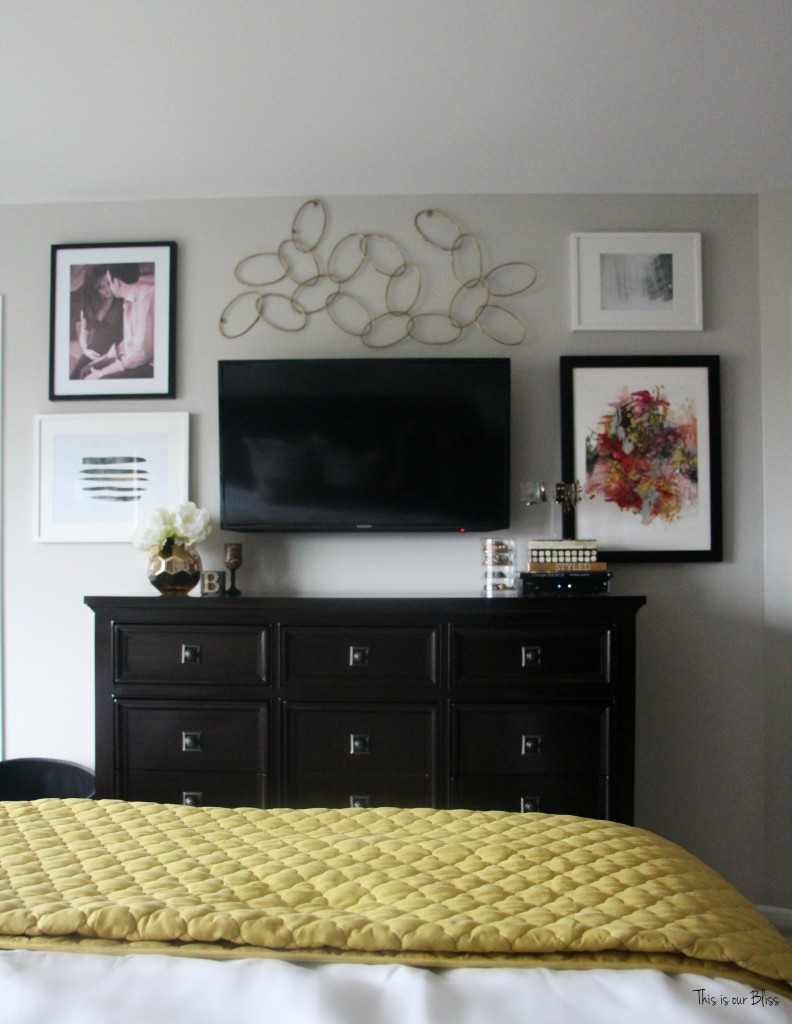
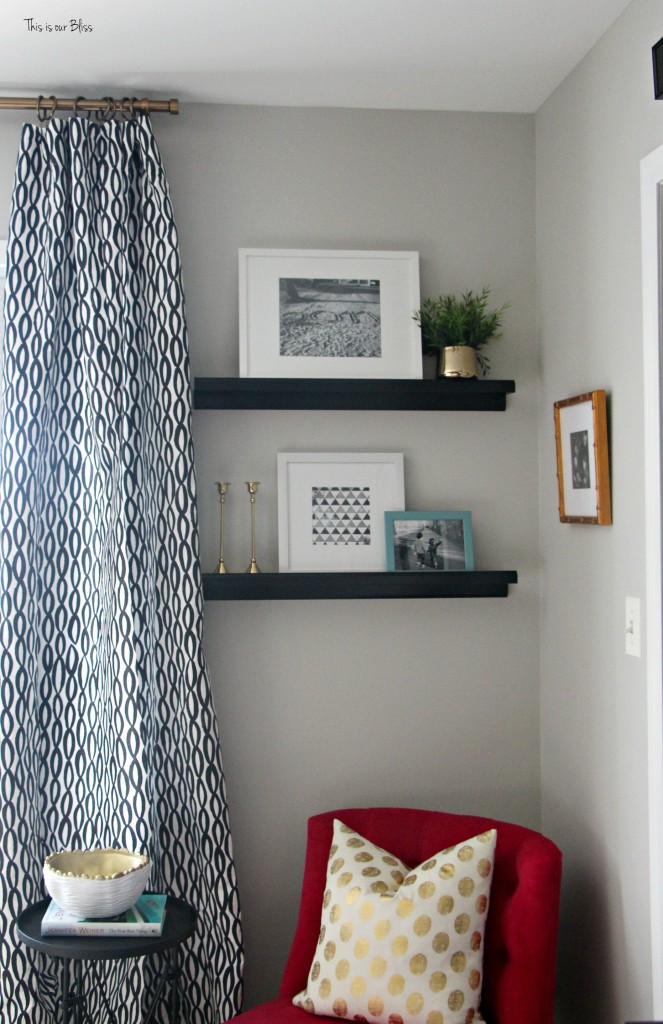
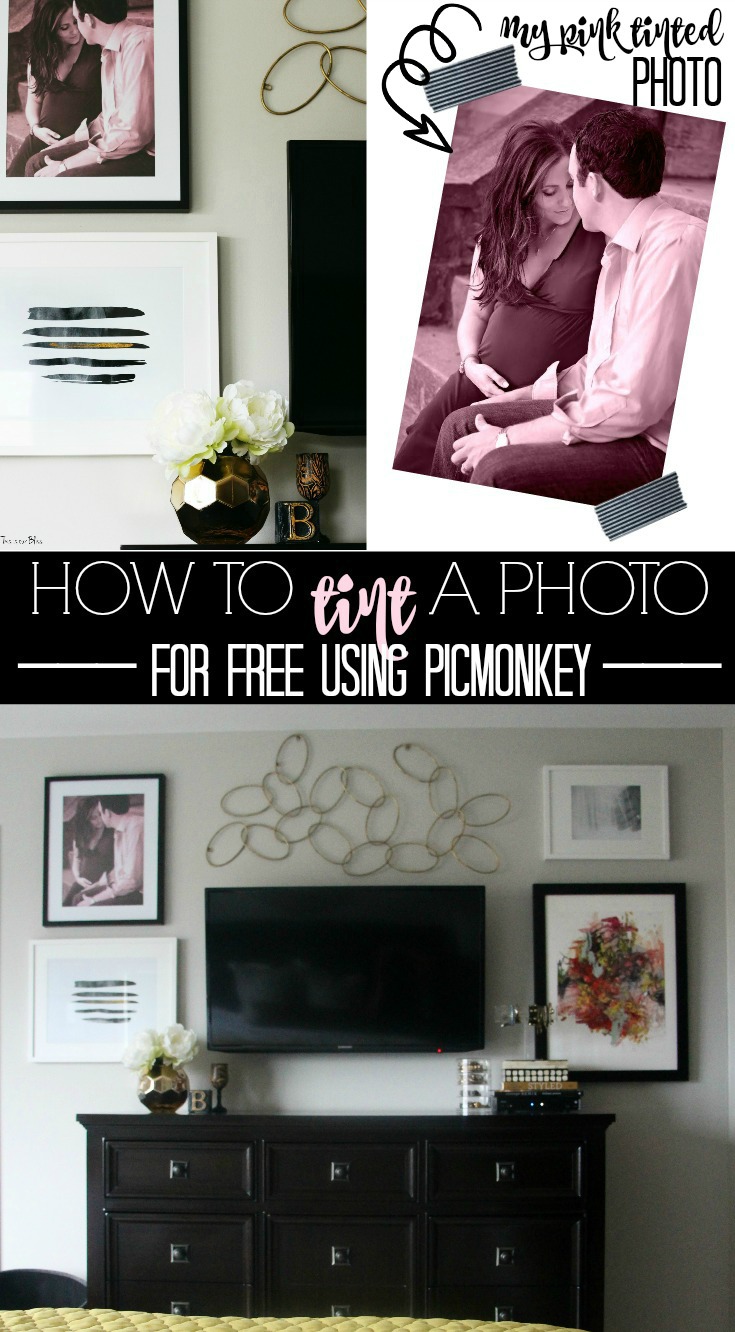
You probably know by now that I, A – love gallery walls and B – I’m over the moon happy with our recently refreshed master bedroom! Well, with gray walls, white bedding and dark espresso furniture, the bones of the room are neutral, but I went big this time with bold, black and white graphic print curtains, pattern play on the bed and pops of color – pink, yellow and blue pulled from my inspiration art piece from minted, which is where the pink came from in the first place!
The pink chair in the corner is one of those things that after you have, you can’t imagine life without! The last few weeks we’ve been saying to each other…
“Don’t you just love having a chair in here?!” “Yeah, me too.” You can probably guess which one of us was asking that question on repeat, while the other politely agreed 😉
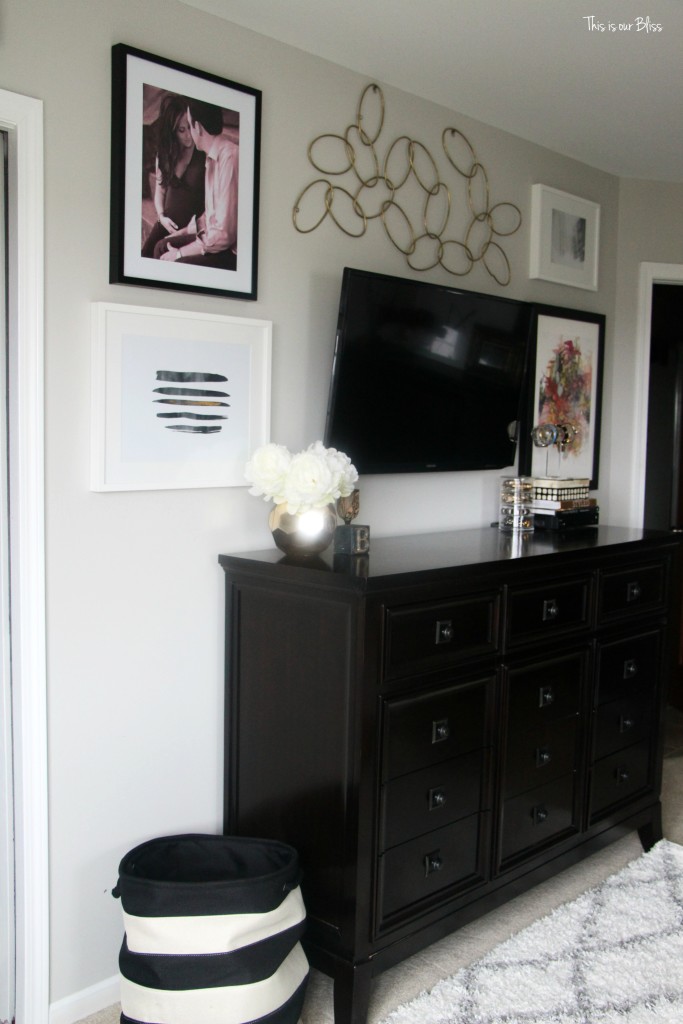
I pretty much carried the pink around the room – the pink chair to the colorful gallery wall art print, along with pink flowers throughout AND…
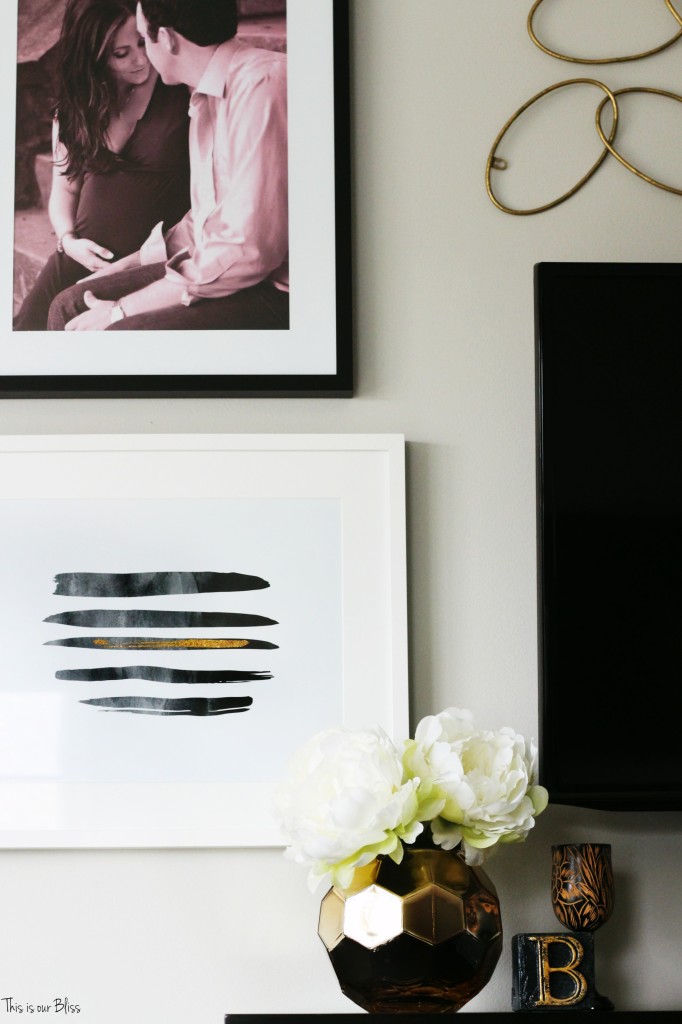
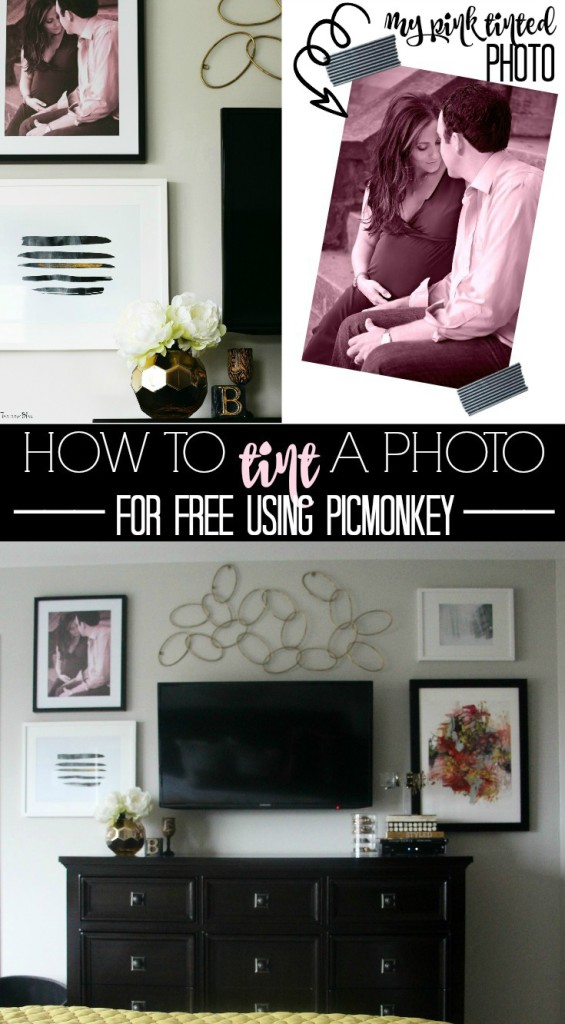
…my pink-tinted photo.
Yep, you might not have even noticed, which is why I love this method. It’ a subtle change from the original photo, but the end result is a really fun twist on an otherwise ordinary photo!
Let me show you how I did it!
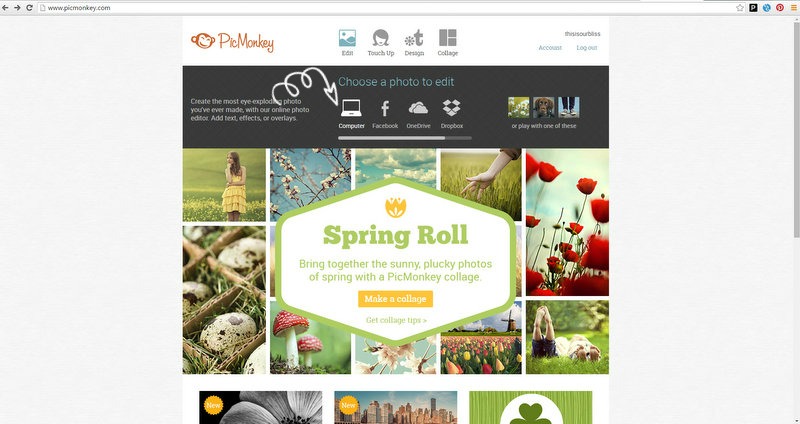
First, head on over to Picmonkey.com. If you aren’t familiar, PicMonkey is an awesomely amazing free online photo editor and I actually use it for all my blog editing. After falling in love with PicMonkey, I did decide to upgrade to the Royale Membership to have access to even more really great tools & functions including a ton of fancy fonts.
After you arrive at picmonkey, click “Edit”.
From here, you’ll then select your image source. In my case, it was on my desktop, so I chose “Computer”.
Then go to your image’s destination folder and open the photo you’d like to work with.
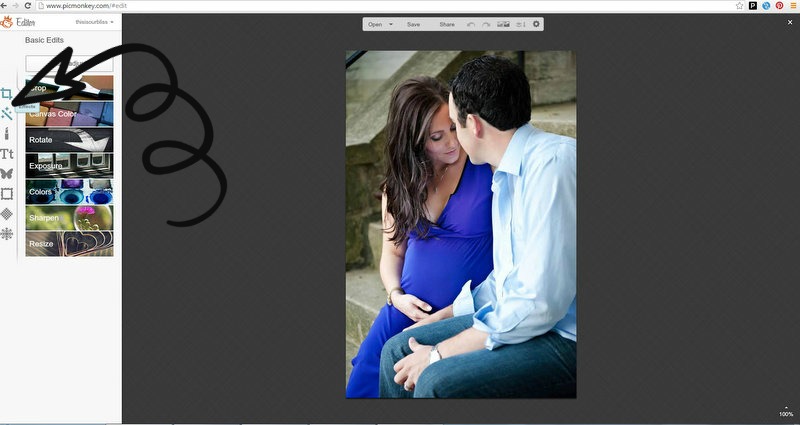
Ok, back to my PicMonkey lesson here. Excuse the monstrous arrow, but I wanted to be sure you saw where to click since my arrows didn’t show up on my screenshots ha! Click the little magic wand image to be able to choose from the various “Effects”.
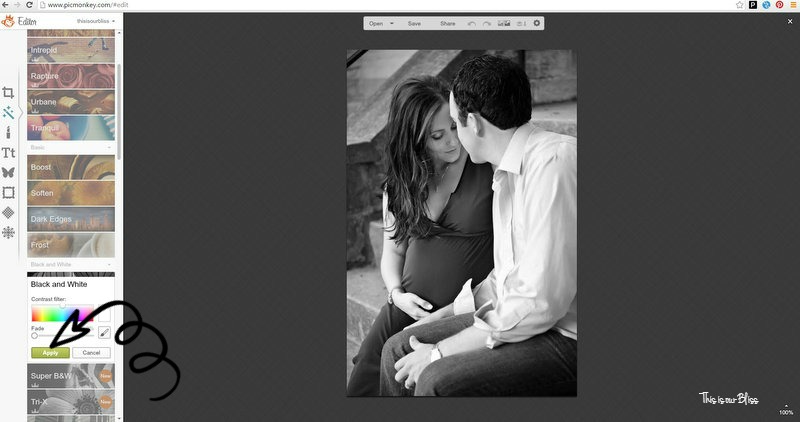
Then, while you are still in “Effects” / the magic wand icon, scroll down to “Tint” under the “Paintbox” section.
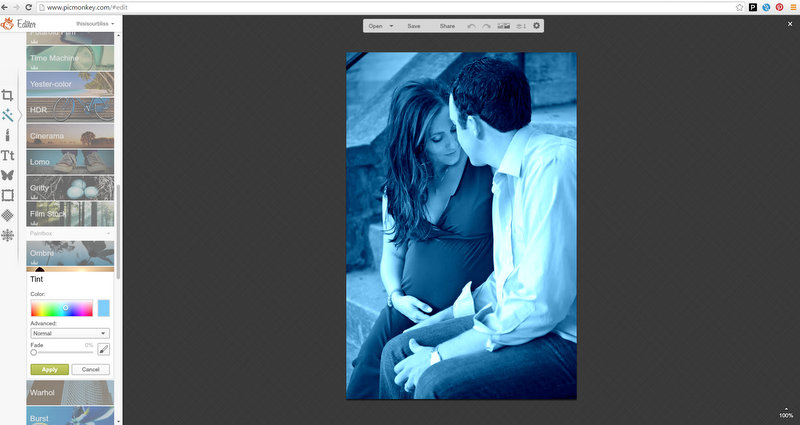
This is what color is automatically generated…
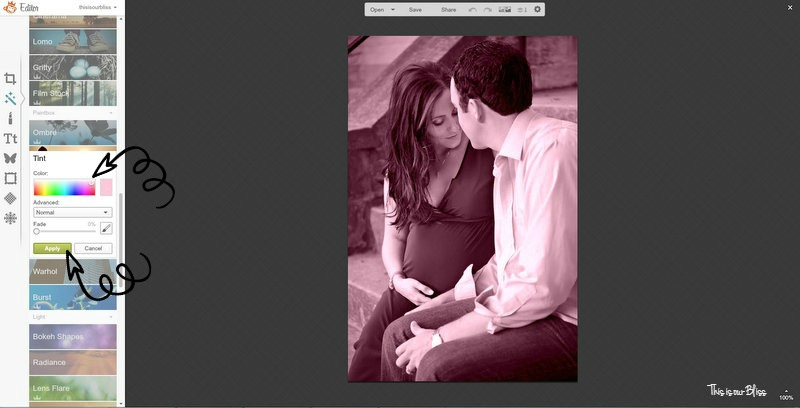
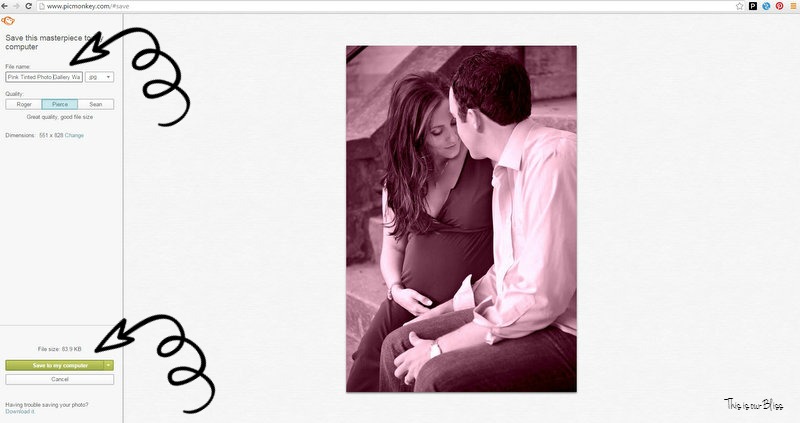
Next, you’ll want to save your photo. So at the top, directly above your image, click “Save“.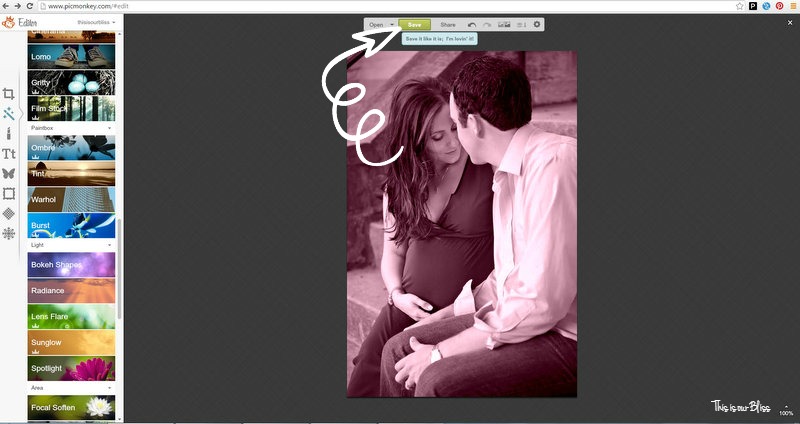
Lastly, name your photo (I have it set to jpeg file type) and click “Save to my computer“.

And in case you are looking for some great photo printing options, here are a few of my favorite places (affiliate links are used):
I also had fun playing around with the “Ombre” function and almost used this pink ombre tinted picture in our bedroom from the beach on our honeymoon in St. Lucia …

…but went with the plain black and white version instead.
This would be fun to play around with for St. Patrick’s Day – a green family photo or green picture of your house? A whole green gallery wall?!?
I think it would be adorable to tint an action shot of your child (riding a bike, throwing a ball, playing outside) in their favorite color and hang it in their bedroom or playroom!
Need a birthday gift for someone? Frame up a photo tinted in their favorite color. Truly endless possibilities here with PicMonkey for FREE and that word is music to my ears!
What’s your favorite tool in PicMonkey? Have any other ideas for photos you would “tint”? Please share!
I already can’t wait to try this again!
The weather is warming up around here and while I have a laundry list of projects to tackle or rather, finish, I think I’d rather be outside. Have a wonderful day!
*Affiliate links were used in this post.











Roxanne
March 10, 2016 at 11:04 AMGreat tips, pinning for reference!
Rachael @ This is our Bliss
March 17, 2016 at 2:04 PMThanks, Roxanne! It was super fun to play around with!
Debbie Tibbs
March 9, 2016 at 8:45 AMI’ve only used pic monkey a few times but reading your post makes me want to try it again. Your bedroom is beautiful!