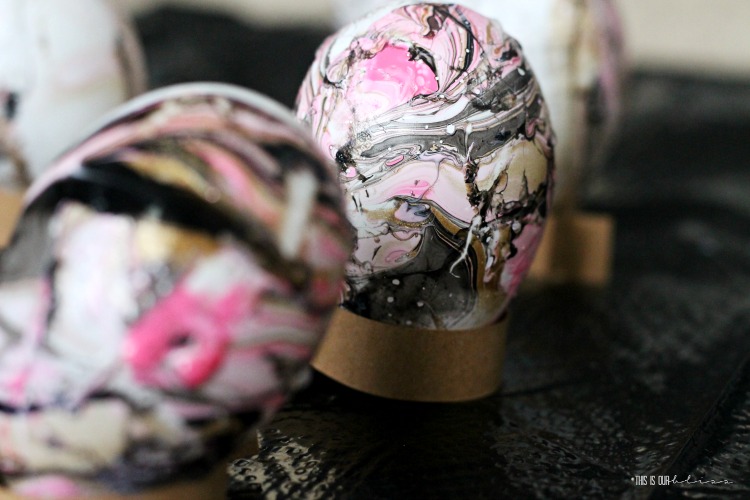
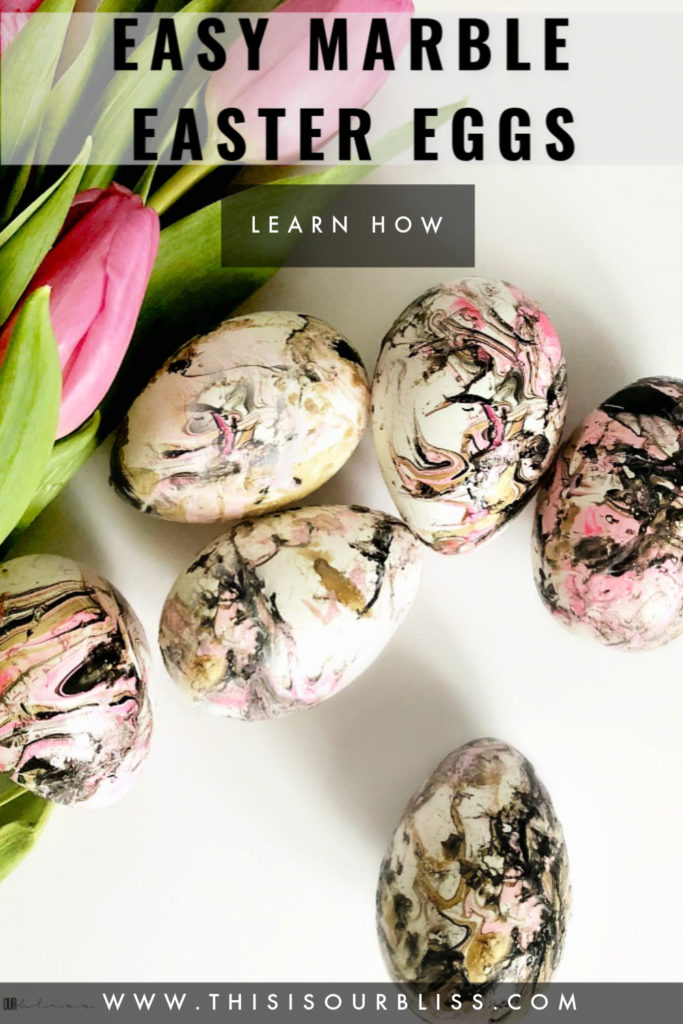
Want to know my secret for beating the winter blues? Start crafting some Spring decor projects! And I’m not even kidding! We have yet to thaw out here in Chicagoland, but with March right around the corner there is no better time than now to start sprinkling Spring into the house! After making marble Christmas ornaments last year, I knew it was only a matter of time before I got the itch to marble something again! Easter eggs were next up! Today, I’m sharing a tutorial for how to marble Easter eggs with black, gold and pink!
HOW TO MARBLE EASTER EGGS WITH BLACK, GOLD & PINK
I’m joining 20+ bloggers today as we kick off the Seasonal Simplicity series hosted by Krista of The Happy Housie with our Spring DIY’s. Easter is a bit later this year, so thought I would get a head-start and begin crafting some new decor to use throughout the house this season.
And with a house full of boys [our 3rd joined us last Summer] I jump on any and every opportunity to use pink in the decor. Remember when I painted our powder room vanity pale pink?
I’m pretty sure Spring is another perfect excuse! Don’t you agree?!
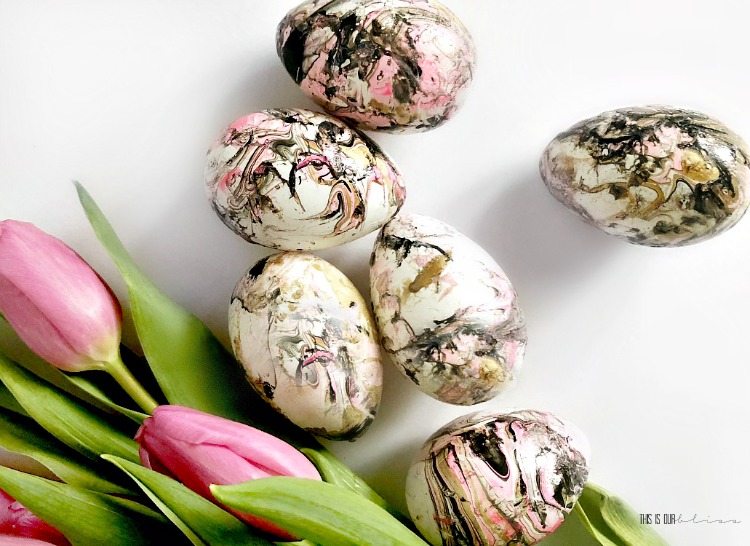
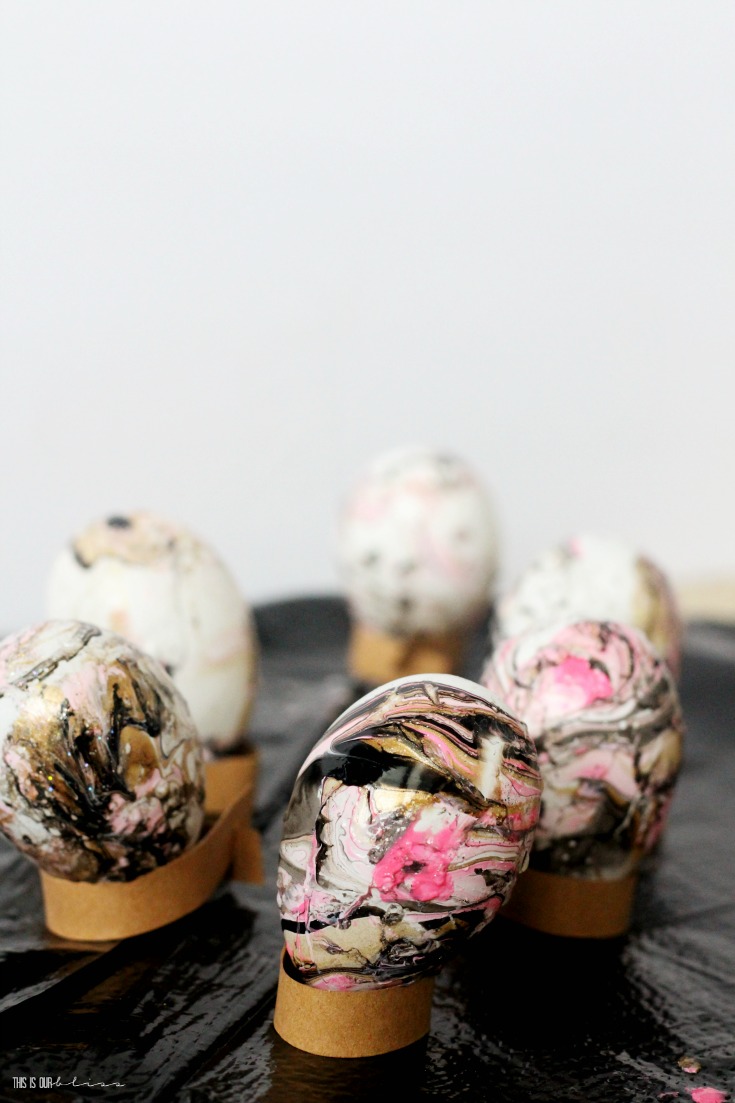
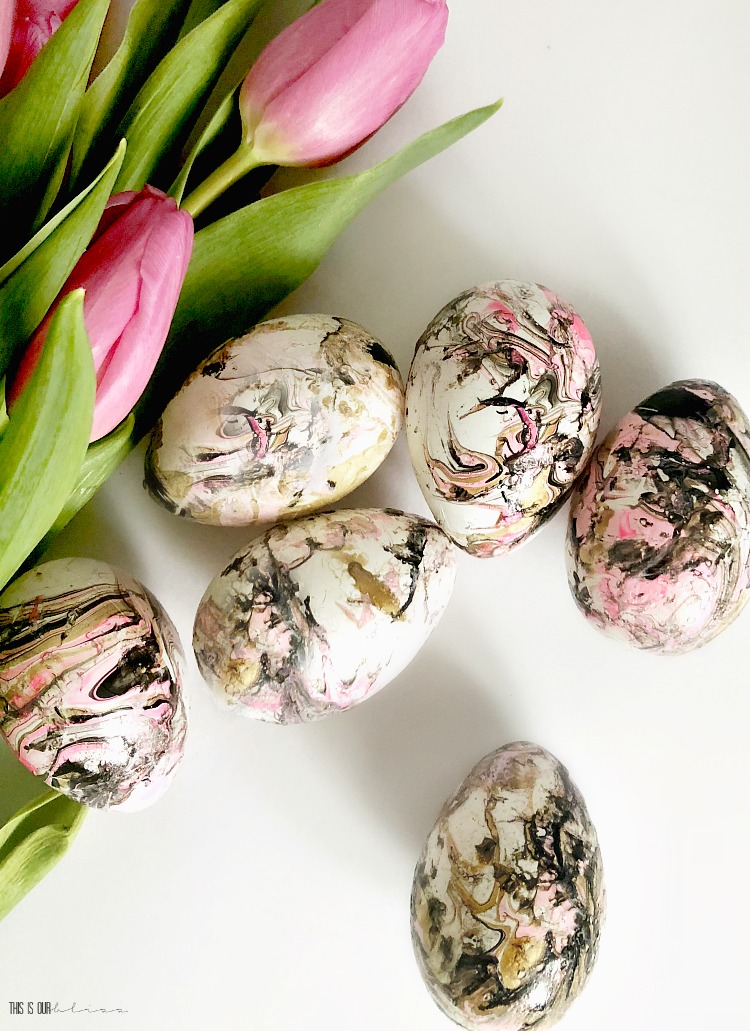
Give me all the pink right now! Tulips, tablescapes and now EGGS! And of course a touch of black and gold found it’s way onto the marble eggs as well.
I just can’t help myself!
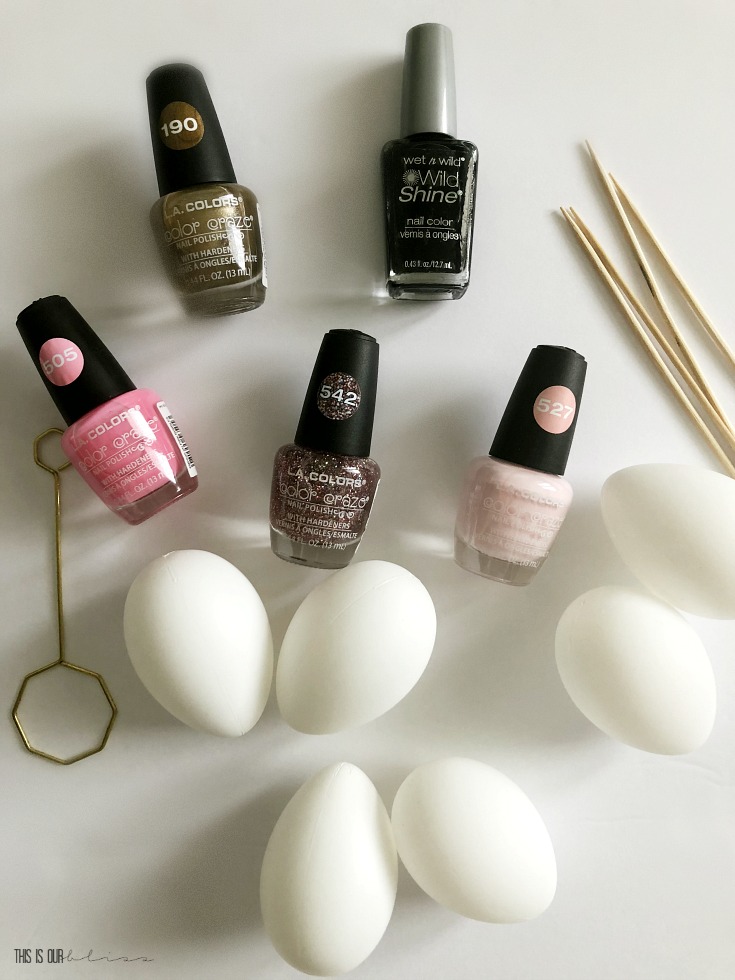
MARBLE EASTER EGG SUPPLIES
- plain white craft eggs
- nail polish [I used black, metallic gold, pale pink, medium pink and pink glitter]
- disposable plastic dish or bowl filled with water [room temperature works best]
- wooden skewers or craft sticks
- newspaper or garbage sack to protect your floor / surface
I purchased all of my supplies at Dollar Tree. Their nail polish selection is quite extensive! I was actually eyeing a couple of other pinky colors there, too. I bought the colors shown and one other one, but it turned out to be more of a coral color once I got home.
If I was going pink, I wanted pink. 🙂
DIRECTIONS FOR MARBLE EASTER EGGS
1 | Fill container with water.
Put on mask and gloves before you get started. The nail polish fumes can get to be quite strong, so while a mask is recommended, you should also be in a well-ventilated area. Outside is always the best place for these kinds of projects.
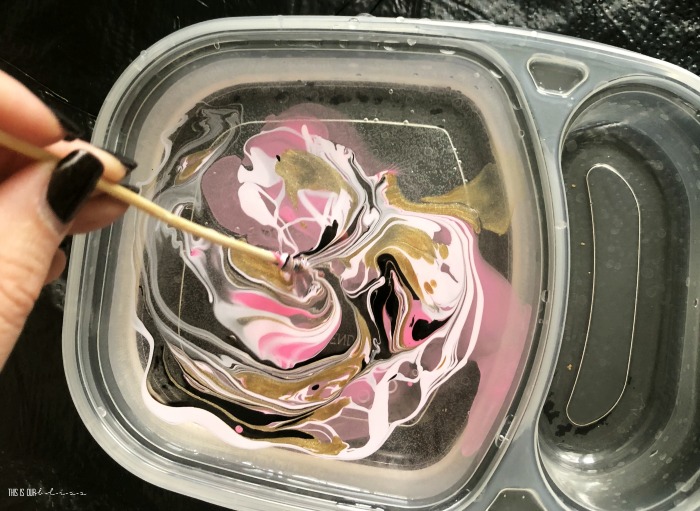
2 | Pour several drops of nail polish into the water one color at a time.
3 | Swirl the paint with a skewer or craft stick to create your “marble” design.
You can determine the coloring based on how much of each polish you pour in. If you want more black, use more black. If you want more of a glittery gold egg, use more of the gold and glitter polishes. Take note of the colors that might form if you mix certain colors together.
4 | Dunk the egg with into the nail polish water turning it from side-to-side as you go.
I used the egg holder on one end of the egg and my hand to hold the other side while dipping. Your fingertips will get messy which is why the gloves are a good idea! A new swirl pattern will form creating a unique egg design each time.
5 | Prop up on the egg holders and let dry for 1-2 hours.
My craft eggs came with these cute little stands that you can quickly assemble to use for drying. I carefully set them in a holder and then waited until they were no longer wet or sticky.
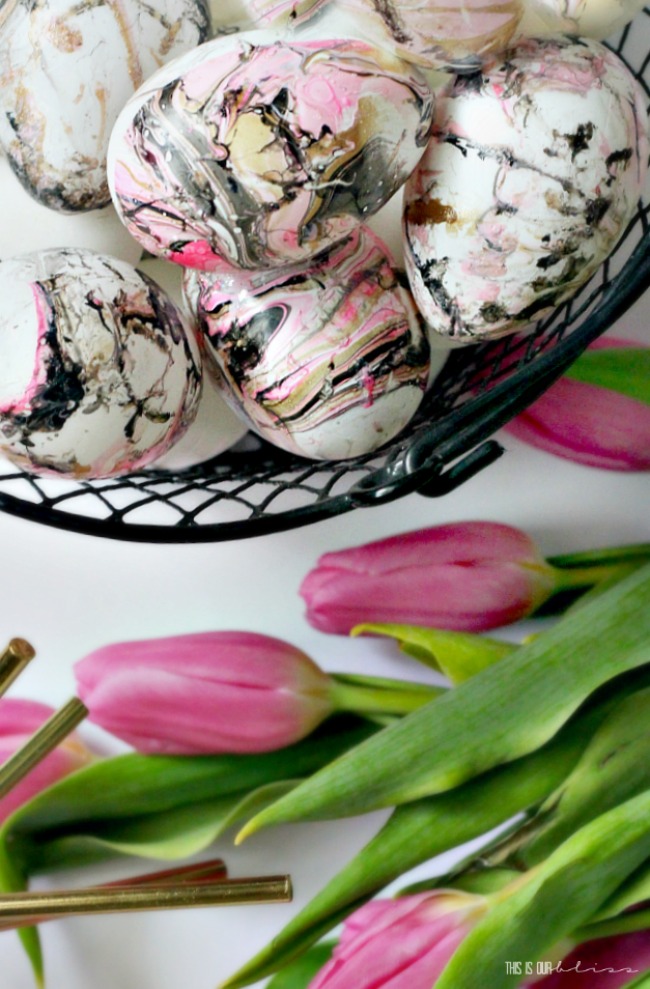
7 | Place your marble Easter eggs in a basket and style your Spring vignette!
I am in looove with the varying color combos of these eggs! Some are heavy with black, others with a bit more gold. And then a couple of them have subtle touches of pink glitter, which I only added to 2-3 of the eggs. They are modern + glam + chic + edgy, all at once!
I’m thinking a little basket of these pretty black, gold and pink marble Easter eggs would make a sweet gift for a friend or neighbor.
You could even gift them with some chocolates as a hostess gift [or with champagne for Easter brunch mimosas!].
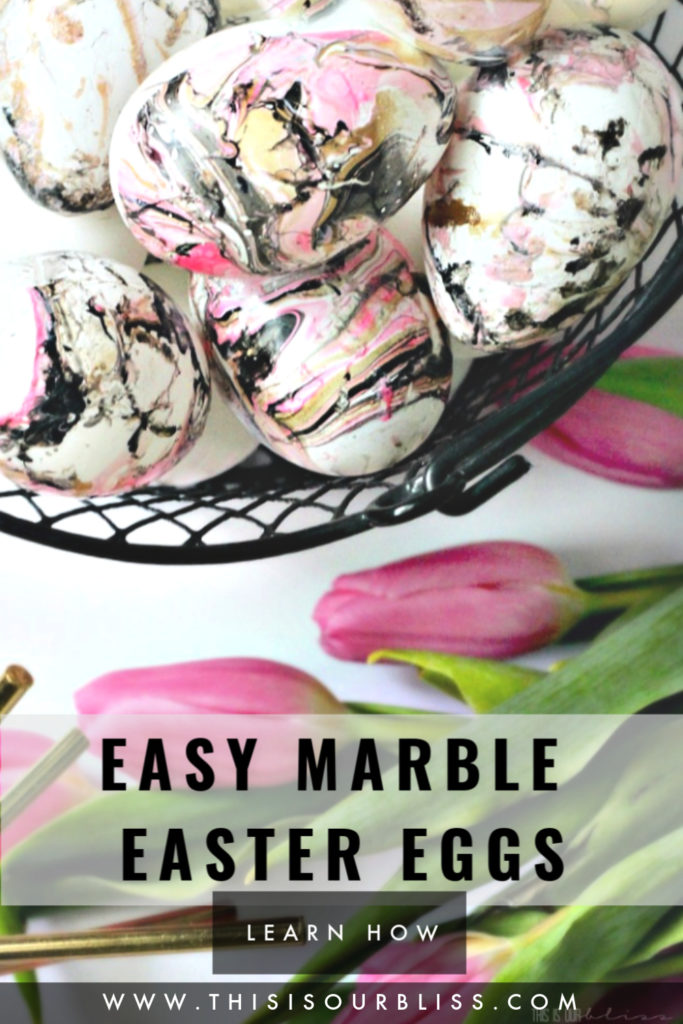
Don’t forget to pin for later!:
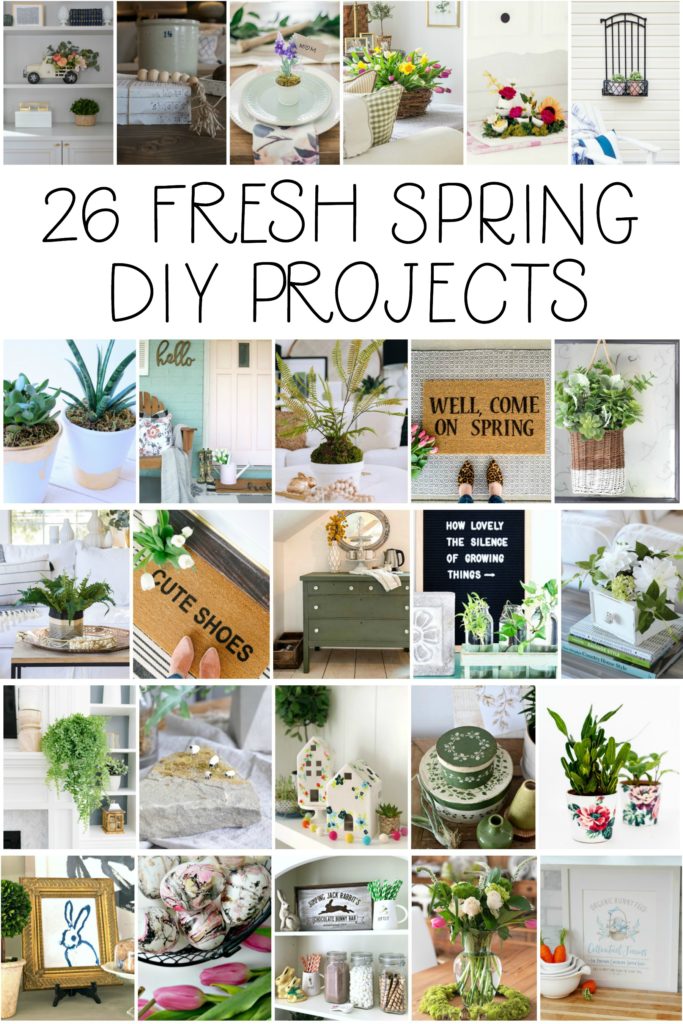
For more beautiful and inspiring Spring decor, you can scroll down to see what my talented friends are up to at the start of the Spring season!
And today I’m joined by a fabulous group of blogging friends who are also sharing their Spring DIY Projects as part of the Seasonal Simplicity Spring Series. You’re going to love all this springy inspiration…
The Happy Housie // Lolly Jane // Craftberry Bush
Inspiration for Moms // Rooms FOR Rent
Zevy Joy // Modern Glam // Hallstrom Home
A Pretty Life // Confessions of a Serial DIYer
Jenna Kate at Home // Life is a Party // Tatertots and Jello
Town and Country Living // Place of My Taste
Rambling Renovators // Home Made Lovely // The DIY Mommy // Sincerely, Marie Designs
Paint Me Pink // Amber Tysl
Southern State of Mind // This is Our Bliss // Tauni Everett
Finding Silver Pennies // Clean & Scentsible
All of this cheerful, Springy inspiration definitely has the snow and ice further and further away in my mind. And all of the pink tulips I picked up at Trader Joes will have a permanent, rotating place on the kitchen island!
What are your favorite spaces to decorate for Spring?
If you loved today’s Spring DIY post, then I think you’ll love these Spring posts! Click on each image below for more inspiration:
Thanks for stopping by today! I hope you’ll come back again soon!
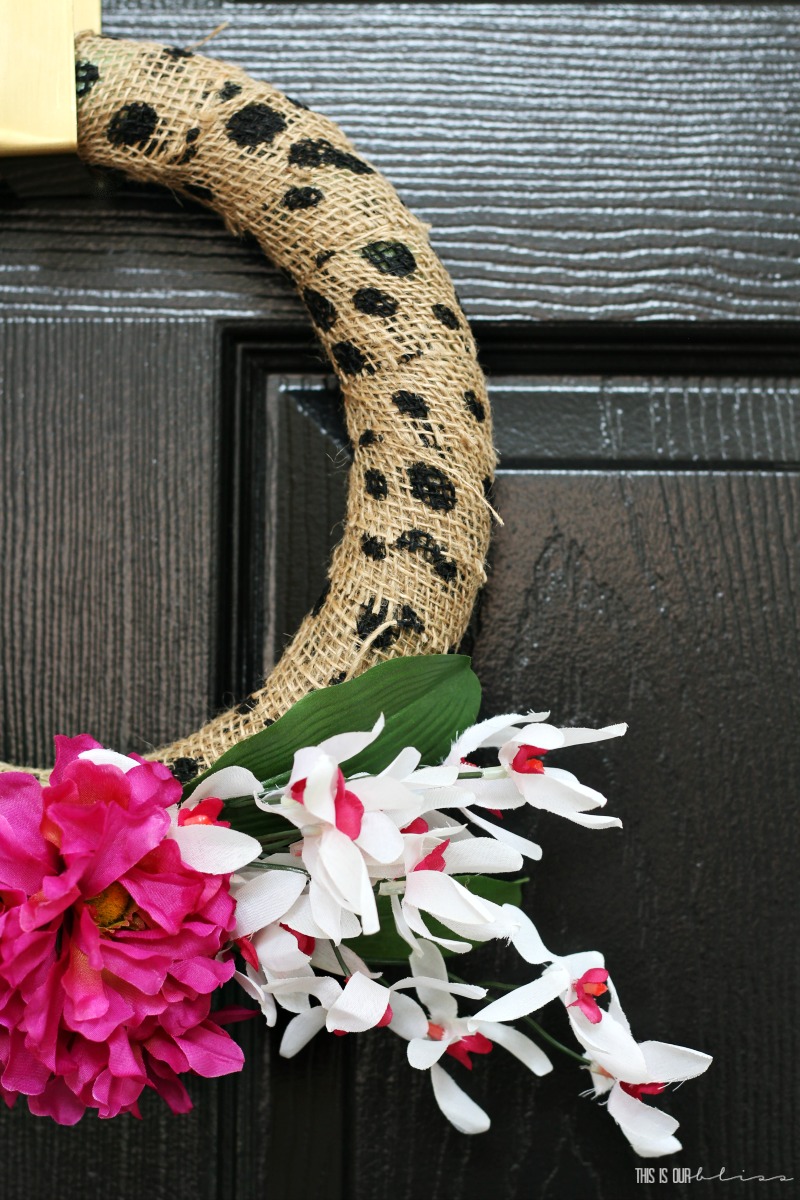
Spoiler Alert: I have another Easter Egg project to share with you tomorrow! To see my DIY Leopard print eggs, click here!











Bright and Colorful Mod Podge Easter Eggs | This is our Bliss
March 22, 2019 at 12:55 PM[…] just can’t stop crafting EGGS!! After sharing my Marbled Easter Eggs and then my Leopard Print Easter Eggs, I decided I wanted to take on one more round of egg […]
Penny
March 8, 2019 at 8:45 AMRachael – lovely! Bought all my supplies and can’t wait to get going on this one! Have a question as to the method for dipping. Did you dip top part of egg and then bottom or did you do more of a horizontal roll? Just trying to figure the best way to do this and how you were most successful. Thanks for the idea and hoping mine turn out half as good as yours!
Rachael @ This is our Bliss
March 9, 2019 at 1:46 PMThank you!! I did more of a “horizontal roll/dip”. But you can get a feel for what works best for the look you want! Good luck!
Christy James
March 3, 2019 at 8:57 AMI love these so much! I think I might just skip the Easter egg coloring kit aisle this year and bring out my nail polish instead to color eggs with my boys! Need to pick up some gloves…thanks for sharing! XO
Rachael @ This is our Bliss
March 5, 2019 at 12:45 PMThank you! And yes, grab so gloves and go to town!! So many different color combo options for Spring!
How to Make Leopard Print Easter Eggs | This is our Bliss
March 2, 2019 at 2:46 PM[…] arrived yet, but it certainly has in my little corner of the internet! Yesterday, I shared my Marble Easter Eggs with you and today I am back with another DIY Egg project. And you guys, these are good!! I had […]
Dollar Store Lavender Place Card Holders for Spring | The DIY Mommy
February 28, 2019 at 11:14 PM[…] State of Mind // This is Our Bliss // Tauni Everett Finding Silver Pennies // Clean & […]
Lucy AKINS
February 28, 2019 at 8:35 PMThese are so elegant. Love them xo
Rachael @ This is our Bliss
March 5, 2019 at 12:43 PMThank you so much, Lucy!!
Krista
February 27, 2019 at 10:35 PMThese are so pretty! I’ve always wanted to try this technique – maybe this year is the year. The colours you picked are perfect, as well!
HOW TO DECOUPAGE WITH NAPKINS - DECOUPAGE PLANTER - PLACE OF MY TASTE
February 27, 2019 at 7:22 PM[…] State of Mind // This is Our Bliss // Tauni Everett Finding Silver Pennies // Clean & […]
Drawers Repurposed as Spring Arrangements
February 27, 2019 at 5:32 PM[…] State of Mind // This is Our Bliss // Tauni Everett Finding Silver Pennies // Clean & […]
Watering Can Makeover + 26 Spring Decor Ideas - Lolly Jane
February 27, 2019 at 1:30 PM[…] State of Mind // This is Our Bliss // Tauni Everett Finding Silver Pennies // Clean & […]
Tauni
February 27, 2019 at 12:12 PMWhat a fun project. I bet my girlfriends would love to do something like this at our next get together! Fun participating in this hop with you!
Spring Anthropologie-Inspired Painted Houses - Spring DIY
February 27, 2019 at 11:45 AM[…] State of Mind // This is Our Bliss // Tauni Everett Finding Silver Pennies // Clean & […]
Rhonda Hallstrom
February 27, 2019 at 11:14 AMThis is such a creative idea, I love it!
Jo-Anna
February 27, 2019 at 10:35 AMWhat a pretty idea Rachael! I had no idea that nail polish could be used for this…I LOVE the marbled effect!
Easy Flower Arranging For Spring - Finding Silver Pennies
February 27, 2019 at 10:30 AM[…] State of Mind // This is Our Bliss // Tauni Everett Finding Silver Pennies // Clean & […]
DIY Flower Trellis {from an old baby gate!} - Amber Tysl
February 27, 2019 at 9:56 AM[…] State of Mind // This is Our Bliss // Tauni Everett Finding Silver Pennies // Clean & […]
DIY Hanging Basket - Rooms For Rent blog
February 27, 2019 at 6:29 AM[…] State of Mind // This is Our Bliss // Tauni EverettFinding Silver Pennies // Clean & […]
Faux Fern Planter using Dollar Store Items
February 27, 2019 at 6:27 AM[…] State of Mind // This is Our Bliss // Tauni Everett Finding Silver Pennies // Clean & […]
Vintage Paper Mache Boxes: How to Guide - Town & Country Living
February 27, 2019 at 5:01 AM[…] State of Mind // This is Our Bliss // Tauni EverettFinding Silver Pennies // Clean & […]
Simple Spring Centerpiece - Paint Me Pink
February 27, 2019 at 4:19 AM[…] State of Mind // This is Our Bliss // Tauni Everett Finding Silver Pennies // Clean & […]
DIY Gold Leaf Plant Pots | The Happy Housie
February 27, 2019 at 4:02 AM[…] State of Mind // This is Our Bliss // Tauni Everett Finding Silver Pennies // Clean & […]
Free Printable Blue and White Bunny Easter Artwork
February 27, 2019 at 4:01 AM[…] State of Mind // This is Our Bliss // Tauni Everett Finding Silver Pennies // Clean & […]
Tulips in a Nest - Spring Arrangement - Sincerely, Marie Designs
February 27, 2019 at 4:01 AM[…] State of Mind // This is Our Bliss // Tauni Everett Finding Silver Pennies // Clean & […]