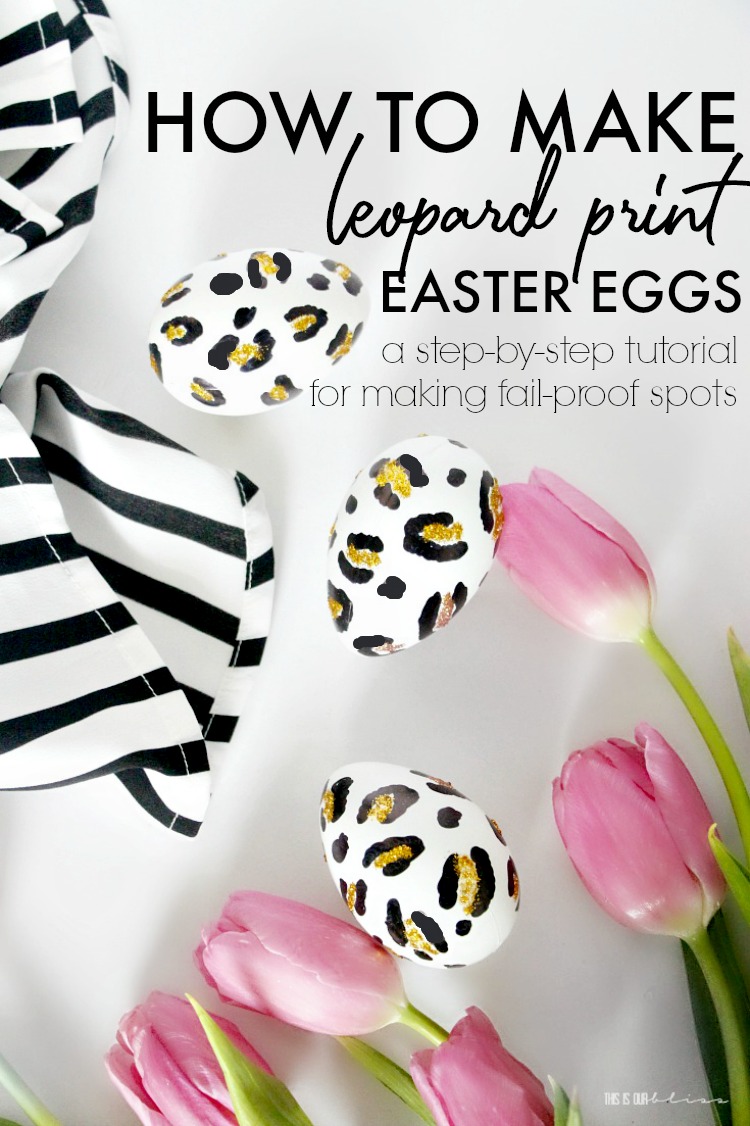
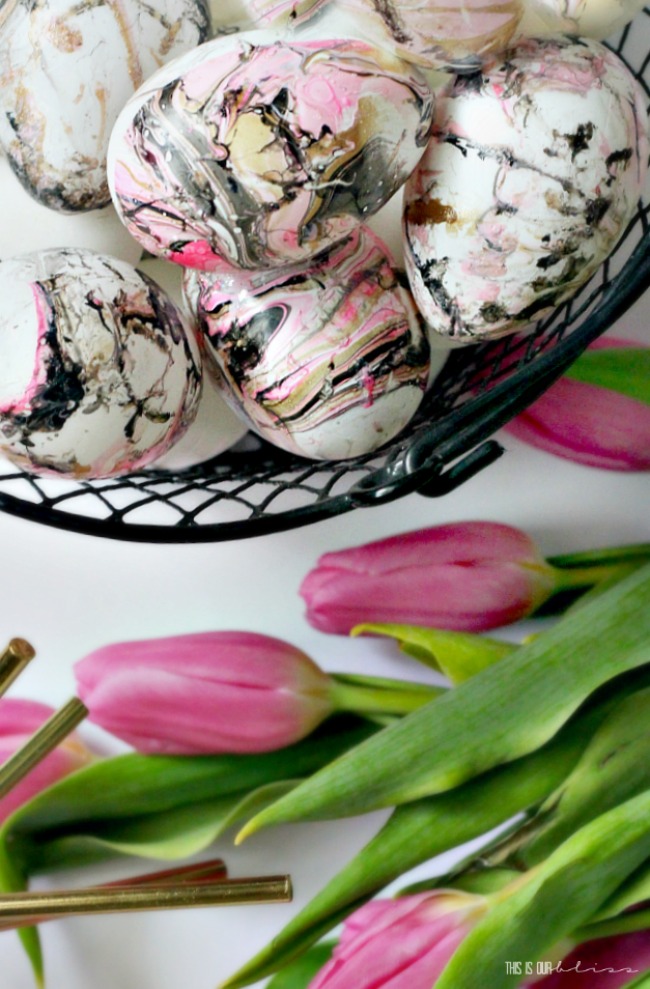
Spring hasn’t officially arrived yet, but it certainly has in my little corner of the internet! Yesterday, I shared my Marble Easter Eggs with you and today I am back with another DIY Egg project. And you guys, these are good!! I had this vision for a few weeks and decided I would bring it to life for this season’s My Dollar Store DIY post. Today, I’m sharing a step-by-step tutorial for how to make Leopard Print Easter Eggs.
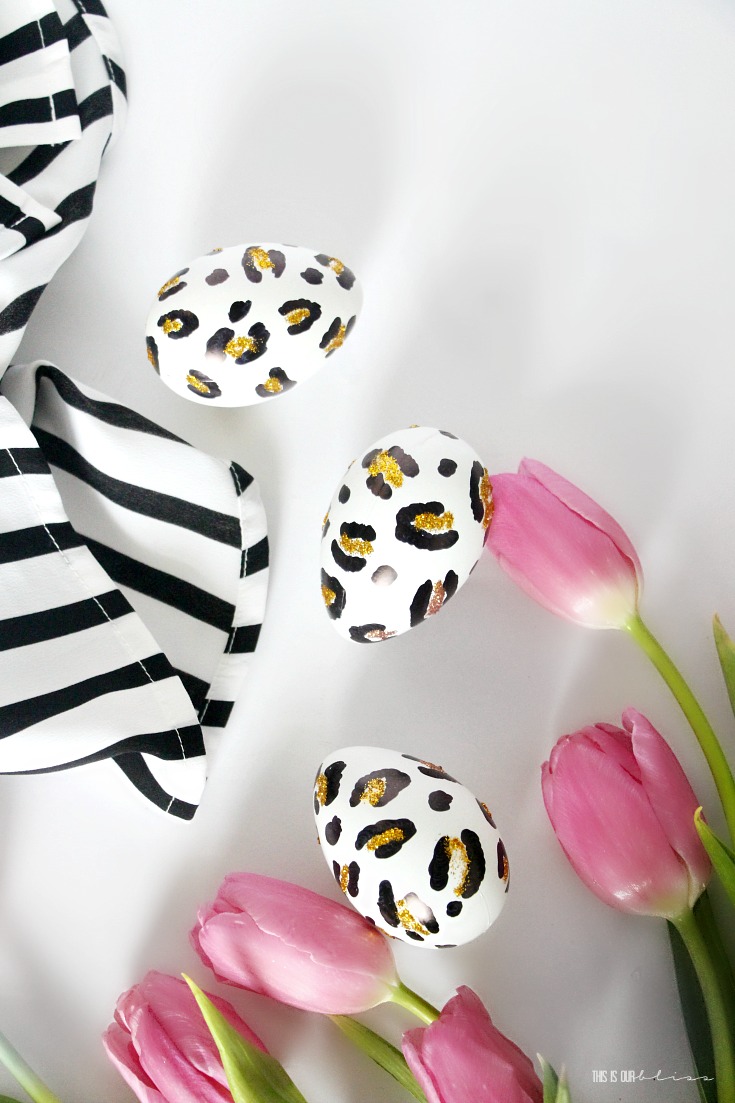
What would be better than a black and gold egg? A Leopard, yes, LEOPARD PRINT black and gold egg!! They are chic and were so simple to make!
HOW TO MAKE LEOPARD PRINT EASTER EGGS
If you’ve been around here even for a little while, you’ve probably picked up on my obsession with all things leopard. I’ve shared 13 ways to add a dose of leopard into your wardrobe and leopard has snuck it’s way into all of my style posts. Shoes, clutch, belt, you name it!
Since it’s such a hot pattern right now I thought it would be so fun to try making my own “spots” on an Easter egg for a chic and glam twist on traditional pastel eggs.
Kind of fun, right?!
Pinterest is always a source for inspiration, so I perused a bit looking for some basic guides for how to draw leopard print. I really could have just grabbed any item from my closet or the two pairs of leopard booties at the back door, but I thought I’d see what I could find in terms of a tutorial. I landed on this how to make leopard print cookies pin and sort of modeled my spots off of it!
Here is what I did!
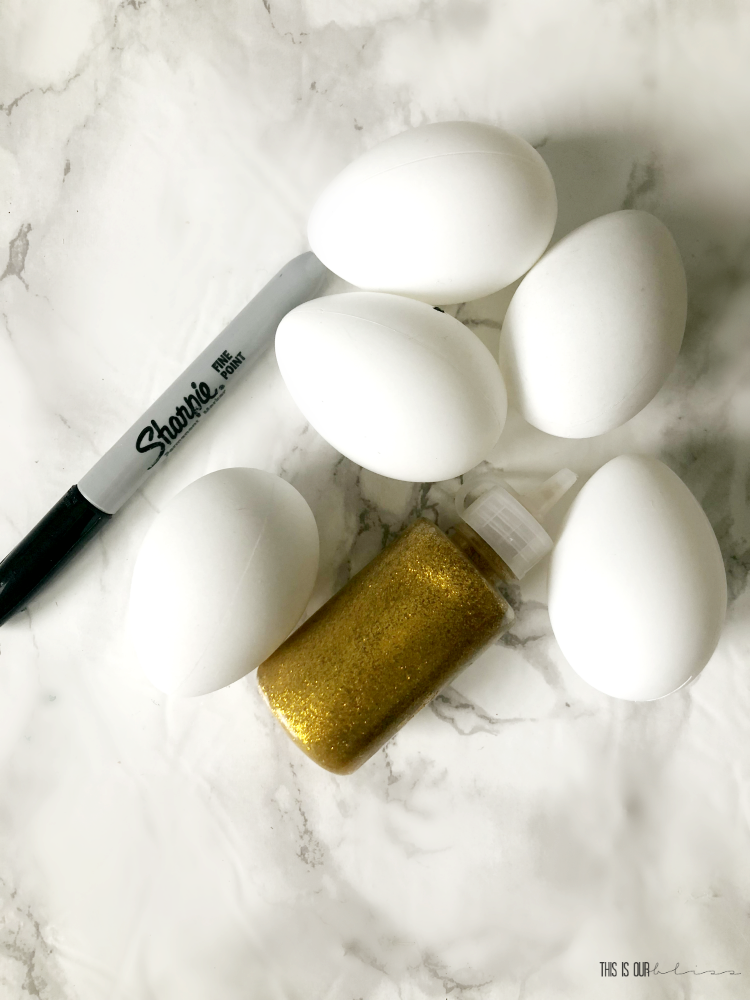
SUPPLIES FOR LEOPARD PRINT EASTER EGGS
- white craft Easter eggs
- Black Sharpie
- gold glitter glue
[All of my supplies were from Dollar Tree.]
STEP-BY-STEP DIRECTIONS FOR LEOPARD PRINT EASTER EGGS
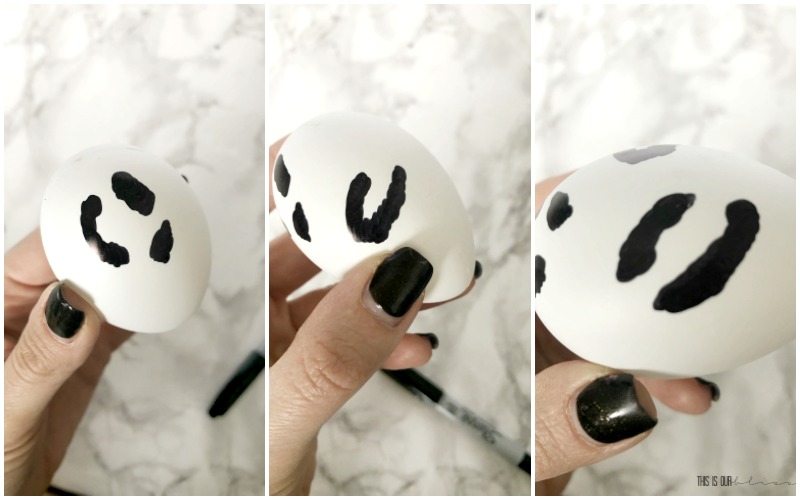
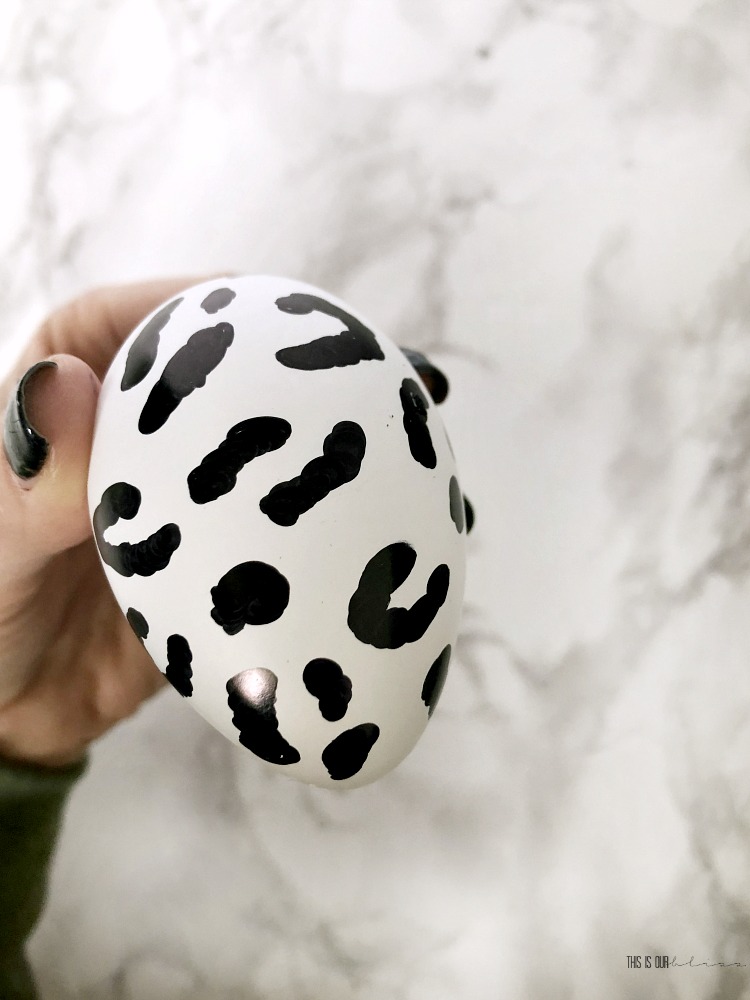
1 || Draw the black spots using 4 basic patterns.
Alternating each one and working your way around the egg.
- 3 spots grouped together [2 bigger and 1 smaller]
- 2 spots connected like a horseshoe
- 2 curved spots side-by-side
- a single spot as a filler
I simply made small swirls with the Sharpie instead of an outline and then filling it in. I didn’t want any harsh lines. The edges of your spots absolutely do not have to be perfect. You really can’t mess them up!!
Here you can see how I spaced out the patterns. The single spots are randomly throughout as a filler if I didn’t have enough room for any of the other 3 patterns.
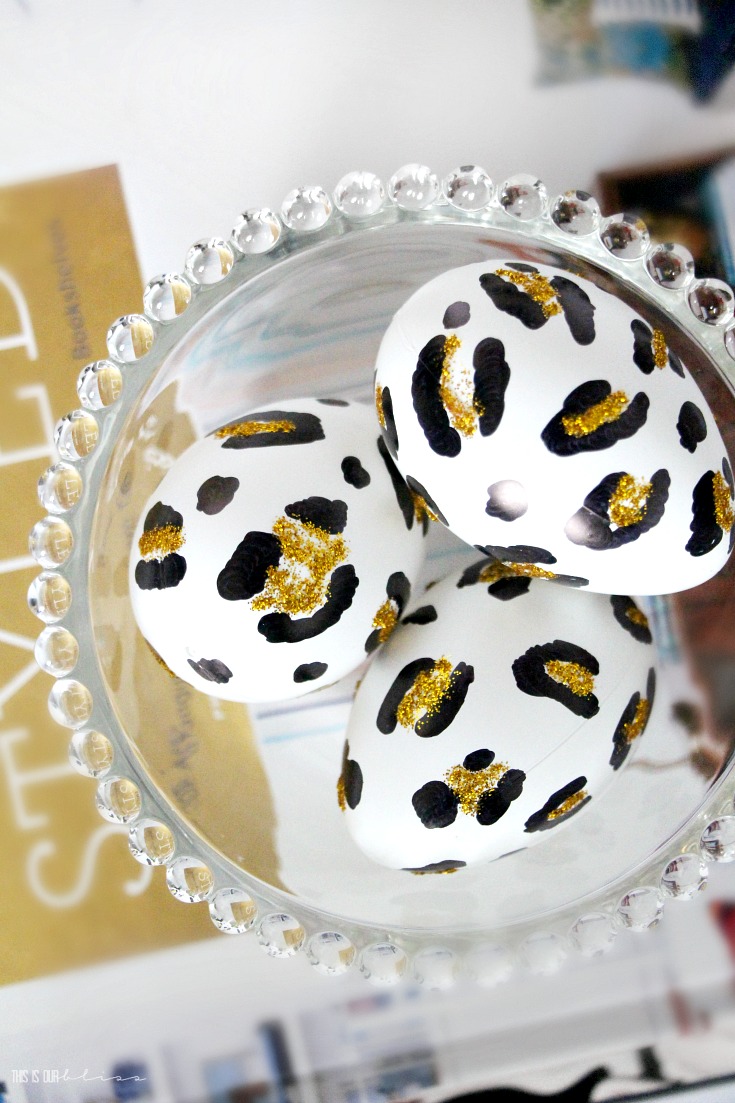
2 || Next up is the glitter!
I filled in the white space in between each of the spots in each pattern. I did one side of the egg and then set it down to dry. After waiting 1-2 hours, I tested to make sure the glitter was dry and then filled in the other side of the egg.
3 || You’re done!
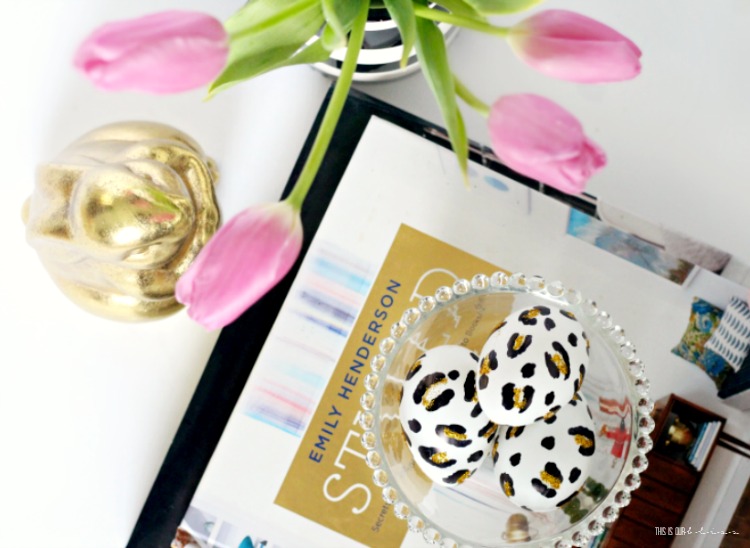
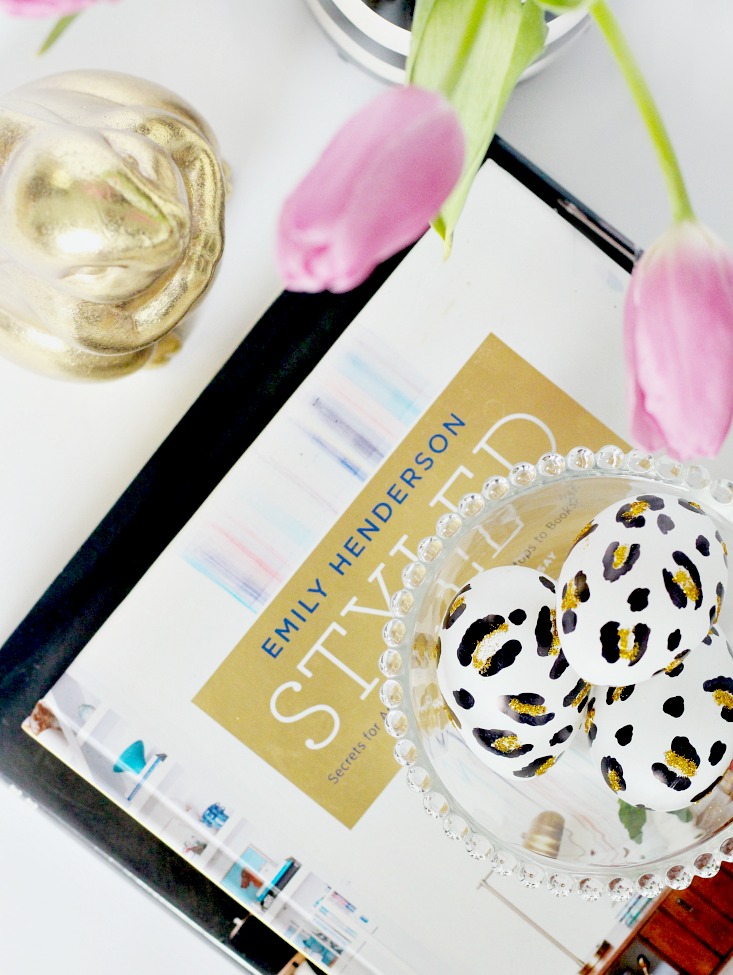
I placed mine in a small glass dish and then set it on top of a couple coffee table books.
These would be so cute to set on your entryway table or even on the kitchen table or island.
I originally wanted to use gold puffy paint so that the spots would be 3-D. Since I hadn’t worked with the glitter glue before, I wasn’t quite sure how it would end up looking. It started out raised and puffy, but as it dried it pretty much flattened out to plain gold glitter.
I only made 3 eggs, but I would have made a dozen! These are definitely an ultra-chic addition to the rest of our Spring and Easter decor. Although I did pick up that snazzy little gold bunny a couple years ago and these eggs look great sitting next to him 🙂
These leopard print Easter eggs truly make my heart sing! I am absolutely positively in love with them!
If you are, too, then don’t forget to pin for inspiration later:
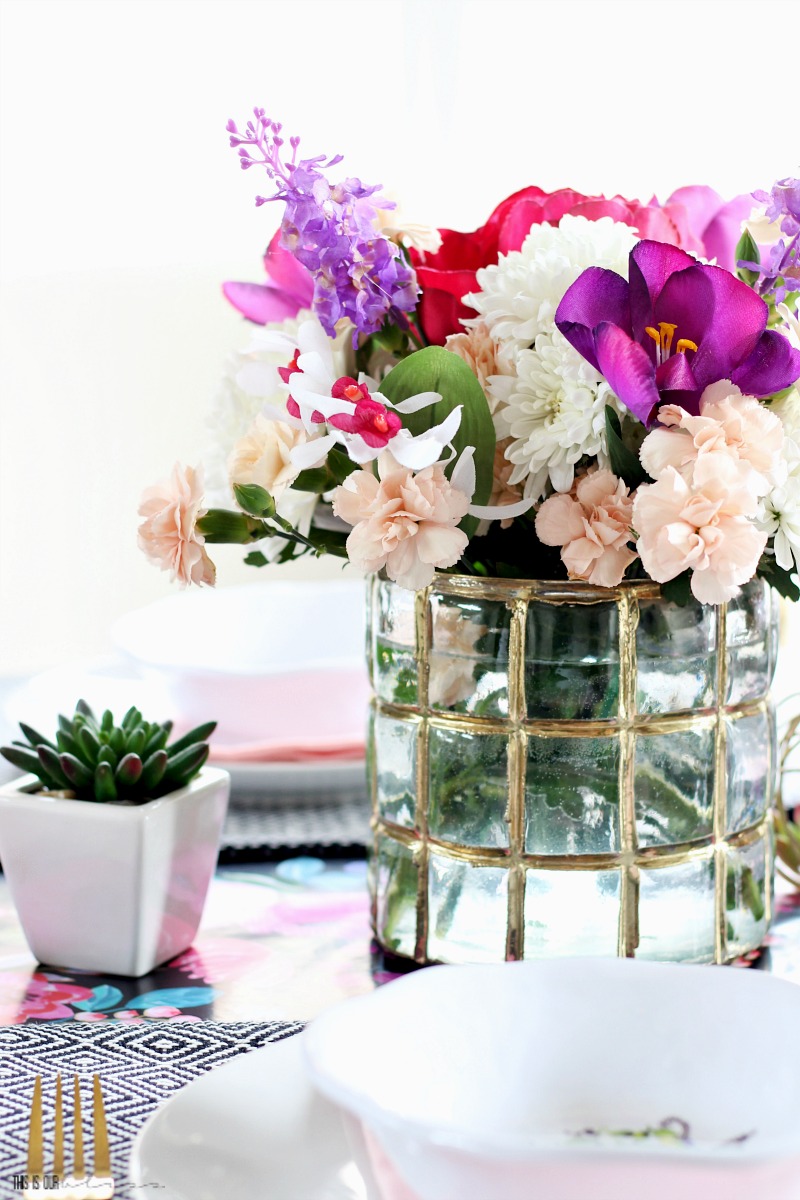
For more Spring inspiration, head down to see what the rest of the My Dollar Store DIY participants came up with this season! They are sure to put you in a Springy mood!
This is our Bliss | My Thriftstore Addiction | Red Couch Life | Two Bees in a Pod | Creative Ramblings | Redhead Can Decorate | Create and Babble | Southern State of Mind | Knock it Off Kim | The Heathered Nest | The Organized Mama
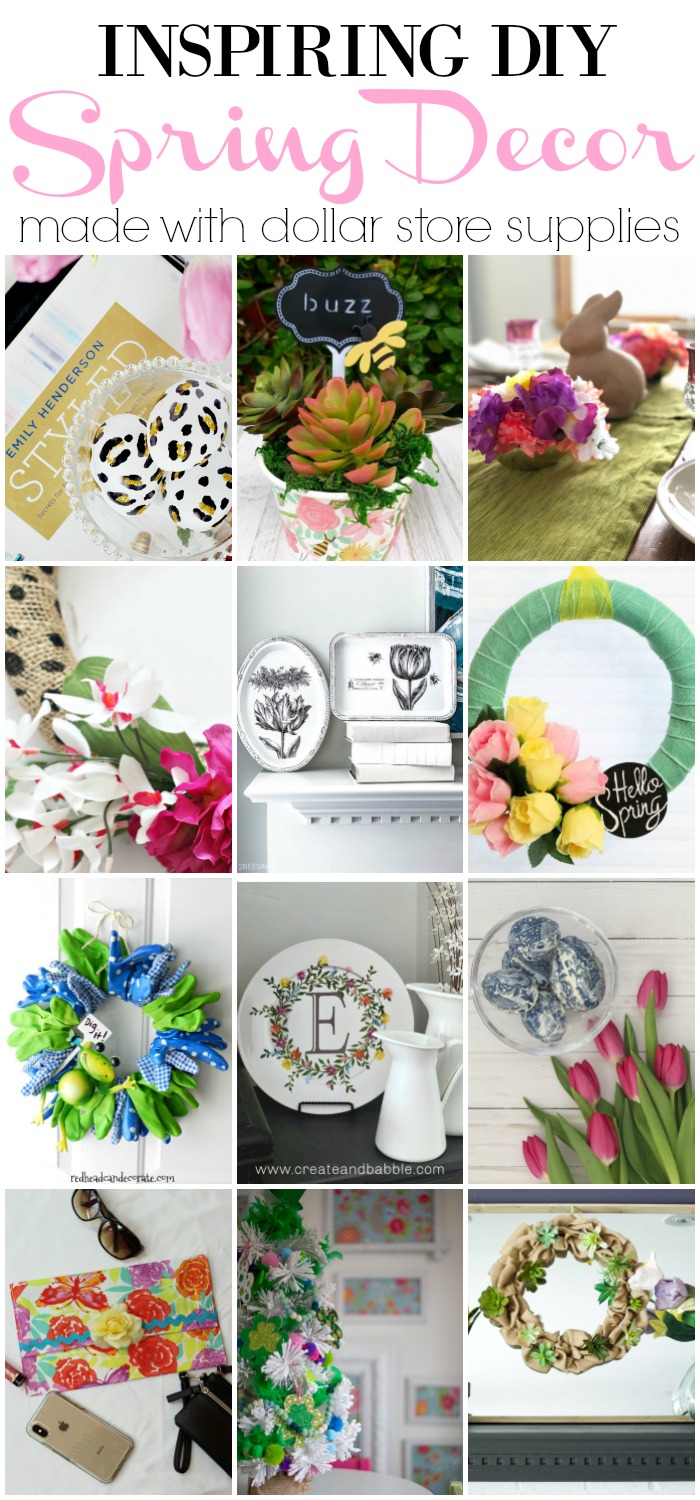
For more Spring Inspiration, click any of the images below!
You can see the rest of my posts in the My Dollar Store DIY series here:

 Easter Egg Topiary Place Cards
  DIY Faux Succulent-filled Gold Wire Orb
  DIY Simple, Sweet Sayings Gift Tags
  DIY Mini Pom Pom Napkin Rings
  4th of July Confetti Star Wine Glass
  DIY Maple Leaf Charger Plate
  Floating Spooky Spiderwebs
  5 Minute Holiday Hostess Gift
  DIY Christmas Bell Napkin Ring
  DIY Dollar Store Drawer Organizer
  DIY Burlap and Floral Spring Wreath
  DIY Mason Jar Mug in a Mitt Hostess Gift
  Dollar Store Pom Pom Beach Hat Band
  DIY Blue & White Striped Patriotic Planter Pot
  DIY Patriotic Striped Scarf Wreath
  DIY Copper Acorn Vase
  DIY Buffalo Check Scarf
  DIY Marbled Christmas Ornaments








Why Pink Really is the Best Color to Use for Spring - This is our Bliss
March 26, 2019 at 4:01 AM[…] face! After a quick paint job on our old sofa table, a lamp from the basement, a dish of leopard Easter eggs, new free egg “art”, the only thing left to do was add a touch of […]
Bright and Colorful Mod Podge Easter Eggs | This is our Bliss
March 22, 2019 at 12:56 PM[…] just can’t stop crafting EGGS!! After sharing my Marbled Easter Eggs and then my Leopard Print Easter Eggs, I decided I wanted to take on one more round of egg crafting. This time I tried out the mod podge […]
Dollar Store Spring Wreath - Creative Ramblings
February 28, 2019 at 8:38 PM[…] This is our Bliss | My Thriftstore Addiction | Red Couch Life | Two Bees in a Pod | Creative Ramblings | Redhead Can Decorate | Create and Babble | Southern State of Mind | Knock it Off Kim | The Heathered Nest | The Organized Mama […]
Sarah
February 28, 2019 at 8:34 PMOh my gosh I love these, they are perfect for you home!
Rachael @ This is our Bliss
March 5, 2019 at 12:43 PMThanks, Sarah! Making the spots was so much easier than I originally thought!!
Julie
February 28, 2019 at 8:01 PMAs soon as I saw them, I knew it was you! These eggs are so cute I can’t take it!! I better get on my EGG game!!
Rachael @ This is our Bliss
March 5, 2019 at 12:43 PMha thanks, Julie! They felt so “me” when I was making them!
Heather
February 28, 2019 at 7:02 PMThese are totally FANTASTIC!! I adore them. What a perfect idea 🙂
Rachael @ This is our Bliss
March 5, 2019 at 12:42 PMThanks, girl! I seriously could have made dozens!! They were so much fun 😉
Whitney Mager
February 28, 2019 at 12:20 PMObsessed with these!!
Rachael @ This is our Bliss
February 28, 2019 at 5:09 PMThanks, Whitney!! I’ll admit, I am obsessed with them, too!
Sue
February 28, 2019 at 9:30 AMLove the leopard print eggs! So cute!
Rachael @ This is our Bliss
February 28, 2019 at 5:08 PMThanks, mom! I knew you’d like them!! 😉
Kim
February 28, 2019 at 8:29 AMRachel, these had me making all kinds of high pitched sounds of glee – leopard print is my favorite and these are FABULOUS! I’ll be making these. Another great dollar store project!
Rachael @ This is our Bliss
February 28, 2019 at 5:08 PMThanks, Kim! I think I was making the same high-pitched sounds myself! When my idea came to life, I was absolutely grinning from ear-to-ear!!
Garden Glove Spring Wreath - Redhead Can Decorate
February 28, 2019 at 8:13 AM[…] This is our Bliss | My Thriftstore Addiction | Red Couch Life | Two Bees in a Pod | Creative Ramblings | Redhead Can Decorate | Create and Babble | Southern State of Mind | Knock it Off Kim | The Heathered Nest | The Organized Mama […]
Cecilia
February 28, 2019 at 8:01 AMRachael, these are so creative and fun! Happy to be joining you for the dollar store challenge, today! Blessings, Cecilia @My Thrift Store Addiction
Rachael @ This is our Bliss
February 28, 2019 at 5:07 PMThank you, Cecilia!! These were SO fun to make!! And thank you for joining us 🙂
My Dollar Store DIY: Easter centerpieces - Red Couch Life
February 28, 2019 at 7:40 AM[…] This is our Bliss | My Thriftstore Addiction | Red Couch Life | Two Bees in a Pod | Creative Ramblings | Redhead Can Decorate | Create and Babble | Southern State of Mind | Knock it Off Kim | The Heathered Nest | The Organized Mama […]