Another knock-out round of Knock it Off DIY is here! Woo hoo! If you haven’t caught any of our sneak peeks yet, then you are in for a treat today. Seriously! This month’s Knock it Off DIY Challenge is featuring our World Market inspired projects and I am so excited to share my No-Sew Felt Pillow with you now!
I racked my brain for quite some time trying to figure out what direction I wanted to go in. I mean, there are tons of products to choose from at World Market. You all know about my throw pillow addiction, so when I spotted their vintage style felt cutout throw pillow, an idea sparked. I’ve been really into bold graphic prints lately [like the minted curtains I selected for our Master Bedroom Refresh or the headboard I diy’d for our Guestroom Revamp project] and I had a feeling I could DIY my own felt pillow…
…except mine, is no-sew and less than half the cost!
Oh and it was really easy and doesn’t require a 10 page guide book to recreate this look. I promise!
HOW TO DIY NO-SEW FELT PILLOW IN UNDER 20 MINUTES
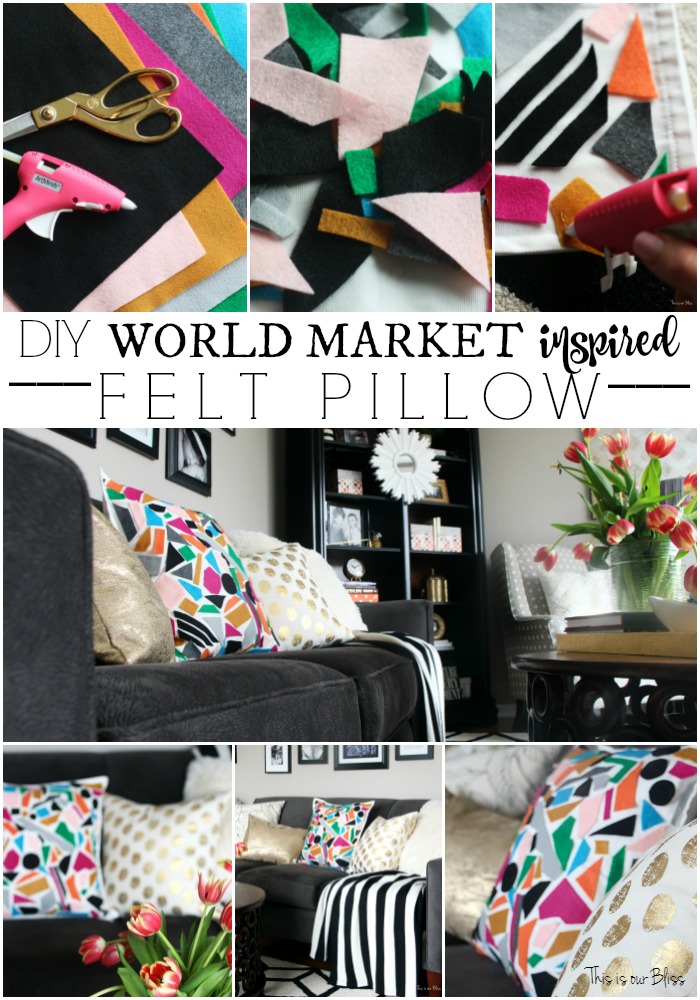
Step 1 | Gather materials.
[This post, including the supply list contains affiliate links, which means if you click on a link and / or make a purchase, I will earn percentage of the sale at no additional cost to you. I only recommend products I use, trust and want to share with you!]
Felt
Scissors [get my fave ones here]
Hot glue gun + glue sticks
pillow cover
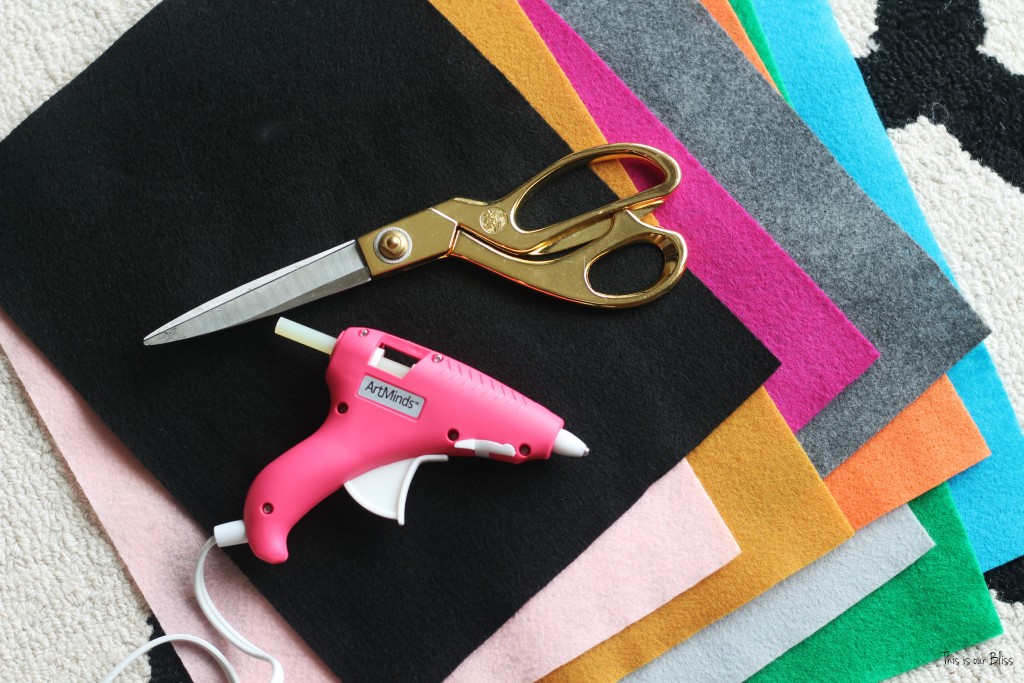
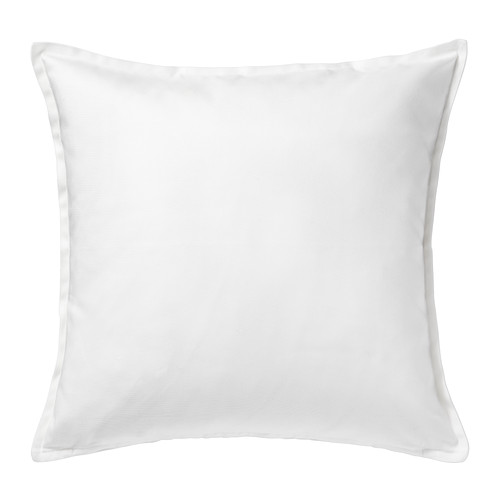
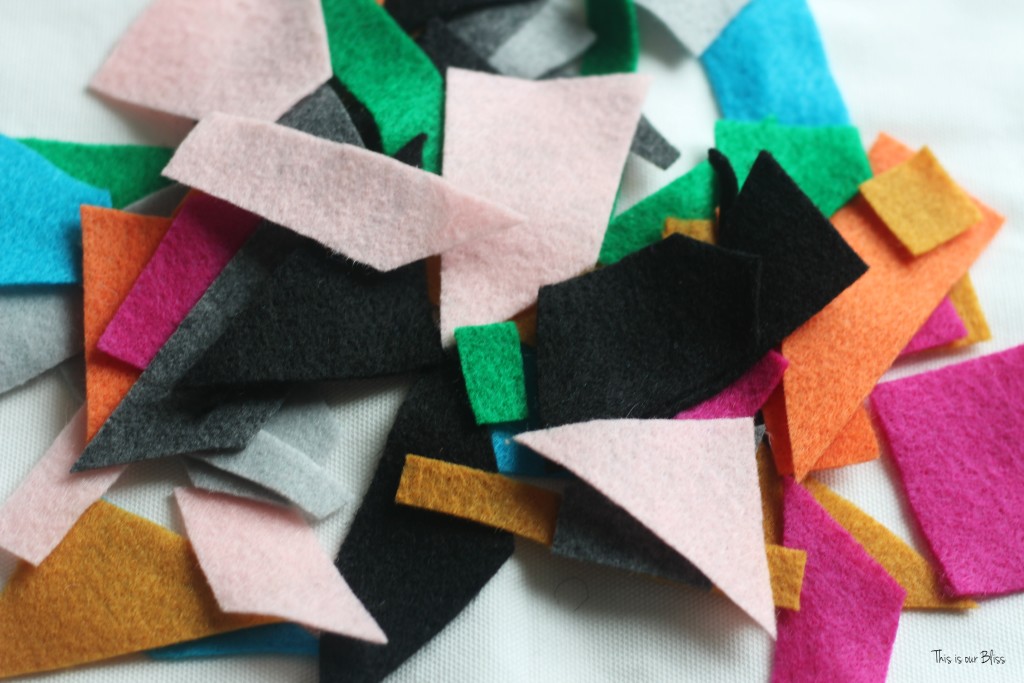
Step 2 | Cut out random shapes.
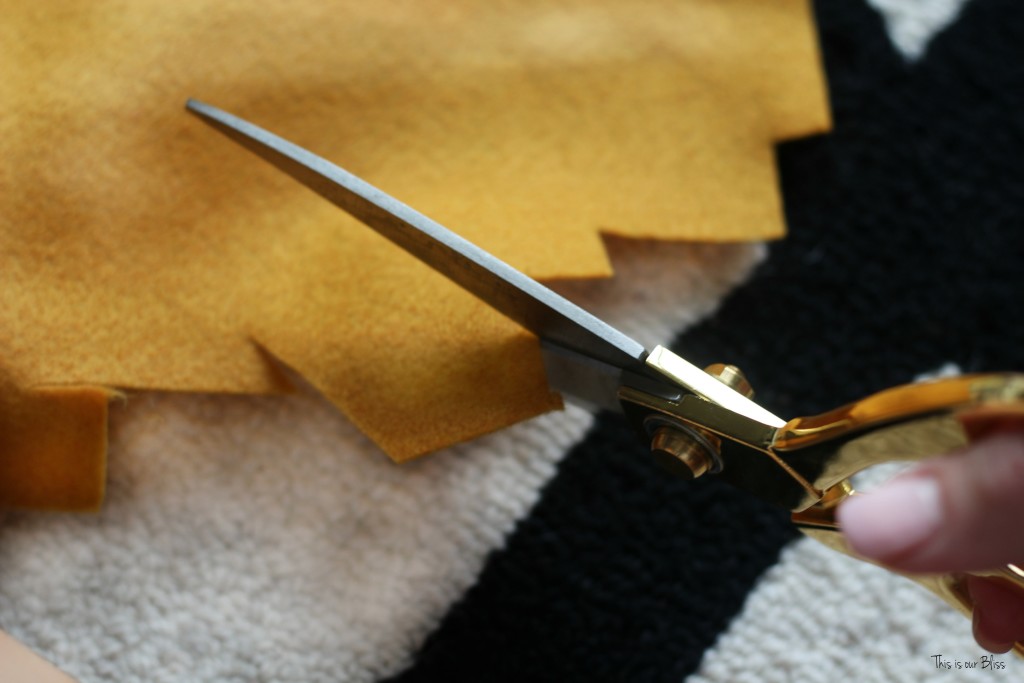
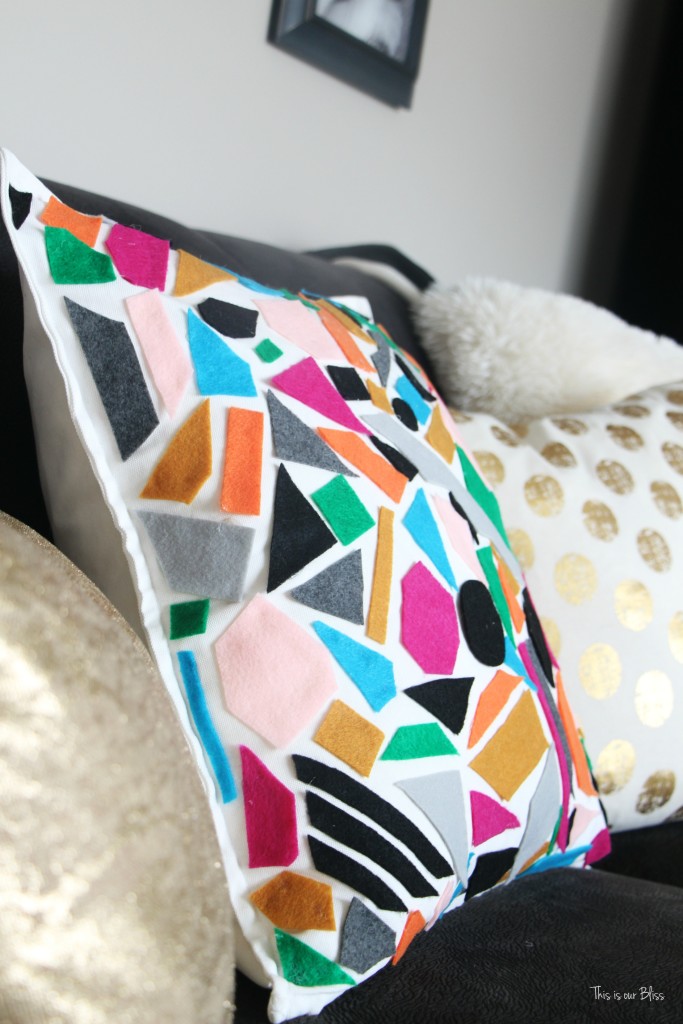
I cut triangles, squares, rectangles, strips, funky weird odd-ball shapes, big and small, but kept all the edges straight until the very end. I decided to cut a few black circles to switch things up a bit visually.
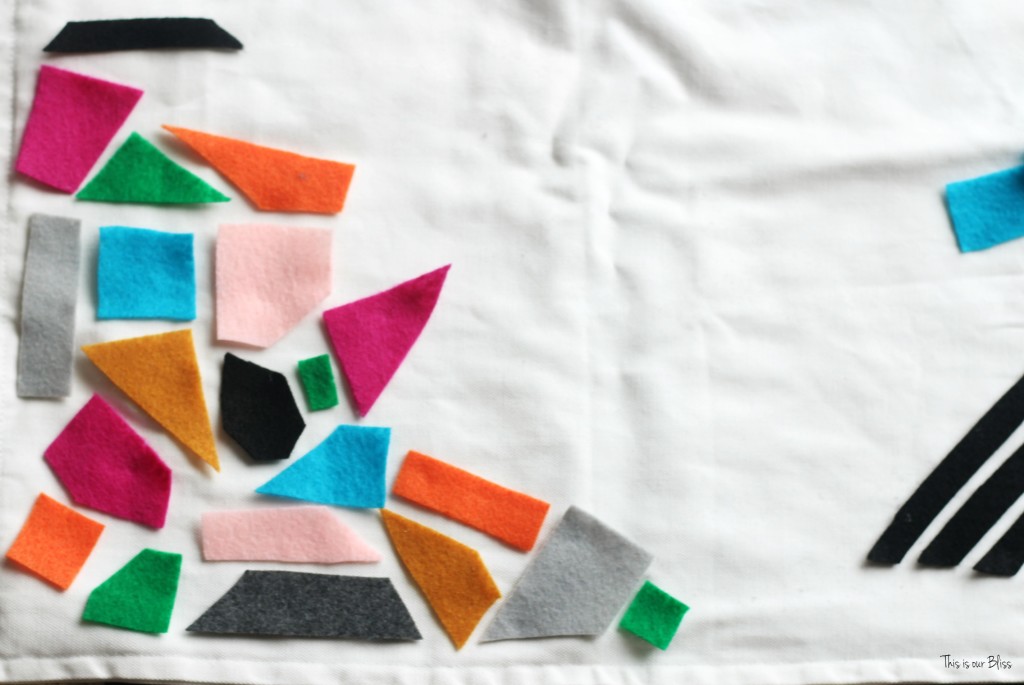
Step 3 | Lay out your design on the pillow cover.
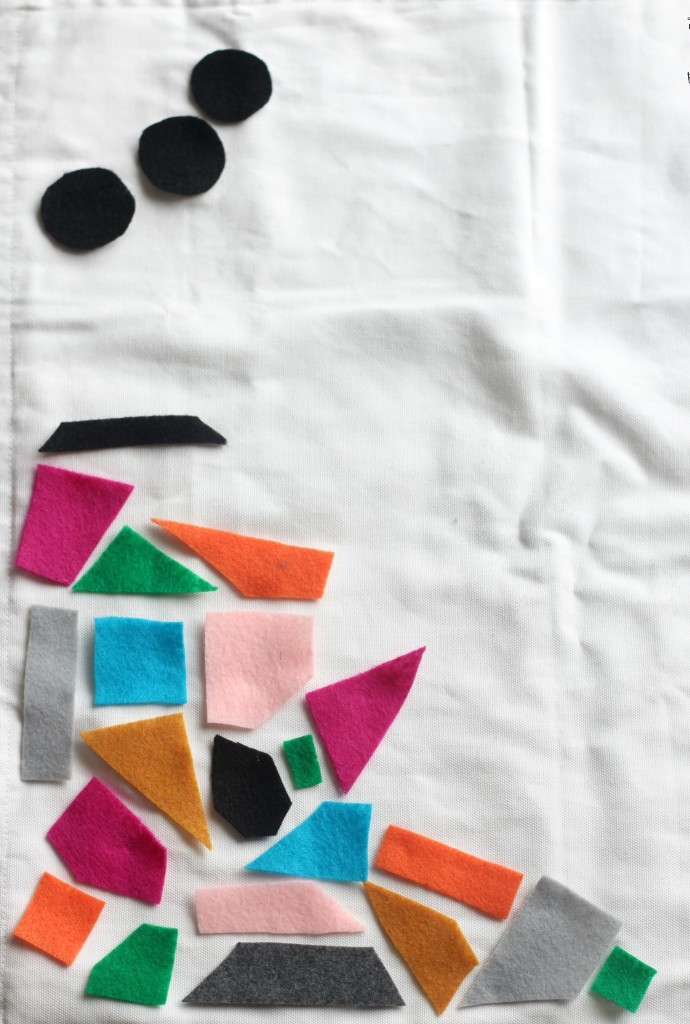
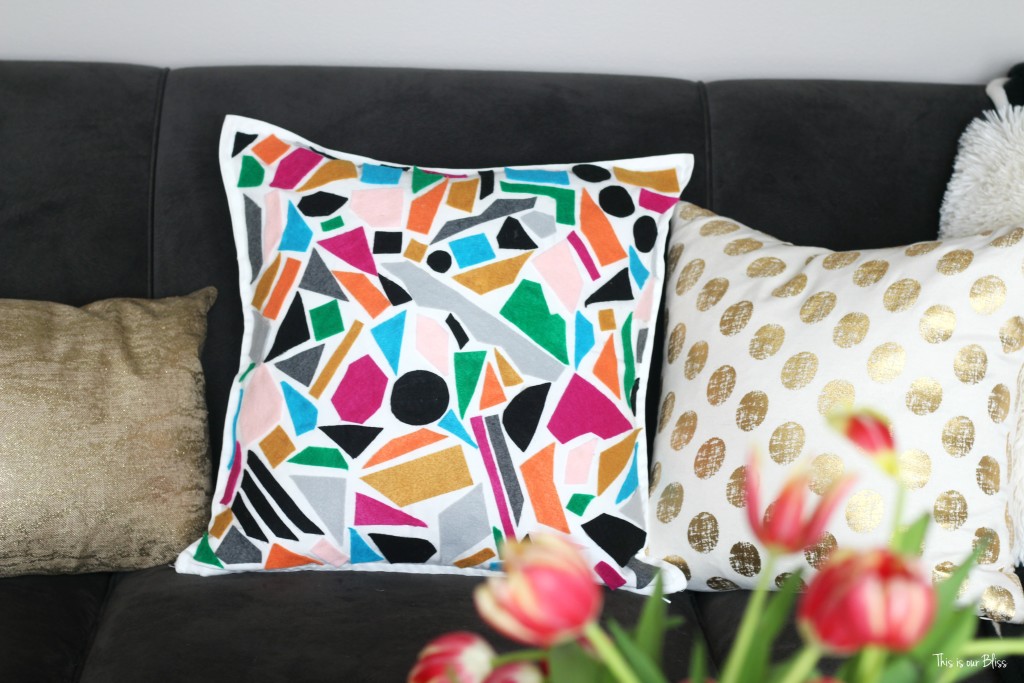
This is what it looked like after I had laid out all of my cut-out pieces onto the pillow cover…
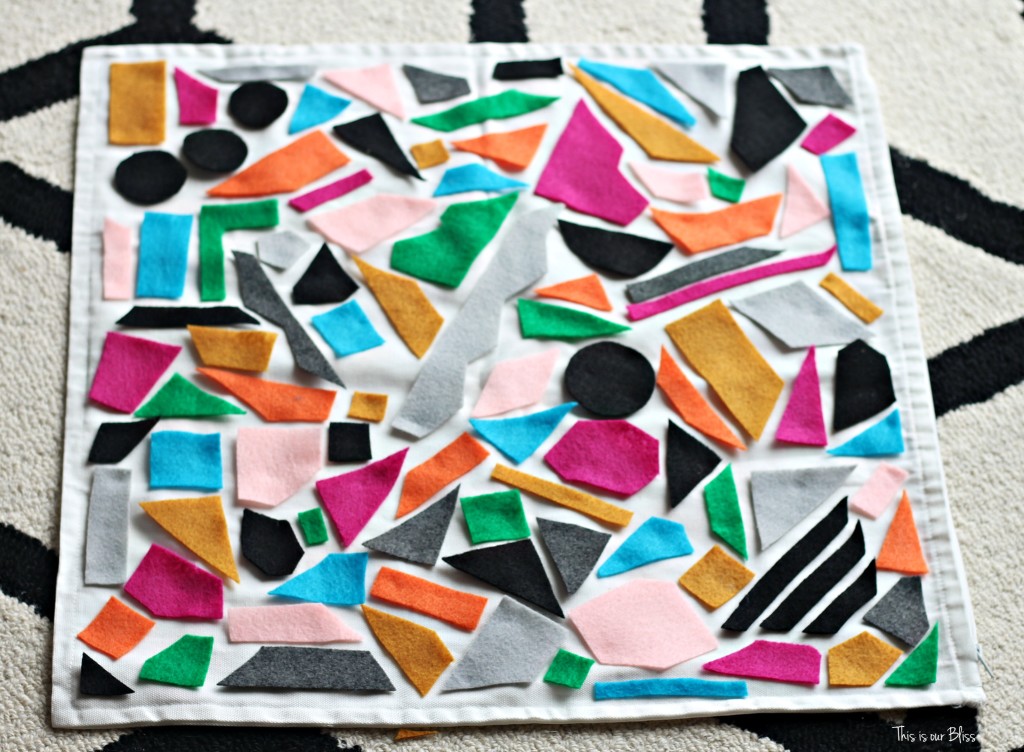
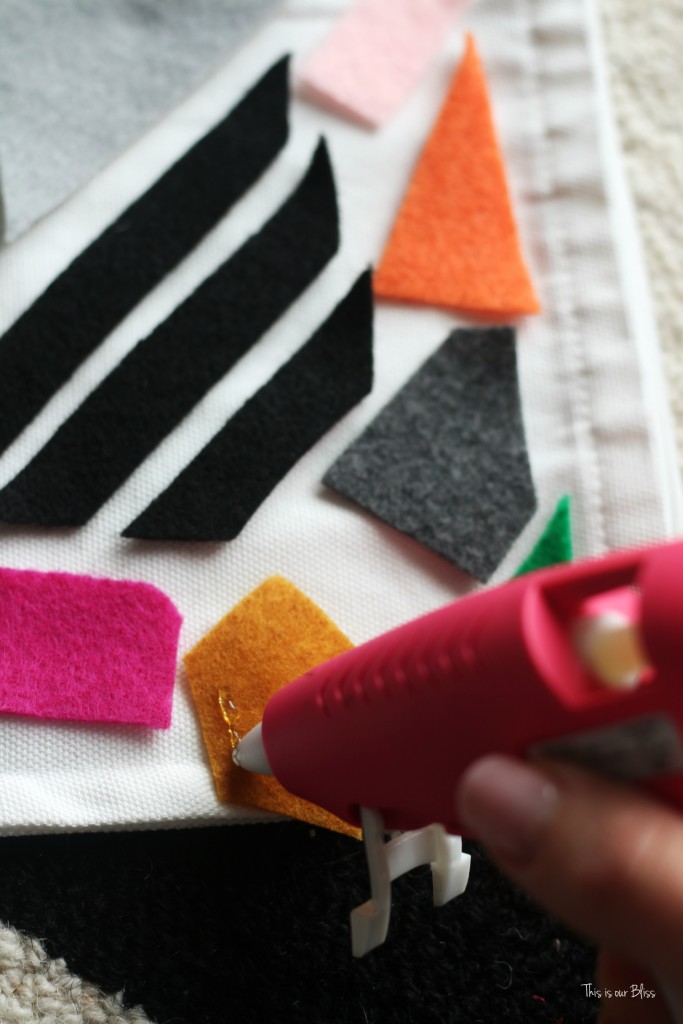
Step 4 | Start hot gluing them down one-by-one.
First, I started by applying the glue directly to the felt itself, but after a few times of forgetting exactly what direction the piece was supposed to be put back down, I then began to apply the glue directly to the pillow cover.
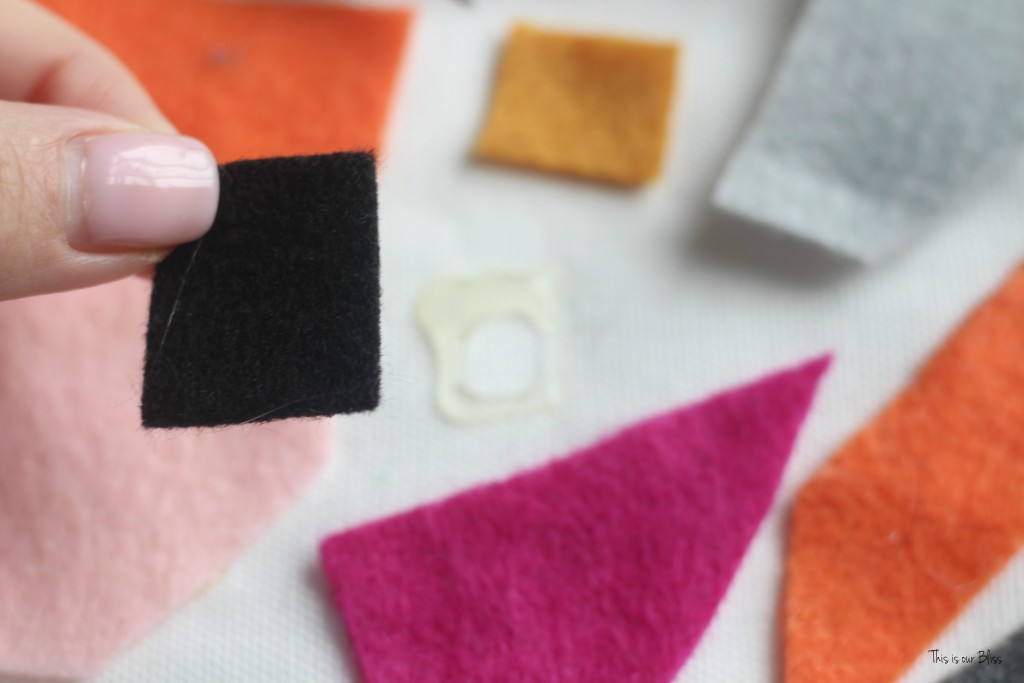
I roughly applied the glue in the shape of each individual felt piece and then pressed the felt piece down with my finger to press it in place and smooth it out. I later went back through and added tiny bits of hot glue to the edges and corners where the were lifting / peeling up.
Step 5 | Insert your pillow and add it to your couch, chair or bed!
Instant spring or summer decor, right?! Since I don’t typically decorate with a ton of color, its the perfect time of year to brighten things up a bit in the living room with such a normally neutral backdrop of grays, browns and golds and lots of bold black and white.
I love to play around with pattern so this DIY pillow cover was the perfect addition to the mix!
Total heart emoji eyes!
Can I say that about one of my own projects??
I have a few more ideas brewing for some spring sprucing in here and they also involve…pillows. Sorry! I hope I don’t bore you too quickly with these new pillow projects – I just can’t help myself!!
Throw pillows truly are one of the easiest, least labor-intensive (unless you DIY all of them – whoops) ways to change out your decor as the seasons change and holidays roll around. Lately, I’ve been making my own or buying just the pillow cover itself, so there is less to store away in the off-season. Pillow covers can be folded up and stored away much easier than an arsenal of throw pillows. Although I still keep a few feather pillow inserts in various sizes around in case I craft up an idea to DIY a cover [like here] or find one I just can’t resist purchasing.
P.S. I have the sudden urge to make 26 more felt pillows like now! Who wants one?! I’ve never even used felt before, but I have to say I’m slightly obsessed right now.
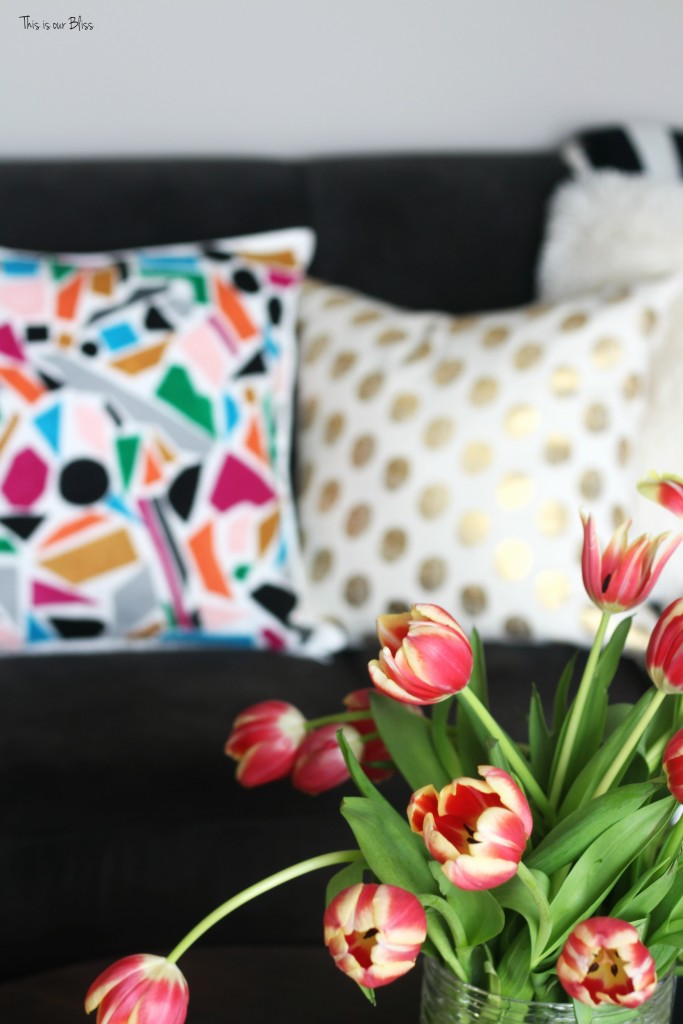
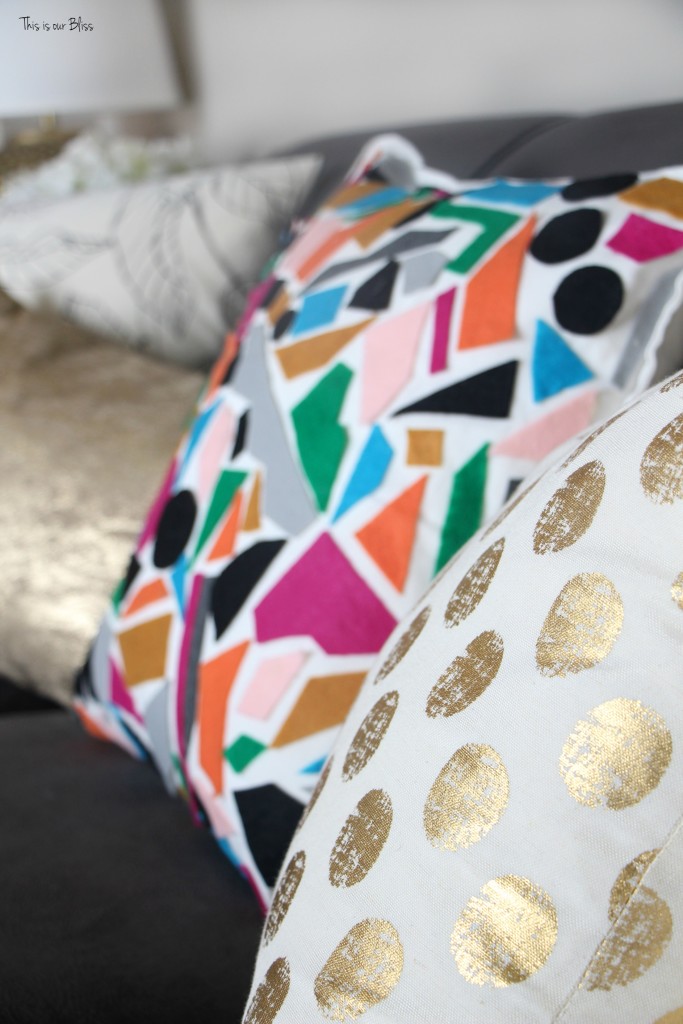
Some of the pieces look like my 3 year old cut them anyways ha! We’ll say those pieces give it “character”.
Think you’re going to give it a go? Aren’t no-sew projects the best?!
I’m not kidding – I seriously need to get back to Michaels STAT for some more felt!
Don’t forget to pin this DIY No-sew felt pillow project for later!
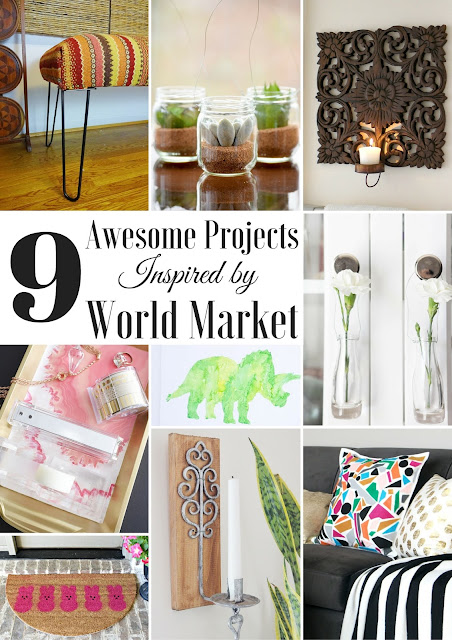
And for a ton more wonderful World Market inspired projects, look no further. Just scroll down below!








DIY: almofadas sem costura
October 26, 2016 at 4:17 PM[…] 1 2 3 […]
No-Sew Felt Cut-Out Pillow
April 8, 2016 at 7:00 AM[…] Rachael from This Is Our Bliss combined her loved for throw pillows and bold graphic patterns to create this World Market knock off. All it took was cutting felt shapes with scissors and then hot gluing them onto a white pillow cover. Super simple! Rachael says this was the perfect way to add a burst of color to her living room for spring and summer. […]
The Creative Circle Link Party - Domestic Charm
March 24, 2016 at 10:27 AM[…] from This is Our Bliss was inspired by a pillow from World Market, and created her own DIY version that turned out […]
The Creative Circle Link Party 58 - The Striped House
March 24, 2016 at 8:23 AM[…] from This is Our Bliss was inspired by a pillow from World Market, and created her own DIY version that turned out […]
The Creative Circle Link Party 58 - The Striped House
March 24, 2016 at 8:23 AM[…] from This is Our Bliss was inspired by a pillow from World Market, and created her own DIY version that turned out […]
The Creative Circle, No 58 - Up to Date Interiors
March 24, 2016 at 7:24 AM[…] from This is Our Bliss was inspired by a pillow from World Market, and created her own DIY version that turned out […]
britt kingery
March 17, 2016 at 2:54 PMGirl, you had me at “no sew.” This turned out so amazing! It’s perfect with your other mix of pillows, too. I really want to make my own now!
Rachael @ This is our Bliss
March 25, 2016 at 3:42 PMThank you! Yes, no-sew for the total win. you definitely should give it a shot. It’s one of those projects that doesn’t have to be perfect in any way, shape or form. Meaning my scissor cuts and gluing was subpar, but you’d never know!!
freshcrush
March 17, 2016 at 9:34 AMOh, that looks super fun and pretty easy too! Win – win!
Rachael @ This is our Bliss
March 31, 2016 at 4:07 PMThank you! I’ll take this kind of project any day 😉
kathrynbaugher
March 17, 2016 at 5:39 AMI LOVE this! It looks so great on your couch and is so cheery. It just makes me giddy. lol
Rachael @ This is our Bliss
March 17, 2016 at 2:12 PMThank you! Funny you say that…I actually think it makes me giddy, too! Bring on the color for warmer weather!
prettypracticalhome
March 16, 2016 at 10:31 AMI adore this!!! So pretty and yes, felt is an awesome product!
Rachael @ This is our Bliss
March 17, 2016 at 2:11 PMThanks, Sharon! Felt…who knew!?! I’m definitely going to be busting out these bad boy felt sheets again 😉
Jessica
March 15, 2016 at 9:43 PMthis is such a fun tutorial…it is sorta like an adult “craft” puzzle….Love it!
Rachael @ This is our Bliss
March 17, 2016 at 2:10 PMThank you! Yes! We need fun and exciting puzzles of our own, right?!
cassie @ primitive & proper
March 15, 2016 at 8:30 PMso colorful and fun, rachael! and i love that it is no so!
Rachael @ This is our Bliss
March 17, 2016 at 2:09 PMThanks, Cassie! No-sew = my new motto! Although I do like to sew up a quick pillow or something every now and then, it was fun to bust out the hot glue gun ha!
Corinna - A Designer At Home
March 15, 2016 at 7:44 PMIt looks so store bought! I can’t believe how beautiful it is with just some felt and hot glue. So clever you are.
Rachael @ This is our Bliss
March 17, 2016 at 2:08 PMThank you! I had to go the minimal supply route this month!! Thankfully I had the pillow cover at home and I was able to scoop up some felt from Michaels about a mile from my house!
Melva
March 15, 2016 at 7:27 PMI just love how it turned out. In all honesty, I like your version better than the inspiration. It’s more vibrant. Great job!
Rachael @ This is our Bliss
March 17, 2016 at 2:06 PMWow – Thank you, Melva!! I appreciate that! It was seriously such a quick and fun project!
Stephanie @ Casa Watkins
March 15, 2016 at 5:10 PMSo AWESOME!!!!! I thought about this pillow when I saw it and you definitely did it justice. So beautiful Rachael! Love how it looks with the rest of your pillow arrangement. Pinning and sharing my friend. 🙂
Rachael @ This is our Bliss
March 17, 2016 at 2:05 PMAww thanks! I’m glad I have your approval!! I was clueless with what to pick this month, but I’m happy I went the pillow route – you know I love a throw pillow!!!