Good morning! I know Spring has been taking it’s sweet little time showing it’s face in Chicagoland, but I am hopeful as we flip the calendar over to April, we can’t be stuck in winter THAT much longer, right?!
Today, I’m kicking off a new series titled, My Dollar Store DIY where a group of bloggers will be sharing creative projects each month using items purchased from their local dollar store! Now, before I get to my tutorial, I want to tell you a little bit about the why behind this series. For at least 6 months now, I’ve been wracking my brain trying to figure out how to simplify my blog life a bit and get back to my roots. For those of you who haven’t been reading since the beginning (which is actually 3 years ago this month!), I started this blog to document and share the simple DIY projects I was working on little by little to create our second son’s nursery. I had no game-plan, no agenda behind the blog other than I loved home decor, was having a baby and thought my friends and family might want to see first-hand all of the nursery projects I was constantly talking about and working on while the biggest napped the afternoon away each day!
The crafting and decorating was truly a hobby and the blog became an instant creative outlet for me as a SAHM with a 20-month old running around. Over time, my style evolved and my blog grew, but so did the comparison game! As a blogger and blog reader, it is so easy to fall victim to that game and I’m over it! The truth is, you don’t have to be a big-time blogger or a bajillionaire to have a stylish home. In fact, you can honestly create decor for your home with supplies from your local Dollar Store! Seriously! I’m constantly inspired by how people decorate. The way in which they infuse themselves, their style, their story into their home and so many do it on a limited budget.
With that, I’m thrilled to be teaming up with an awesome group of blogger friends to dedicate one post per month showing you how to create and decorate with supplies from your local dollar store. Today, we’ll be sharing our Spring / Easter themed dollar store projects for the first installment of our monthly My Dollar Store DIY Series!
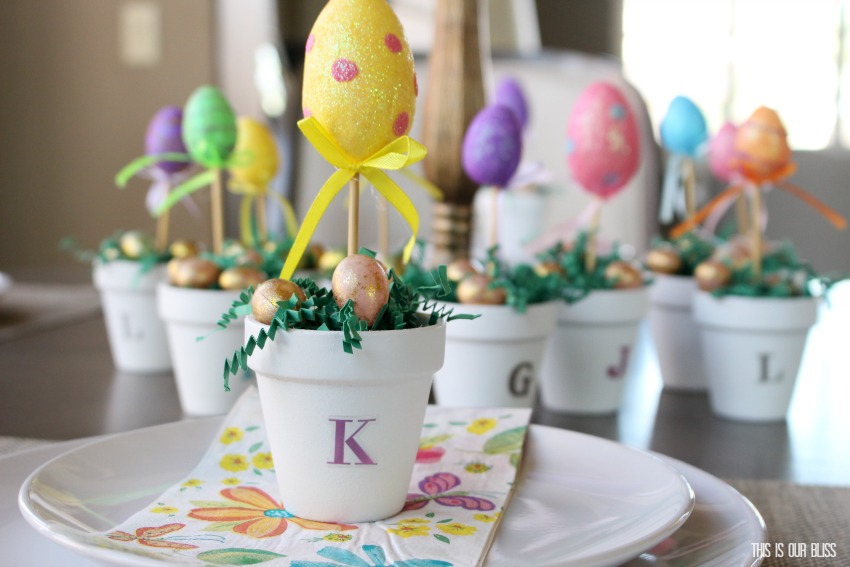
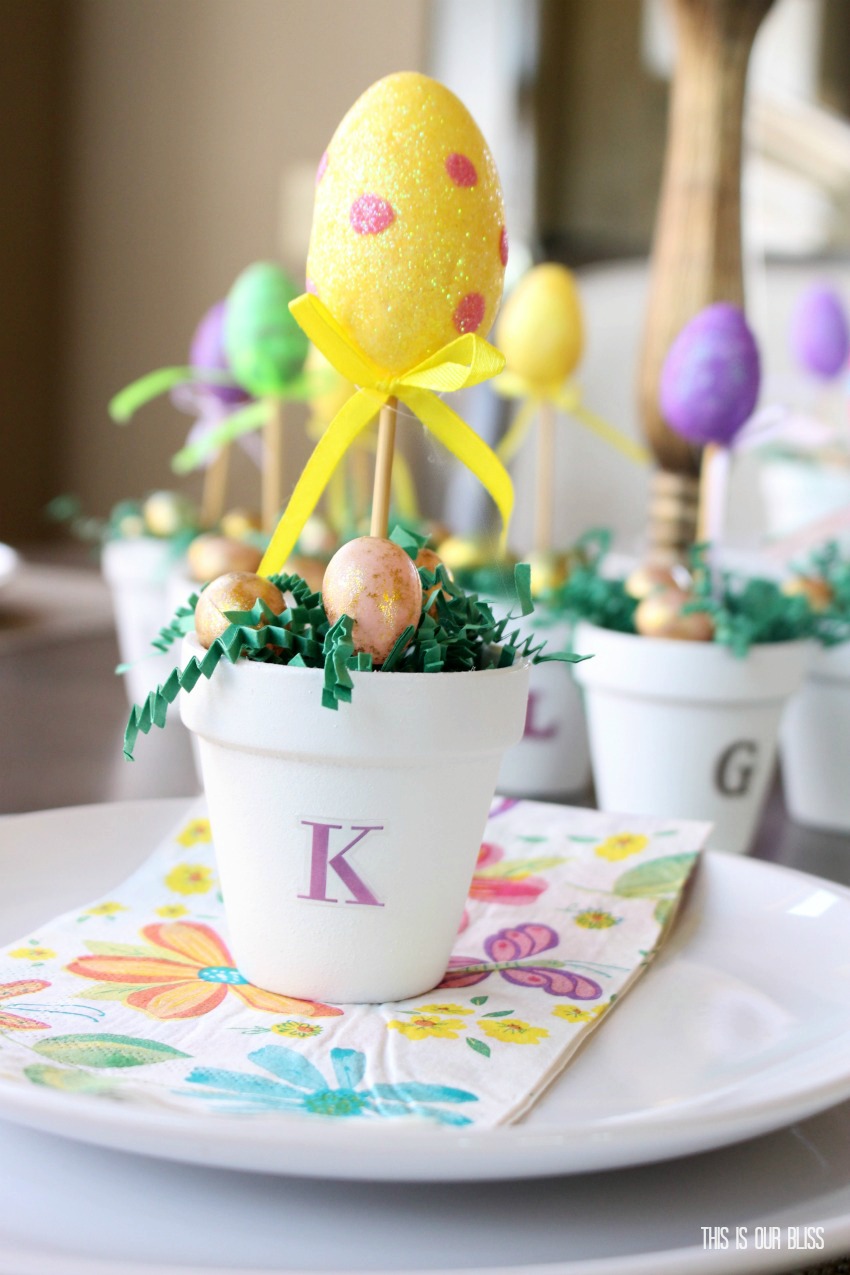
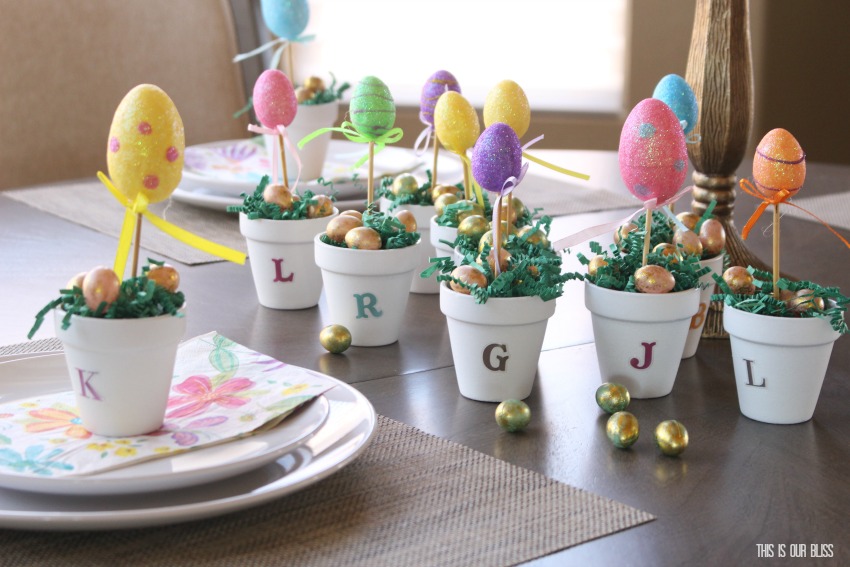
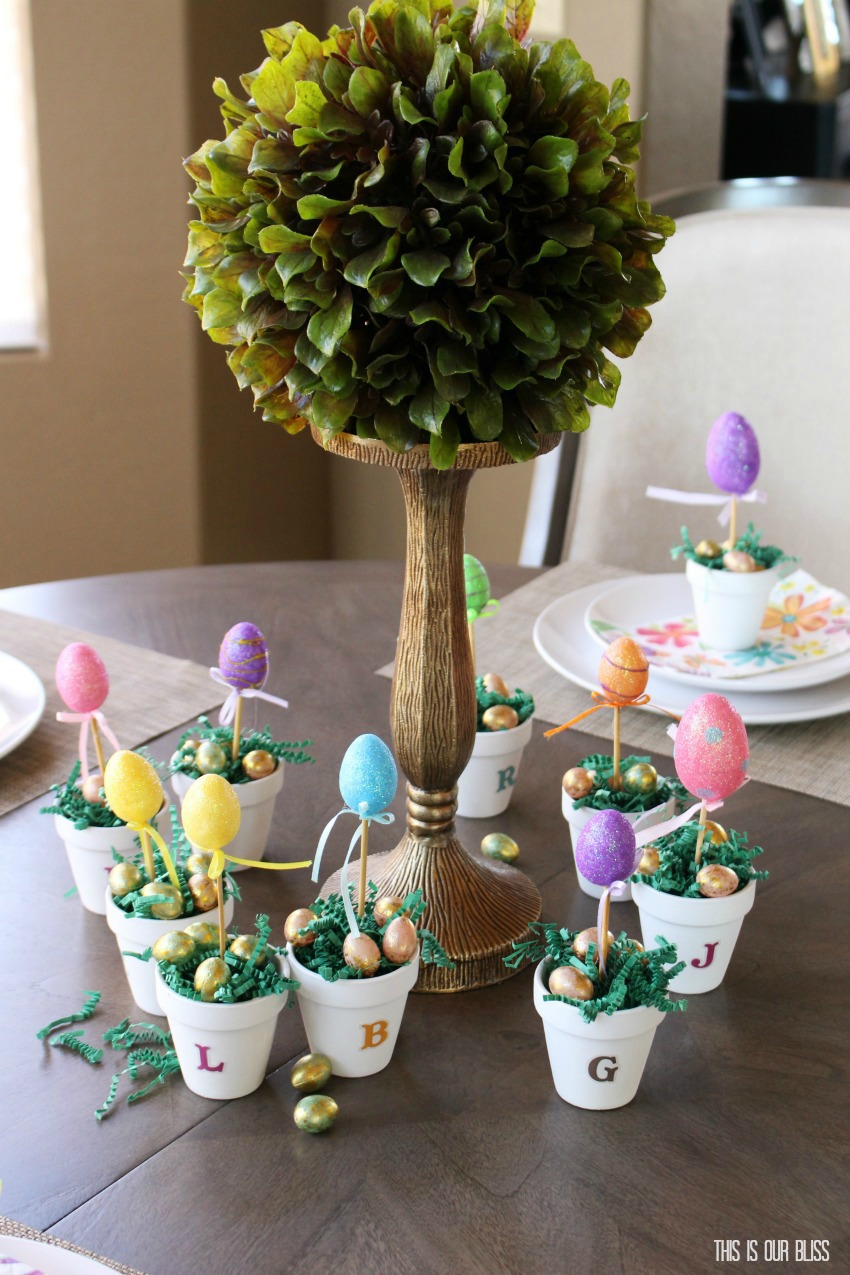
Soooo…. here is my DIY Easter Egg Topiary Placecards with dollar store supplies!
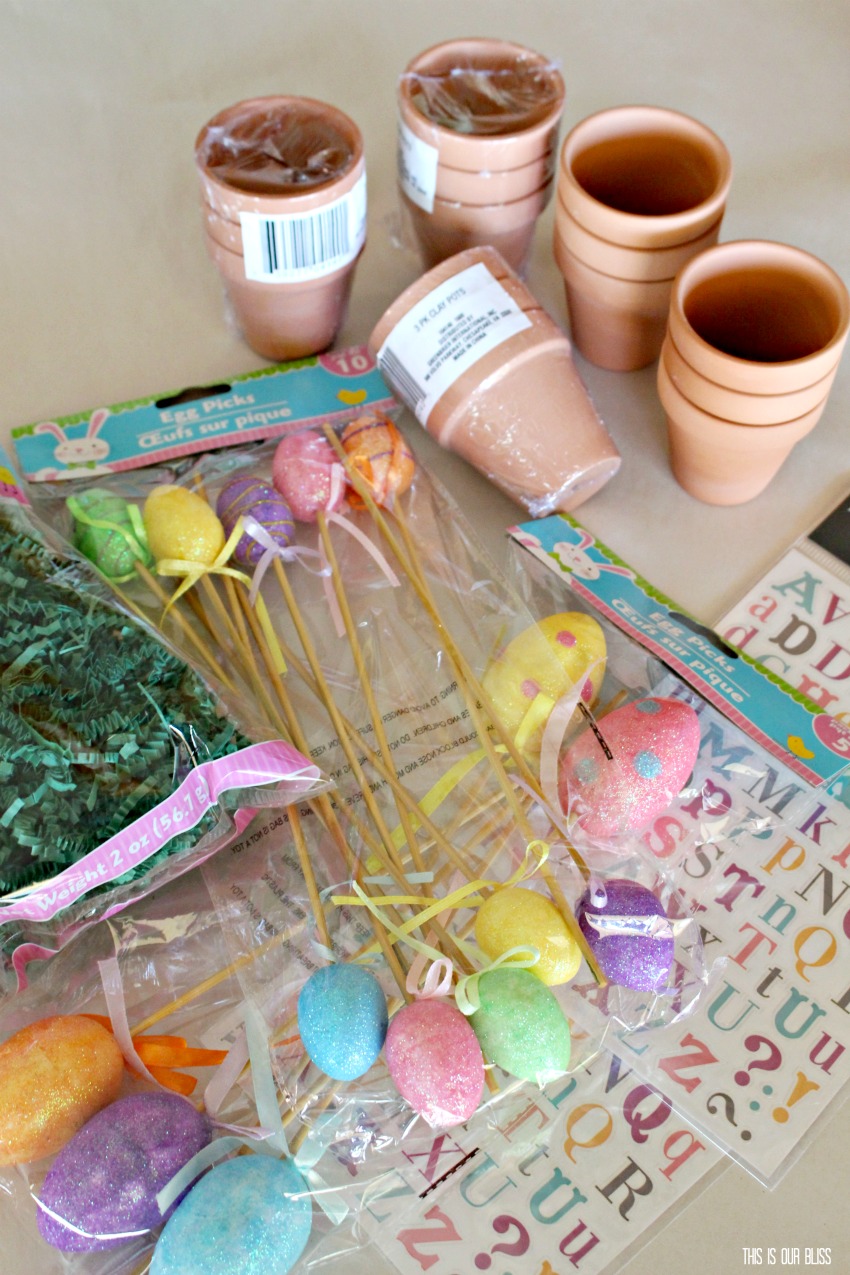
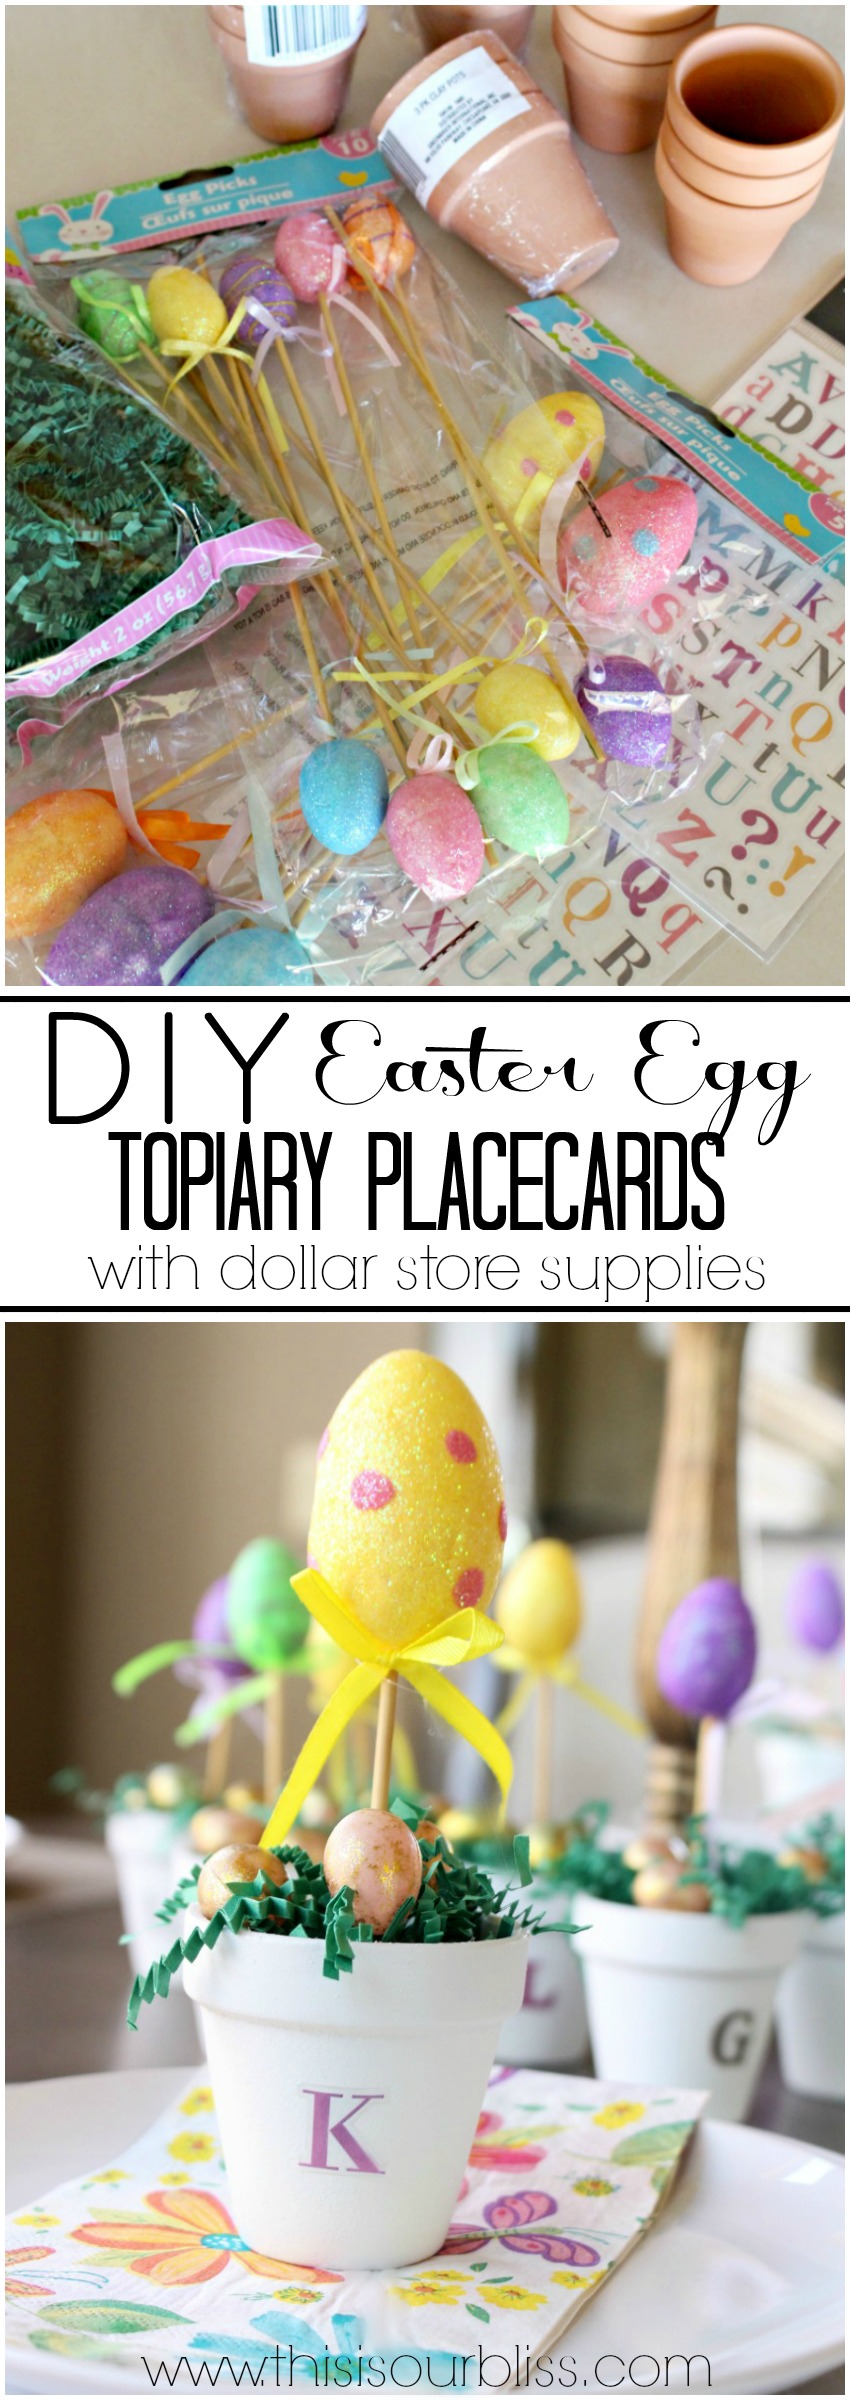
SUPPLIES
[*Affiliate links were used below.]
mini terra-cotta pots [mine came in a 3-pack]
green crinkle cut paper shred
foam egg picks [or foam eggs and wooden craft sticks or kebab skewers]
mini foam eggs
alphabet stickers
white spray paint
sharp scissors or wire cutters
DIRECTIONS
This project was extremely simple and can be put together in a snap. Aside from painting my pots, I think I put a dozen together in 15 minutes or less!
Ok, so since I wanted white pots as the base, I simply spray-painted mine.
After applying 2 coats for full-coverage and letting them sit to dry for a couple hours, I started assembling my egg “topiaries”!
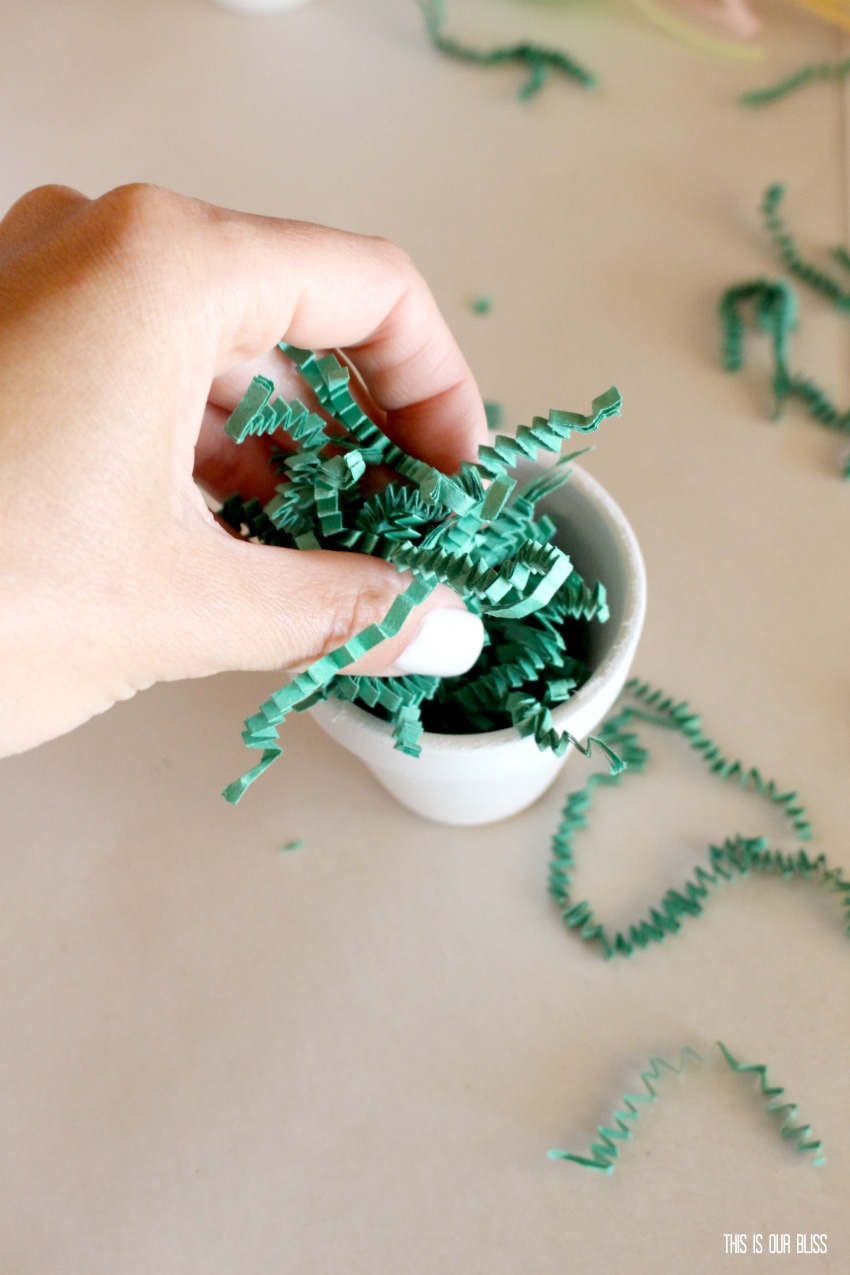
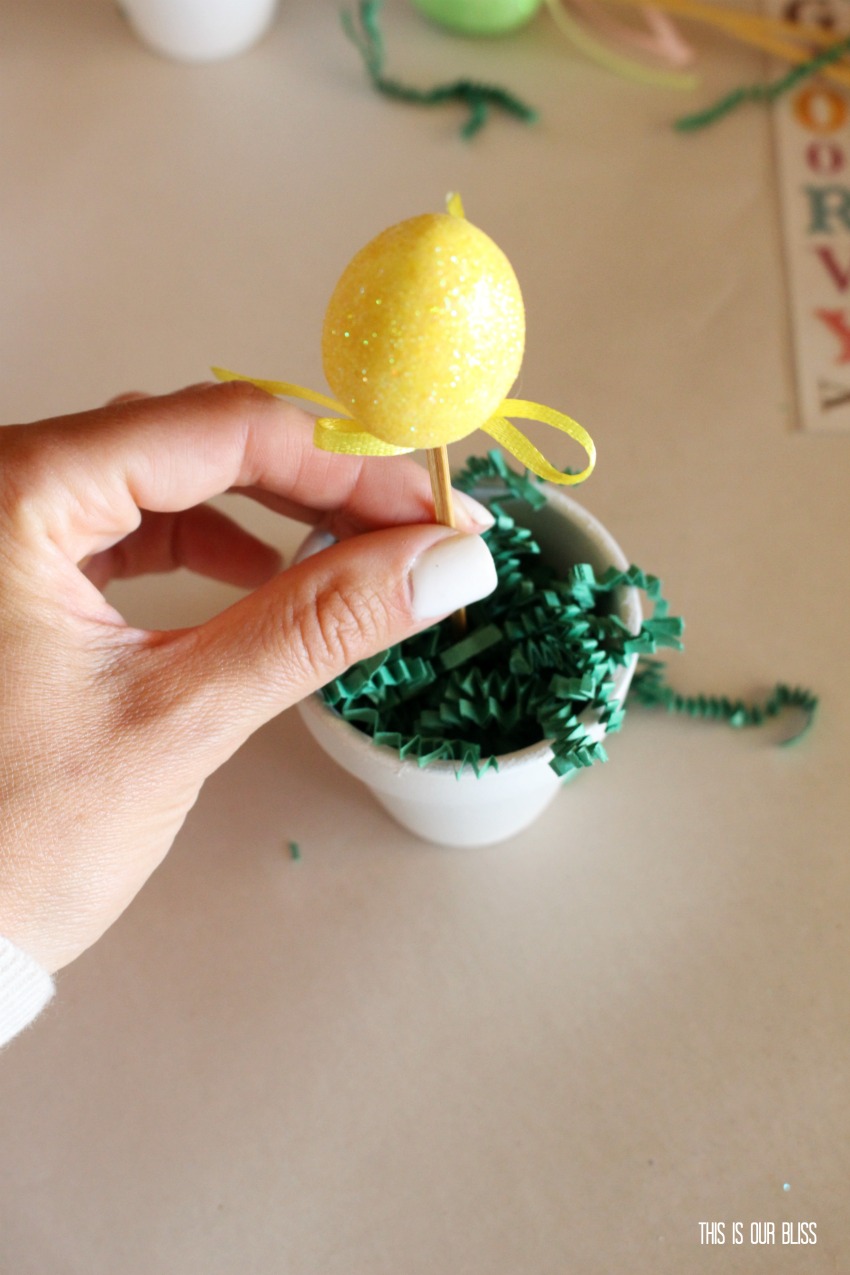
I filled the pots with green crinkle cut shred and piled it quite high.
Since the shred will serve as “grass” to hold the mini eggs, I wanted to be sure the eggs wouldn’t weigh the paper down, causing it to fall below the edge of the pot. If the shred hangs over the edges a bit, that’s great.
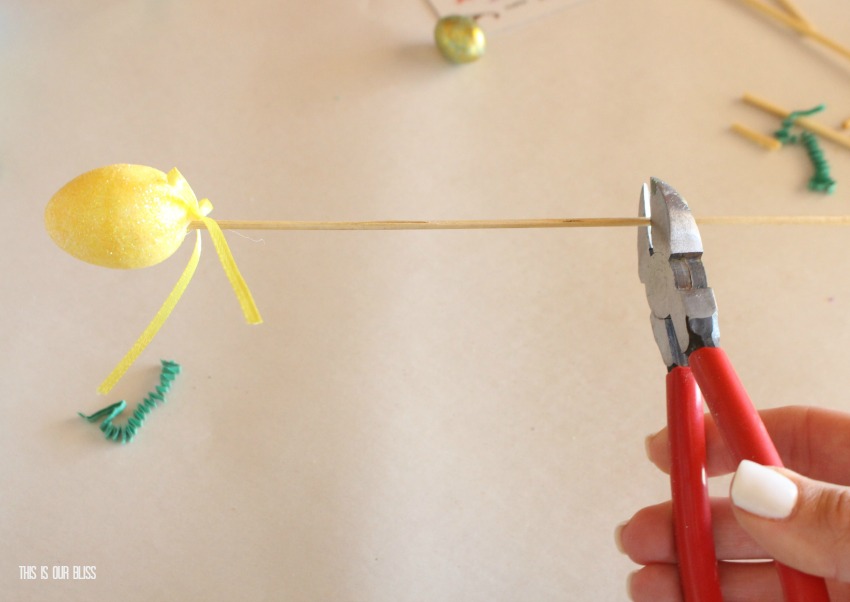
Next, I used wire cutters to cut the wooden picks in half to better fit the mini pots.
I simply stuck the wooden pick in the center of the crinkle shred and lined it up with the small hole on the bottom of the pot.
It was nearly a perfect fit!
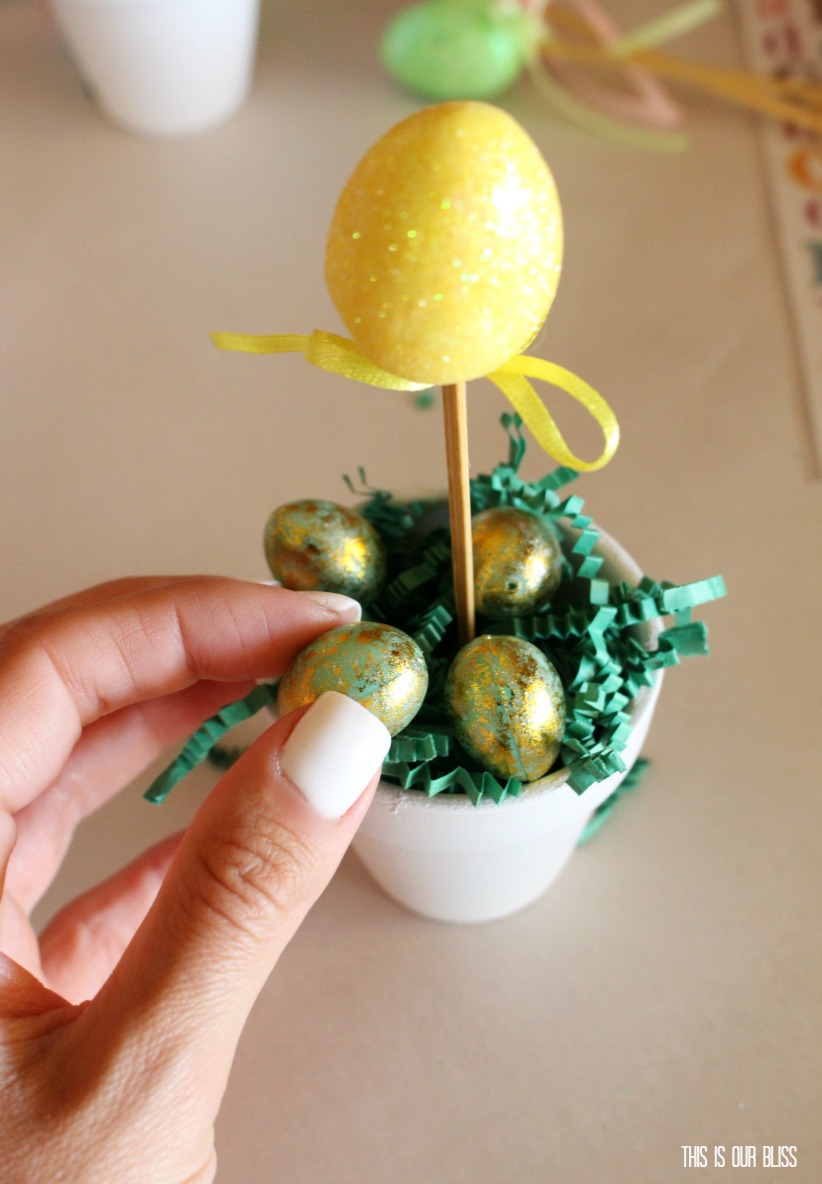
After that, I added 3-4 mini eggs to the “grass”.
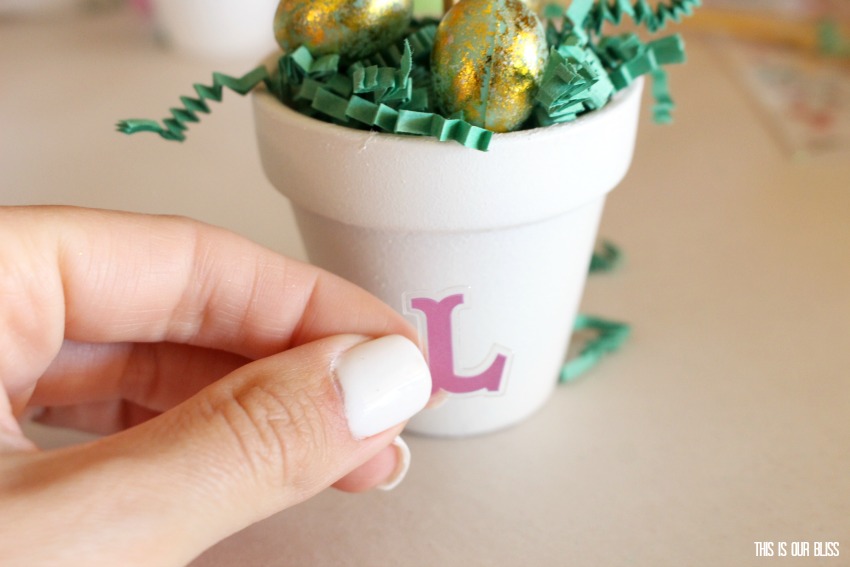
Lastly, a sticker representing each guest’s first initial was added to each pot.
That’s it!
I first got the idea for the egg topiary when I spotted the egg picks at the Dollar Tree and then the idea morphed into something table related since I had Spring tables on the brain after working on my Tulips & Tapers Spring Table recently. I’m actually in Arizona visiting my parents’ for Spring Break with the boys right now, so when I told my mom of my idea, she was thrilled!
She’s hosting Easter this year, so I was able to whip these up well in advance for her to use for her Easter guests in a couple weeks! Win, WIN!
The entire Easter egg topiary was created using items from the Dollar Tree, with the exception of the white spray paint and wire cutters. Now that I think about it, I’m pretty sure I’ve seen wire cutters for sale there. They really do have everything 😉
Don’t forget to pin for later!
And now, please pop over to see Heather and Stephanie’s creations at the links below. They are sharing DARLING Dollar Store DIY projects!
In April, we’ll have a new My Dollar Store DIY theme being shared on the last Thursday of the month, so mark your calendars! March was extremely busy for so many of us on Spring Break and taking family trips, but there should be several more ideas being shared next month. At least that’s the goal!! 😉
Thanks for hanging out here today and I’ll be back next week with more Spring inspiration! I’m hoping to put together a Maui recap post and continue DIY follow-up posts from all the recent room makeovers [like the dining room, big boy room and playroom to name a few!]













larr
April 12, 2017 at 7:11 AMYour egg topiaries are so adorable.
Rachael @ This is our Bliss
April 19, 2017 at 6:01 PMThank you and thanks for stopping over to leave a note!! Have a wonderful day!
Waste Not Wednesday 46 - Link Party - Small Home Soul
April 11, 2017 at 9:03 PM[…] Dollar Store Easter Egg Topiary Placecards […]
Waste not Wednesday#46-Link Party! - Gratefully Vintage
April 11, 2017 at 8:24 PM[…] My Dollar Store DIY | Easter Egg Topiary Placecards […]
kellienh
April 11, 2017 at 7:51 PMI love your project! It is adorable! Thank you for linking it to Waste not Wednesday link party! We loved it.
Rachael @ This is our Bliss
April 19, 2017 at 6:00 PMAww thank you, Kelli! I’m so happy to hear that! Thanks for hosting!!
mythriftyhouse
April 11, 2017 at 7:50 PMVery cute project. Thanks for sharing your creativity with us at the Waste Not Wednesday Link Party. Looking forward to seeing more from you this week.
Rachael @ This is our Bliss
April 19, 2017 at 5:59 PMThank you so much! I really appreciate that! Thanks for hosting 😉
Mary Hunnicutt
March 30, 2017 at 12:15 PMThese are really cute! I love dollar tree crafts!
Rachael @ This is our Bliss
March 30, 2017 at 1:03 PMThank you, Mary!! I do too! I’m excited to start doing a monthly one!
Stephanie @ Casa Watkins Living
March 30, 2017 at 11:57 AMSo adorable!!! I need to get busy with my Easter table. I’m literally moving at a glacial pace nowadays. You’ve really inspired me to get my butt in gear. 🙂
Rachael @ This is our Bliss
March 30, 2017 at 1:02 PMThank you! I’m in the same boat with my own table… but at least my mom’s is looking good lol
Sue Morkel
March 30, 2017 at 10:32 AMThey are absolutely adorable!😘
Rachael @ This is our Bliss
March 30, 2017 at 1:01 PMThank you!! Was happy to help you! xxoo