
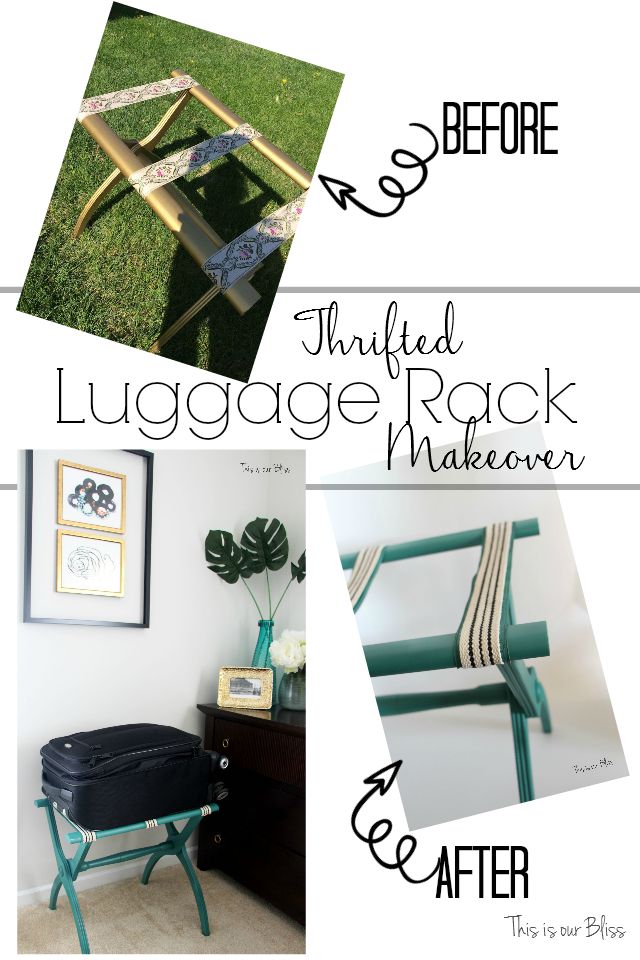
Hi! Stopping in briefly today (I know, Saturdays are a rare posting day for me) to share another great find + quick fix with you! You may remember that little thrifted luggage rack from that crazy 6 week thing called the One Room Challenge when I was worked on our Guestroom Revamp project. Well, today I am sharing the before & after photos + the few simple steps I took to make it over! See, I told you there were still plenty more guestroom project posts looming over my head that I would finish up and publish!
Better late than never is quite a common theme over here…
So, while out looking for accessories and other goodies to use in the guestroom, I came upon this little luggage rack at a housewares consignment store near my house. I take things there pretty regularly to help clear out space and to make room for new décor and always browse around while I’m waiting to see what items they end up taking from my haul.
When I saw the rack, the first thought that popped into my head was – I’m preeetttty sure, my mom has been telling me to get one of these things for her to use when she visits! I knew she thought I needed one for the guestroom, but didn’t really feel like spending the $30-50+ to get one.
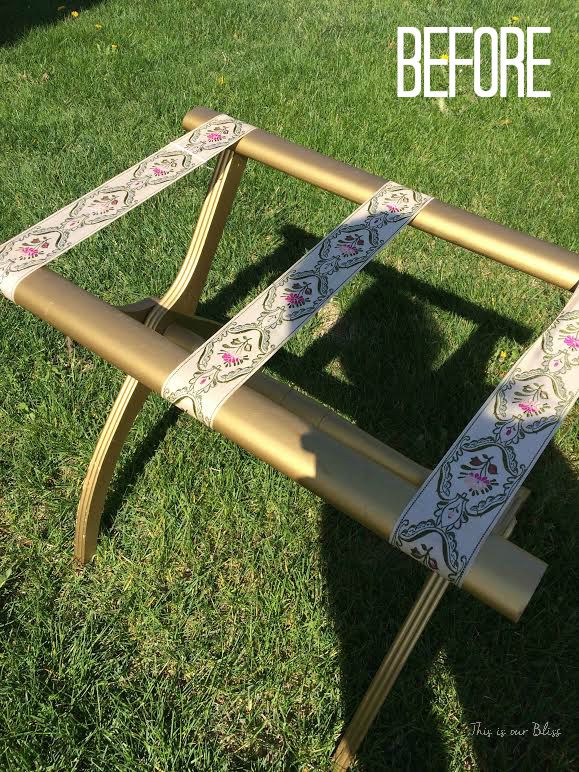 Well, enter $8 luggage rack in excellent condition. I could tell it had recently been made-over by someone else, but I knew if it was going to go home with me, I would be giving it another makeover of my own. I know. It was already gold and I was going to change it. I couldn’t believe it either.
Here is what I did:
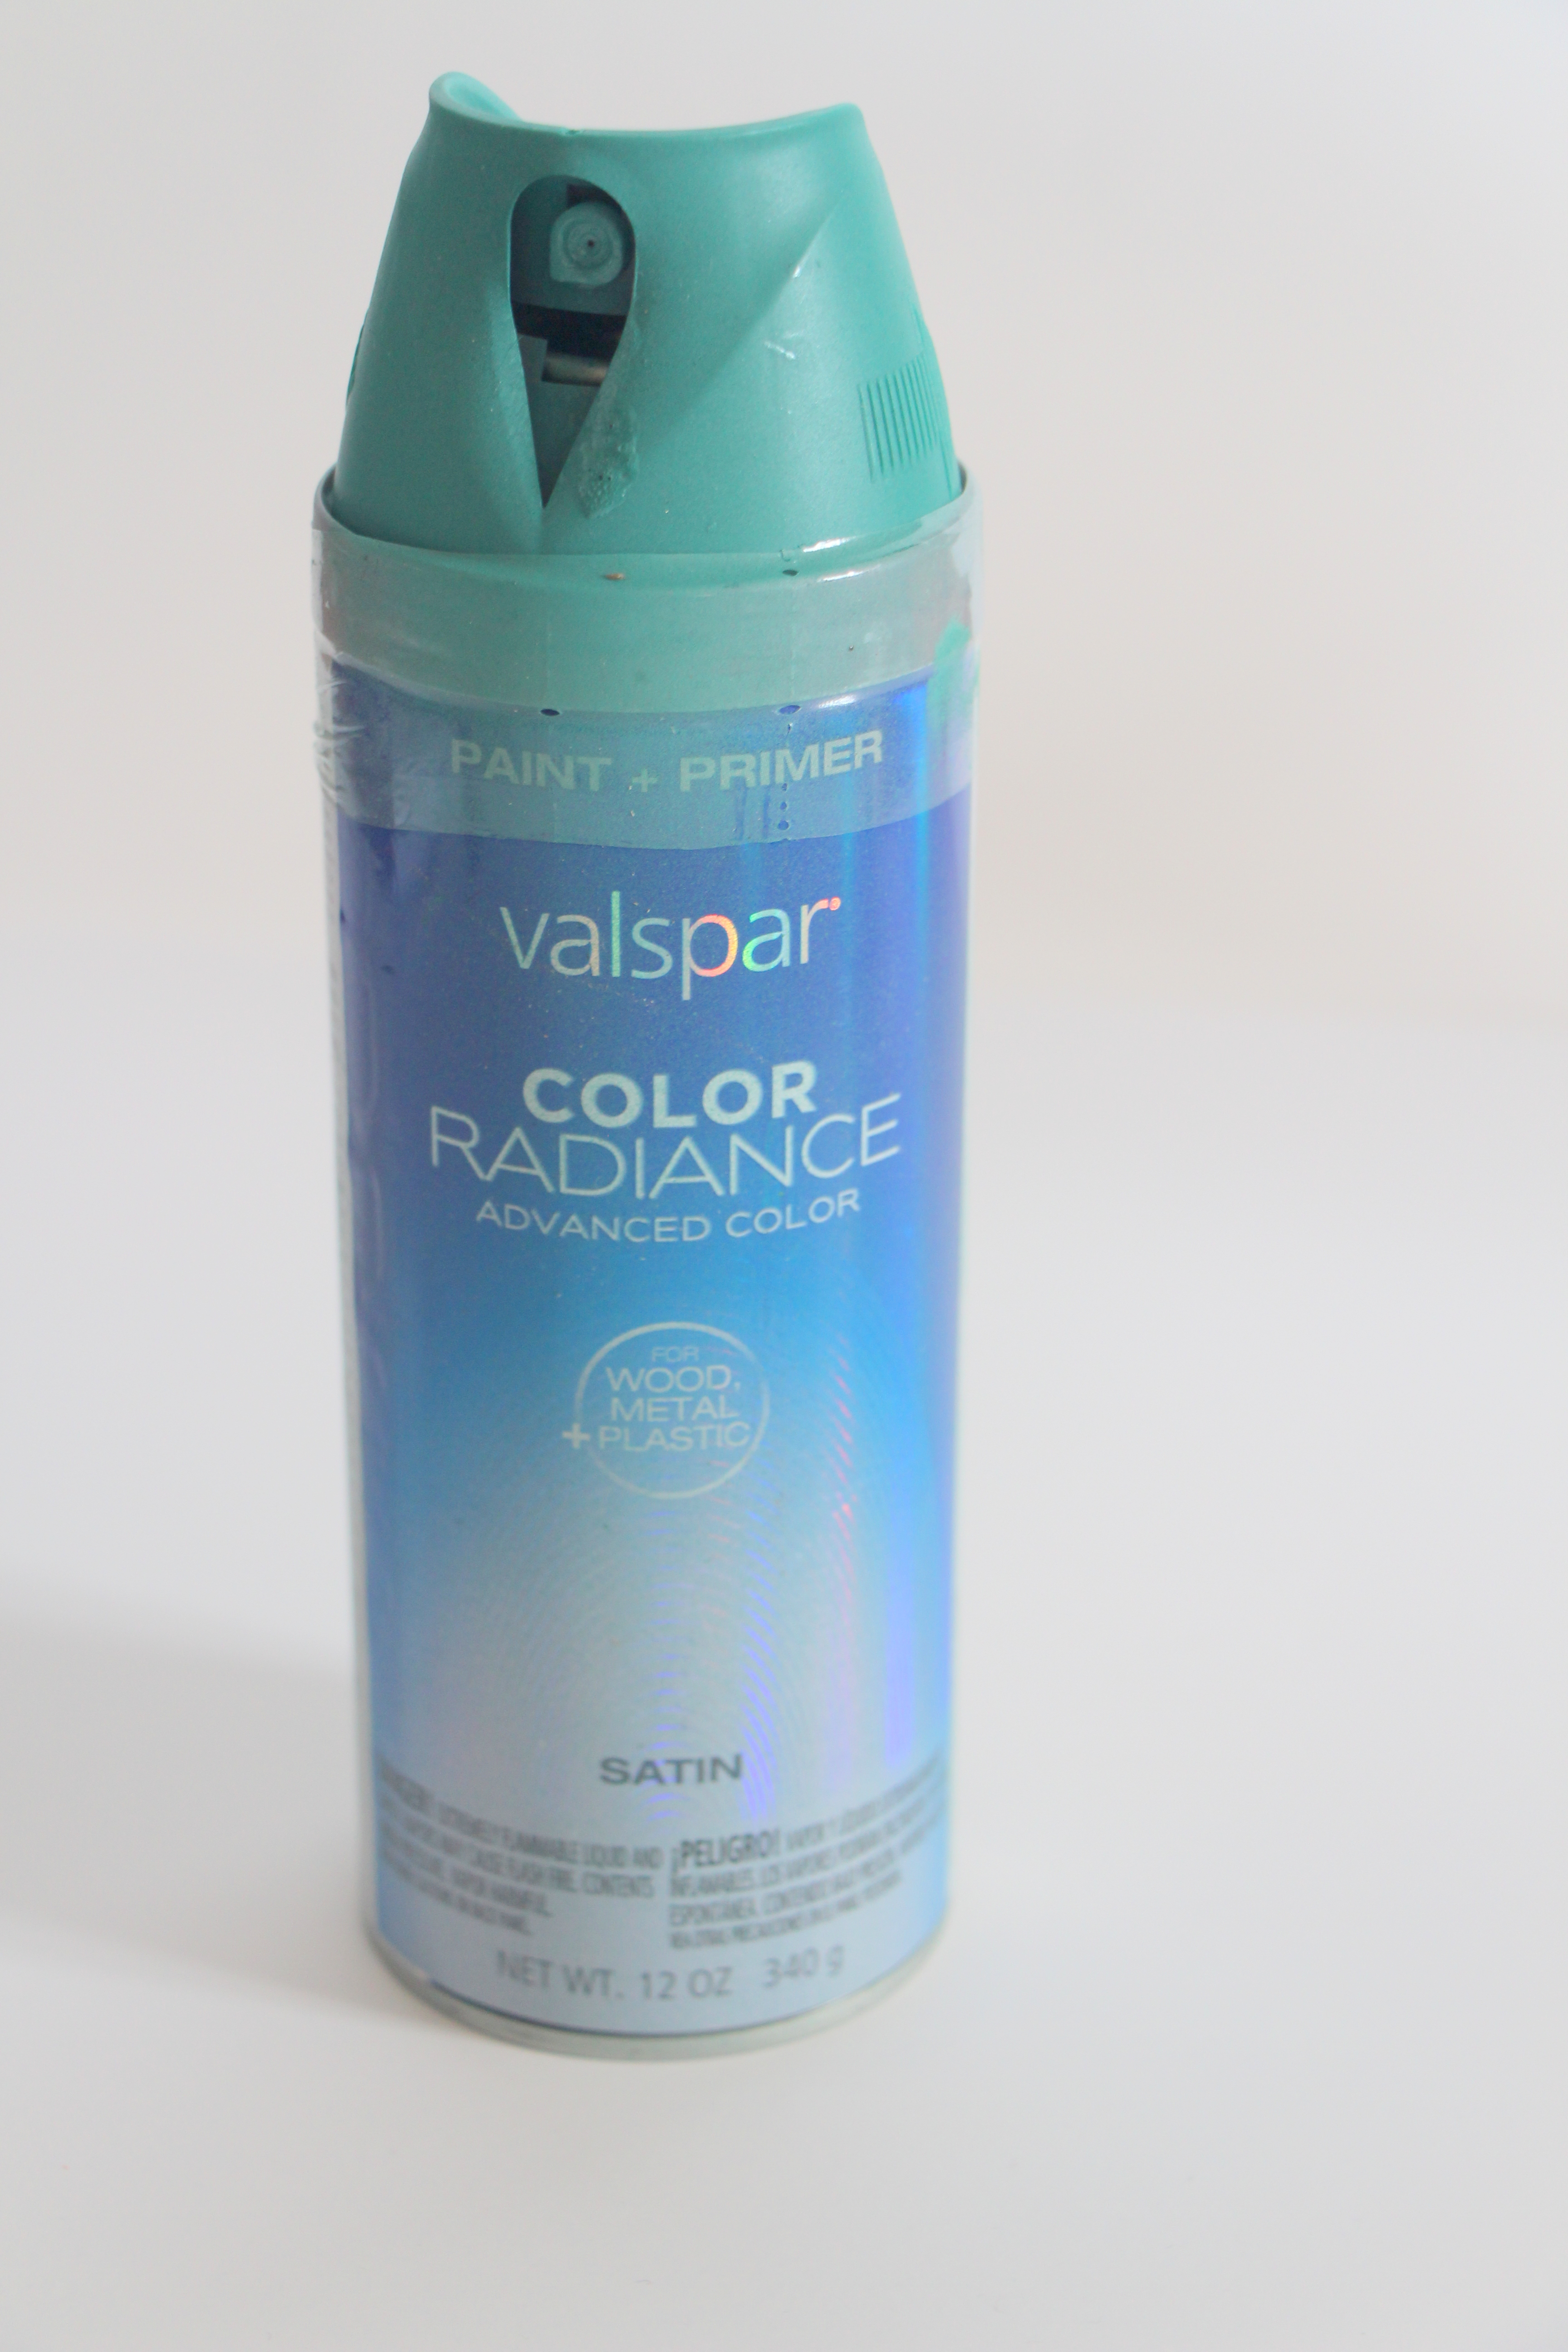
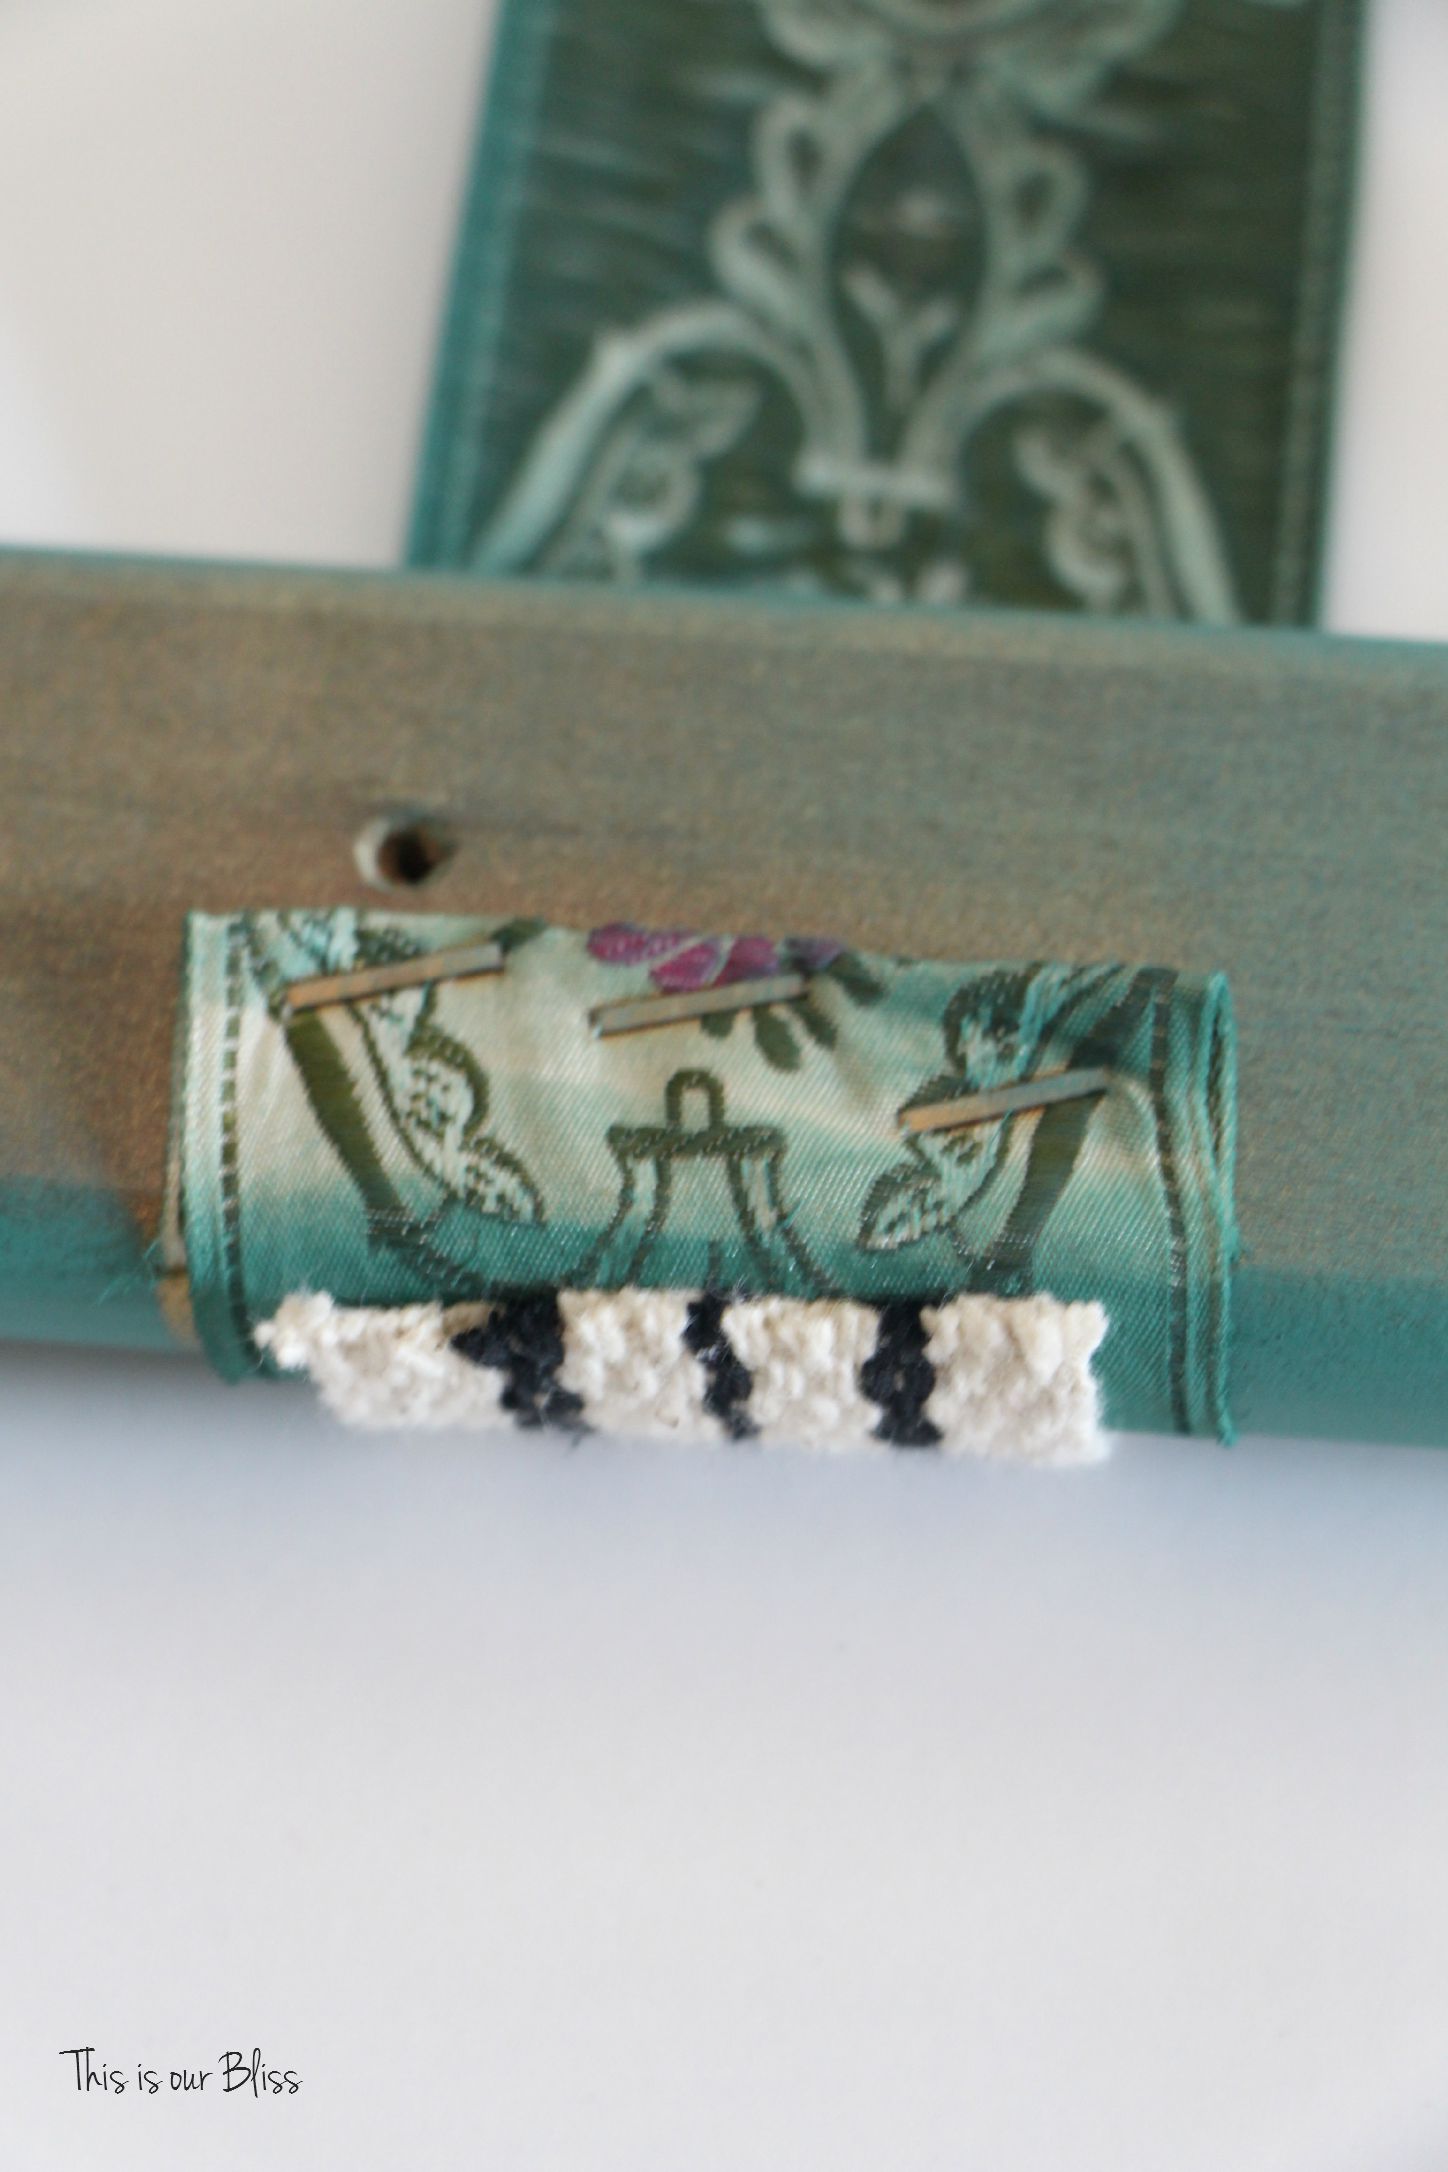
I gave the entire piece a couple coats of spray paint, actually spraying right over top of the straps knowing I was going to be covering them with newly purchased black & natural fabric trim later.
 Let paint dry for 24 hours.
Next, I roughly measured the length of each existing strap, from end-to-end, to use as a guide and then cut 3 pieces of my striped trim.
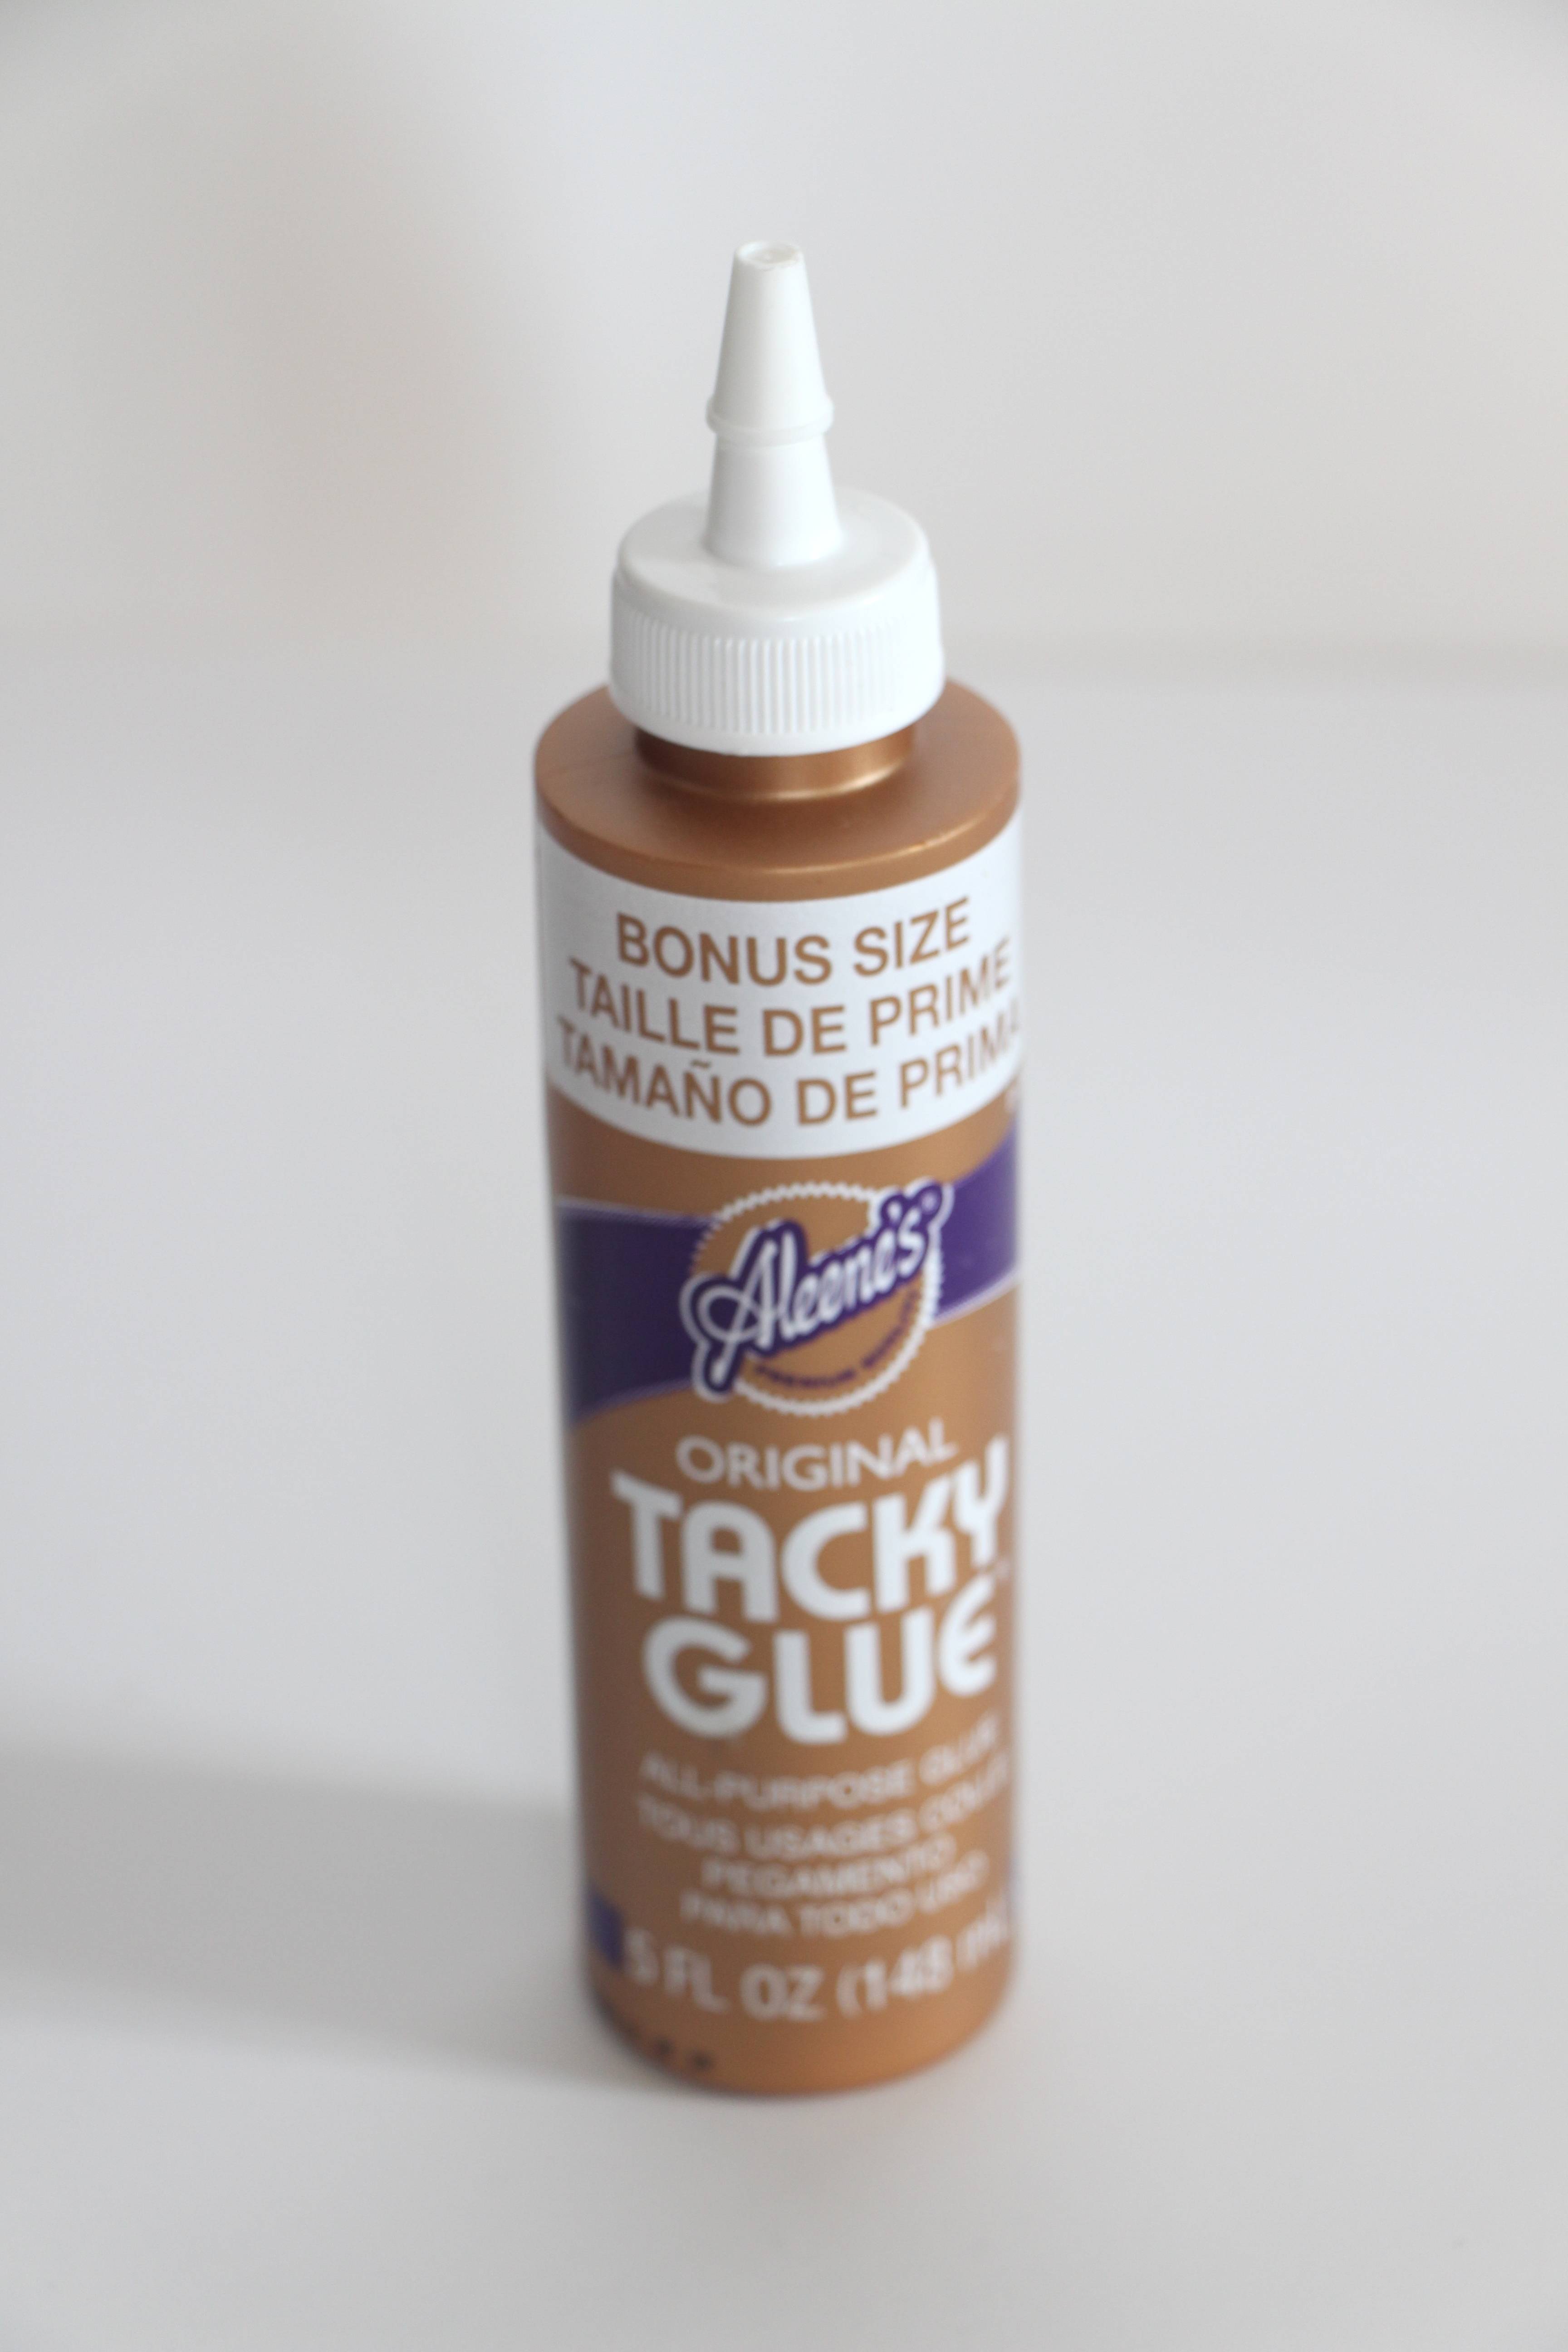
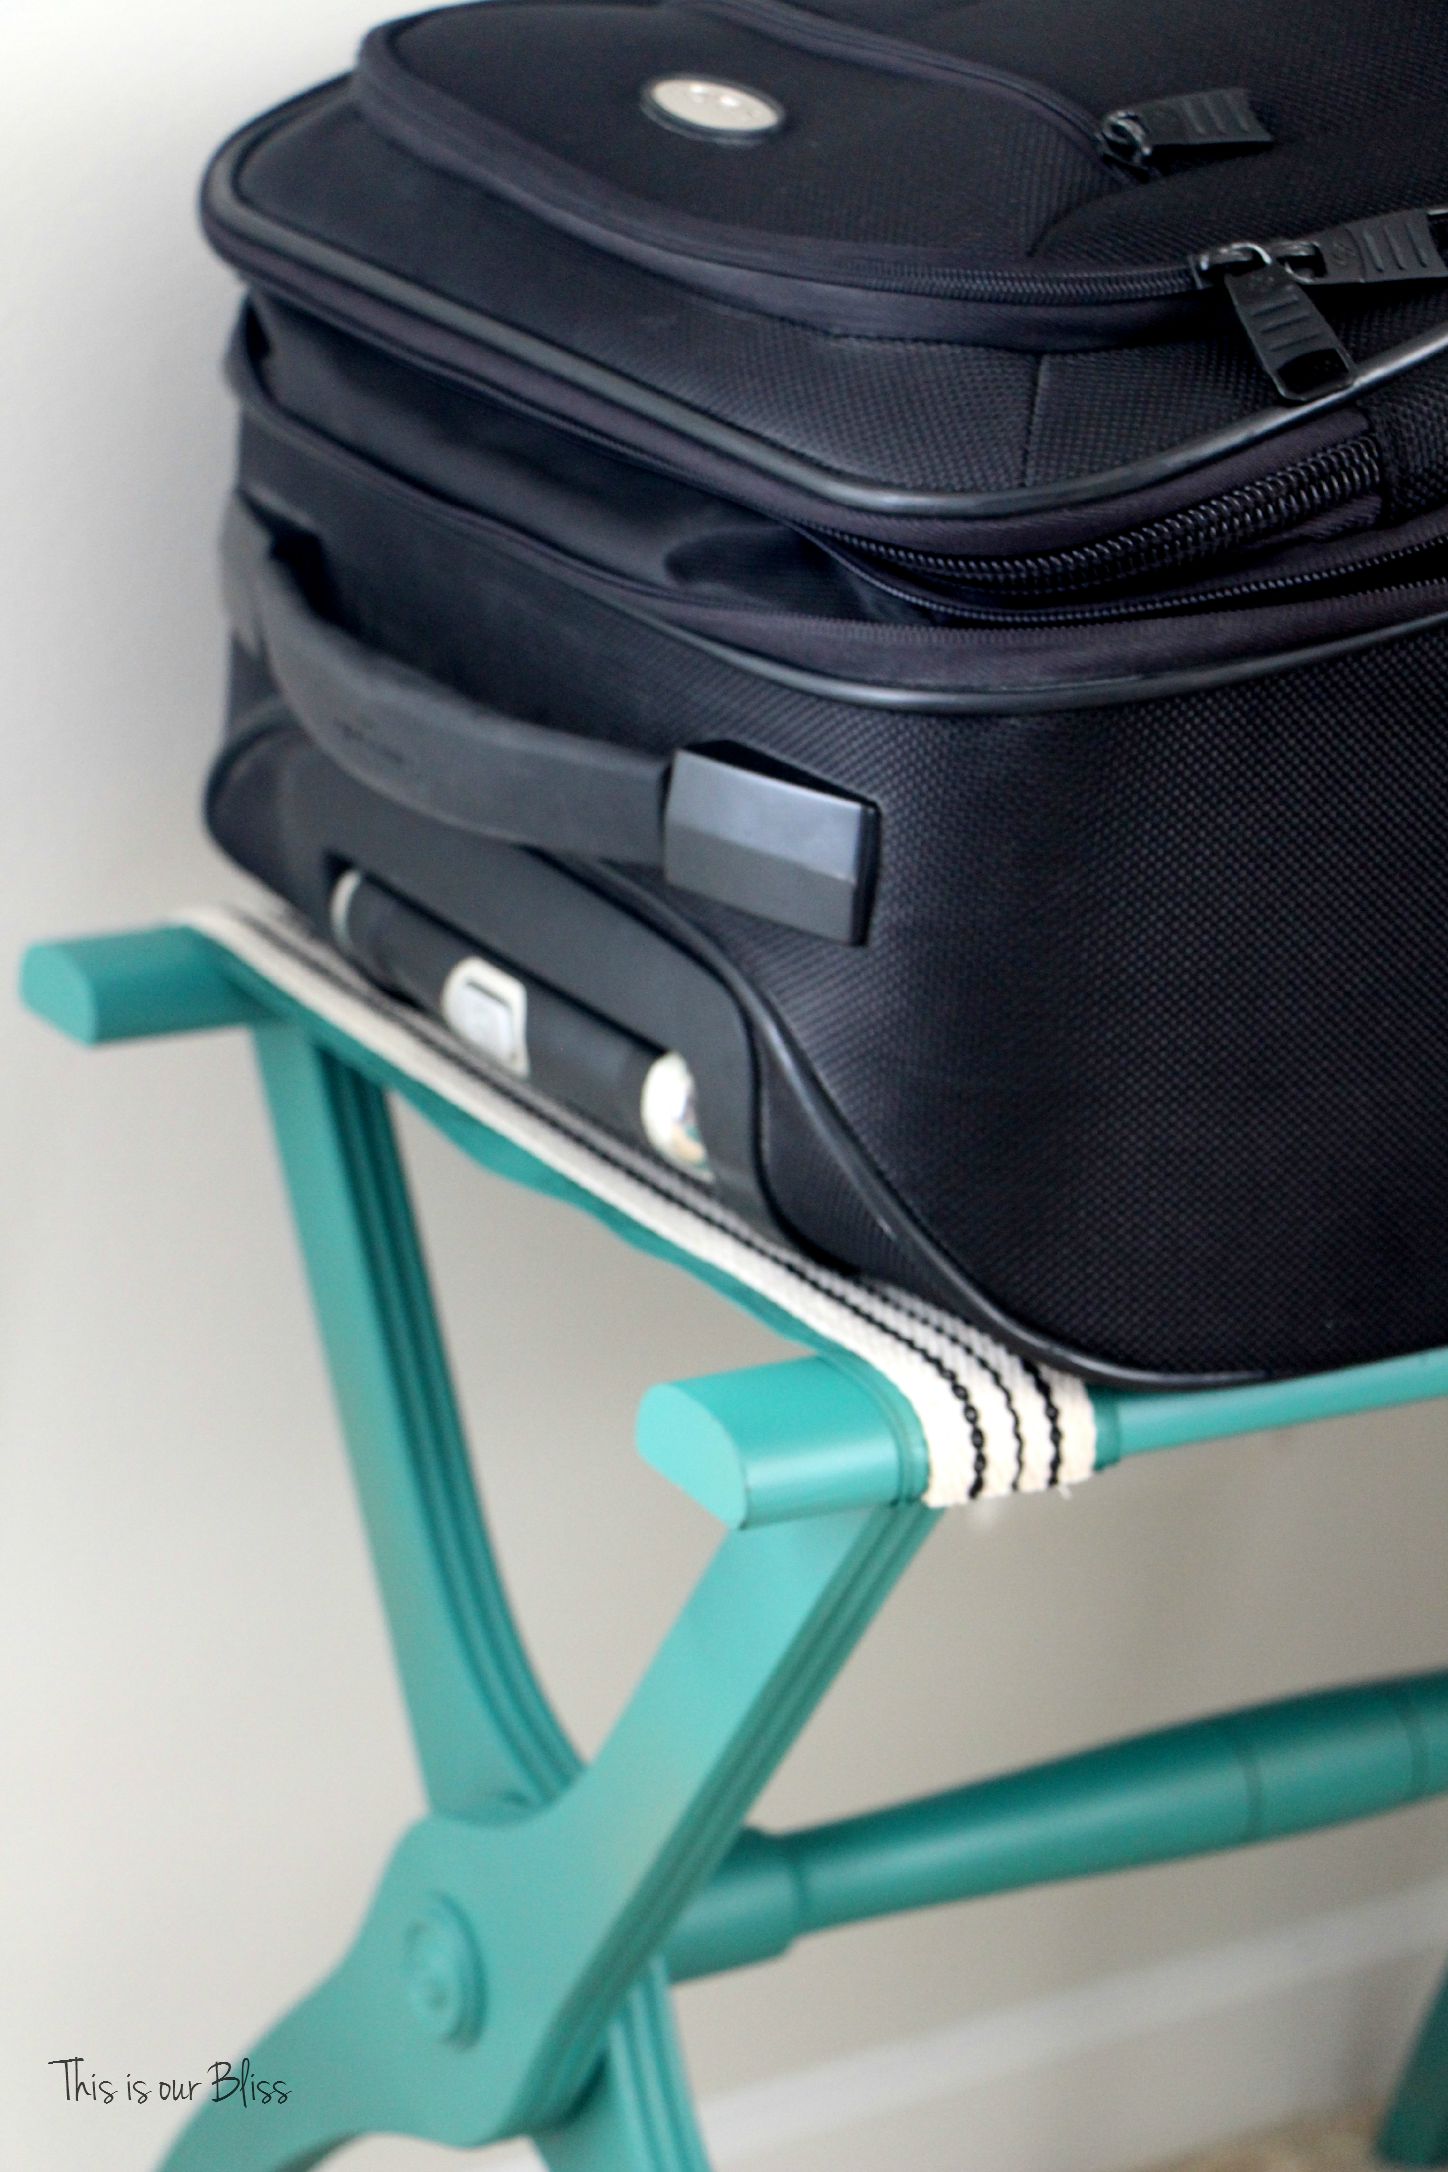
Then, I ran the craft glue up and down each of the existing 3 straps and laid my newly cut pieces down and centered it, since the striped wasn’t as wide as the old. On the edges, I simply rolled the striped pieces around to the underside of the rack and glued it down.
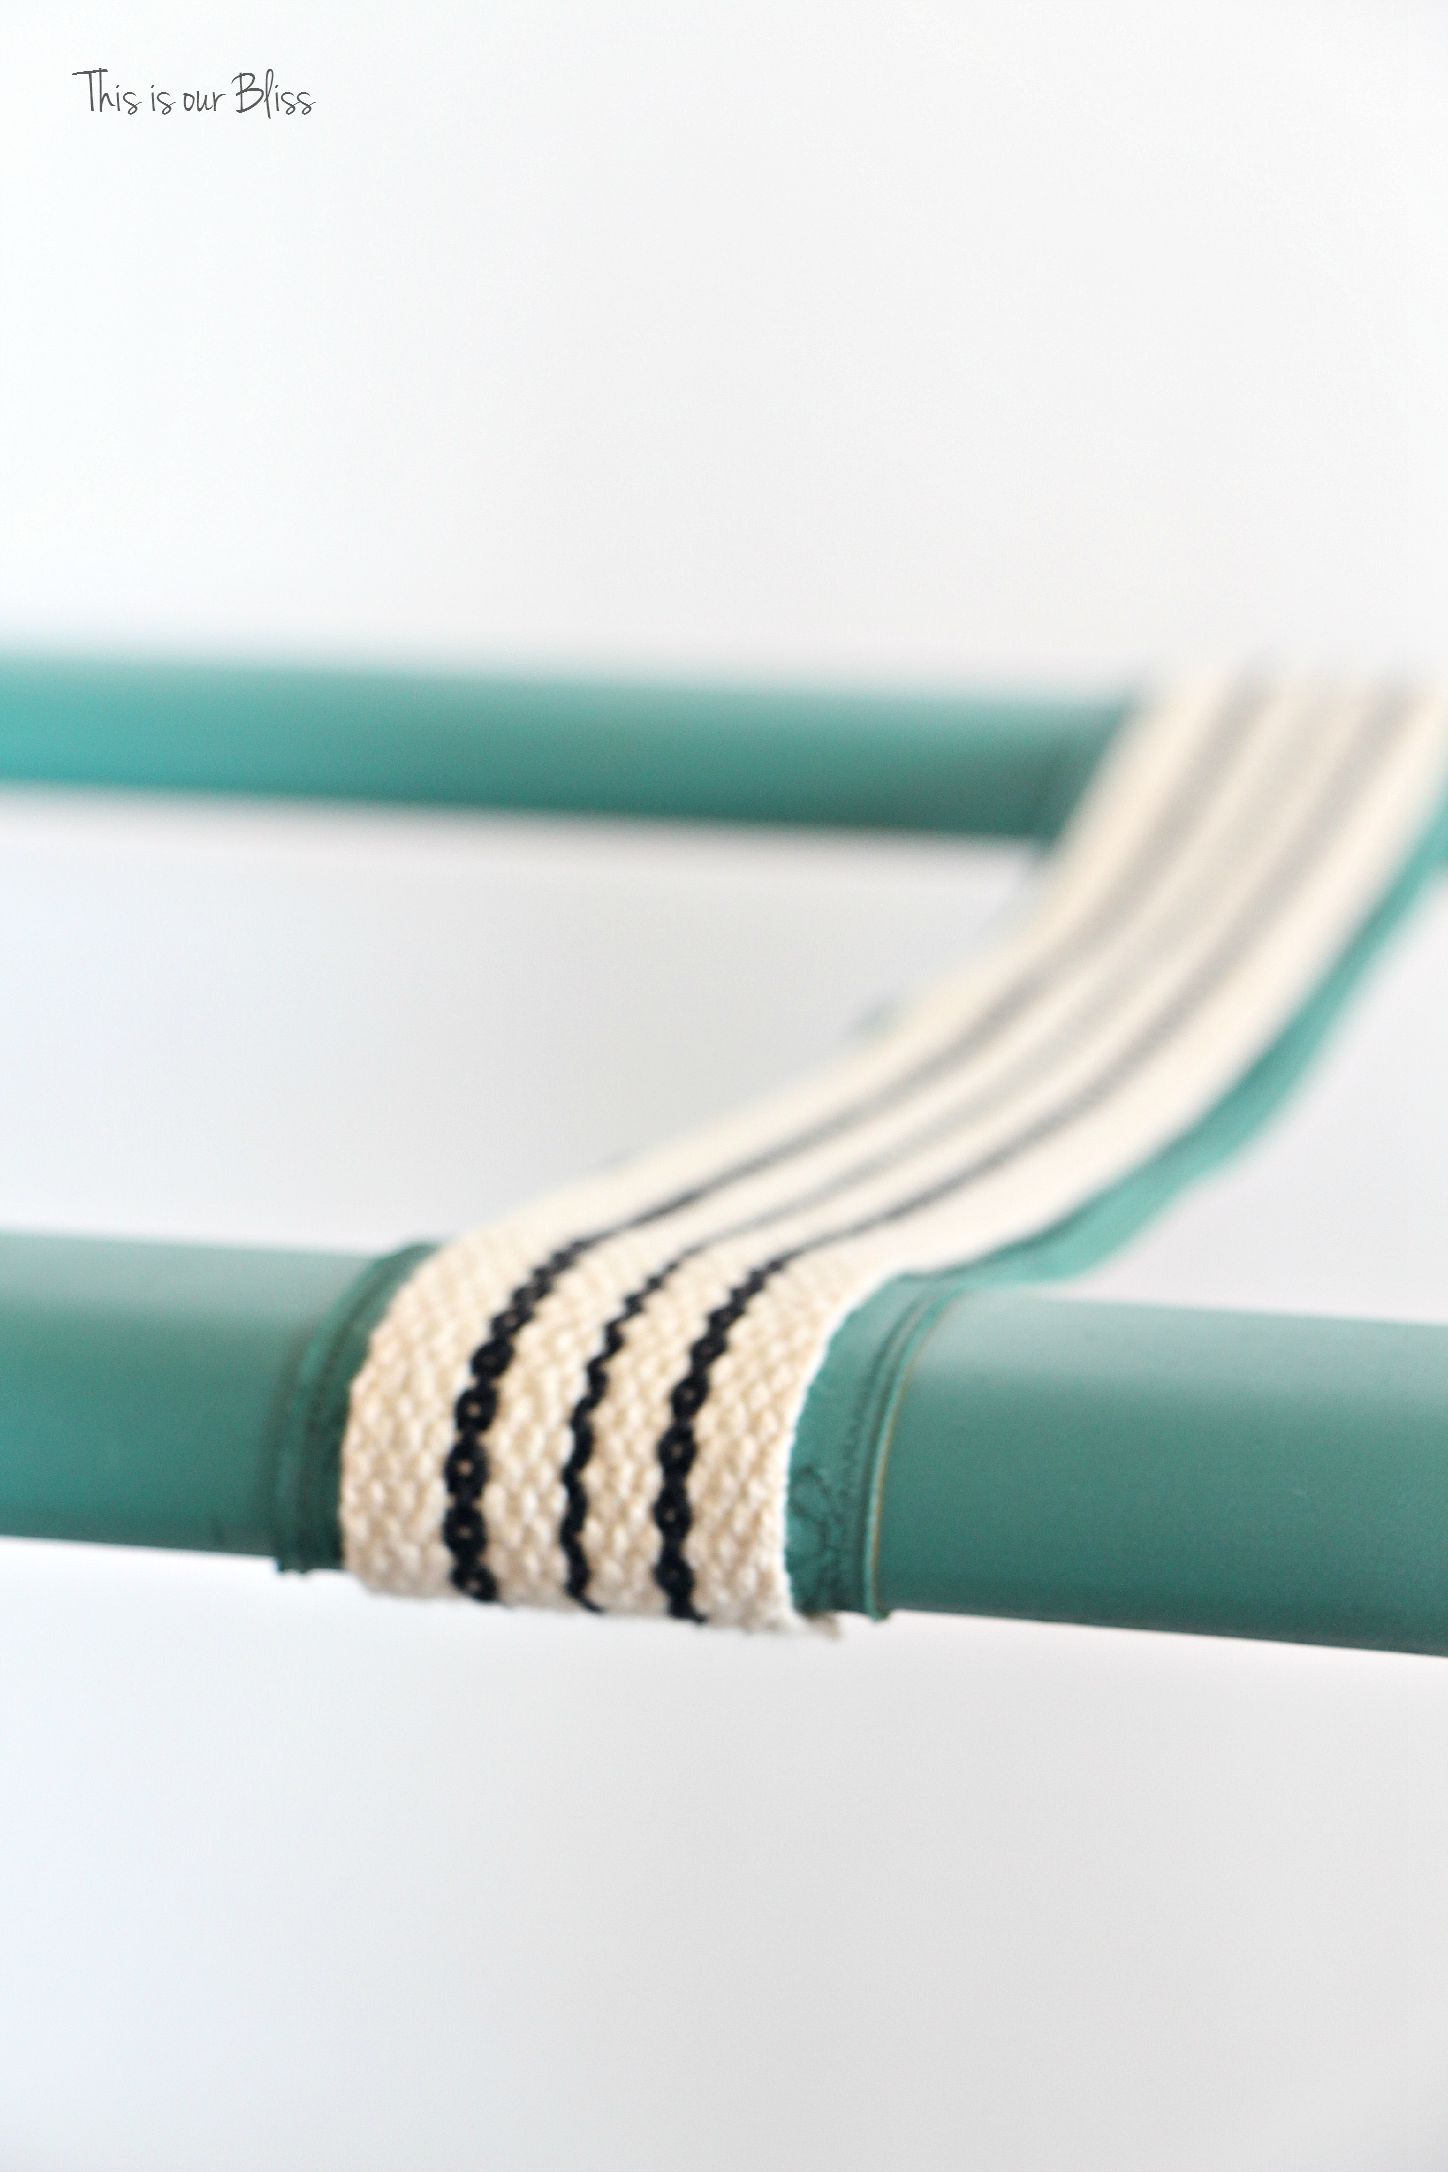 You can see below where mine is just shorter than the old stapled strap. I would’ve went all the way to the old edge if I had bought enough!
 I flipped it over and that was pretty much it.
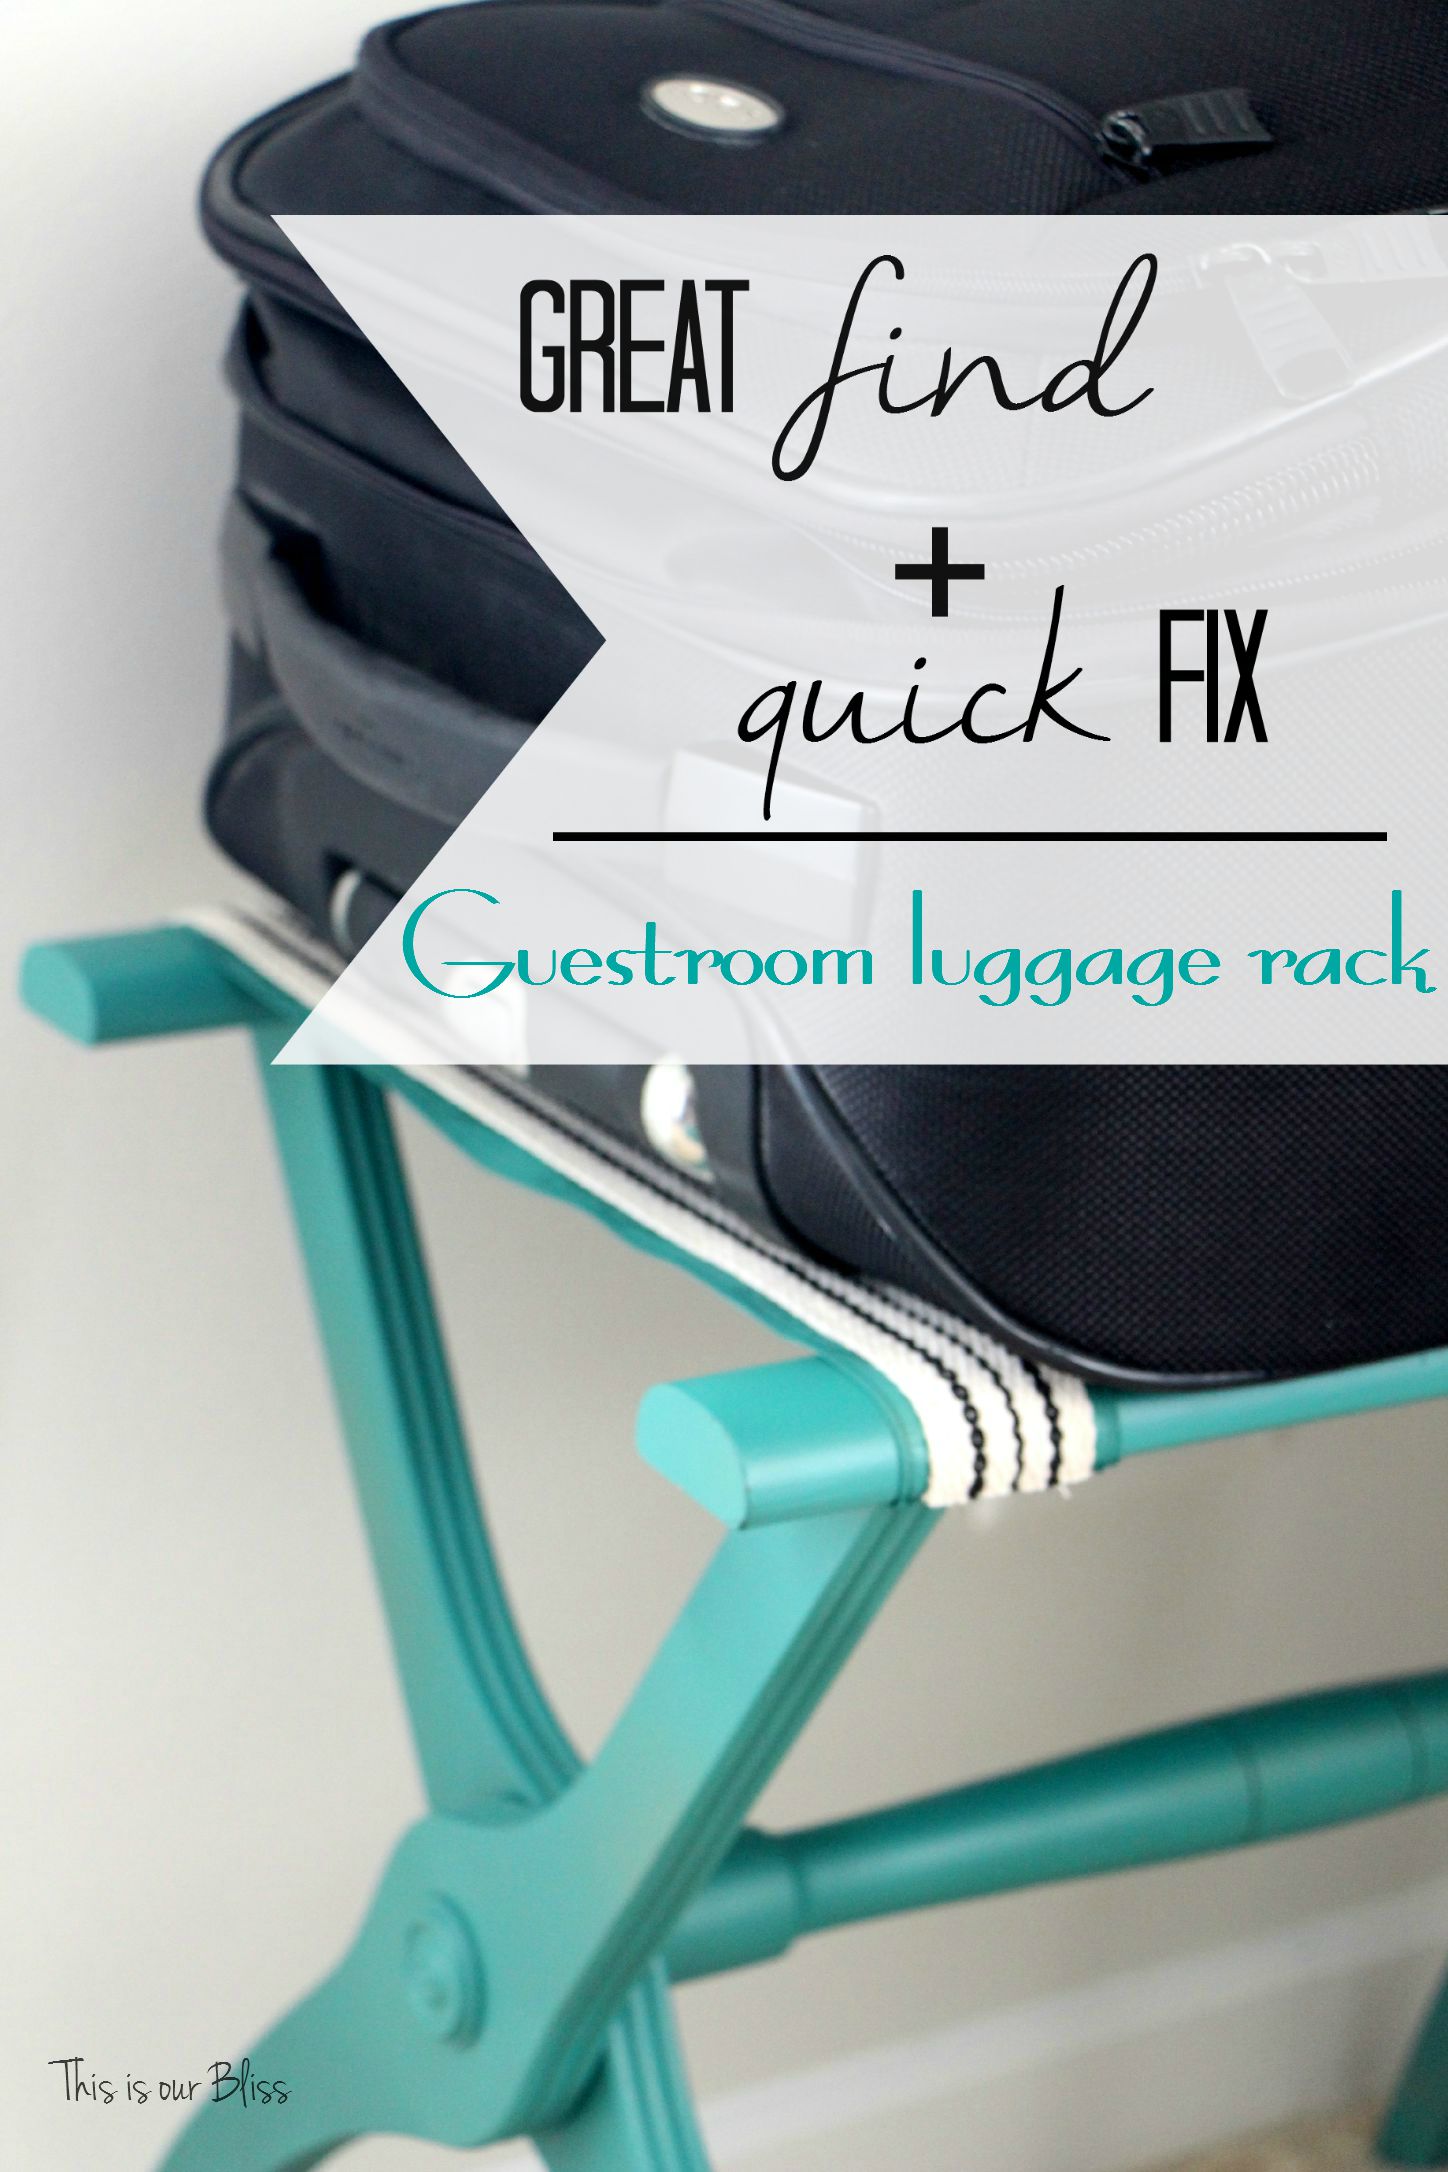
 Placed it in the room and it was ready for guests!
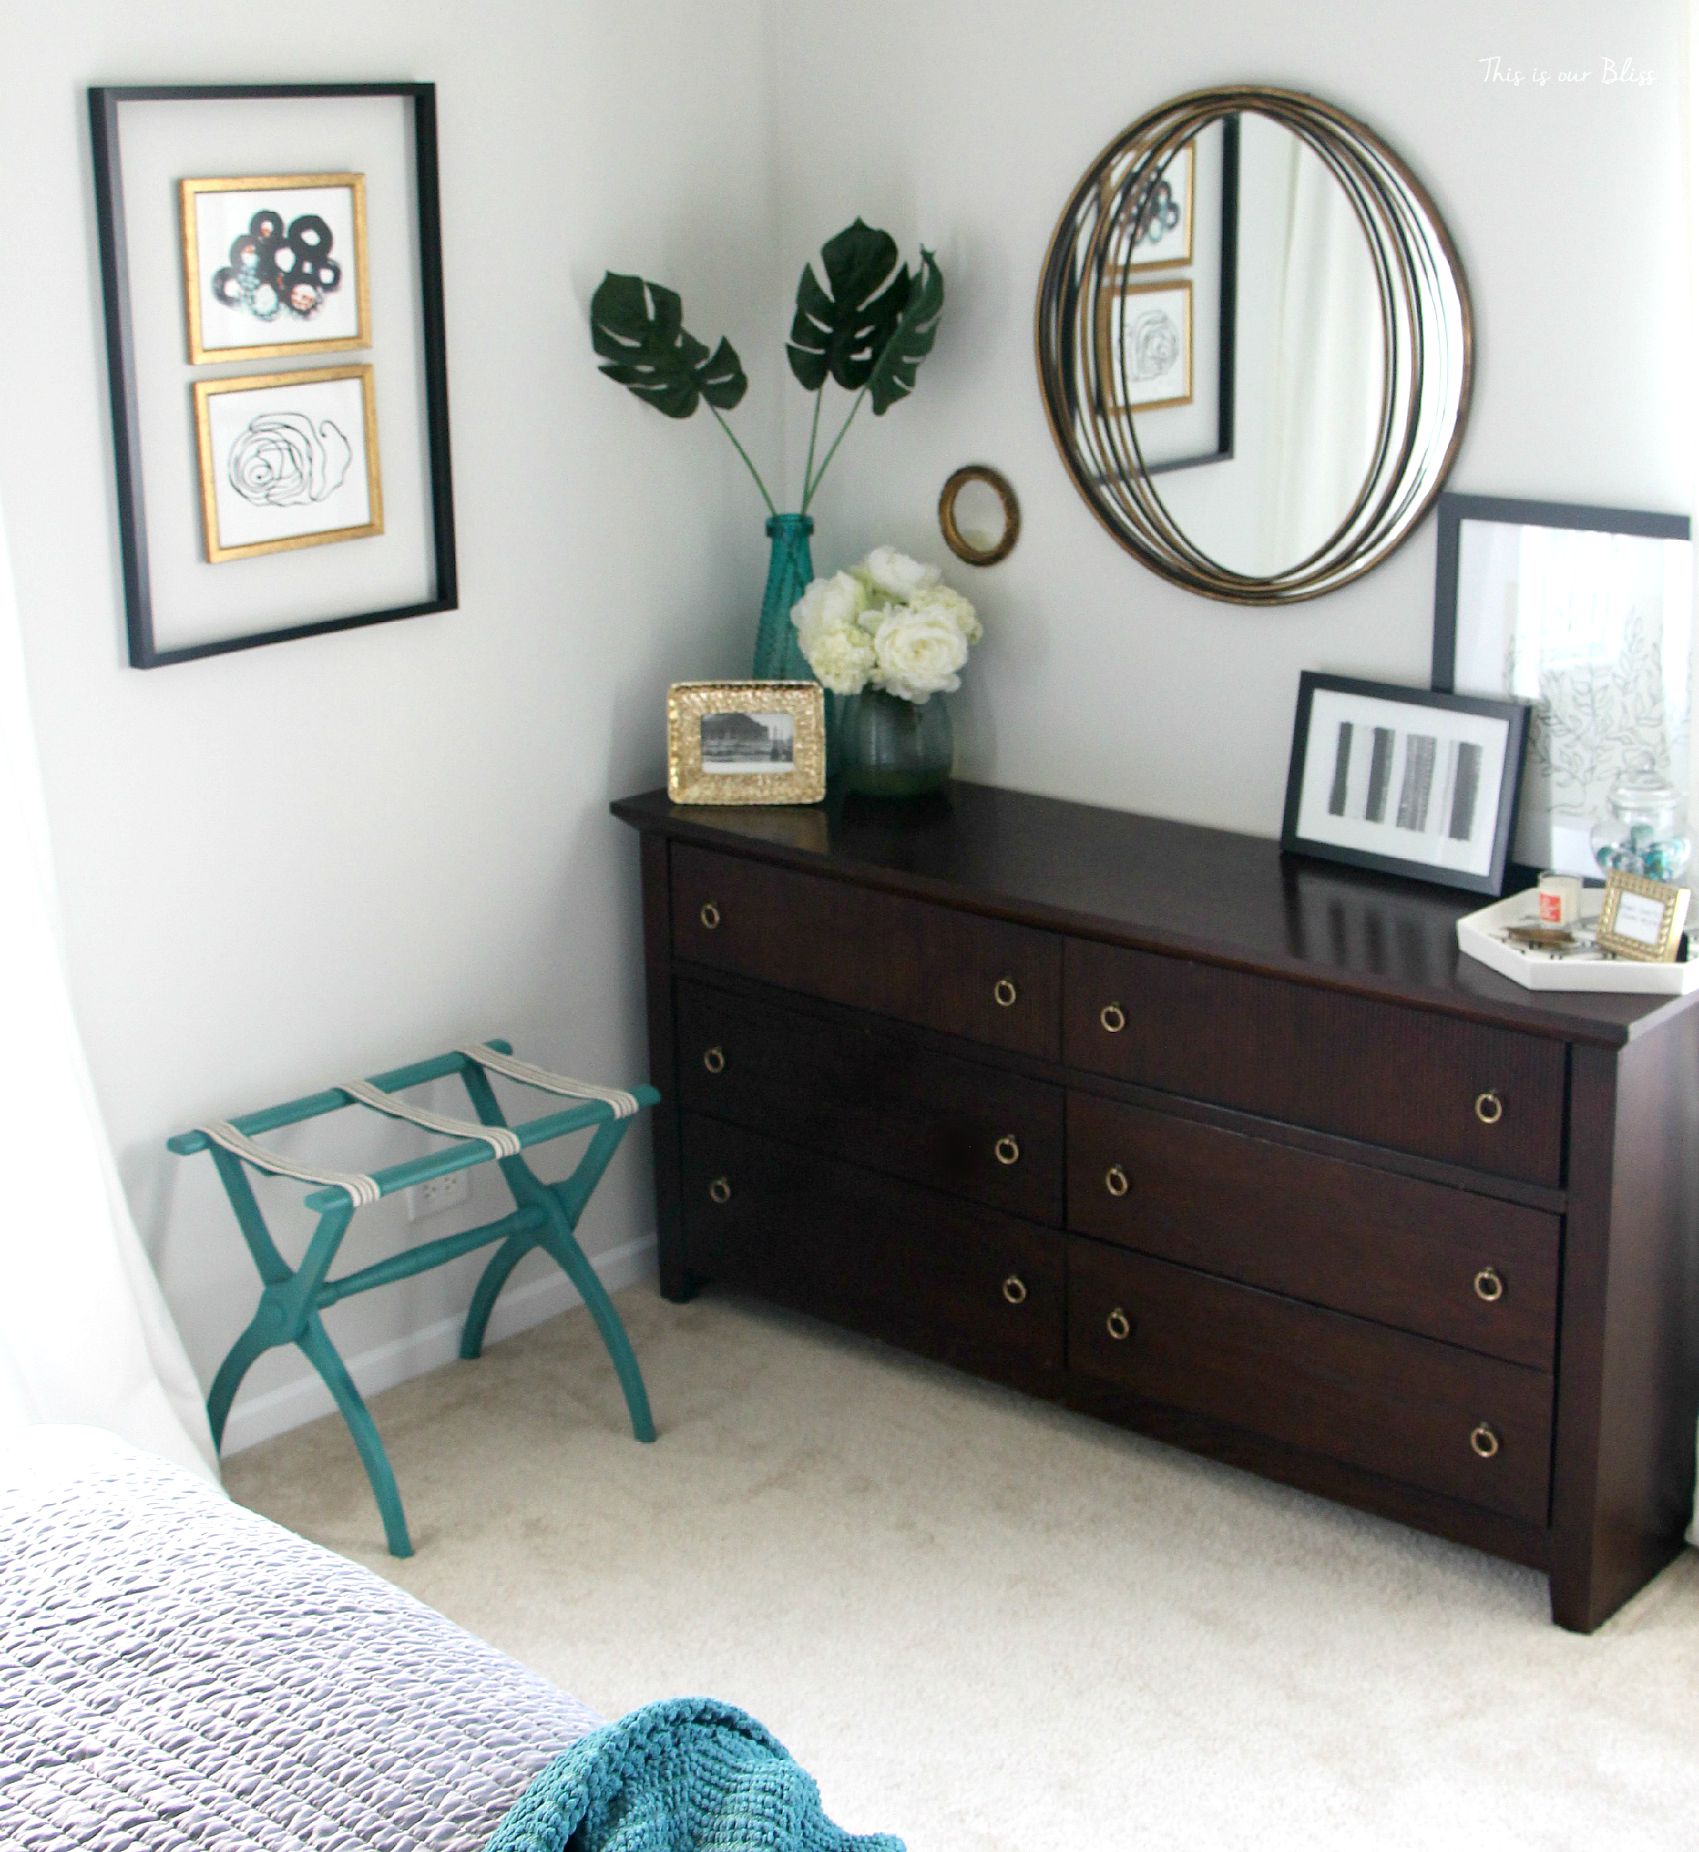
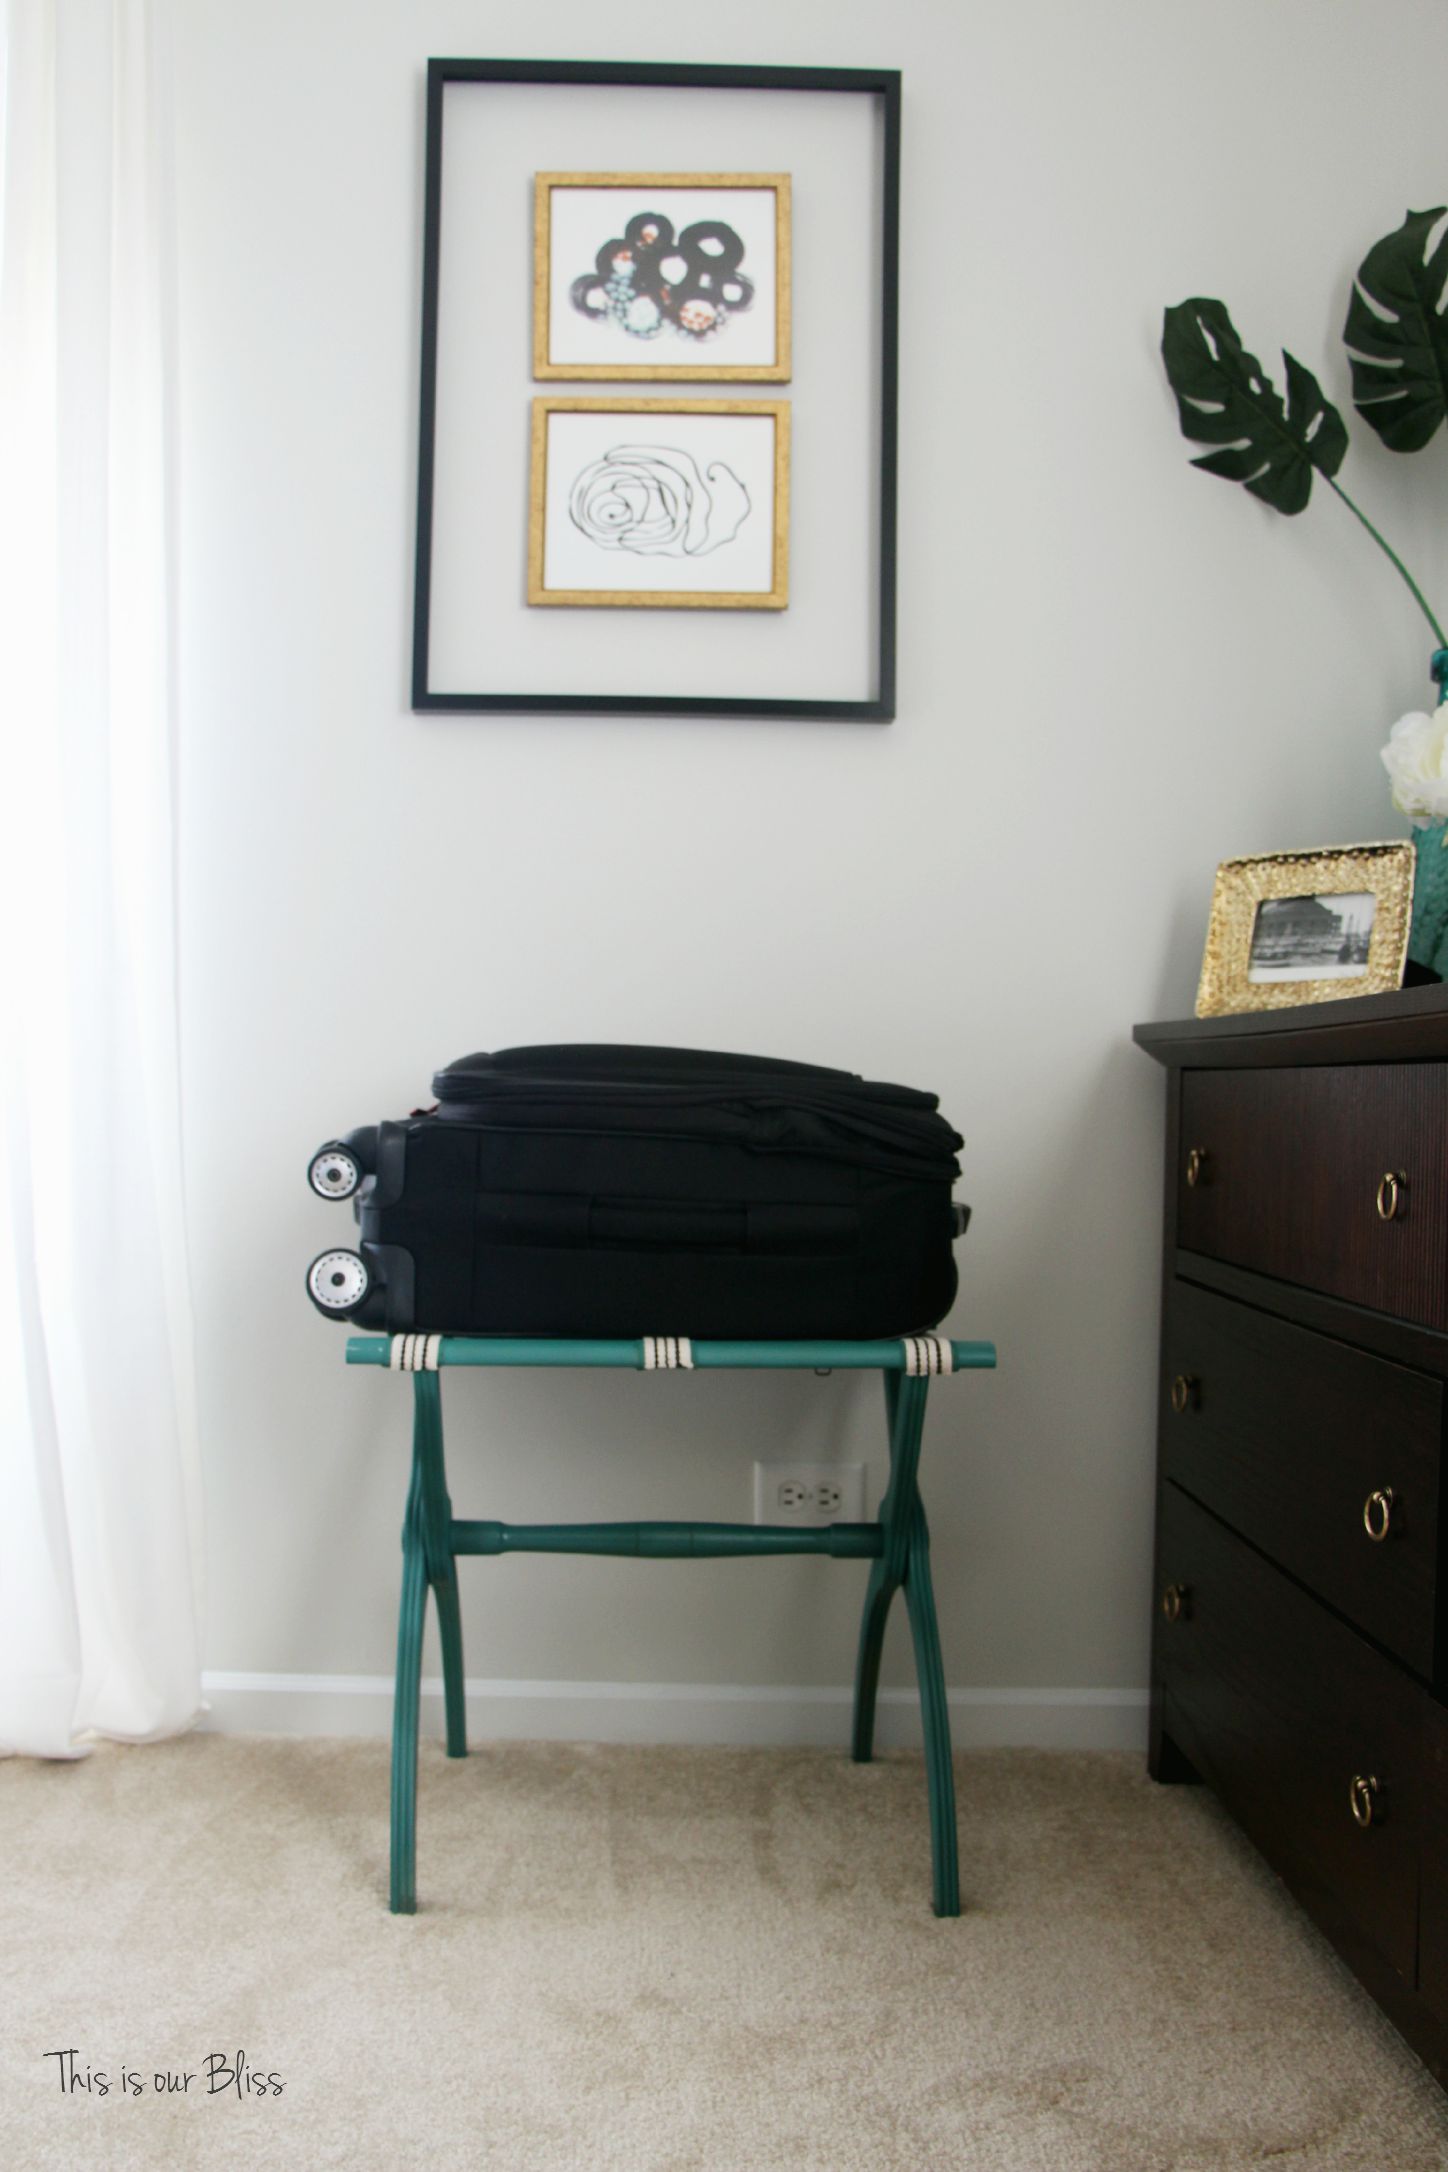
 It actually gets used every time someone stays in that room! For a cheap find and a few minutes to paint & glue, I’d say it was worth it! I love me a spray-paint project!!
Let’s take one more look…
 What do you think…Easy enough!? What have you recently thrifted and spray-painted?
We are getting ready to venture out to a Farm & Barn Fest in our town for some good ol’ fashioned Saturday afternoon family fun. I guess fall is really that close already!
I hope you all enjoy the rest of your weekend, too! I hope to see you back here next week 🙂


debbie
August 20, 2015 at 8:06 PMWish I could find an old luggage rack now 🙂 Beautiful & thoughtful addition to a guest room.
mary beth at MBZ interiors
August 16, 2015 at 8:21 AMI love it, so pretty!
Rachael @ This is our Bliss
August 16, 2015 at 1:42 PMThanks, Mary Beth! I’m really happy with how it turned out!